
What did you do to your Lancer today

Thread Starter
Evolving Member
Joined: Feb 2014
Posts: 238
Likes: 1
From: Florida
Edelbrock or the Rouscharger setup is a nice deal too. either way, get that driveshaft replaced!!
sounds like a plan either way. those 5.0 coyote motors are unbelievable. I want one!!!!!!!!
sounds like a plan either way. those 5.0 coyote motors are unbelievable. I want one!!!!!!!!
I know, they are bullet proof. Yeah I'm probably going to get an aluminum driveshaft. Will go nice with the 373 gears. I previously had 2 foxbody 5.0s, the pushrod was amazing, but this new modular motor is so awesome.
Newbie
Joined: Dec 2013
Posts: 70
Likes: 0
From: New Jersey
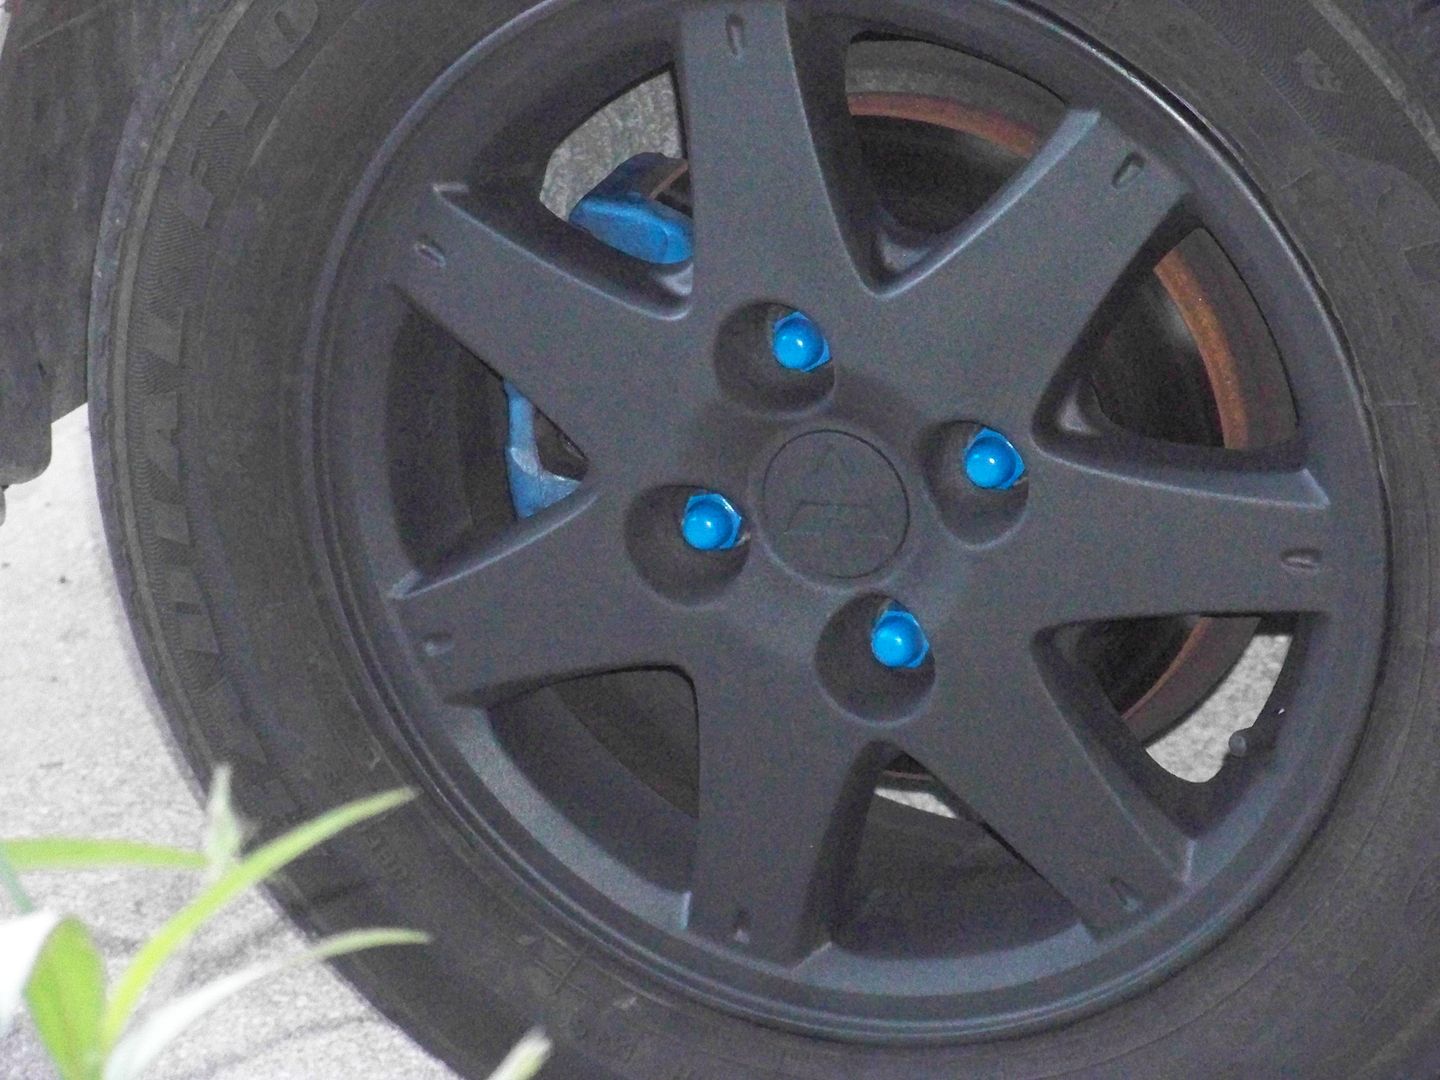
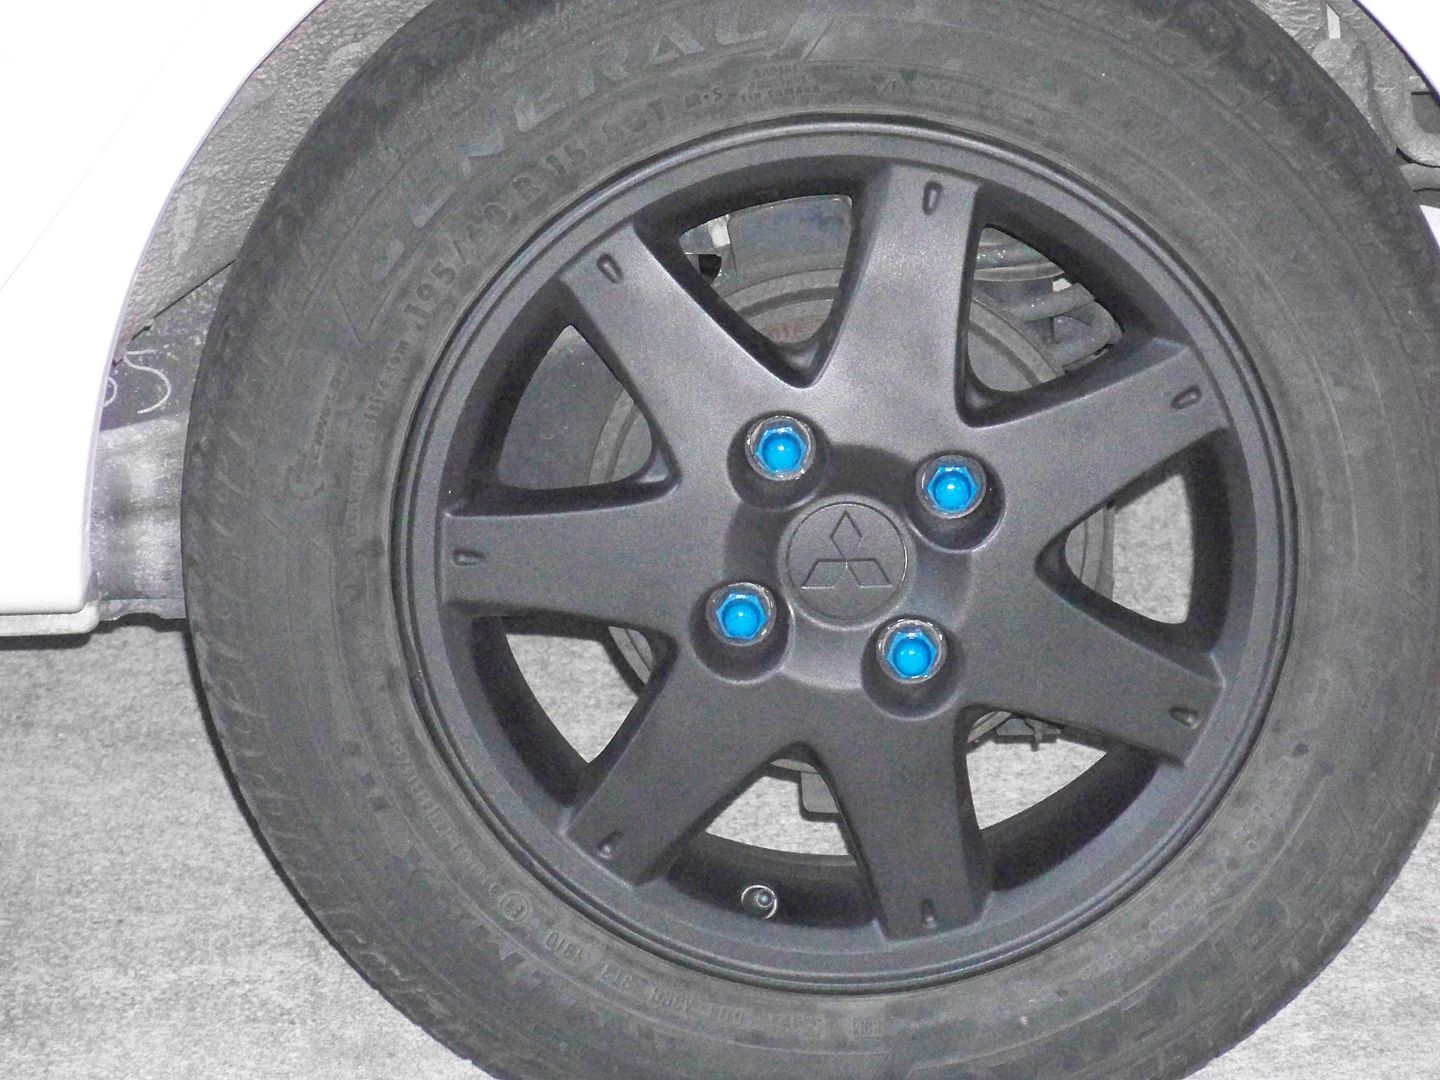
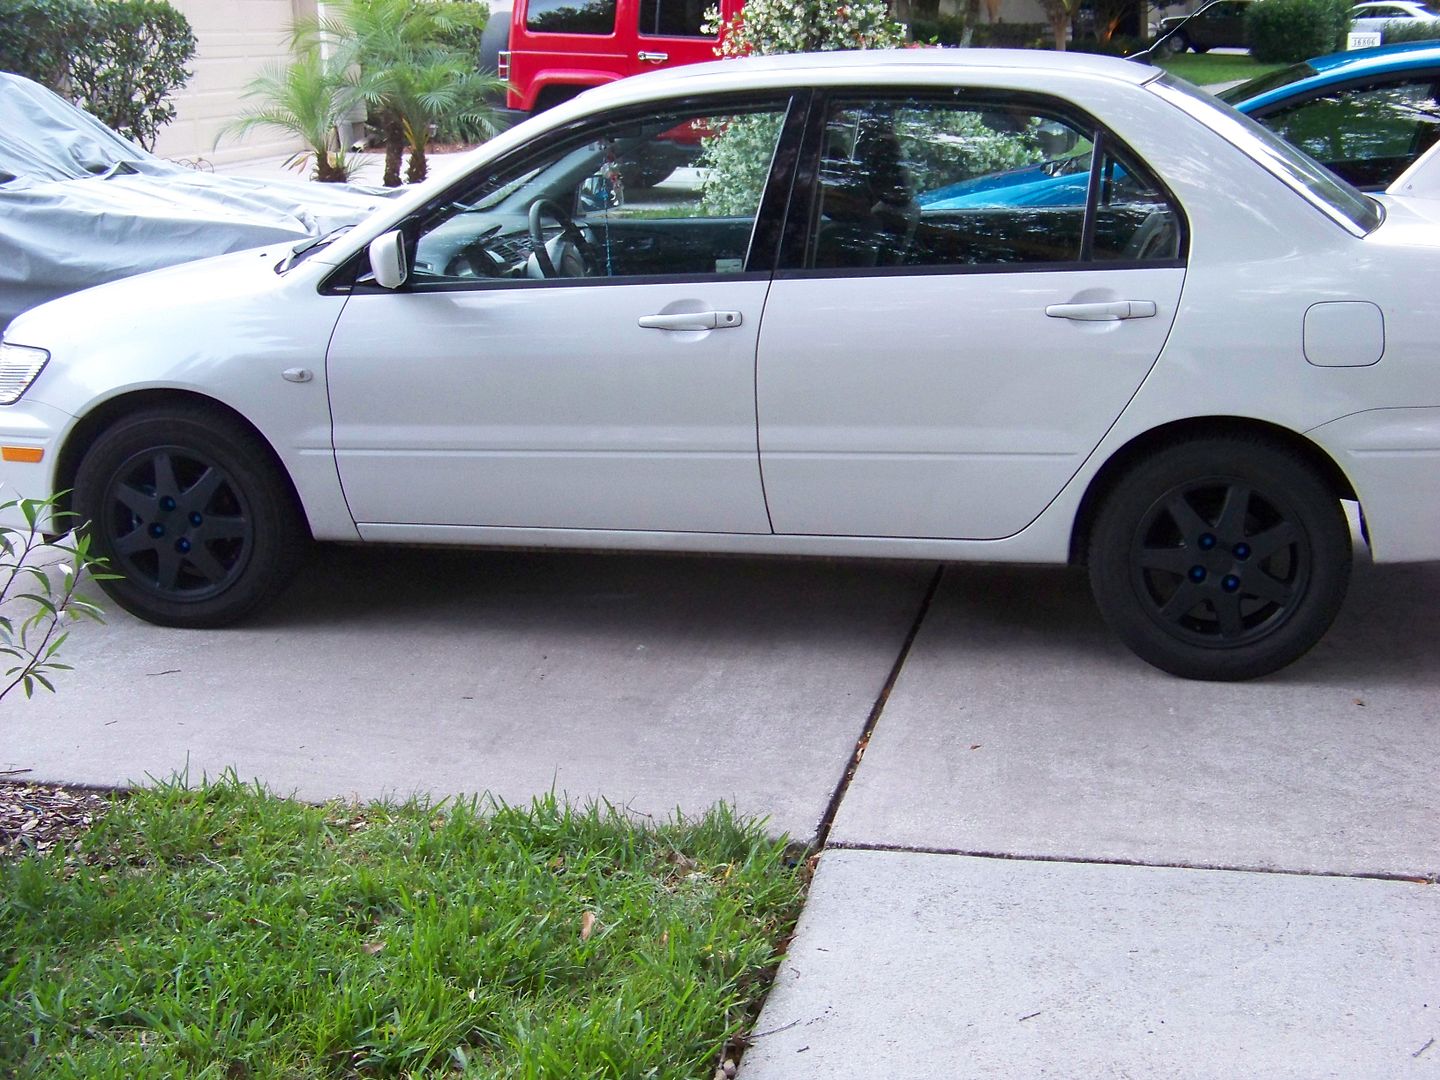
my daughter decided she would like her wheels black. thought I would try my hand at plastidip..so here we are. I did these two wheels to make sure she wanted it after it was done. still have to do the other side. went ahead and did the lug nuts to match the blue paint she wanted on the brake caliper. don't mind the car is dirty and needs a good cleaning. woulda done that but my oldest daugther rolled in from college for mother's day and I had to jump on hers before she goes back tomorrow.


Thread Starter
Evolving Member
Joined: Feb 2014
Posts: 238
Likes: 1
From: Florida
tried to adjust the fuel door on her car today. worked on it before, but when you pull the handle, it doesn't pop open like it should. in fact no matter how I bend the tang on the inside of the door, it either won't open at all, or just holds it closed enough that you can take the key and pry it open. need to find the secret to that. the pin goes in and out when you pull the handle so it isn't that.
Thread Starter
Evolving Member
Joined: Feb 2014
Posts: 238
Likes: 1
From: Florida


Take a look at the latch with the button that pushes in. See how there is a recess that goes down to the button and there is a little radius on that plastic? Now on the fuel door itself, look at the metal piece that latches. As you shut the door, the part that's mounted to the door where its semi straight(not the little bend at the end) should be crossing that radius on the plastic where it starts to recess. Now the little piece on the end of the metal latch. (where the cut out is), see how it's kinda rounded. That little piece that's rounded should be hitting the plastic button on the flat. Maybe put a dab of paint on that flat and see where it's hitting on the door. As you pull the door lever. That button should nearly travel the entire way in. If you can't get it. I'll post some pics for you
Thread Starter
Evolving Member
Joined: Feb 2014
Posts: 238
Likes: 1
From: Florida
Take a look at the latch with the button that pushes in. See how there is a recess that goes down to the button and there is a little radius on that plastic? Now on the fuel door itself, look at the metal piece that latches. As you shut the door, the part that's mounted to the door where its semi straight(not the little bend at the end) should be crossing that radius on the plastic where it starts to recess. Now the little piece on the end of the metal latch. (where the cut out is), see how it's kinda rounded. That little piece that's rounded should be hitting the plastic button on the flat. Maybe put a dab of paint on that flat and see where it's hitting on the door. As you pull the door lever. That button should nearly travel the entire way in. If you can't get it. I'll post some pics for you

I did what you said...I put some black touchup paint on the flat part of the button that goes in and out. from these pics, you can see the black paint on the latch part where it hit. not sure what that means, but maybe it will tell you something.


thanx!!!!!!!!!!!!!!!!!!!
Thread Starter
Evolving Member
Joined: Feb 2014
Posts: 238
Likes: 1
From: Florida
not sure what or how to answer...it catches on it, but not sure the pin actually goes inside the "hole". when I have bent the tab part which holds the hole, it won't open even though the pin goes in and out properly. not sure how much bend to put in it and if there is any other nuance to it catching and then releasing properly.
Newbie
Joined: May 2014
Posts: 38
Likes: 0
From: Iowa
So its not necessarily what I did today (added red trim) but the culmination all the what I did todays, so ill just post the (semi)-finished product.
Blue dome Leds
Red and black accents in the interior
shift knob and boot change to MOMO and a custom hand made ebrake boot to match.
plus some exterior mods (none of this includes performance mods which i'm leaving to discuss in another thread)
Blue dome Leds
Red and black accents in the interior
shift knob and boot change to MOMO and a custom hand made ebrake boot to match.
plus some exterior mods (none of this includes performance mods which i'm leaving to discuss in another thread)
Newbie
Joined: May 2014
Posts: 38
Likes: 0
From: Iowa
It's 3m adhesive backed red plastic. I found it on eBay. It's fairly pliable to begin with (has about the look and consistency of a twizzler) but if you heat it up it reacts similar to vinyl and becomes a bit more stretchy and what not.