
Quest. for those that blacked out your 04 headlights


Thread Starter
Newbie
Joined: Jun 2006
Posts: 62
Likes: 0
From: midwest
Those that blacked out your 04 headlights - DONE - pics up!
I've read a few DIYs but cannot seem to find out how long this is going to take me by going with the oven method and painting flat black...I've also read varying temps on what the oven should be set at...any updates on the best temp and amount of time to heat em up before prying apart...thanks in advance.
Last edited by Sir Lancer-lot; Jun 17, 2006 at 11:48 AM.

I personally wouldnt do it in the oven. Just buy a heat gun, its easier and it only take about 7 mins to get the lense off.
From start to finish your probabally looking at 2+ hours, most of that time includes painting.
From start to finish your probabally looking at 2+ hours, most of that time includes painting.
Originally Posted by Sir Lancer-lot
I've read a few DIYs but cannot seem to find out how long this is going to take me by going with the oven method and painting flat black...I've also read varying temps on what the oven should be set at...any updates on the best temp and amount of time to heat em up before prying apart...thanks in advance.
As for temp, I recall doing mine at 275 and it worked out fine. This thread is from an 02/03 job, but should work for an 04 as well. https://www.evolutionm.net/forums/sh...ad.php?t=85372
Good luck!

Evolving Member
Joined: May 2006
Posts: 162
Likes: 0
From: IL
I just did my 2003 ES headlights. I know it is not an '04 but some of the same things should apply. I put a damp towel on a cookie sheet. I preheated the oven to 275. Wait till it gets up to temp. Put the headlight on the damp towel sitting on the cookie sheet. I placed in the oven for 4 minutes. Pry gently with a flat blade screwdriver (make sure to lift tabs up first). I got about half of the light apart. I put the light back in the oven upside down for about 2 min. I then pryed the headlight off the rest of the way. I suggest using Mechanic's gloves while doing this to resist the heat so you can start prying immediately after you take out the light. The adhesive does harden fairly quickly. You can repeat the same process for putting the light back together. However, make sure it is properly sealed!!!!! Mine got moisture in it and took off a little bit of the chrome paint around the headlamp. If it does get moisture in the headlamp make sure you do not turn it on until you reopen the headlight and clean out the moisture. I used Krylon Fusion Gloss Black Paint (no sanding or primer needed). I bought it from Wal-Mart but I've seen at autoparts stores as well. This whole process took me about 3 hours. Try to only open the headlights up once. That was my problem. I hope this helps!!!
Thread Starter
Newbie
Joined: Jun 2006
Posts: 62
Likes: 0
From: midwest
my previous car was a 04 civic that I used a hairdryer on and it took FOREVER. Not sure about the diff between going with the heat gun but it seems as though the tried and true method is the oven. I just dont want to melt my lights and not have a car to drive...Im guessing I'll shoot for 275 for 5 minutes...
Thread Starter
Newbie
Joined: Jun 2006
Posts: 62
Likes: 0
From: midwest
Originally Posted by mscc04
I just did my 2003 ES headlights. I know it is not an '04 but some of the same things should apply. I put a damp towel on a cookie sheet. I preheated the oven to 275. Wait till it gets up to temp. Put the headlight on the damp towel sitting on the cookie sheet. I placed in the oven for 4 minutes. Pry gently with a flat blade screwdriver (make sure to lift tabs up first). I got about half of the light apart. I put the light back in the oven upside down for about 2 min. I then pryed the headlight off the rest of the way. I suggest using Mechanic's gloves while doing this to resist the heat so you can start prying immediately after you take out the light. The adhesive does harden fairly quickly. You can repeat the same process for putting the light back together. However, make sure it is properly sealed!!!!! Mine got moisture in it and took off a little bit of the chrome paint around the headlamp. If it does get moisture in the headlamp make sure you do not turn it on until you reopen the headlight and clean out the moisture. I used Krylon Fusion Gloss Black Paint (no sanding or primer needed). I bought it from Wal-Mart but I've seen at autoparts stores as well. This whole process took me about 3 hours. Try to only open the headlights up once. That was my problem. I hope this helps!!!
Trending Topics
Evolving Member
Joined: May 2006
Posts: 162
Likes: 0
From: IL
I was worried too...but the main thing is to make sure that none of the plastic is touching metal!!!! As long as you do this and only leave the lights in the oven for around 4min. you'll be fine. The part that you need to take more caution is the prying apart step (be gently but firm).

I just recently did mine, but i have a 03 OZ. Take about 2-4 Hours. I had the oven at 345 degrees and took me about a good 7-9 min each for the cover to be easily ripped apart. Just make sure you pop the holding pins open. For putting back togeather. i only let the final coat of paint sit for like 20 min. then i carefully put it togeather and put it back in the oven to soften the silicone again to squeeze them togeather. and by putting the painted part in the oven actually baked it and hardens it. looks great and no leak. real easy.

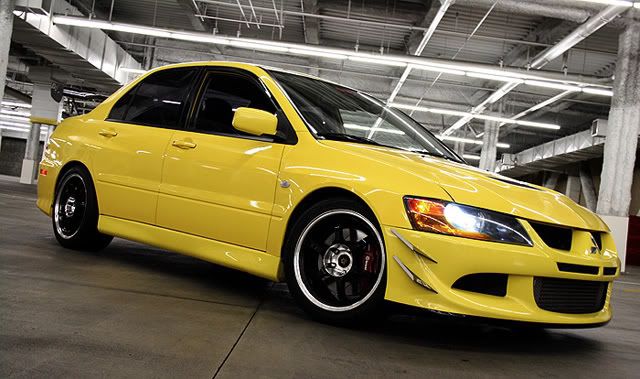
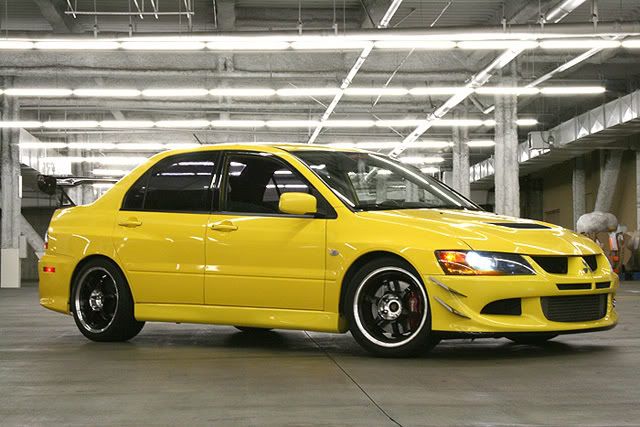
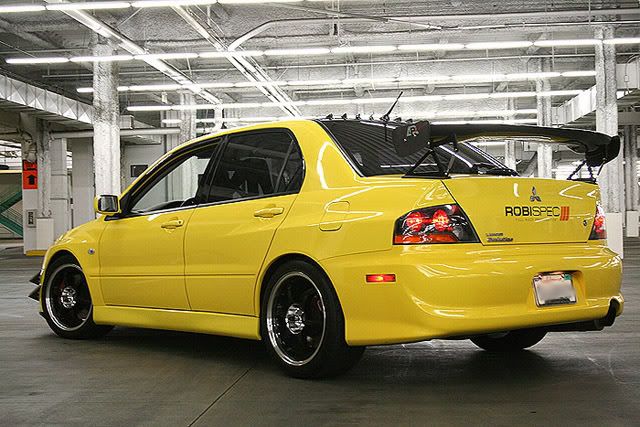
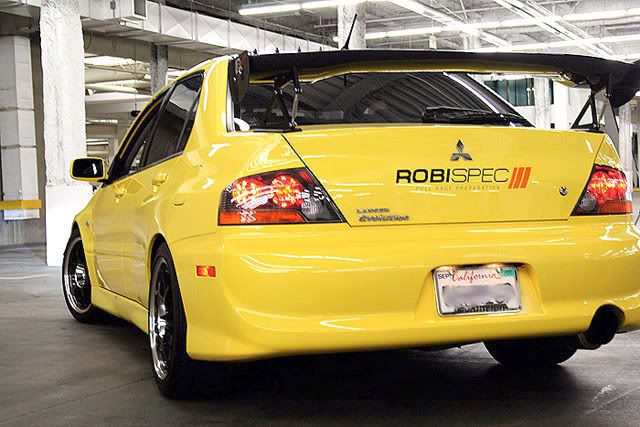
it's very easy. The headlight is so easy bro. unlike the tail lights. i charge more doing the tail than the headlights. here's my evo headlight and tails done it myself.
Last edited by vboy425; Jun 15, 2006 at 09:51 PM.
I'm doing mine tomorrow and I picked up gloss paint, rather than flat black. Will that look all right, or would it look silly with a finish like that? Also, the how-to says you should use black primer, but the closest I could find was gray. That won't make a difference will it? Thanks.
Originally Posted by WangMan
I'm doing mine tomorrow and I picked up gloss paint, rather than flat black. Will that look all right, or would it look silly with a finish like that? Also, the how-to says you should use black primer, but the closest I could find was gray. That won't make a difference will it? Thanks.

Thread Starter
Newbie
Joined: Jun 2006
Posts: 62
Likes: 0
From: midwest
Originally Posted by vboy425
nope. don't even primar, makesure you get a fiber cloth and wipe it down makesure it's clean from dirt,finger print, etc. I sue Autozone Valuecraft Glossy Black. Works fine as you can see. No need for hitemp paint. it's not going to melt like people say it will, my lights have been painted for almost 2 years. still looking good. makesure you take your time on each layer and let it dry for about 15 minutes if it's sunny and if it's not let it seat longer between eahc layer. don't blow the heat gun or heater at it. be pation or the paint will smear.
No high temp paint needed???? really!? Surprises me, I thought it got pretty hot inside those lights...didnt you use a heat gun to do yours or was that someone else? I've been hearing different views on oven vs. heat gun. I personally used a blow dryer on my old civic I used to have it it took forever...