When you click on links to various merchants on this site and make a purchase, this can result in this site earning a commission. Affiliate programs and affiliations include, but are not limited to, the eBay Partner Network.
I am still enjoying this build, my wallet is not a big fan of it, but whatever. It will heal I ordered a few more parts. Pretty much now all I need is the Battery (the ETS Battery Tray came in today) new UICP made, and a few other odds and ends here and there. But overall there have not been any huge problems. Still need to drop the motor so i can set the timing, would be a pain in the *** to do so with it in the car! Thanks for following everyone! More to come this weekend for sure!
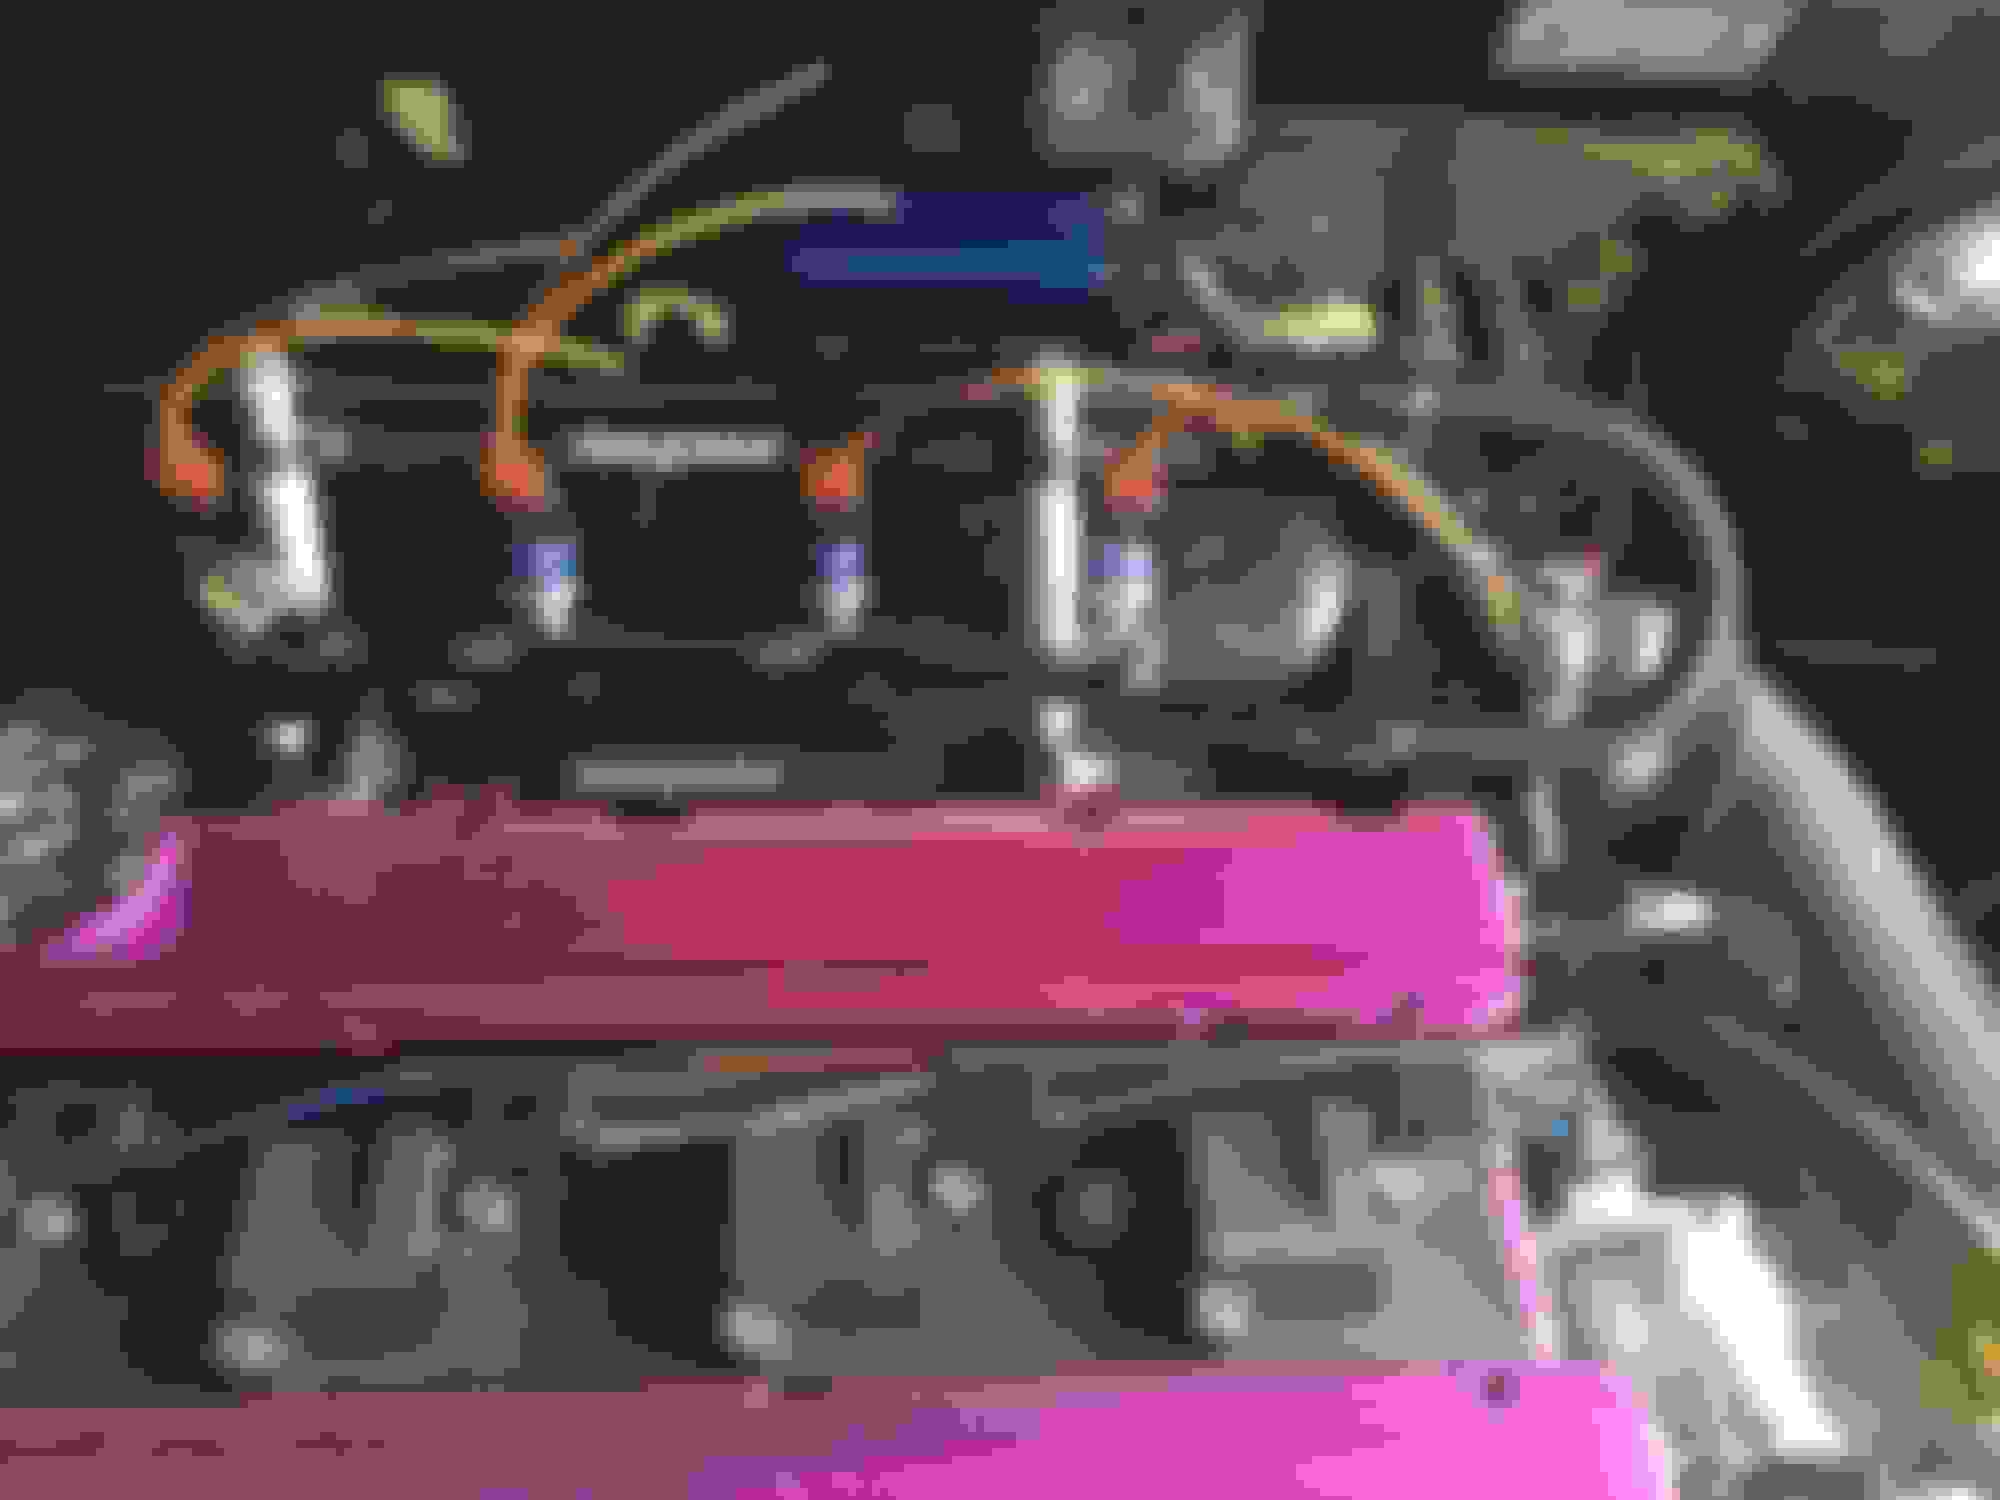
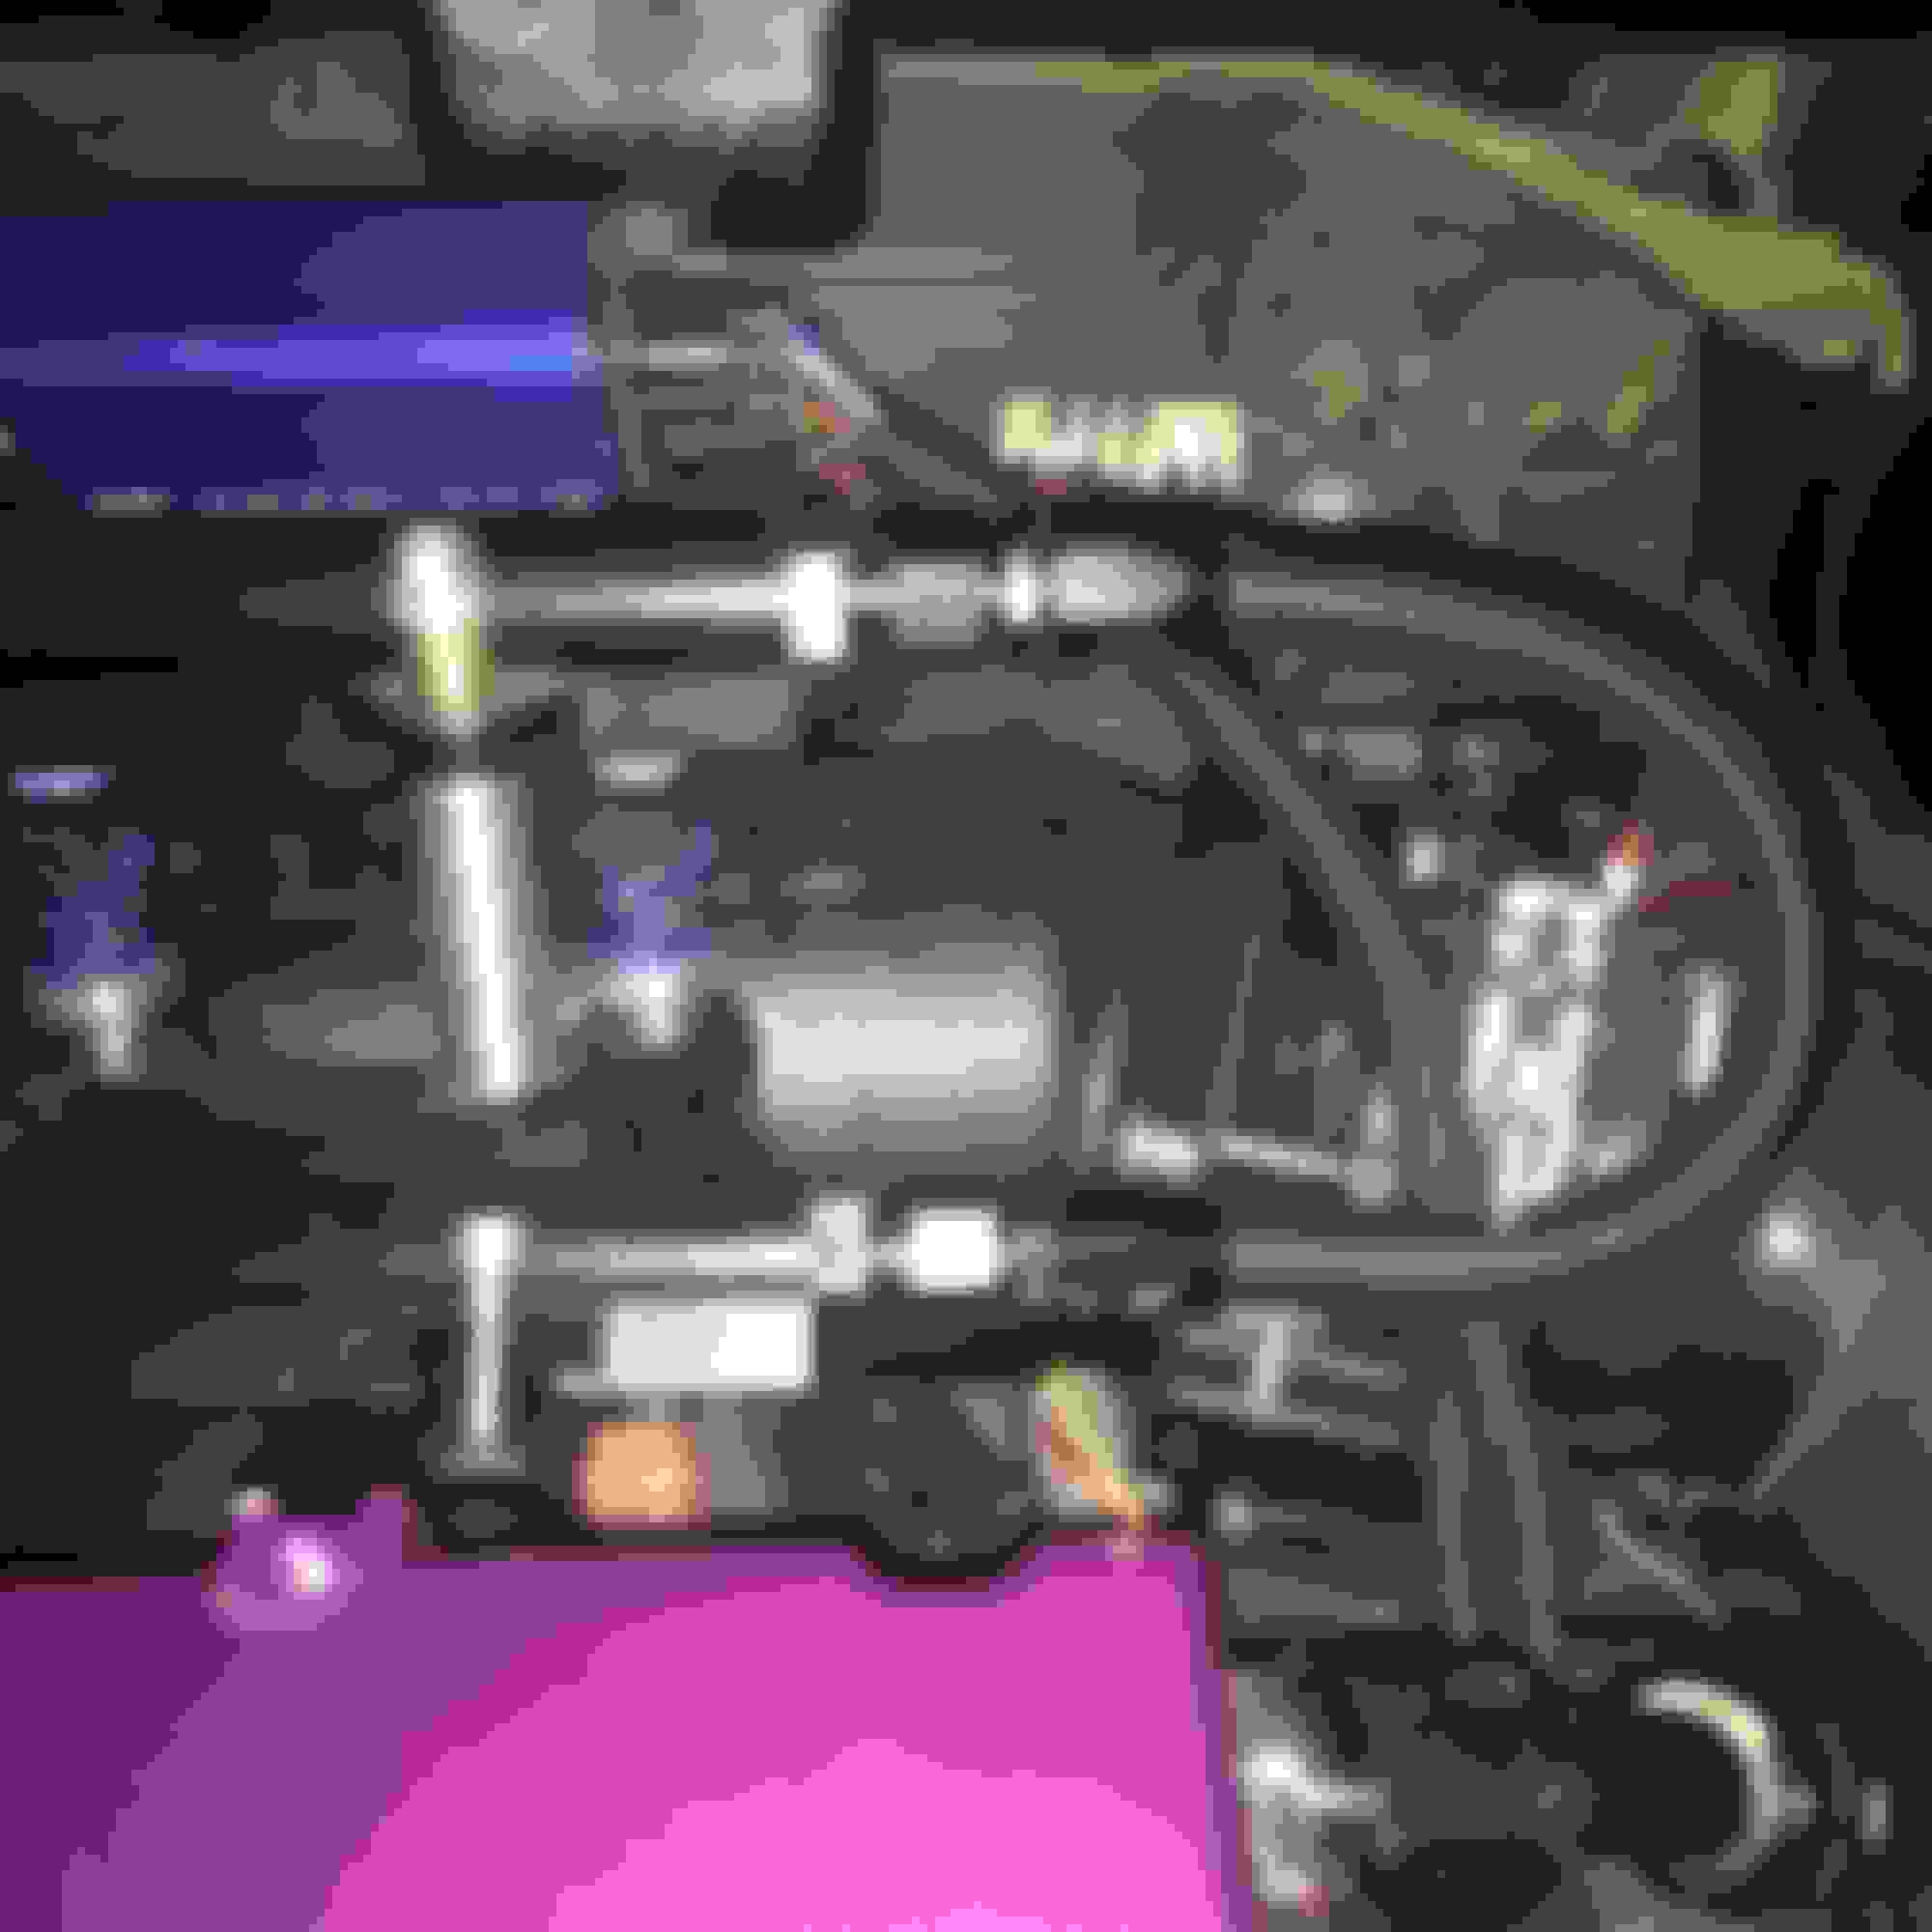
Finally was able to find the time to run the Fuel lines and get them ran into the pumps. Hopefully i didnt mess up one of the fittings and when i prime the pumps gas goes all over lol.
Pigtails for the second set of injectors came in, so thats kinda cool. Waiting for the second resistor box to get here to start wiring that **** up.
just showing the fitting between the two fuel rails.
This is where the lines ended up coming from, it if does not work out i can always reroute them, but hopefully they dont rub on the drive shaft.
Looks like it should clean but we will see once there is pressure and fuel in the lines making them heavy.
Zipties FTW!
More Zipties!
yes i know flat tire... -_- been too lazy to take it off and have the hole plugged.
Put on the stock wheels from the TL Type-S (behind the evo)
I REALLY like the color of those wheels! honestly i like the wheels on the car, but they are too narrow off an Acura
Had a sad weekend. So i finally thought that i had all the wires ran right and i decided to test it out. WELL come to find out a few of the wires were shorted and not grounded and ****. so... instead of trying to trace them all out and undo the wire tuck (that was done before i got the car) I decided it was just a better idea to buy a new harness and all new material so that i can do al the wire tuck myself and the way i want it. hopefully it comes out a bit better. I got a really good deal on the whole harness including the fuse box, i got it all for $200.
there used to be a **** load of wires in there. but had to pull them all out. transfer case cleans up nice tho!
more wires... or lack there of. That ETS battery mount tho lol
Are they threaded fitting or they have a nut on the other side?
And thanks for replying.
Yeah man no problem. They one in the rear and the one on on the back right hand corner are both these http://www.streettunedmotorsports.co...er_fitting.htm
while the other one is a screw in and is threaded. I used JB weld to hold them in place (i dont plan on them ever coming out lol)
Its been a few weeks since i have updated the post. The last update i found out that my wire harness was no good. Sadly. So I ordered one off one of the facebook pages when some guy was doing a partout. So the package came in the mail and to my surprise, the guy sent am a flucking headlight. and i STILL have not received my harness. But recently, I bought an evo that happened to have a tree land on it, so i have been parting it out. it was an 05 SSL so i got the beautiful interior as well as the wire harness. Since i have not received my harness yet, i went a head and started wrapping this one. I took the whole thing apart and did what i had to do to get it ready to be wrapped. Here is how it came out... not too bad id say. I am going to be installing it tomorrow and maybe... just maybe everything will go as planned lol. but who knows. -_- prolly not with my luck lol.
As i finished up the wiring harness this week, i decided to take today off from work and install the some b!tch. Took a little longer than i had hoped for, but overall i am happy with how it came out. There were a few things that i am not going to use on this car that the wiring harness has so instead of cutting them out, i decided to just keep them in there just incase something was to happen and i would need them. I still need to wire in the extra set of injectors, but for the time being the stock ones will be fine.
Afterall today was a good day, i was able to fully install the whole harness, and not only that i was able to check some of the things to make sure they all worked. All the lights in and outside the car, radio is working, as well as the EDFC (has a an issue, but it powers on and reads). Sadly i was unable to get the Full blown double pumper to prime. i checked the wiring and everything looks good.. i called full blown 4 times throughout the day and never got an answer, hopefully the listen to my voicemail and return my call.
Only a few things left to do:
-drop the motor and set the timing
-rewire the fuel system
-check for leaks in the fuel system once its primed and fix the me accordingly.
-fix Tien EDFC error
-Get the plastic dip of the SE BBS wheels and get new tires put on them
-fire her up!
on another note I sold my AEM Series 1 in HOPES that i can find a Series 2 at a reasonable price. Otherwise i will just get the infinity Series 508.
So I was able to pull the engine bay apart and do ALL the able management that i needed. Had to do it a couple times. I wired up the fuel pumps enough to make them work. to check for leaks. there was 3 leaks total, one of the orings on the injectors got pinched. so I replaced them all with all new ones anyways. they were already new but it was like $5 for a whole set so why not. I ordered new fittings from Jegs. and when I went to prime the fuel pumps they were just sipping the gas, not really getting any so I shut them off to prevent them from burning them up. need to put more gas in the tank, I just keep forgetting to do it lol. I installed the Zietronix e85 flex fuel sensor and gauge but because of the location i had to make a new bracket for the Gas pedal cable hookup on the intake manifold. I was able to have one made no problem. I was also able to find an Intercooler coupler that fit PERFECT! 3.5" to 3" reducer at a 45 degree angle. I'm sure I've done more but its been so long since ive updated i forget what ive done. you can see for yourself in the pics
this poor guy feel about 20 after hitting a window. i have him a few shop towels to lay on to keep him warm in his final hours. Sorry Tweety.
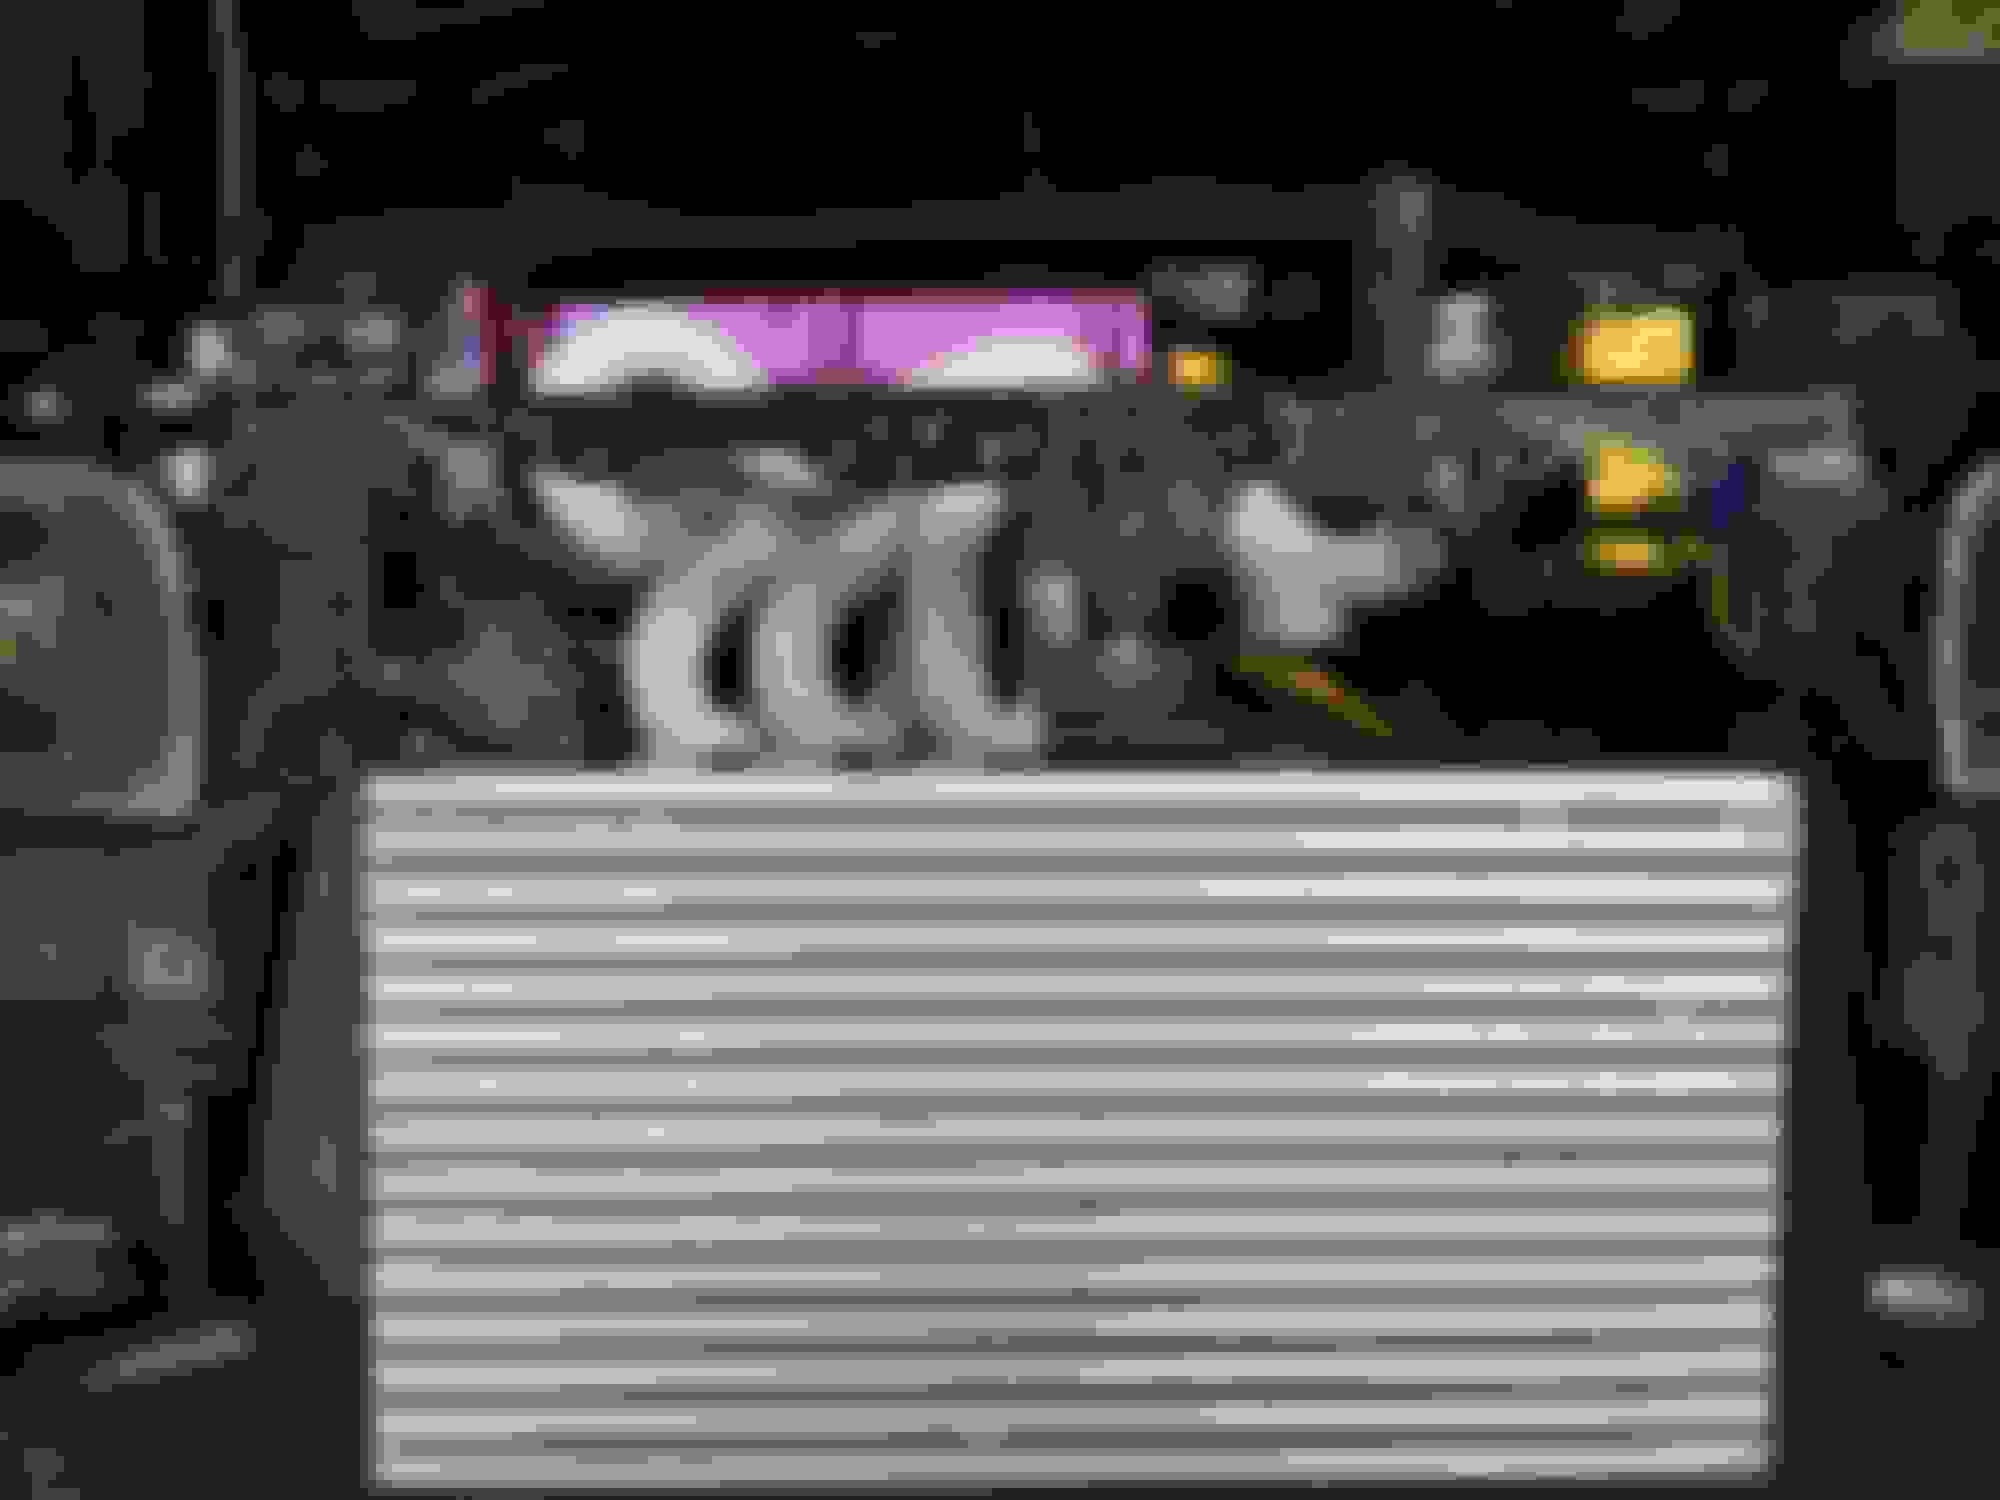
wish i didnt have to run a radiator! i LOVE this look
 Apr 7, 2016, 08:17 AM


 I ordered a few more parts. Pretty much now all I need is the Battery (the ETS Battery Tray came in today) new UICP made, and a few other odds and ends here and there. But overall there have not been any huge problems. Still need to drop the motor so i can set the timing, would be a pain in the *** to do so with it in the car! Thanks for following everyone! More to come this weekend for sure!