When you click on links to various merchants on this site and make a purchase, this can result in this site earning a commission. Affiliate programs and affiliations include, but are not limited to, the eBay Partner Network.
Hello to all! This is the first post for myself on the forums. I�ve been following you all, watching from a safe distance until now! But after owning my Evo for close to 4 years, it�s time for me to contribute and give something back. First things first; my name�s David, and I�m located in Calgary, Alberta, Canada. I�m one half of a team called Brain Power Motorsports. We�ve spent the last year working on building a website, along with a Facebook and Instagram page, to feature all the work we have been putting into this build. If you want, check us out at our website (www.brainpowermotorsports.com) or Facebook page (@brainpowermotorsports). There are a bunch of how to�s, along with a daily blog that outlines all the work going in to our Budget Time Attack Evo. The website isn�t selling anything; it is simply a place for us to showcase all of the custom work we are doing!
Now what you want to know about; the car. It�s a 1999 Evo 6 GSR, imported close to 4 years ago. It arrived, mostly stock, with quite a few issues. A lot of work went in to fixing it up so that it could be my daily driver. This included a new transfer case and top end rebuild, along with some electrical gremlins. For a couple years, I drove the car everyday to work, but eventually, the kilometers started to add up, and I decided I didn�t want to keep adding to the mileage. The car was, at this point, a lot of fun to drive, but I wanted more out of it. One of the first things to go into it was a Link G4 ECU. This was followed by a custom 3 inch exhaust, COP setup, and A/C delete. For fun I also added in a DVD player, Playstation 2 in the glovebox, and a sub and amp in the trunk.
But then things started to get more serious. In 2017, the car underwent a big transformation as I completely redid the wiring in the engine bay. Every fuse and relay was moved in to the cabin, underneath the dash. To accomplish this, the HVAC was completely removed from the vehicle. Many of the fuses were instead switched over to circuit breakers, mounted on a custom panel where the HVAC controls used to be. At the time, I was really inspired by rally cars, and I wanted to start building the car for just that. Gauges were also added to the dash, and some switches to control features on the Link ECU such as the boost, timing, and launch control. The battery was also relocated to the trunk, and a nice thick gauge cable run under the carpet. A Schroth ASM harness was installed, along with a nice JDM steering wheel (Up Garage!).
Once again, this was all fun, and the car put a big smile on my face every time I drove it. But a monster had been created, and it continues to grow to this day. Did I say things had gotten serious? Well, they got EVEN more serious! Rally was no longer the goal for the car. I didn�t have the money needed for all the spare parts and a team. But Time Attack� that was something I could get behind. I enjoyed watching the big WTAC event every year, mainly to see the Tilton Evo compete. So why not try it myself. I started looking into the regulations involved for it in Canada, and quickly found the ASN Canada FIA rules. With those in hand, I started on to the build!
Stay tuned over the upcoming weeks and months as I update you on this Time Attack build. The car has been beached for over a year now, so plenty of stuff has already happened. I will update you guys on all that has gone into it before I dive into the current work. Here�s a little teaser to get you started!
Time to jump into the build! And we’re going to go back to the summer of 2017. At this point, the engine was already out of the vehicle, and I was busy working on some smaller things. The ABS system had been pulled from the car, and I was also doing away with the brake booster. A new master cylinder with a 7/8” bore was sourced from a junkyard, and a brake booster delete plate was purchased from STM. The master cylinder was out of a mid 2000s Lancer (can’t remember which one exactly), but it had 4 ports and I was able to put RS proportioning valves onto it. The plan was to plumb in new brake lines to this MC, similar to an RS setup. You will see in a future post how I went a step further than this and completely did away with the RS valves. I instead went to an adjustable proportioning valve, within arms reach of the driver. This will also be helpful for the future plans of putting in a pedal box.
Another system that I was working on was the power steering. I had removed the belt driven system from the car and had sourced an electric TRW pump from the junkyard. The plan was to find a spot in the engine bay to mount the electric pump, ideally lower down to help with weight distribution. Once again, you will see in a future post how this evolved to mounting the pump in the passenger footwell!
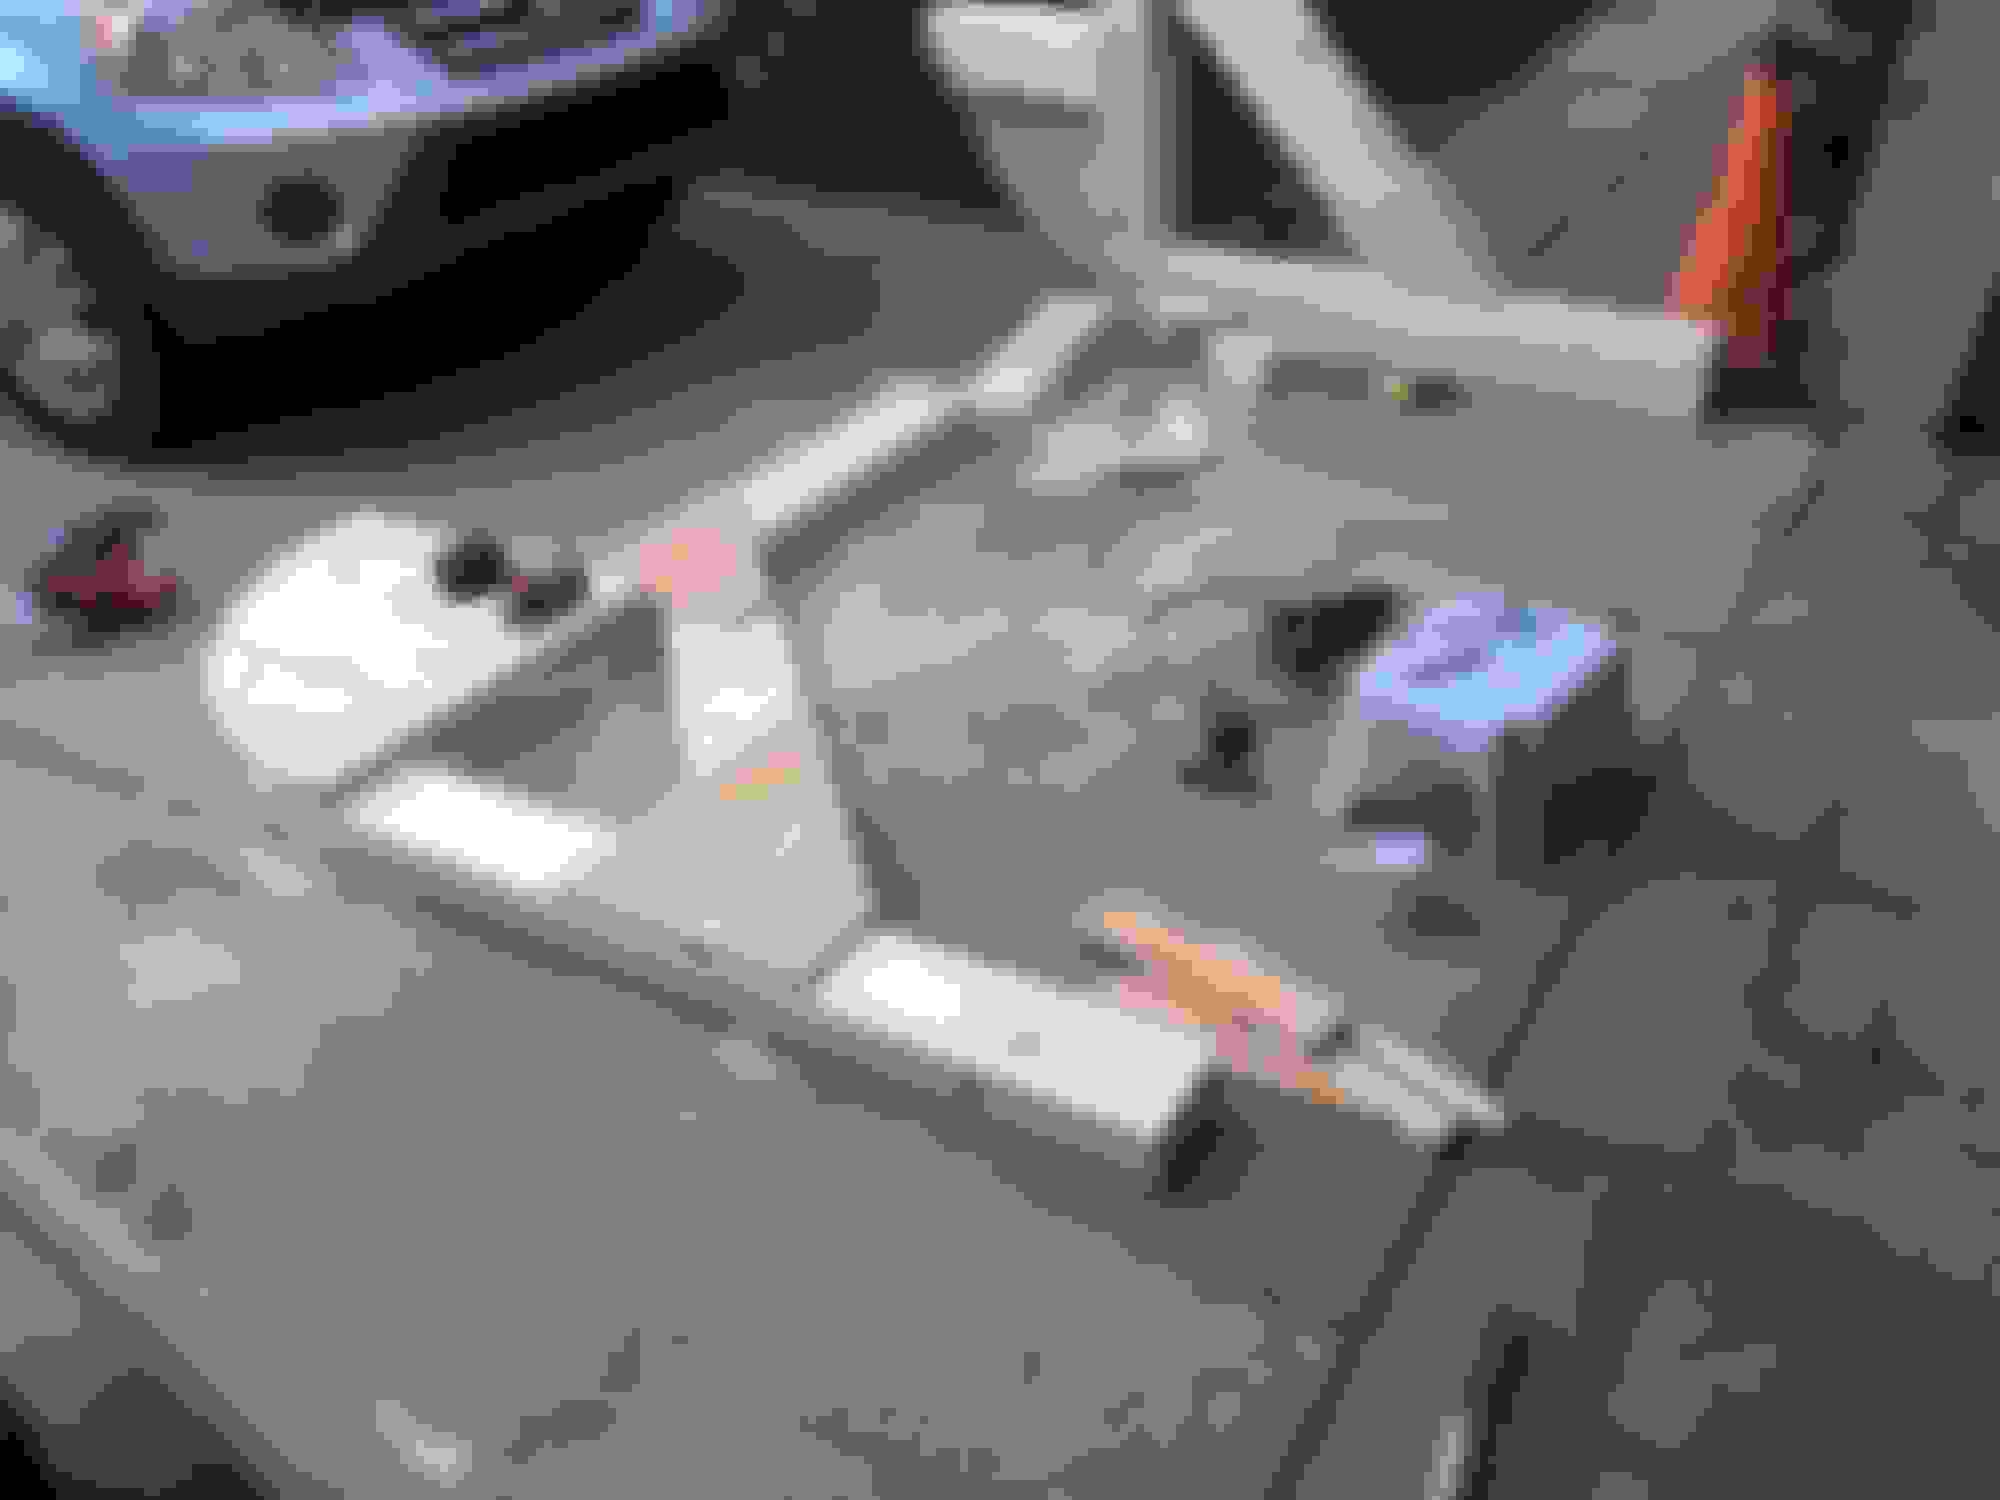
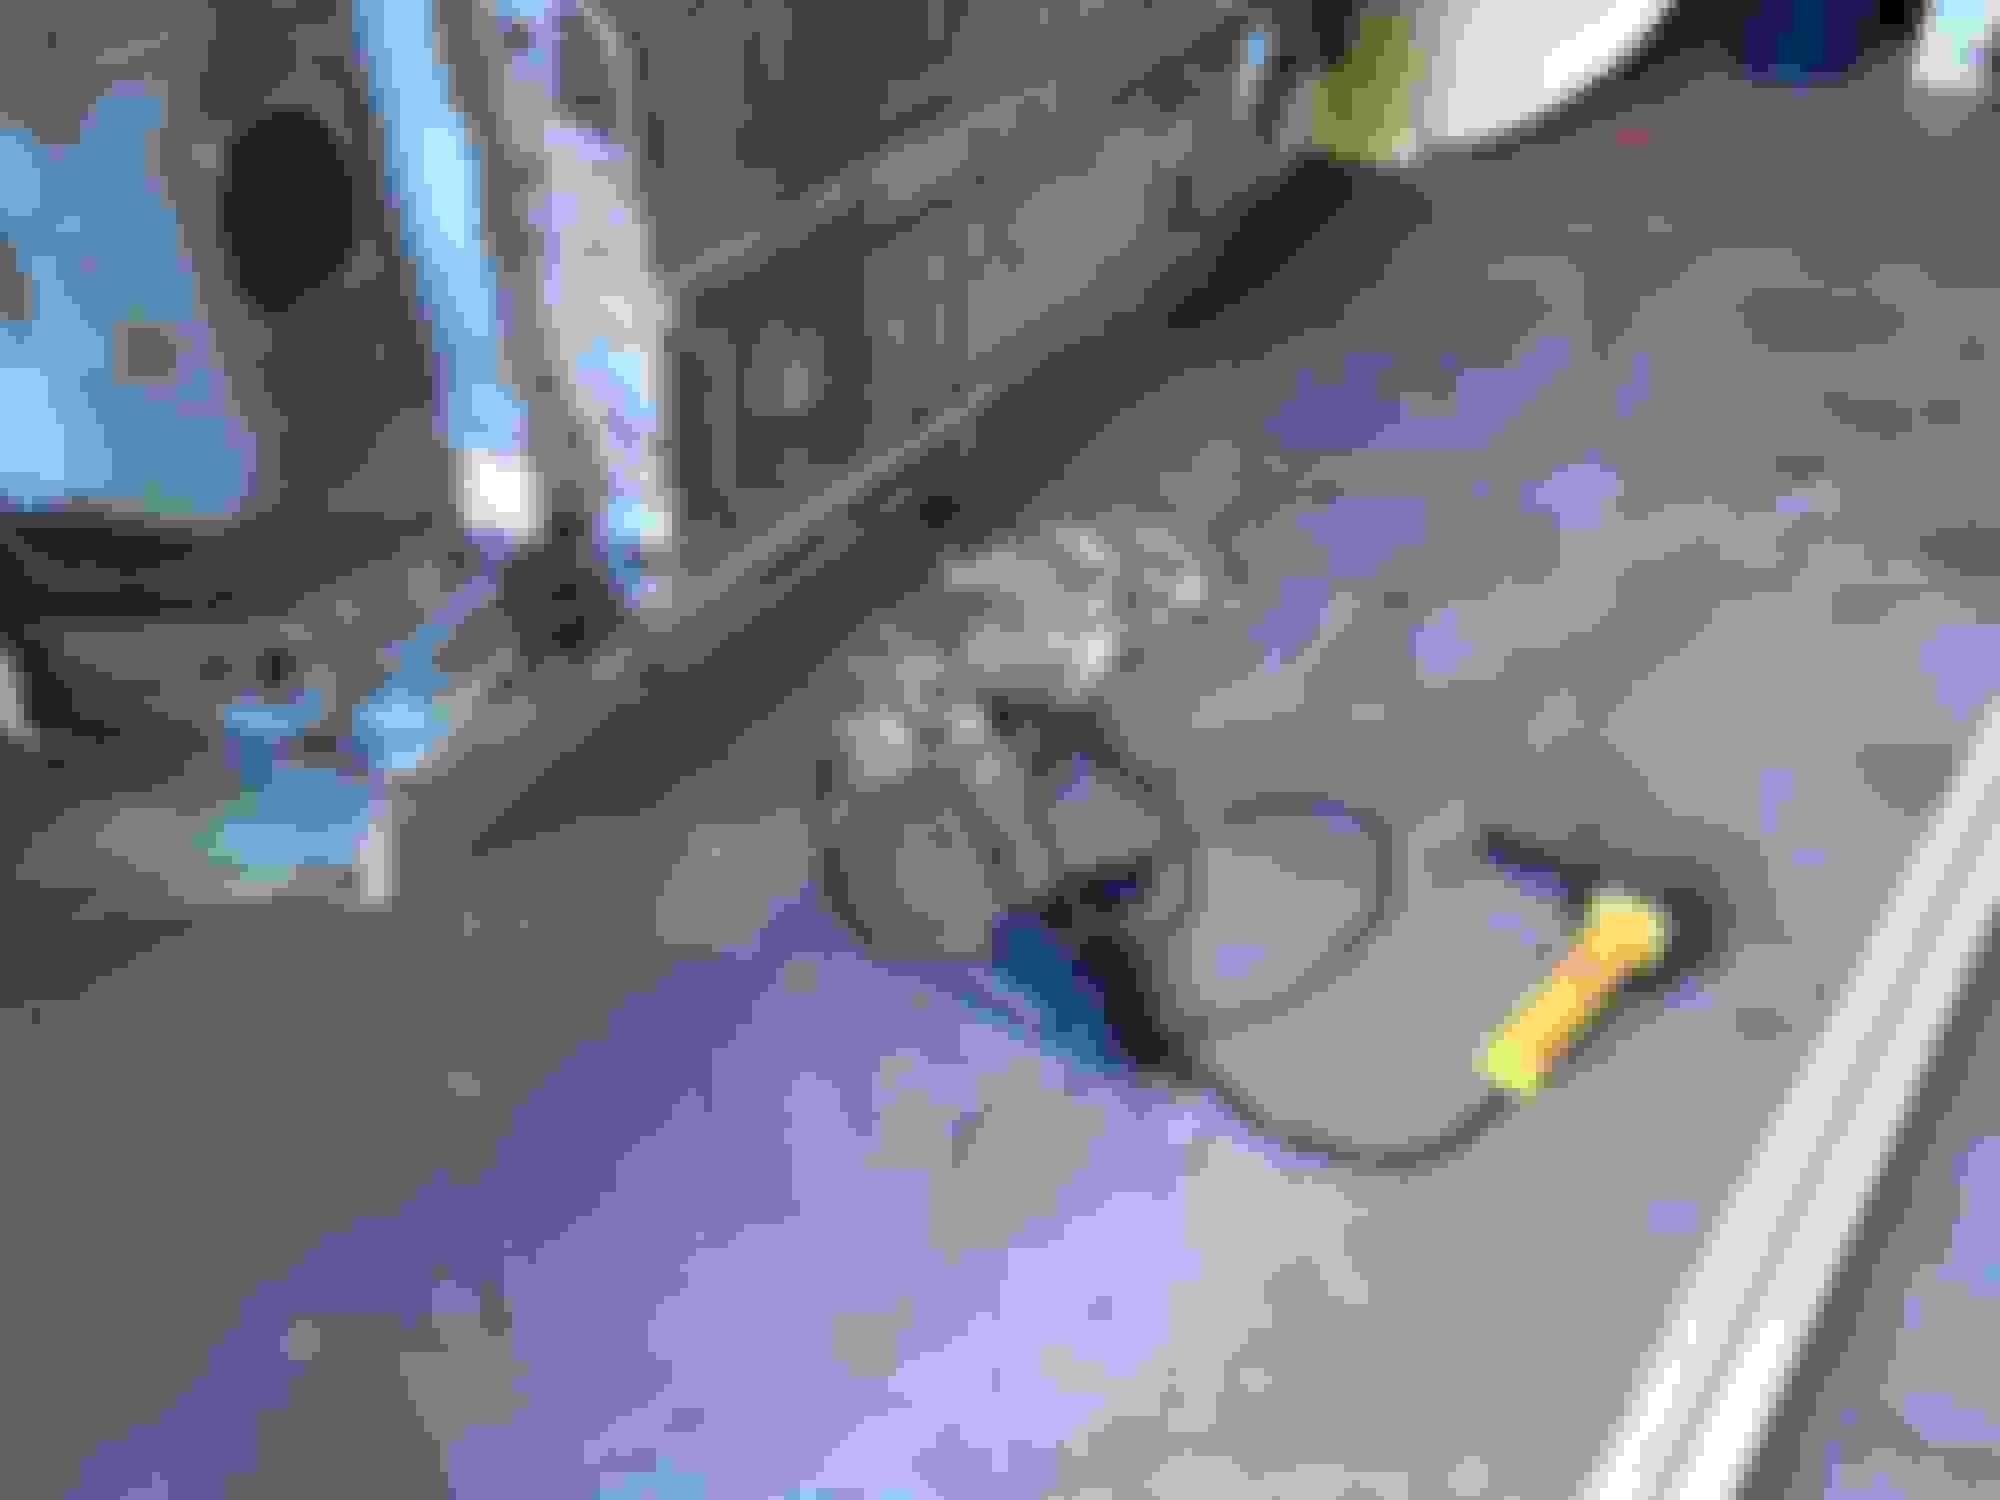
The last system I had been working on was the AYC. I wasn’t planning on going to an RS differential just yet (budget restraints), so I wanted to make the best of the system. The plan was to remount the pump in the trunk and replumb it with some nice braided lines. I got under the car and went about removing the pump. AND THIS IS WHERE IT ALL BEGAN!!! After removing the pump, I was left staring at the bottom of the car. I realized that I had a bit of a rust issue! I had a few options; the first being to cover it with some sort of rust sealer. But I knew, no matter how pretty it would look, there was still a monster hiding under the surface. That wasn’t good enough for me. I wanted to go a step further and completely remove the problem.
Now I’ve seen pictures and videos of horrible rust on cars, and I can honestly say it was nowhere near that bad. Regardless, I wanted this car to last another 10 years or more, so preventative action was required. The worst was on the spare wheel well, but I already had plans to cut that out and weld in a flat trunk floor. Now luckily, the rust had not made its way entirely through the metal. In fact, for the most part it seemed to be limited to the surface with some light pitting in a few spots. But none the less, I couldn’t just leave it there. So, having finally decided what I had to do, I started to strip everything out from under the car. The brake lines, the fuel tank, and all of the suspension. All that was left was the rust, staring at me, taunting me. Out came the wire brush, the angle grinder, and a plethora of sandpapers.
Now I don’t believe I’m alone in saying that working under a car on jack stands sucks. I dread even touching suspension parts as I know a clump of gravel and dust will make its way into my mouth, nose, eyes and ears. And what’s the deal with creepers? I mean, I can barely fit myself under the car, let alone have some creeper under me that gets caught on that missing 10 mm socket. Not to mention the useless headrest that places your face a mere inch or 2 from the driveshaft. I tried to make it easier for myself. I even went out and bought new 6-ton jack stands just so I could lift the car another 10 inches. But in the end, I was still left with dust in every nook of my body. Trying to wire brush or angle grind under the car made the experience all the more painful and frustrating. Your arms would either fall asleep or get sore before you could move on to the next patch of rust. After spending several hours going at the underside, I realized that I was likely going to go insane before I finished removing the rust.
Quickly I started to contemplate my options. I could take the car to an auto body shop and have them remove the rust. But unfortunately, I didn’t feel like shelling out thousands of dollars to do that. Another option would have been to put the suspension back on and tow the car to a sandblasting site. But this still involved quite a bit of planning, and cost.I then started to think of other options that could be done in my own garage. I had at this point seen several articles about people using car rotisseries to flip their cars over and restore the underside. But a quick search of the internet found that to still be a relatively expensive option. Keeping in mind I wanted to spend more money on the performance of the car, I decided it would be best to find a cheaper option. I then stumbled upon several videos on Youtube of what I can only describe as a redneck solution to my problem. They involved 2x4s, plywood, and some clever construction to make a DIY rotisserie. Now I had an idea. If I could build one of these and rotate the car 90 degrees, I would finally be able to remove the rust without it falling on my face, and my arms would no longer ache every time I held the angle grinder above my head.
Now luckily for me, my current day time job involves timber frame structures, and because of this, I had access to off cuts and scraps of wood. So, I headed in to the factory and collected up some scraps of glue laminated spruce (Glulam) and cross laminated timber (CLT). These pieces of wood were definitely overkill for what I needed (Glulam and CLT are typically used for structural applications due to their strength) but given that they were free scraps, I wasn’t about to complain. With a little model sketched up on a piece of paper, I set about constructing the two frames that would support the car. The goal was to attach them at each end with bolts near the frame rails. After several hours of cutting and drilling, screwing together, and a few minor mistakes (measure once, cut twice!), I finally had my frames ready to go.
The next weekend I set about removing all the doors, the trunk, and hood from the car. At this point everything was removed from the car and I was left with a shell sitting on jack stands. I attached the first wood frame to the rear of the car, lifted the car by hand off of the jack stands (at this point the weight was manageable) and set it down on the ground. So far so good. The car was now supported by one of the frames and everything appeared to be holding. I repeated the process on the other side, once again setting it down and breathing a sigh of relief. Now the only thing left to do was to flip the car on its side.
So, the time had finally come. The car was as light as it would ever be, and the frames felt nice and stable, even after giving them a few shakes. I handed my camera over to my wife and had her start filming, just in case we needed to show the paramedics how I ended up under a car! But, lucky for me, the car flipped over without incident. In fact, I was amazed at how easily it turned over. It wasn’t the lightest thing to lift, but even by myself, I had no problem controlling it as it turned on its side. And just like that, the car was now all ready to start cleaning up.
There's even a video of the car being flipped over. Shows just how easy it was. Check out the video on Youtube at this link
So with the car up on its side, I was finally able to start effectively cleaning the bottom of it. It took a few weeks to work my way through the entire underside. A combination of sandpaper, wire wheels, and angle grinder sanding discs was needed to clean up the thing. But the results were impressive.
The trunk’s spare wheel well was the worst hit area with rust, but since I’m planning on putting a fuel cell in next year, I decided to instead just cut it out. A bar was welded in to help support the rear end, and a flat sheet of steel will be added to make a nice flat trunk.
After the underside had been completely cleaned, an application of rust converter was applied to ensure any little spots missed by the brushing were properly dealt with.
Once the rust converter had completely cured, I moved on to painting the underside. First up was a couple coats of Zero Rust (a product similar to POR15). It helps to encapsulate any missed rust, and serves as a base coat. Over top of it I applied another base coat of code matched paint for the car. This was then followed by the clear coat.
With the car’s underside completely repainted, I was finally able to flip the car back over. With it back on jack stands, I moved on to the wheel wells. Scraping the wheel well liner out was truly one of the worst jobs I had ever done on the car. There really was no good way to do it, and to save my sanity, I decided to use an air scraper. This actually ended up being the easiest tool for the job. It did however leave some bad scratches in the metal, but I wasn’t too worried. With new paint in the wells, these scratches would hardly be noticeable.
With the majority of the well liner removed, I moved on to a combination of an orbital air sander, and flapper discs on an angle grinder to clean up the rest of the wheel well.
Once the metal was all prepared, I applied white Zero Rust paint to the surface. Zero Rust can be used by itself, or as a base coat followed by clear. However, since the wheel wells aren’t subjected to a lot of sun, I decided to just do Zero Rust by itself. This will make it super easy to touch up, and I wasn’t too worried about any UV discoloring.


 (2006 EvO RS)