
Turbo Heat Shield Re-Paint and Re-Finish

Turbo Heat Shield Re-Paint and Re-Finish
Hello Everyone, Just wanted to share a quick project I did on my car the other night. Picked up a used OEM heat shield for my Evo IX SE, and wanted to strip and re-paint it on a budget. From what I have read you need a high temp paint that can withstand 1200-2000 degrees F. I picked up a can of VHT Flame Proof Ceramic Coating in a flat red, as well as a can of Aircraft Stripper.
1.) step one involved coating the heat shield with the stripper and letting it sit for 30 minutes. The paint or coating they used on these shields from the factory is not your standard paint. Normally the paint bubbles up and basically falls off the metal surface, but this coating turned into a thick tar which had to be wiped off. I grabbed a towel and rubbed all the trated areas and then used brake cleaner to release it off the shield. I then did another treatment with the stripper to make sure I got as much off as possible.
2.) There were still some areas that i couldnt get all the paint off, so this where I decided to give it some "bench grinder love." I have a brass brush on my grinder and that did the trick, I went over the entire surface to give it texture for the paint to stick to.
3.) Light coats of paint were applied 5 minutes apart till completely covered, I let it air dry over night.
Upon inspection the next morning the paint was still tacky, the can of paint states that this paint must be cured/baked in an oven to withstand these high temperatures.
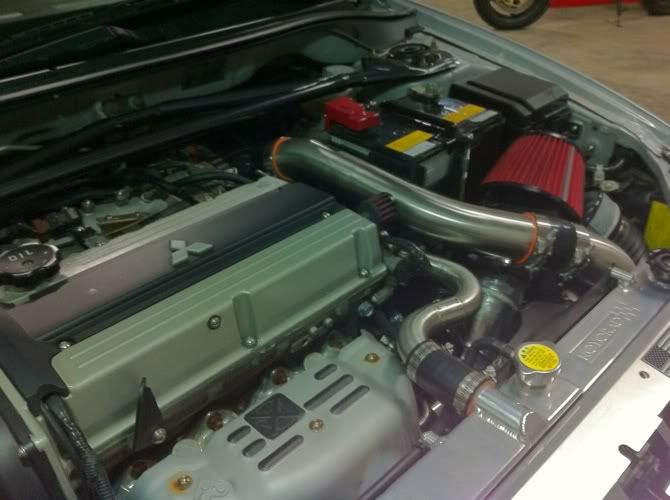
On the Vehicle
 , which is the only way I will get away with baking a manifold heat shield in the oven. I will post up my finished results in the next couple days, hopefully this will be a good affordable option for us weekend project guys out there on a budget.


1.) step one involved coating the heat shield with the stripper and letting it sit for 30 minutes. The paint or coating they used on these shields from the factory is not your standard paint. Normally the paint bubbles up and basically falls off the metal surface, but this coating turned into a thick tar which had to be wiped off. I grabbed a towel and rubbed all the trated areas and then used brake cleaner to release it off the shield. I then did another treatment with the stripper to make sure I got as much off as possible.
2.) There were still some areas that i couldnt get all the paint off, so this where I decided to give it some "bench grinder love." I have a brass brush on my grinder and that did the trick, I went over the entire surface to give it texture for the paint to stick to.
3.) Light coats of paint were applied 5 minutes apart till completely covered, I let it air dry over night.
Upon inspection the next morning the paint was still tacky, the can of paint states that this paint must be cured/baked in an oven to withstand these high temperatures.
On the Vehicle
- Paint must be completely dry before curing
- Run at idle for 10 minutes
- Cool for 20 minutes
- Run at idle for 20 minutes
- Cool for 20 minutes
- Run under normal operating conditions for 30 minutes
- Paint must be completely dry before curing
- Heat to 250�F (121�C) for 30 minutes
- Cool for 30 minutes
- Heat to 400�F (204�C) for 30 minutes
- Cool for 30 minutes
- Heat to 650�F (343�C ) for 30 minutes
, which is the only way I will get away with baking a manifold heat shield in the oven. I will post up my finished results in the next couple days, hopefully this will be a good affordable option for us weekend project guys out there on a budget.

I don't like the red. It looks like one of those things where people go overboard on colors like in the interiors of some cars on this site.
I stripped the paint with steel wool then used High Temp grill paint to repaint mine black, stuck it in the oven for 20 minutes at 400* and it came out real nice.
I stripped the paint with steel wool then used High Temp grill paint to repaint mine black, stuck it in the oven for 20 minutes at 400* and it came out real nice.
I will for sure keep everyone updated on the life of it, like I said I will be putting it in the oven Saturday. The red may not be everyone's choice but I figured I would just try it...May not be everyone's "cup of tea" but if I dont like it I will just strip it and re paint. Can you get me the part number of the clear coat from VHT? And will that clear also withstand the heat?
Trending Topics
Totally understand red isn't for everyone but you didn't half *** the work which makes it not so bad. I was just sharing my opinion on it, but I too would like to find a clear coat that will withstand the heat. Rain drops/water spots will make the paint look like crap really quick.
-VHT SP115 FlameProof Coating Satin Clear Paint
There you go, I will see about picking up a can of this to test out on the manifold. it says on VHT's website that the "curing" procedure is the same as the paint. It will be interesting to see if this application will help with cleaning from water spots and such as was stated above.

There you go, I will see about picking up a can of this to test out on the manifold. it says on VHT's website that the "curing" procedure is the same as the paint. It will be interesting to see if this application will help with cleaning from water spots and such as was stated above.


That Looks Excellent! I like the silver, I just wanted to try a different color I havent seen. If I decide i dont like it I will probably strip it back down and polish the metal then clear over as previously suggested.

Been coating my heatshields this way for years. I use rustoleum 2000deg but I also use the vht satin clear over the top so I'm sure it works well. I cure them in the oven just cus it can fit. Just do it when the old lady is out of the house lol. The finish won't last forever...it will start to wear at the bolts since that's where it gets the hottest. Here's how mine looks...refinished it about a year before this pic. You can see it getting a little funky around bolts

I recently upgraded to a Buschur ported and coated manifold and I removed the heat shield. I can't decide if I want to put the heat shield back on, or show off the Buschur manifold proudly??
Evolved Member
Joined: Mar 2010
Posts: 1,532
Likes: 6
From: chicago,il
I'd say show it.OP the real question is does it smell while baking and does oven smell afterwords and for how long after the baking.cause I'm 100% sure my wife would not accept this so i might have to do it while she's out lol.thanks!