
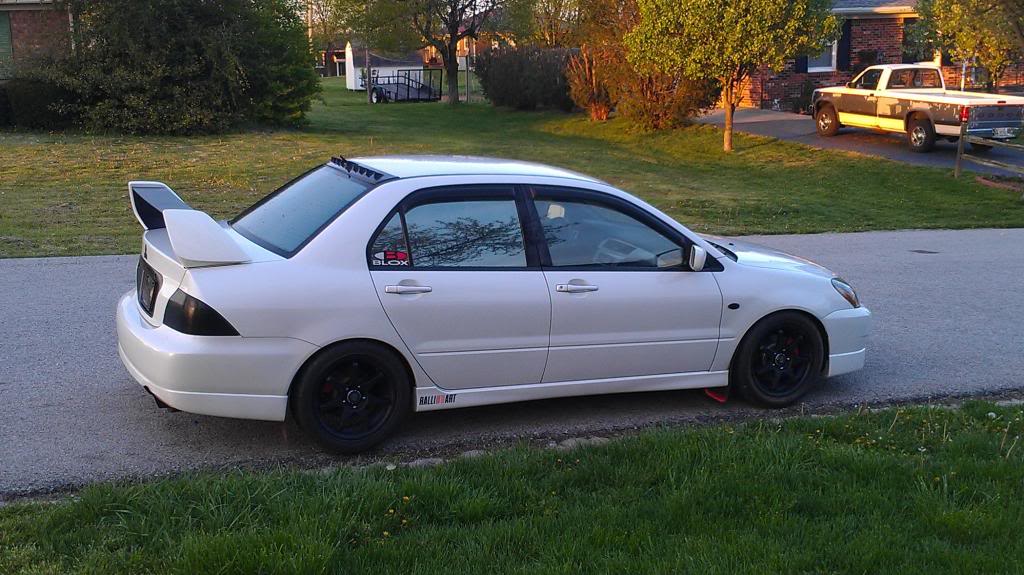
HOW TO: Evo Wing deconstruction and fixing Rusty bracket


Thanks! It actually turned out awesome. There was one spot where i put a bit too much glue so it bled through over night but its not really noticeable unless your looking right at the spot. So I just ignored it. I put it together, riveted the bottom back together then clamped the tops up and let it dry over night.
Anyway I know its not an Evo but here is a pic of the finished product.
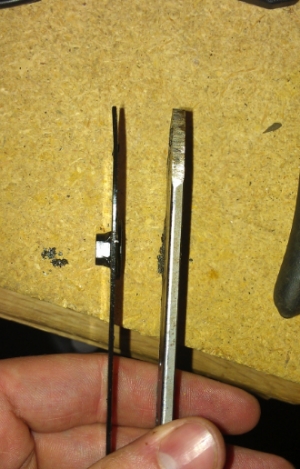
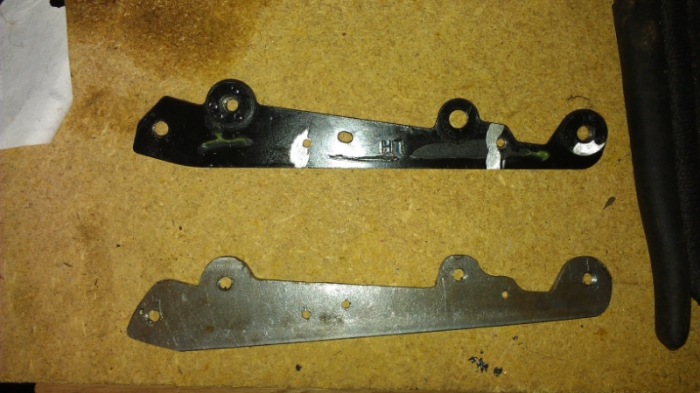
And here are some pics of the bracket I made. I made it fairly thick I think and just tapped and threaded the bracket itself then used locktite when bolting it down.

Anyway I know its not an Evo but here is a pic of the finished product.
And here are some pics of the bracket I made. I made it fairly thick I think and just tapped and threaded the bracket itself then used locktite when bolting it down.
Last edited by bakuro117; Apr 22, 2013 at 08:52 AM.
Looks great man!
I put way too much glue on the first side of mine, it ended up everywhere...including my hands and knees.
The second side turned out better.
After it dried i filed some of the excess off. It looks good from a distance, if you didnt know about it you probably wouldnt see it.
I never did post a picture of mine, so here it is after! (Drilling through the carbon fiber trunk was a bit scary... I didn't want to F it up!)
Newbie
Joined: Nov 2013
Posts: 1
Likes: 0
From: Iceland
Great write up
It's a bad case on my car.The trunk is starting to rust where the bolts go through so i have to get it repainted.I took the spoiler off tonight so next step is to open up the spoiler and make it like new

https://www.evolutionm.net/forums/ev...tion-viii.html
It's a bad case on my car.The trunk is starting to rust where the bolts go through so i have to get it repainted.I took the spoiler off tonight so next step is to open up the spoiler and make it like new
https://www.evolutionm.net/forums/ev...tion-viii.html
Last edited by Bergthor93; Jan 28, 2014 at 03:16 PM.


Amazing kit! I bought a set, not that long ago and was able to install it back a few weekends. What a difference. Kudos to you for offering such a kit. There was even a mix up on the parts and he made it right. Signs of a great person to work with. TY SIR!


Thanks again for making this! Looking forward to getting my brackets and fixing this once and for all!
My trunk is also rusted under the bracket. Is any one using the wing gaskets when they put everything back together? Or is it not necessary?
These in particular: http://www.streettunedmotorsports.co...t_6515a045.htm
My trunk is also rusted under the bracket. Is any one using the wing gaskets when they put everything back together? Or is it not necessary?
These in particular: http://www.streettunedmotorsports.co...t_6515a045.htm


Newbie
Joined: Oct 2010
Posts: 2
Likes: 0
From: switzerland
Thank you for this great threat! Took my spoiler apart and the braket was completly rustet away. Also my cf looks horrible, yellow and pale from the sun and rain.
The glue is super super strong and you need so much force to break the parts away. I used a big srewdriver to remove the side parts from the wing. And it sounds like you breaking the cf.
but the cf did not break , I was impressed how robust the thinn cf is.
The glue is super super strong and you need so much force to break the parts away. I used a big srewdriver to remove the side parts from the wing. And it sounds like you breaking the cf.
but the cf did not break , I was impressed how robust the thinn cf is.
