
HOW TO: Evo Wing deconstruction and fixing Rusty bracket

HOW TO: Evo Wing deconstruction and fixing Rusty bracket
Here is a little how to on deconstructing your evo 8 wing and fixing the rusty bracket that is on the inside. It was soo bad in my case that the bracket just crumbled.If you have any questions feel free to ask.
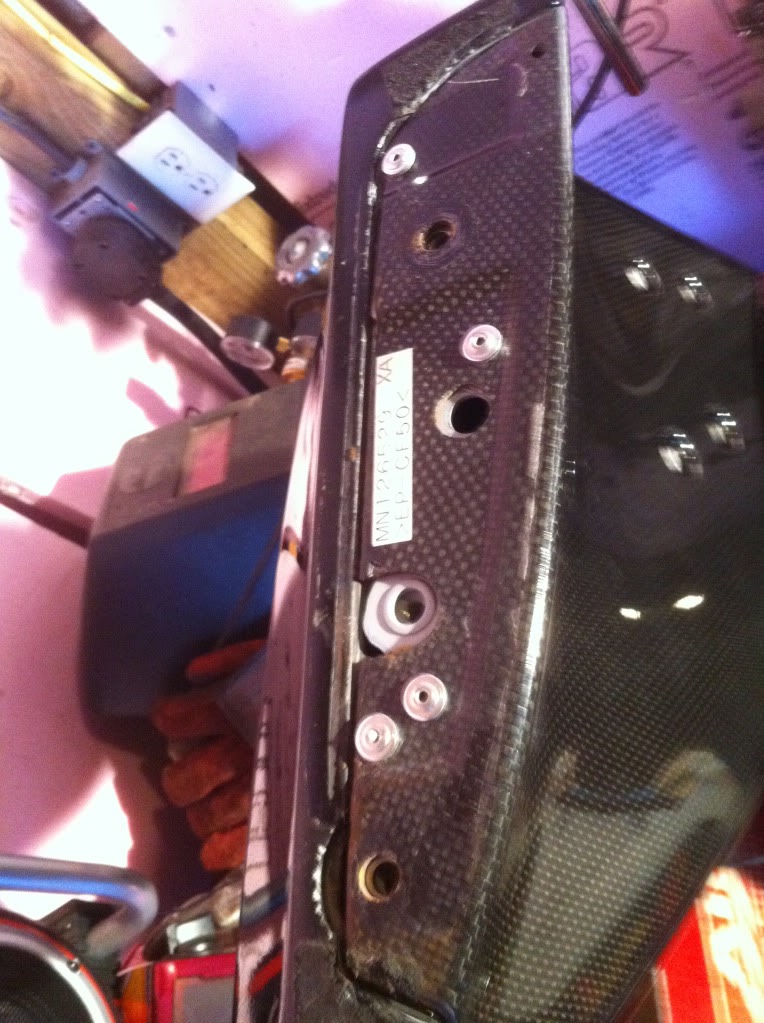
The wing is riveted together as well as glued. The rivets in the picture below will have to be drilled out
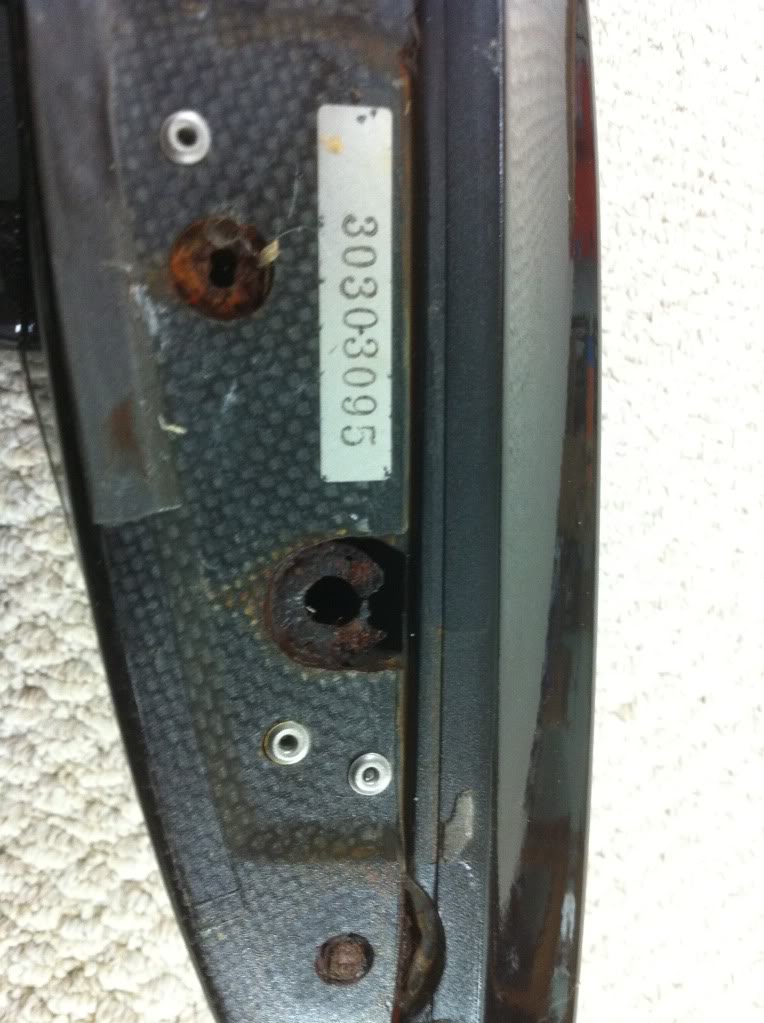
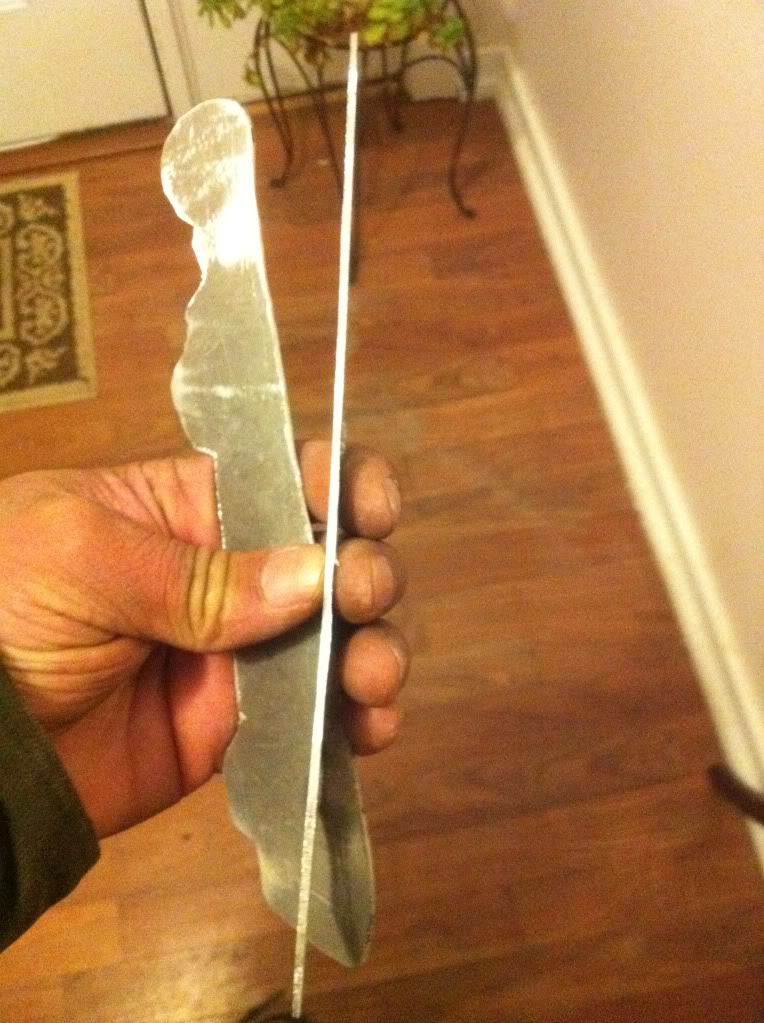
a shot of the broken bolt,

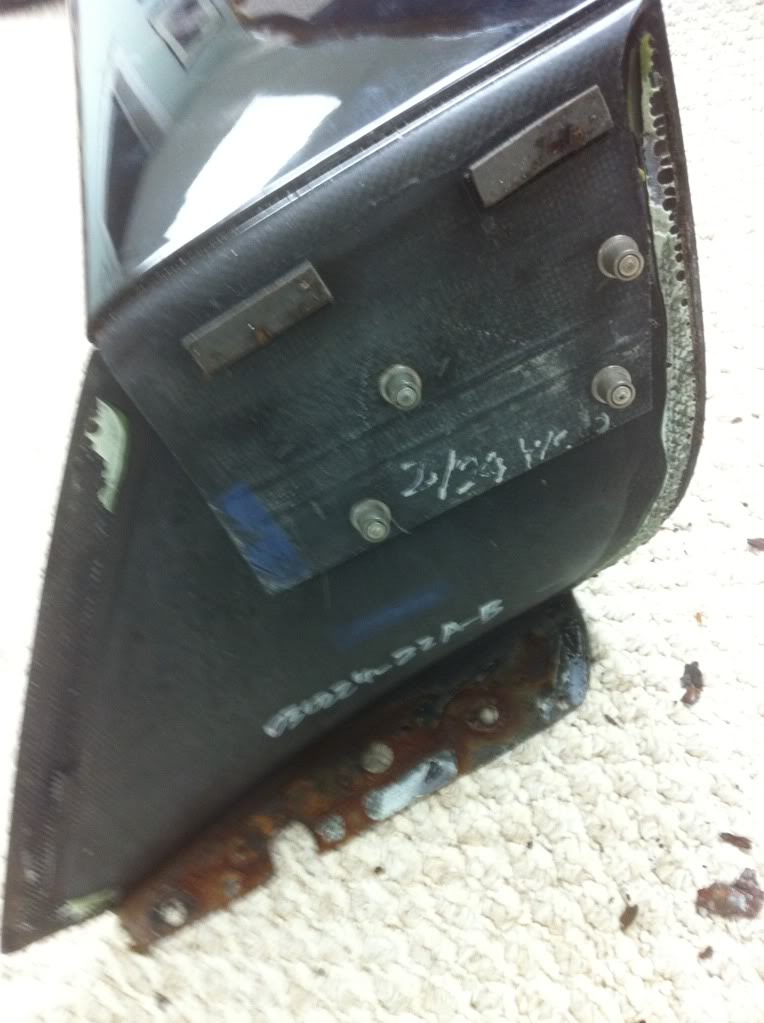
What really surprises me is to why, they would choose, to have a structural component like that, made out of steel, where it is exposed to the elements...
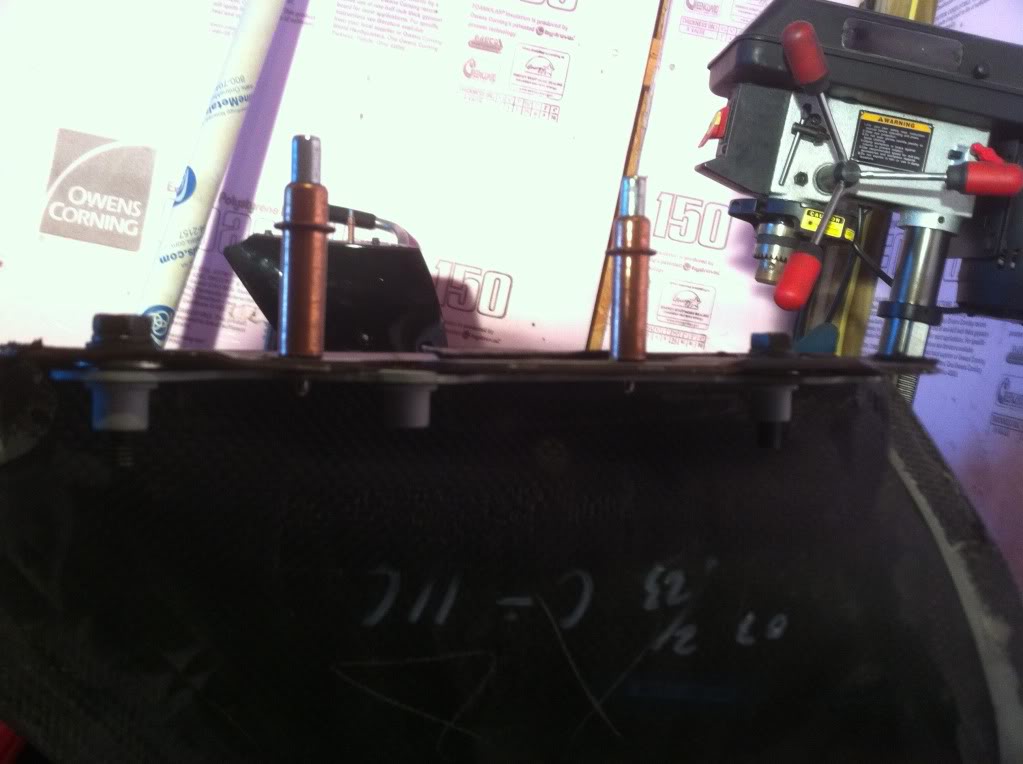
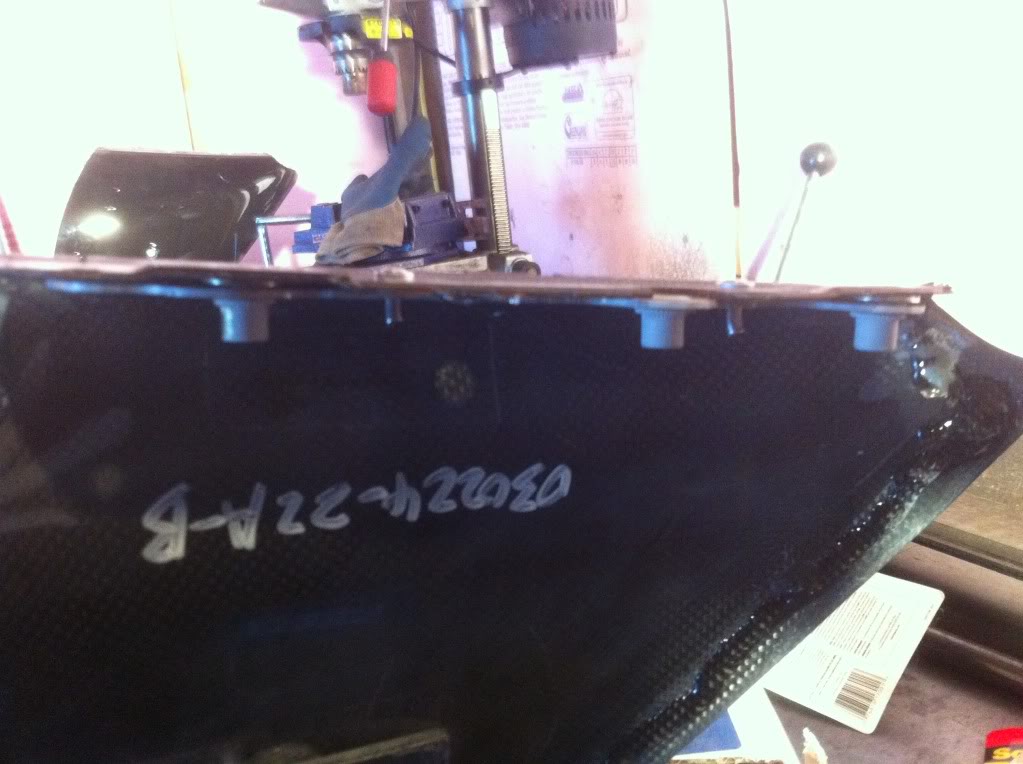
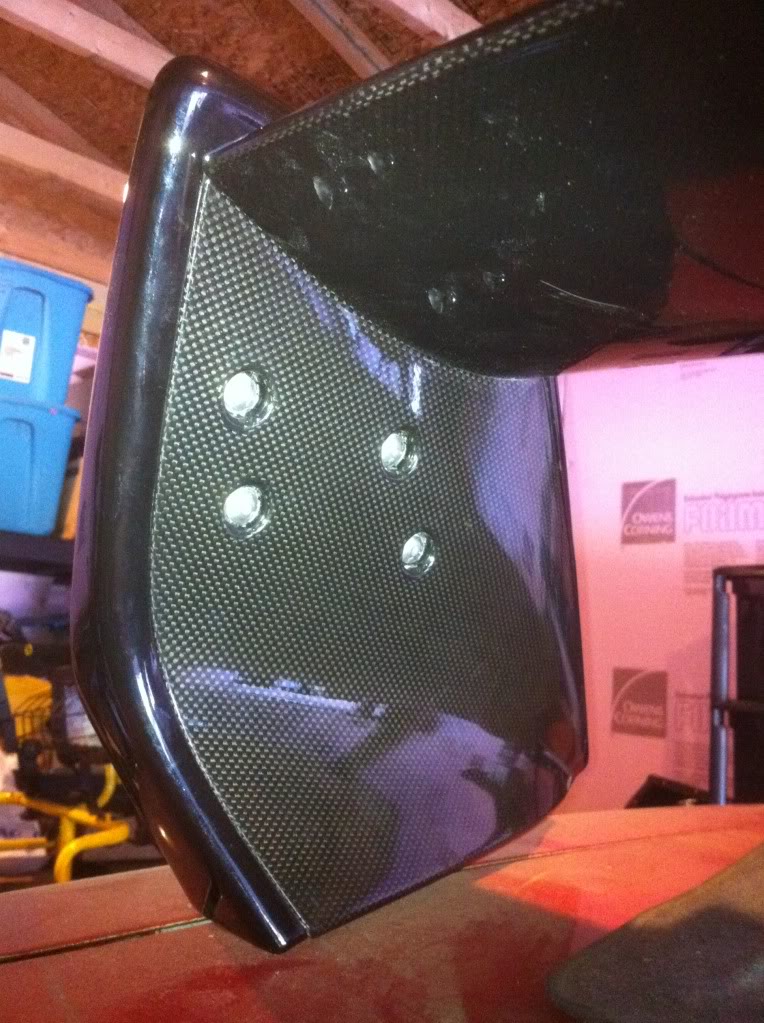
Anyway , the side section of this wing is Glued on, and very well I might add.. After some pulling prying and praying.... I was greeted with deteriorated steel and velcro.... fantastic
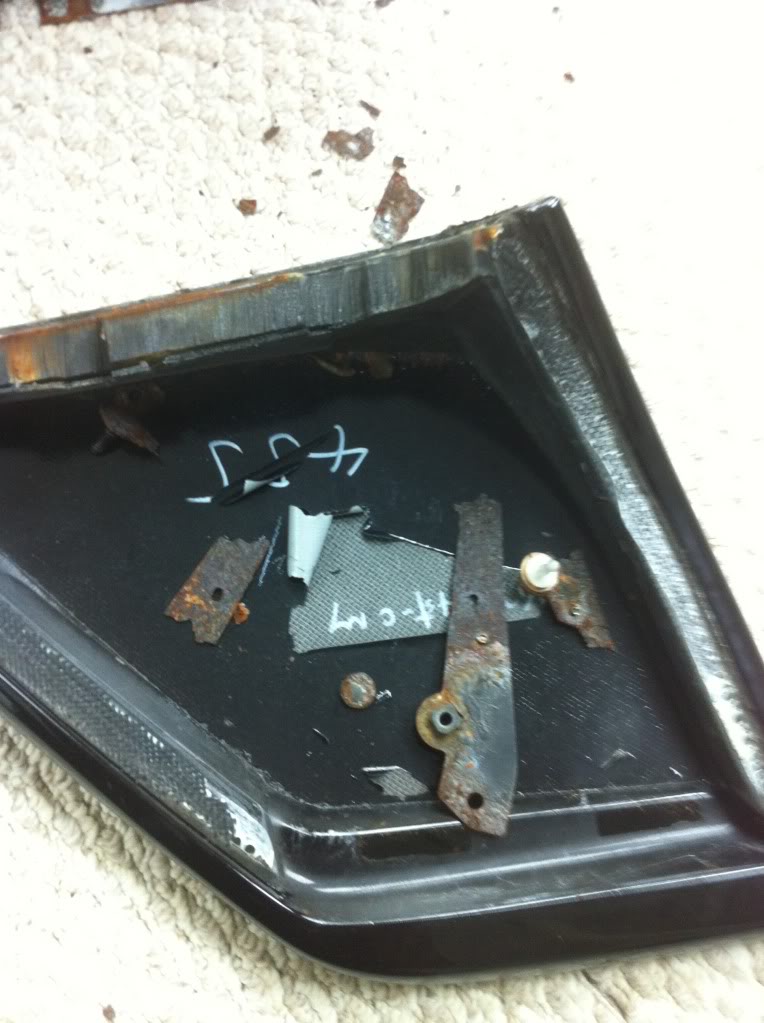
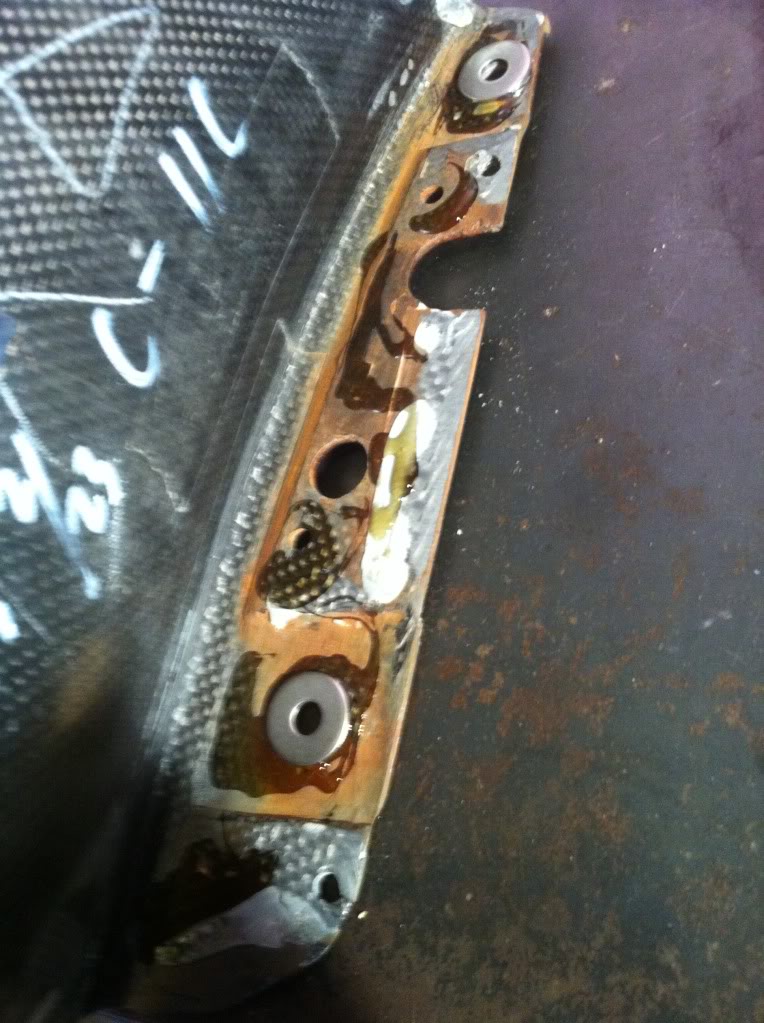
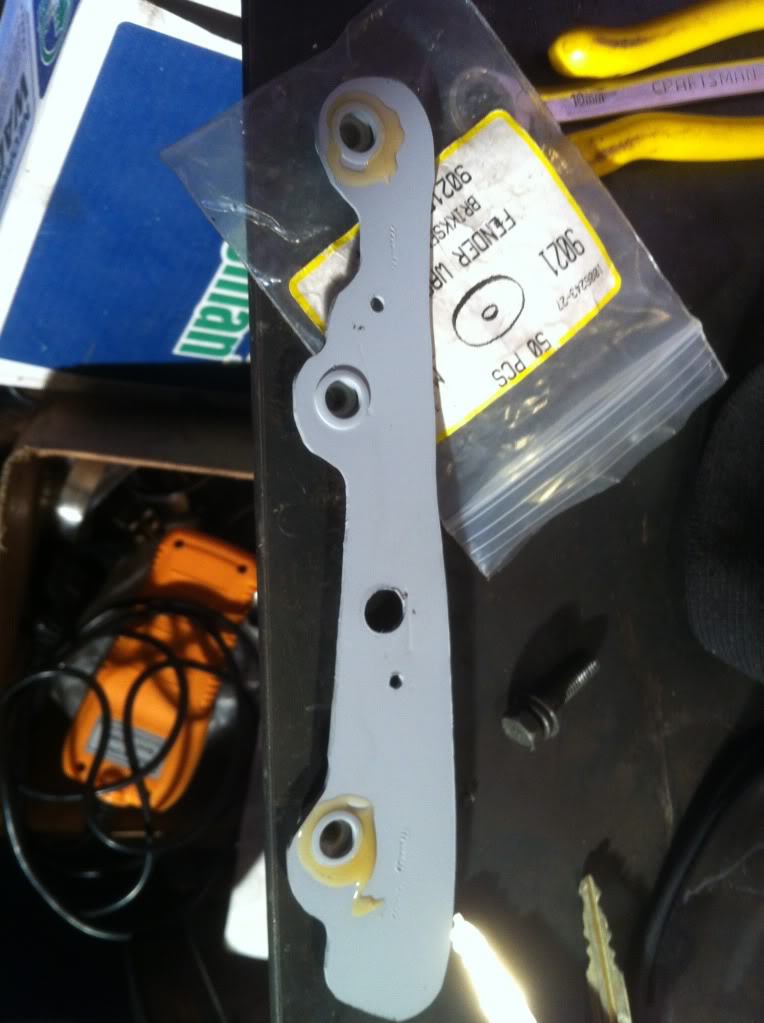
The bracket that holds the wing to the trunk.

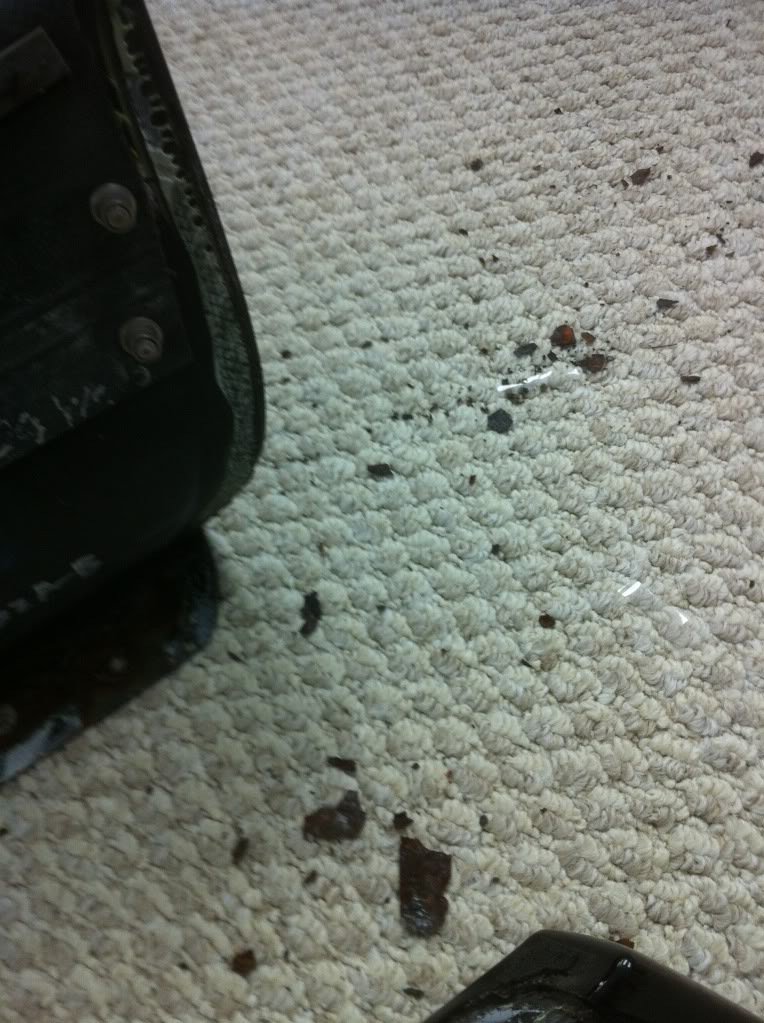
Hopefully the wife doesn't go downstairs and sees the mess that I made on the carpet
and yes that is freaking velcro
Next up I will construct a bracket that is made out of aluminum to replace the crumbled up steel one.
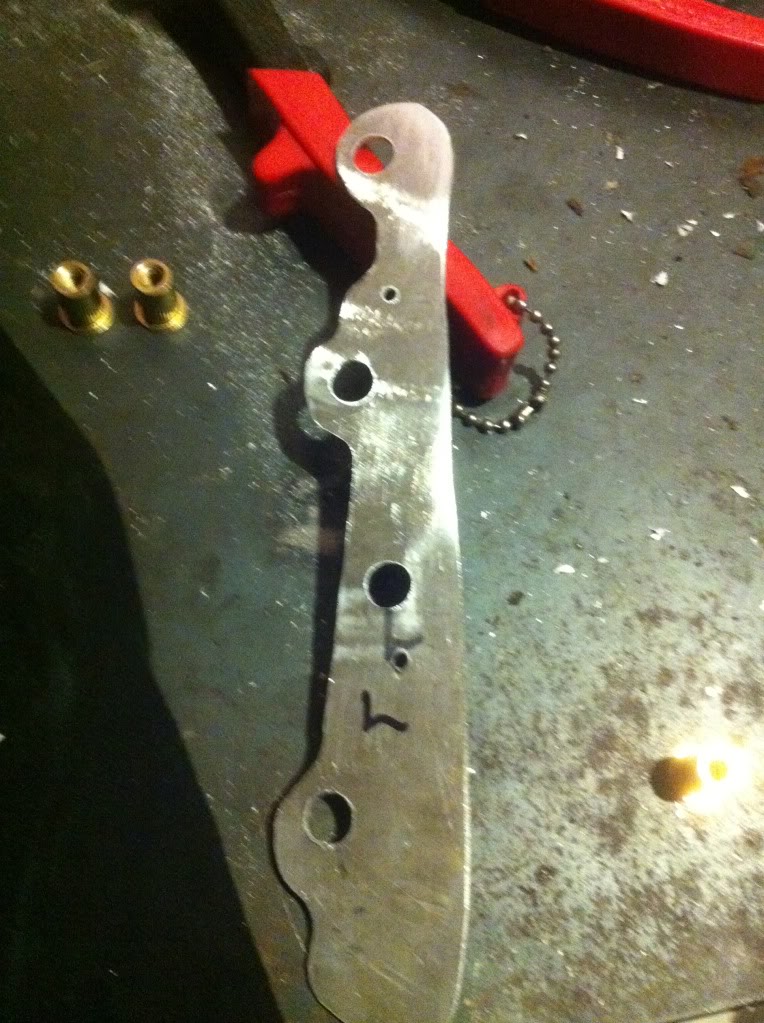
Cut up some aluminum yesterday for the plates, They are definitely a lot thicker than the stock pieces.

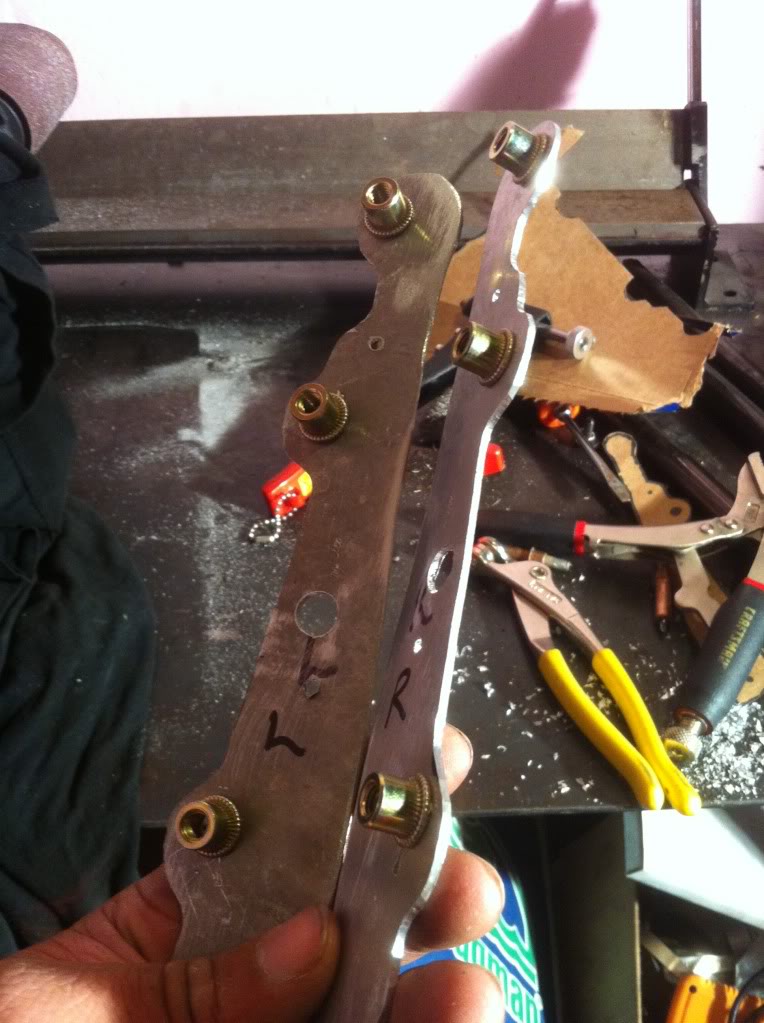
These are not the final pieces, just the initial cut. If folks are interested in a kit, I can provide the rivet nuts and SS hardware with the flanges.
Moving on with the wing assembly
Once I had the templates to my liking it was simple process of drilling the holes to accept the cadmium plated rivet nuts
test fit on to the wing, make sure that you clean off any rusty components that might still be stuck to the wing.. ( Wire brush worked well

Glue a couple of stainless washers to distribute the load a little better in the recessed section of wing
I painted and primered the brackets for additional protection
Once you have it glued, let it sit for a little while. I attached using bolts and clecos
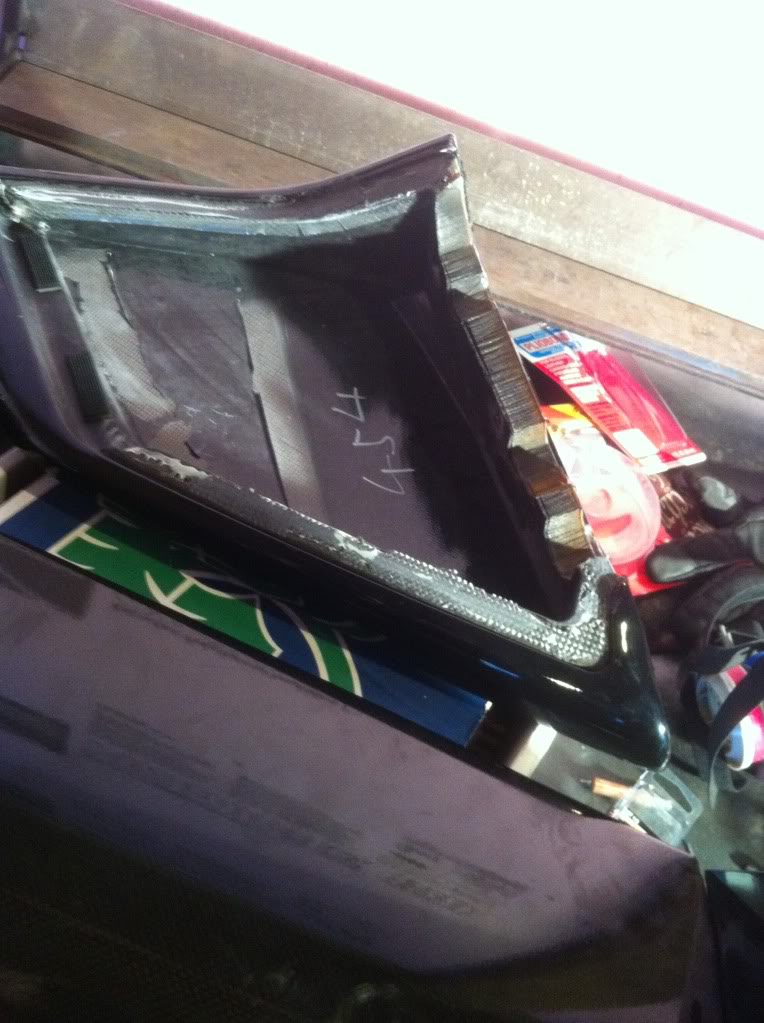
Next prep your side components of the wing, clean off any dust and old glue that might still be on there
When you put everything back together, snap in the top side of the wing first ( the velcro section) you will hear a "POP" sound when it is seated completely. Then press the rest of the wing together.
I used a few clamps to hold it all in place, when I was riveting the bottom side.
In the picture above I used rivet backing plates with 1/8 inch rivets for additional strength
and the finished product.
There you have it .. I am sure there are many wings out there that have rusty brackets on the inside, Hopefully this will help those folks out on how to fix it .
The wing is riveted together as well as glued. The rivets in the picture below will have to be drilled out
a shot of the broken bolt,
What really surprises me is to why, they would choose, to have a structural component like that, made out of steel, where it is exposed to the elements...
Anyway , the side section of this wing is Glued on, and very well I might add.. After some pulling prying and praying.... I was greeted with deteriorated steel and velcro.... fantastic
The bracket that holds the wing to the trunk.
Hopefully the wife doesn't go downstairs and sees the mess that I made on the carpet
and yes that is freaking velcro
Next up I will construct a bracket that is made out of aluminum to replace the crumbled up steel one.
Cut up some aluminum yesterday for the plates, They are definitely a lot thicker than the stock pieces.
These are not the final pieces, just the initial cut. If folks are interested in a kit, I can provide the rivet nuts and SS hardware with the flanges.
Moving on with the wing assembly
Once I had the templates to my liking it was simple process of drilling the holes to accept the cadmium plated rivet nuts
test fit on to the wing, make sure that you clean off any rusty components that might still be stuck to the wing.. ( Wire brush worked well
Glue a couple of stainless washers to distribute the load a little better in the recessed section of wing
I painted and primered the brackets for additional protection
Once you have it glued, let it sit for a little while. I attached using bolts and clecos
Next prep your side components of the wing, clean off any dust and old glue that might still be on there
When you put everything back together, snap in the top side of the wing first ( the velcro section) you will hear a "POP" sound when it is seated completely. Then press the rest of the wing together.
I used a few clamps to hold it all in place, when I was riveting the bottom side.
In the picture above I used rivet backing plates with 1/8 inch rivets for additional strength
and the finished product.
There you have it .. I am sure there are many wings out there that have rusty brackets on the inside, Hopefully this will help those folks out on how to fix it .
Last edited by antilag_200; Jan 30, 2012 at 06:08 AM.


Care to make me a bracket too?  I have this too but it rusted out completely on one side. I can spray the other side with anti-seize or something to prevent it from rusting out.
I have this too but it rusted out completely on one side. I can spray the other side with anti-seize or something to prevent it from rusting out.

Trending Topics

just got mine today!!!! they look amazing with all the hardware too. had to trim it a little to fit but it will work great! im really pleased with them. and u werent kidding bout having to yank the hell out of the end to get it off. took me a good 20 min just to get it off haha. highly recommend getting these brackets if u need them.

I ordered a set from Antilag and it came just as expected. Cadmium rivet nuts, washers and screws with the aluminum plates. Thank you very much. I will send post pictures when I am done. When the wing is finished I will post up some more.

If you mean the rusty bracket I cannot say yes or no.....I had a rust spot forming at the edge of the wing and found the rusty bracket issue when I pulled off the wing to fix the spot. I couldn't put the wing back on with the deteriorating bracket.


wing was removed just under 70k . This vehicle is a michigan car, so it could be a little more accelerated. However mitsubishi IMO should not use steel where carbon is, because it promotes corrosion at an accelerated rate.
slowwonder and calypso, glad you guys got good use out of the kit.
slowwonder and calypso, glad you guys got good use out of the kit.