
Another DIY Cold Air Intake Heat Shield - With Testing


I assume you mean the bends in the aluminum sheet to form the shield? I just placed the sheet on the edge of my work bench and bent it - no big deal. Aluminum is easy to work with. No need for a sheet metal break or anything fancy.


You should definitely consider ducting air from the front bumper. My bumper has the cf ducts in it and it provides two channels for routing an air supply. Out with the washer fluid sprayer and you have all the room you need. I bought all supplies needed for mine from Lowe's...
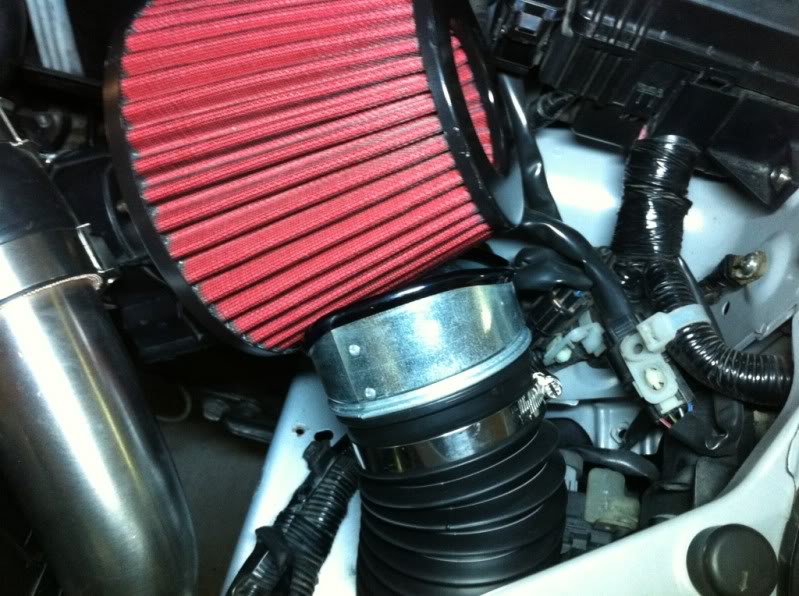
3" aluminum ducting for dryer
3" to 4" galvanized reducer (end piece)
black rubber molding for auto doors/windows (not needed but looks cleaner)
Garden section for some of the black corrugated-type tubing. It's 4" tube...non-perforated drainage tubing. Not absolutely necessary but really lent itself to finishing the look and it also hold the entire thing in place with minimal zip-tie usage.
4" hose clamp to secure outer black tube to galvanized reducer
Aluminum foil tape...in my experience holds better then duct tape
With just the above duct my cruising temp (40mph or faster) is 1-3 degrees above ambient and Right at ambient during WOT pulls (maf temp log evoscan)
In the process of making a heat shield. Really like your design. Drb has a very nice box setup also. I most likely will not do a full enclosure cus above all, I must hear the sound of that hta green winding up lol.
In response to the pre-turbo air intake temp debate...colder incoming air improves compressor efficiency. period. Still need a good IC system to take full advantage tho. Nice work everyone


Last edited by drb; Nov 9, 2012 at 12:48 PM.

Newbie
Joined: Jun 2010
Posts: 70
Likes: 0
From: Tyler and Spring, Texas
That is really nice drb. How did you assemble the box? Did you weld?
Kind of looks like you just left ledges on each piece to screw the box together. I would love to see more close up pics if possible.
Fantastic job
Kind of looks like you just left ledges on each piece to screw the box together. I would love to see more close up pics if possible.
Fantastic job


Newbie
Joined: Nov 2011
Posts: 12
Likes: 0
From: San Jose, CA
Oh I see haha I didn't go thru the thread... Man ur work looks nice... Wish I could do something like that for my car... Good job man... I'll probably be making a one out or cardboard lol and then upgrade to metal hahaha