


DIY: Front Grill GSR Badge


DIY: Front Grill GSR Badge
Some folks had posted in the Show and Shine section a while back about where to buy a GSR badge for the front of their Evo's. I ended up ordering the letters from Emblemart (credit to Cadmonkey for finding the site!) and proceded to paint them red and create a simple badge holder. Here is the process I did from the start.
The letters were from emblemart, their italics series as their R was the best match.

These letters had a slight angle and were fairly "square shaped" and were the right size at about 1 inch tall and 1.2 inches wide. Ordered the G S and R from them, I think it was right around 10 bucks. http://shop.emblemart.com/index.php?...a0h7eb2u95id92.
I scuffed up the letters and painted them red. In my case I used red plastidip as I had used it to make the mitsubishi symbol red earlier and I wanted the colors to match. For the bracket I decided to use a piece of 3/4" by 3/8" thick piece of aluminum I had left over from a previous project. A better choice would have been a 1" tall piece instead to give the letters full backing but the 3/4's gave me enough of a surface area that I was happy with it. I then traced the letters and grinded away a bit of metal to try to follow the letters a bit closer and not have a squared off plate.
I then drilled 2 holes, threaded them, inserted some screws and removed the heads of the screw. An alternative here would have been to buy some all-thread but I had the screws on hand.
I then primed and painted the assembly black. (Bracket is upside down in the picture below, the harsher angle was for the R.

I screwed up a bit when I was cutting the heads and cut into the metal a bit, but the letters were going to cover it so I didn't worry about it.
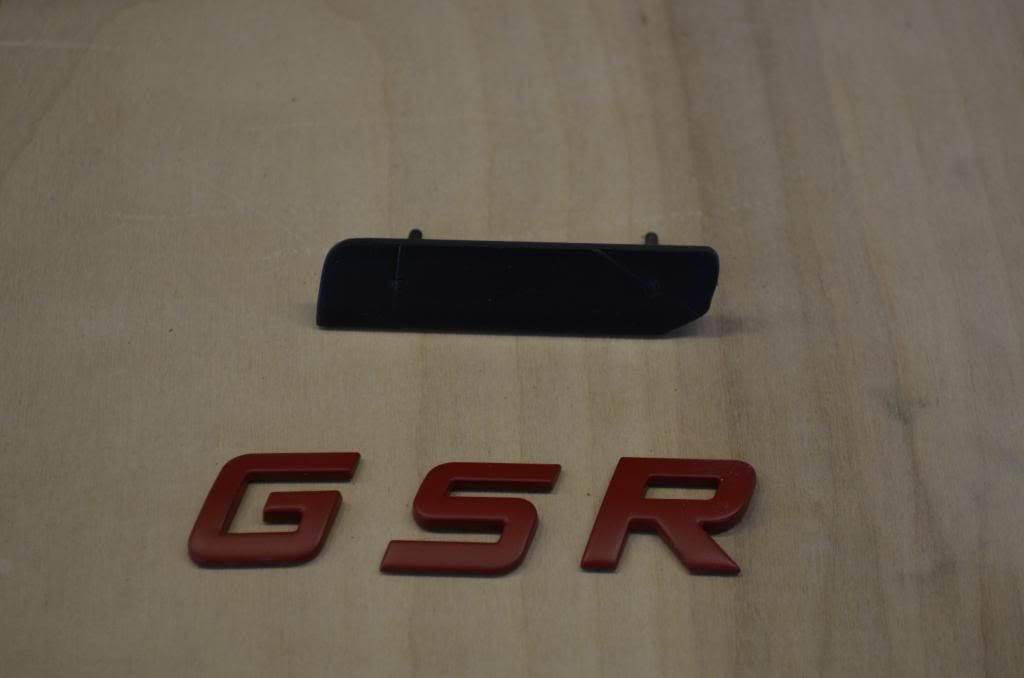
Then using the already applied sticky back I attached them to the plate.
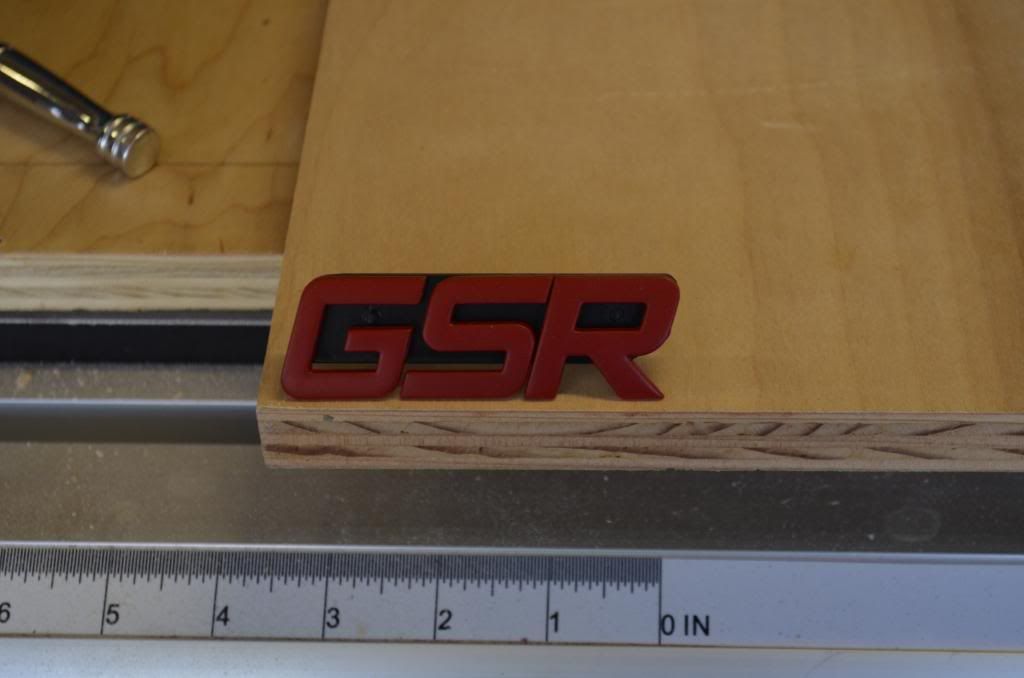
And test fitted to the car. I still need to remove the bumper to do a small fix to the rusty area below the mitsubishi badge so this was just attached with double stick tape and then removed. (Needs to be placed a little better anyway)
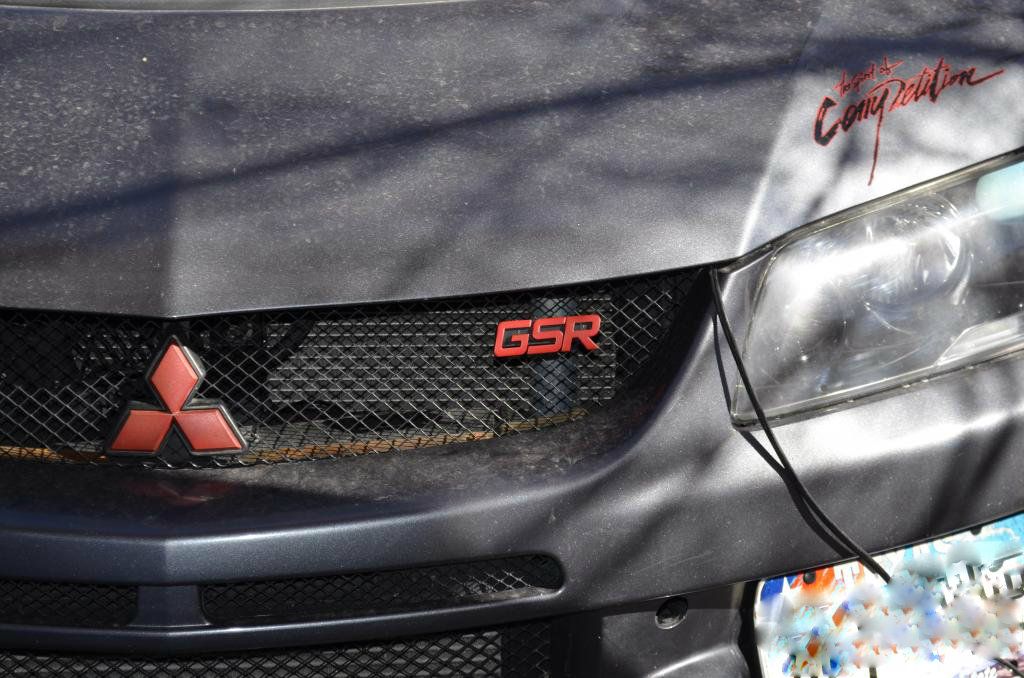
To securely attach I have some washers and the corresponding nuts to secure it behind the mesh, and I am going to use double stick tape too to get the exact placement and protect the mesh from damage. Overall, pretty easy little mod.
The letters were from emblemart, their italics series as their R was the best match.
These letters had a slight angle and were fairly "square shaped" and were the right size at about 1 inch tall and 1.2 inches wide. Ordered the G S and R from them, I think it was right around 10 bucks. http://shop.emblemart.com/index.php?...a0h7eb2u95id92.
I scuffed up the letters and painted them red. In my case I used red plastidip as I had used it to make the mitsubishi symbol red earlier and I wanted the colors to match. For the bracket I decided to use a piece of 3/4" by 3/8" thick piece of aluminum I had left over from a previous project. A better choice would have been a 1" tall piece instead to give the letters full backing but the 3/4's gave me enough of a surface area that I was happy with it. I then traced the letters and grinded away a bit of metal to try to follow the letters a bit closer and not have a squared off plate.
I then drilled 2 holes, threaded them, inserted some screws and removed the heads of the screw. An alternative here would have been to buy some all-thread but I had the screws on hand.
I then primed and painted the assembly black. (Bracket is upside down in the picture below, the harsher angle was for the R.
I screwed up a bit when I was cutting the heads and cut into the metal a bit, but the letters were going to cover it so I didn't worry about it.
Then using the already applied sticky back I attached them to the plate.
And test fitted to the car. I still need to remove the bumper to do a small fix to the rusty area below the mitsubishi badge so this was just attached with double stick tape and then removed. (Needs to be placed a little better anyway)
To securely attach I have some washers and the corresponding nuts to secure it behind the mesh, and I am going to use double stick tape too to get the exact placement and protect the mesh from damage. Overall, pretty easy little mod.
Last edited by vortico; Jan 13, 2013 at 08:19 PM.


Trending Topics


Thread
Thread Starter
Forum
Replies
Last Post
vortico
Evo How Tos / Installations
52
Jun 21, 2017 11:38 PM
JRally
Evo X How Tos / Installations
20
Oct 22, 2012 04:52 PM
vortico
Evo Tires / Wheels / Brakes / Suspension
16
May 7, 2012 03:13 PM
kungfugirl
Lancer Aftermarket Forced Induction Tech
26
Jul 3, 2010 05:56 PM