When you click on links to various merchants on this site and make a purchase, this can result in this site earning a commission. Affiliate programs and affiliations include, but are not limited to, the eBay Partner Network.
Evo How Tos / InstallationsPost or link to your detailed how to / installation articles in here. If you have any questions regarding the how tos, feel free to post them in the Request sub-forum.
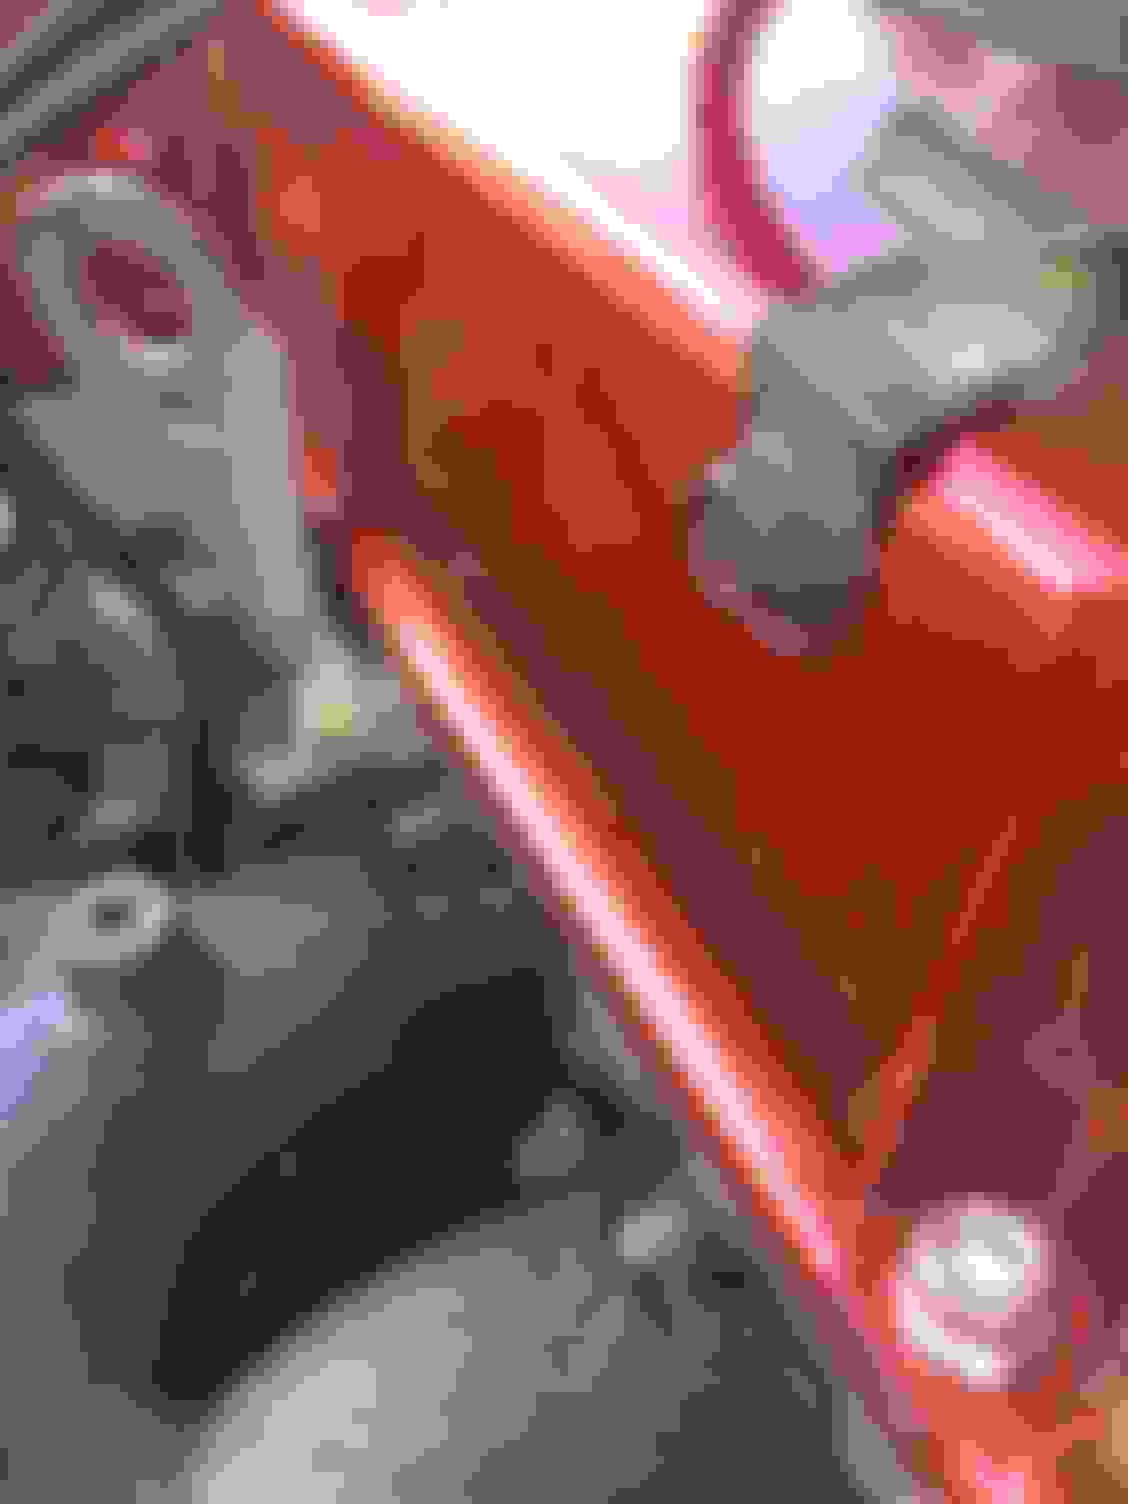
A while ago before I upgraded my turbo and some other things I decided that I wanted to freshen up my valve cover because some of the paint chipped off and just looked dull. So I looked at what other people did to theirs and saw some very cool stuff. I definitely liked the look of the shaved valve cover so I got myself a sanding block and some sandpaper and went to town. Started off with 120 grit and once the ribs were getting close to being flat I switched to 240 grit and kept going until the top of the valve cover was nice and flat then finished it off with a fine scotch brite. Also while doing this I decided that I was gonna run a vented catch can so I drilled and tapped 3 holes so I could run 3 -10 fittings in case I ever needed that kind of ventilation, since I didn't wanna risk shavings being stuck under the baffles I drilled the baffles out and retapped the holes so I can still use them. At this point I took the valve cover to a local powder coating place and had them sand blast it and powder coat it. Originally I wanted candy apple red but the closest that they had to that was lollipop red so I went with that which they wanted $160 since it had to have a chrome base coat before applying the lollipop red. Once they called me and told me it was ready I got really excited, when I opened the box initially I was impressed, it looked really good; however the closer I looked my heart sank. I saw a lot of blemishes, mostly what disappointed me is that there were bubbles in the top coat. I didn't wanna make a scene so I just paid the money and left. I tried to figure out why there were bubbles in the top coat. Did some research and it appears that if you don't preheat the metal and outgass it before shooting the powder on it then you can get trapped gasses in the powder coat as it cures in the oven. So I kinda figured that either the guy didn't care or doesn't know much about powder coating and that I was just gonna have to live with it and get it redone later. Anyway the color is really nice but here is why I was upset
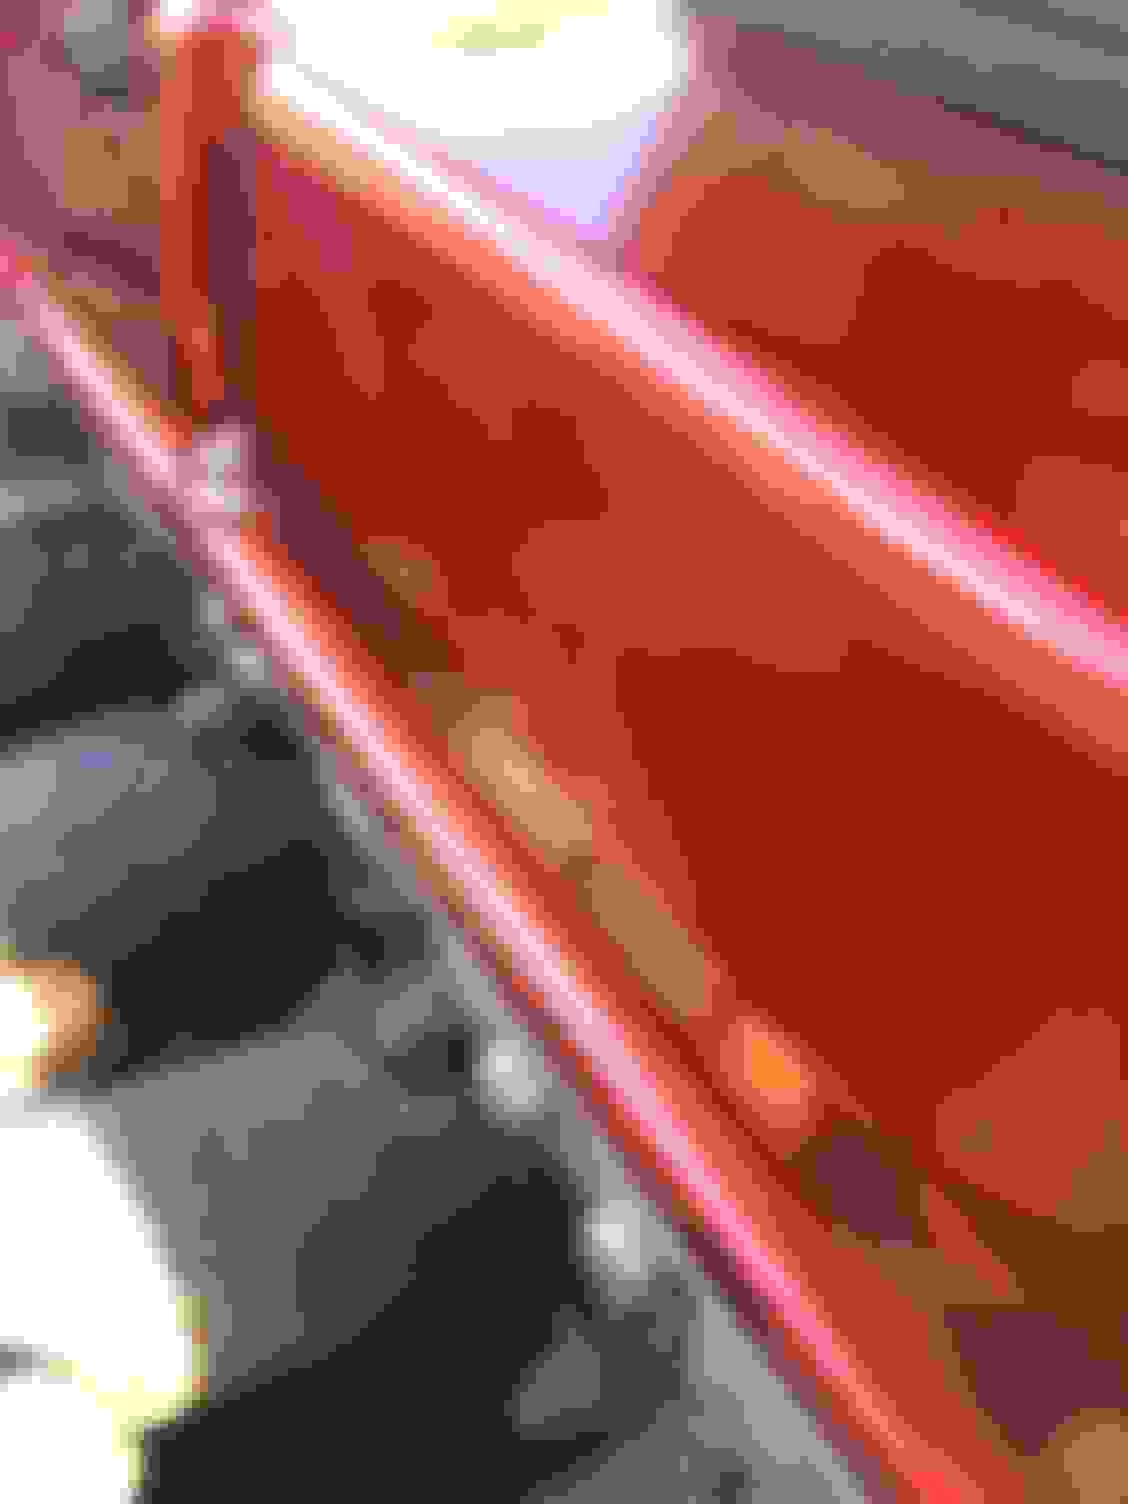
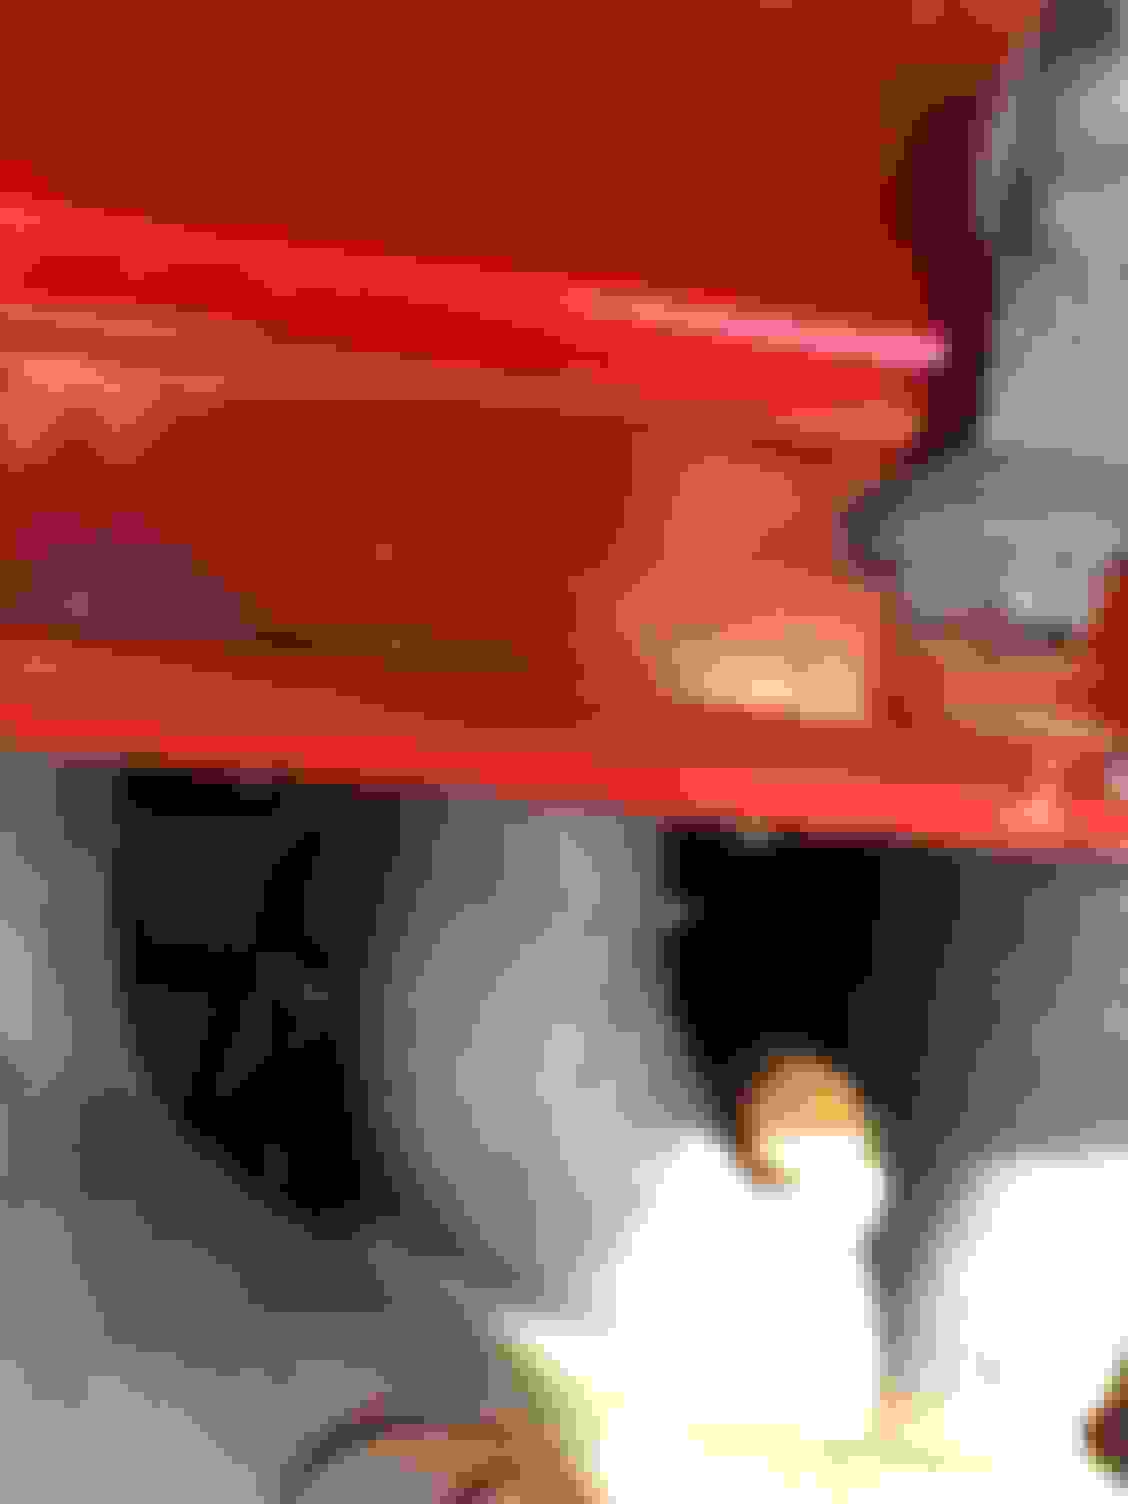
From far away I guess it doesn't look bad but to me the little bubbles are annoying. So anyway as time passed by I got more and more annoyed by it, to the point that one day I purchased a legit powder coating setup lol. I got a good deal on a lightly used powder coating gun and powder, but I did bite the bullet on the oven. So a few days after that purchase I made another which was a spare valve cover that someone started shaving and drilling out the baffles on. So same process, 120 grit wet, 240 wet to shave the top, now this time I didn't wanna spend anymore money on it so instead of taking it to a sandblasting place I got some aircraft stripper and applied it to the paint and let it do its thing. Most of the paint came off easy but there was a gray substance under the paint that I couldn't tell if it was epoxy or primer but aircraft stripper wouldn't wreck it so I took my dremmel and used small wire wheel attachments and worked through it until bare metal was exposed. Once I got that stuff off completely I was shocked at how many imperfections the metal had, lots of craters/holes and other blemishes. Which got me thinking that hey, maybe the guy didn't screw up after all, maybe those imperfections are just showing through the powder coat. So I did a little bit of reading to see what professional powder coaters use to fill in imperfections before powder coating, lots of products out there but it seems that lab metal and epo strong from tiger drylac are really popular. So I got me some high heat epoxy and filled in some of the imperfections then leveled them using 240 grit sand paper.
Last edited by SnailSpeed; May 13, 2019 at 05:15 PM.
Will post more pics when epoxy is leveled. I'm thinking that I will probably sell this valve cover once completely done in order to get some money back for my powder coating equipment, need ideas for what color to get this powder coated in.
That last pic you can�t tell but I actually reshaped the metal because there was just a lump there, and filled in a thin but deep crater near that spot too.
I've powdercoated for a few years. No. 1 cause of bubbles for me was always moisture. If you're not dealing with a perfectly dry piece when you lay the powder the moisture will bubble through the powder as it cures every time. Usually on small imperfections you can get it to fill with powder pretty level you just need to play around with the air pressure and run the voltage lower.
I've never used an epoxy filler so I'm curious to see how that turns out for you.
Also, candy colors are transparent and always require a shiny base coat. Getting a consistent look in a transparent requires the base to be perfect. If the base is off the subsequent layers will be off as well. If you want to add more gloss then consider using a high gloss clearcoat. I'm a big fan of running one or two layers of clear if the powder has flake in it, gives a much better surface finish.
I appreciate the input sir! I plan to outgass or prebake the valve cover before laying down the powder. Since magnesium is porous that will ensure that all the gas gets to vent out and also will make sure that the valve cover is completely dry. How long do you usually outgas your parts for? Also from the little reading it seems that ideally you need a gun with adjustable voltage to lay down multiple coats mine isn't adjustable, at least I dont think it is. But I think I should be able to get away with at least 2 layers if I decide to go with a candy color.
I appreciate the input sir! I plan to outgass or prebake the valve cover before laying down the powder. Since magnesium is porous that will ensure that all the gas gets to vent out and also will make sure that the valve cover is completely dry. How long do you usually outgas your parts for? Also from the little reading it seems that ideally you need a gun with adjustable voltage to lay down multiple coats mine isn't adjustable, at least I dont think it is. But I think I should be able to get away with at least 2 layers if I decide to go with a candy color.
You don't need adjustable voltage for multi layers but it helps. Having lower voltage is most helpful to fill in faraday cage areas. Having high voltage is good for flat surfaces as it minimizes waste since more powder adheres to the part. The most I've ever been able to get out of my two stage voltage gun before it starts to look like *** is 4 coats. If you aren't using an air regulator you need one.
As for outgassing, I only do it on porous stuff and I don't do it very long. Preheating is only needed on large items that don't heat uniformly like an engine block. On something like a mag valve cover I'd probably only preheat it for 2-4 mins. If you let it get too hot the powder will liquify as soon as it hits the surface and it's very hard to get an even coat if that happens. Same thing applies for multiple coats, let it cool a bit before applying the next coat.
Consider buying a cheap IR gun to check temps. Usually I try to shoot for 150-200F on preheat or between coats depending on what temp the powder cures at.
I did my valve cover last winter when I opened it up for more venting. Two coats, black w/rainbow flake followed by a gloss clear. I don't remember preheating it because mag has such a high thermal conductivity. I could've spent more time smoothing out the metal but I'm not making a show car haha
Last edited by Ayoustin; May 15, 2019 at 07:32 AM.
You don't need adjustable voltage for multi layers but it helps. Having lower voltage is most helpful to fill in faraday cage areas. Having high voltage is good for flat surfaces as it minimizes waste since more powder adheres to the part. The most I've ever been able to get out of my two stage voltage gun before it starts to look like *** is 4 coats. If you aren't using an air regulator you need one.
As for outgassing, I only do it on porous stuff and I don't do it very long. Preheating is only needed on large items that don't heat uniformly like an engine block. On something like a mag valve cover I'd probably only preheat it for 2-4 mins. If you let it get too hot the powder will liquify as soon as it hits the surface and it's very hard to get an even coat if that happens. Same thing applies for multiple coats, let it cool a bit before applying the next coat.
Consider buying a cheap IR gun to check temps. Usually I try to shoot for 150-200F on preheat or between coats depending on what temp the powder cures at.
I did my valve cover last winter when I opened it up for more venting. Two coats, black w/rainbow flake followed by a gloss clear. I don't remember preheating it because mag has such a high thermal conductivity. I could've spent more time smoothing out the metal but I'm not making a show car haha
Thanks again sir, much appreciated. I honestly dont know if the gun came with a regulator or not but I am aware that powder coating is done at low pressure. So next week when more powder arrives and I purchase an air compressor I will make sure that I get a regulator too if I dont already have one. I will also practice the process on a small block chevy valve cover since those are cheap so if I screw up it doesn't get expensive. Also did purchase an ir thermometer since I wanna be able to accurately cure the powder.
OK it�s been a while but I finally got to finishing this project. It was a pain in the rear honestly but mostly because the Chicago electric gun was malfunctioning but I got it done.