When you click on links to various merchants on this site and make a purchase, this can result in this site earning a commission. Affiliate programs and affiliations include, but are not limited to, the eBay Partner Network.
How to: Remove AC/heater/HVAC/climate ctrl panel and change the 3-dial controller
Evo X How Tos / InstallationsPost or link to your detailed how to / installation articles in here. If you have any questions regarding the how tos, feel free to post them in the Request sub-forum.
How to: Remove AC/heater/HVAC/climate ctrl panel and change the 3-dial controller
I was searching from forums to YouTube and couldn't find a guide to do this anywhere, so I was like, let me figure it out myself! Now it's actually not that complicated at all, so you have this guide.
Foremost, all Evo X interior panels are very precisely made and no brute force is needed for any of these steps. Even screws are very softly tightened by the factory. To avoid breaking things, you have to be as gentle as caressing a baby. Also, discipline your muscles and have the steady hands of a neurosurgeon, and hold the screws when you unscrew them. If you drop any screws into the gaps, you are unlikely to find them again (if you do, go to your dealer and order replacement screws).
The AC controller panel is actually held in place by 4 screws, marked in red in the pictures belows. Here is how to remove that panel.
^Open your glove box, press in the two sides of the box, so the clips unlock and you can open it wider than usual. Unscrew screw (1), and pull out and remove the cover (2).
^Unscrew screw (3). This is the only screw holding the long dash trim. Then gently pull out dash trim (4), from right to left.
^Unscrew the 3 screws (5) holding the hazard light button panel, and then press in the 2 clips at the sides of the panel, so you can pull it out.
^Here is what it is like after you pull out the hazard light button panel. It is optional if you want to unplug it, and put the panel somewhere else to be safe.
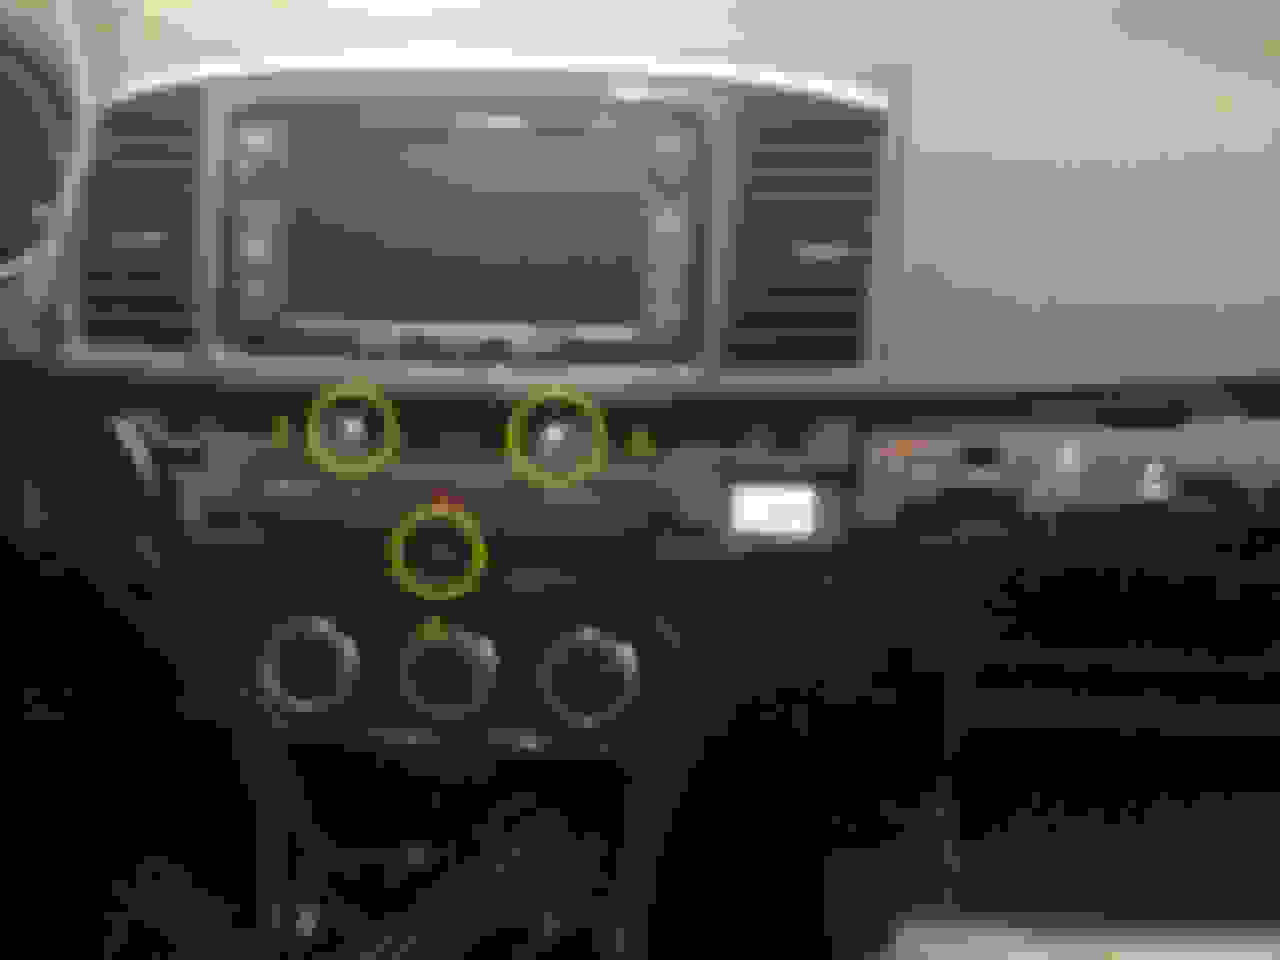
^Pull out the headunit/navigation system cover by lifting these two corners (6). Then unscrew the top 2 screws (7) holding the AC controller panel.
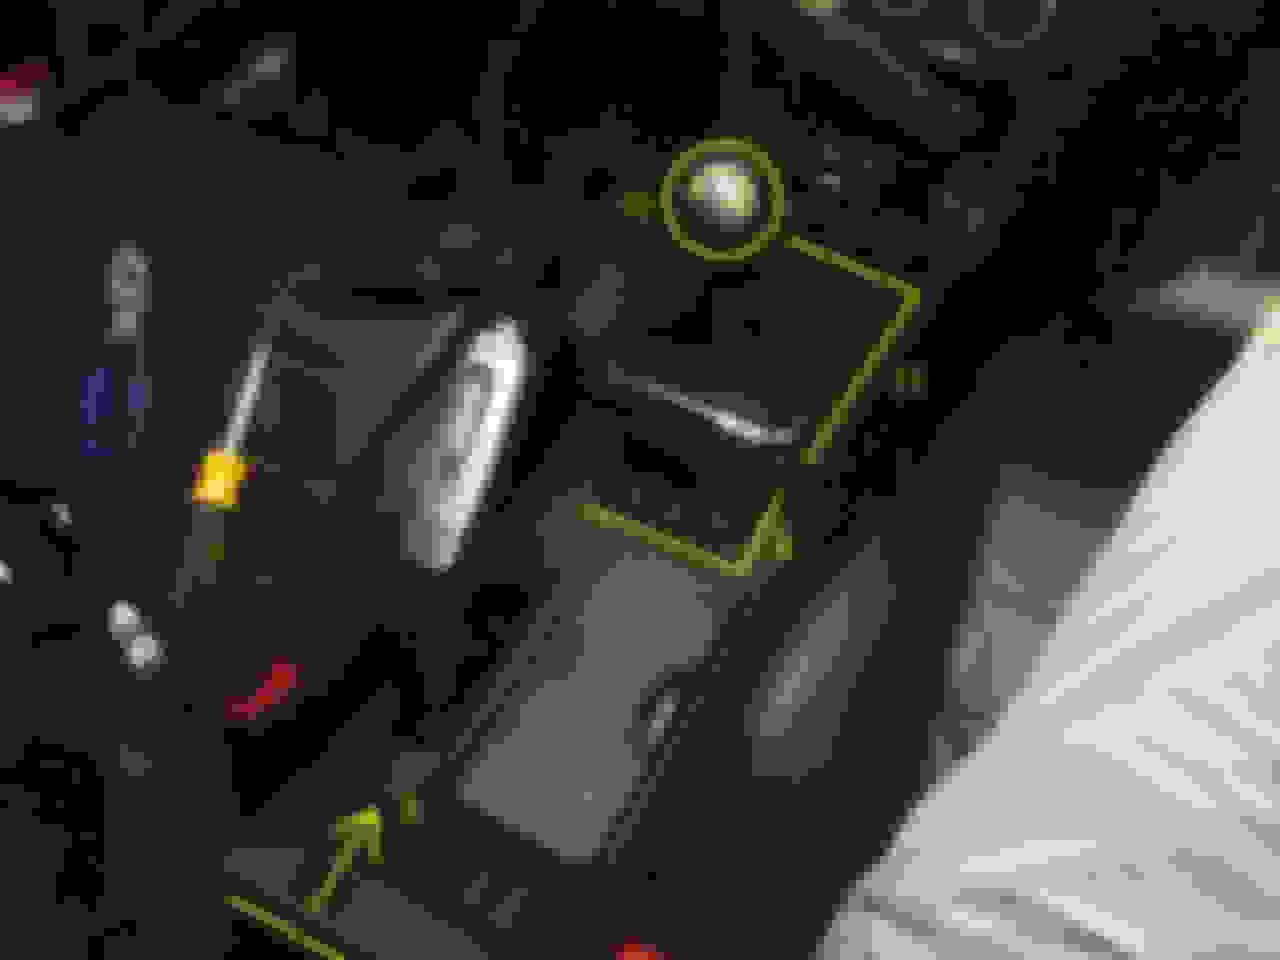
^Take out the All Wheel Control (AWC) button panel (8), then lift the whole cup holder panel from the rear (9). Remove the shift knob (10) by turning it counter-clockwise, then remove the shifter panel (11). My version of the shifter panel is NOT held by screws. Some older Evo X's may have 2 screws holding it that you must unscrew first.
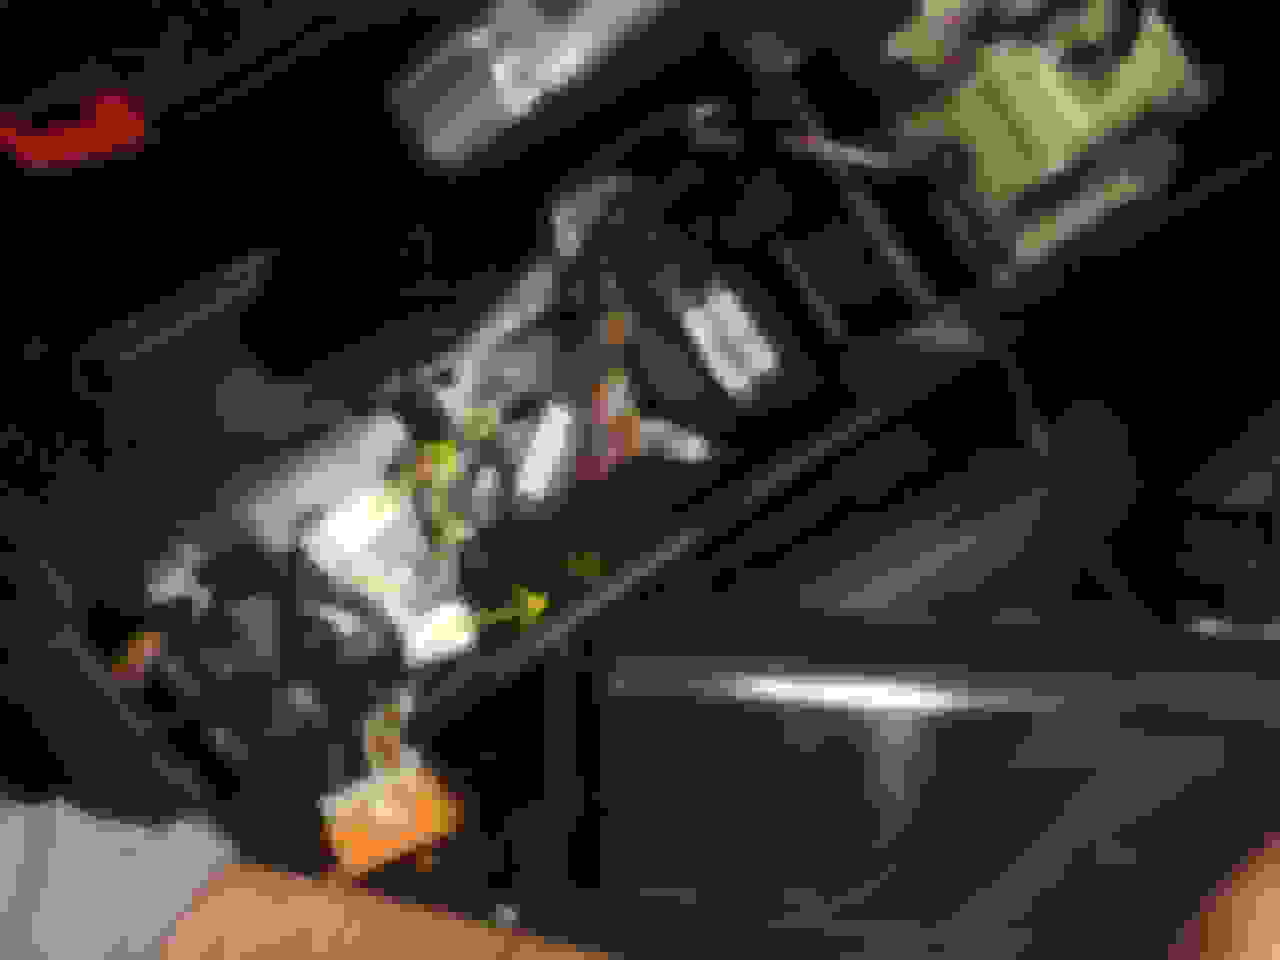
^Unplug the AWC button connector (12).
^Unplug these 2 connectors (13).
^Unplug seat heater connector (14).
^Now the entire cup holder panel (15) can be removed.
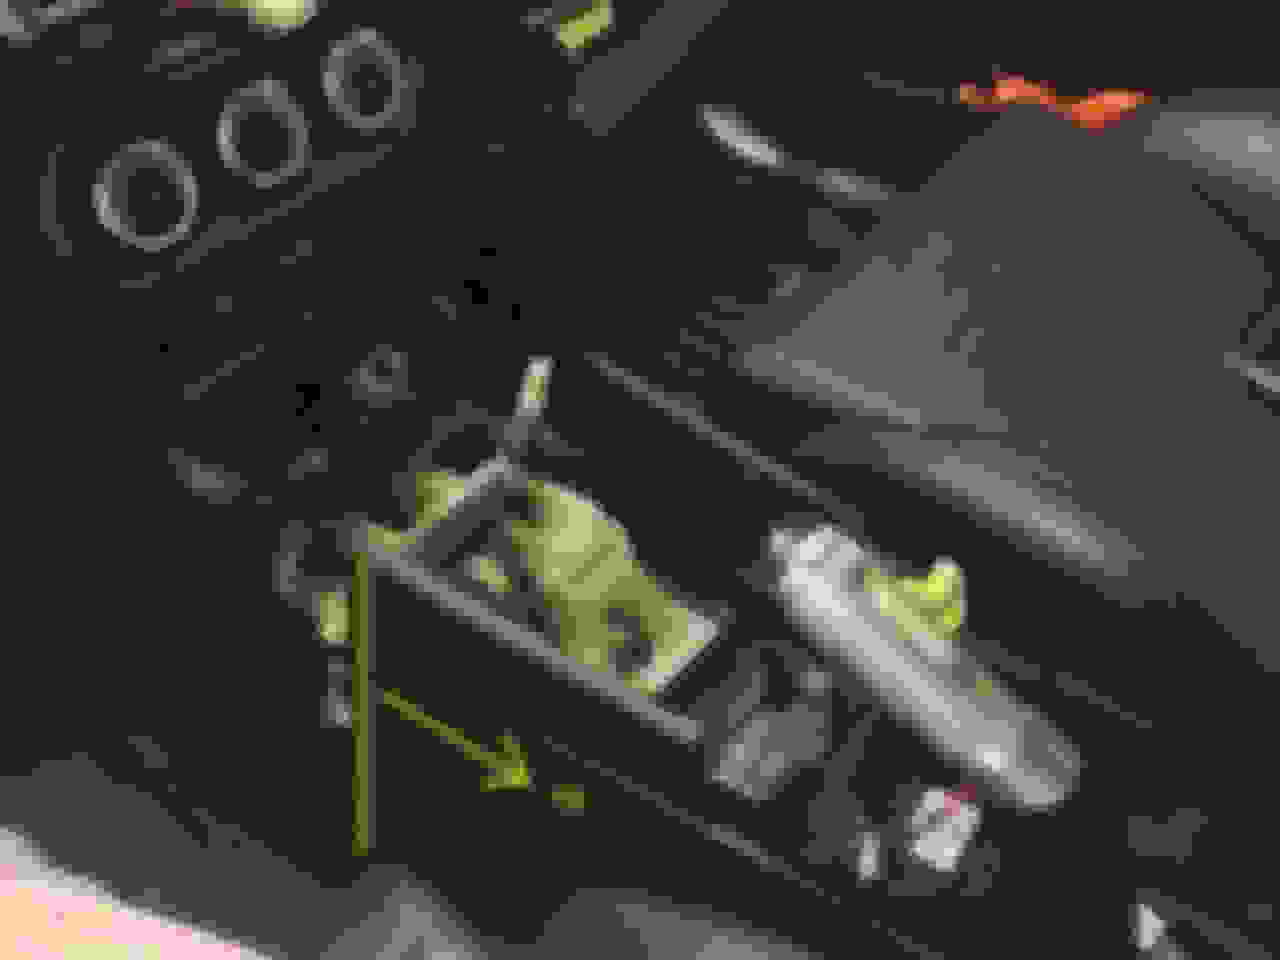
^Unscrew these 2 screws (16) in the storage box. They appear to be some sort of metric screws and I couldn't find the right socket (10mm socket I believe), so I unscrewed them using a plier. (I have replaced them with Philips metric screws of the same size when I was putting things back, just to be easier next time.)
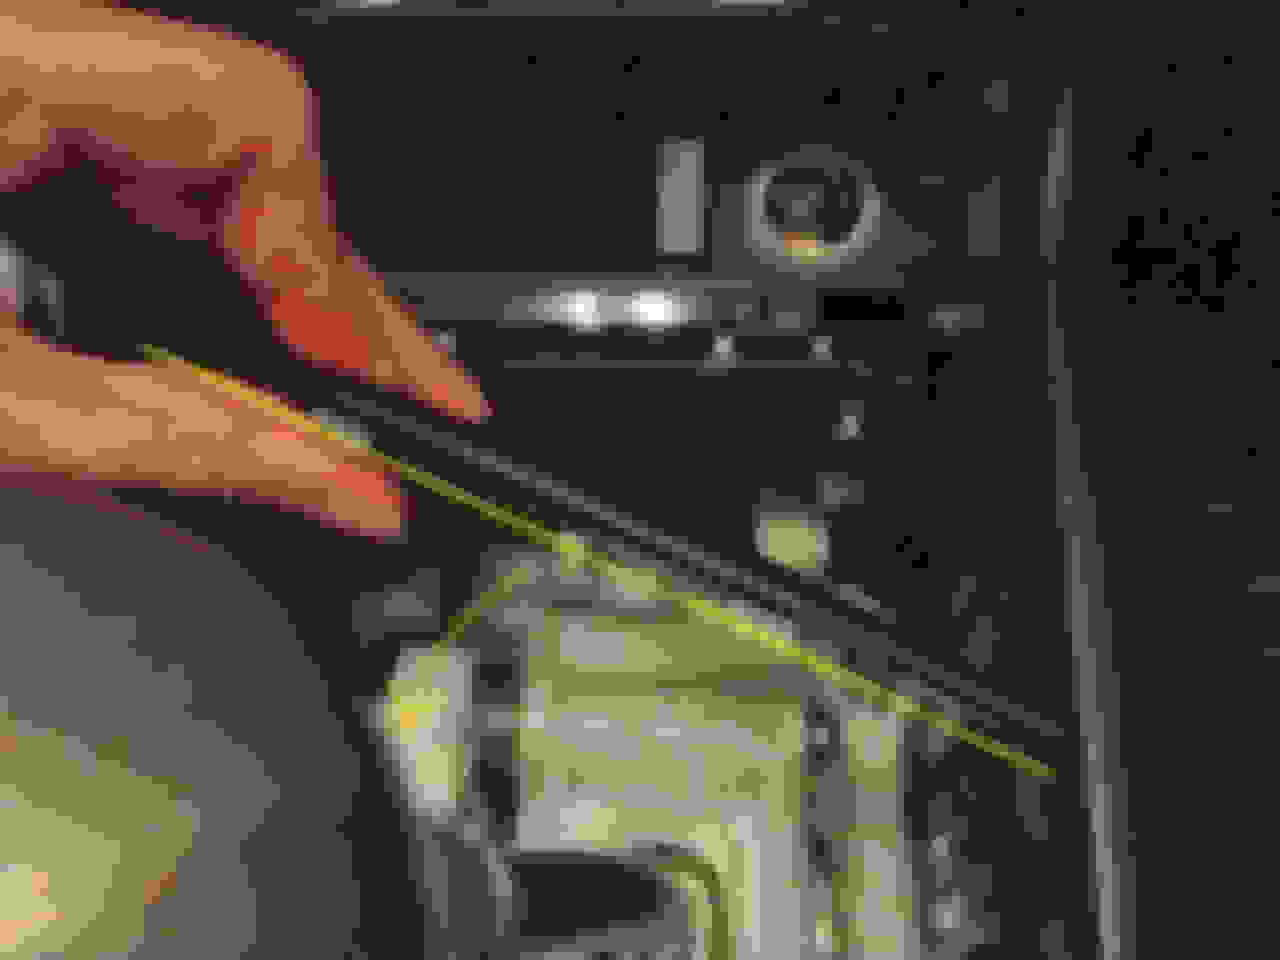
^Gently pull out this trim (17) covering 2 front screws (which hold the centre console).
^Unscrew these 2 screws (18).
^Simply pull back the centre console (19) a little bit.
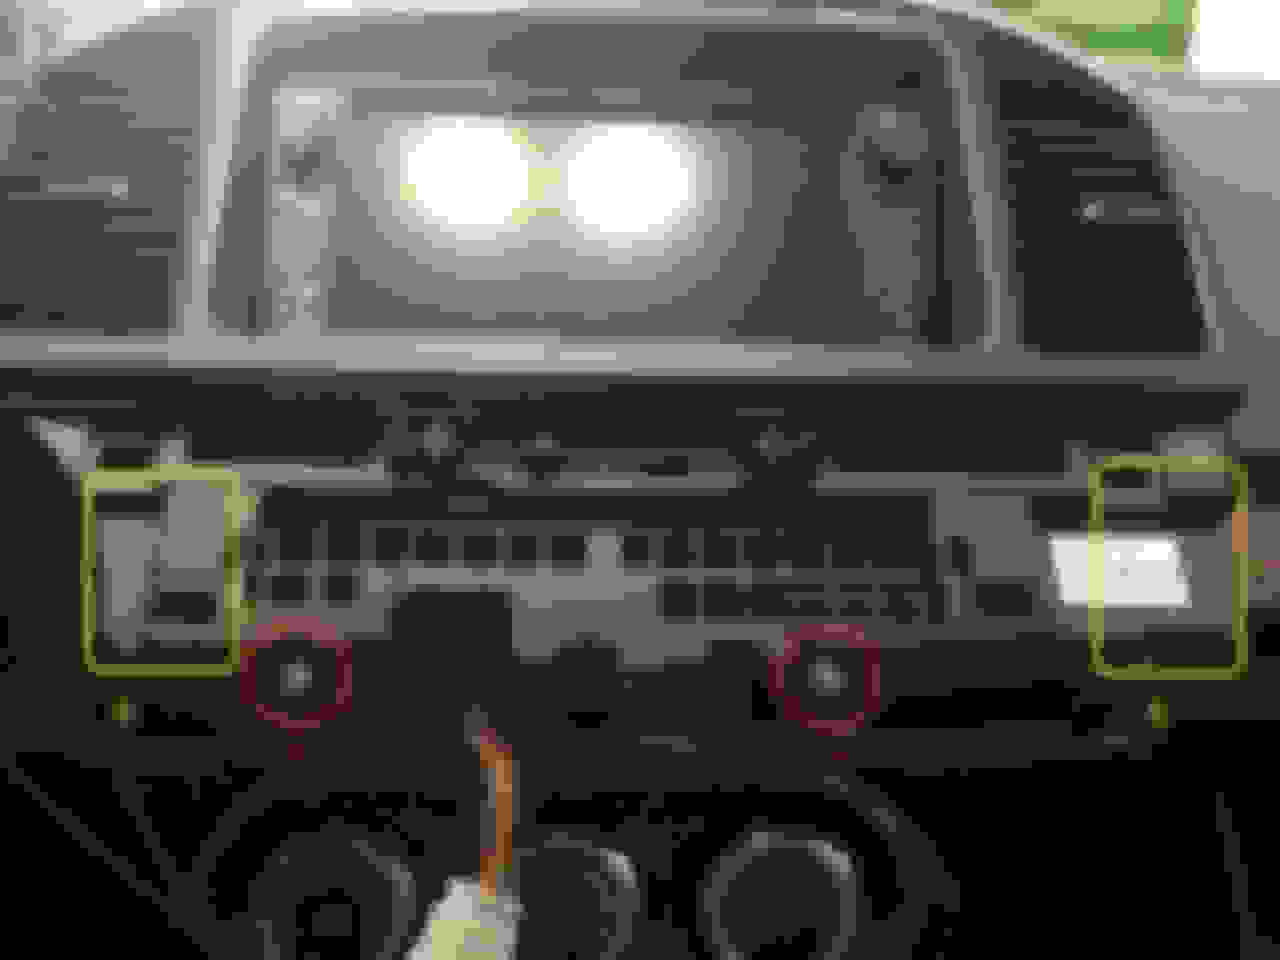
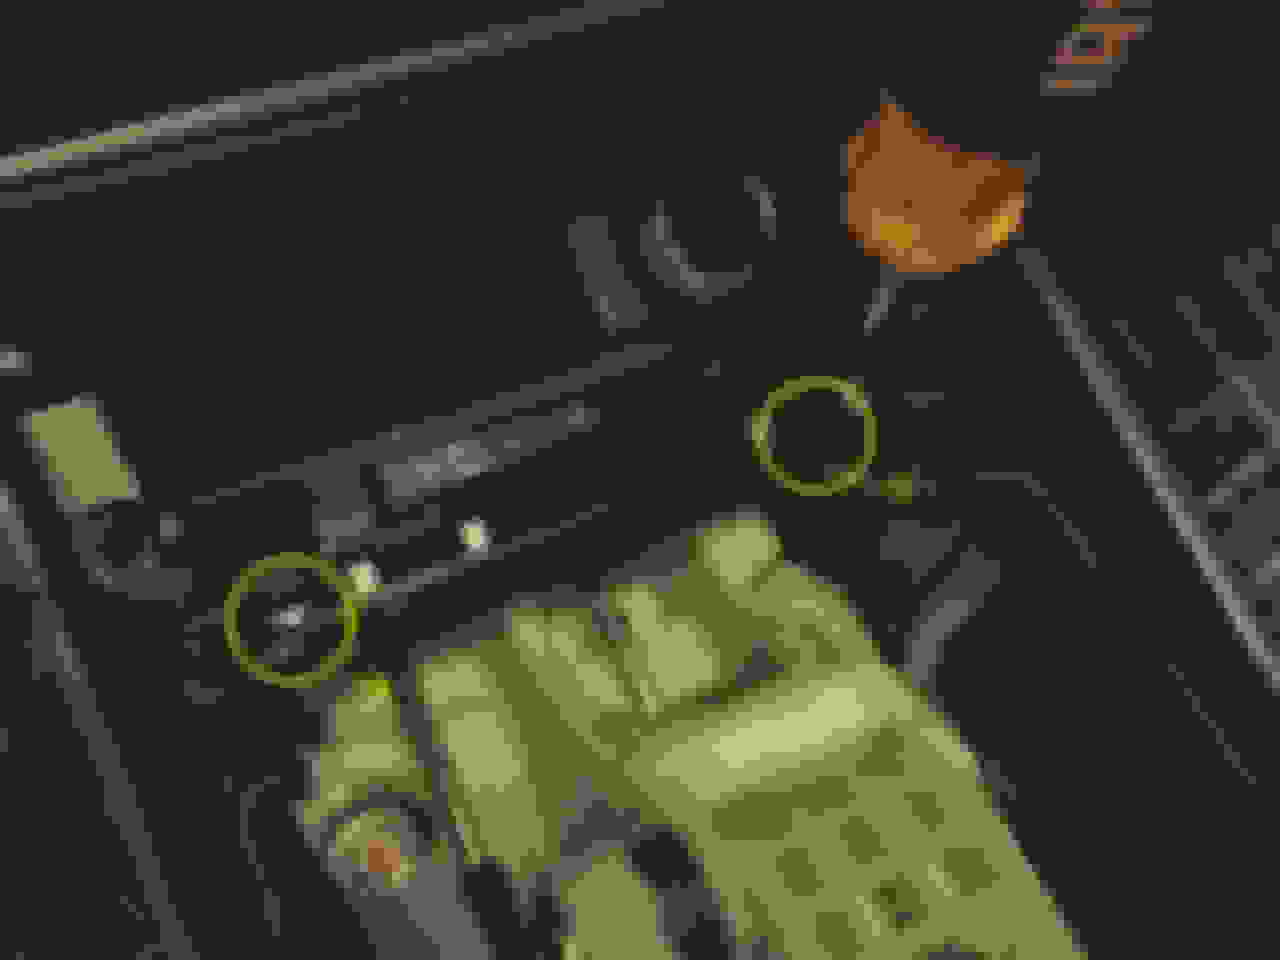
^Unscrew the 2 bottom screws (20) that hold the clips. After that, pull aside the 2 clips (21) that are holding the AC controller panel in place.
^Gently pull out the AC controller panel (22). If you are unsure of which direction to pull it out, get out of your car at look at the GPS antenna on your roof. That is the direction to pull.
^After pulling the AC controller panel off, there will be wires holding it. Unplug these 2 connectors (23). There is also a pair of wires powering the cigarette lighter, which I don't actually know how to unplug, but these wires are long enough that I can work without having to unplug them.
^Cover the shifter with towel to prevent the sharp metal from damaging things on the AC controller panel, then take out the panel gently.
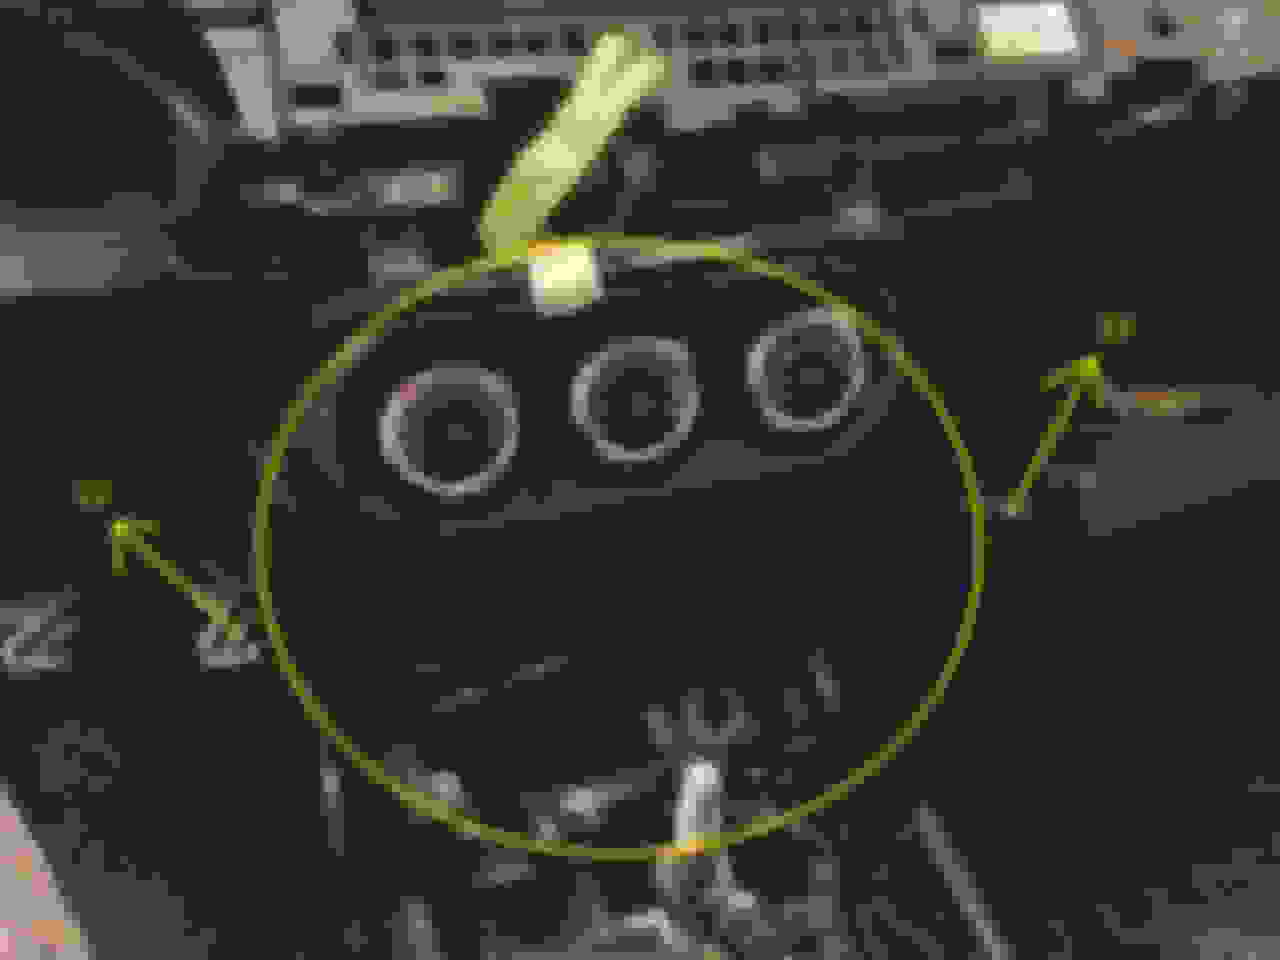
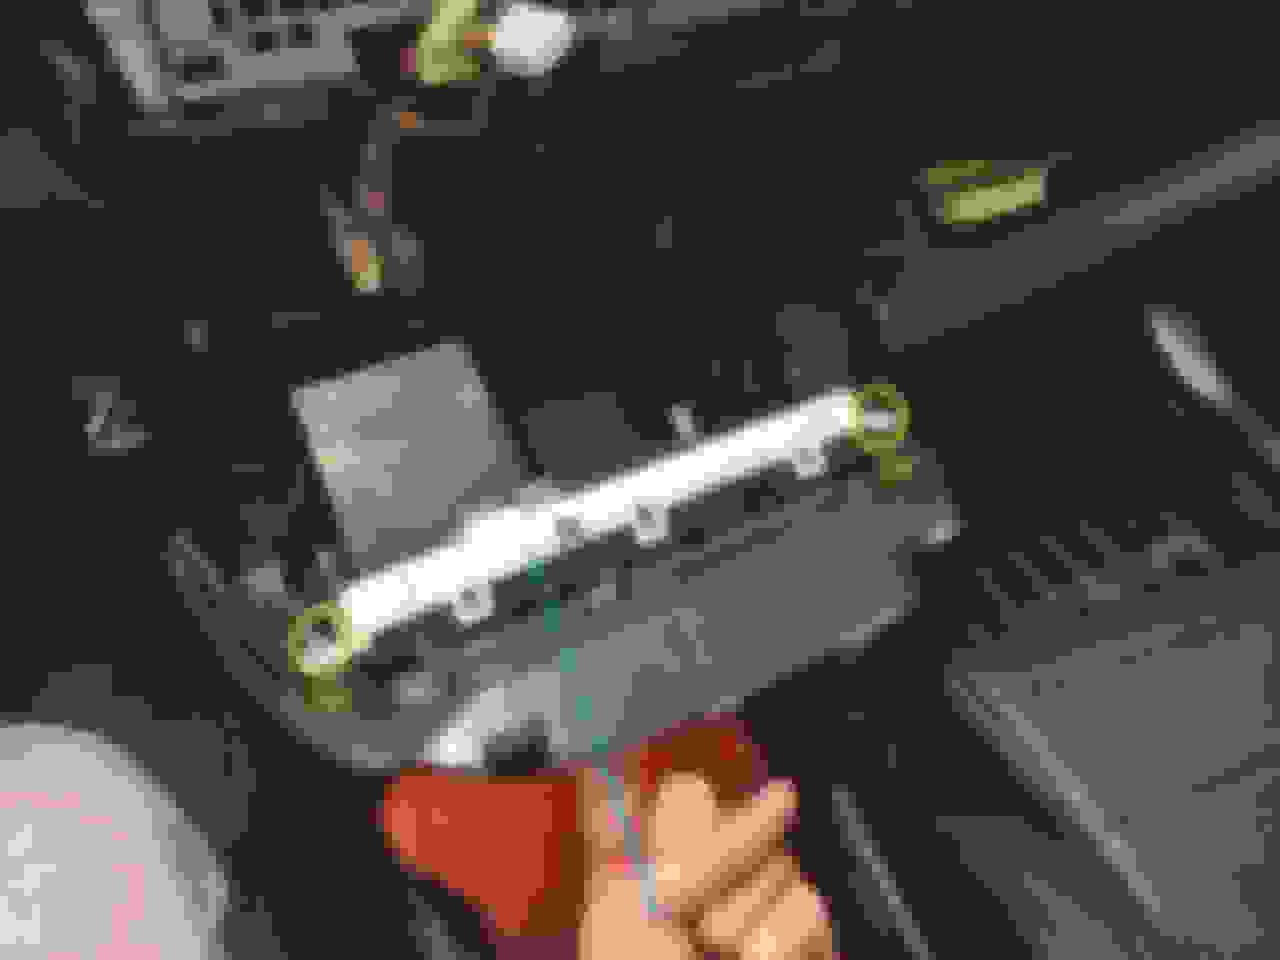
^Without unplugging the cigarette lighter wires, you can simply let the panel sit on the shifter. To allow it sit firmly, align the middle of the leftmost and the centre ones of the 3 dials to the shifter. Then unscrew the 4 screws (24) holding the AC controller in place.
^Hooray!!!
^Keep in mind that the 2014 and 2015 model year Evo X's (along with some[?] 2013 MY ones) have the ungraded AC controller (right). Earlier MY AC controllers are different.
^By the way, if you want to install an aux-in input (8750A145), the connector is held behind here in a dummy female connector.
^Simply reverse the above steps to put everything back. Nothing is tricky except this long dash trim. To reinstall it correctly, align this left corner first, then press it back to position from left to right.


 Now it's actually not that complicated at all, so you have this guide.