When you click on links to various merchants on this site and make a purchase, this can result in this site earning a commission. Affiliate programs and affiliations include, but are not limited to, the eBay Partner Network.
Evo X How Tos / InstallationsPost or link to your detailed how to / installation articles in here. If you have any questions regarding the how tos, feel free to post them in the Request sub-forum.
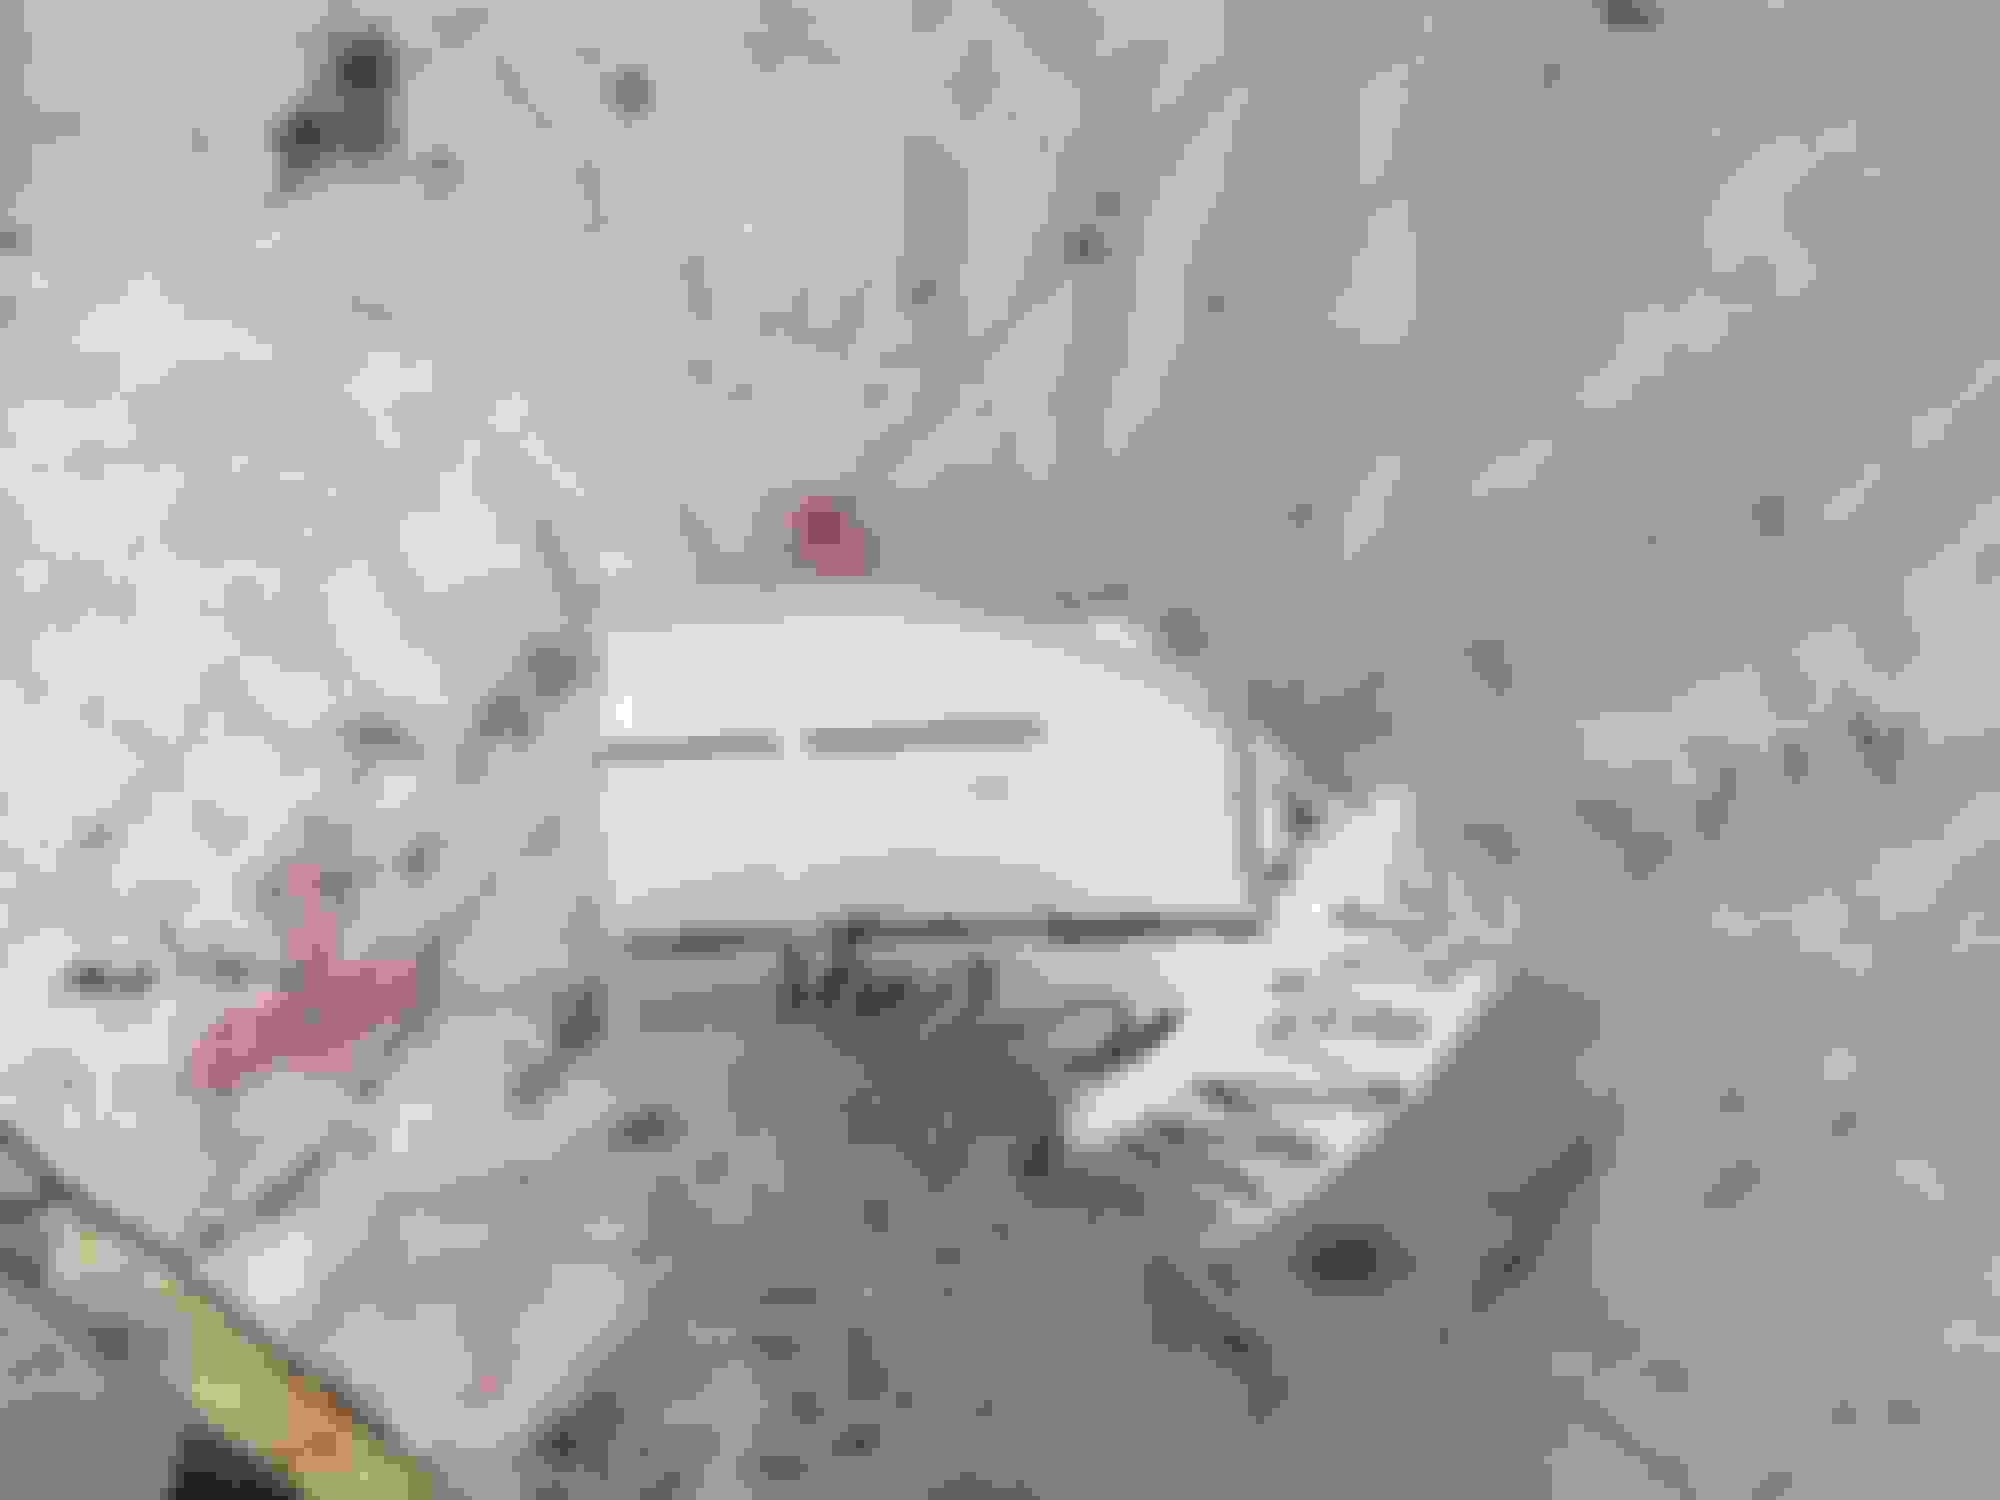
I picked up an AEM wideband and boost gauge and need a place to put them. There is no way I was going to wait 9 weeks for the Ortiz cluster so I decided to try and tackle this project myself since I had some time over the week. I looked around places to get ideas of how people make custom gauge pods and I found one that seemed to be pretty interesting and looked great here
And before anyone criticizes, I must warn everyone that I have no experience with doing anything like this or have the know how of what I really need to do or use to get the best results. But so far of having this done for the past several days, I have had no issues and has been holding up really strong before I painted anything. I even tested by trying to put a decent amount of force or pressure on it to see if it would break easily as well and no issues. Since it will just be sitting there, I'm sure it'll be fine.
So anyways, I went and picked up a pair of 45 degree angled 2" pvc pipes because I couldn't find the 90 degree ones. Anyways, here is a pic of the pipe that I picked up, but honestly, I could probably just use a straight 2" pvc, but I'll get into that part later.
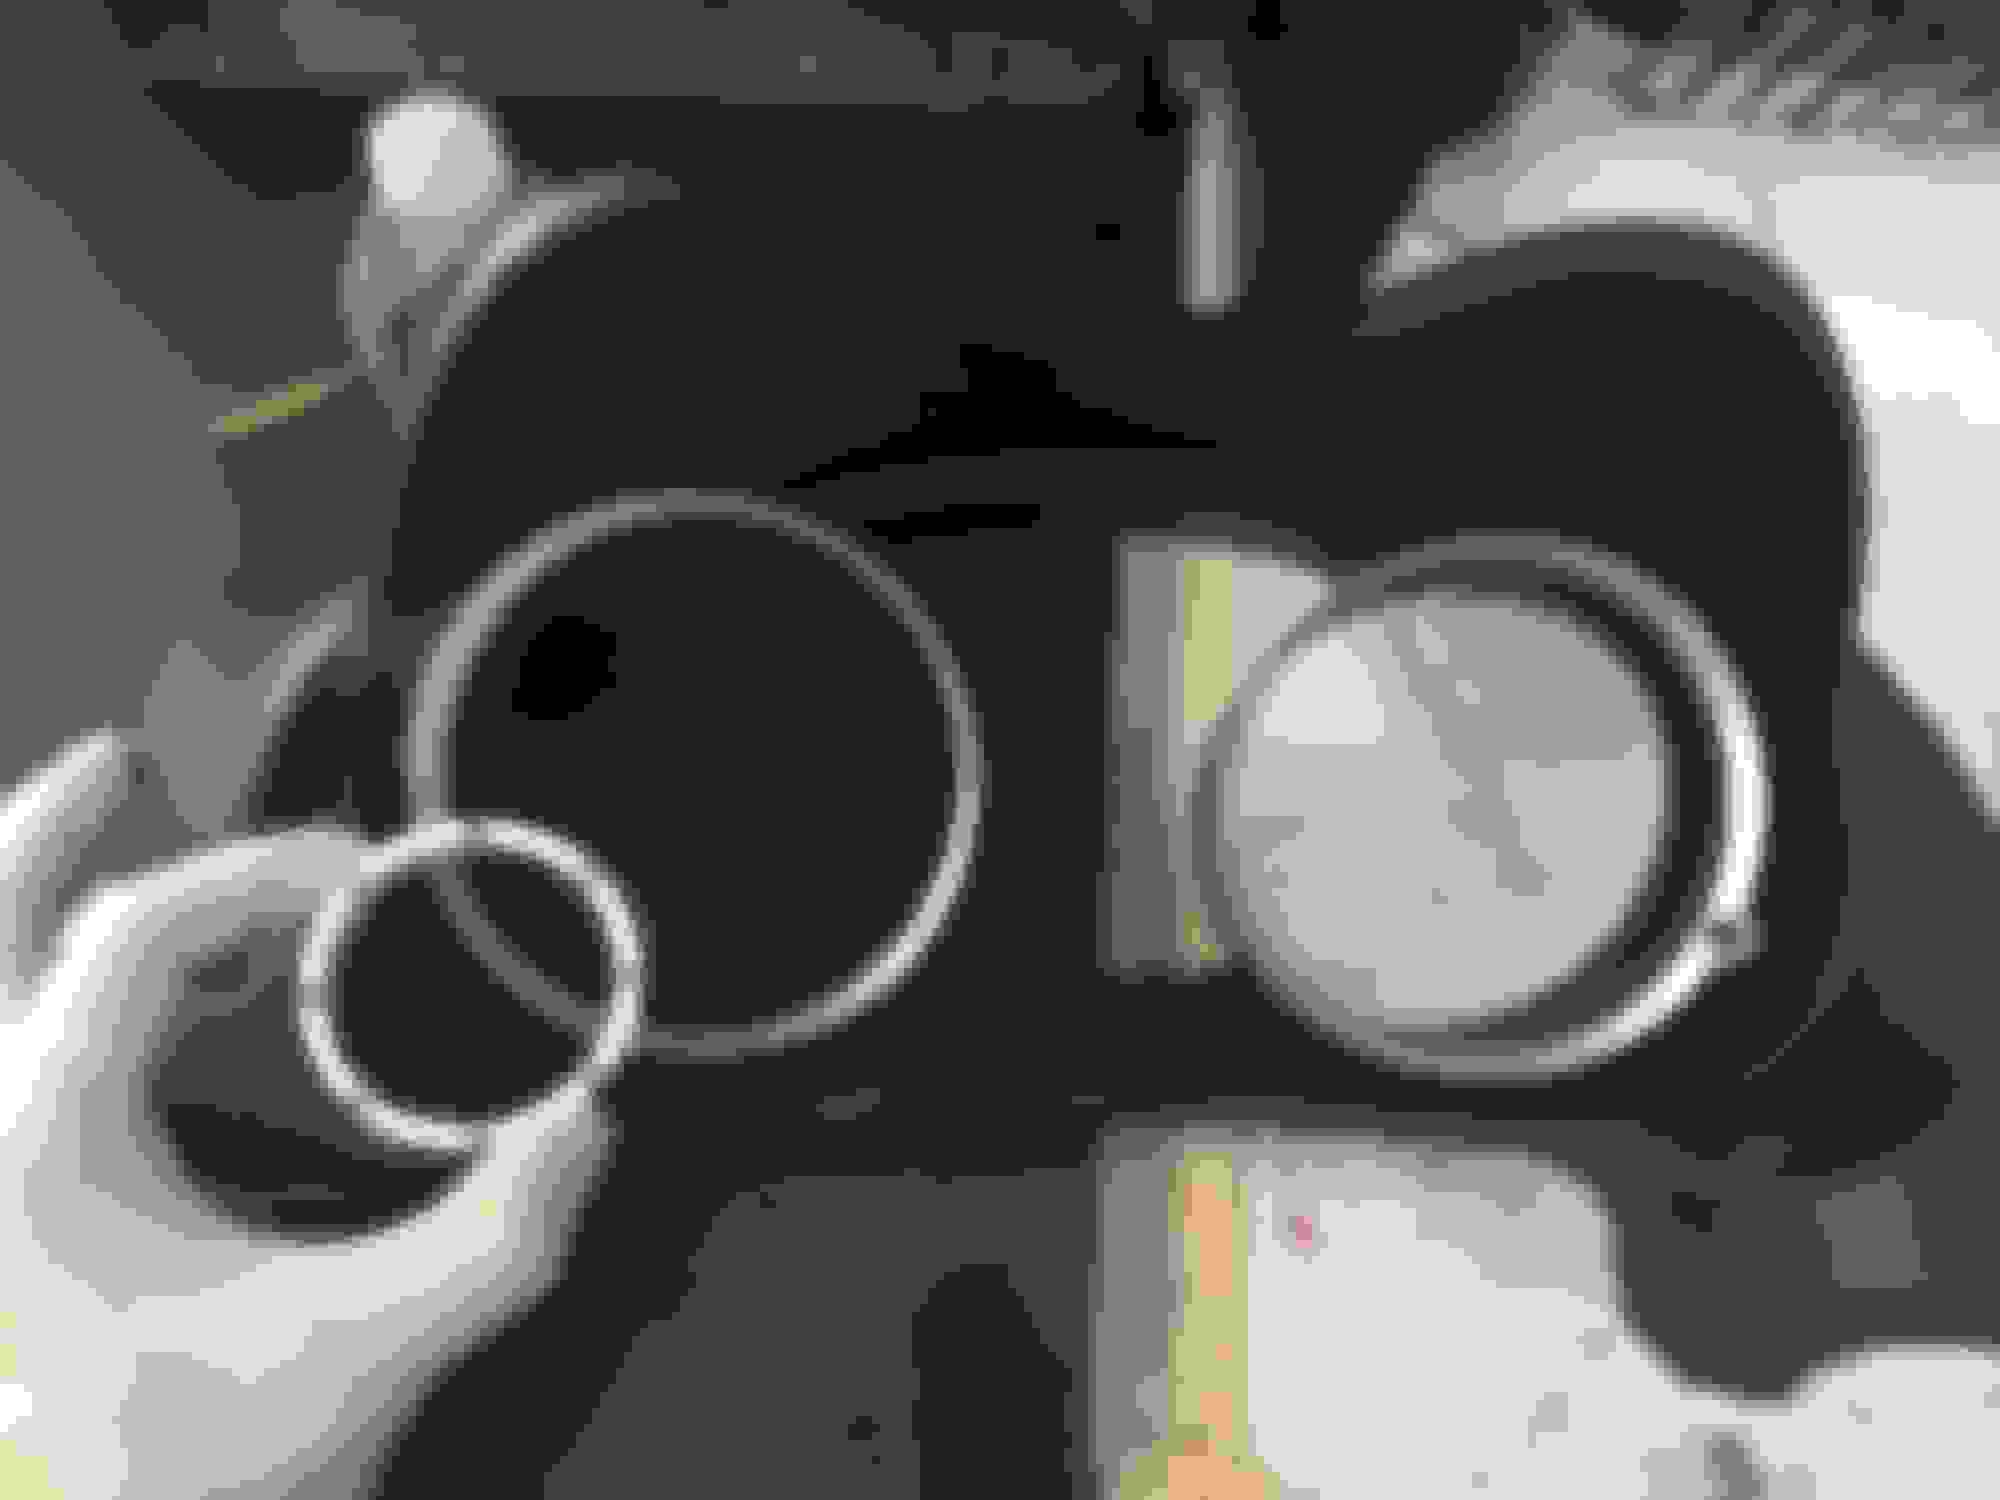
Don't mind the markings. I made these so I can see where I would need to make the cuts rather than making guesses. The lines were mainly used for guideline and the scribble is the section I ended up cutting. Later on, I find that all my markings was really for nothing. lol. The pods are just not big enough to make them look "good" like the other link. So here is how they turned out when I cut them down as a temp size and shape.
So here is how much it really needed to be trimmed down.
Left with almost nothing left. lol. So here is how it looks just test fitting the pod for now.
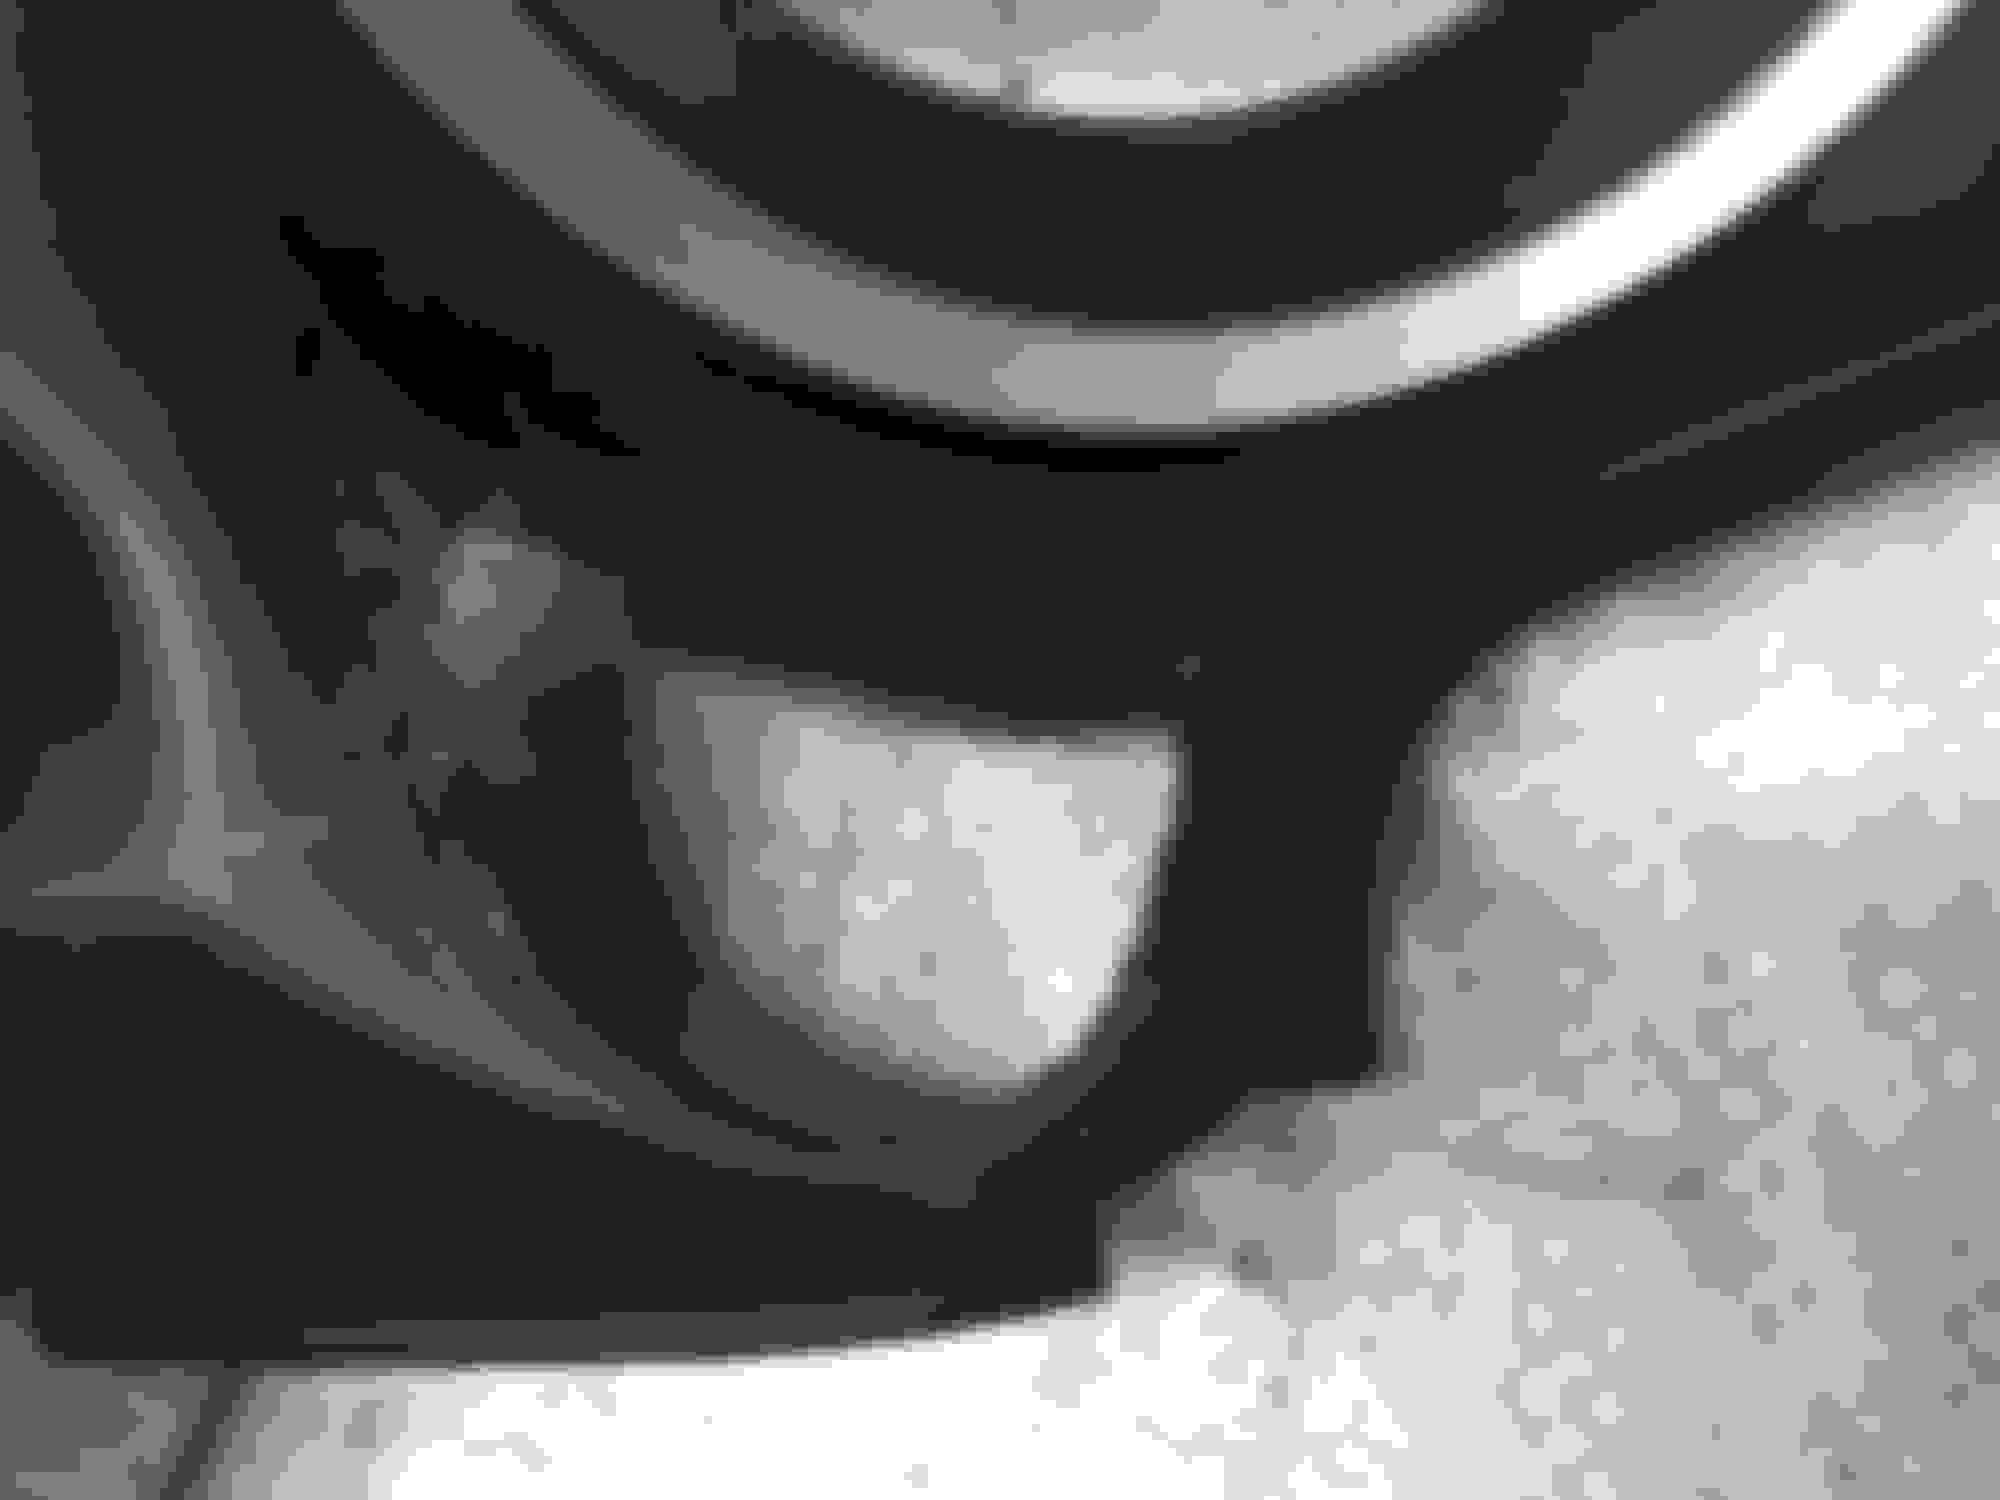
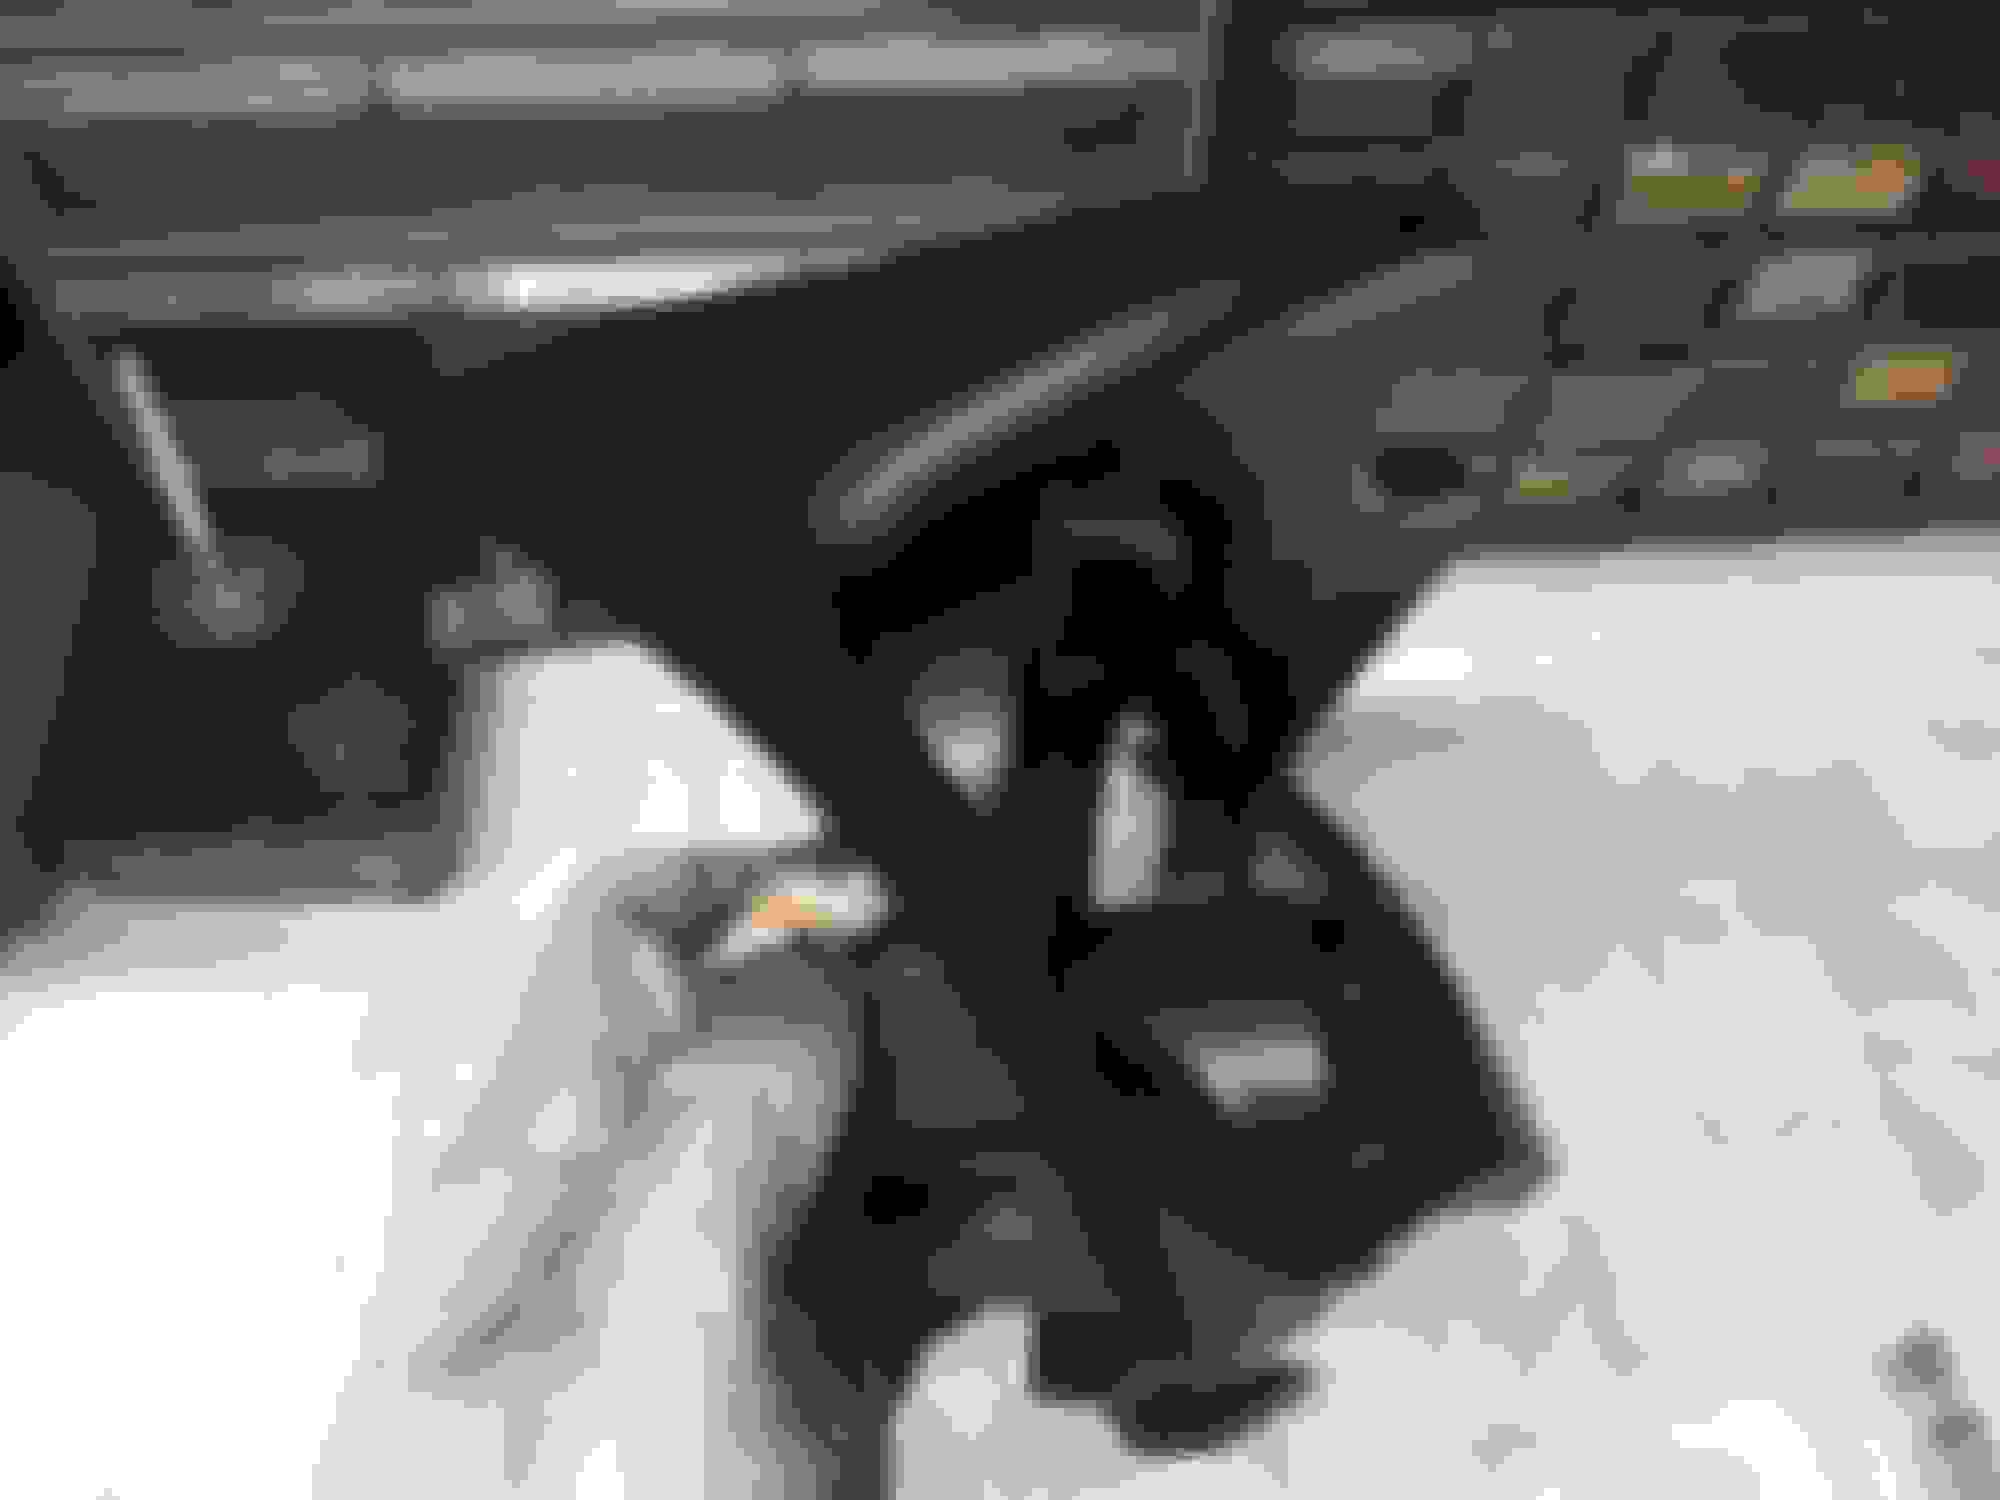
Traced the area where the pod will sit and then drew out the inner section of how much to cut out so I can pass wires through.
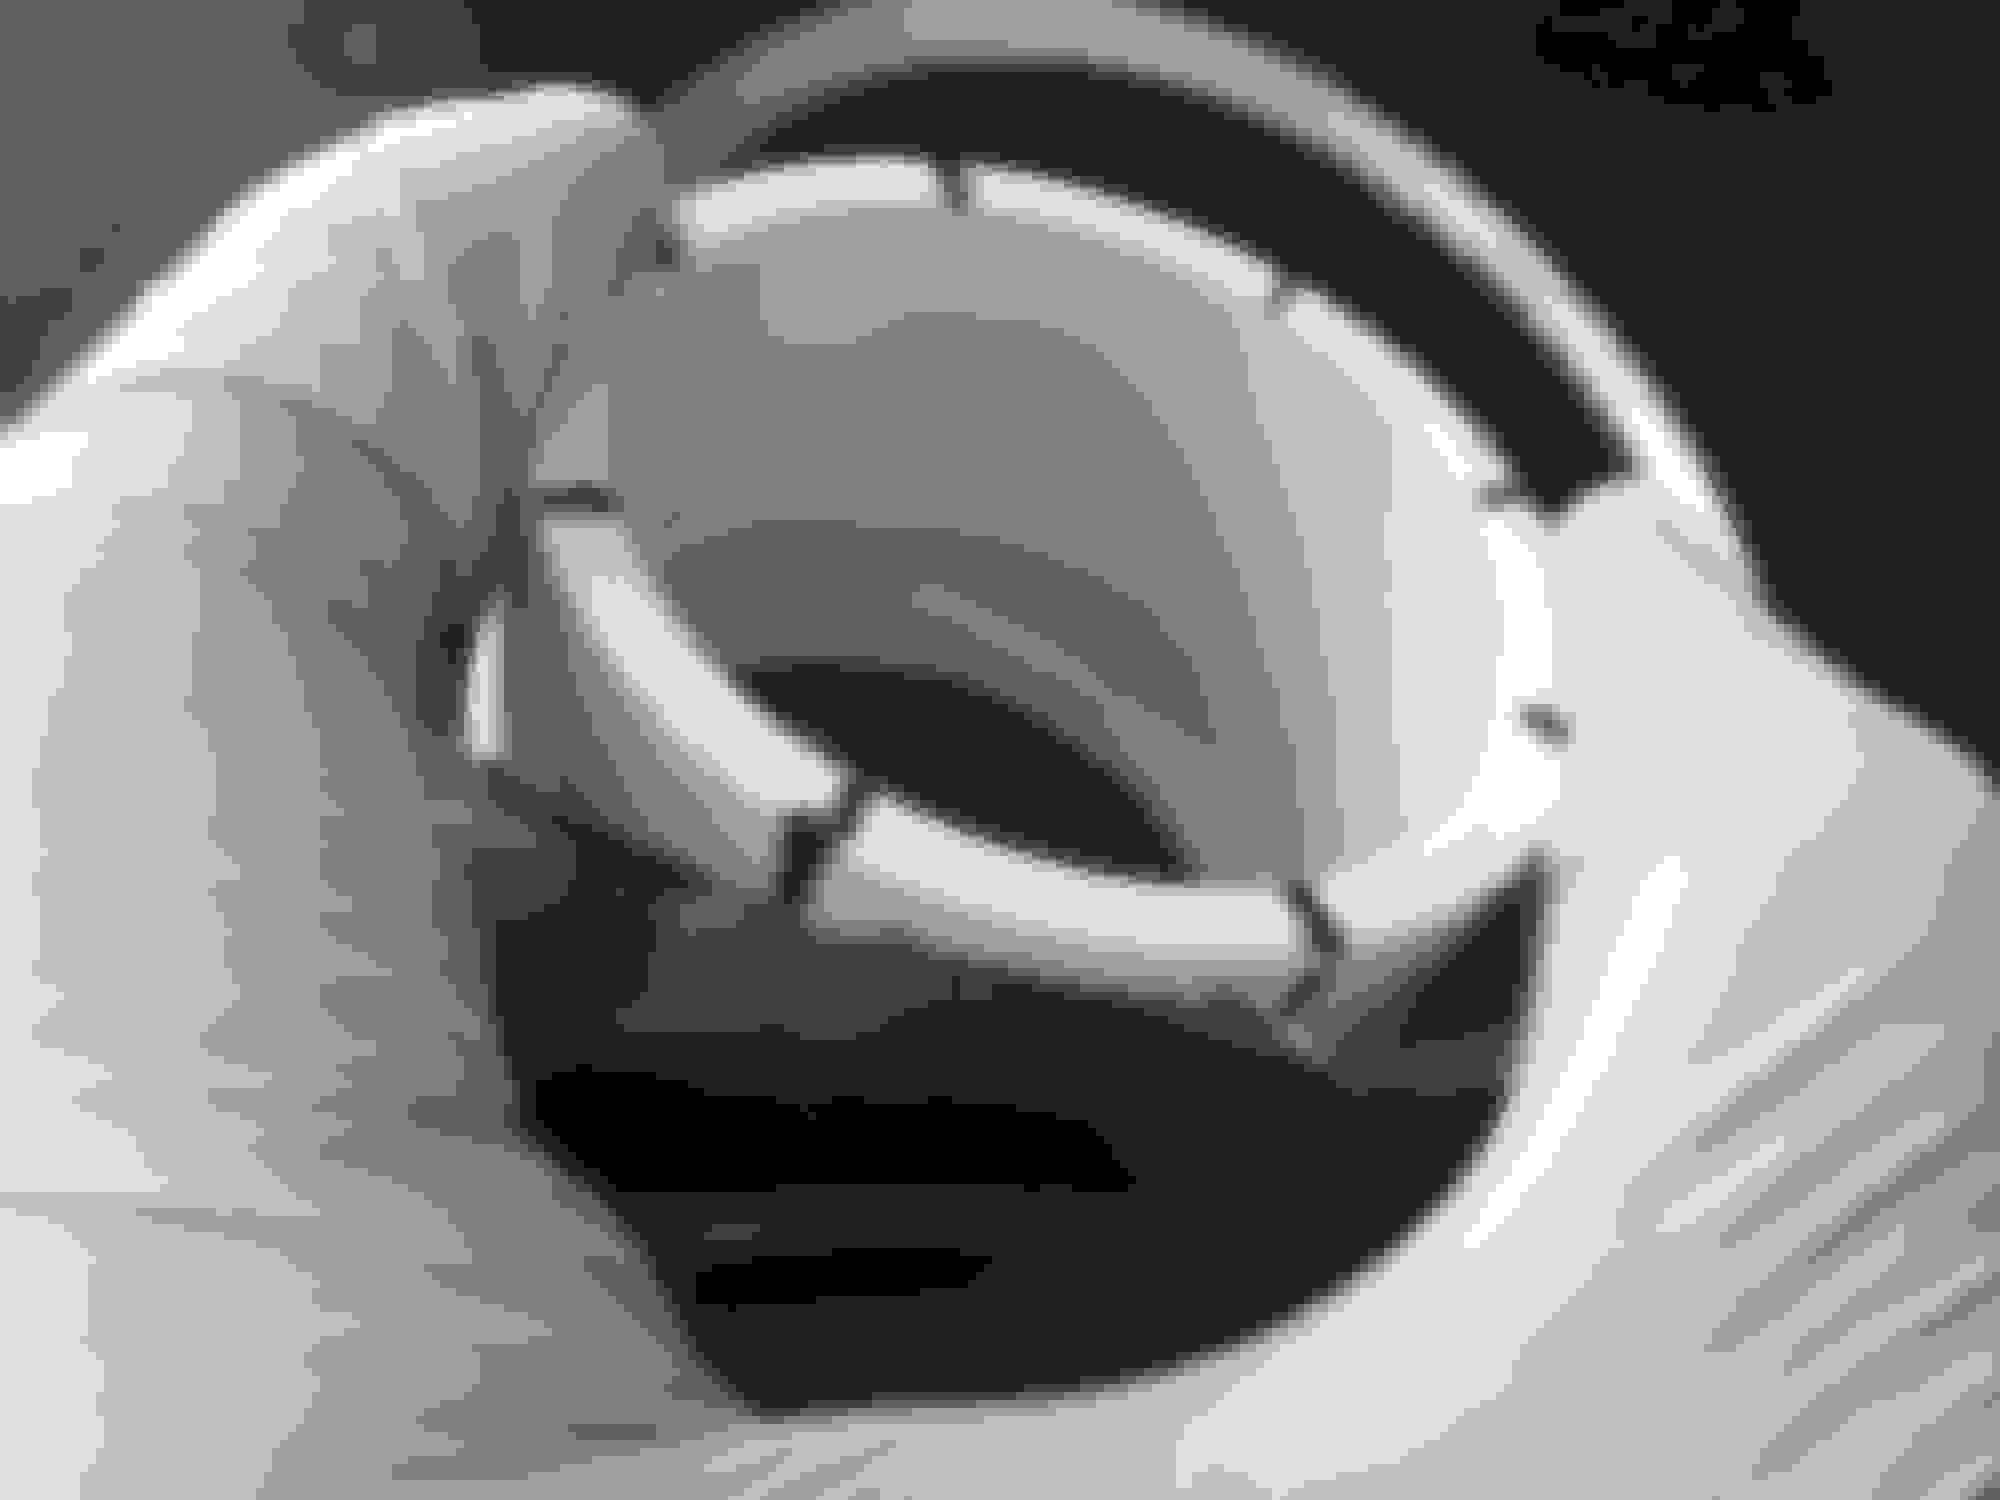
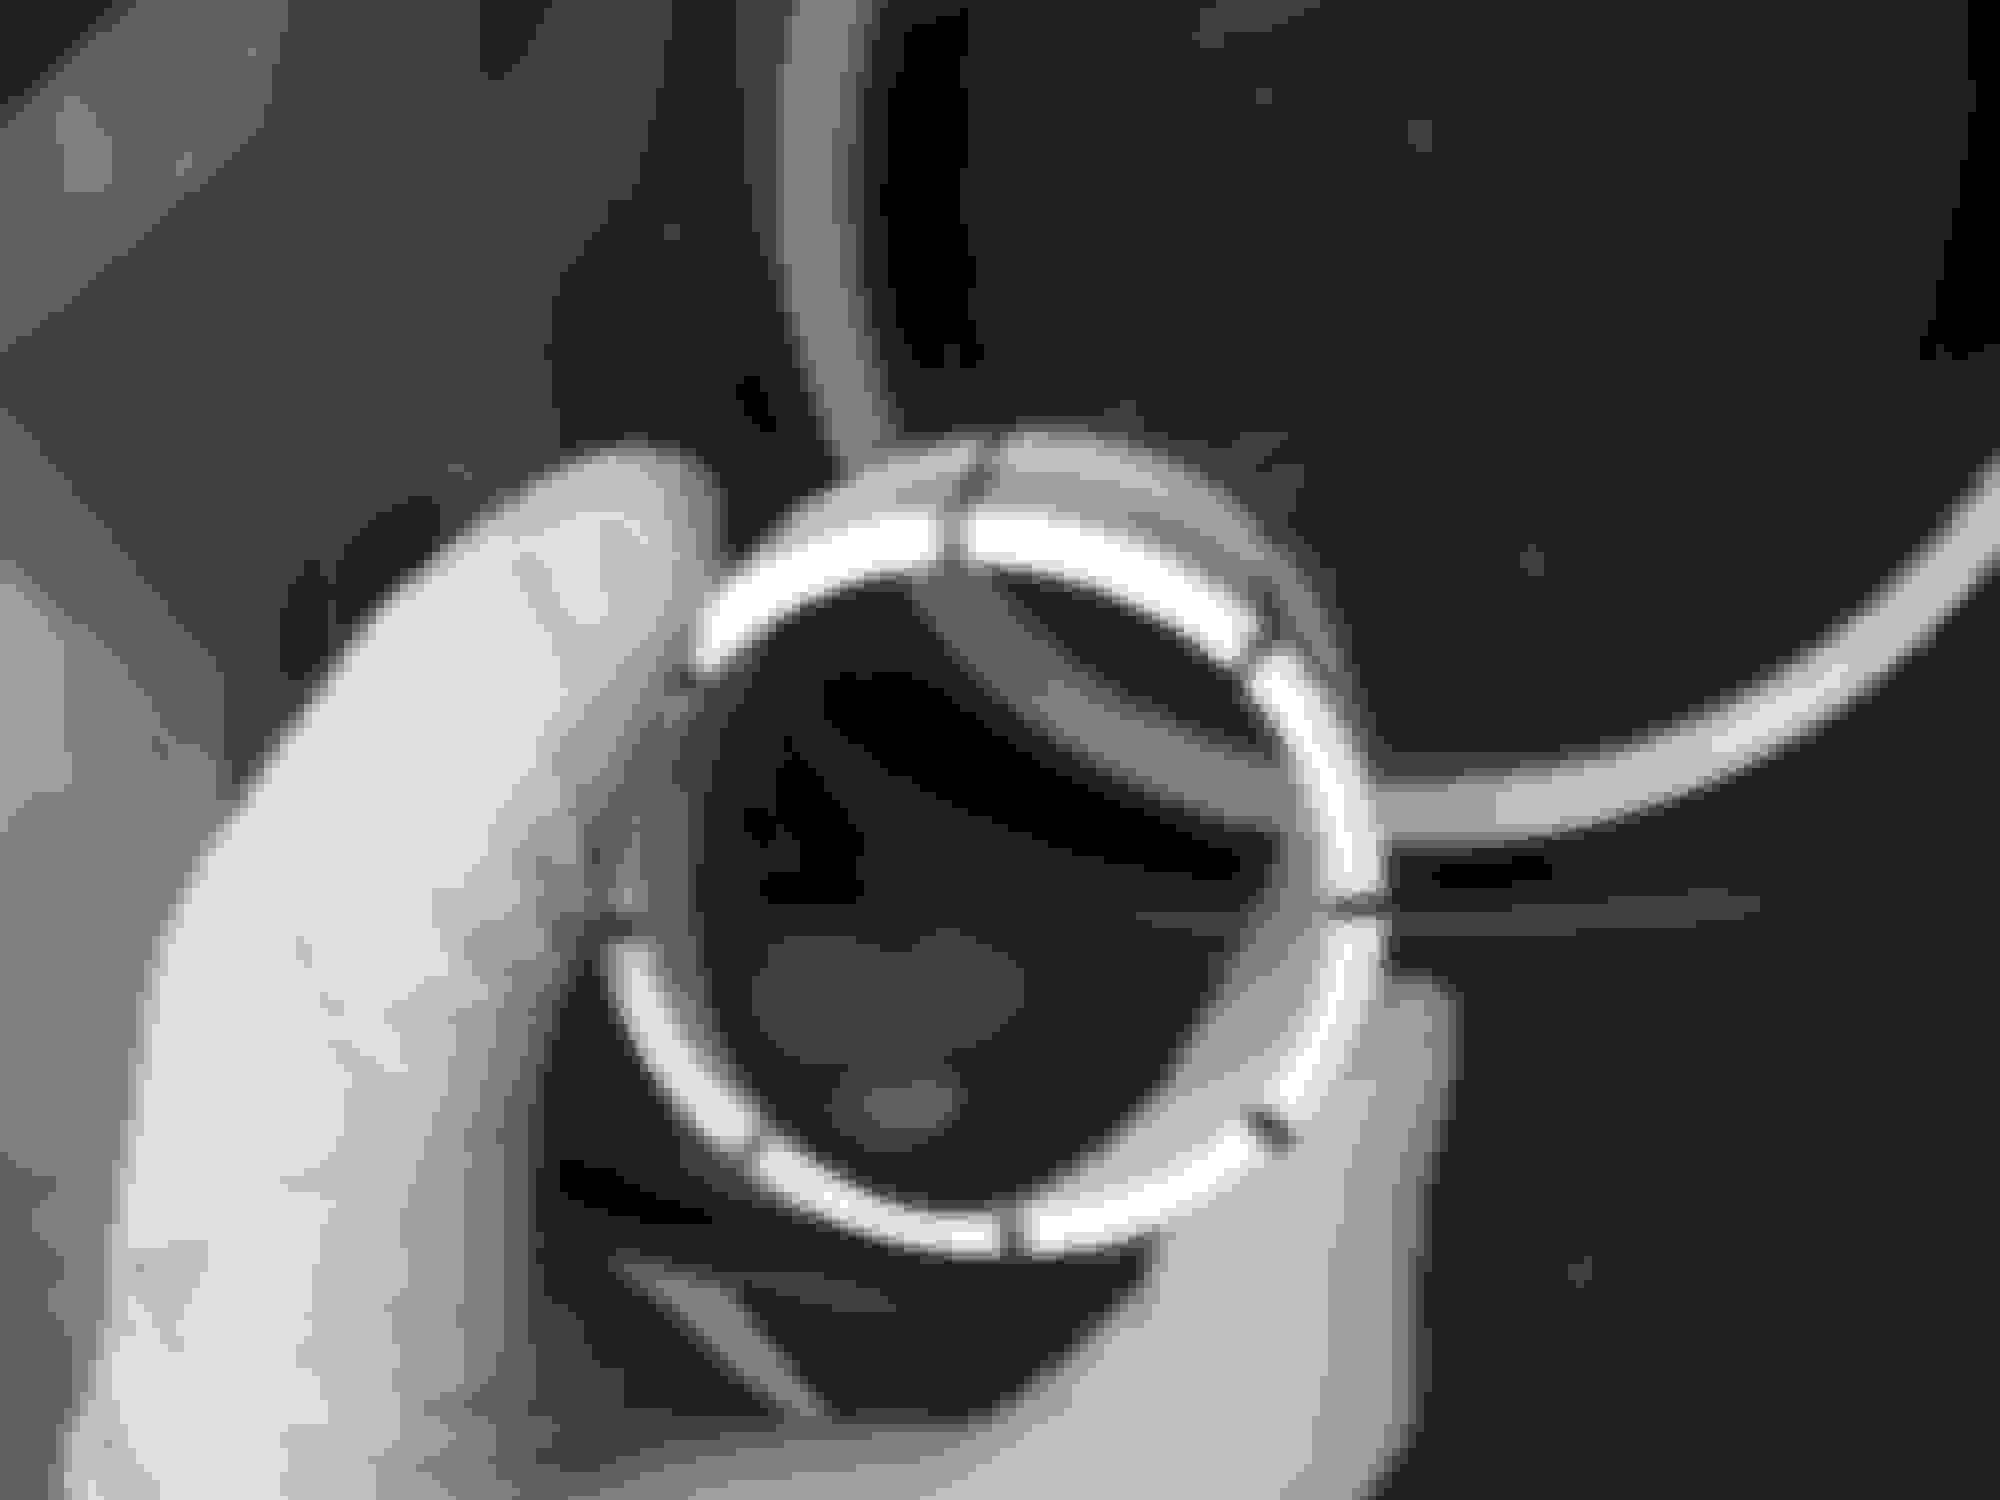
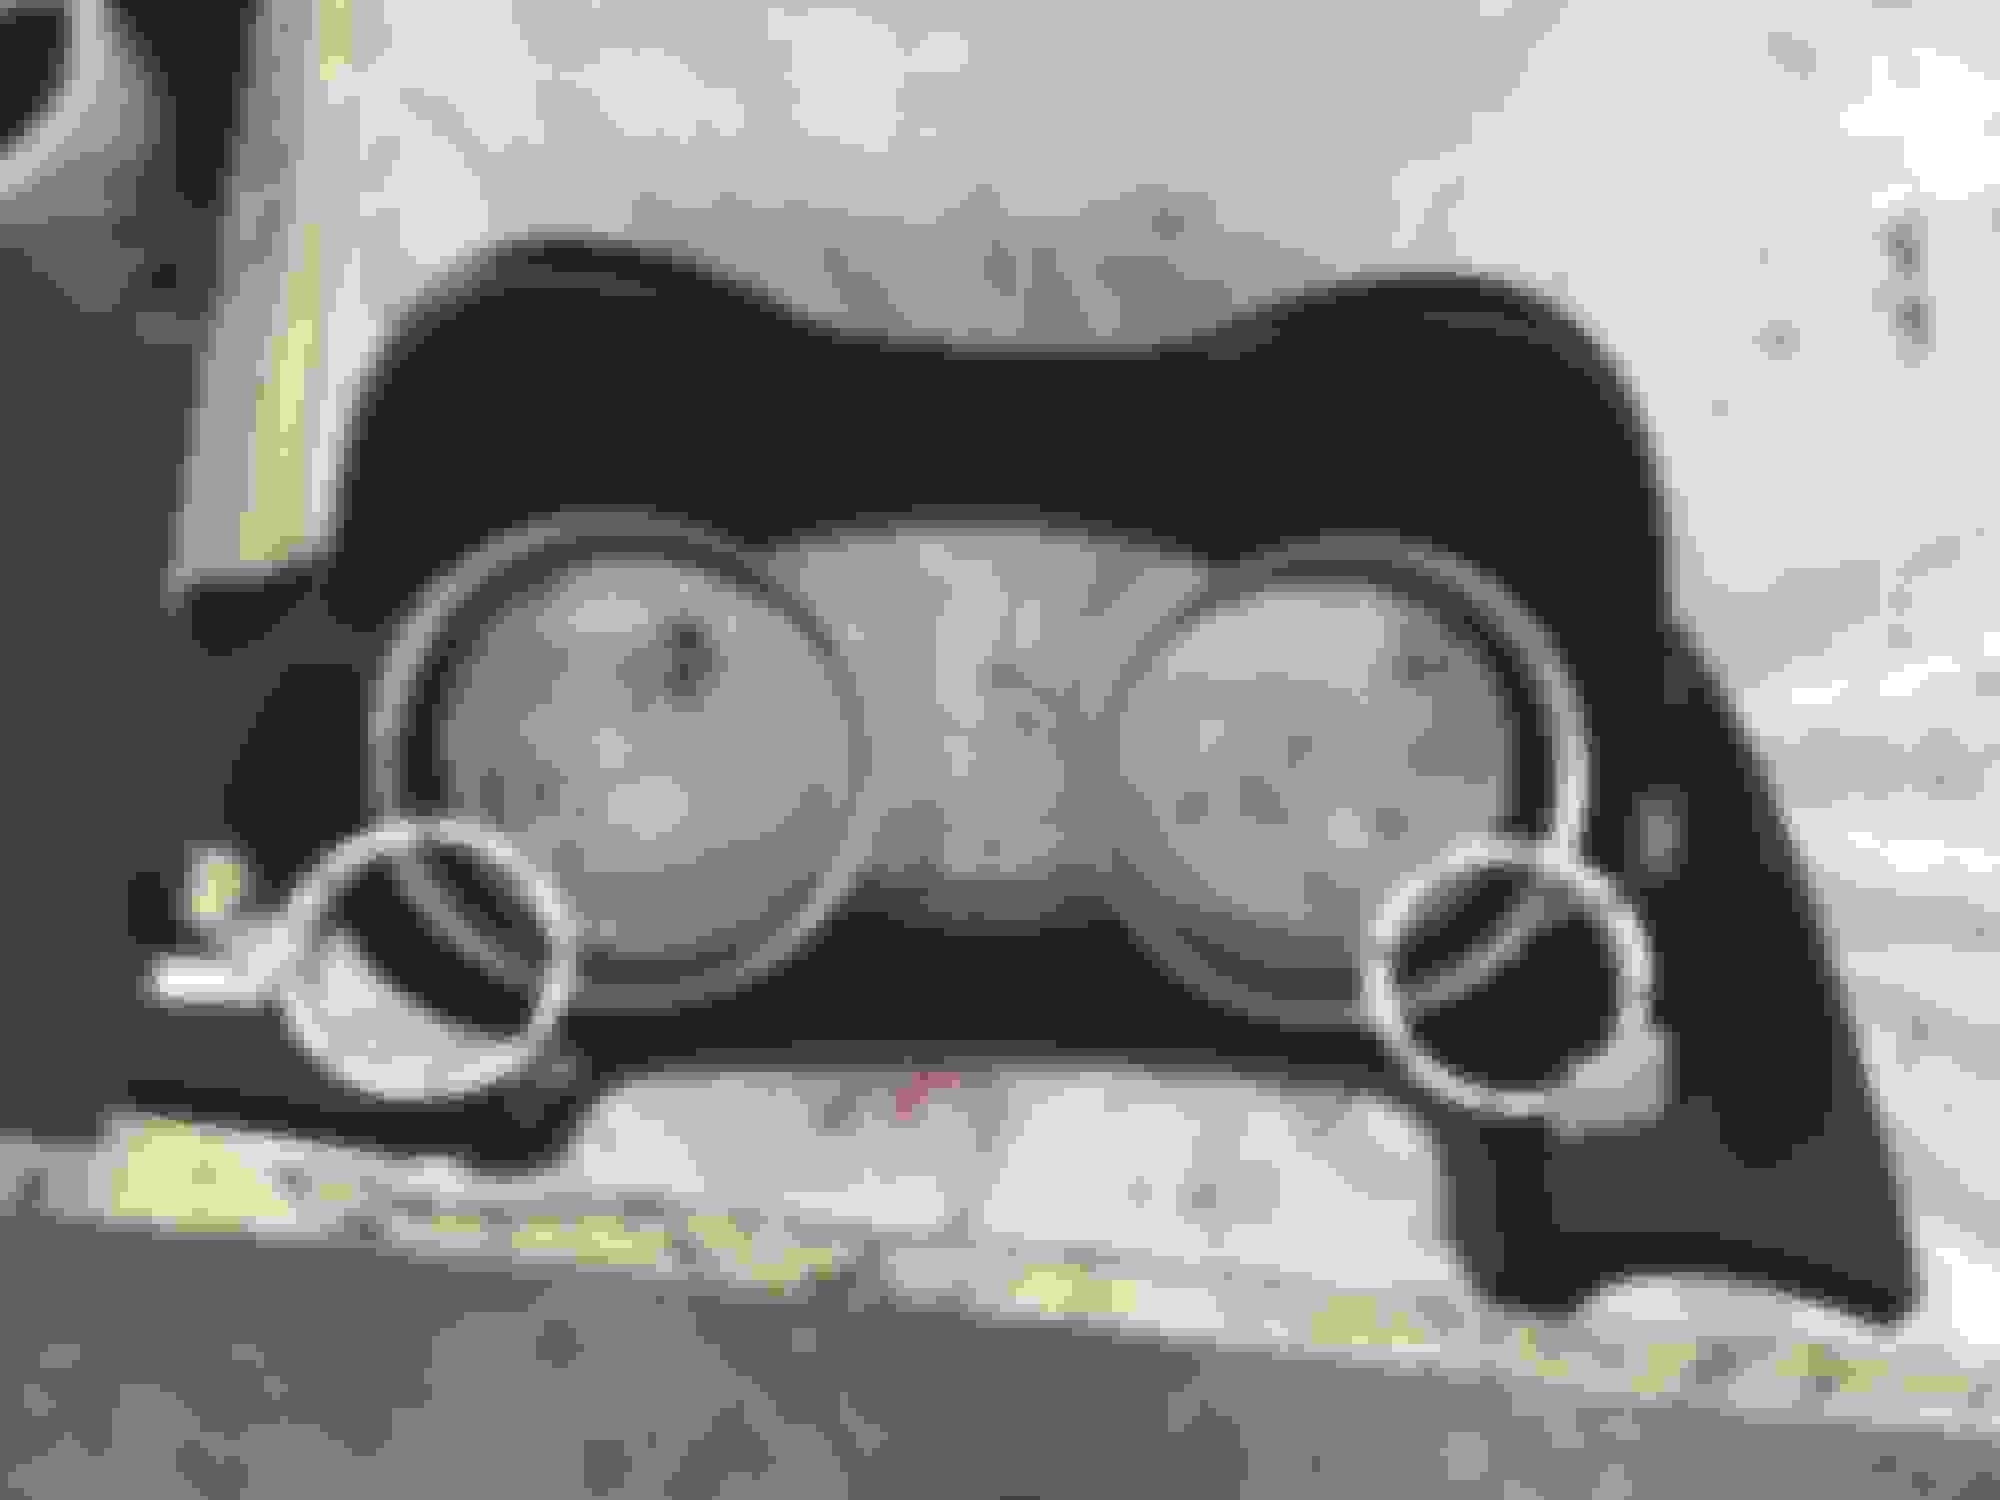
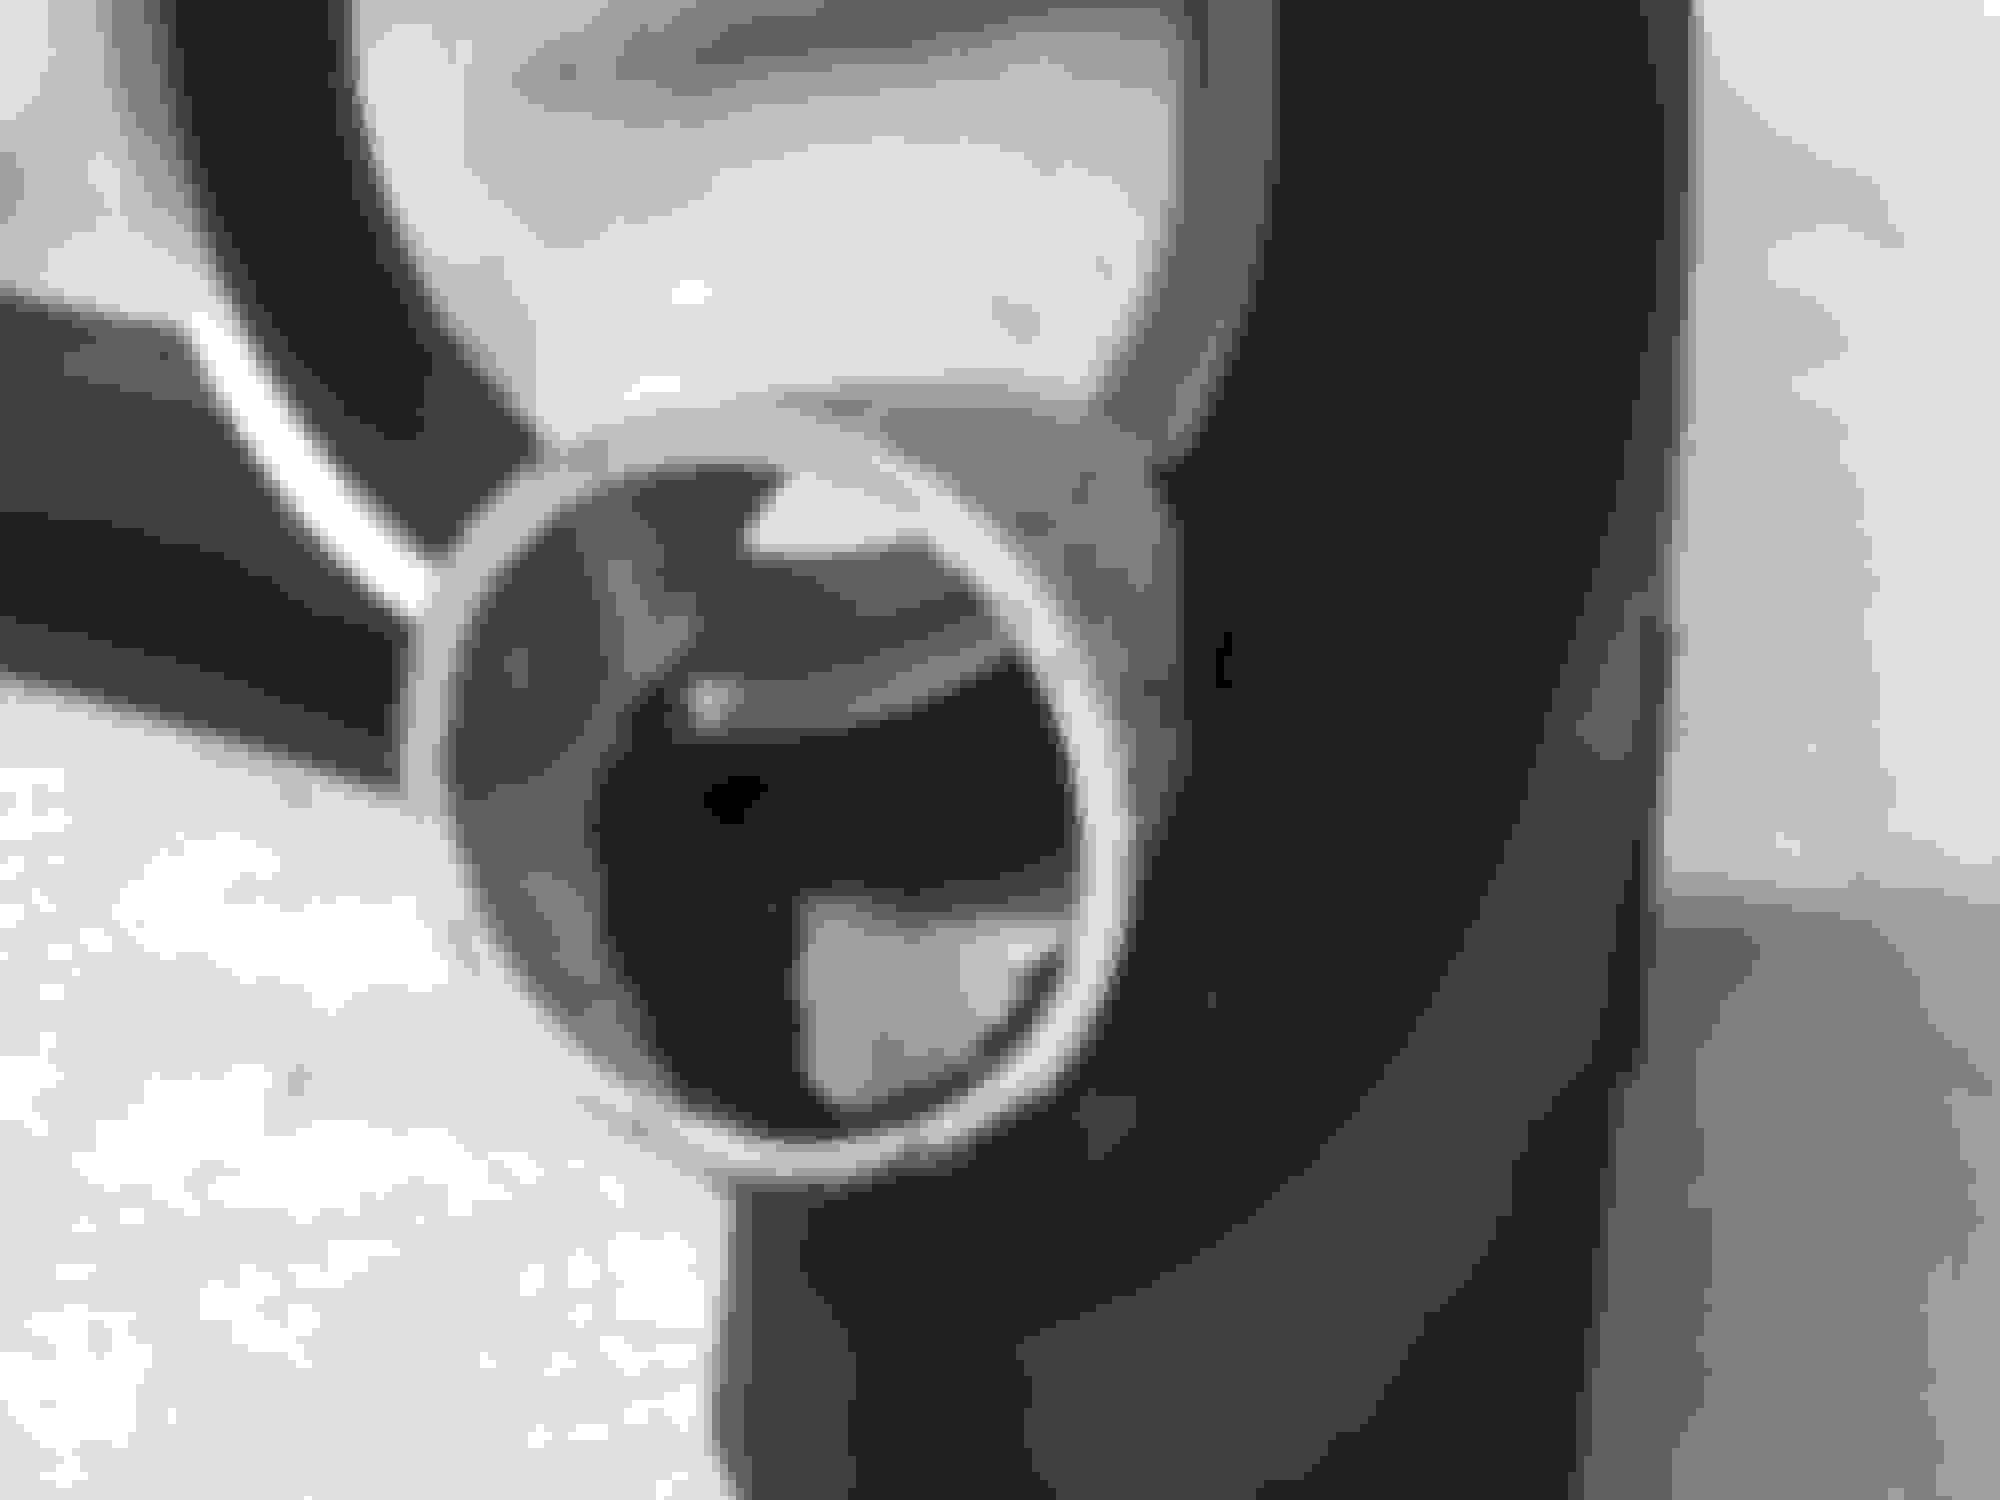
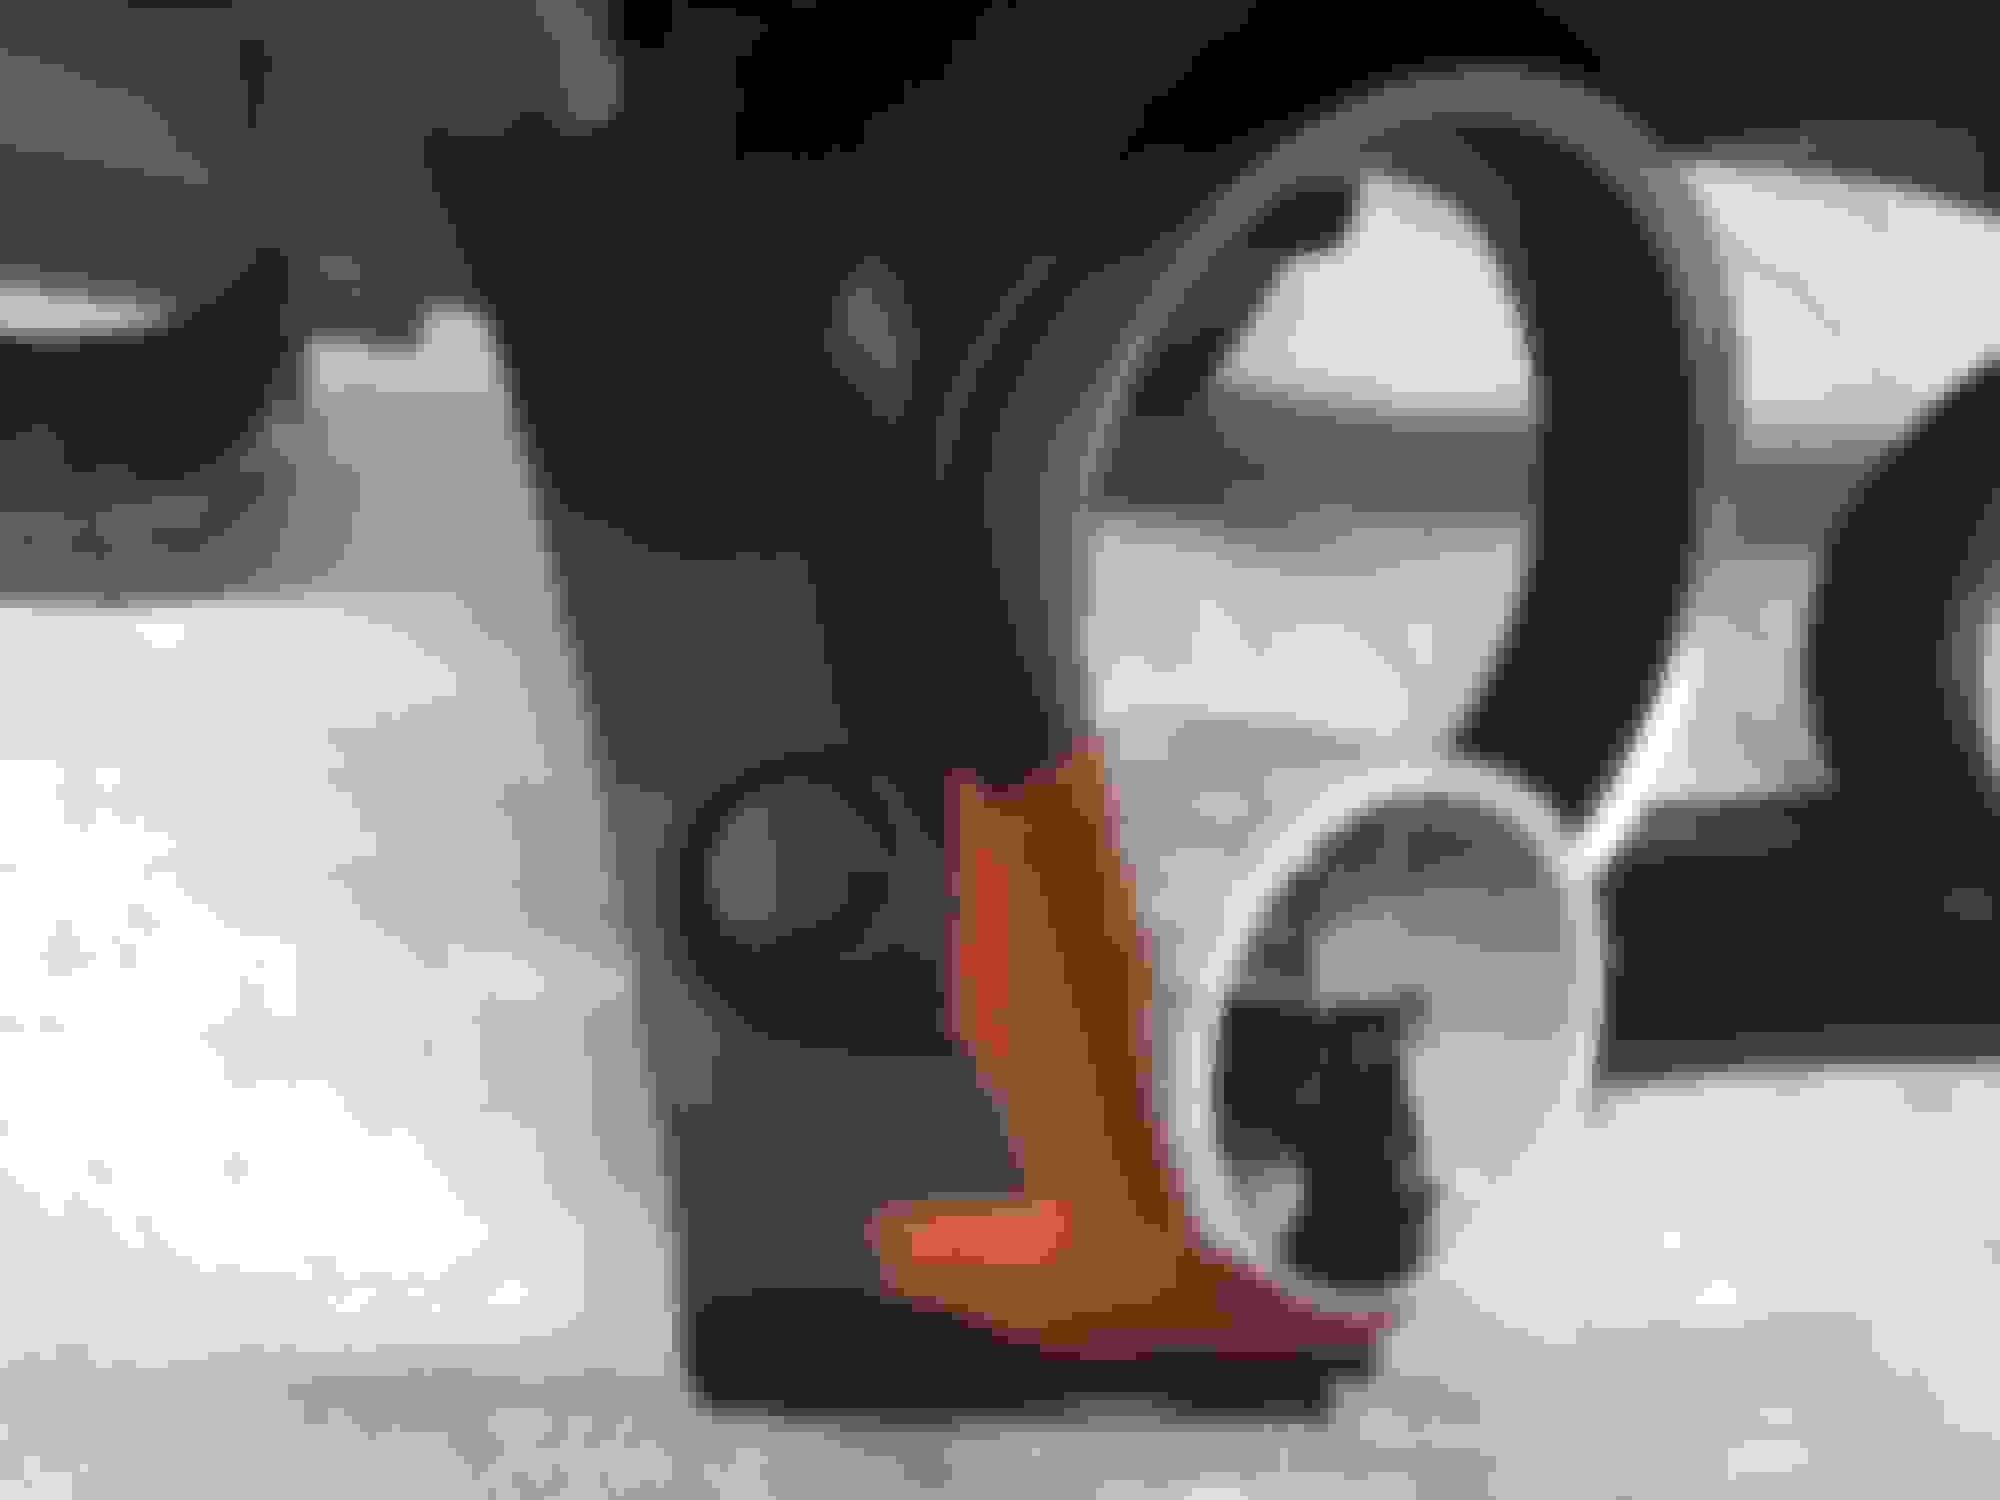
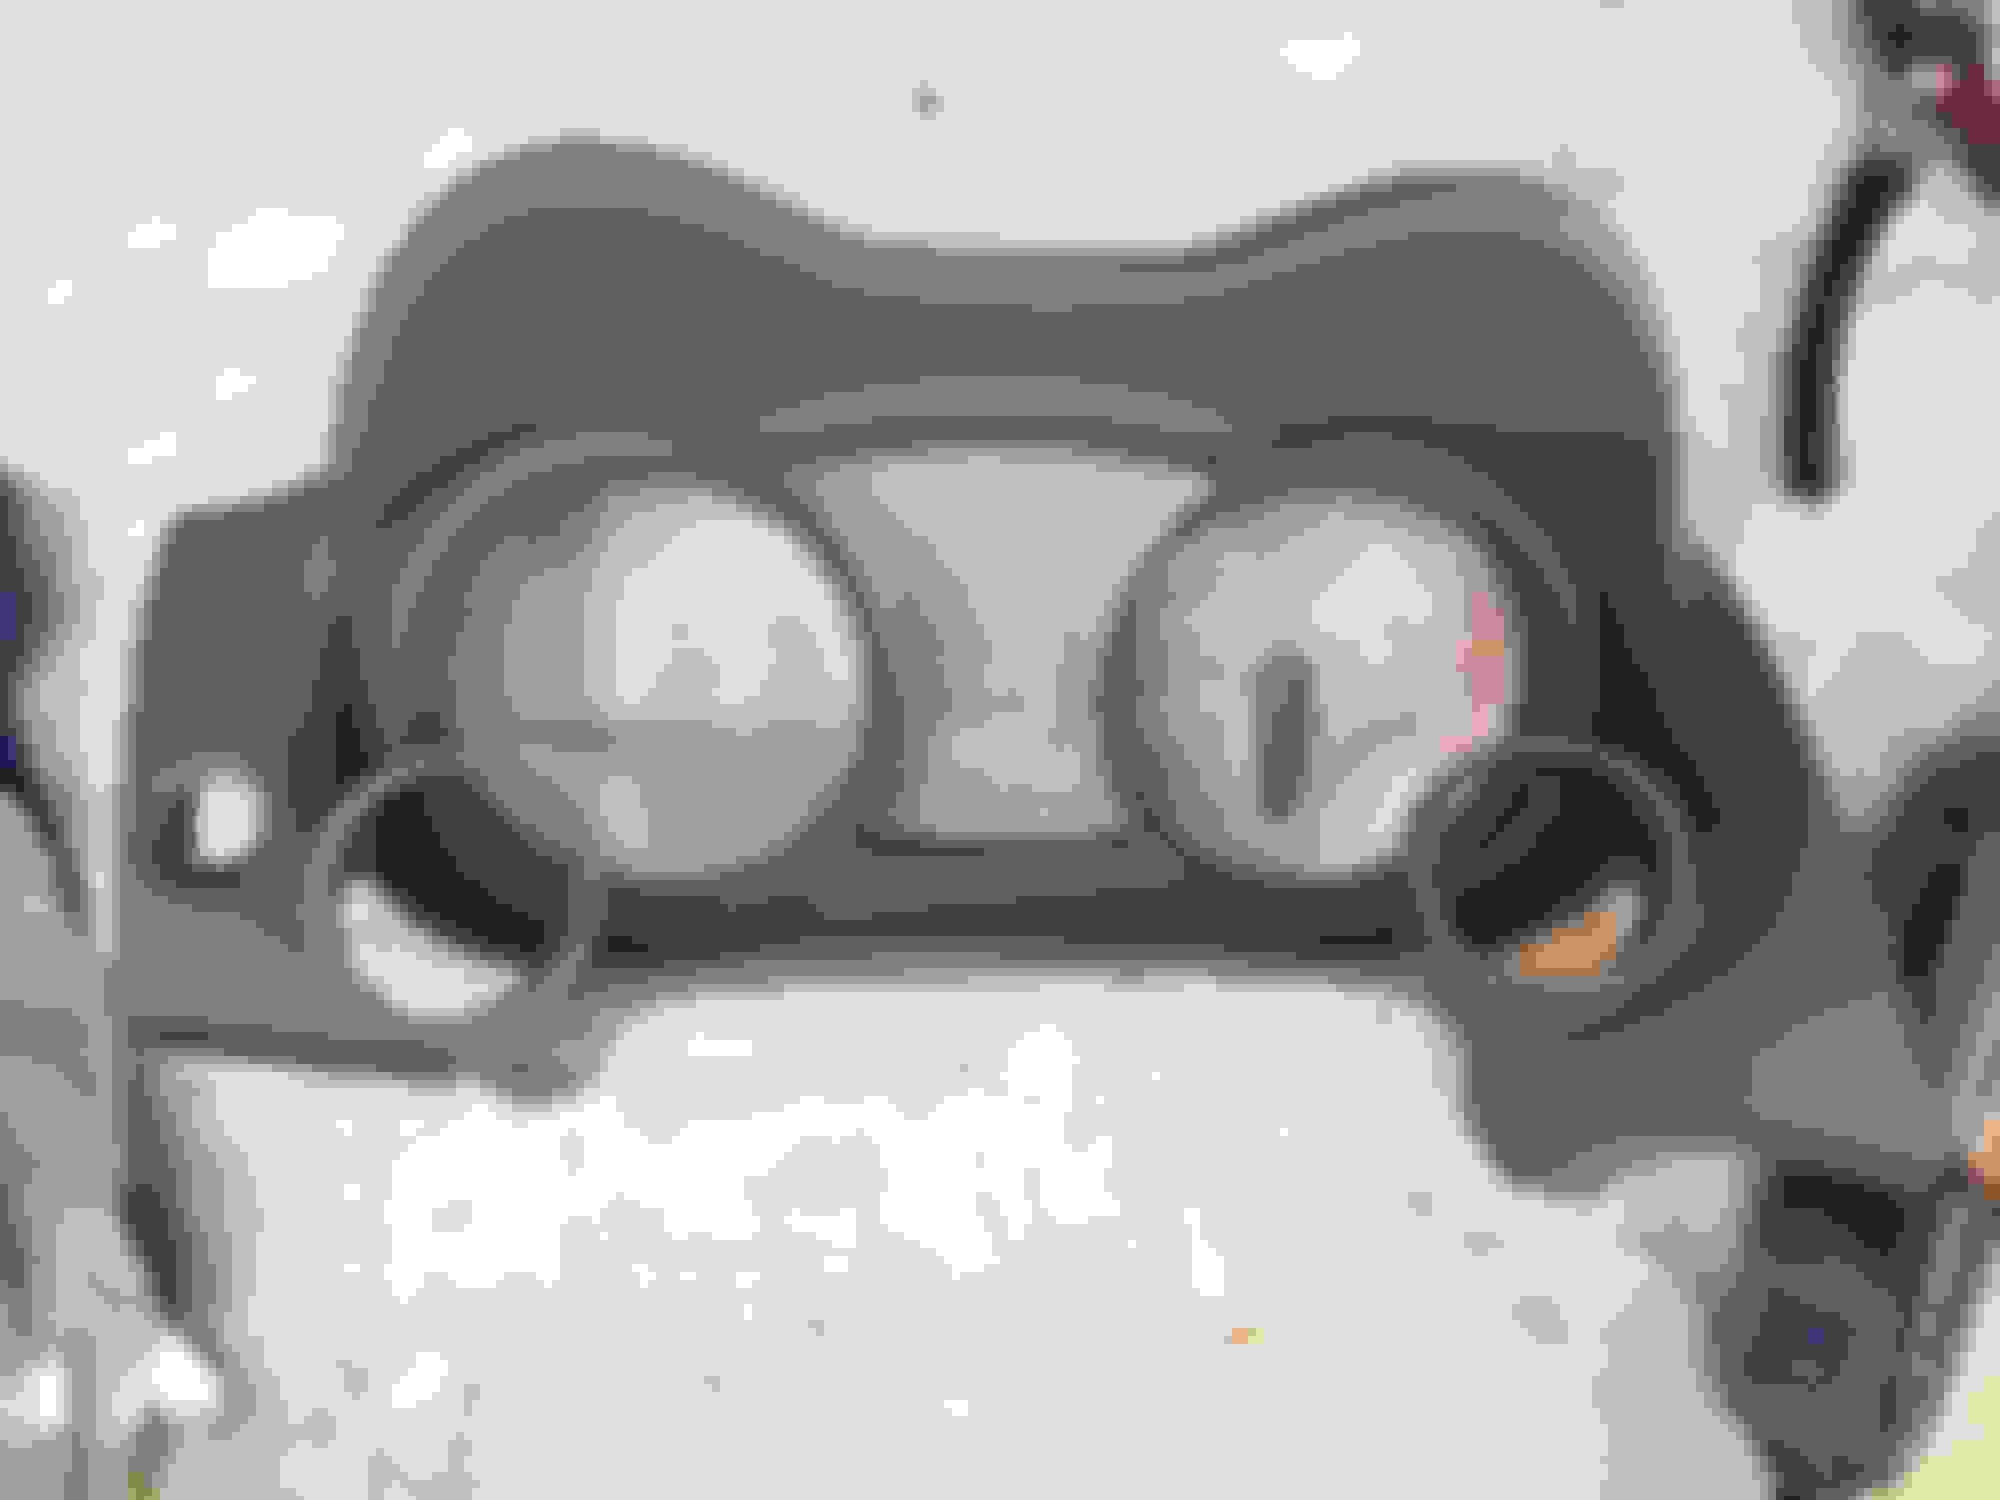
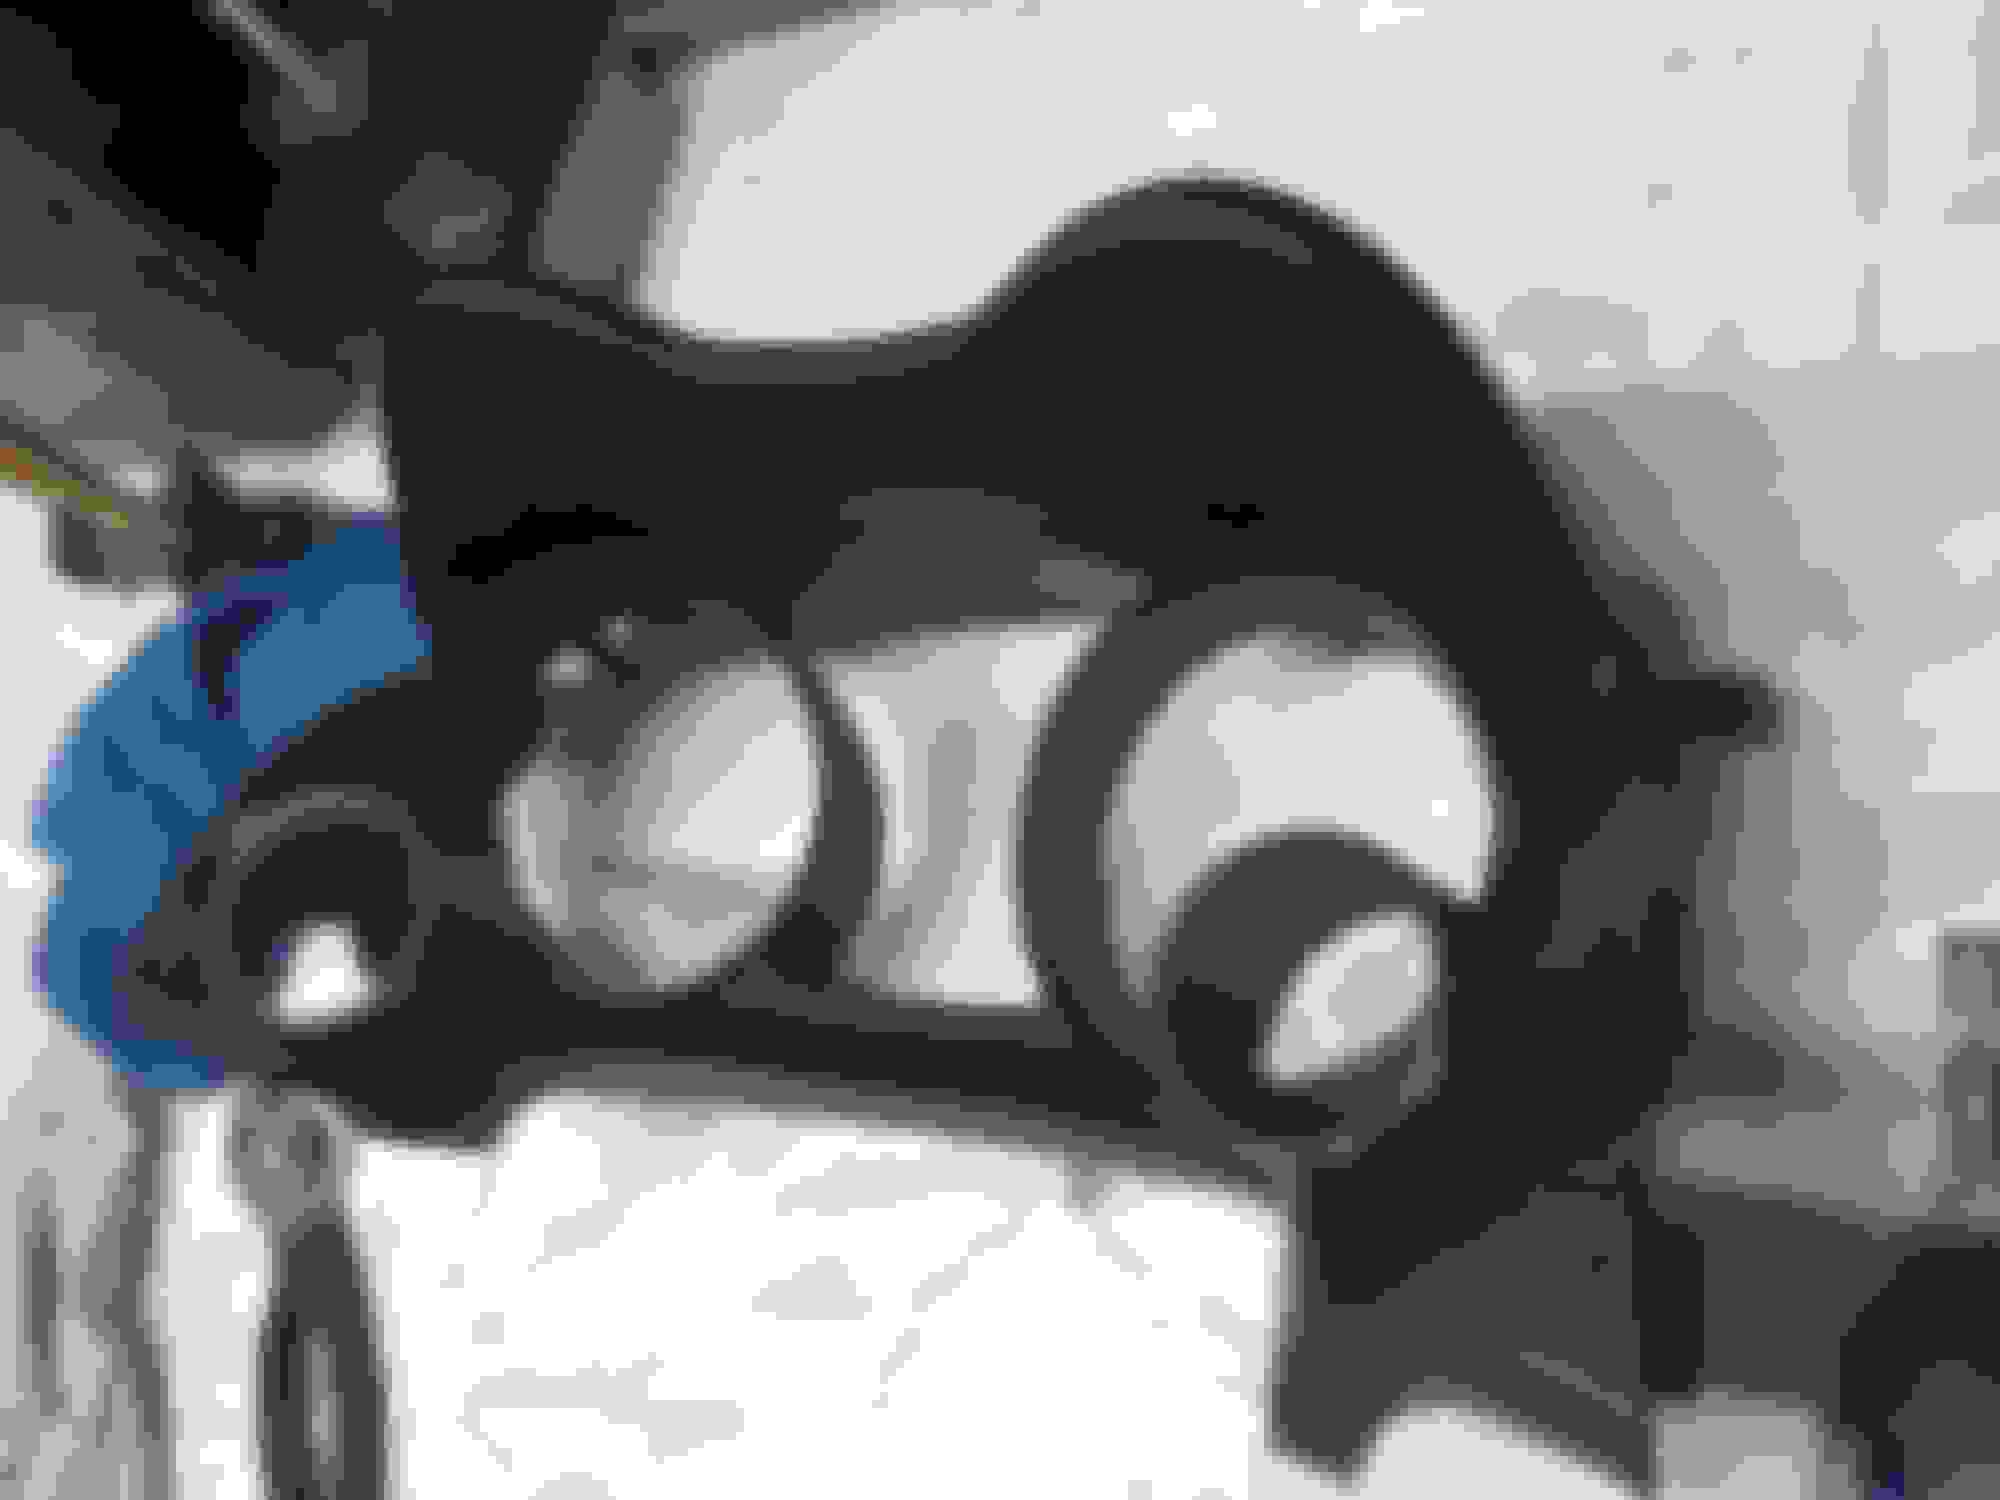
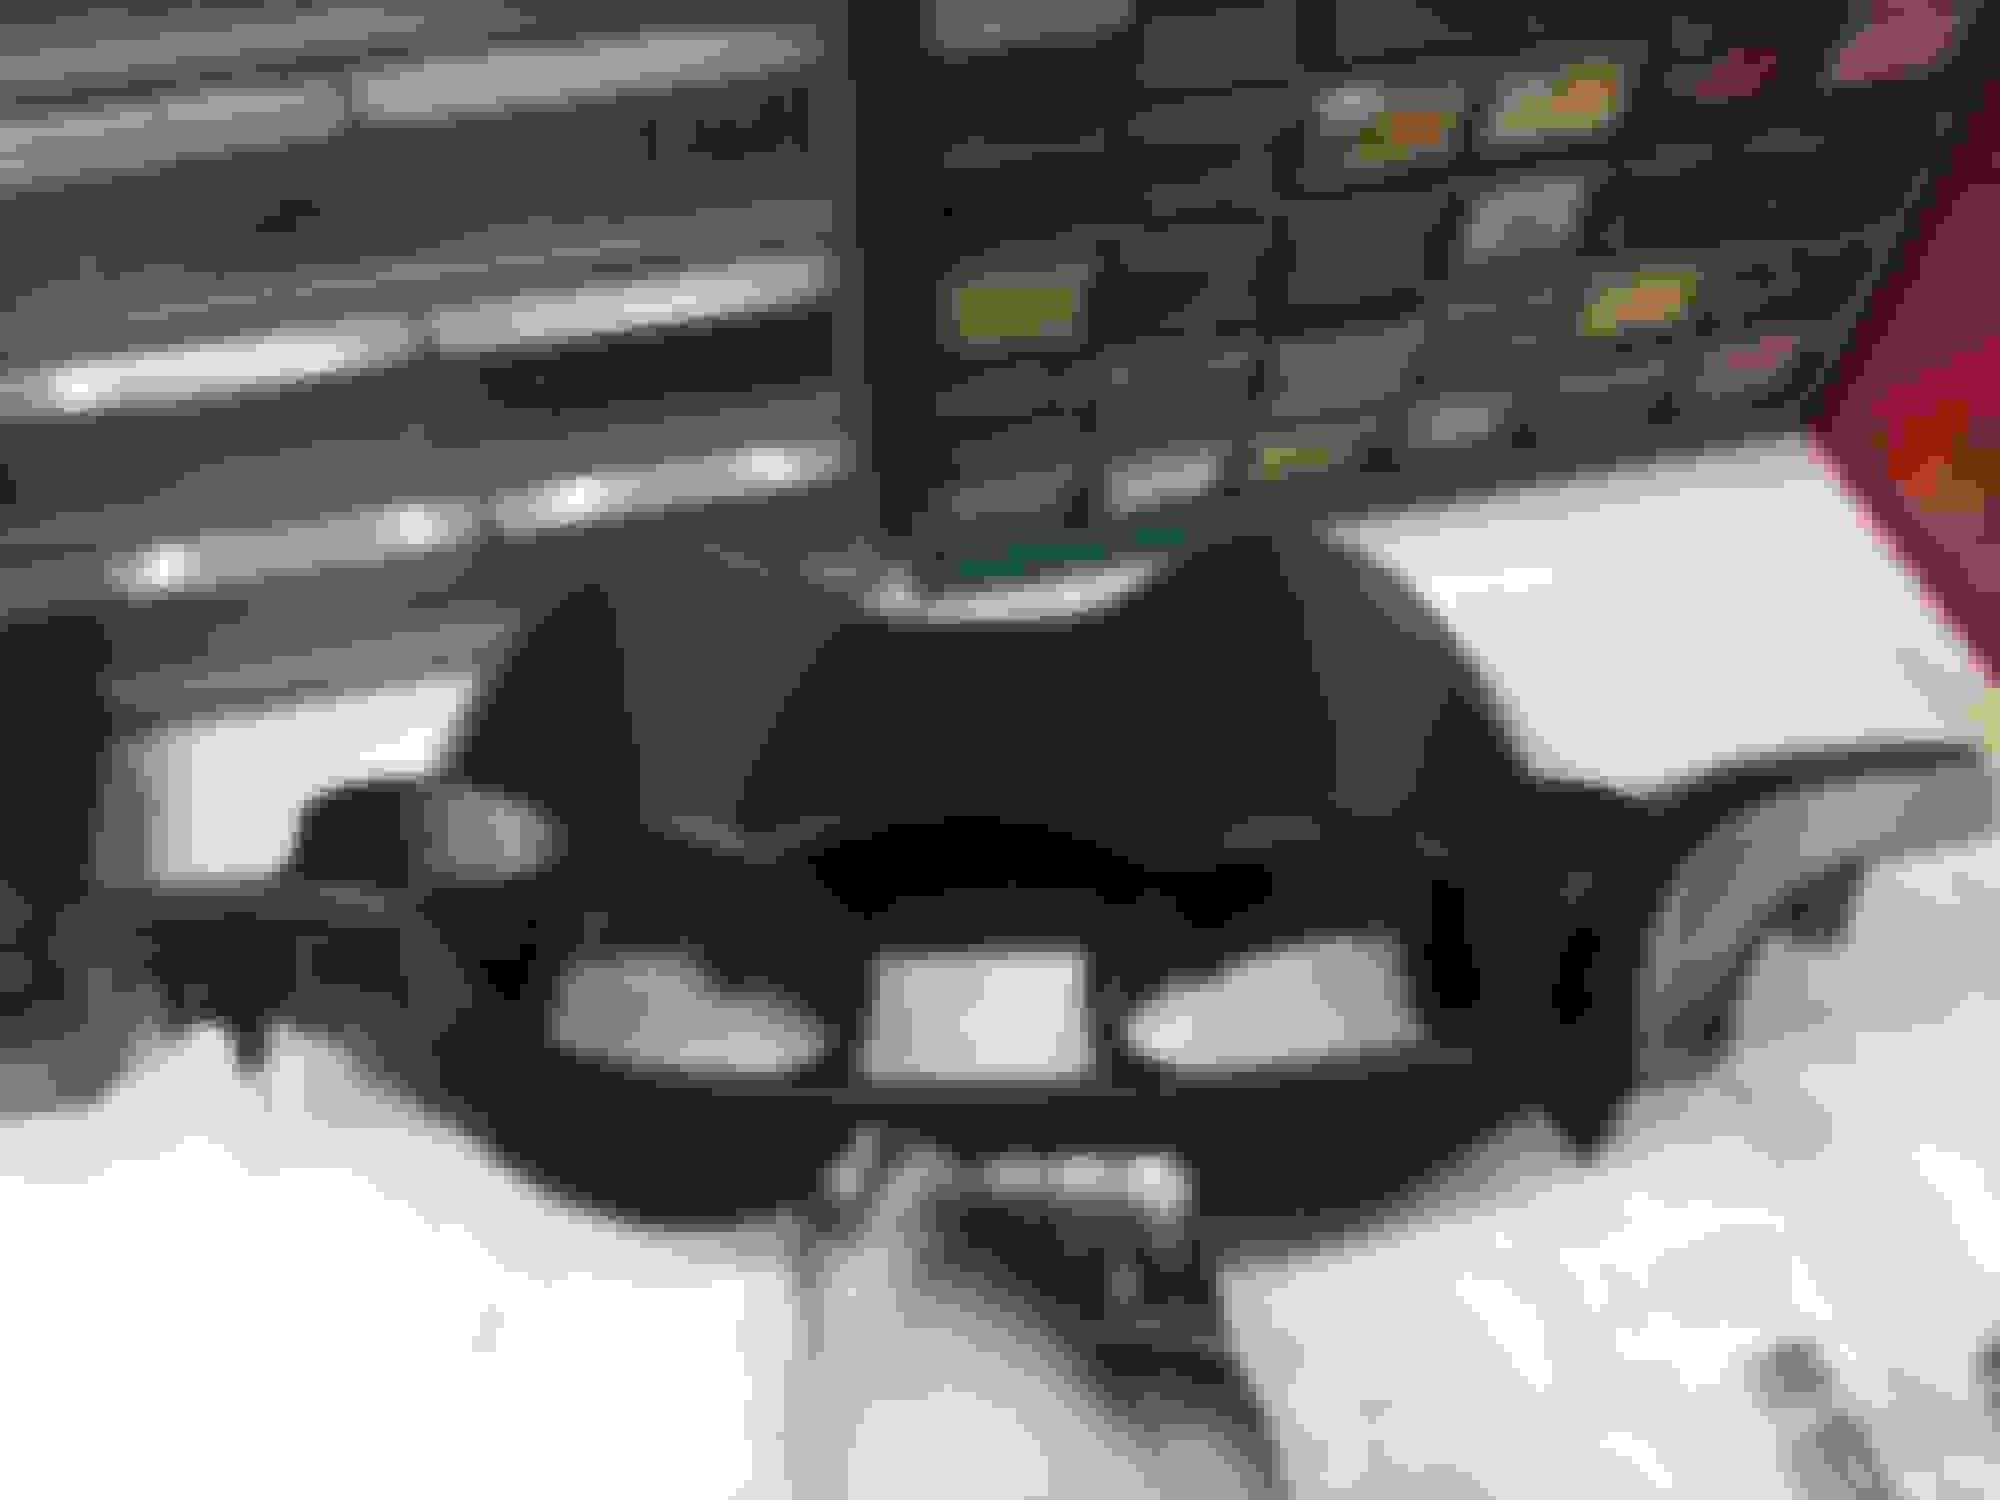
And here is test fitting with the gauge on top of the cut out as well as the other side being test fitted. Also took from different angles to show you that both gauge pods are actually aimed towards the driver and upward so it's in good viewing angle.
Now that everything lines up perfectly the way I want it, I went ahead and started to sand down the gauge pods. I wanted to be lazy and used a belt sander. Will never do it this way again although it was the fastest way. It just scratches up the pods too much, but nothing that bit of filler can't help if needed.
Sanded the surface both top and bottom side where the epoxy and pod will be touching or close to it and applied some plastic epoxy.
Now this is where all the fun happens with sanding.
After this is applying some bondo to fill in the gaps or any imperfections until you get it pretty smooth all around and then sanding it down.
Now that it's starting to look good, went and primed it so i can see anything else that I missed and then sanding that portion down as well.
Looking pretty good for my first time. Now time for paint. I know it's not fully painted in these pics, but this was just to get you an idea of how it looked before I finalized everything.
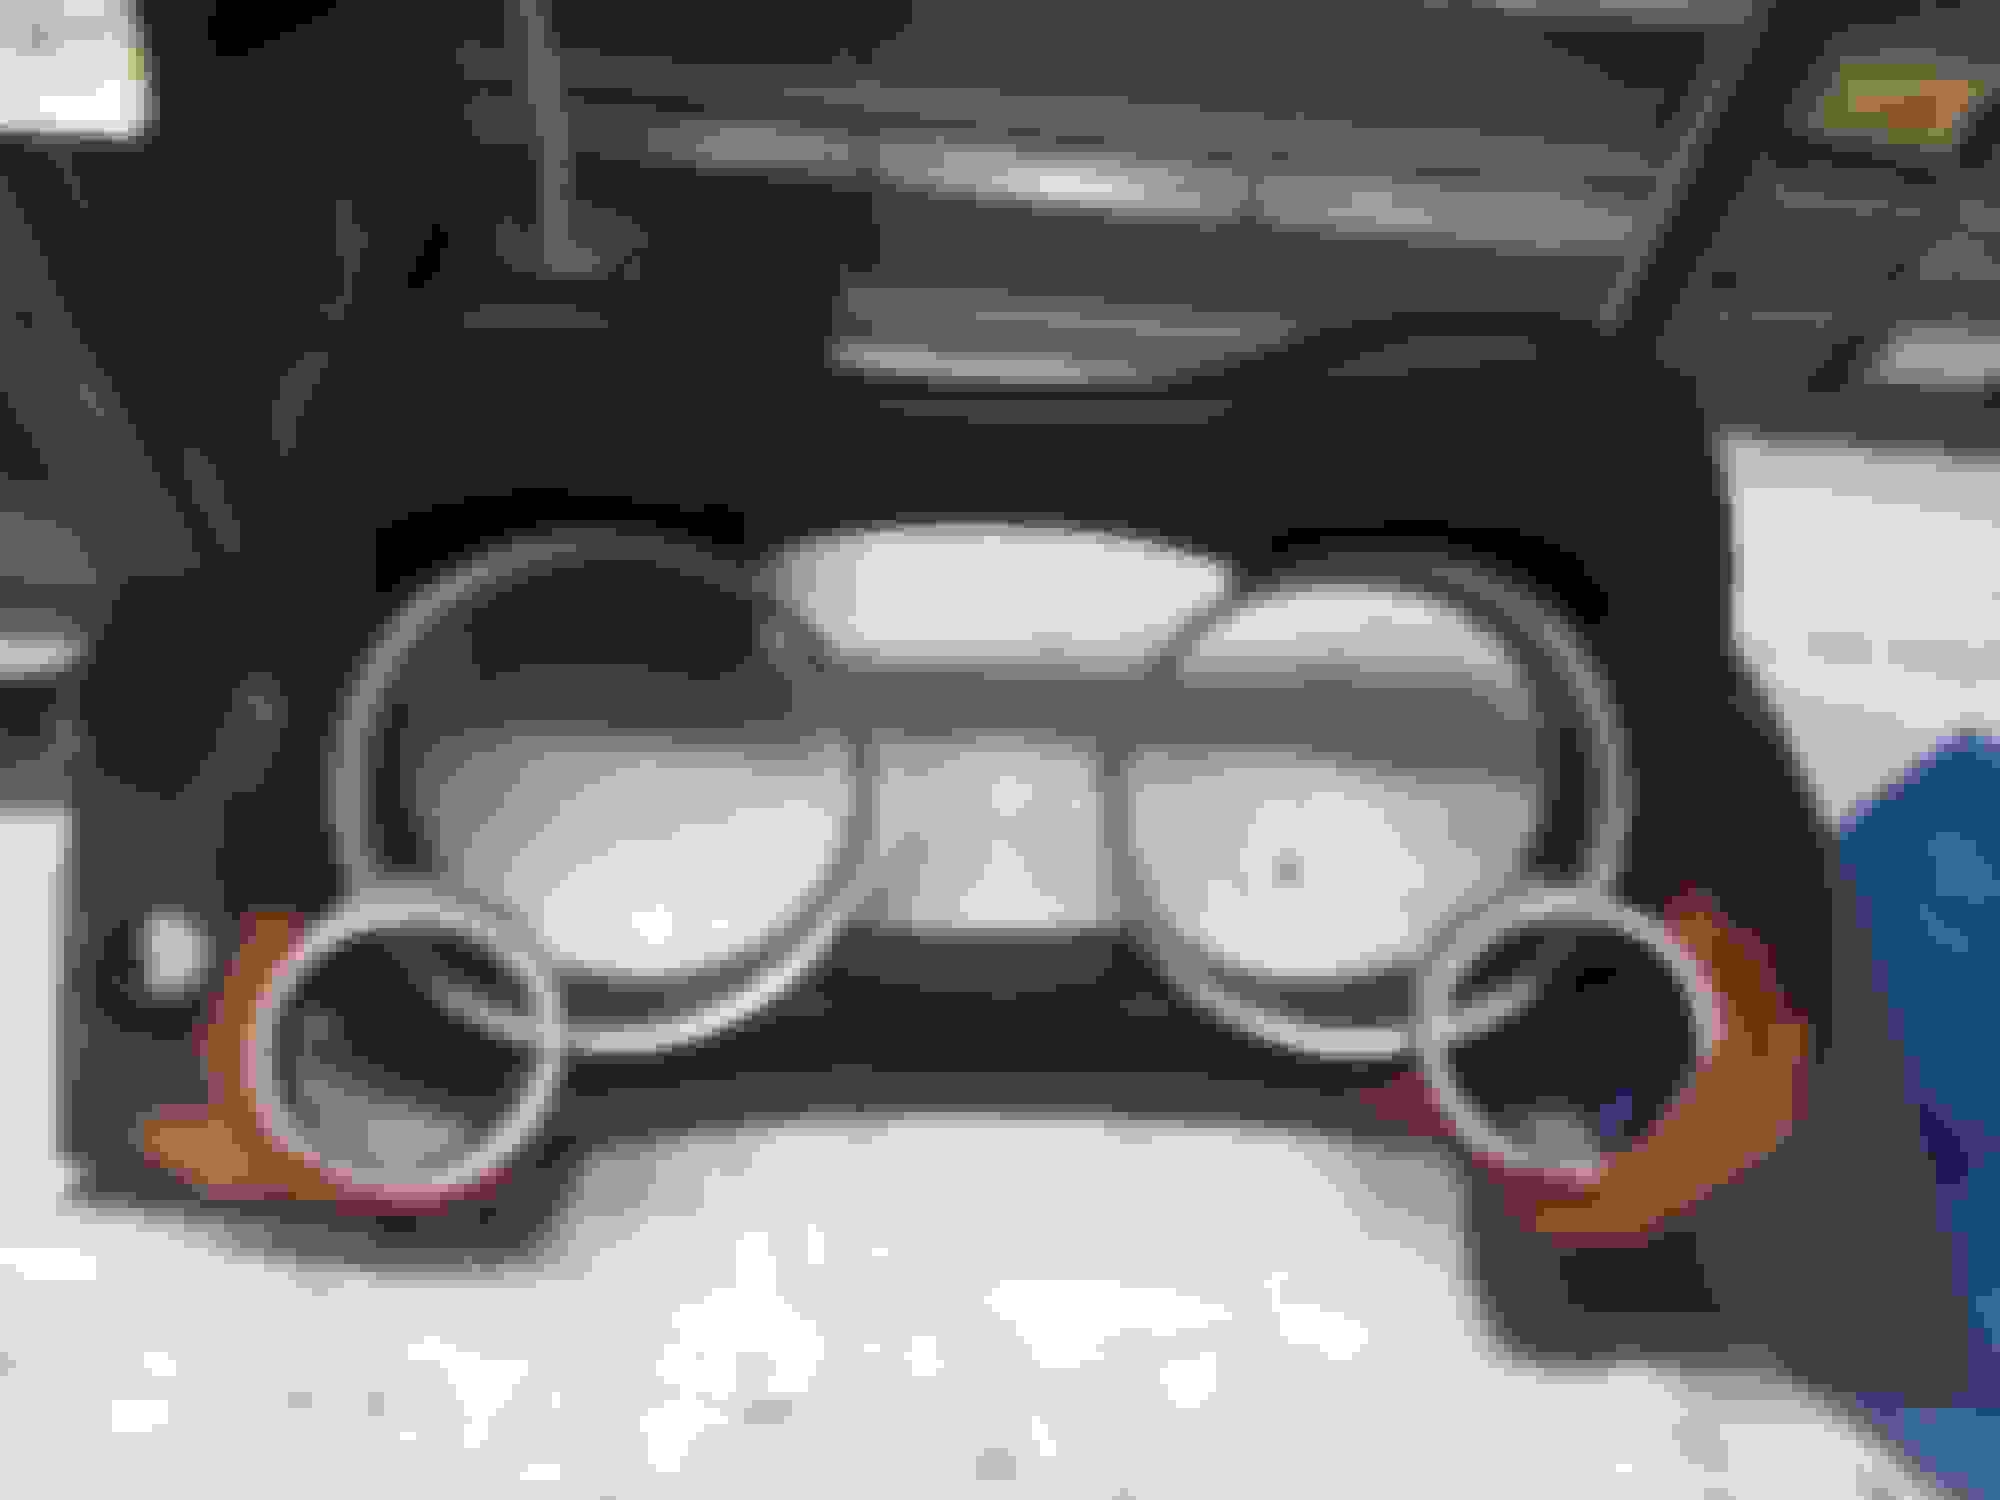
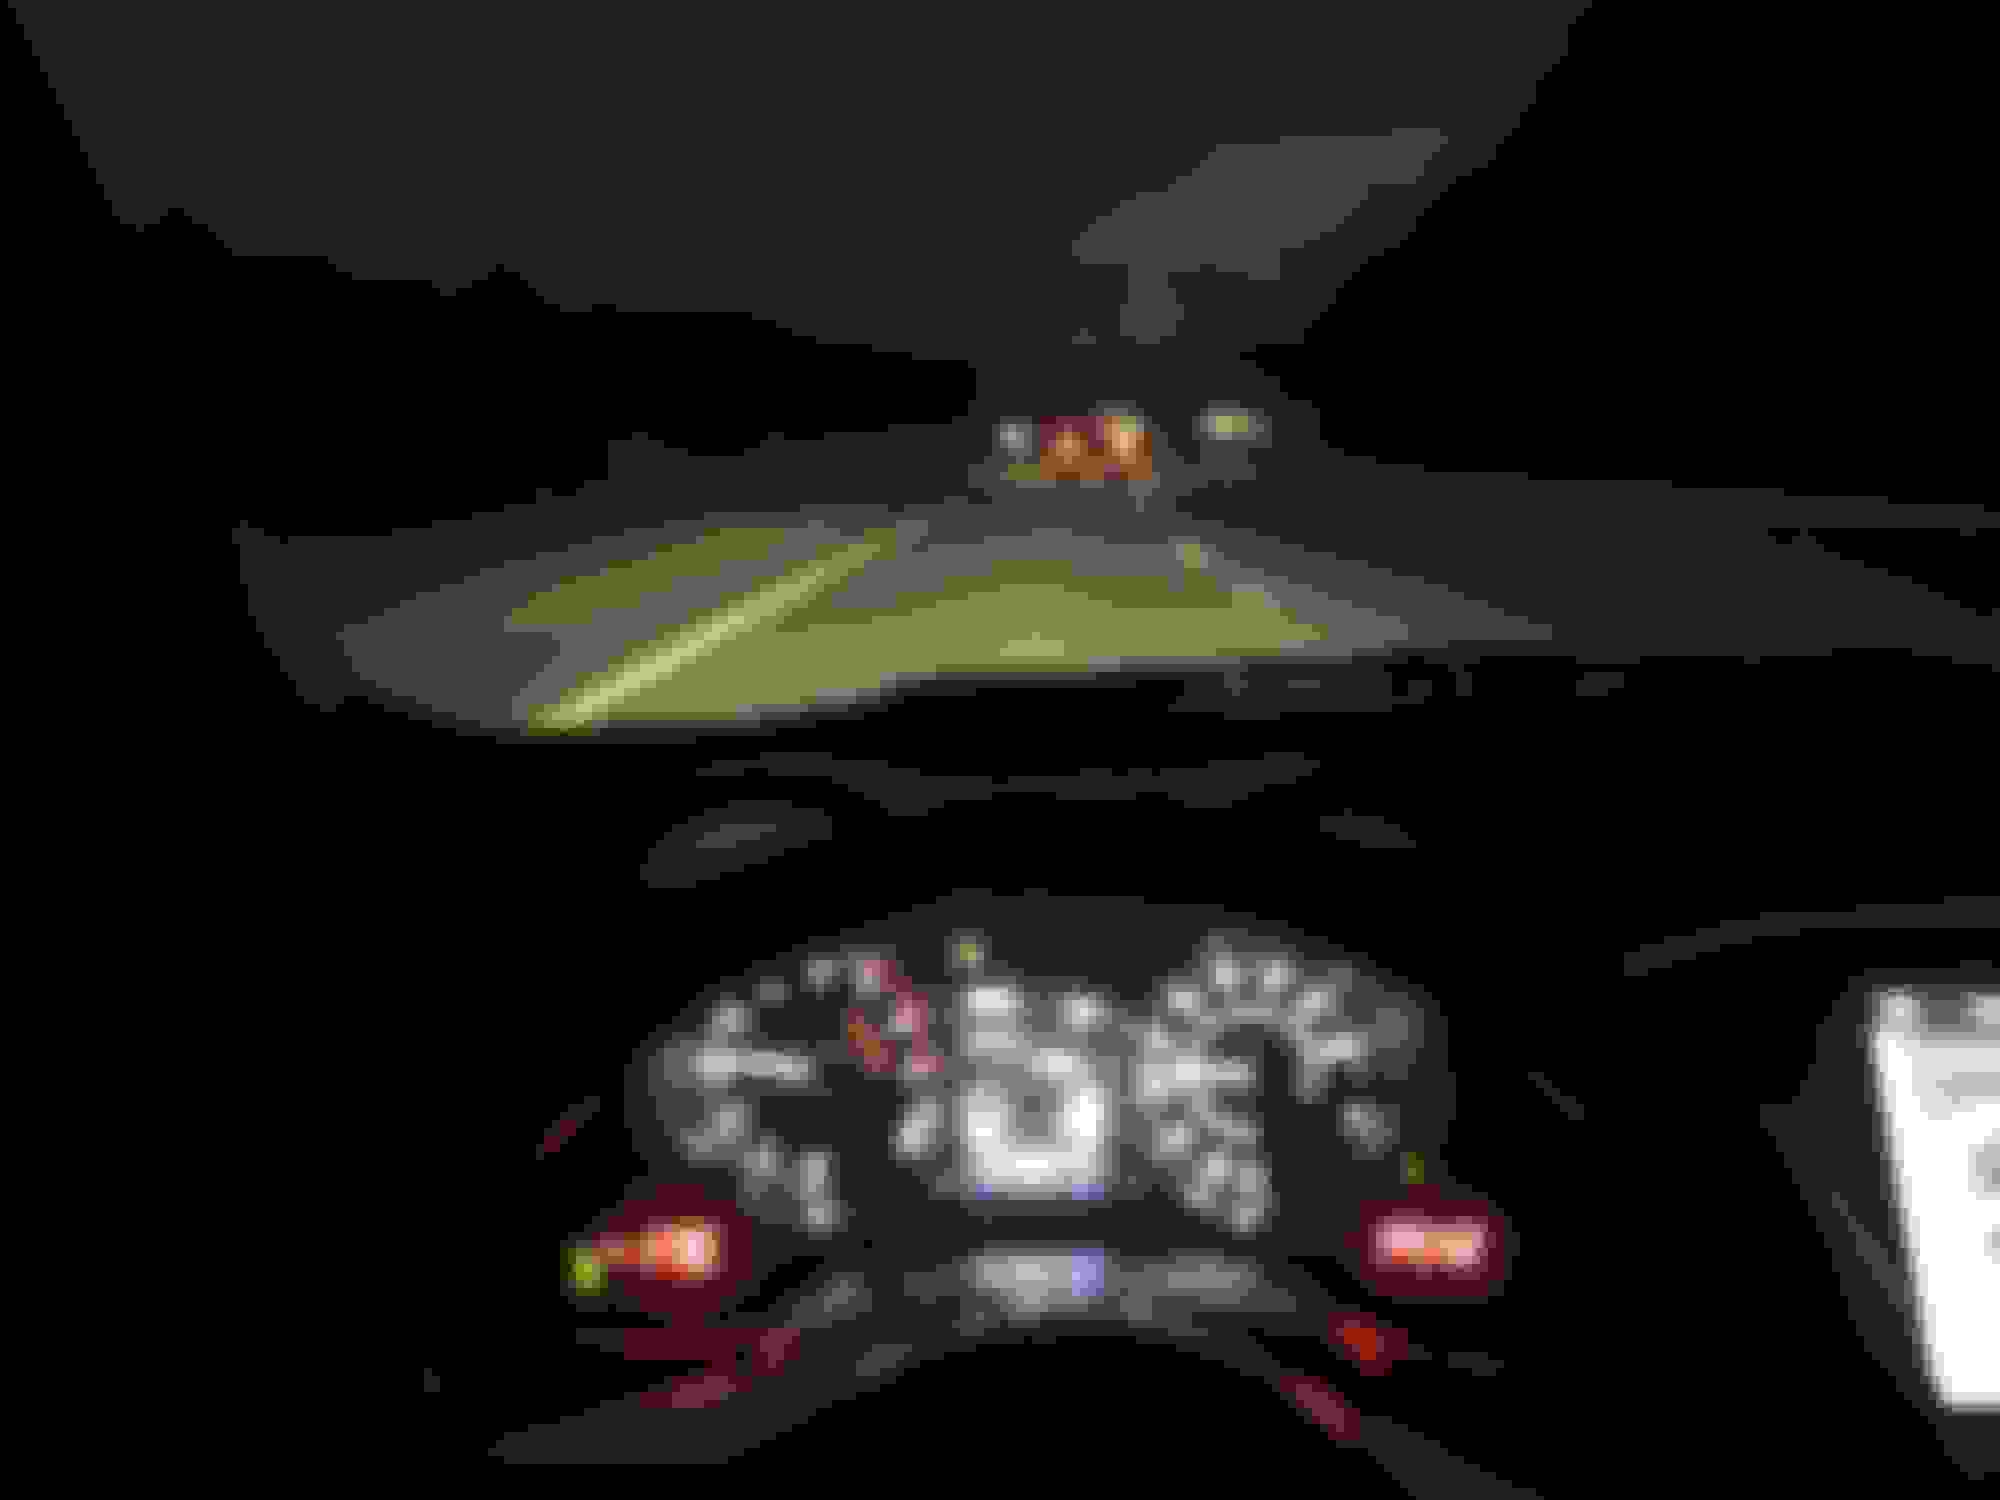
And for the grand finale, everything installed on the car from driver point of view.
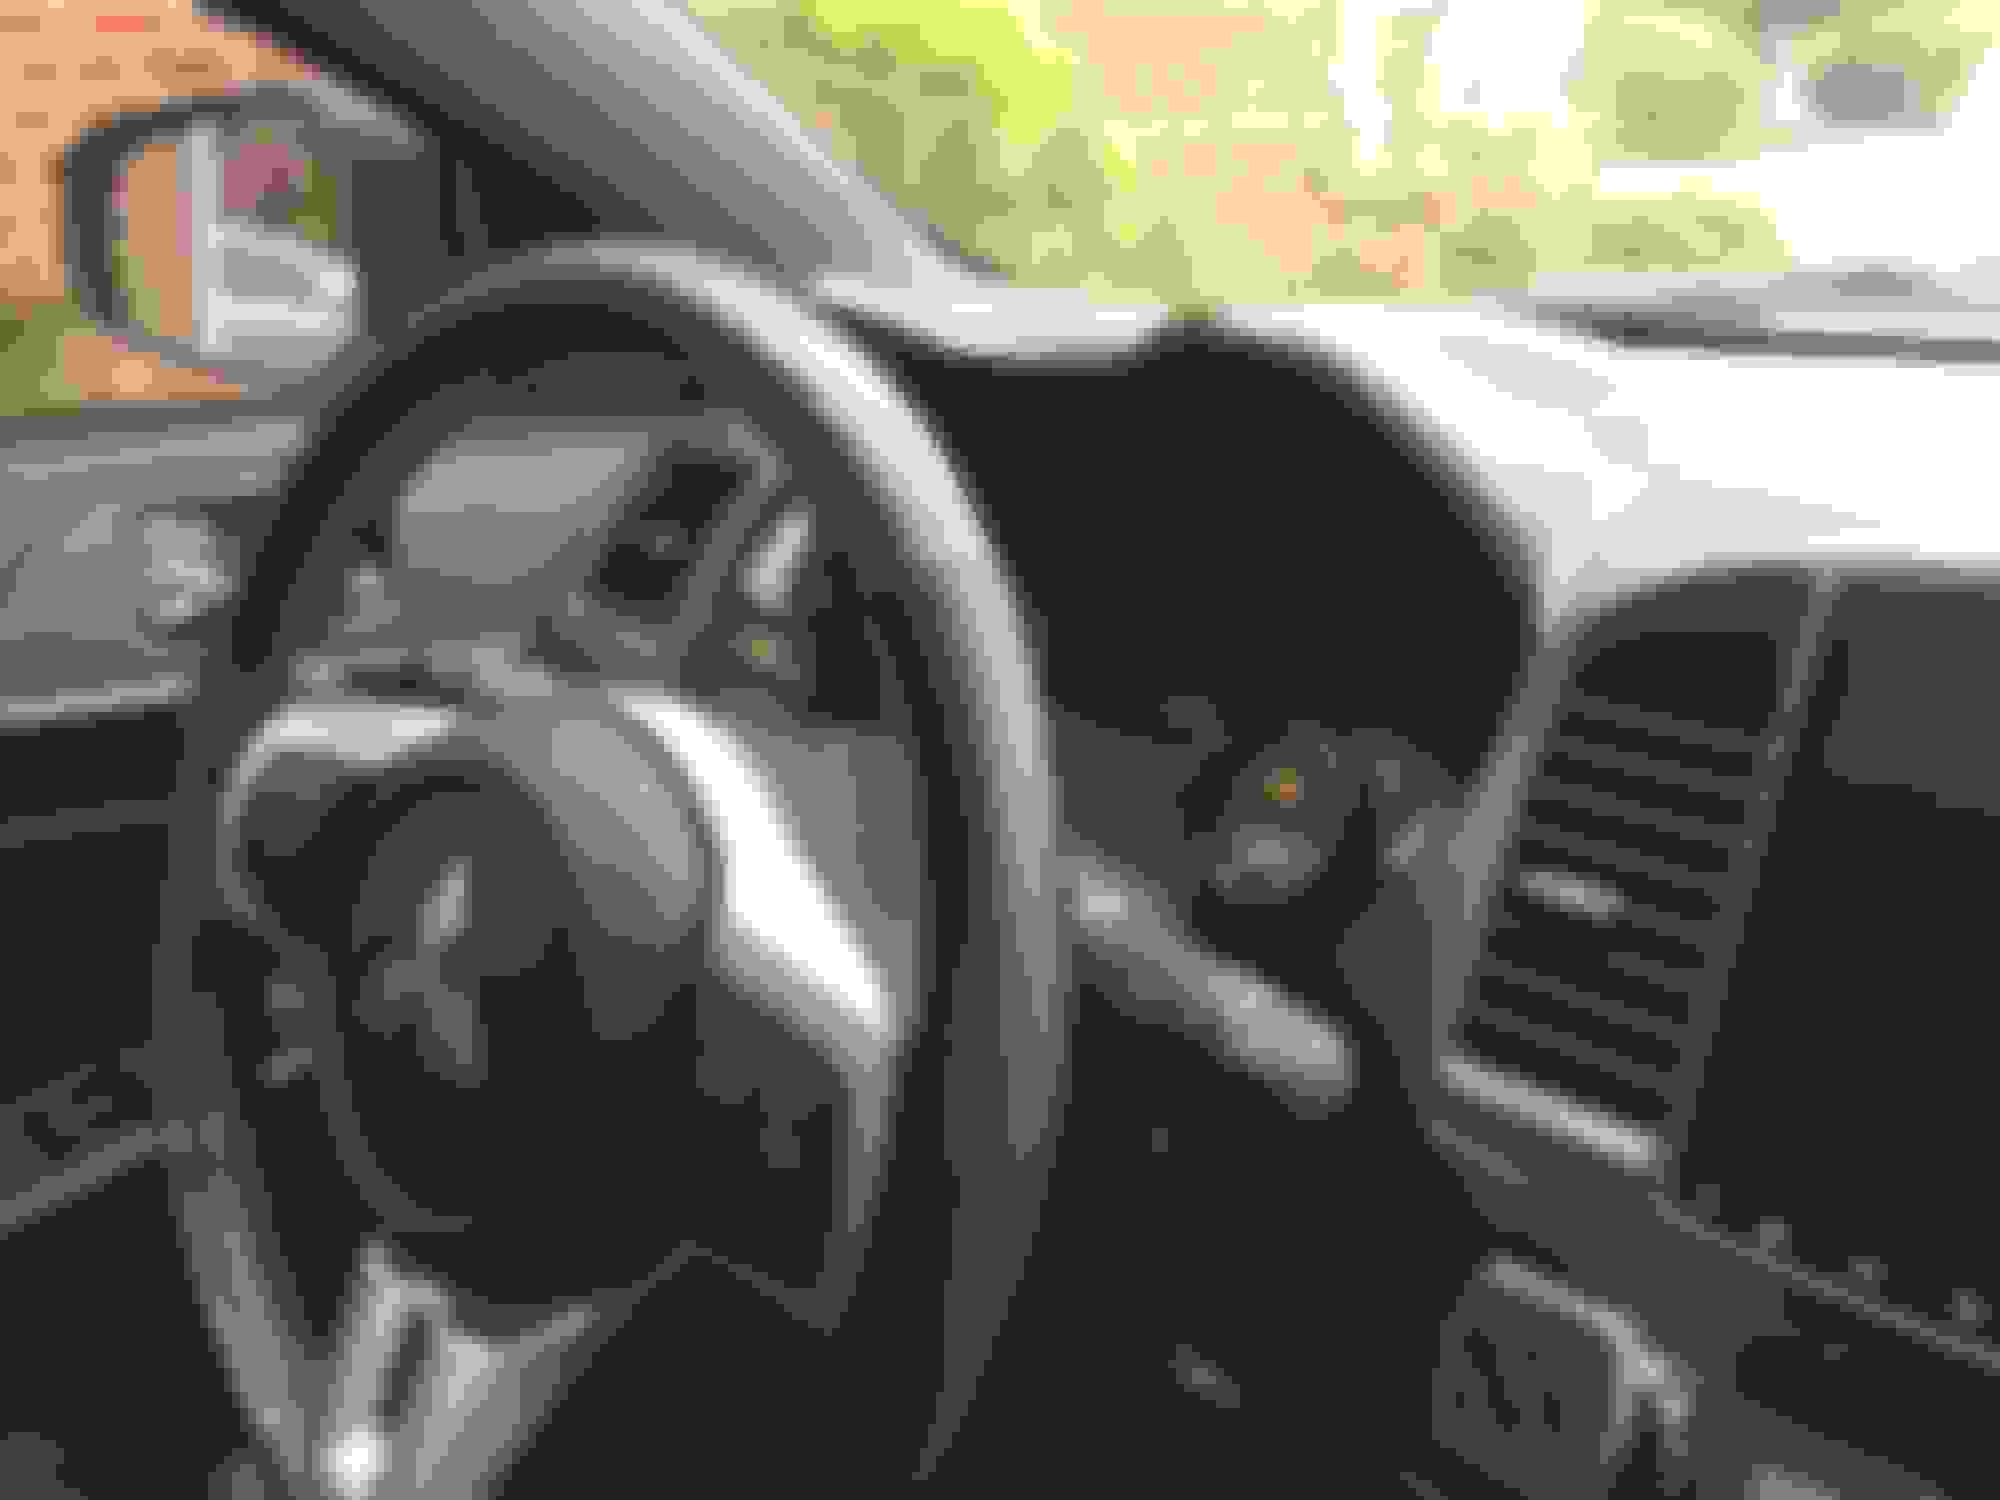
And just a few side shots from passenger side.
Oh and yes, I purposely painted the silver bezel around the gauges black as well. Honestly, I actually like it all blacked out. Just something different to look at. Since my gauges have a black trim, I figured I do the same for the OEM one as well and turned out pretty good in my opinion. As for time frame, honestly, not really even that long. The amount of work I put into this project was probably a total of 5-6 hours all together, but a total of 2 days worth because I had to let the bondo sit, cure, sand, bondo, sit, cure sand, and keep repeating until I got the desired results and then prime, sand some more, and keep repeating that process. But again, total of 5-6 hours worth of time over the course of 2 days worth. Hope you guys like how it turned out in case anyone was interested in making this themselves.
Looks good man. Honestly, I purchased the Ortiz pod. It took forever to get it, and it looked like crap when I finally did receive it. Yours looks much better than what I received. I ended up having to refinish the entire pod.
I like people who enjoy a good DIY project. Good work. I would run that on my car. Doesn't look to cover any of the speedometer or the tachometer which is a huge plus as well.
Thanks guys. And yeah, I really didn't want to wait forever to get the Ortiz cluster and have also heard a lot of bad things with them, like cracking or the pods not pointing towards you, but more outwards. But then there are also those that have had good results with them too so I guess it's a hit or miss. In my case, if something went wrong, at least I only have myself to blame. lol. But don't get me wrong, my cluster is not 100% perfect, but I think after a few rounds of making them, they should come out really nice. Again, this is really my first time at making anything like this. By first time, I mean anything that has to do with molding piece together like this, so it was definitely a learning experience, but also not too difficult overall. Just a lot of patience if anything.
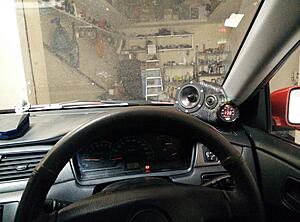
I had my wideband guage roughtly in the same position as yours, however I had to take my eyes off the road to read the guage which I was not very comfortable doing.
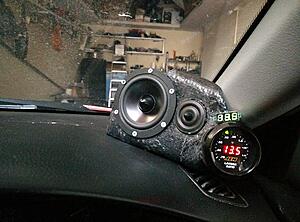
I had to make dash pods for my midrange and tweeters, so I integrated the wideband into it. I need to finish it and make it look good but there is roughly how it looks
I had my wideband guage roughtly in the same position as yours, however I had to take my eyes off the road to read the guage which I was not very comfortable doing.
I had to make dash pods for my midrange and tweeters, so I integrated the wideband into it. I need to finish it and make it look good but there is roughly how it looks
Yeah, I know what you mean about taking your eyes off the road. This is just for now. I was only wanting to test this out to see how difficult it really was to make and for what it was, it didn't seem like it was really that bad. I actually plan to see if it is possibly for me to do something with the a pillar and put the gauges there. I plan to pick up an oil pressure later on and then hopefully get the flex fuel kit with another gauge and lastly, possibly fuel pressure. So having a total of 5 gauges in the future. So for now, this was more of a trial and plan to put gauges in those 2 locations that are not the most crucial to look at all the time and the most important on the pillar. More updates will come later though.
Your pods are coming along pretty nice though. Just needs a bit more sanding and then for some filler and should look great.
Fantastic job!
What was the plastic primer and paint you used on the project?
Thanks! For the primer, I just used any automotive high build primer I think from Duplicolor. As for the paint, I found a product from SEM that makes a black trim paint that is fairly close to the original. It's not 100%, but I would probably say is a good 95% perfect. You can really only notice when you get really close and just nit picking at it.
I'm thinking of taking the easy route and get it wrapped in PU/Artificial leather I hate sanding haha
lol Don't we all? At first, I just used all and any tools to help speed up the process. Then from there filling in all the unleveled spots and sand by hand since its a lot easier to work with than the plastic epoxy stuff.


 I hate sanding haha
