
How to: 02-03 Projecter headlights and HID install

How to: 02-03 Projecter headlights and HID install
I have just completed my install of my projectors and HID kit on my 03 Lancer OZ. This will work on all 02-03 Lancer ES/LS/OZ Rally Editions. I got the headlights and HID as a kit together off of a member on Ebay who prewires them for plug and play. Even though they where plug and play, there were some modifications I had to make to get them work correctly.
First, unhook the positive terminal on your battery (be safe, not sorry).
Next, you'll need unbolt the 3 bolts that hold in your headlight. You'll have to angle the headlight just right to get it out. After you get the headlight out far enough, you can unplug the harness's from the headlight.

Next, I found that the plug for the running lights that came on the new headlights didn't want to plug up very well so I reused the connector off my old headlights. You'll have to cut and rewire them into your harness thats attached to the headlights. its the one that a screw holds down the connector. You may not have to do this if the connector on the new headlights connects and your running lights work.

Next, I found the light socket for the turn signal didn't fit well either and it didn't work. Just remove the socket from the hold headlights, replace old bulb with the new bulbs that came in the headlight and plug them into the new headlight.

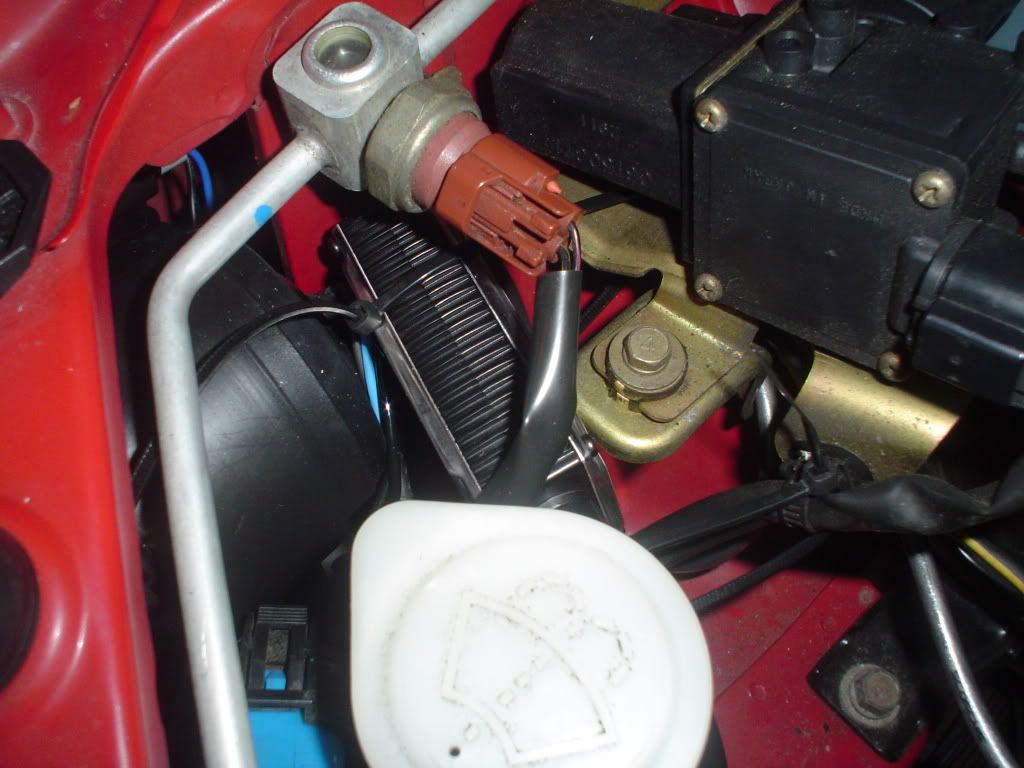
Now, just plug up all 3 of the harness's to the stock harness. Here is a pic of the headlight hookup up close

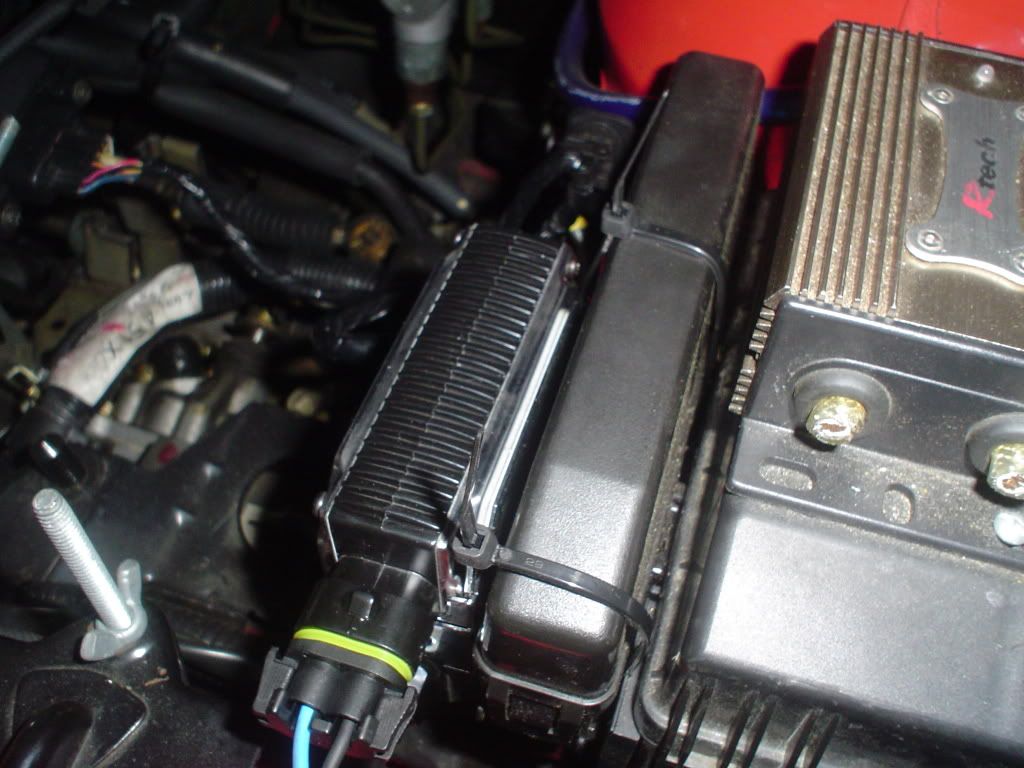
Next, find a place to mount the ballasts. I didn't have alot of time, so I just zip tied the passenger side to the cruise control mount and the other to the side of the fuse box.
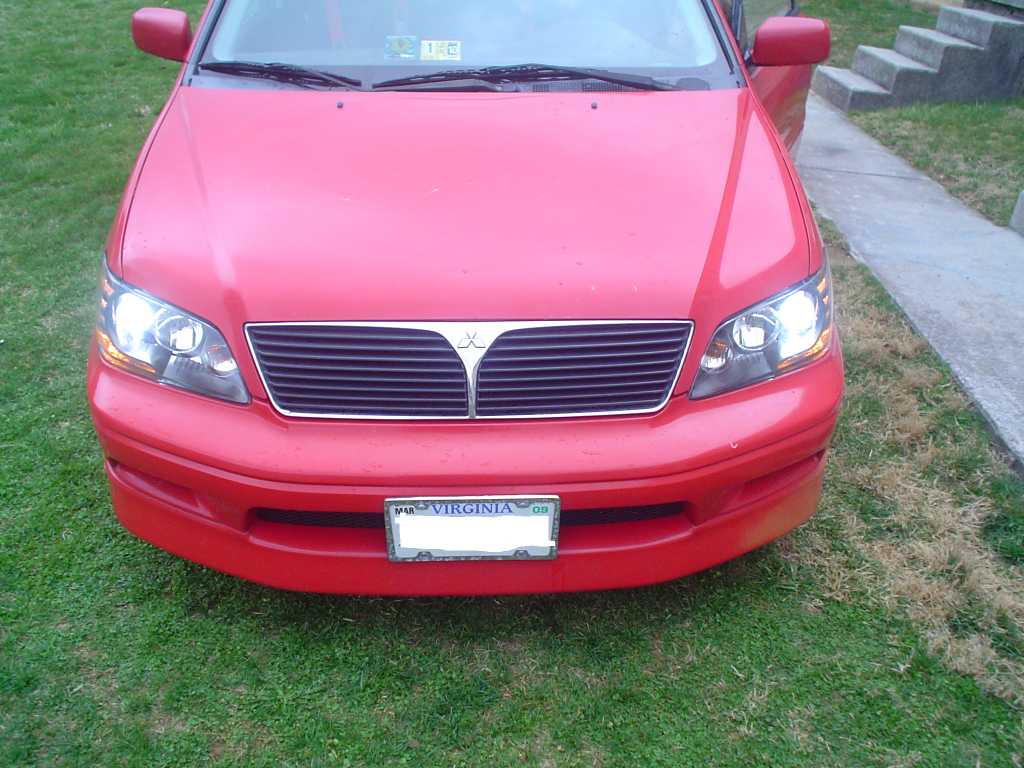
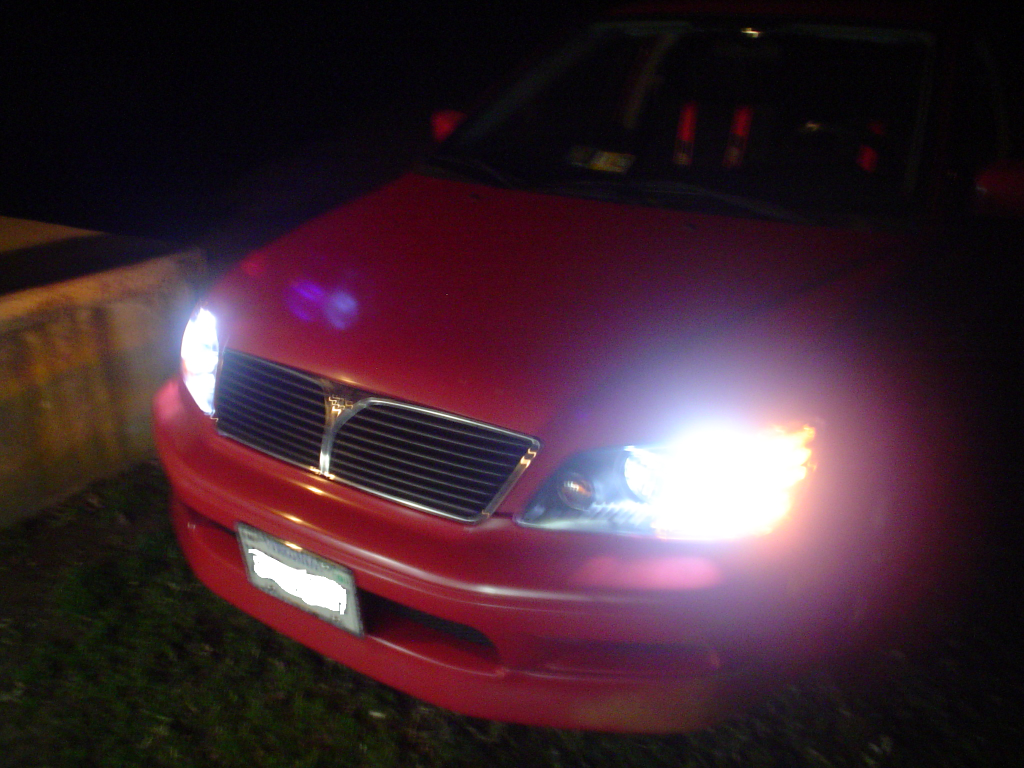
Make sure all the connectors are connected. Before you bolt your headlight in, make sure all the bulbs work. Hook your battery back up. When you turn them on, make sure you leave the HID low beams on for 10 min for burn in time. You may want to start your car before hand. I drained my battery doing this. If your high beams don't turn on, I found that mine came wired incorrectly. They mixed up the positive and negative sides. If that is the case and yours don't turn on, all you have to do is take the black rubber piece off the back of the headlight on the low beam/projector side. Behind that, you should see a connector that has two wires hooded into it. Just reverse them. Now, they should work. If you get the headlights without the HID, this is the best place to tap in for the power to the ballast because you will not have to cut any wires. Here is the finished pics
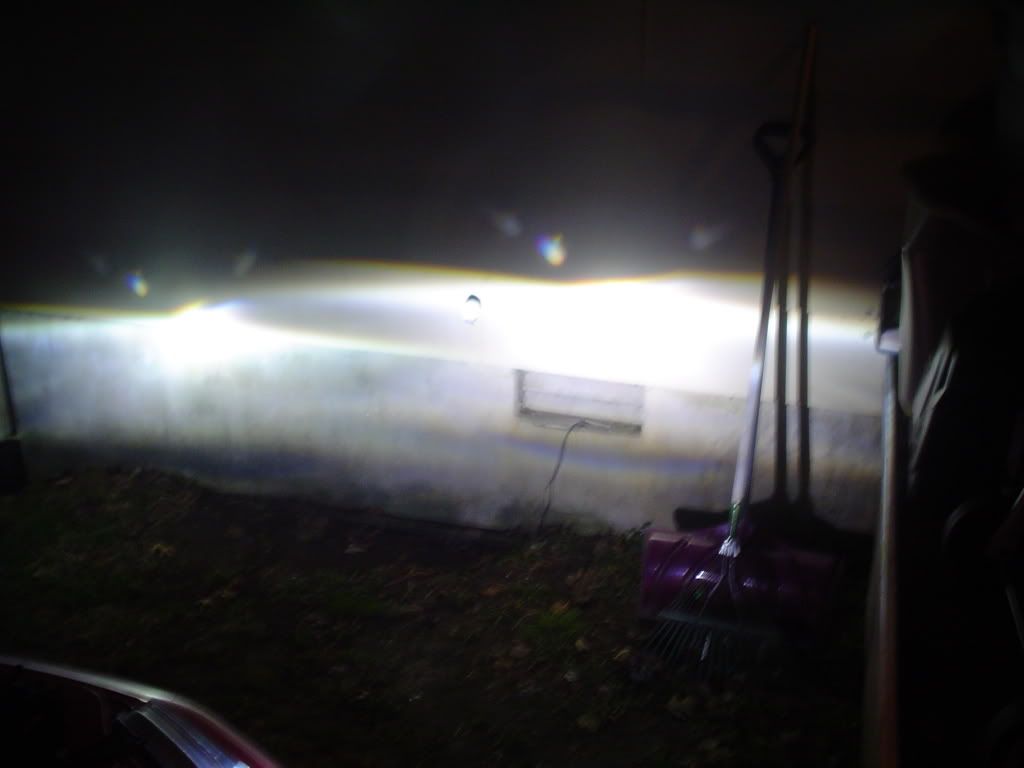
First, unhook the positive terminal on your battery (be safe, not sorry).
Next, you'll need unbolt the 3 bolts that hold in your headlight. You'll have to angle the headlight just right to get it out. After you get the headlight out far enough, you can unplug the harness's from the headlight.
Next, I found that the plug for the running lights that came on the new headlights didn't want to plug up very well so I reused the connector off my old headlights. You'll have to cut and rewire them into your harness thats attached to the headlights. its the one that a screw holds down the connector. You may not have to do this if the connector on the new headlights connects and your running lights work.
Next, I found the light socket for the turn signal didn't fit well either and it didn't work. Just remove the socket from the hold headlights, replace old bulb with the new bulbs that came in the headlight and plug them into the new headlight.
Now, just plug up all 3 of the harness's to the stock harness. Here is a pic of the headlight hookup up close
Next, find a place to mount the ballasts. I didn't have alot of time, so I just zip tied the passenger side to the cruise control mount and the other to the side of the fuse box.
Make sure all the connectors are connected. Before you bolt your headlight in, make sure all the bulbs work. Hook your battery back up. When you turn them on, make sure you leave the HID low beams on for 10 min for burn in time. You may want to start your car before hand. I drained my battery doing this. If your high beams don't turn on, I found that mine came wired incorrectly. They mixed up the positive and negative sides. If that is the case and yours don't turn on, all you have to do is take the black rubber piece off the back of the headlight on the low beam/projector side. Behind that, you should see a connector that has two wires hooded into it. Just reverse them. Now, they should work. If you get the headlights without the HID, this is the best place to tap in for the power to the ballast because you will not have to cut any wires. Here is the finished pics

I hope it helps. Its more of how to fix the all the problems with these lights than how to install. The actual install would probably only take 20 min, but the issues I had made it take almost 1 1/2 hours. I'm probably going to rant on about the problems, but they are good headlights.
hey thanks for the write up. Do you have any pictures of the inside of the headlight from the back side? trying to tell if theres enough room to retro a set of tsx projectors into them....
There should be room, but why would you want to take out the projectors and put in the tsx ones?
^much sharper cutoff, wider beam pattern, color flicker, clarity etc. try hit up hidplanet to check out the retros other people did. judging by the pic you provided i think the shield is a curved one with a kinda foggy looking lens. the tsx lens is clear, and although the shield is also curved it produces a very sharp cutoff that causes it to seem like its flickering different colors..
This post is perfect! I was looking for something exactly like this! Could you take some pics of the headlights from the side? I want to get a better idea of how the amber side marker lights look turned on. If you could possible take 2, 1 when its getting dark outside and 1 when its completely dark outside. If you can only take one, either one will do.
Thanks maing!
Thanks maing!
Last edited by chuloloco; Apr 2, 2009 at 03:47 PM. Reason: rephrased

Thread
Thread Starter
Forum
Replies
Last Post
Juan Martinez
Lancer Show / Shine
123
Aug 8, 2009 02:23 PM