
Flocked my dash over the weekend.

Flocked my dash over the weekend.
So, I had a magazine photoshoot today, and this past week I decided that I wanted to flock my dash before the shoot.
I ordered up a nylon fiber kit from http://donjer.com/ which included; one package of nylon fibers, undercoat adhesive, a small *** paint brush, and the mini flocker (what you use to spray the fibers on). I decided to order a second bag of fiber "just in case", and an extra mini flocker. I'm glad I did because I went through both bags of fibers, but in the end only used one bag (you can reuse the fibers- but it's nice to have two bags so you don't have to gather all the excess fibers while you're in the middle of doing a big part - such as the dash).
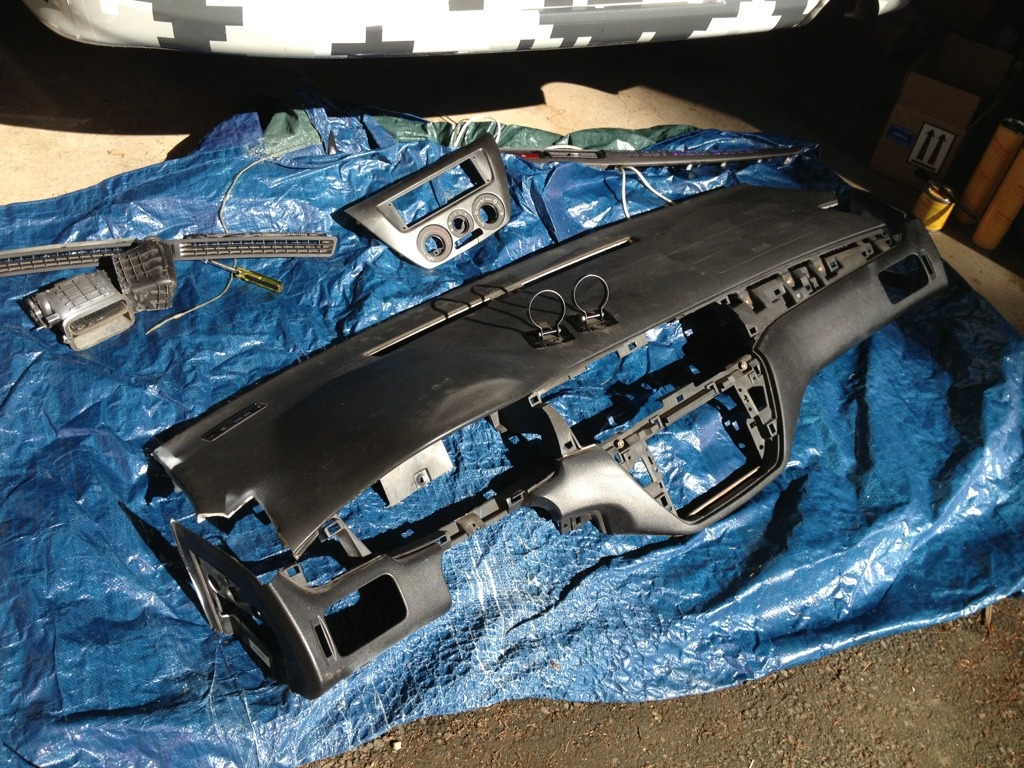
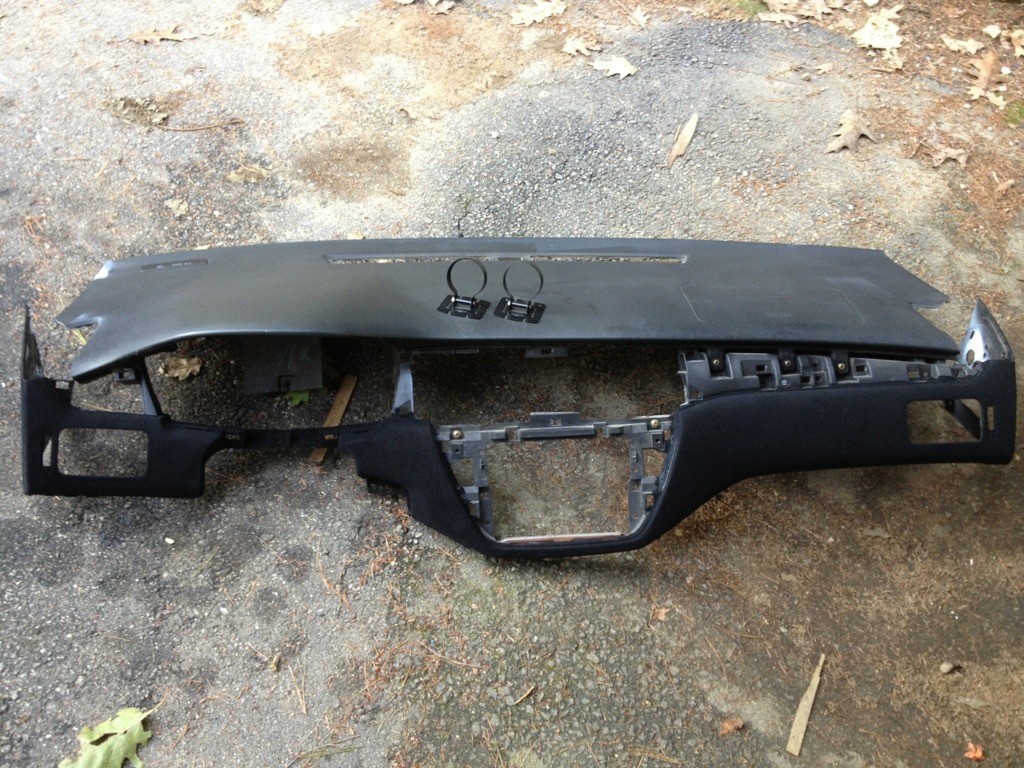
So, I pulled the dash apart.
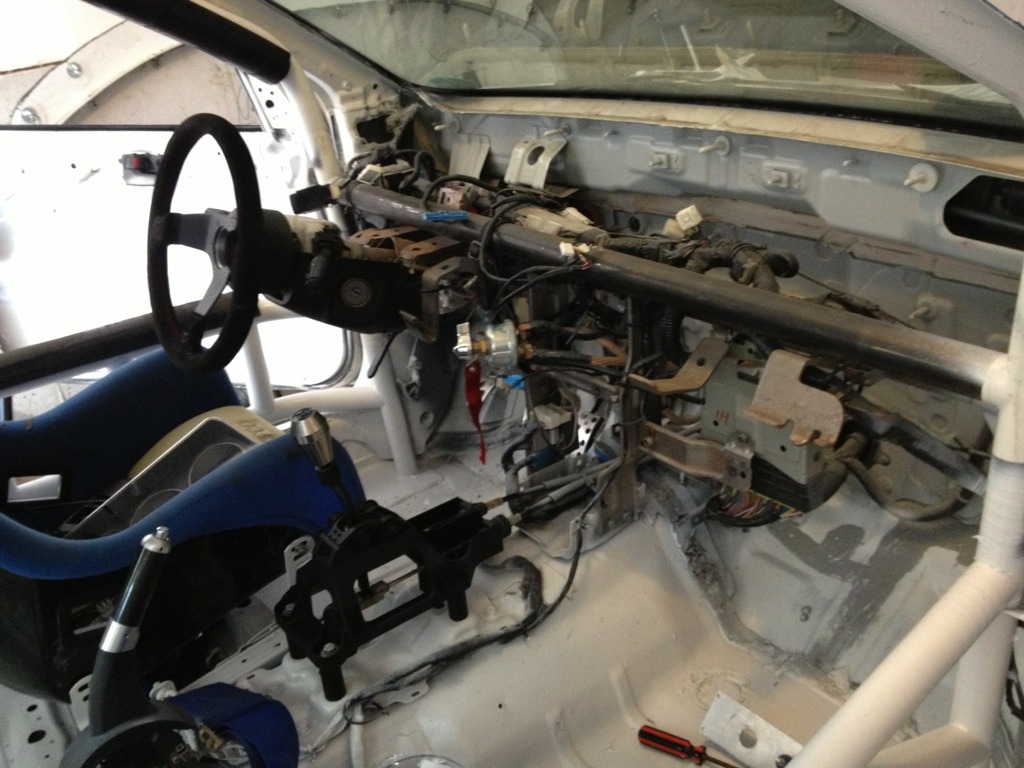
Pulled the dash apart to make, so I can lay down the adhesive in smaller sections. You only have 15 minutes to spray on the fibers before the adhesive dries. So, if you're doing a large piece, like the dash, you need to get a bigger brush, or have a friend help. You DON'T want to do a divide a section into sections (if that makes sense); you will see the lines.
You also want to set up an area that will collect the excess fibers so you can reuse them in the future. Hence the tarp.
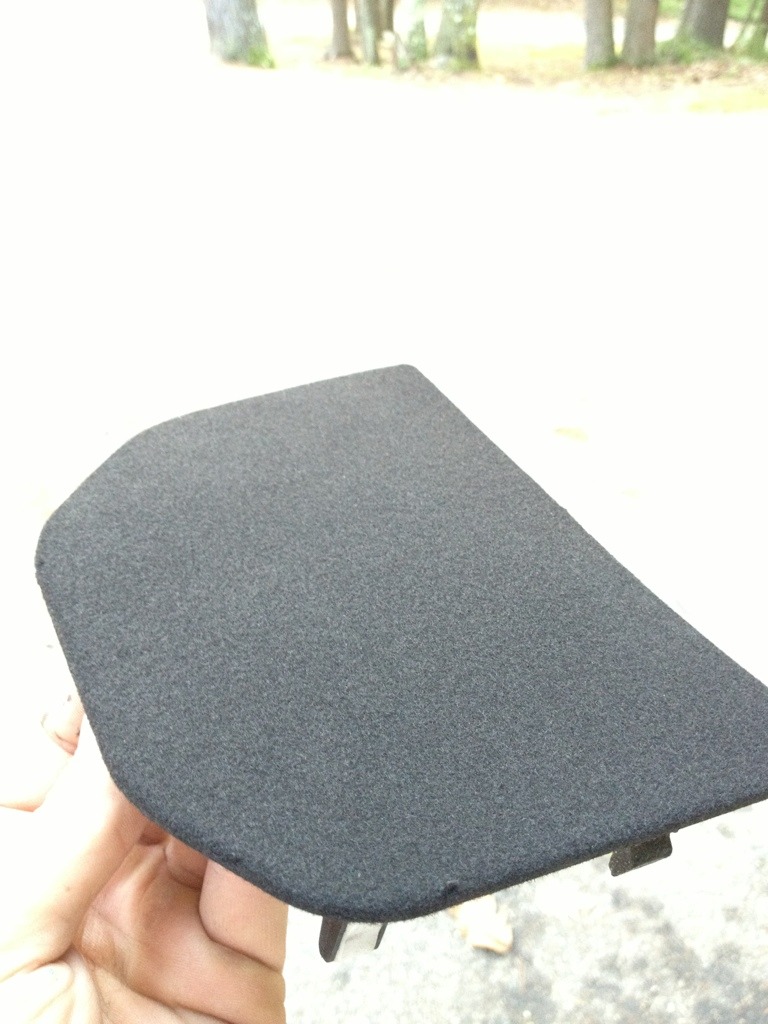
First, I tested out the process on a smaller part - quickly realizing this is super easy to do.
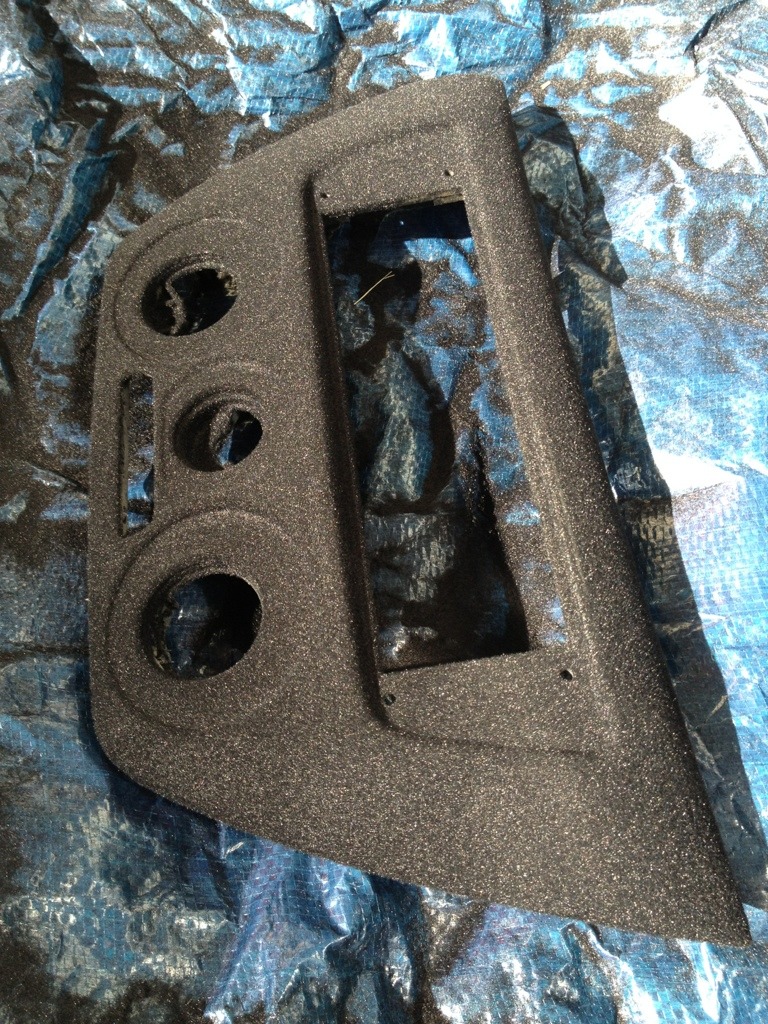
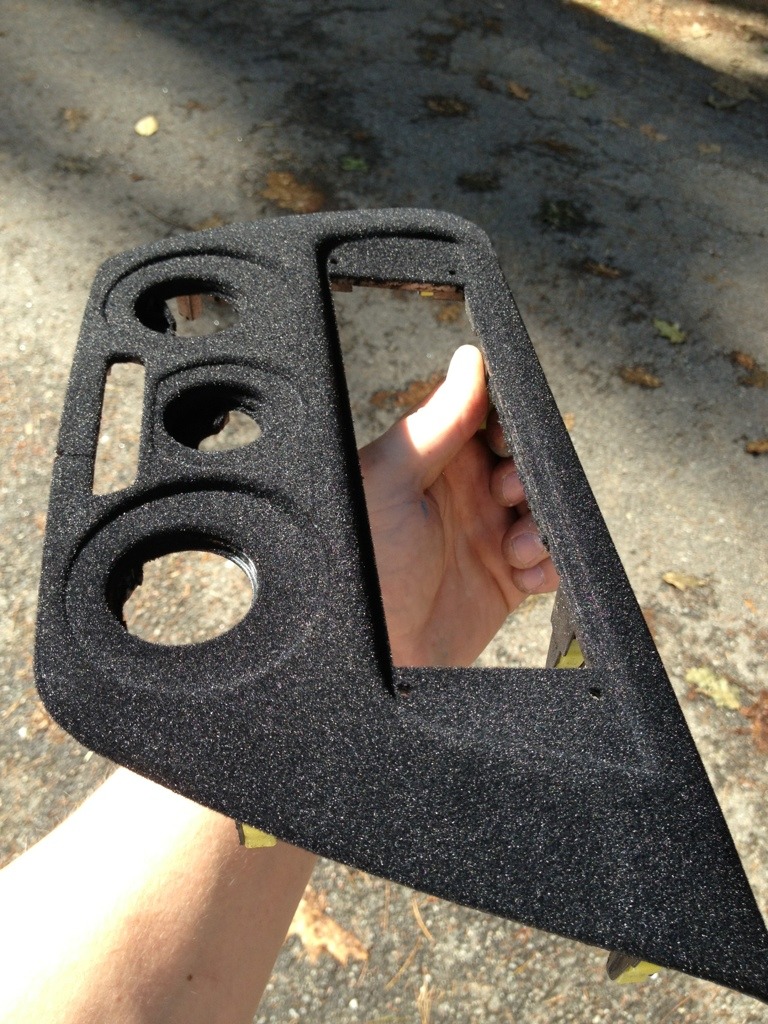
Here is the lower section of the dash completed.
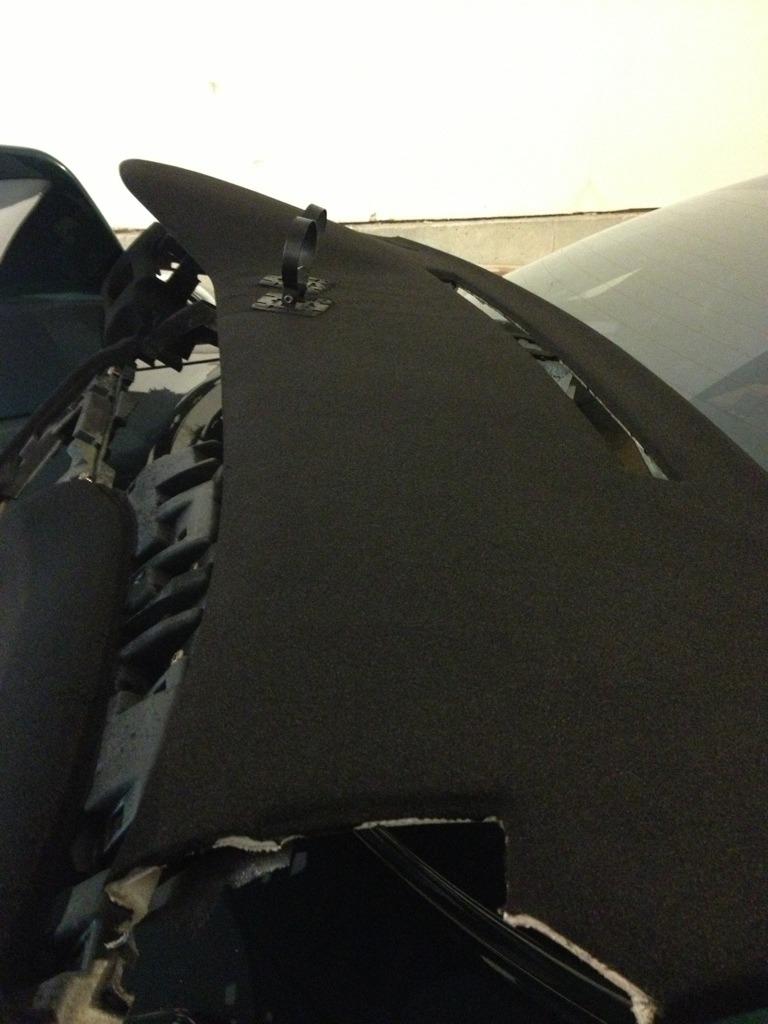
Top section done.
The dash back together and ready to go into the car. A few tips for doing this; after you lay down the adhesive, use A LOT of fibers. When I say a lot, I mean use way more than you think is necessary. You cannot use too much because only so much will stick, but if you use too little, you will see splotches. And remember you can always collect the excess fibers afterwards.
Once completed, do not touch the fibers, and do not shake off the excess. You can move the part, but do so carefully. Let the part "cure" for 72 hours. Once those 72 hours are up, use a compressor, fan, vacuum, or shake the part off to get rid of any excess fibers. Once cured, you can rub the flocked part all you want and you will not lose, or rub off, any fibers. That's the nice part; it's permanent - to a point.
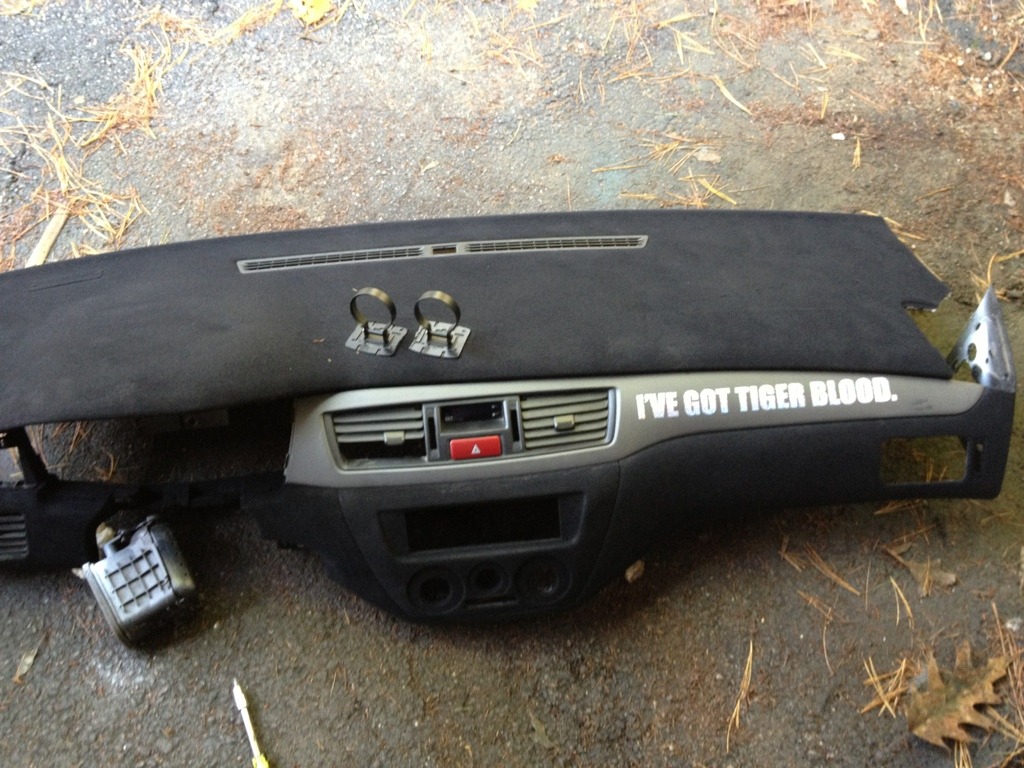
Here is the dash reinstalled;
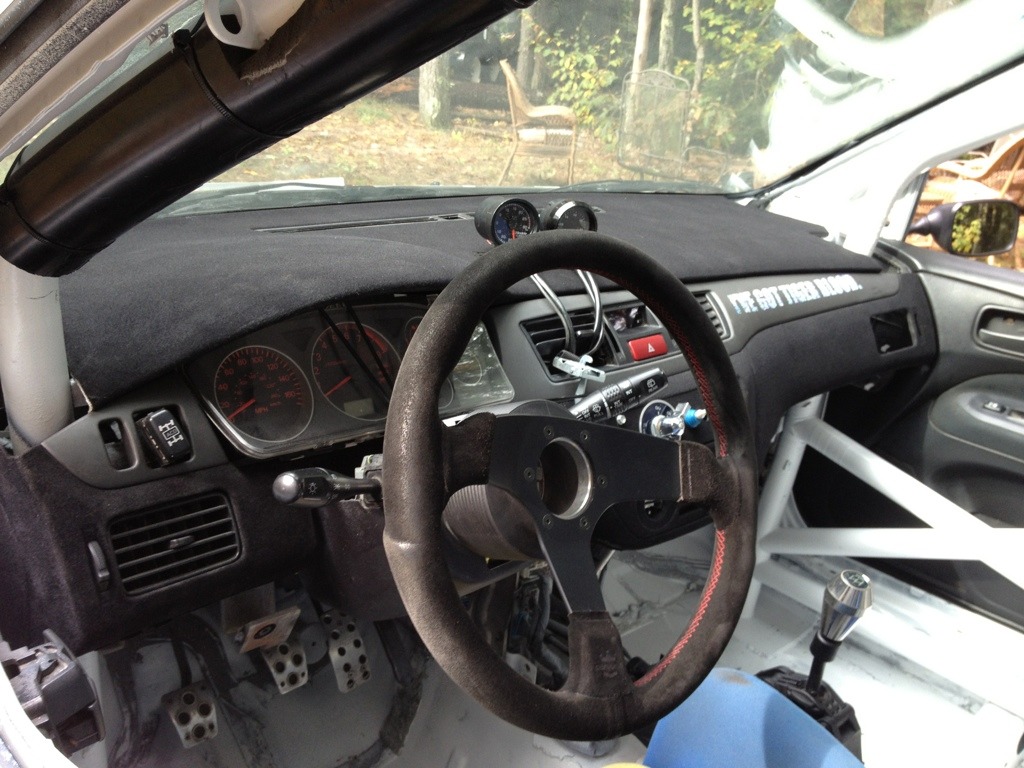
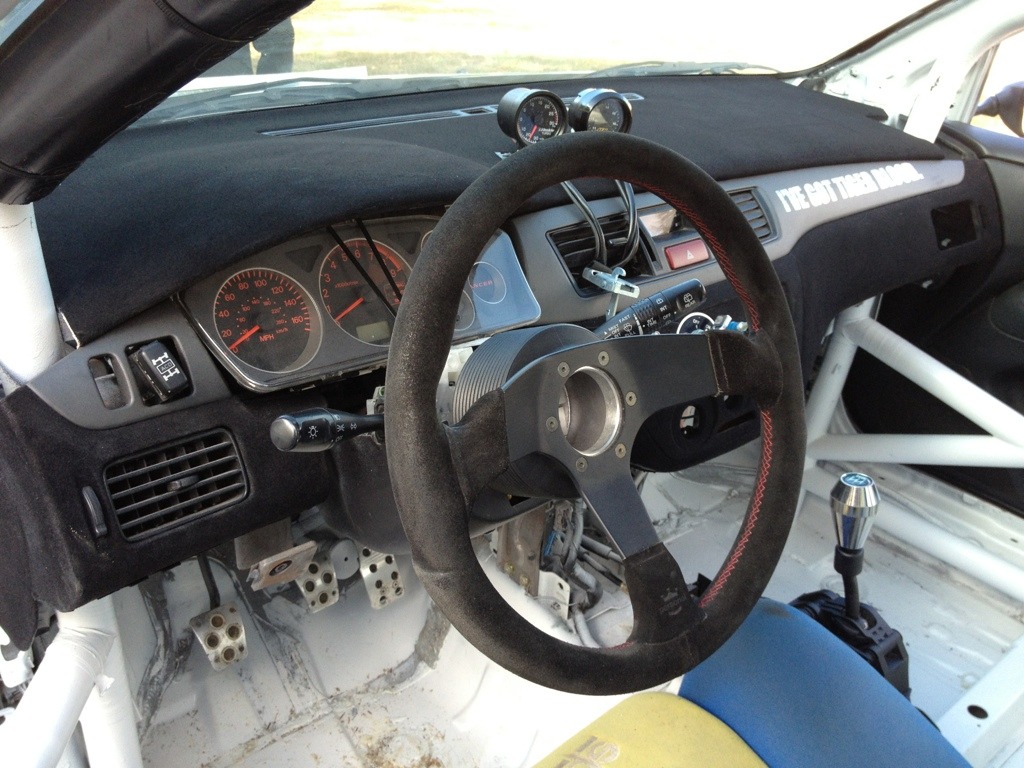
All in all, I'm super stoked about this "mod". It's definitely one of my favorite parts about the car now and it was really easy to do and really cheap. The photographer was very impressed with the quality, considering he's photographed many rally cars that have had professional flocking done.
Any questions, just ask!
I ordered up a nylon fiber kit from http://donjer.com/ which included; one package of nylon fibers, undercoat adhesive, a small *** paint brush, and the mini flocker (what you use to spray the fibers on). I decided to order a second bag of fiber "just in case", and an extra mini flocker. I'm glad I did because I went through both bags of fibers, but in the end only used one bag (you can reuse the fibers- but it's nice to have two bags so you don't have to gather all the excess fibers while you're in the middle of doing a big part - such as the dash).
So, I pulled the dash apart.
Pulled the dash apart to make, so I can lay down the adhesive in smaller sections. You only have 15 minutes to spray on the fibers before the adhesive dries. So, if you're doing a large piece, like the dash, you need to get a bigger brush, or have a friend help. You DON'T want to do a divide a section into sections (if that makes sense); you will see the lines.
You also want to set up an area that will collect the excess fibers so you can reuse them in the future. Hence the tarp.
First, I tested out the process on a smaller part - quickly realizing this is super easy to do.
Here is the lower section of the dash completed.
Top section done.
The dash back together and ready to go into the car. A few tips for doing this; after you lay down the adhesive, use A LOT of fibers. When I say a lot, I mean use way more than you think is necessary. You cannot use too much because only so much will stick, but if you use too little, you will see splotches. And remember you can always collect the excess fibers afterwards.
Once completed, do not touch the fibers, and do not shake off the excess. You can move the part, but do so carefully. Let the part "cure" for 72 hours. Once those 72 hours are up, use a compressor, fan, vacuum, or shake the part off to get rid of any excess fibers. Once cured, you can rub the flocked part all you want and you will not lose, or rub off, any fibers. That's the nice part; it's permanent - to a point.
Here is the dash reinstalled;
All in all, I'm super stoked about this "mod". It's definitely one of my favorite parts about the car now and it was really easy to do and really cheap. The photographer was very impressed with the quality, considering he's photographed many rally cars that have had professional flocking done.
Any questions, just ask!
thanks for sharing. i'm super jealous. I went through the azzpain of pulling my dash this week to remove the firewall mat, and was mad at myself for not planning things out and having the flocking kit on hand to do both at once. Can't wait to get around to doing this.
Is the color you used just "black"?
Is the color you used just "black"?
I didn't actually weigh the dash before and after, but it's definitely not noticeable.
thanks for sharing. i'm super jealous. I went through the azzpain of pulling my dash this week to remove the firewall mat, and was mad at myself for not planning things out and having the flocking kit on hand to do both at once. Can't wait to get around to doing this.
Is the color you used just "black"?
Is the color you used just "black"?
Yes, it was "black".


Trending Topics


Get the flock out of here with that nonsense.
")
