
Tyler's 05 Ralliart Build

Thread Starter
Newbie


Joined: Aug 2012
Posts: 17
Likes: 0
From: Edmonton
Tyler's 05 Ralliart Build
Hello All,
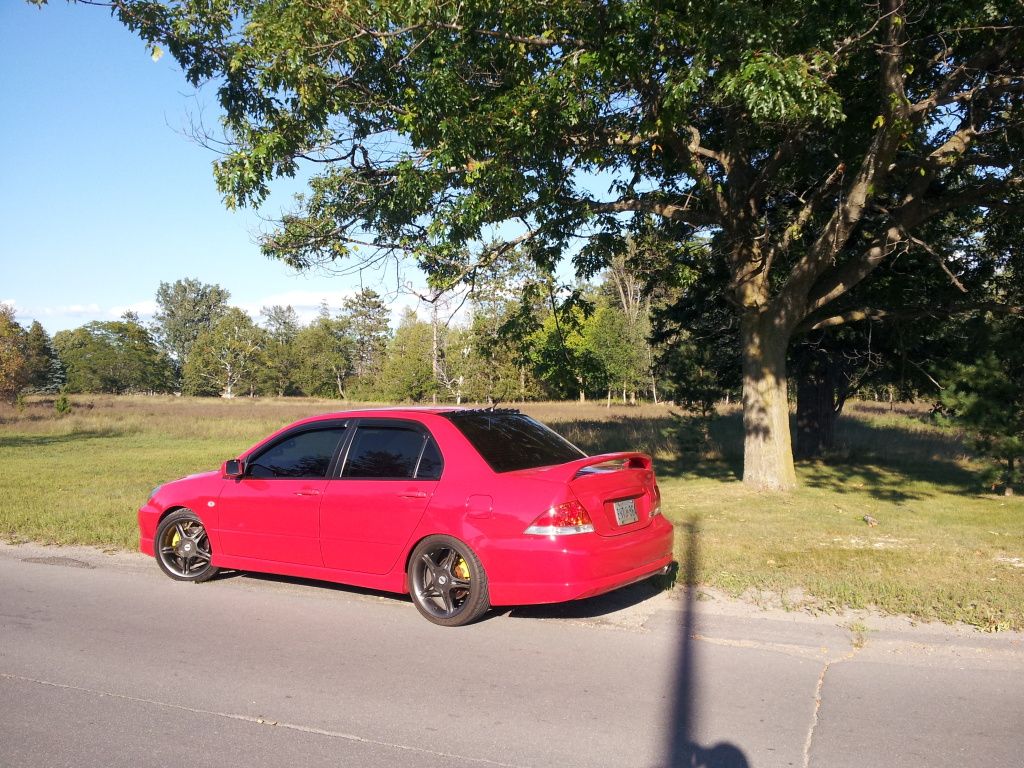
I am fairly new to this forum and cars in general. I had been scowering the web and local dealers for the right car and for months... nothing. When I got posted to CFB Borden my buddy (Millhouse_5 on the forum) found an 05 Ralliart in reasonably good condition for me to check out. The car's former owner is roblaza on the forum.
Let the Build BEGIN!
I have only had the car a week and I think all things considered i have managed to get a fair amount completed. Millhouse_5 has been a great help.
First things first, some cleaning under the hood.
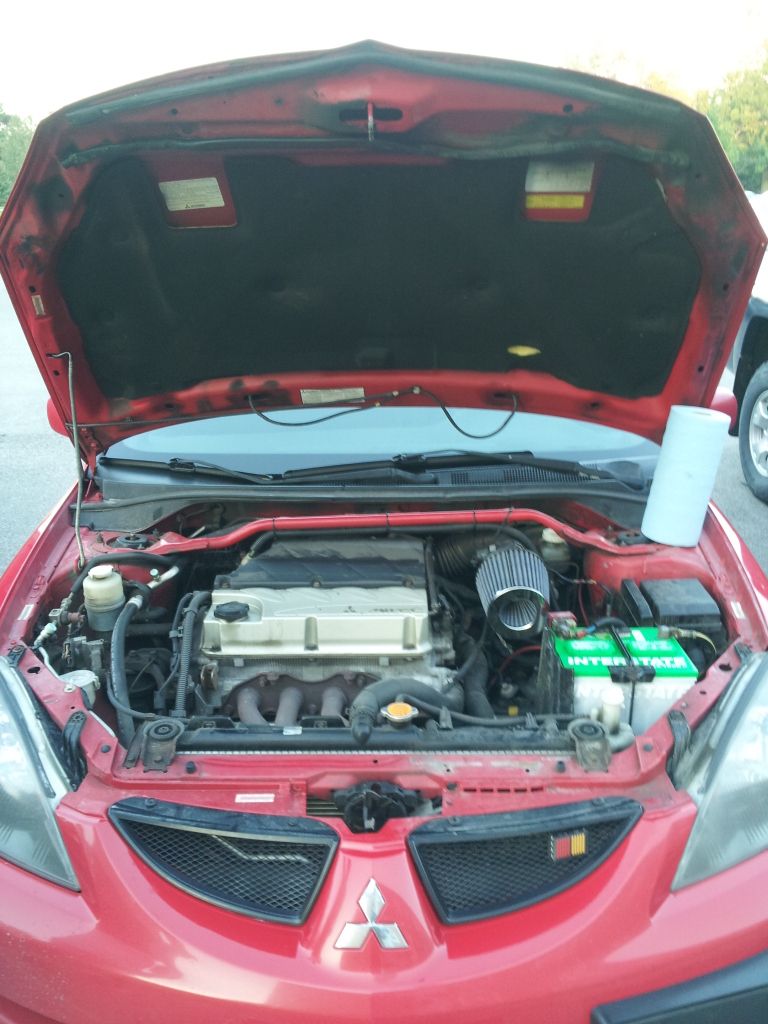
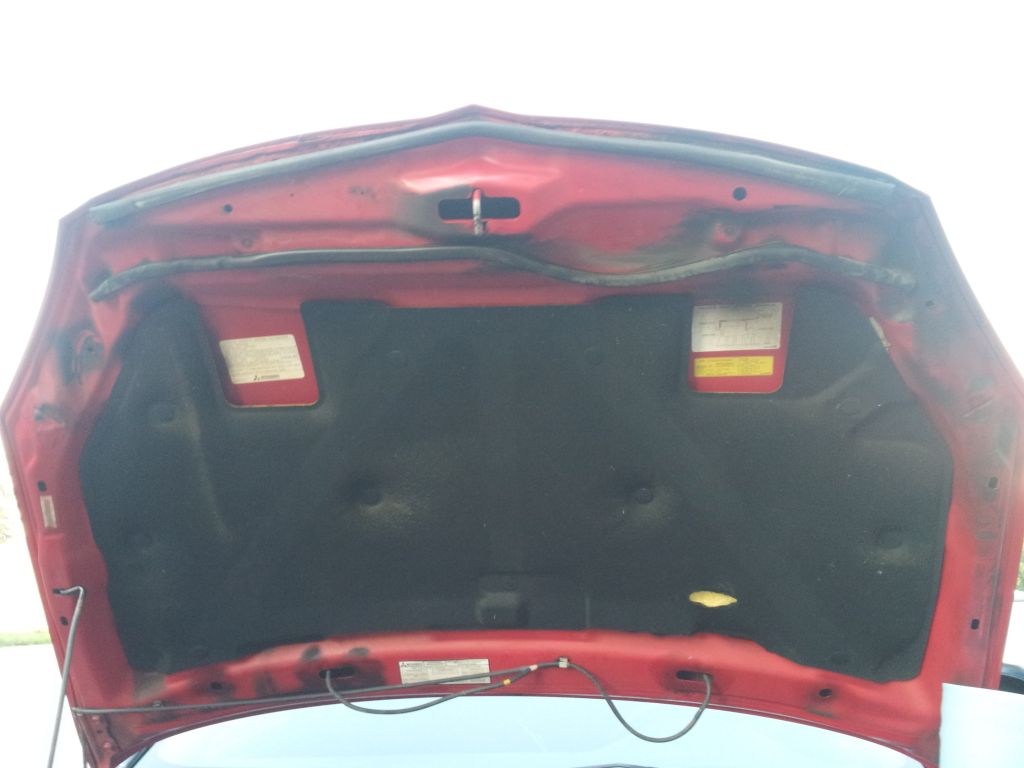
To the right of the latch hole is cleaned and the left was what it was. Millhouse_5 and i scrubbed the whole hood.
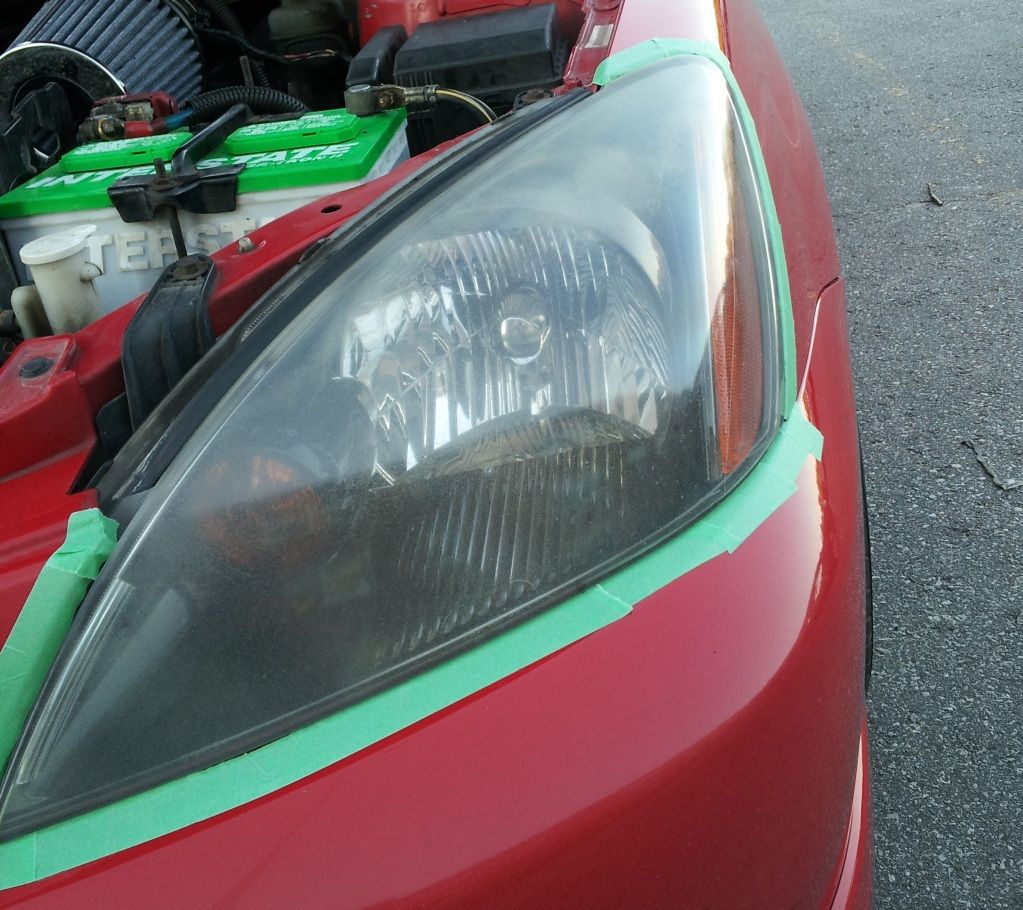
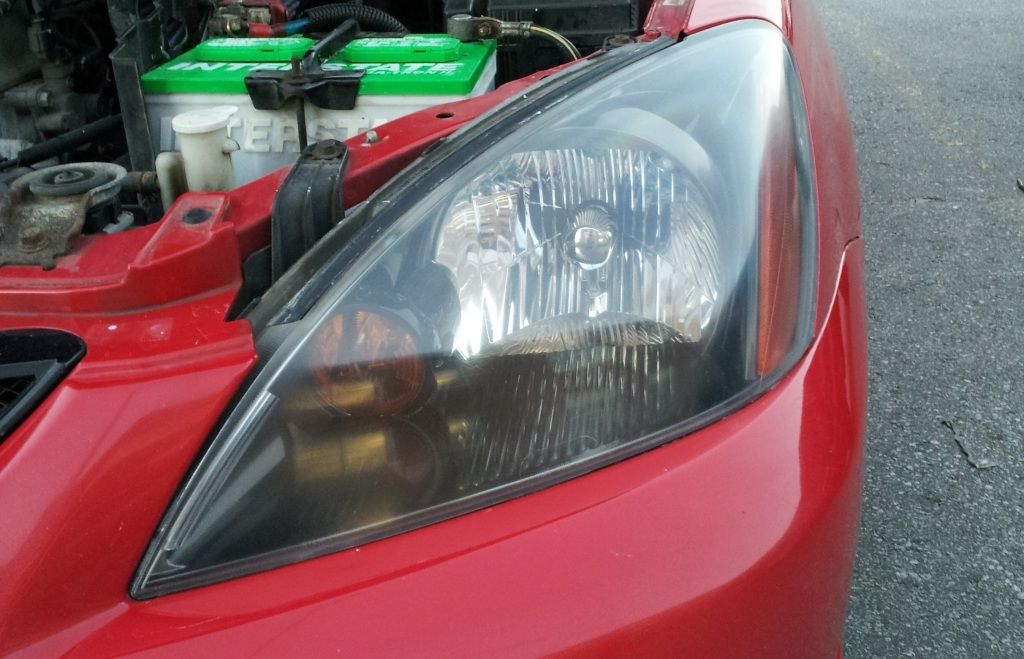
I started to polish the headlights. the drivers side is basicly done but the passanger side needs a little more work just to get rid of the sand lines and some general cloudiness.
Before...
After...
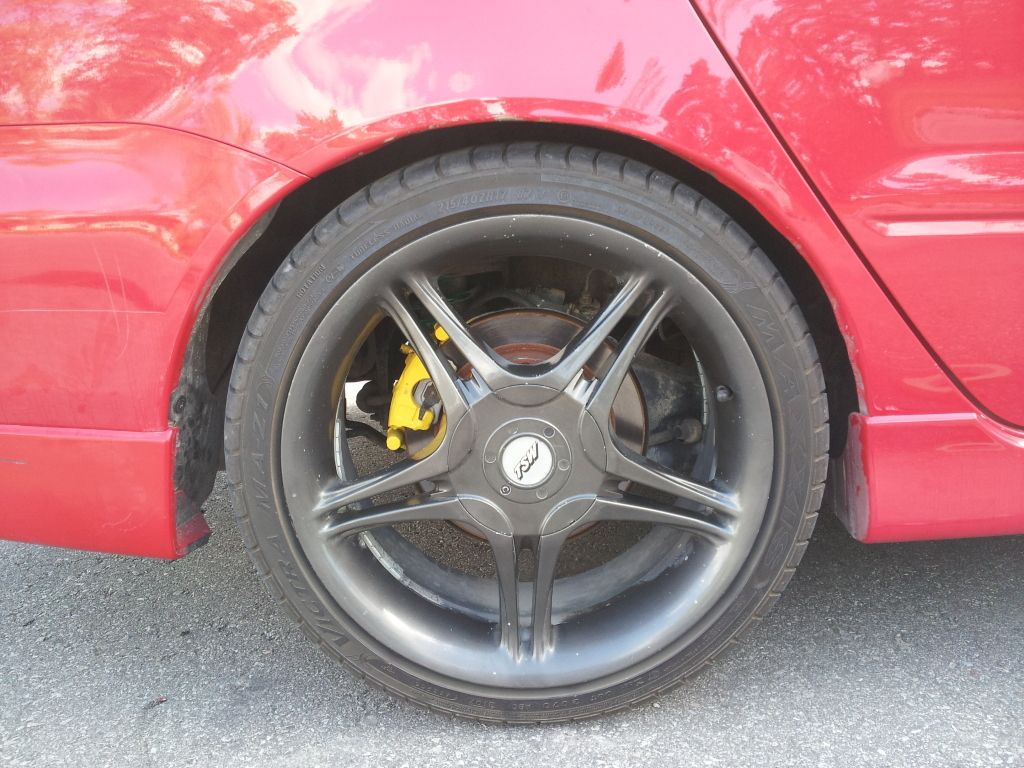
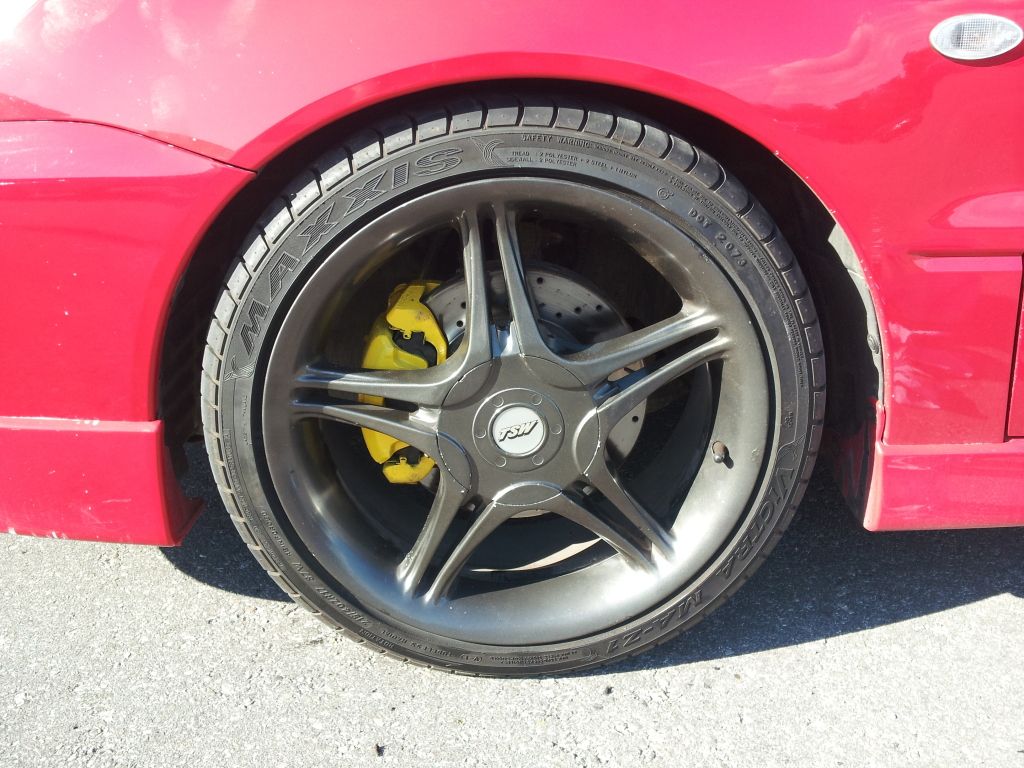
Today we decided to paint the brake callipers. After breaking not one but two torque wrench adapters trying to remove the wheels we decided to take i to Canadian Tire. The wheels ended up being on at about 200lbs!
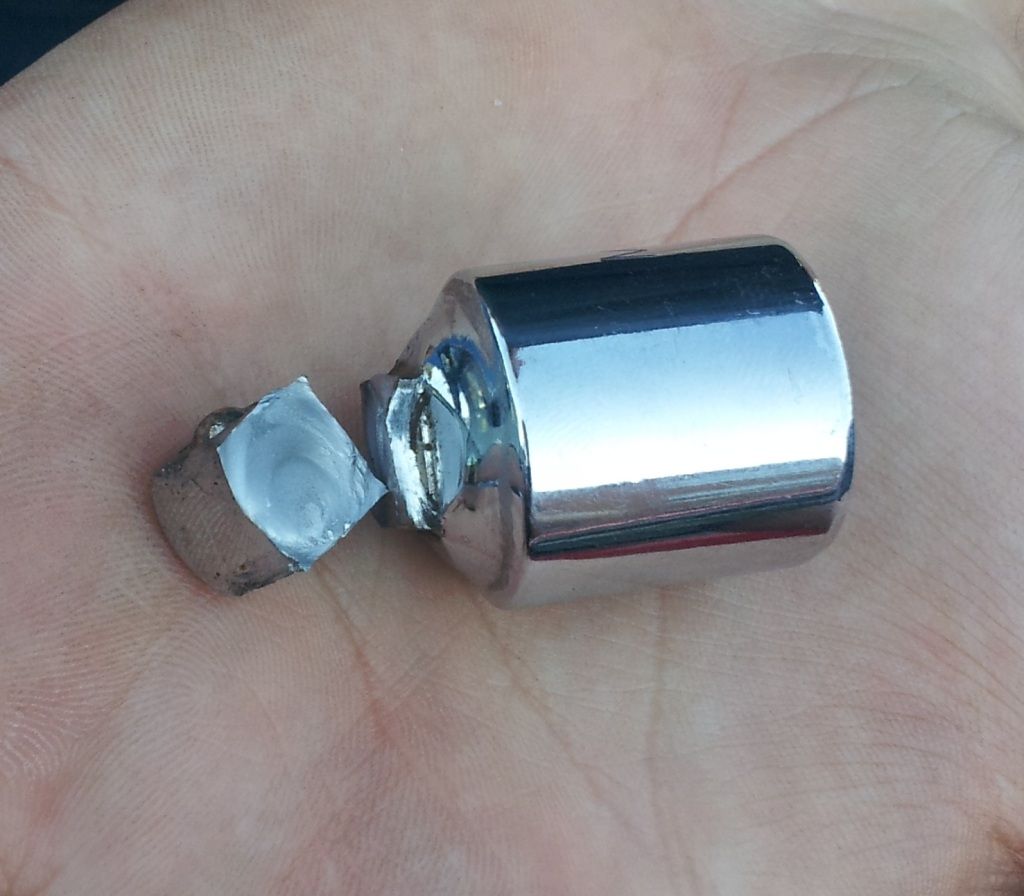
Once we were there I decided that they might as well do the more complicated installs (I'm no mechanic, but I am trying to learn... baby steps). After taking it to Canadian Tire to install the e-brake shoes and fix the starter issue, we finally got to remove the wheels to paint the brake calipers their original colour.
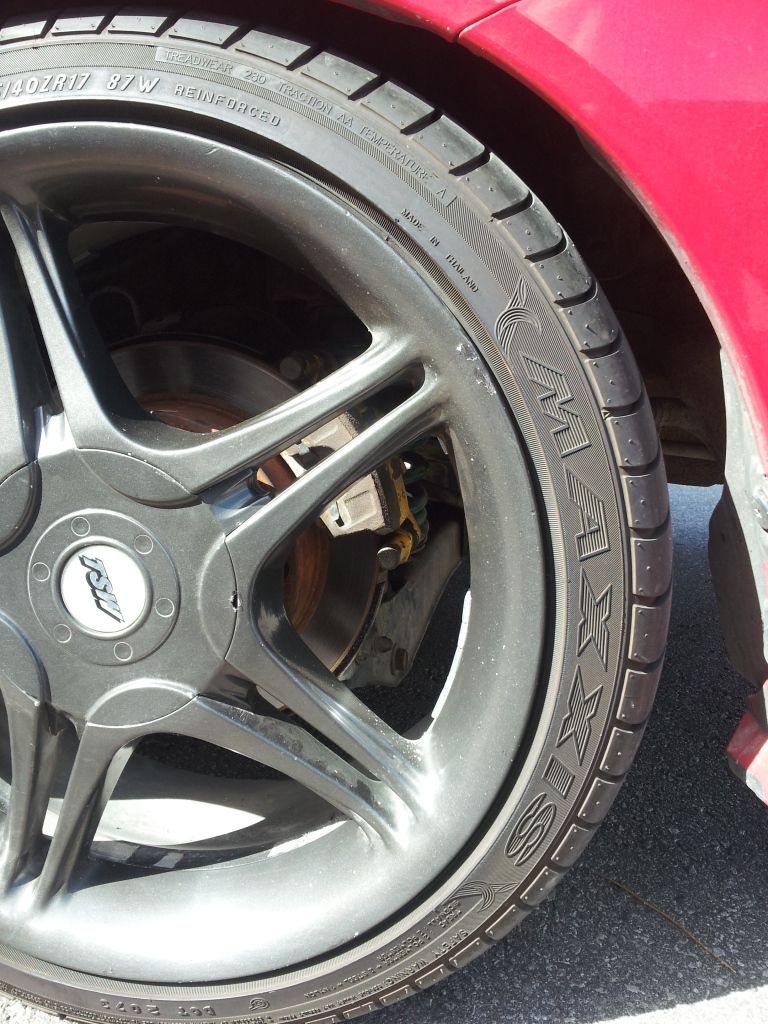
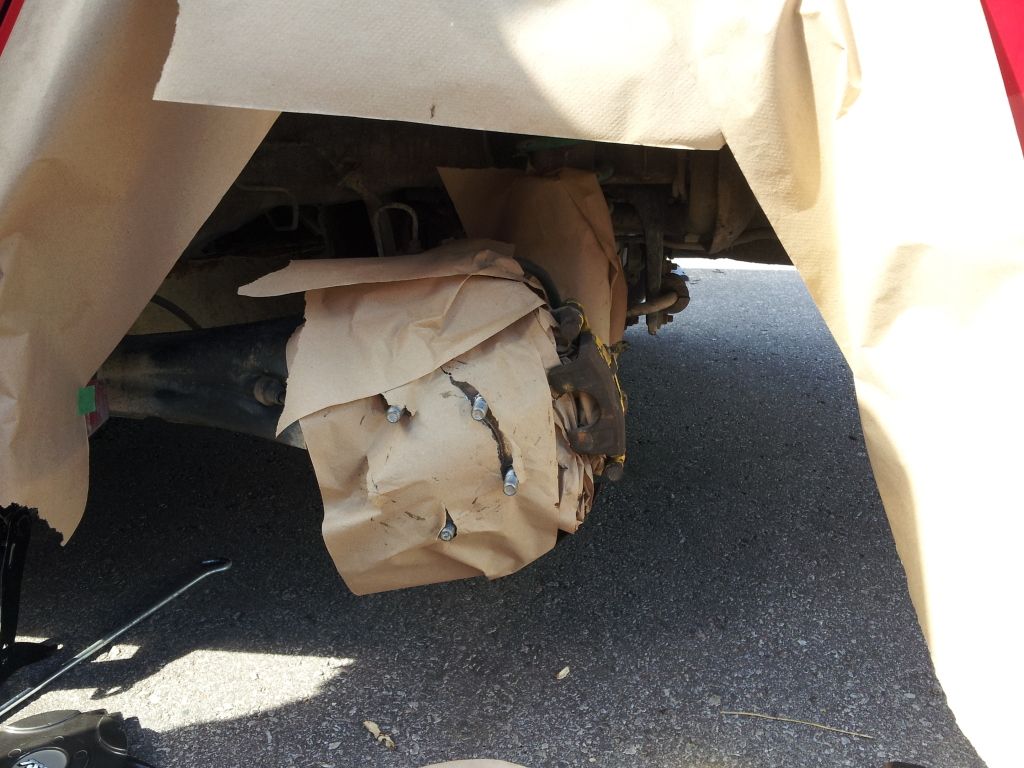
Before...
Right before paint...
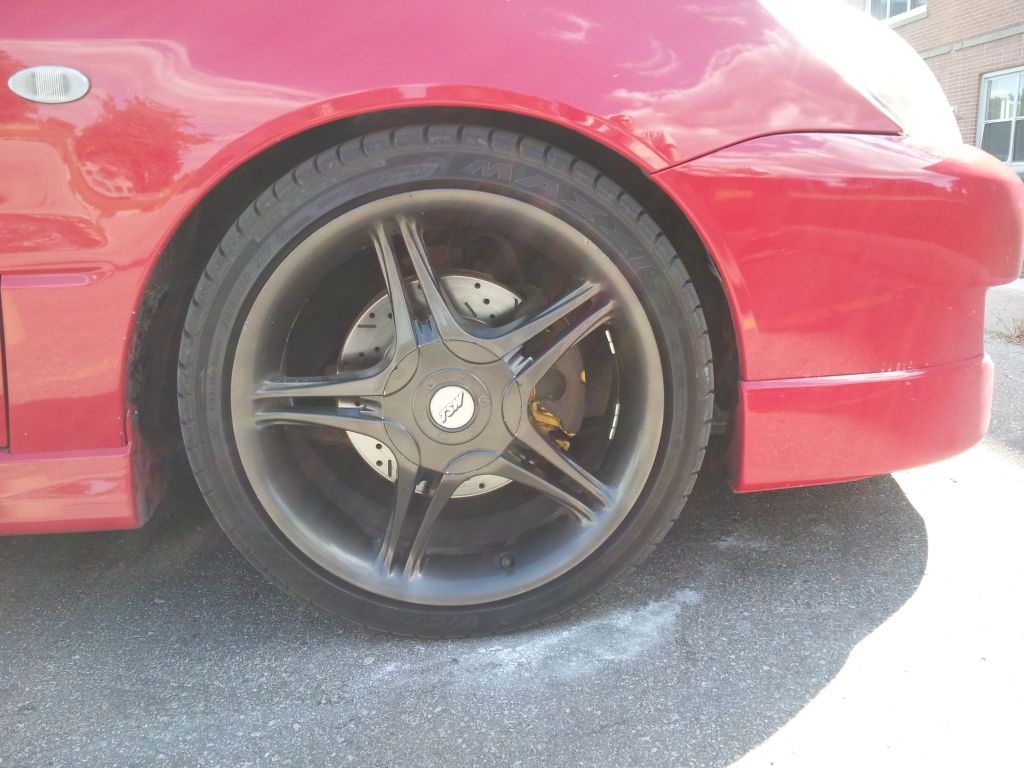
After...
Also, we used Rain-x on the windshield.
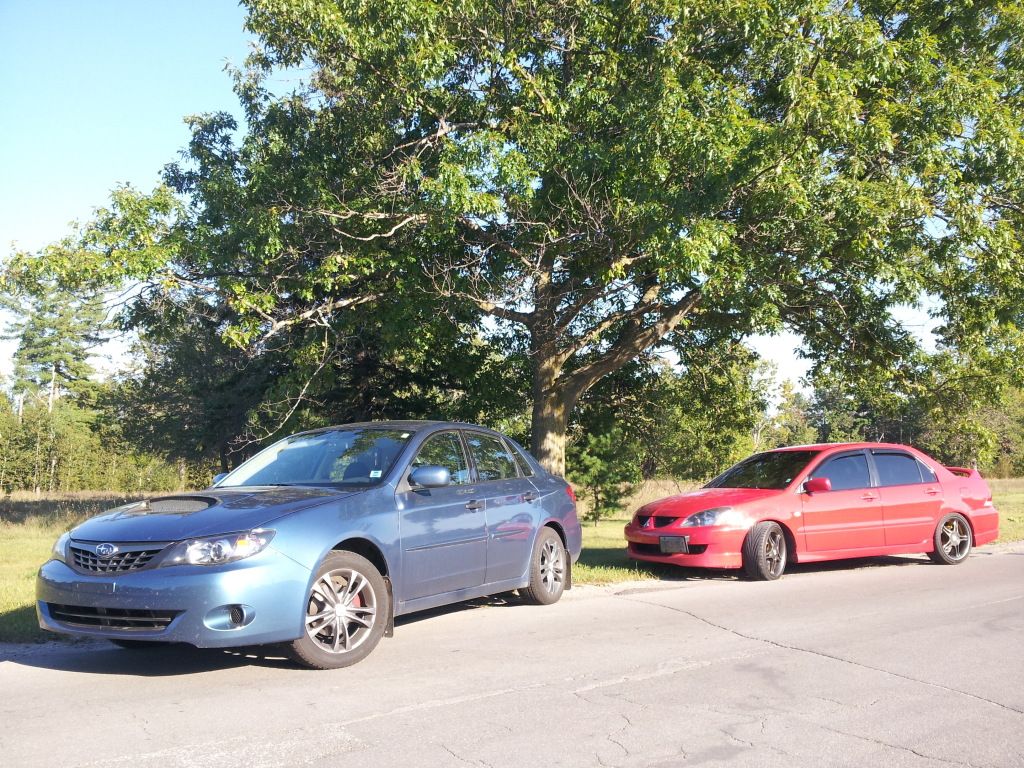
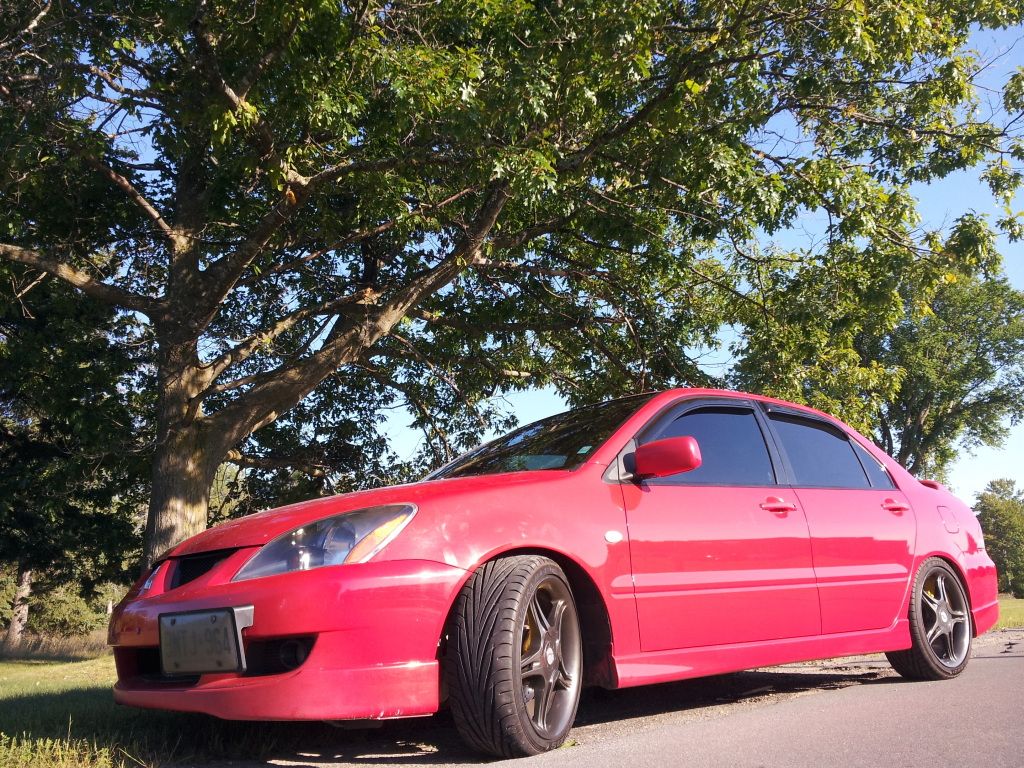
Some pics I took this afternoon. The 2008 Subaru Impreza 2.5i belongs to Millhouse_5
Here are the current Mods to the car that the previous owner had done
-Evolution 9 front plate relocation
-New battery (July 16, 2012)
-New Fan Control Module (Jan 2012)
-New Rear Rotors and Pads (Jun 2012)
-RoadRaceMotorsports Upper and Lower Stainless Clutchlines
-Evolution 8 Front motor mount
-Exeedy Stage1 Clutch and pressure plate (Dec 2011)
-MSport Front Drilled and Slotted Rotors
-Hawk HPS Front Pads
-Tein S-Tech Lowering Springs
-3000K HID Foglights
-Short Ram Intake
-Buschur Racing Shifter Linkage Bushings
-Buschur Racing Shifter Base Bushings
-Short Throw Shifter
-Tinted Windows
-Prosport Premium Gauges (Oil Pressure, Voltmeter)
-Autometer Carbon Air/Fuel Ratio Gauge
-Autometer Triple A-Pillar Gauge Pod TSW Concept 2 17'' Summer Rims with New (June 2012)
-Maxxis MA-Z1 Victra tires
-Eclipse CD Player
-Kaption 700.1D Amp
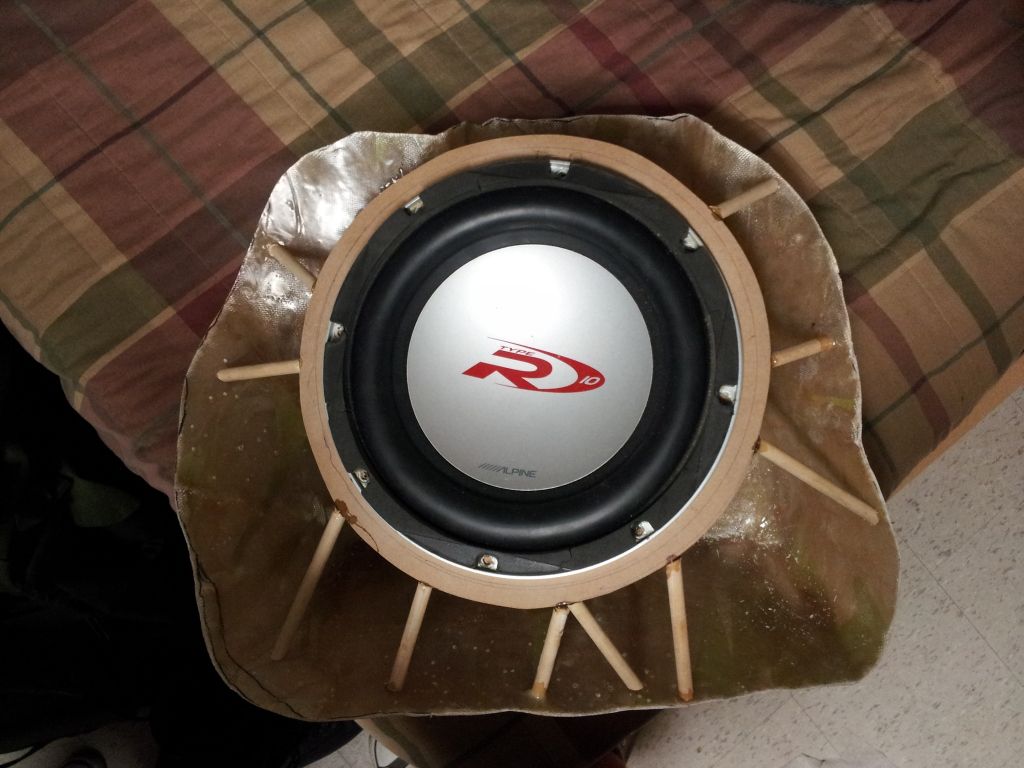
-Alpine Type-R 10'' Sub
-Bassworx Ported box
-Cooper Weather Master Snow Tires on OEM wheels
I am fairly new to this forum and cars in general. I had been scowering the web and local dealers for the right car and for months... nothing. When I got posted to CFB Borden my buddy (Millhouse_5 on the forum) found an 05 Ralliart in reasonably good condition for me to check out. The car's former owner is roblaza on the forum.
Let the Build BEGIN!
I have only had the car a week and I think all things considered i have managed to get a fair amount completed. Millhouse_5 has been a great help.
First things first, some cleaning under the hood.
To the right of the latch hole is cleaned and the left was what it was. Millhouse_5 and i scrubbed the whole hood.
I started to polish the headlights. the drivers side is basicly done but the passanger side needs a little more work just to get rid of the sand lines and some general cloudiness.
Before...
After...
Today we decided to paint the brake callipers. After breaking not one but two torque wrench adapters trying to remove the wheels we decided to take i to Canadian Tire. The wheels ended up being on at about 200lbs!
Once we were there I decided that they might as well do the more complicated installs (I'm no mechanic, but I am trying to learn... baby steps). After taking it to Canadian Tire to install the e-brake shoes and fix the starter issue, we finally got to remove the wheels to paint the brake calipers their original colour.
Before...
Right before paint...
After...
Also, we used Rain-x on the windshield.
Some pics I took this afternoon. The 2008 Subaru Impreza 2.5i belongs to Millhouse_5
Here are the current Mods to the car that the previous owner had done
-Evolution 9 front plate relocation
-New battery (July 16, 2012)
-New Fan Control Module (Jan 2012)
-New Rear Rotors and Pads (Jun 2012)
-RoadRaceMotorsports Upper and Lower Stainless Clutchlines
-Evolution 8 Front motor mount
-Exeedy Stage1 Clutch and pressure plate (Dec 2011)
-MSport Front Drilled and Slotted Rotors
-Hawk HPS Front Pads
-Tein S-Tech Lowering Springs
-3000K HID Foglights
-Short Ram Intake
-Buschur Racing Shifter Linkage Bushings
-Buschur Racing Shifter Base Bushings
-Short Throw Shifter
-Tinted Windows
-Prosport Premium Gauges (Oil Pressure, Voltmeter)
-Autometer Carbon Air/Fuel Ratio Gauge
-Autometer Triple A-Pillar Gauge Pod TSW Concept 2 17'' Summer Rims with New (June 2012)
-Maxxis MA-Z1 Victra tires
-Eclipse CD Player
-Kaption 700.1D Amp
-Alpine Type-R 10'' Sub
-Bassworx Ported box
-Cooper Weather Master Snow Tires on OEM wheels
Last edited by RejectedWolf; Sep 1, 2012 at 07:24 PM.
Thread Starter
Newbie
Joined: Aug 2012
Posts: 17
Likes: 0
From: Edmonton
Hey guys, did some more stuff on my Ralliart.
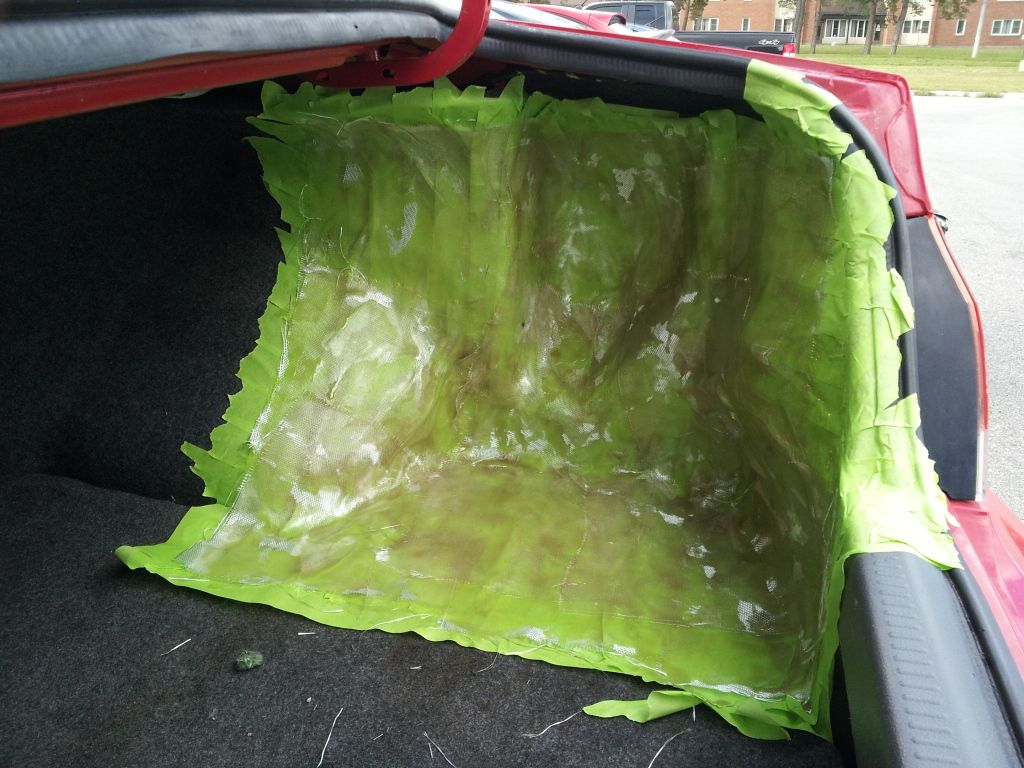
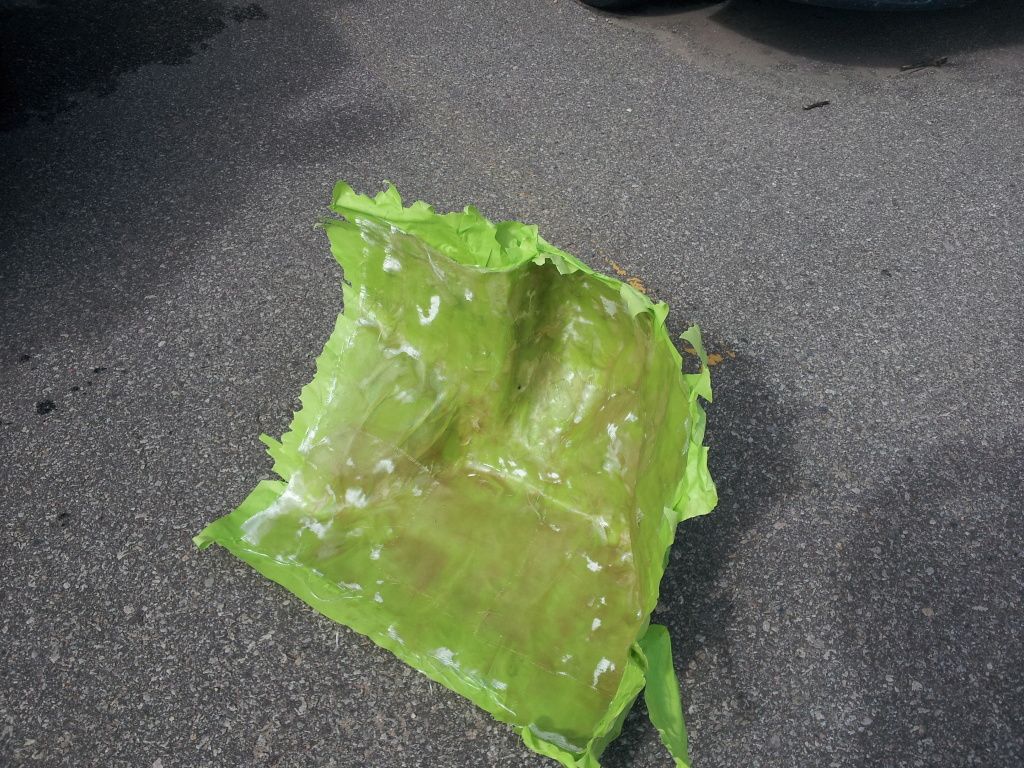
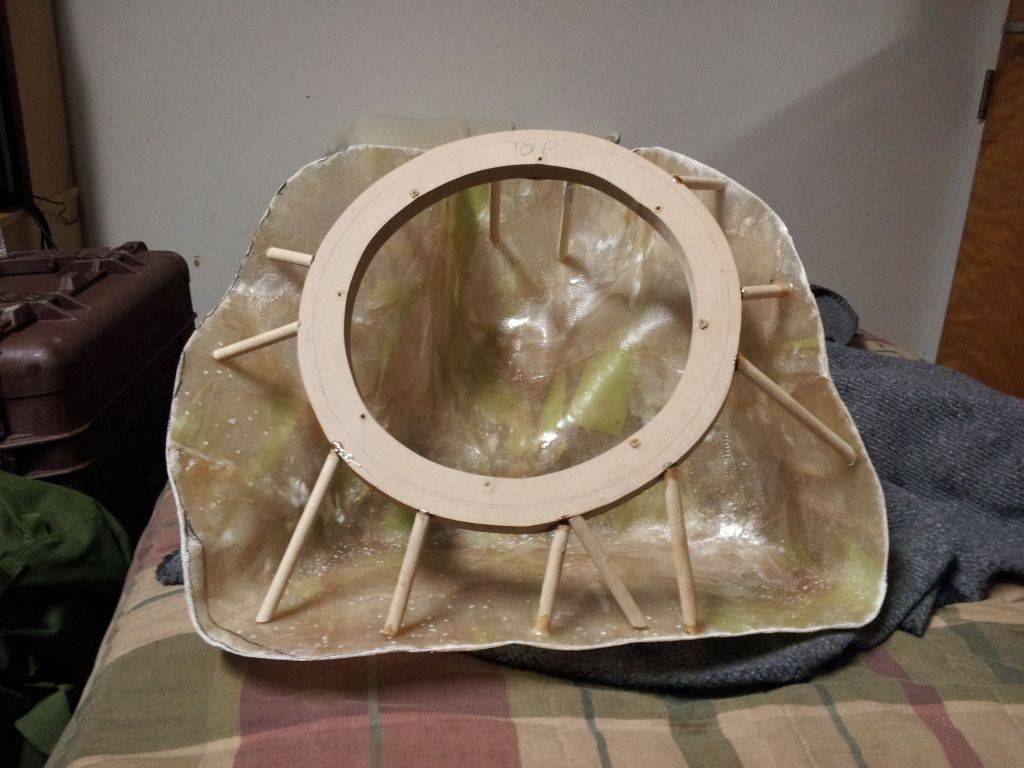
I decided that the sub-box that was in the trunk was taking up too much space so i started to make a custom one out of painters tape, fiberglass cloth and fiberglass resin.
Here is the trunk taped.
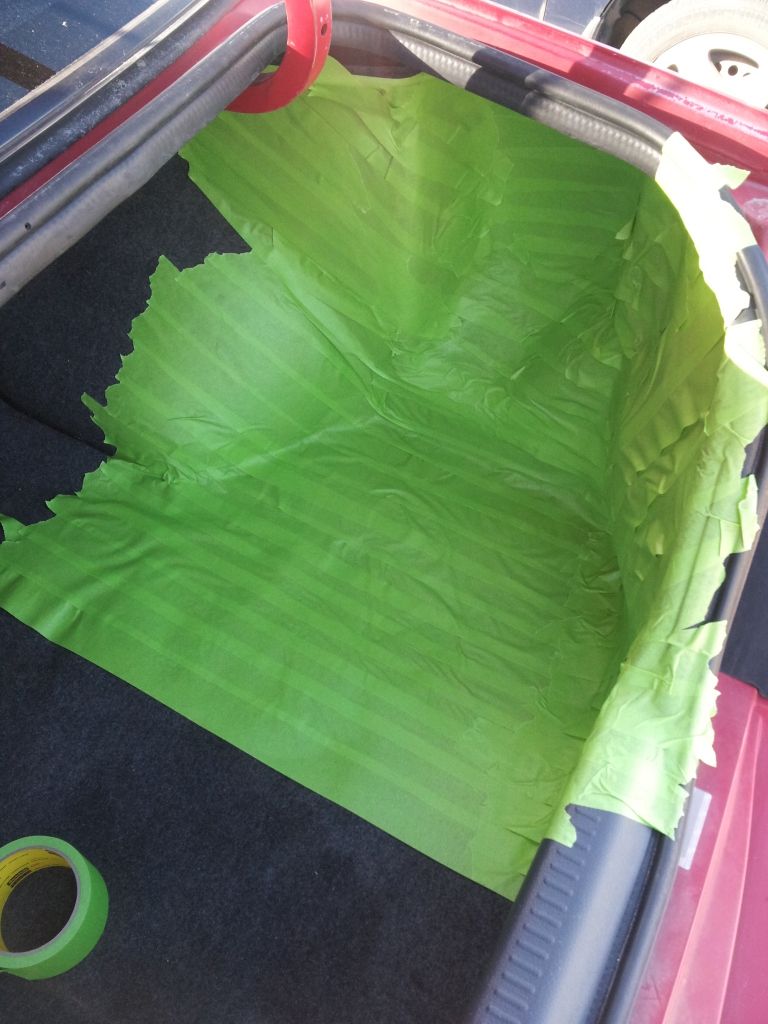
I recommend doing two layers because when I was taking the tape off i noticed that some of the resin had seeped between the two layers and having only one layer could have resulted in a very sticky and messy trunk. The two layers were done perpendicular to each other.
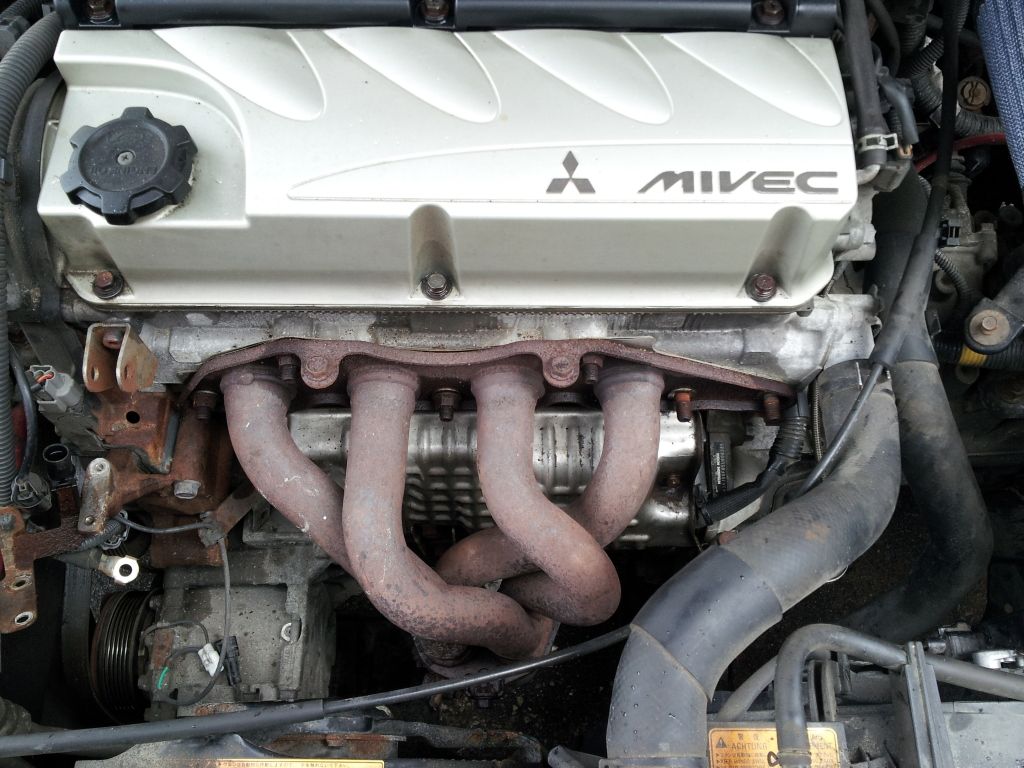
Also, I painted my headers! they look alot better now that they are flat black.
Before and after.

Just waiting on a new alternator...
Next weekend i might paint up my alternator and head cover (whatever the hell that is technically called)
I decided that the sub-box that was in the trunk was taking up too much space so i started to make a custom one out of painters tape, fiberglass cloth and fiberglass resin.
Here is the trunk taped.
I recommend doing two layers because when I was taking the tape off i noticed that some of the resin had seeped between the two layers and having only one layer could have resulted in a very sticky and messy trunk. The two layers were done perpendicular to each other.
Also, I painted my headers! they look alot better now that they are flat black.
Before and after.
Just waiting on a new alternator...
Next weekend i might paint up my alternator and head cover (whatever the hell that is technically called)


Looks good Tyler! Keep up the great progress.
I found another lug nut for the winter wheels in my toolbox. Let me know if you want it or if you bought a new replacement. I can get it to you if you want it.
I found another lug nut for the winter wheels in my toolbox. Let me know if you want it or if you bought a new replacement. I can get it to you if you want it.

Thread
Thread Starter
Forum
Replies
Last Post
Strictly Modified
Drag Racing
9
Oct 2, 2013 08:17 AM