When you click on links to various merchants on this site and make a purchase, this can result in this site earning a commission. Affiliate programs and affiliations include, but are not limited to, the eBay Partner Network.
Evo X Engine Swapped Into Ralliart (97% Complete)- Project Revolution
It all started when I blew the engine in the Ralliart, apparently it was not powerful enough for me so I decided to destroy it in a blazing flame of glory. more on that subject here. This little incident kicked off an almost complete but still ongoing project I have named Project "Revolution" (Ralliart Evolution). There was not a lot of information in doing this as i am not even sure it has been done. So as stated over and over in all Evo forms..... "Do it, Post it"..
This thread is kind of a mix between DIY and Project. The overall aspect is a project but I figured maybe a quick rundown would be beneficial as well.
Project Start Date: Mar 14, 2015
Engine first started up: May 29, 2015
Project End Date: Currently in process
(before people say, I could have had this done in a weekend, keep in mind I have done this all on my own and have never done this before)
Here it is. (breakdown/bullet point version) (I will upload pics as soon as I downsize them and pull them from my tablet)
Project Revolution
RalliartEngine Removal
Tip: It is an extremely fantastic idea to label every bolt and part you can as you remove it. I also placed what could fit in ziplock bags into them and annotated what they went to. see below.
All Removed Parts Labeled In Ziplock Bags
Drain Coolant
Drain engine oil
Drain SST oil (this is expensive oil)
Remove Hood
Remove all under-body plastics
Remove bumper (careful not to pull the bumper out to far as you will need to disconnect the fog light plug)
Remove front tires
Remove wheel well plastics
Unplug ABS and undo wire chassis mount points
Pull ABS wire out as far as possible from wheel well grommet (these break easy, do not attempt to unbolt it from the caliper)
Remove Rotor assembly to strut bolts
Remove drive shafts from transfer case and transmission (pry bar will work, should not take a lot of force. Pry between the back of the shaft and the case. Try not to damage the dust seal or rip the boot as the metal shield is easy to bend) then place them out of the way. There is no need to completely remove them.
Remove intake cold air tube, battery and battery tray
Remove intake system, including Boost solenoid and BOV lines
Remove upper black Charge Pipe
Remove coolant hoses
Remove fuel lines and vacuum lines
Remove inter cooler hoses and pipes
Remove SST cooler lines and Cooler
Remove entire SST filter assembly
Disconnect AC lines (if required, rent a refrigerant recycling system to dispose of refrigerant) Tip: Depending on what AC compressor the engine comes with on the Evo X your lines may not work. I had to swap the Ralliarts AC compressor to the Evo engine. the Ralliart has a 80cc size and the Evo has a 70cc. As well, the lines compressor mounts are smaller on the Evo.
Remove Engine ECU
Undo chassis wire grounds form drivers side
Remove exhaust manifold covers
Remove all chassis brackets for battery tray and wire harness mount above transmission
Remove front vertical cross member with mount
Remove upper radiator support beam
Remove crash bar
Remove Headlights (one bolt/screw is under the white bumper clip in the wheel well)
Roll up all wire harness for front bar and tie it up out of the way (Drivers headlight hole works well)
Remove inter-cooler
Remover entire radiator assembly with fan attached
Remove power steering lines
Remove AC lines from compressor
Remove AC compressor and belt
Remove transfer case ACD line shield
Remove transfer case ACD line
Remove transfer case �stub�. Tip: Used an 8 mm bolt welded to a long metal "J" shaped shaft and a block of wood will be a good slide hammer tool for this if you cannot rent one. Wedge the block of wood into the hook on the end and give a good wack.
Remove front propeller shaft (4 bolts) � unbolt the bolts, let the shaft drop and then remove it slowly from the transfer case. It will just slide out so expect it to drop rather quickly.
Remove exhaust system or as much as is needed to get to where you need.
Support engine and transmission with hoist/jack
Remove the upper engine sway bar. The struts will fall at this point so find a way to support them from dropping to far.
Remove driver�s side SST mount completely
Remove passengers� side engine mount from the engine
Remove the bolts that secure the transfer case to the transmission
Remove transfer case. You may have to pry the case from the transmission. Just don�t put the end of the pry bar too deep in between the two or you will damage the seal.
Once transfer case is loos from the transmission support the transfer case with a jack and lift the engine/transmission up and forward as far as you can get it. At this point you can attempt to finagle the transfer case from between the engine and cross member. This this weighs about 100lbs. so expect a lot of weight to drop once it is free.
Drop engine/transmission down enough to get to the back transmission mount and remove the mount blot.
Angle the transmission towards the driver�s side as far as you can get it and lift the engine up while keeping the transmission down. Continue to work it out until the engine clears the bay enough to get the entire assembly from out of the car.
Watch for power steering lines and wires near the fire wall as there is almost always something in the way or not disconnected.
Once the engine/transmission assembly is out remove the bolts that attach engine to transmission. (This was much easier out of the car. If you do it while the engine is in the car there is 1 bolt someplace around where the transfer case is that will take you 2 hours to remove and a lot of frustration. Well, at least it did for me).
You will probably have to pry the two apart as the spline shaft nub has a lot of hold between them. Pry them evenly all the way around. You only need to get them 2 inches apart before the separate completely.
Evo Engine Installation (mechanical) Tip: Get your long list of torque specs. A good amount came from the Evo X service Manuel and here.
Tip: Be sure to torque the flywheel in stages or warping can occur. The flywheel requires roughly 98 Ft Lbs. I torqued it at 32, waited, 64 waited, then the final 98. I did not see this information in the service manual.
To marry the engine and transmission together, I hoisted the transmission up over the engine with the spline hole facing down and tilted the engine on its side with the spline adapter facing up. Then I slowly lowered the transmission onto the engine. A lot of patience and turning the transmission was involved to get the two married back. I also threw some oil on the spline adapter to help slide them together.
Note: some SST fluid may still be lingering around in there so be prepared to clean up � quart of oil from the floor.
Transmission Dropped Onto New Engine
After the 2 were together I too this chance to install the new turbo down pipe and bolt the transfer case back in place. I also ran most of the belt and cleaned the crap out of every part I could see.
Dropping the engine from the top was a bit tricky but not too bad. Transmission goes in first and is angled down. Then slowly drop the engine in making sure the transfer case does not get caught on anything. There is a slight possibility you will have to pry the engine away from the engine bay slightly to assist it into place.
Once you have the entire assembly back in bolt up the rear mount and if you can, attach the ACD line back to the transfer case. (This is a PITA and may require a touch of patience and a little force, a little, careful not to pull the line too hard, you definitely don�t want any leaks from this component later on).
Dropping New Engine In Bay
Now you can put the driver�s side mount back then the passenger side engine mount then the vertical cross member and front mount.
Reinstall the SST Filter assembly, cooler and lines
Reinstall AC lines
If you have an oil cooler, now is the time to install that too.
Replace radiator, inter-cooler and upper radiator support.
Install inter-cooler lines, coolant lines, power-steering and fuel lines
Install all other components listed in removed except the air intake box as this is no longer usable.
A custom Air intake or an Evo short intake will be required if you are not doing a battery relocation.
Custom Intake
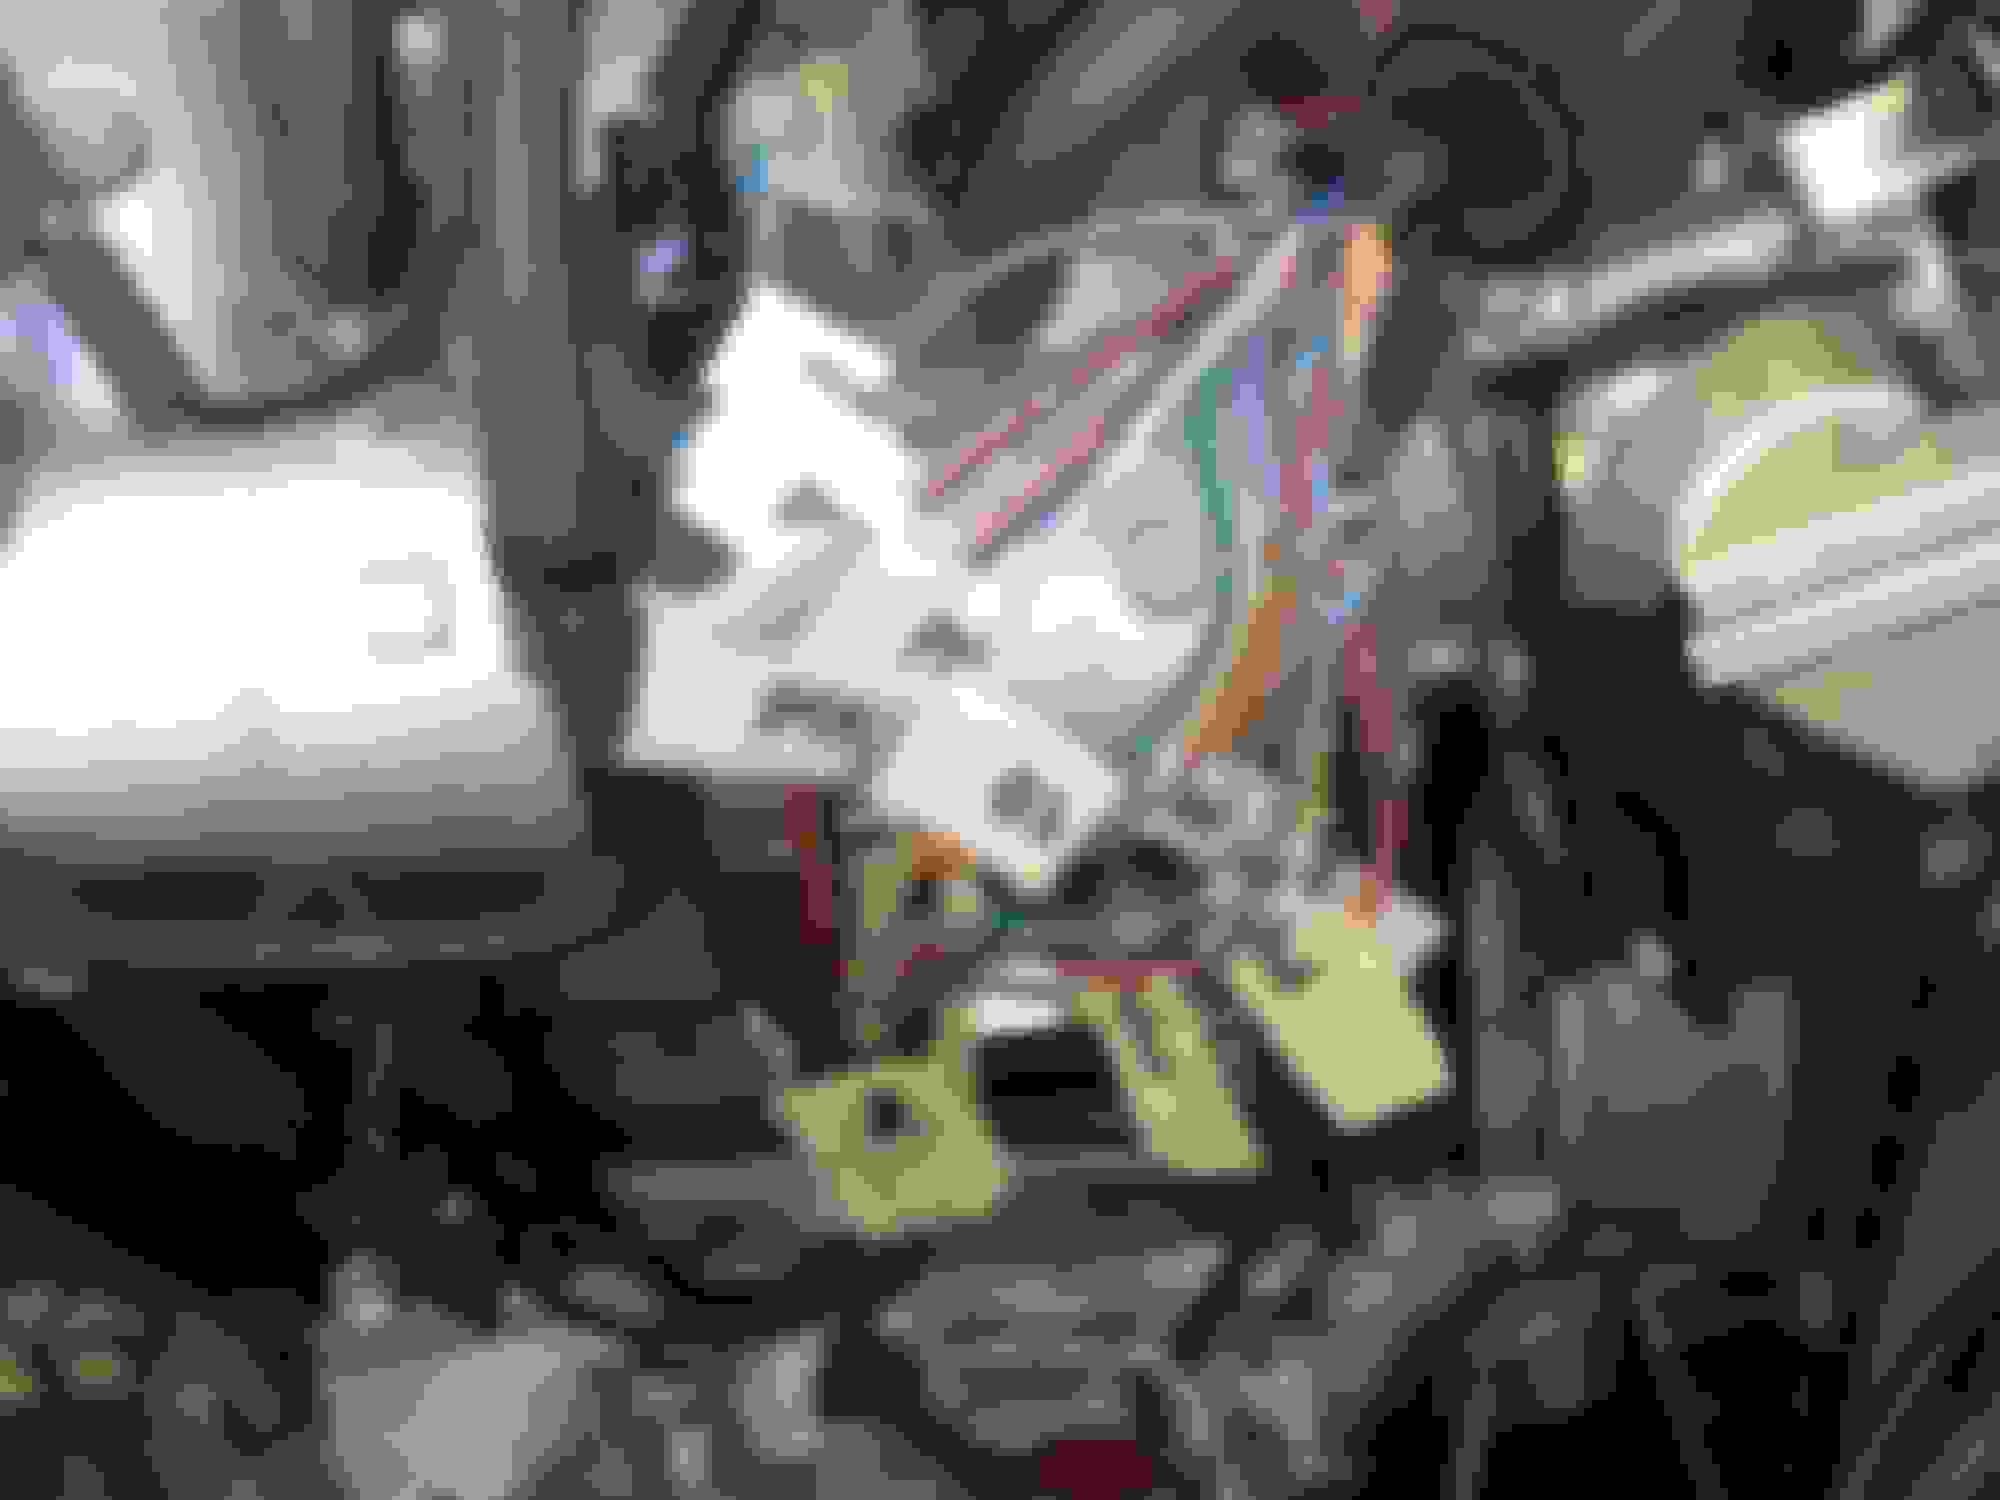
Evo engine wire harness vs Ralliart
I have this broken out with the exception of all the fuse pins. I am working on getting it uploaded and hope to have it on here soon. The engine harness is pretty much the same, there are few color differences between the 2 ECU pins. What is going to take me a bit is figuring out exactly what each harness plug is called as I annotated them in a manor only I might understand . I got this information by disassembling the entire engine wire harness from the ralliart while it was connected to the engine. I then traced out every wire and annotated what plug they went to. then looked at every plug on the GSR and annotated every color wire on each corresponding plug. I then looked at them side by side in my excel sheet. to figure out if they went to the same ECU pins. Yah, it took a while.
2 plugs on the GSR engine are not used on the Ralliart. Luckily the Pins they go to in the fuse block are needed for the SST plug. you will have to unpin the long fuse plug and repin it with the ralliart SST plug wires. I suggest numbering every wire before you take the plug end apart as it will explode in your hands and leave you speechless.
I am also still using the Ralliart ECU, which leads to the ongoing next portion..
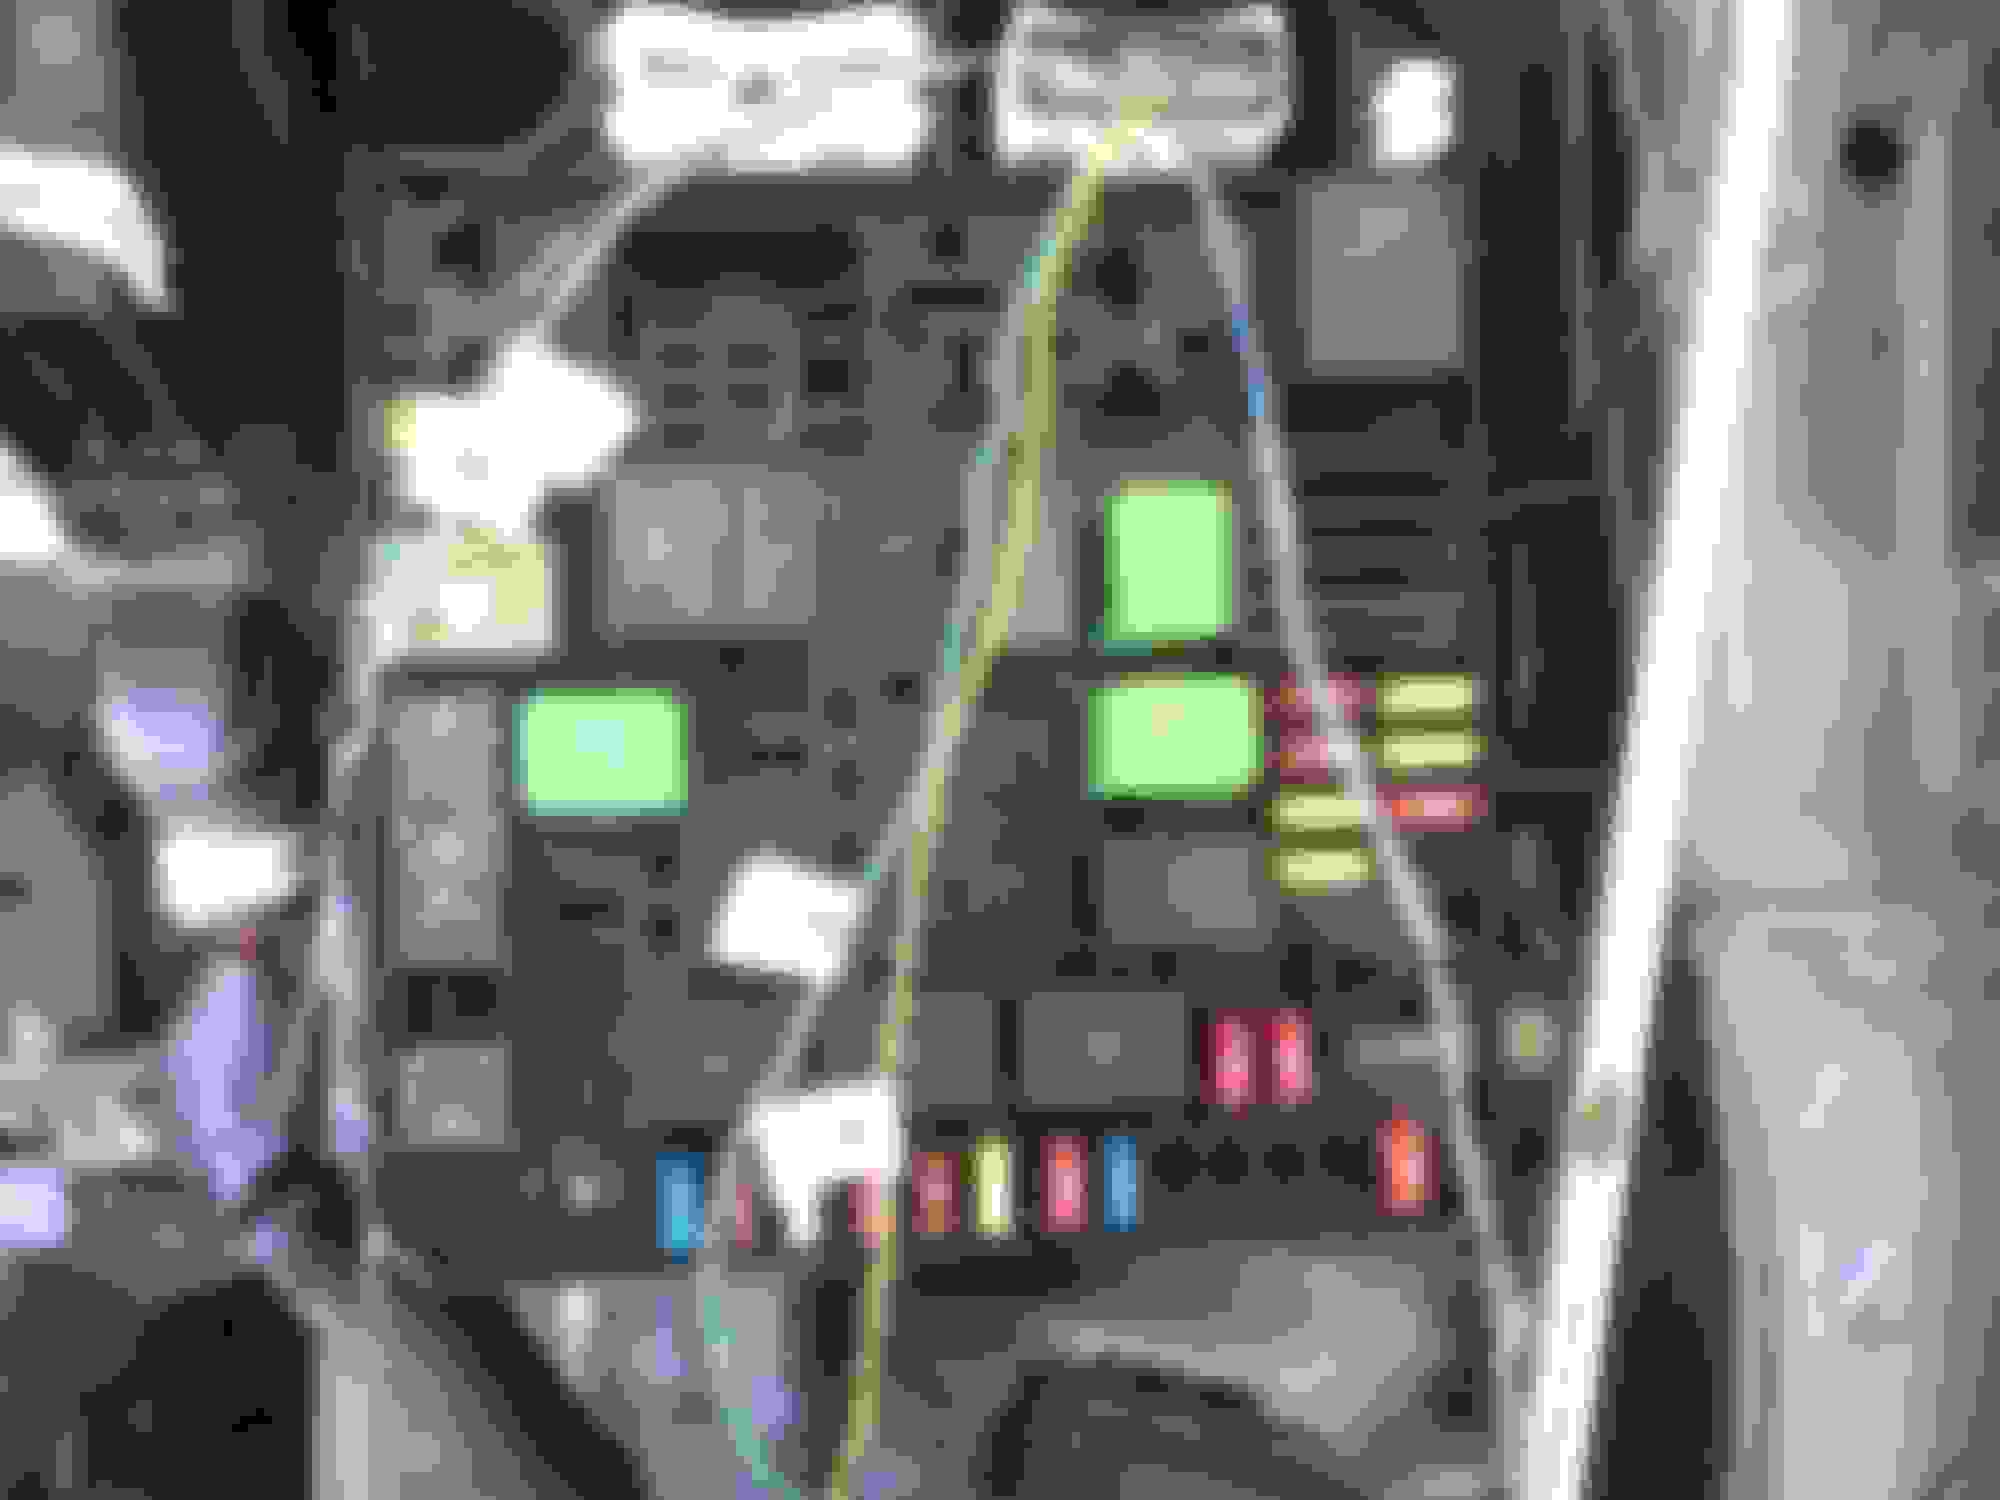
SST Plug Labled
SST Fuse Plug Wires
Wire Harness Fuse Plug Labled
ECU Pinout Quick Reference
ECU Pin//Plugs (for this Reference - left is passengers)
1 Throttle Body Plug
2 Throttle Body Plug
3 Plug to right of fuel rail on Head (right)
4 Throttle Body Plug
5 Throttle Body Plug
6 Throttle Body Plug
7 Throttle Body Plug
8 Plug to right of fuel rail on Head (right)
8 Plug to right of fuel rail on Head (right)
8 Plug to right of fuel rail on Head (right)
9 Engine to trans Plug (bottom right)
10 Back of Engine top right plug
14 Fuel rail plug 2 (left middle)
15 Fuel rail plug 1 (left)
16 Plug next to fuel pressure regulator (left)
19 Plug to right of fuel rail on Head (right)
22 Water Pump Plug
23 Water Pump Plug
24 Top crank sensor plug (left-middle engine)
25 Engine to trans Plug (bottom right)
26 Back of Engine top right plug
30 Fuel rail plug 4 (right)
31 Fuel rail plug 3 (right middle)
32 Back of Engine top left plug
35 Left Intake manifold plug (rectangular - biggest)
36 Left Intake manifold plug (rectangular - biggest)
37 Left Intake manifold plug (rectangular - biggest)
Transfer Case - Mitsubishi Diaqueen LSD Gear Oil (1 Qt) unless you spill more
ACD- Mitsubishi Diamond ATF SP III - (1 Qt) Tip: Make sure you buy your own fluid unless the mitsu dealership near you knows what the hell they are talking about or looking at. I asked the parts guy specifically for ACD fluid, not for the transfer case, but for the reservoir in the trunk. So what does he give me.. LSD Gear oil. It seems that they don't know the transfer case houses both components living with separate fluids or that the reservoir in the trunk is for the ACD and not the transfer case.
Mods/Parts
Evo X GSR engine
Evo X FMIC
Evo X Ultimate Racing Upper FMICP
Evo X Ultimate Racing Lower FMICP
Evo X Tomei 3� turbo downpipe
Ralliart Magnaflow 3� cat back exhaust
Ralliart Ultimate racing 3� HFC with mini muffler
Flowmaster universal inline 3� hushpower muffler
SSP Ralliart/Evo X 5.8lb flywheel - The OEM flywheel is 12.6lbs
GFB Deceptor pro blow off valve
GFB 3 port EBCS and controller
Deatschwerks DW65c 265lph
COBB AP
Custom Short Ram Intake
Oil cooler
AEM AFR Guage
Prosport Evo Series EGT Guage
Pics
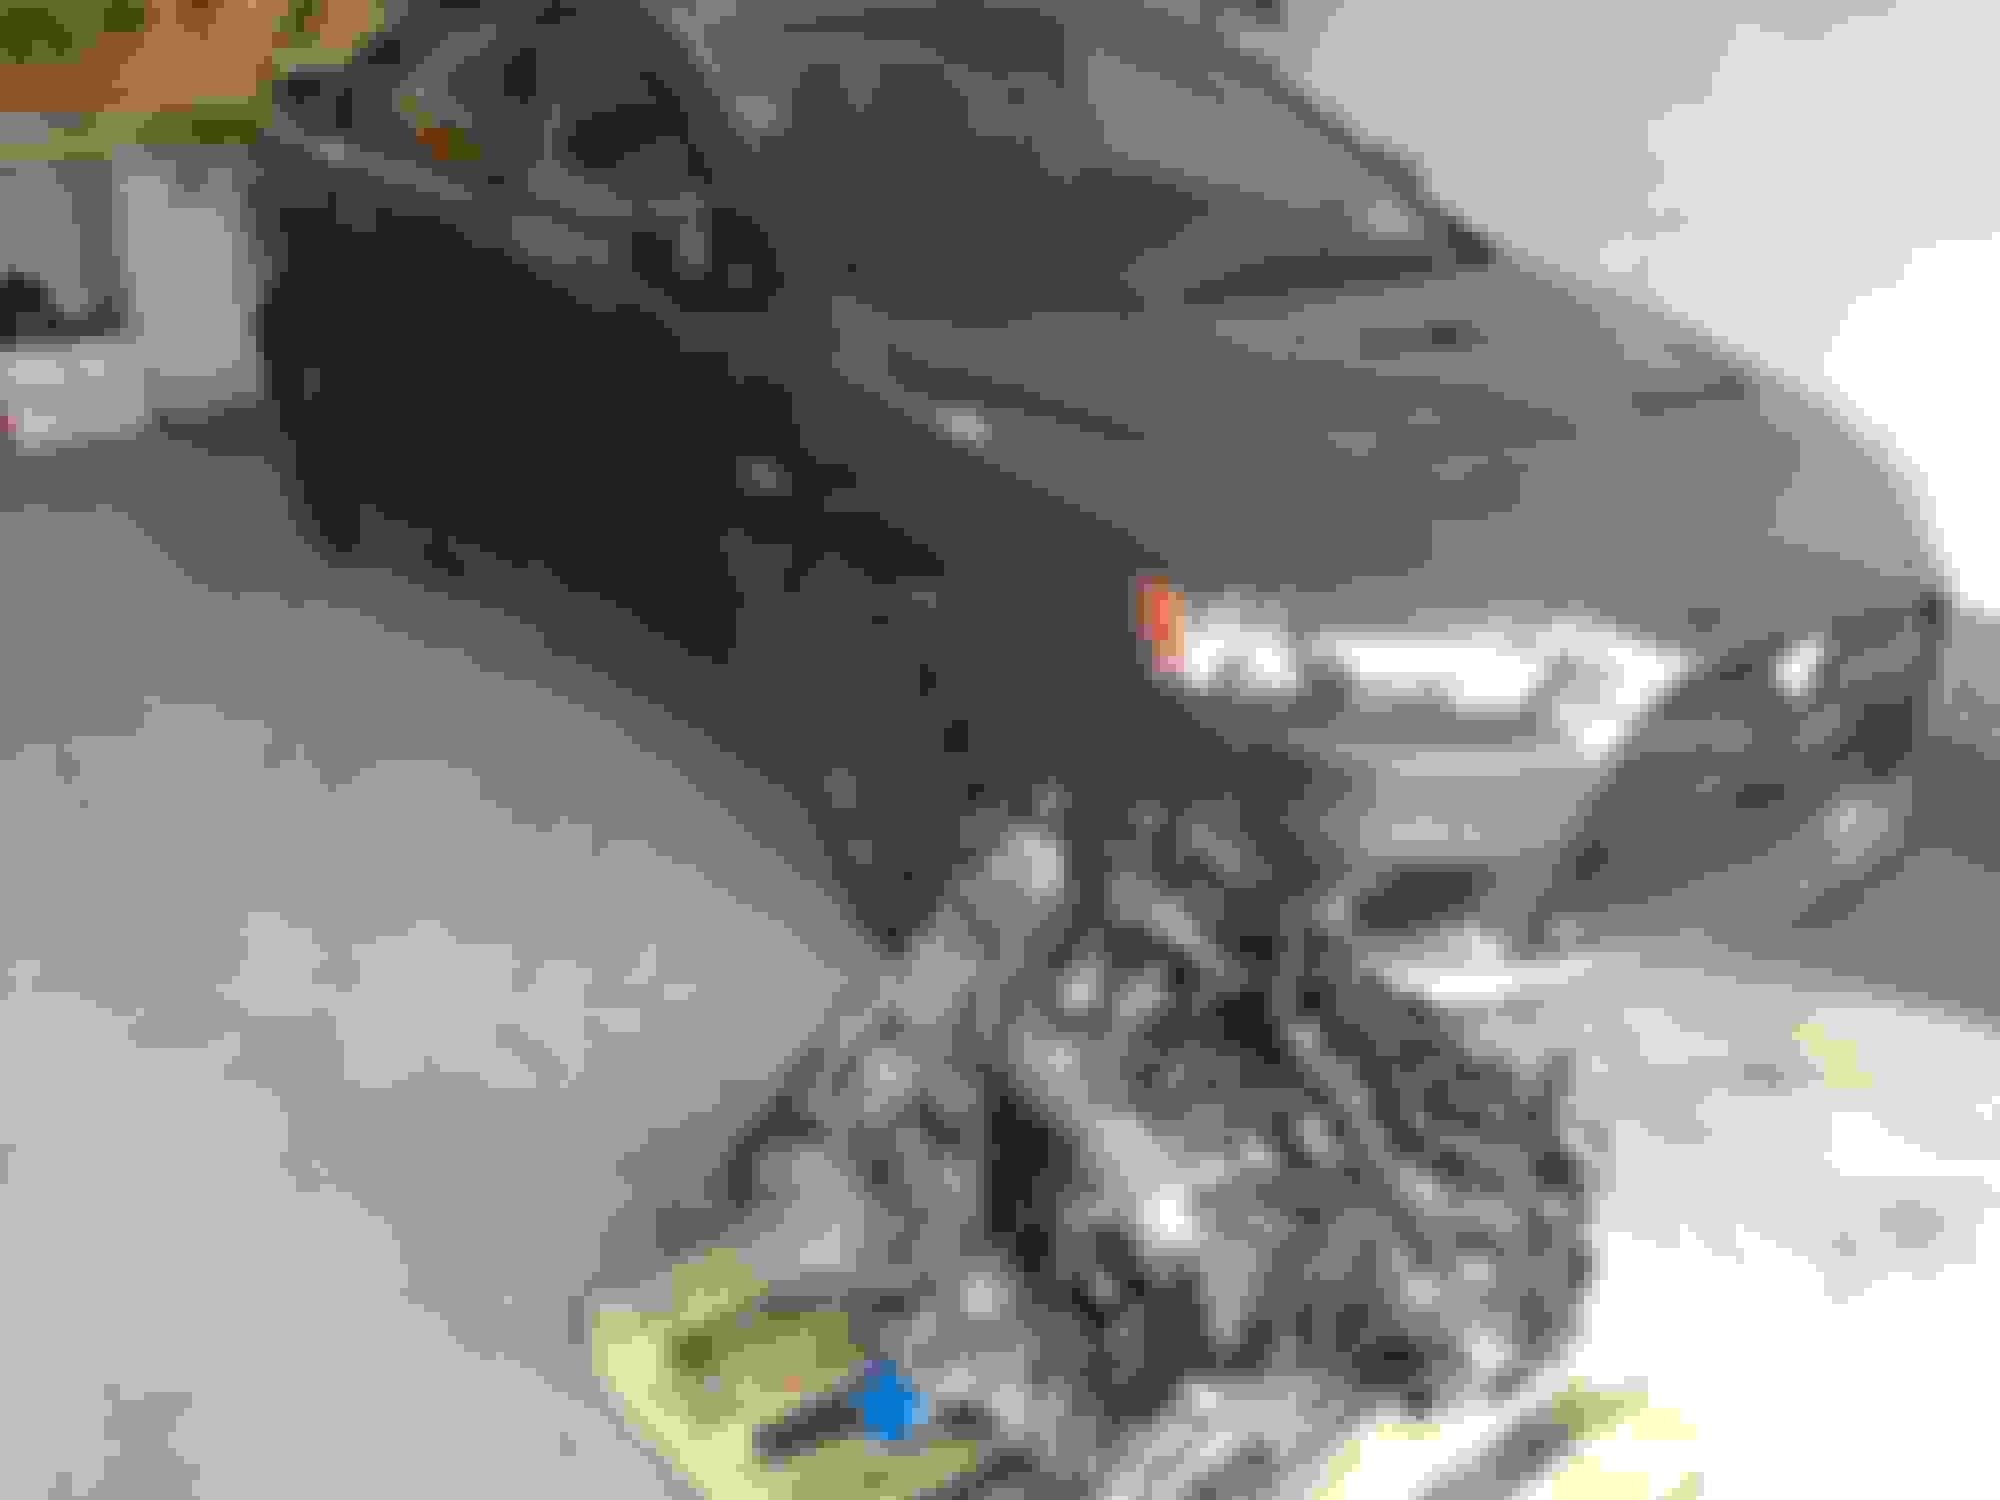
New Engine Awaiting Prep
Engine Removed
New Engine Flywheel Installed
Installed Parts
A Little Dress Up Dyno Sheet
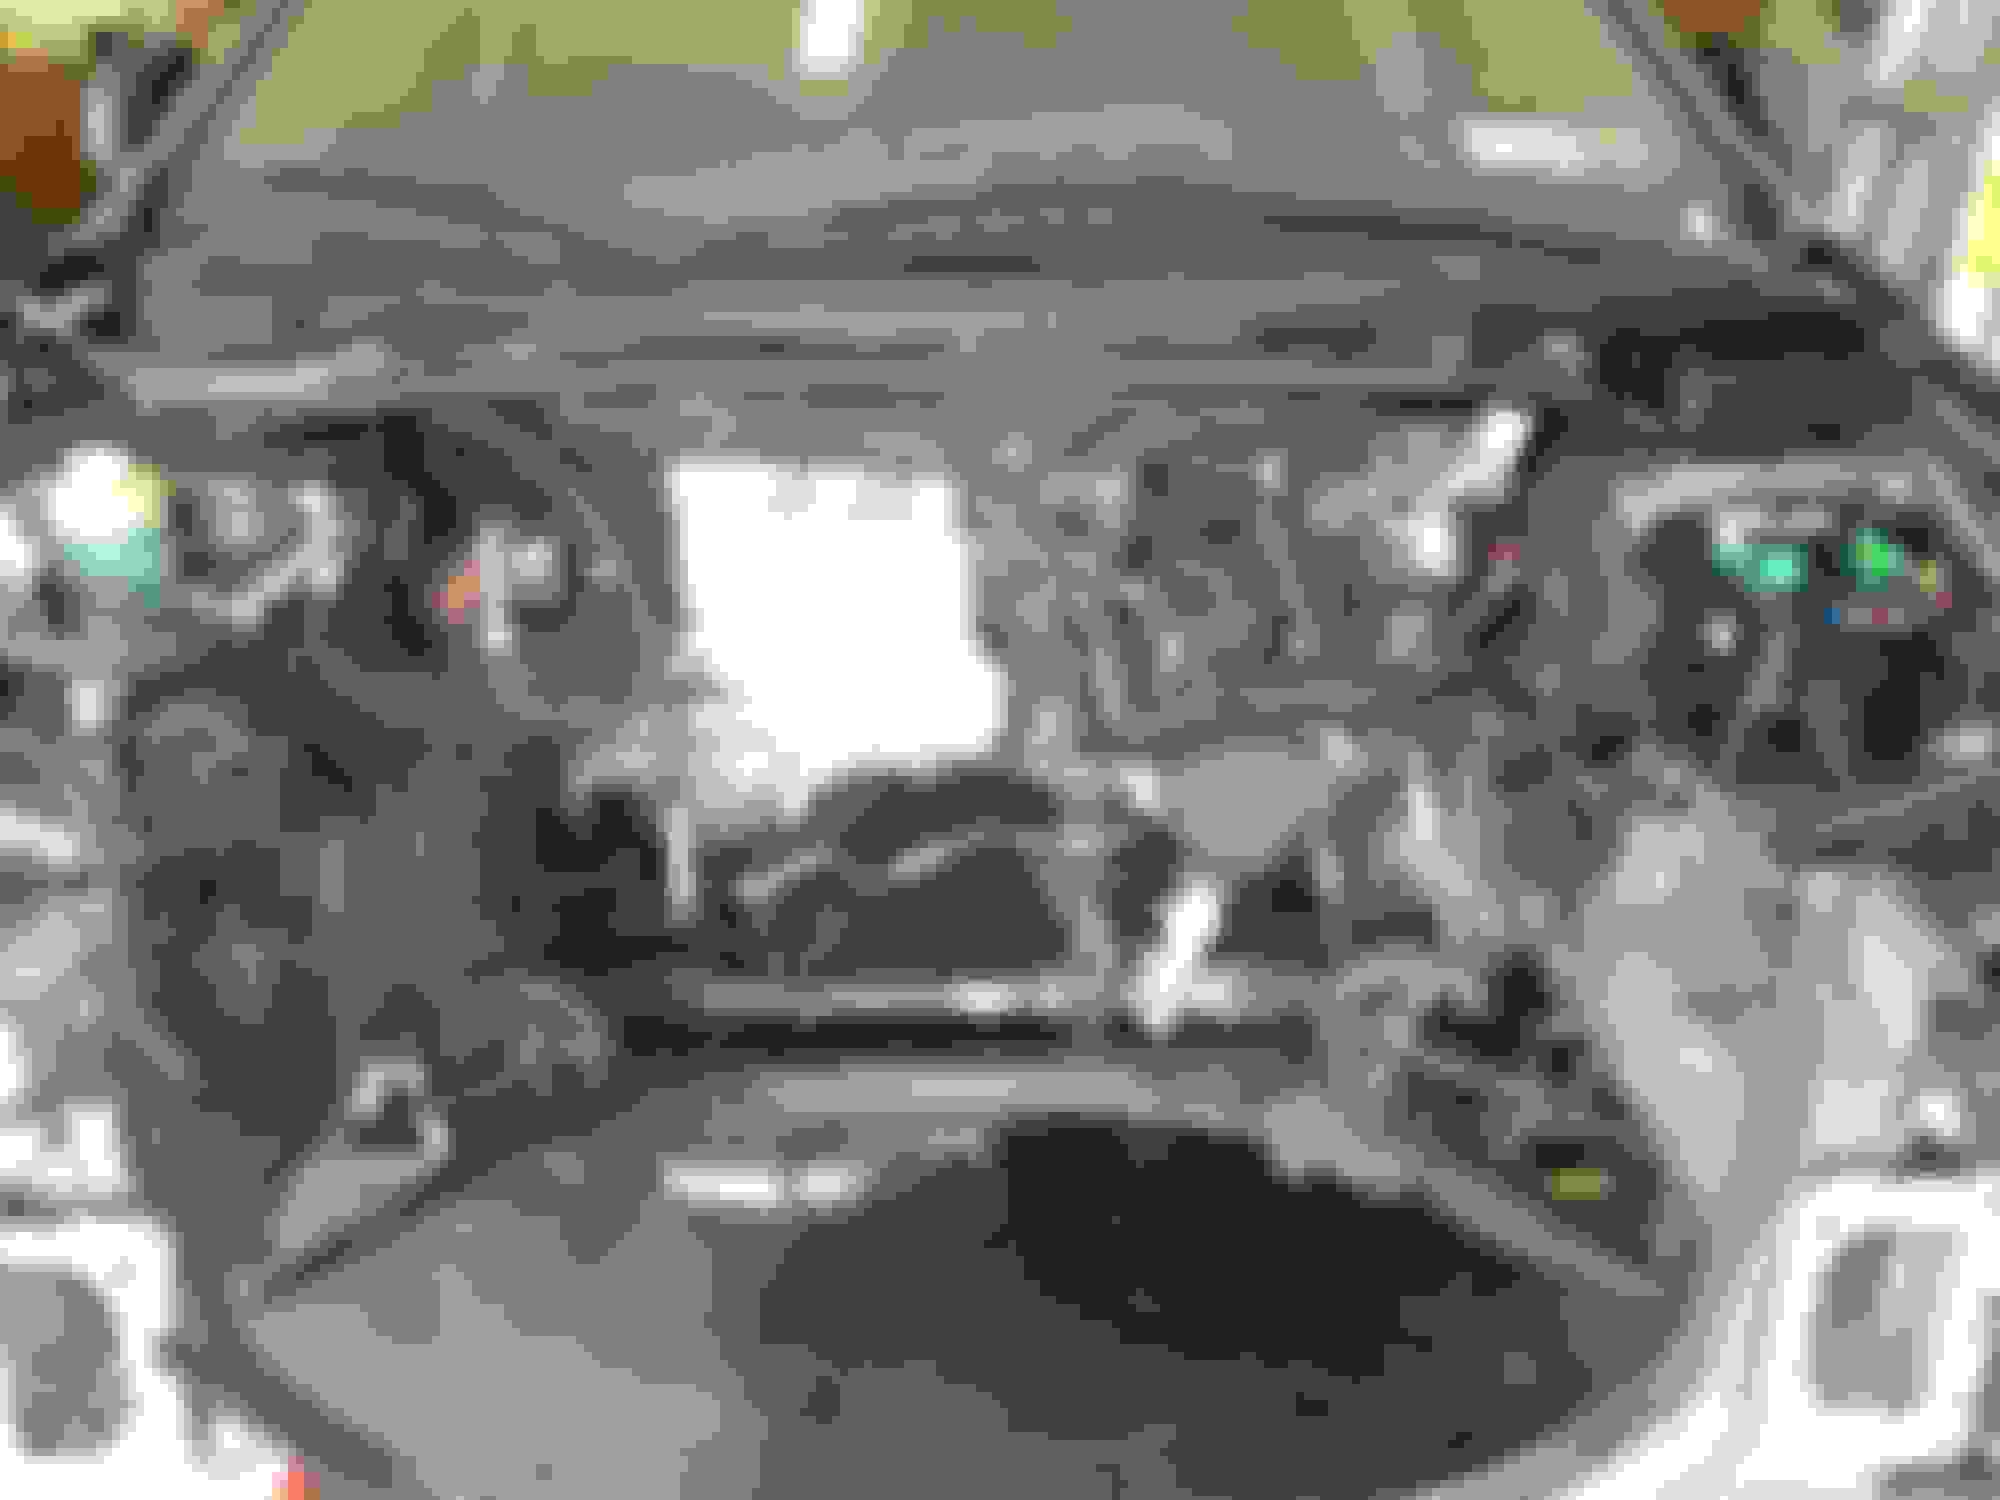
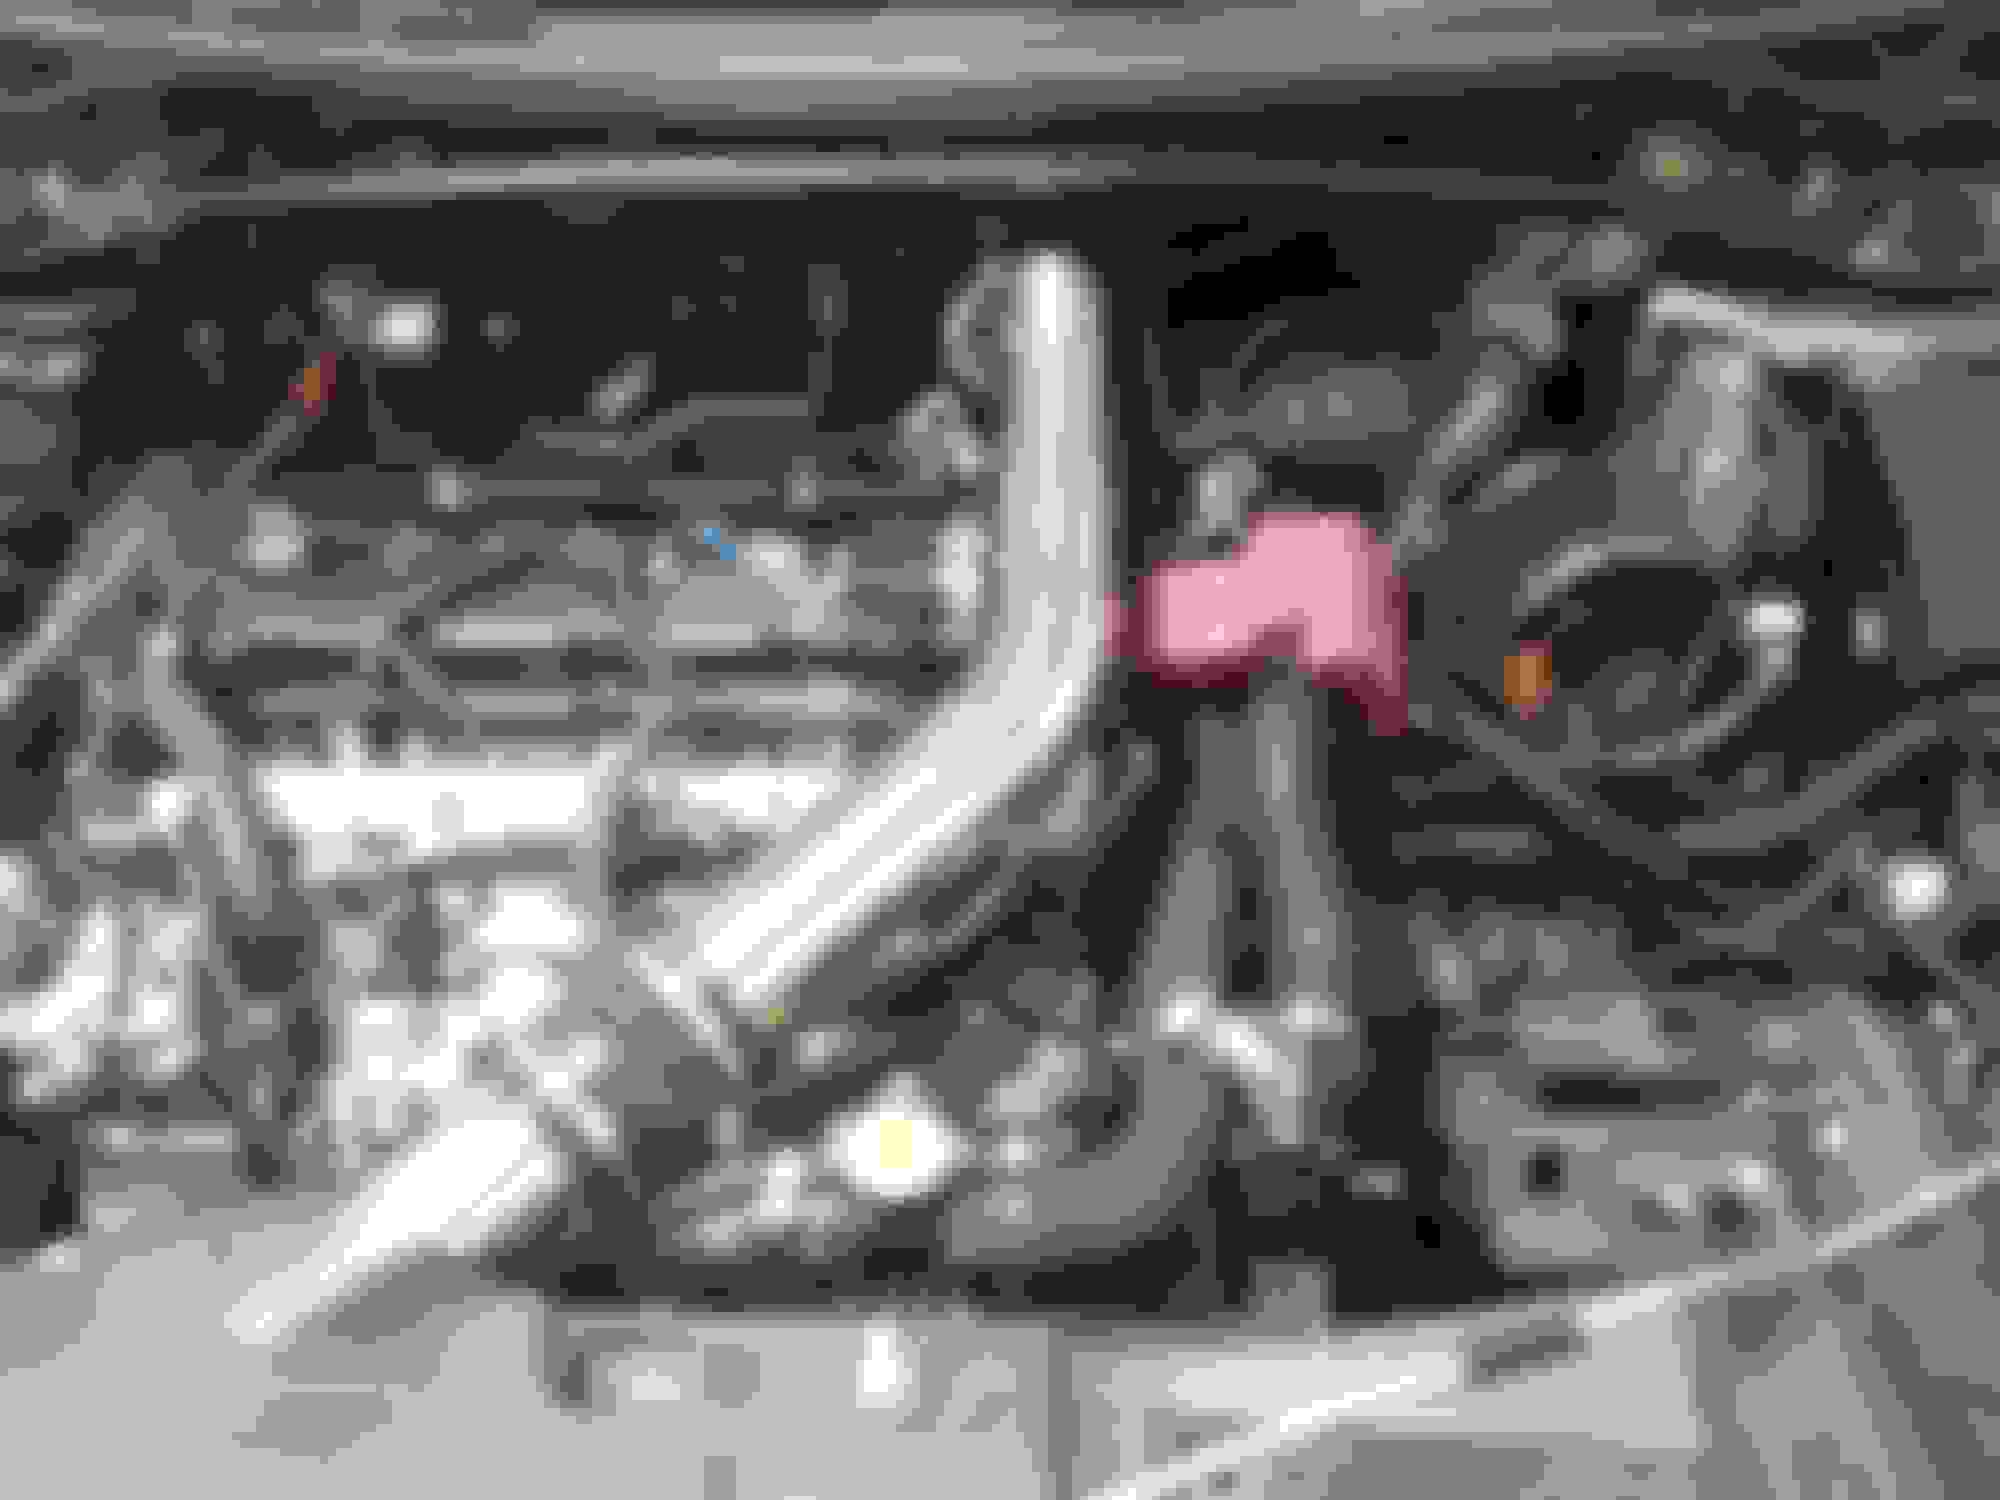
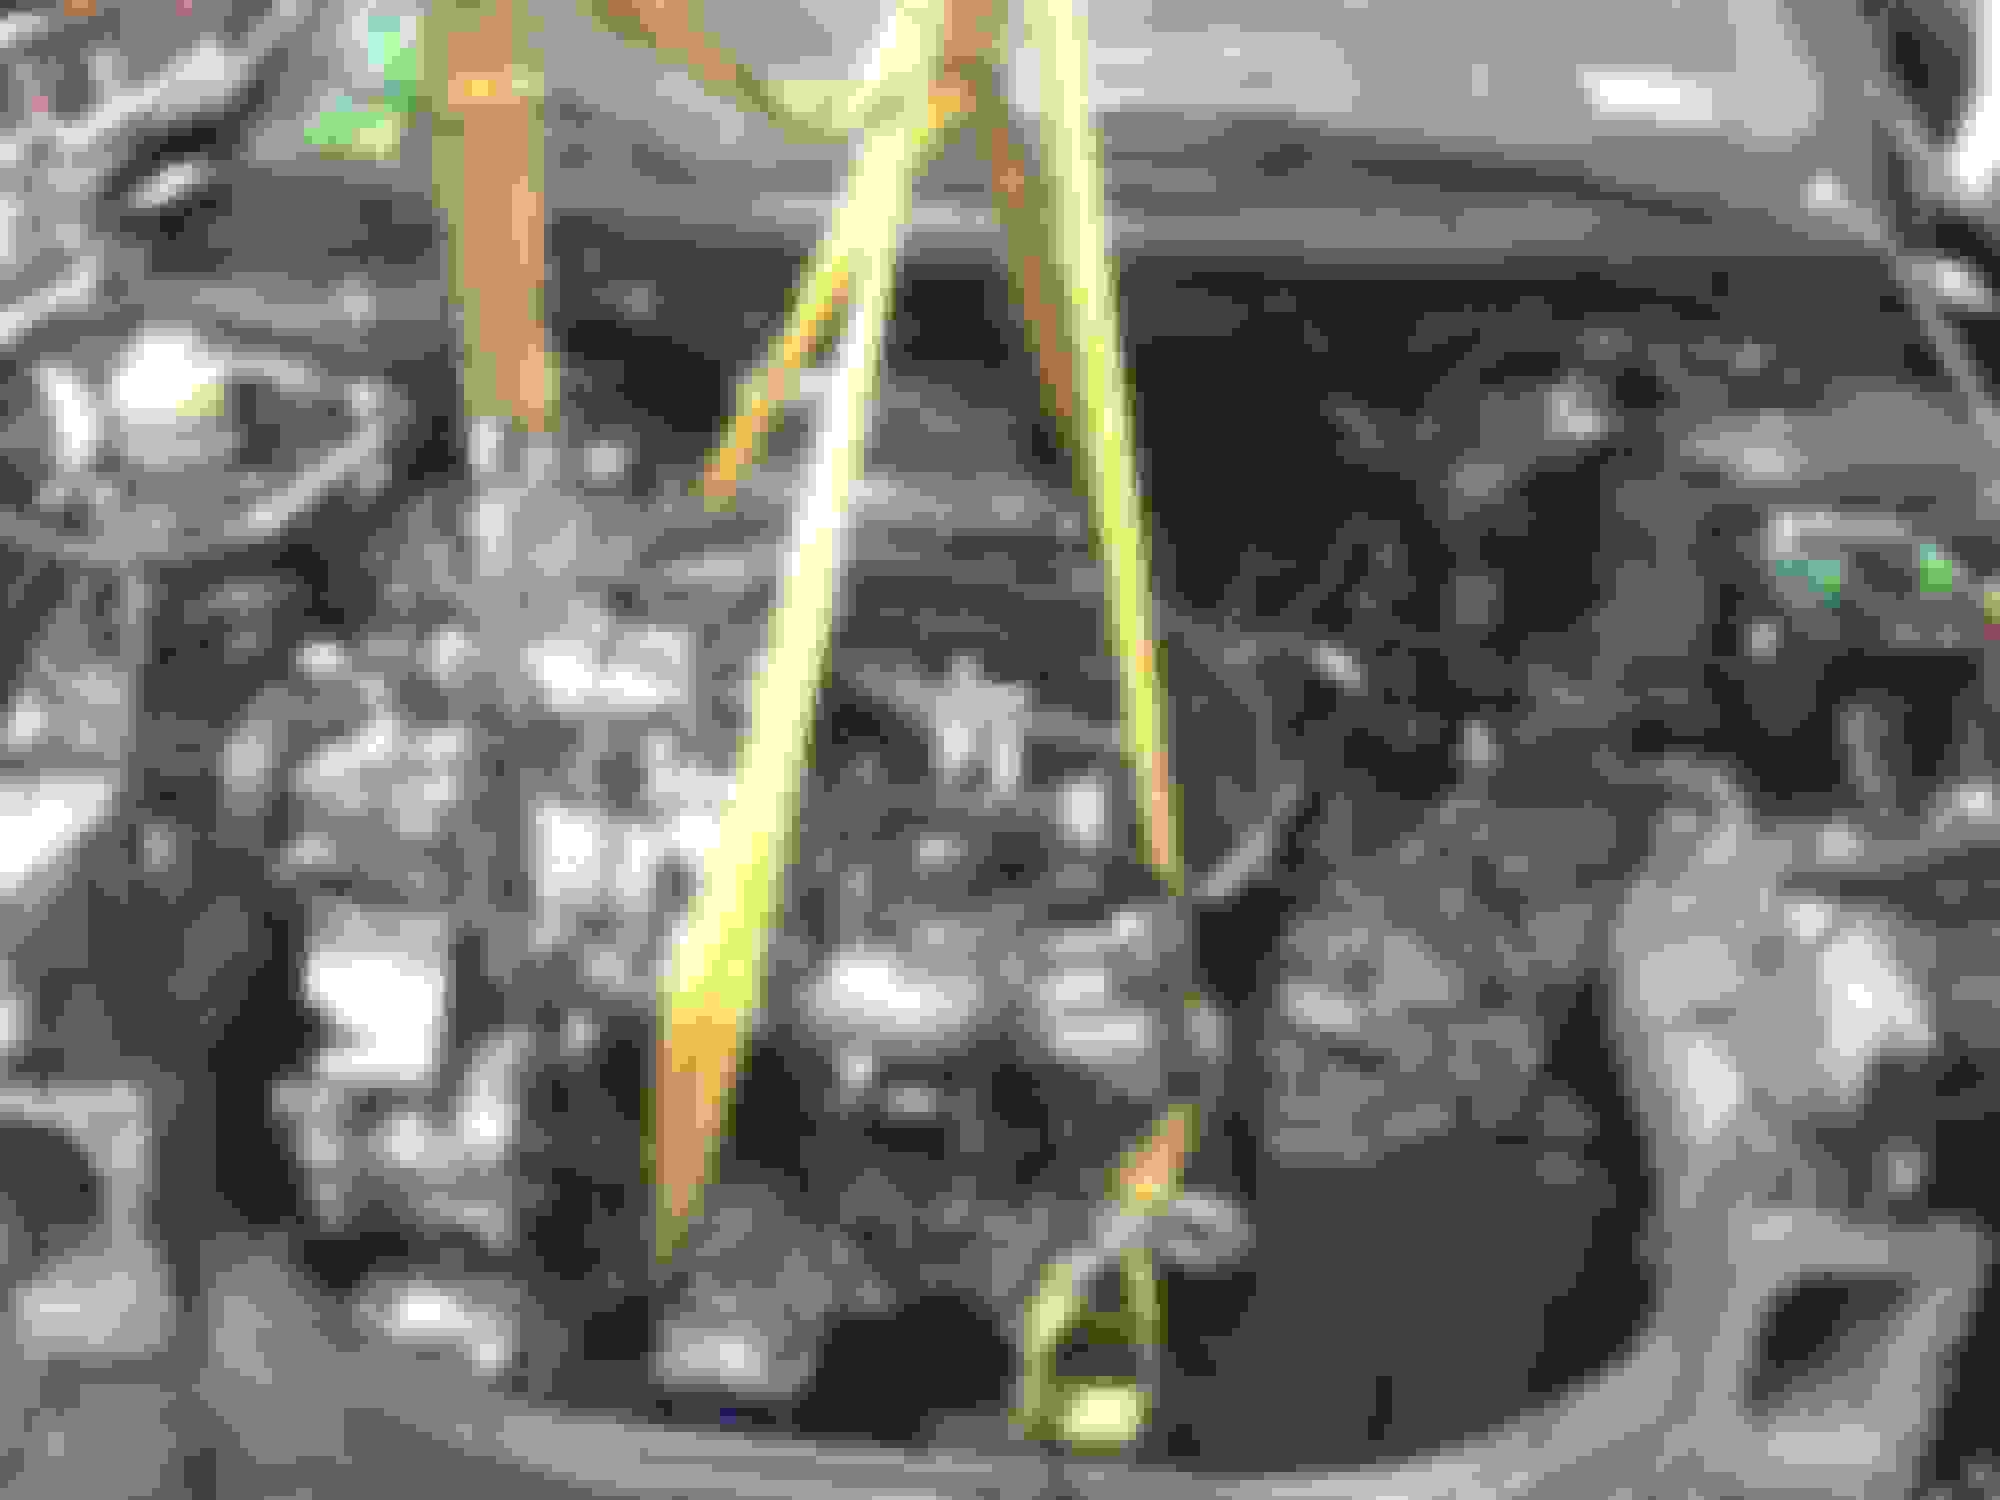
Engine Bay
Side Shot
Next up is the installation of my not yet purchased Injector Dynamics ID850-EVOX fuel injectors and a retune.
Will have ECUFlash and EvoScan setup with an openport an a netbook mounted in vehicle to do some tuning. Good Times!
Last edited by Sethlans; Aug 8, 2017 at 03:19 PM.
Reason: Adding New Pics and Dyno Sheet
It was a ton of work. I can tell you the hours just flew by as I sat in the garage listening to Moogs (from Mighty Car Mods) soundtracks and other types of music similar in nature.
Oddly enough, despite the large amount of work and frustration at times, I still had a good time on the build.
So far I have only driven up and down my road twice (roughly 1/2 mile), shifted through all gears to make sure they were good and work the fluids into the system, also tried "auto" and "manual" modes to make sure they were good.
I didn't want to get on it as the map is still for a ralliart and it was making me a little nervous knowing the fuel trims are not up to par
I don't want to take it too far or drive it too much without bleeding the ACD system.
Last edited by Sethlans; Jun 15, 2015 at 07:14 PM.
Reason: Misspell
Based on the level of technical expertise that you have shown I am surprised that you haven't bleed the ACD fluid.
Its high pressure system with a pump. Unplug the connector to the pump and connect 12 volt power source to it. If you have a switch that's even better. Then you can turn the pump on and off to move the fluid and bleed the air out of the system.
Very scary putting all that weight on the crankshaft while installing the transmission. No way in the world would I have done this but it seems like you lucked out. As far as the harness differences, it should have been all plug and play if you would have taken all the sensors and stuff off your RA engine and you would have saved a ton of time there. Very good write up either way. Hope it all works out and it is back to having fun with it soon. By the way, I posted on your other post about the engine parts being different. The long block between an EVO X and a Ralliart share the exact same internal parts. No differences at all.


 Tip: It is an extremely fantastic idea to label every bolt and part you can as you remove it. I also placed what could fit in ziplock bags into them and annotated what they went to. see below.