When you click on links to various merchants on this site and make a purchase, this can result in this site earning a commission. Affiliate programs and affiliations include, but are not limited to, the eBay Partner Network.
I like the steering wheel. I am going to check that out as mine is worn out. Have you installed it?
Thanks. Bear in mind it's a 300mm wheel, most aftermarket wheels are 350mm. I'd look up some reviews before you go ahead click buy, to see if you really want a wheel that small.
The car is still down, so I haven't gotten the chance to install it as yet.
Last edited by sumopower87; Jan 6, 2019 at 08:12 PM.
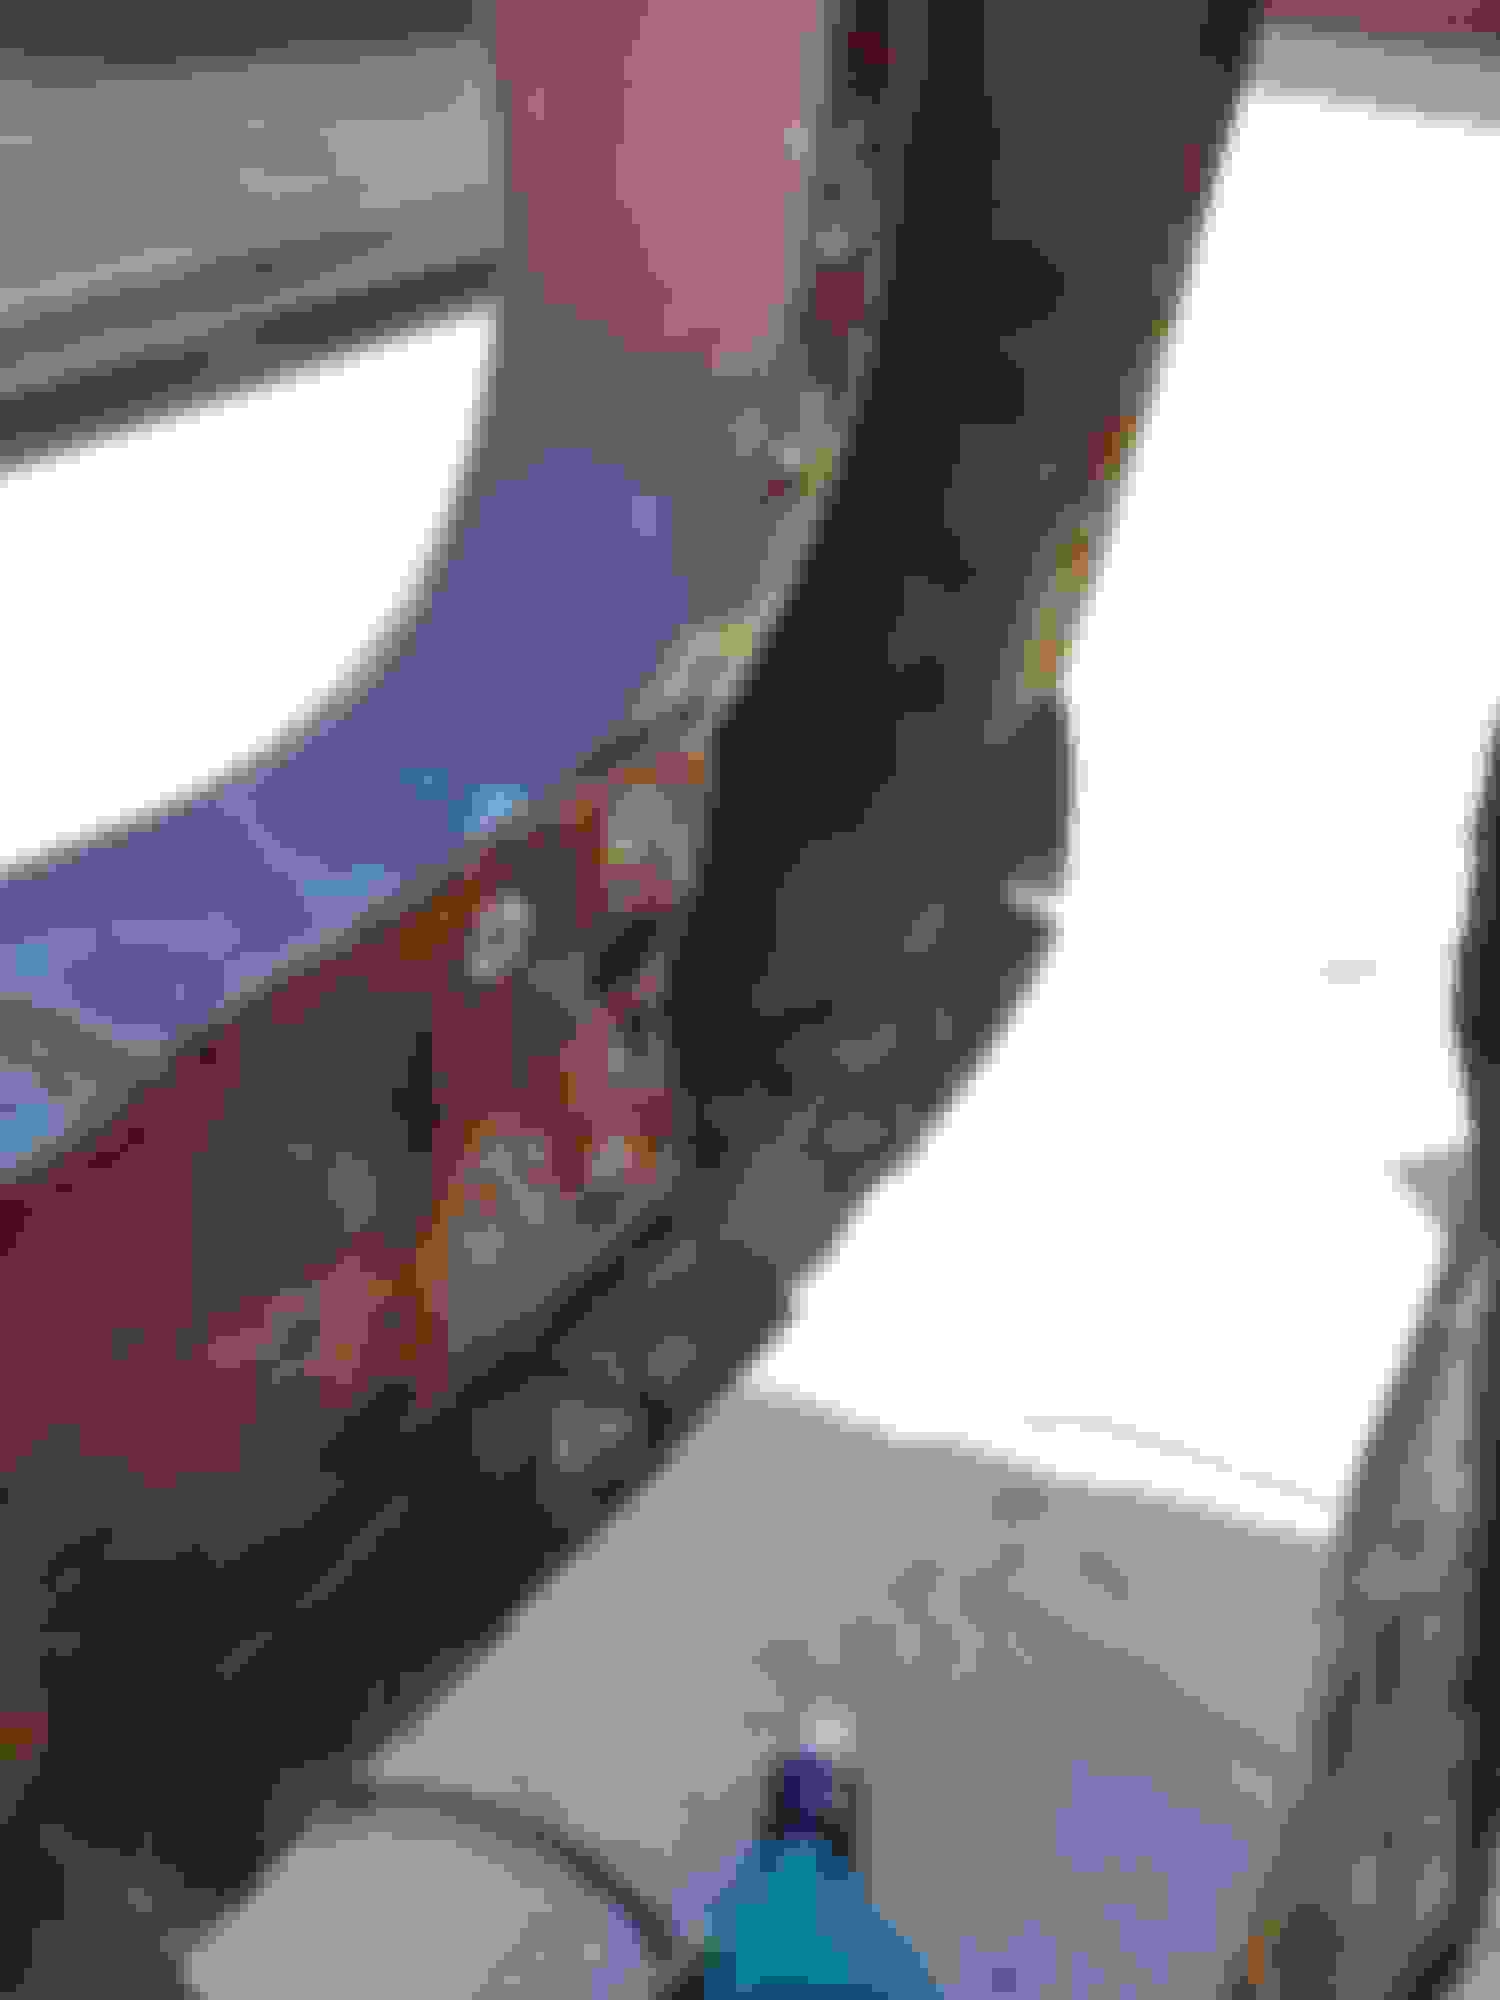
Last week I managed to get the cylinder head heater line tube deleted. Safe to say that it's too warm down here to need heat in the car. The lowest temp recorded here was 52 degrees F, back in 1968.🤣
The before.
Had to pull out the good ole pipe wrench
The after.
Last edited by sumopower87; Dec 23, 2018 at 12:29 PM.
Reason: Grammar
Last week I managed to get the cylinder head heater line tube deleted. Safe to say that it's too warm down here to need heat in the car. The lowest temp recorded here was 52 degrees F, back in 1968.🤣
Nice work. I should have done the same. Are you going to weld the water pipe outlet closed or how do you plan to close that?
Nice work. I should have done the same. Are you going to weld the water pipe outlet closed or how do you plan to close that?
If what I currently have there holds, I'll be good with that. Plus... With me being a perfectionist, If I were to have it welded; I'd have to get it resurfaced. Wouldn't be satisfied with a blob of filler rod, even if it was recessed in there.
It currently looks good to me, so I'm content at the moment 🤣
Now I have the lovely task of choosing a colour for the engine bay .(PLEASE SHARE YOUR OPINIONS)
So...The body of the car is going to be re-sprayed a Candy Orange with the possibility of a carbon hood and trunk.
If the funds aren't there, an stock Evo 8/9 hood and stock trunk will be sprayed black.
The roof and wheels will also be black.
That being said, my issue lies with the engine bay and potentially contrasting other parts on the car. e.g. valve cover with brake callipers / engine bay with brake callipers…etc.
With that said, I have a few colour combos to choose from.
1. Black engine bay with Chartreuse Yellow valve cover with matching brake callipers.
2. Black engine bay with Candy Red valve cover with matching brake callipers.
3. Black engine bay with same colour (Orange) as the car with matching brake callipers.
4. Dark Charcoal Grey engine bay with Chartreuse Yellow valve cover with matching brake callipers.
5. Dark Charcoal Grey engine bay with Candy Red valve cover with matching brake callipers.
6. Dark Charcoal Grey engine bay with Black valve cover with matching brake callipers.
7. Orange bay with Black valve cover and matching callipers.
Pros:
The upside of a Black bay will allow for other bright colours to POP!
The upside of the Dark Charcoal Grey is that it blends well with either valve cover colour choices.
The upside of the Orange bay will be that it keeps the consistency of the rest of the car. Also goes well with valve cover colour choices.
Cons:
The downside of the Black engine bay, would be that; if they were any leaks in the bay; the leaks would be hard to identify/find.
The downside of the Dark Charcoal Grey would be that it doesn’t contrast with the exterior of the car.
The downside of the Orange bay, is that I personally think that; that would be a little too much orange.
Here are some colour samples for reference:
Chartreuse Yellow
"Orange"
Gloss Black
Dark Charcoal Grey
Stock Valve Cover Red
Last edited by sumopower87; Jan 21, 2019 at 10:03 AM.
Reason: Spelling/Grammer
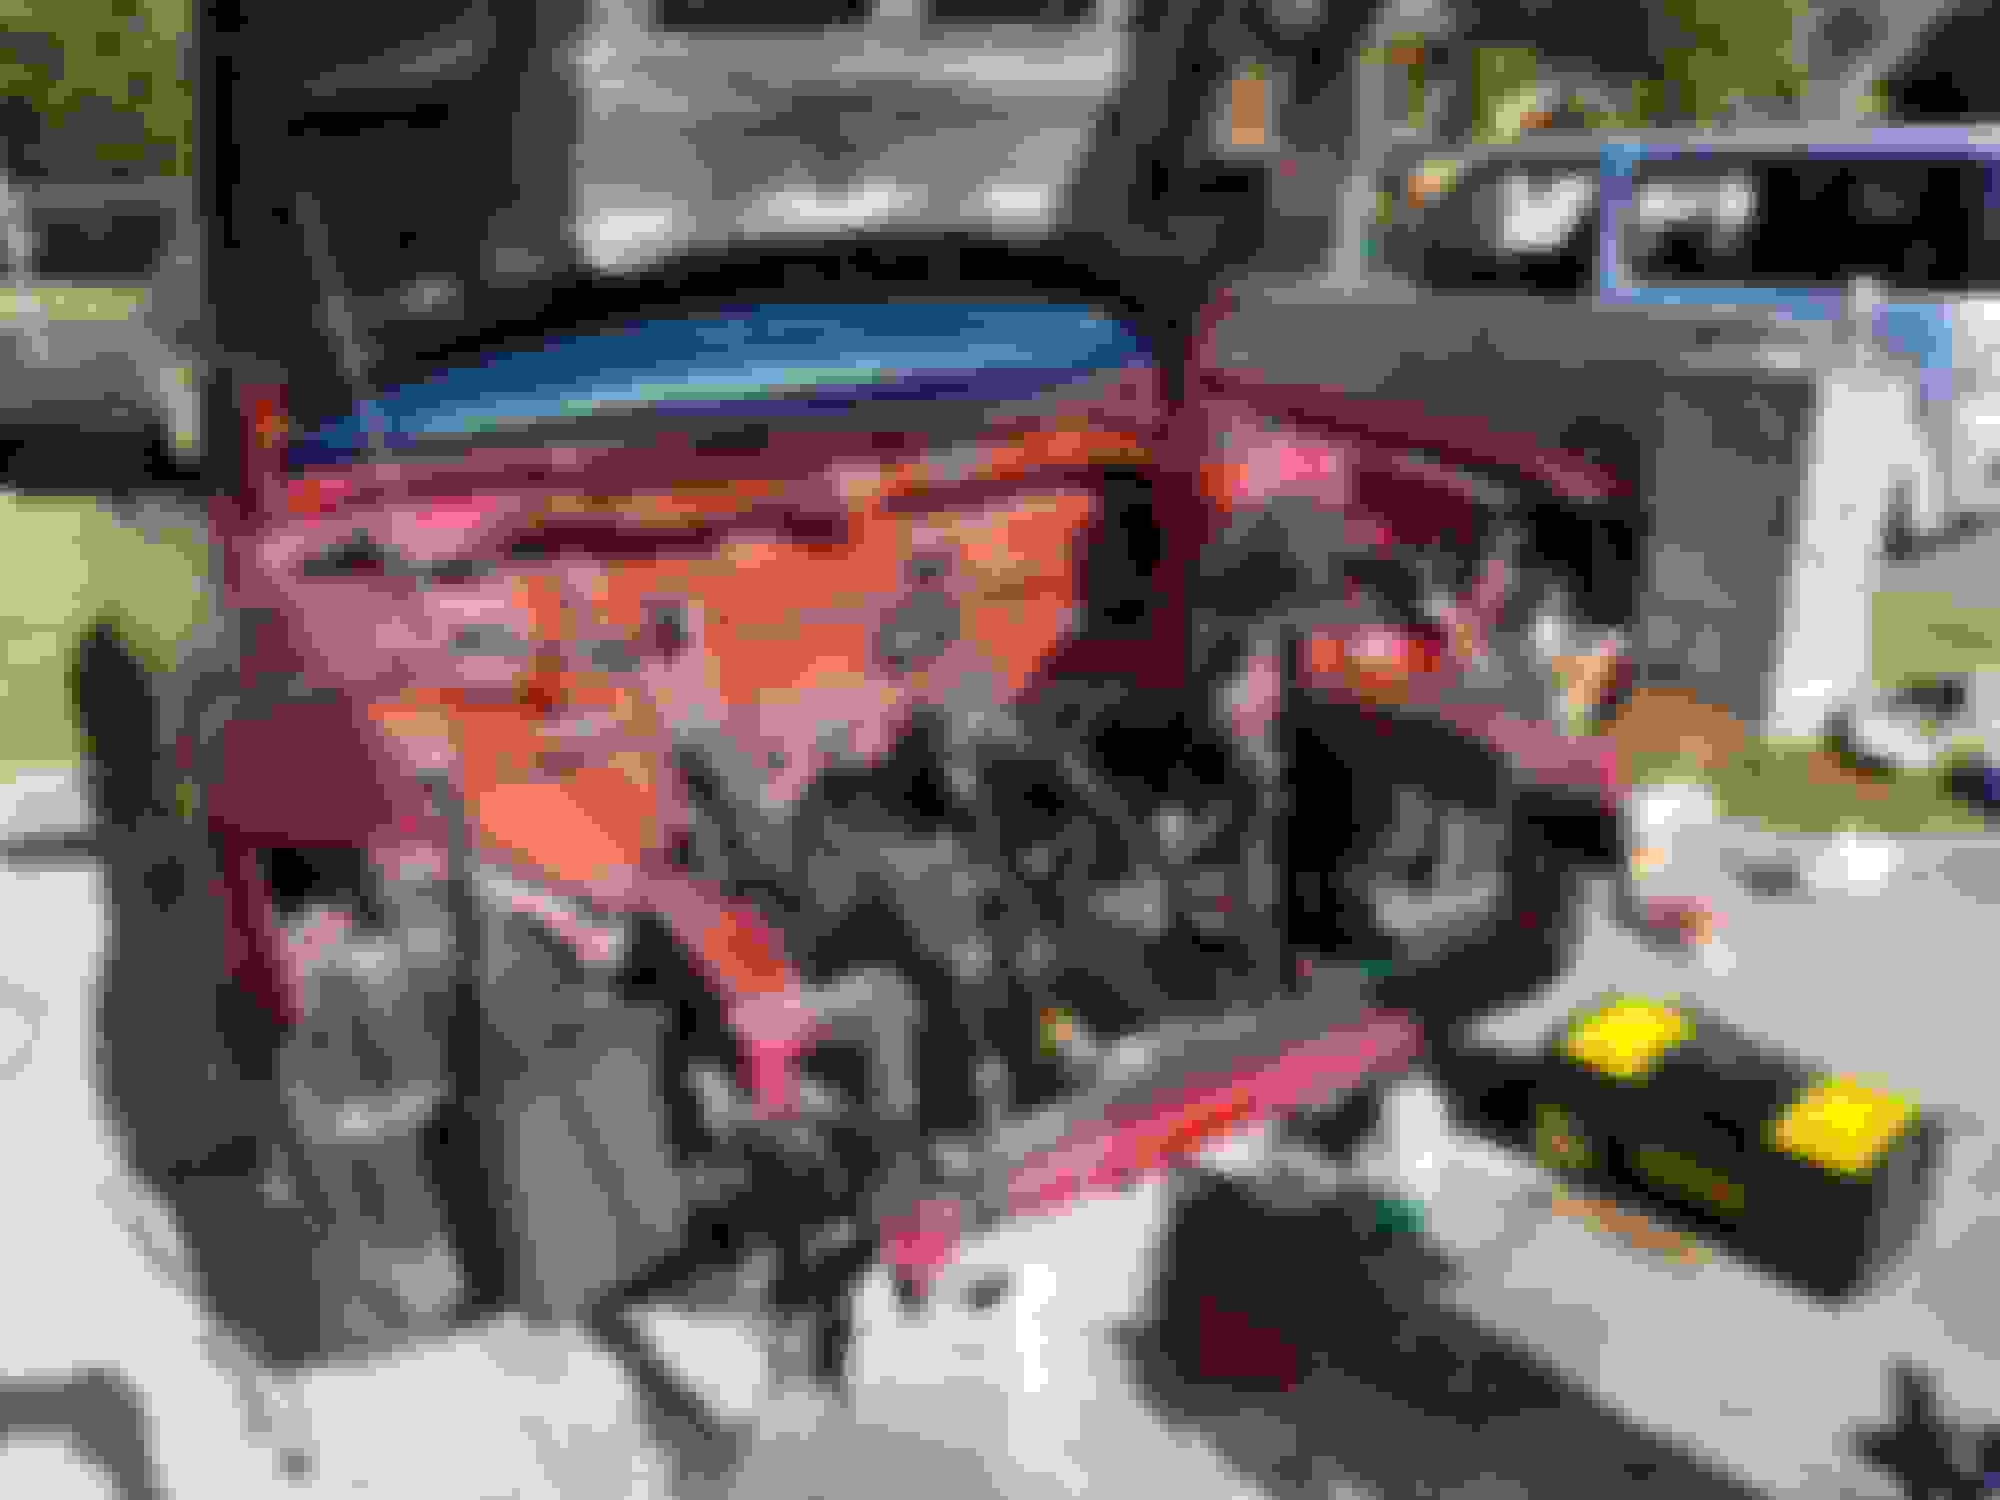
Well guys...the car has been moved once again. This is the car in it's current state. nothing much has changed given the paint was already burnt out lol.
And here we start with The Engine Bay Chronicles. the next couple of pictures will show the tear down and what the carnage looks like. This is going to take some work, but thankfully I’m in the right hands. Got some good friends helping me along the way through this process. One step closer!
Apologies for some of the crappy pics, but I think their pretty self-explanatory.
The next step is to strip the bay down, and remove all the rust.
Remove and replace the upper rad support and headlight supports.
Treat everything hat needs treating with OSPHO.
Epoxy prime everything.
Seal anything up with 3M Panel Bond, which is what I was recommended to use on the areas that need the extra attention.
Sand down what's needed.
Wipe down with the Mineral Spirits.
Spay the bay.
Nice work. I should have done the same. Are you going to weld the water pipe outlet closed or how do you plan to close that?
Realized I miss interpreted your question. You were asking about the water pipe inlet connection. You can get a clean oem bolt and get someone to weld it shut. I think the water pump inlet pipe is zinc coated, so a grade 8.8 yellow bolt might be the right solution.
You can also cut the the nipple off, so you end up getting somewhat of a cleaner finish.
Proper coolant (optional: mixed with distilled water) in the system will prevent rust.
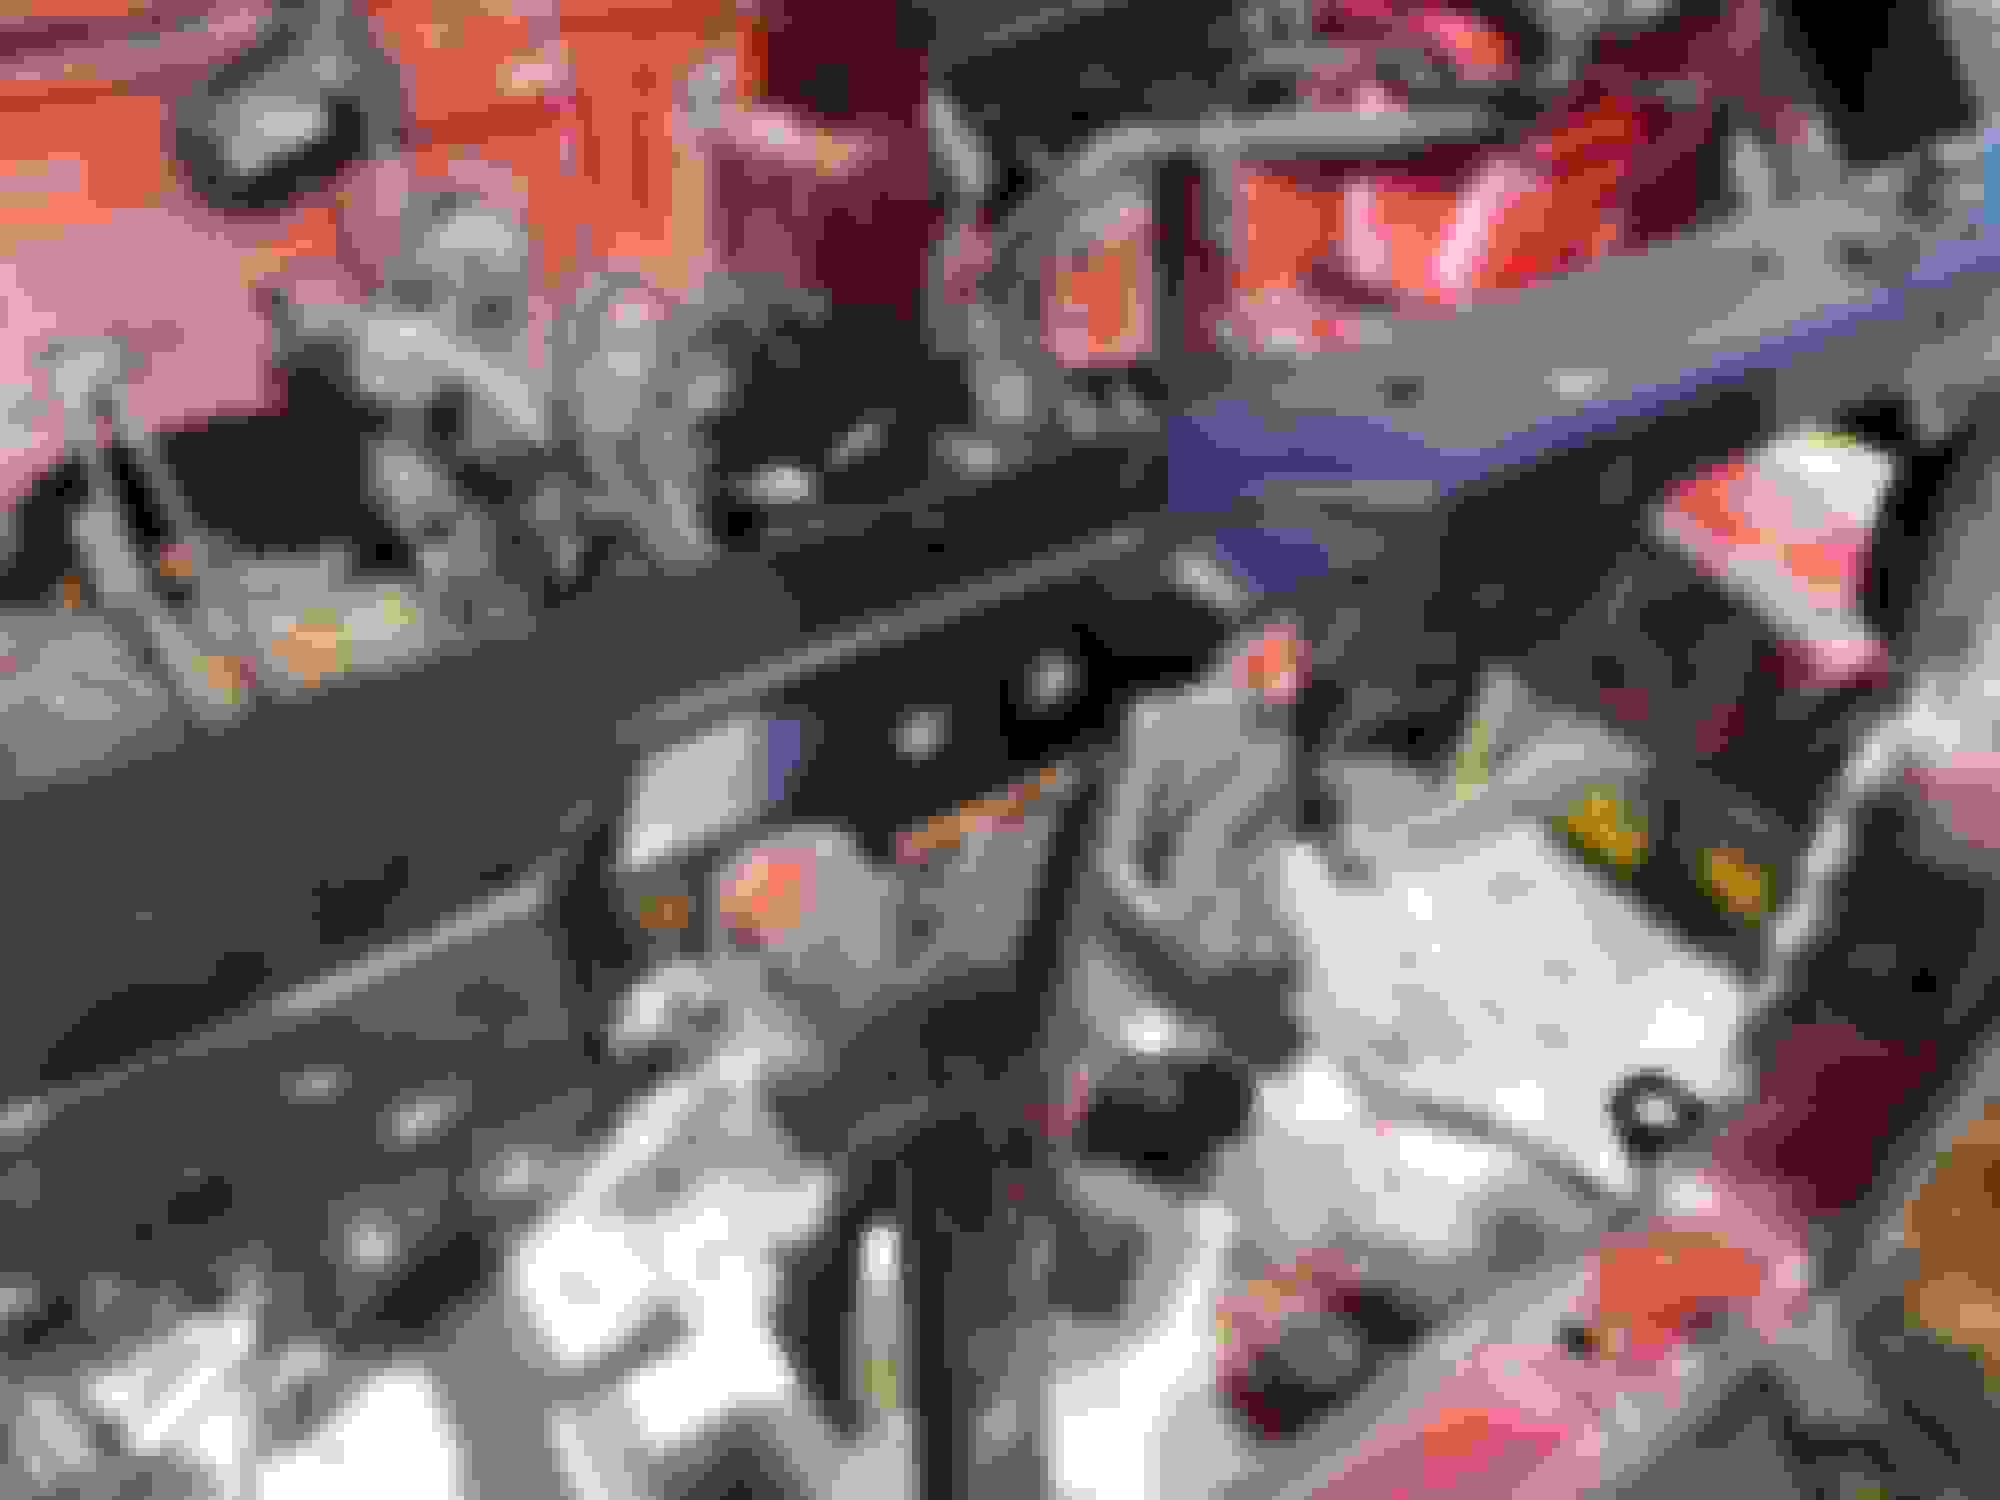
Got some work done on the car yesterday, with a little backstory to go along with it. When the vehicle was being put up on the tow truck, the lower rad support took one for the team. Thankfully it wasn't any worse that what it was. It ended up popping a few of the new spot welds, and bent the lower rad support pretty good. The first set of pics are of the damage.
The work I got done includes me:
- Straightening rad support back out with a ratchet tow hitch rated at 1,666 lbs. and a lot of brute force.
- Getting the lights realigned.
- Cleaning the work area of all the road grime that was left in there. (I'm a stickler for cleanliness).
- Re-wire wheeling the the areas that were previously wire wheeled. Found more light rust.
- Cleaning the bay again.
- Applying Ospho to all the exposed metal.
The damage!
Almost there.
Showing how badly this thing was bent on the driver's side.
This was the passenger's side.
All aligned!
Cleaned up and wire wheeled area.
Opsho-ed up to the brakeline and up to half of the lower rad support.
Next up is to ospho the other side, up to the same point; and then remove the brake lines; shifter cables; and wire loom; so there's nothing in the way for the paint & body guy.
Last edited by sumopower87; Apr 29, 2019 at 02:04 PM.
Reason: Left out info.


 Dec 23, 2018, 09:44 AM


 .(PLEASE SHARE YOUR OPINIONS)