When you click on links to various merchants on this site and make a purchase, this can result in this site earning a commission. Affiliate programs and affiliations include, but are not limited to, the eBay Partner Network.
thank you all! Build has definitely been fun, exhausting, draining, etc etc lol but I'm enjoying it!
At this point it's like dammit I really did cut this front end off and now I have no choice but to tube front it. I bought a bender and a couple different dies, figured might as well go ahead and cage it too. With absolutely zero cage building experience, I began reading and watching as many videos as I could.
Of course I had to build a stand for the bender first, which took my like a week just to figure out how to set everything up. I opted for a jd squared model 3 + a swag offroad hydro conversion set-up. It's not the greatest, but a million times better than manual bending + a bit cheaper for someone who isn't building cages every day.
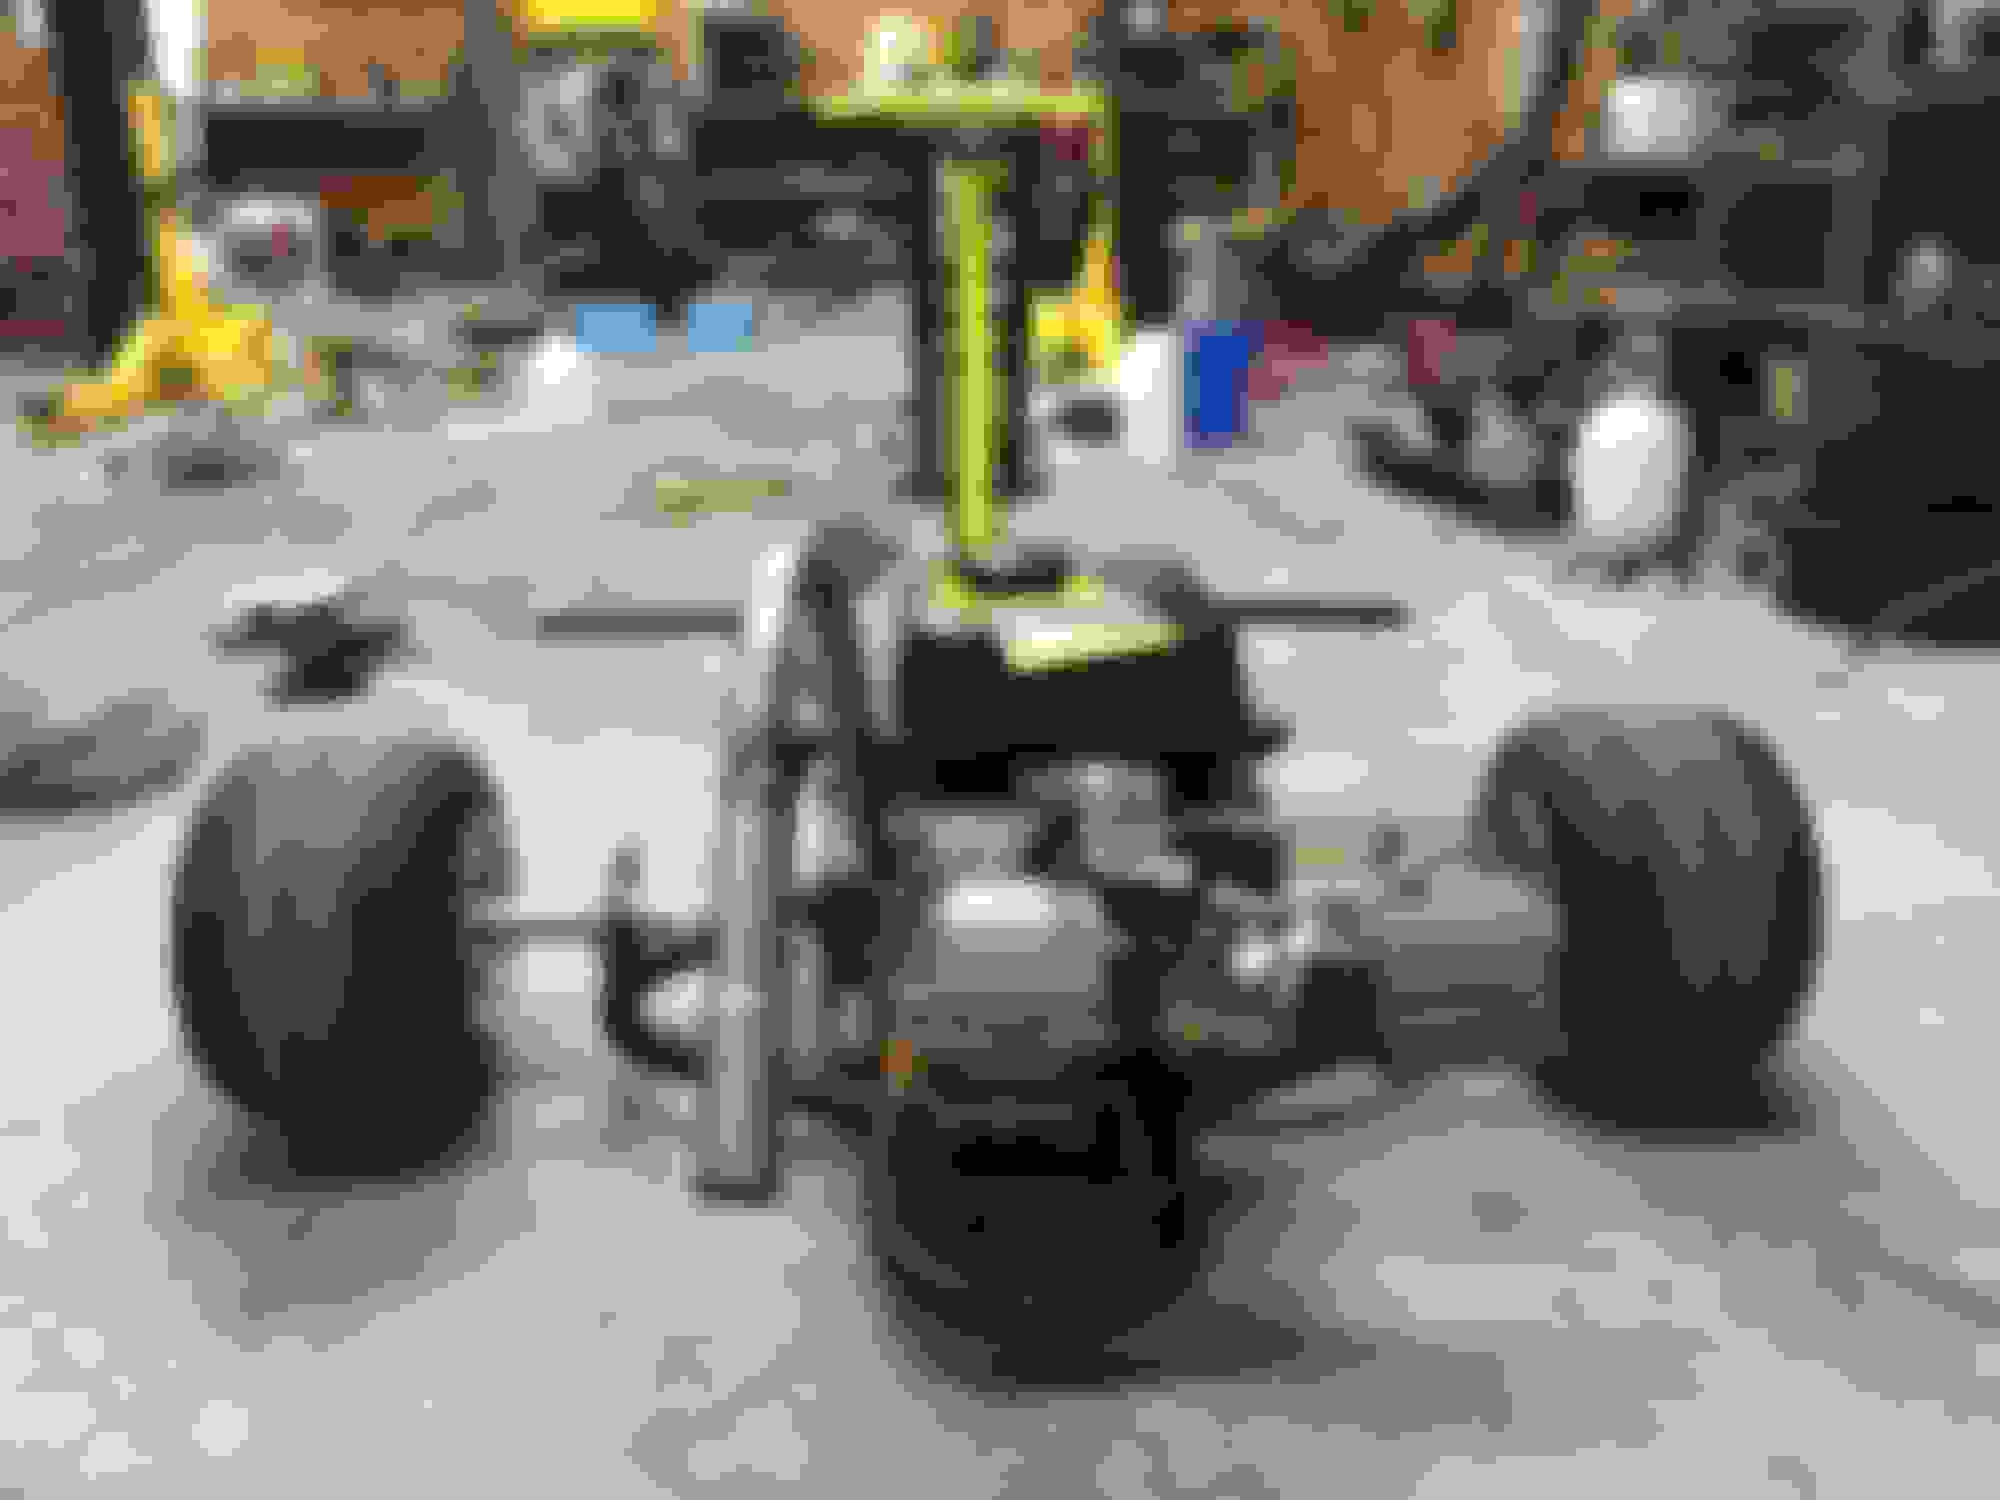
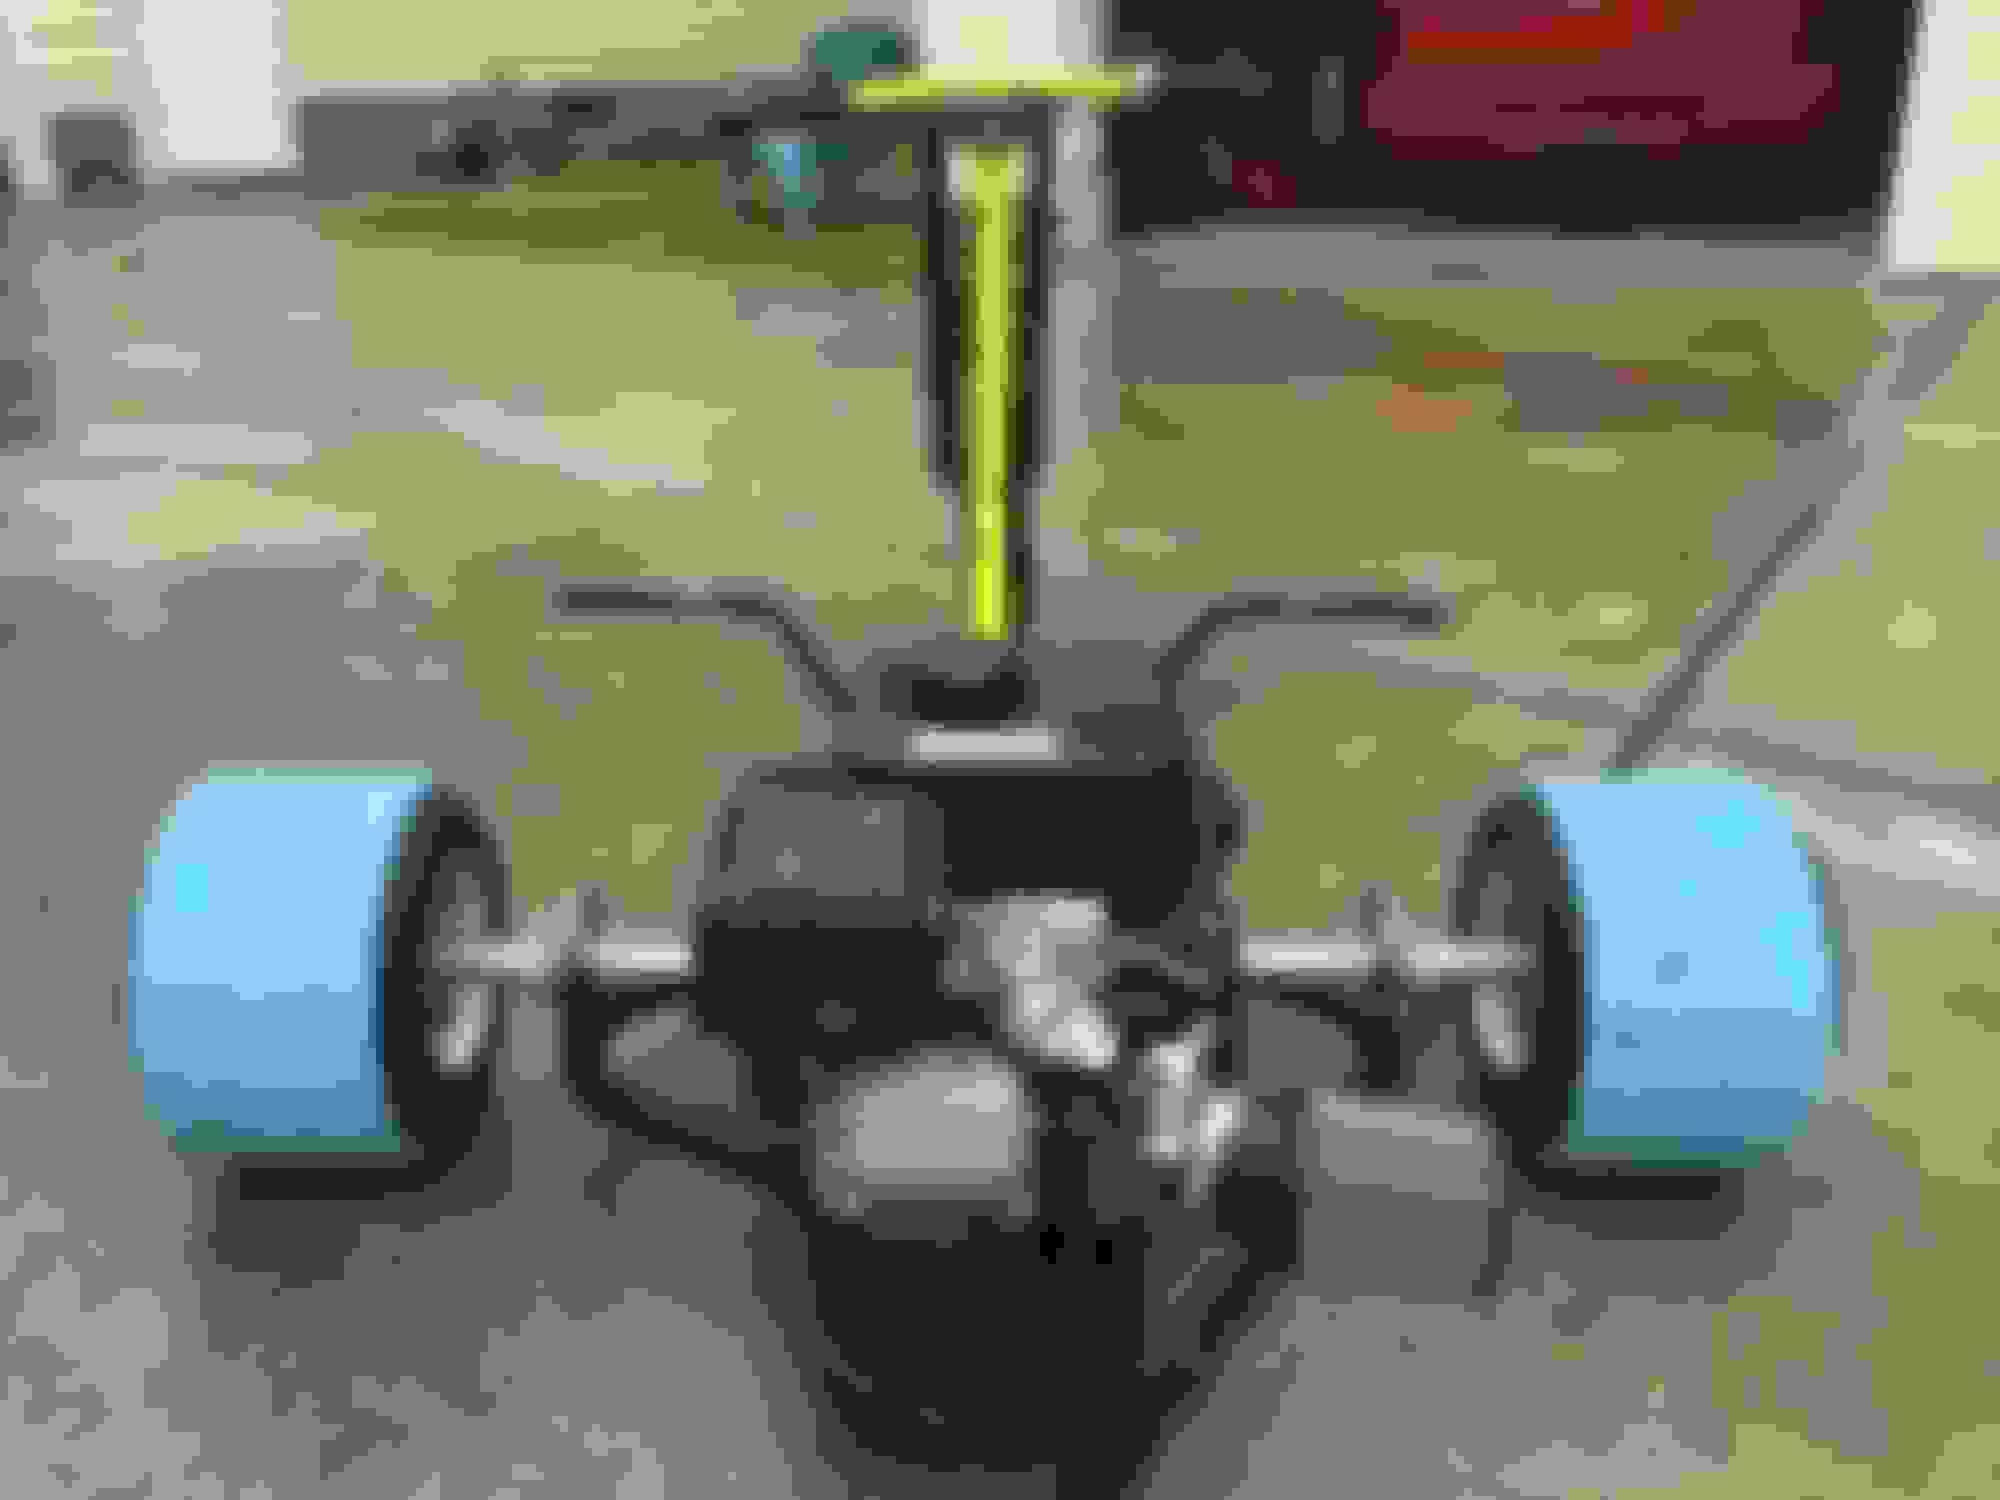
After it was done, I had to test it. They sell these pedal razor drift trikes on Ebay for like $100. I snagged one along with a harbor freight engine and decided to try building a motorized and removable rear frame half. Came together pretty well
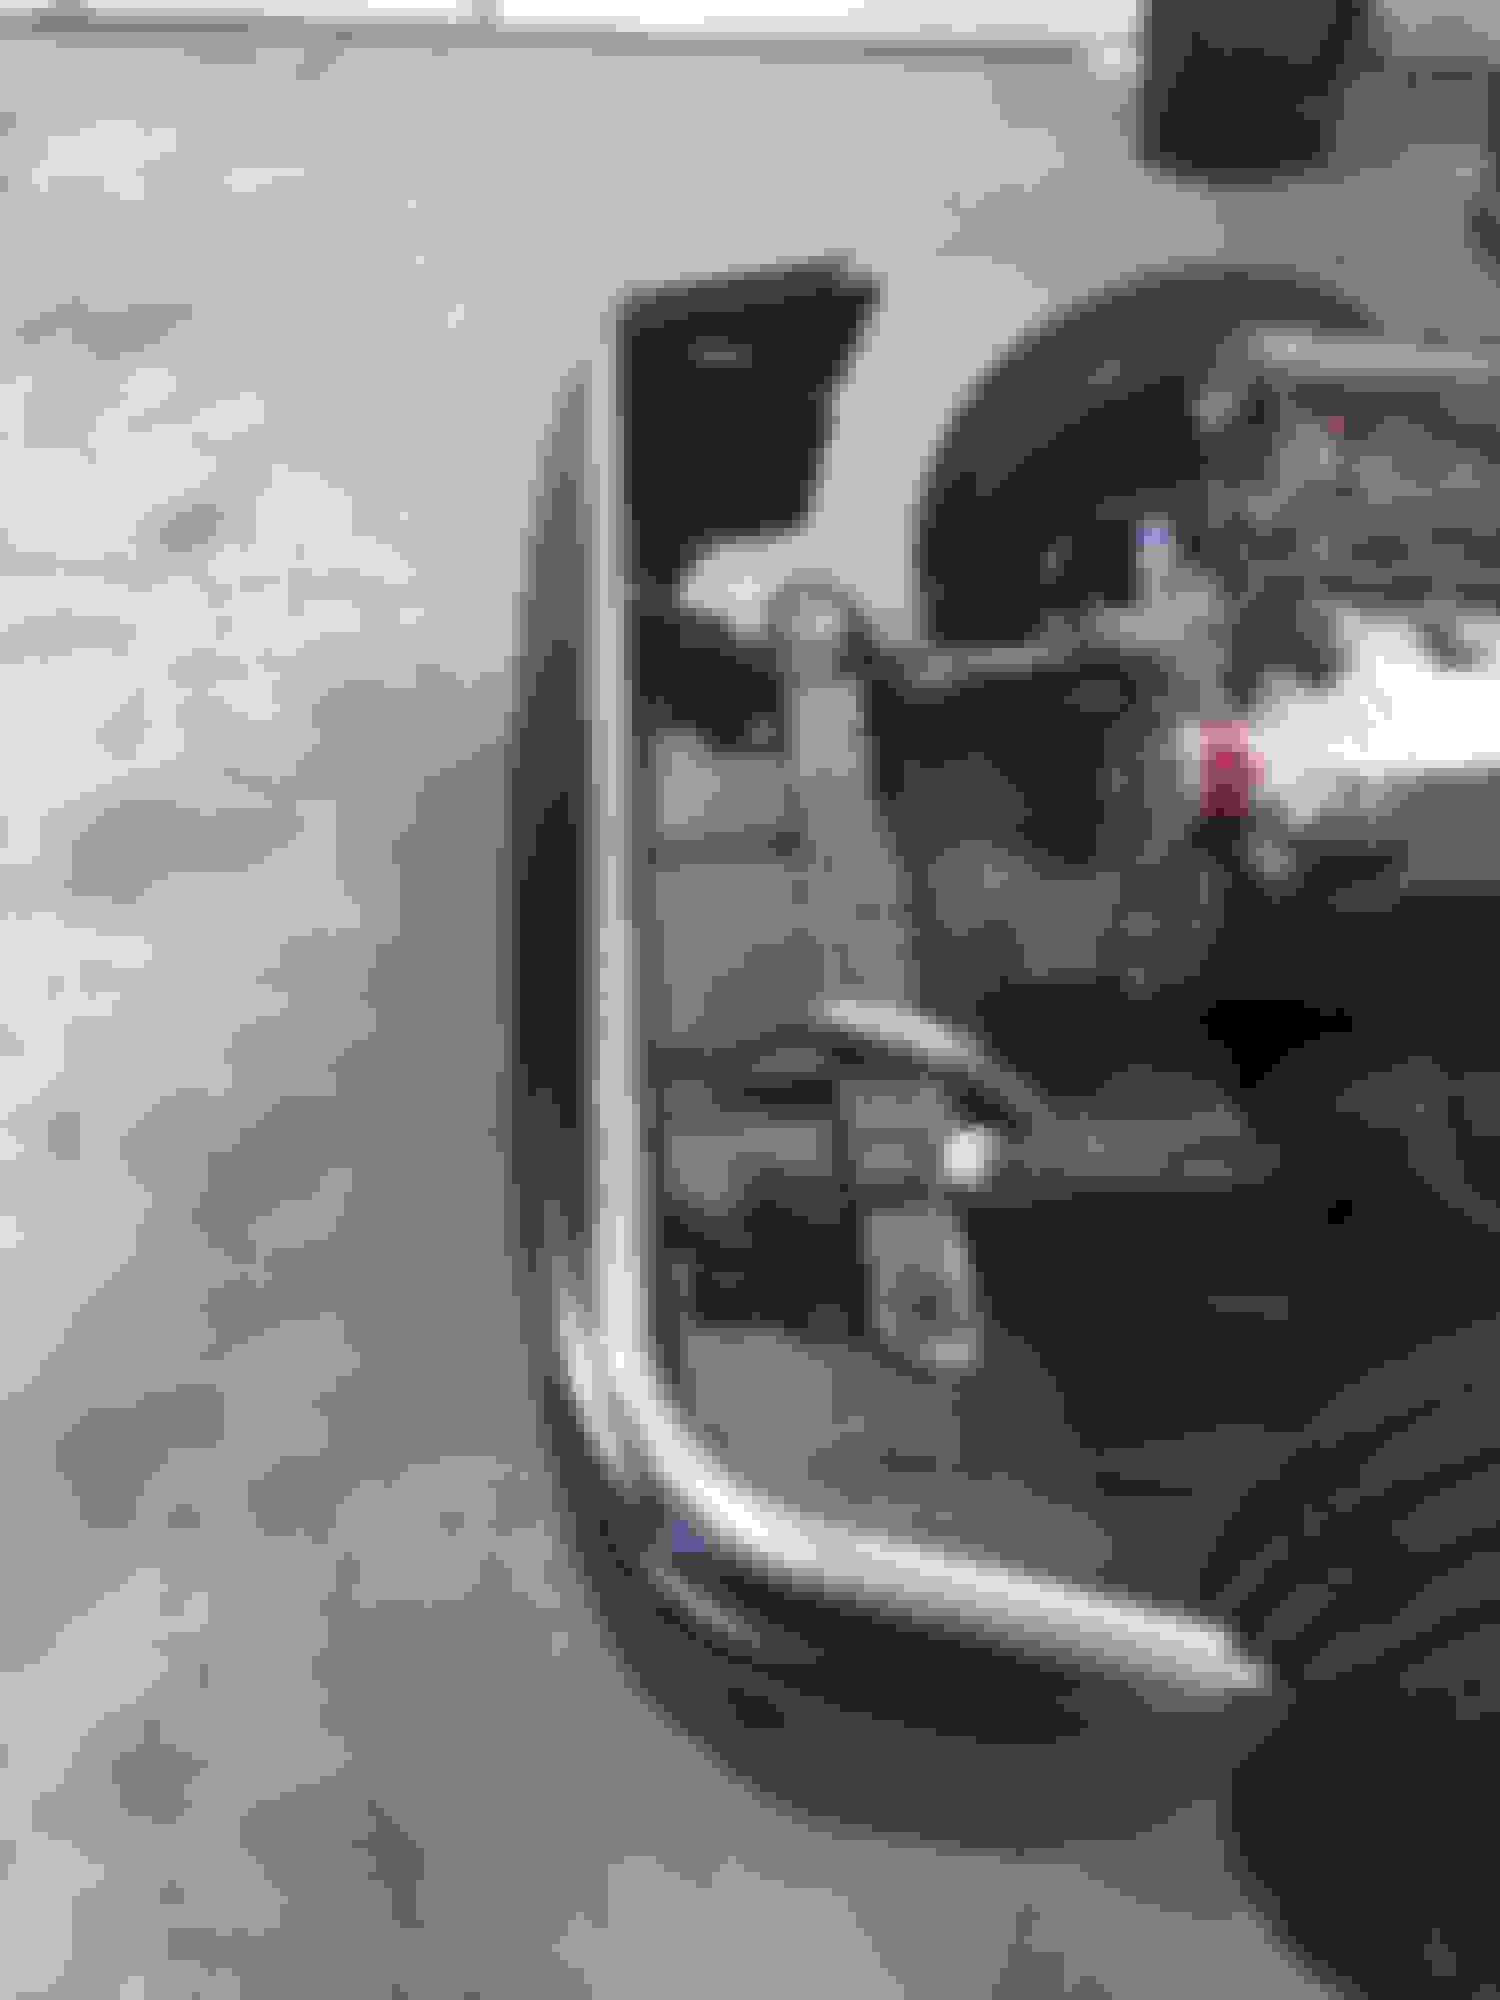
After that worked out fairly well, I decided to do a tubular front bumper setup. The trike and this bar were both migged, however the tube front/cage would have to be tigged.
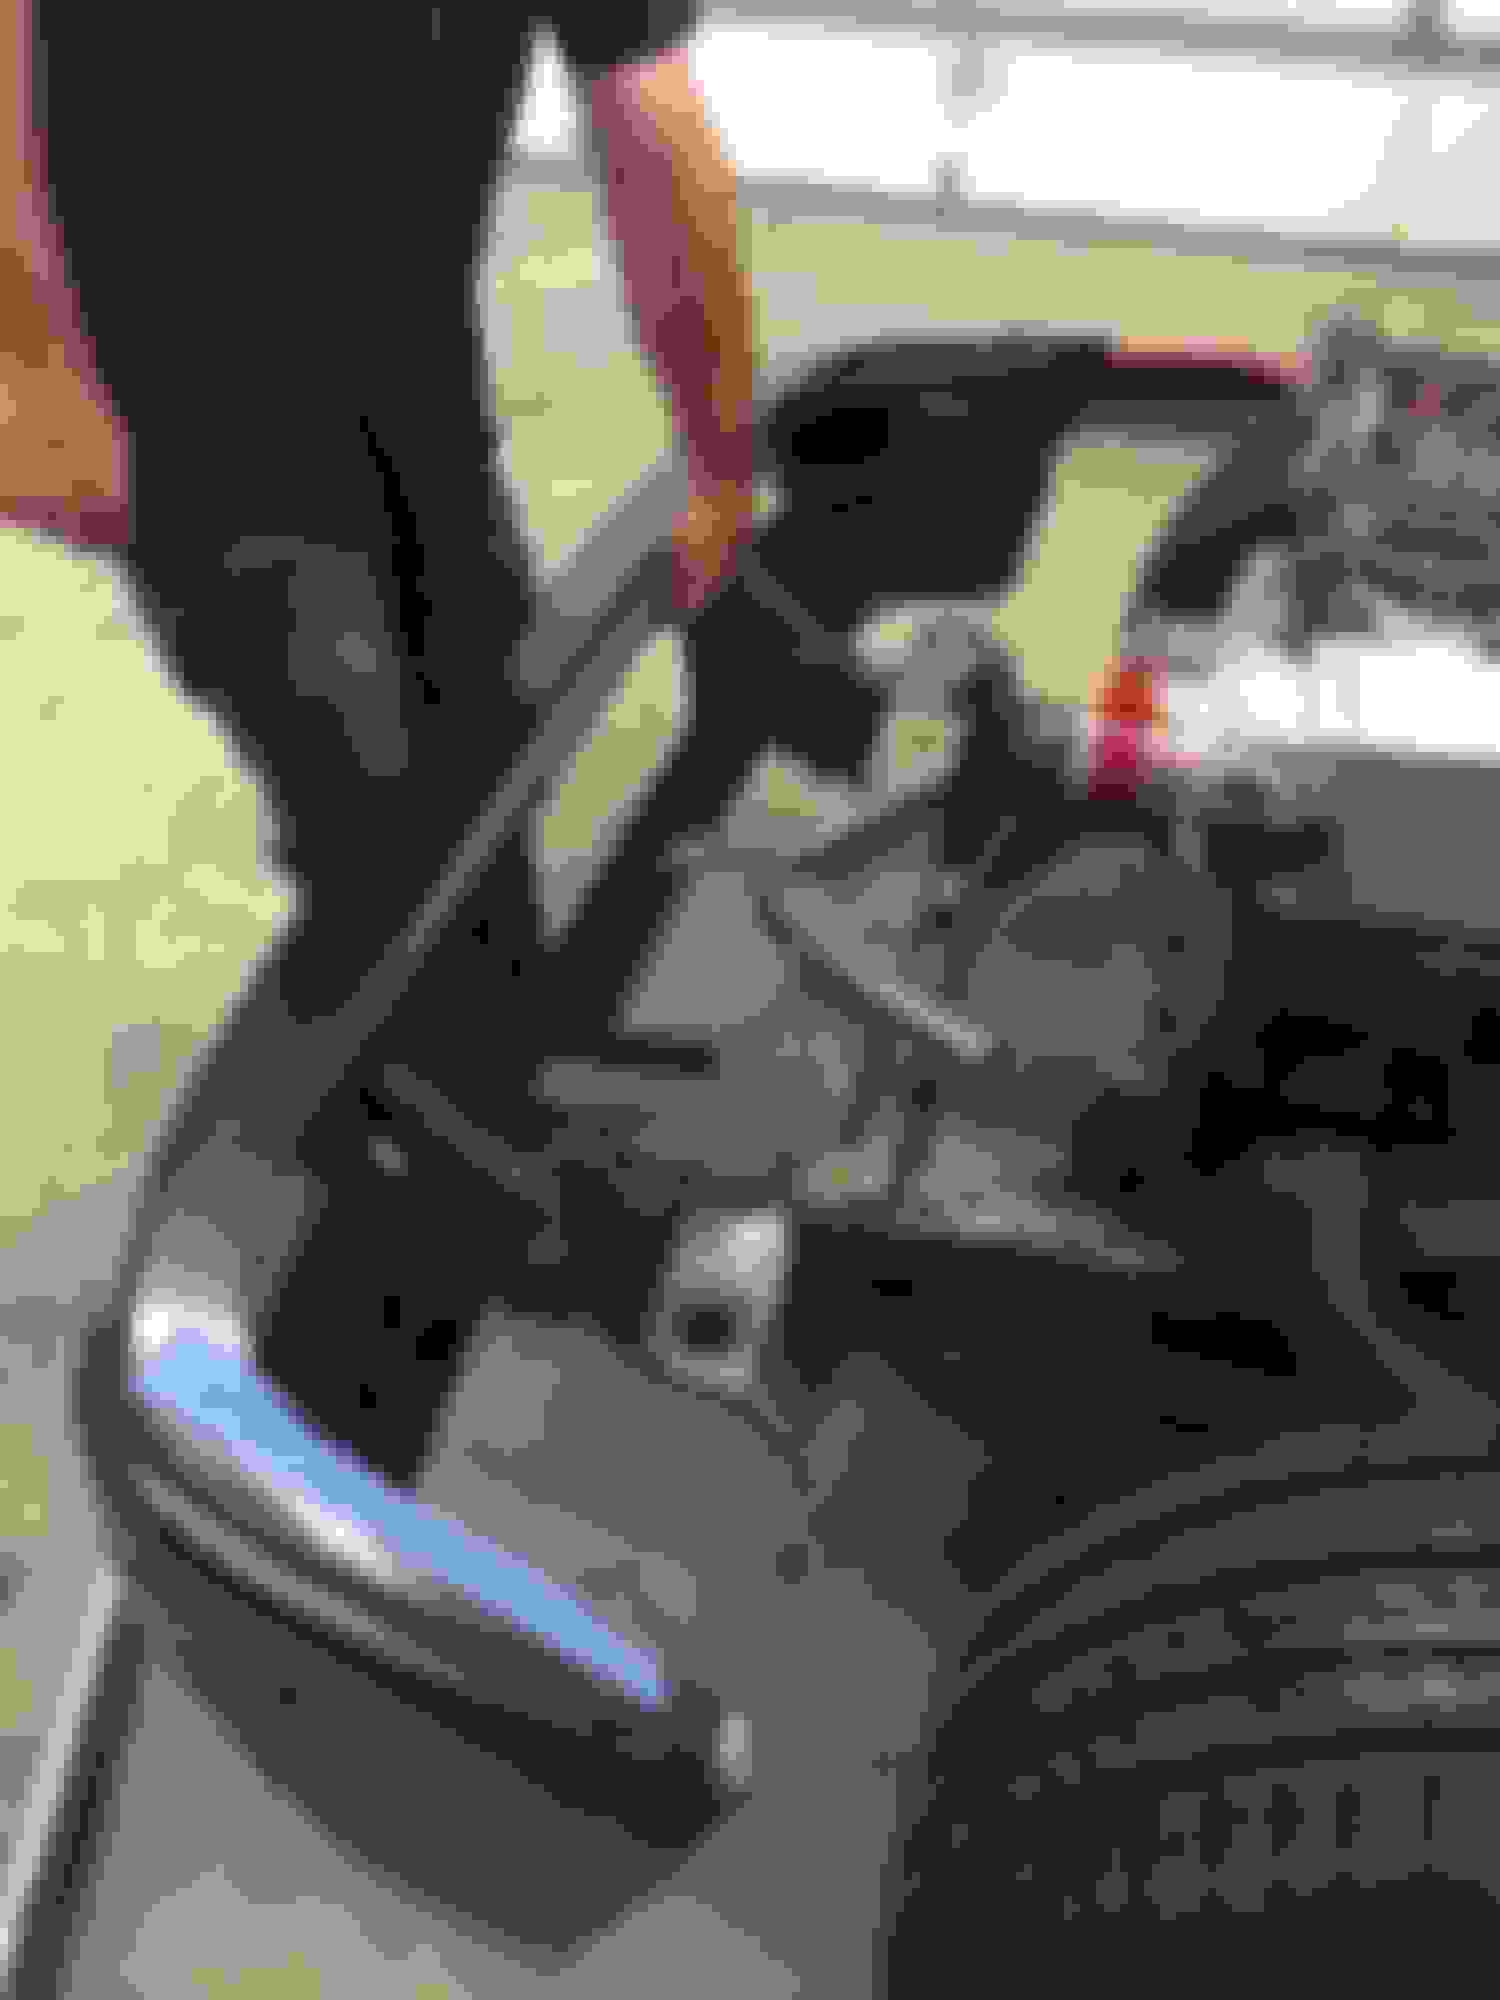
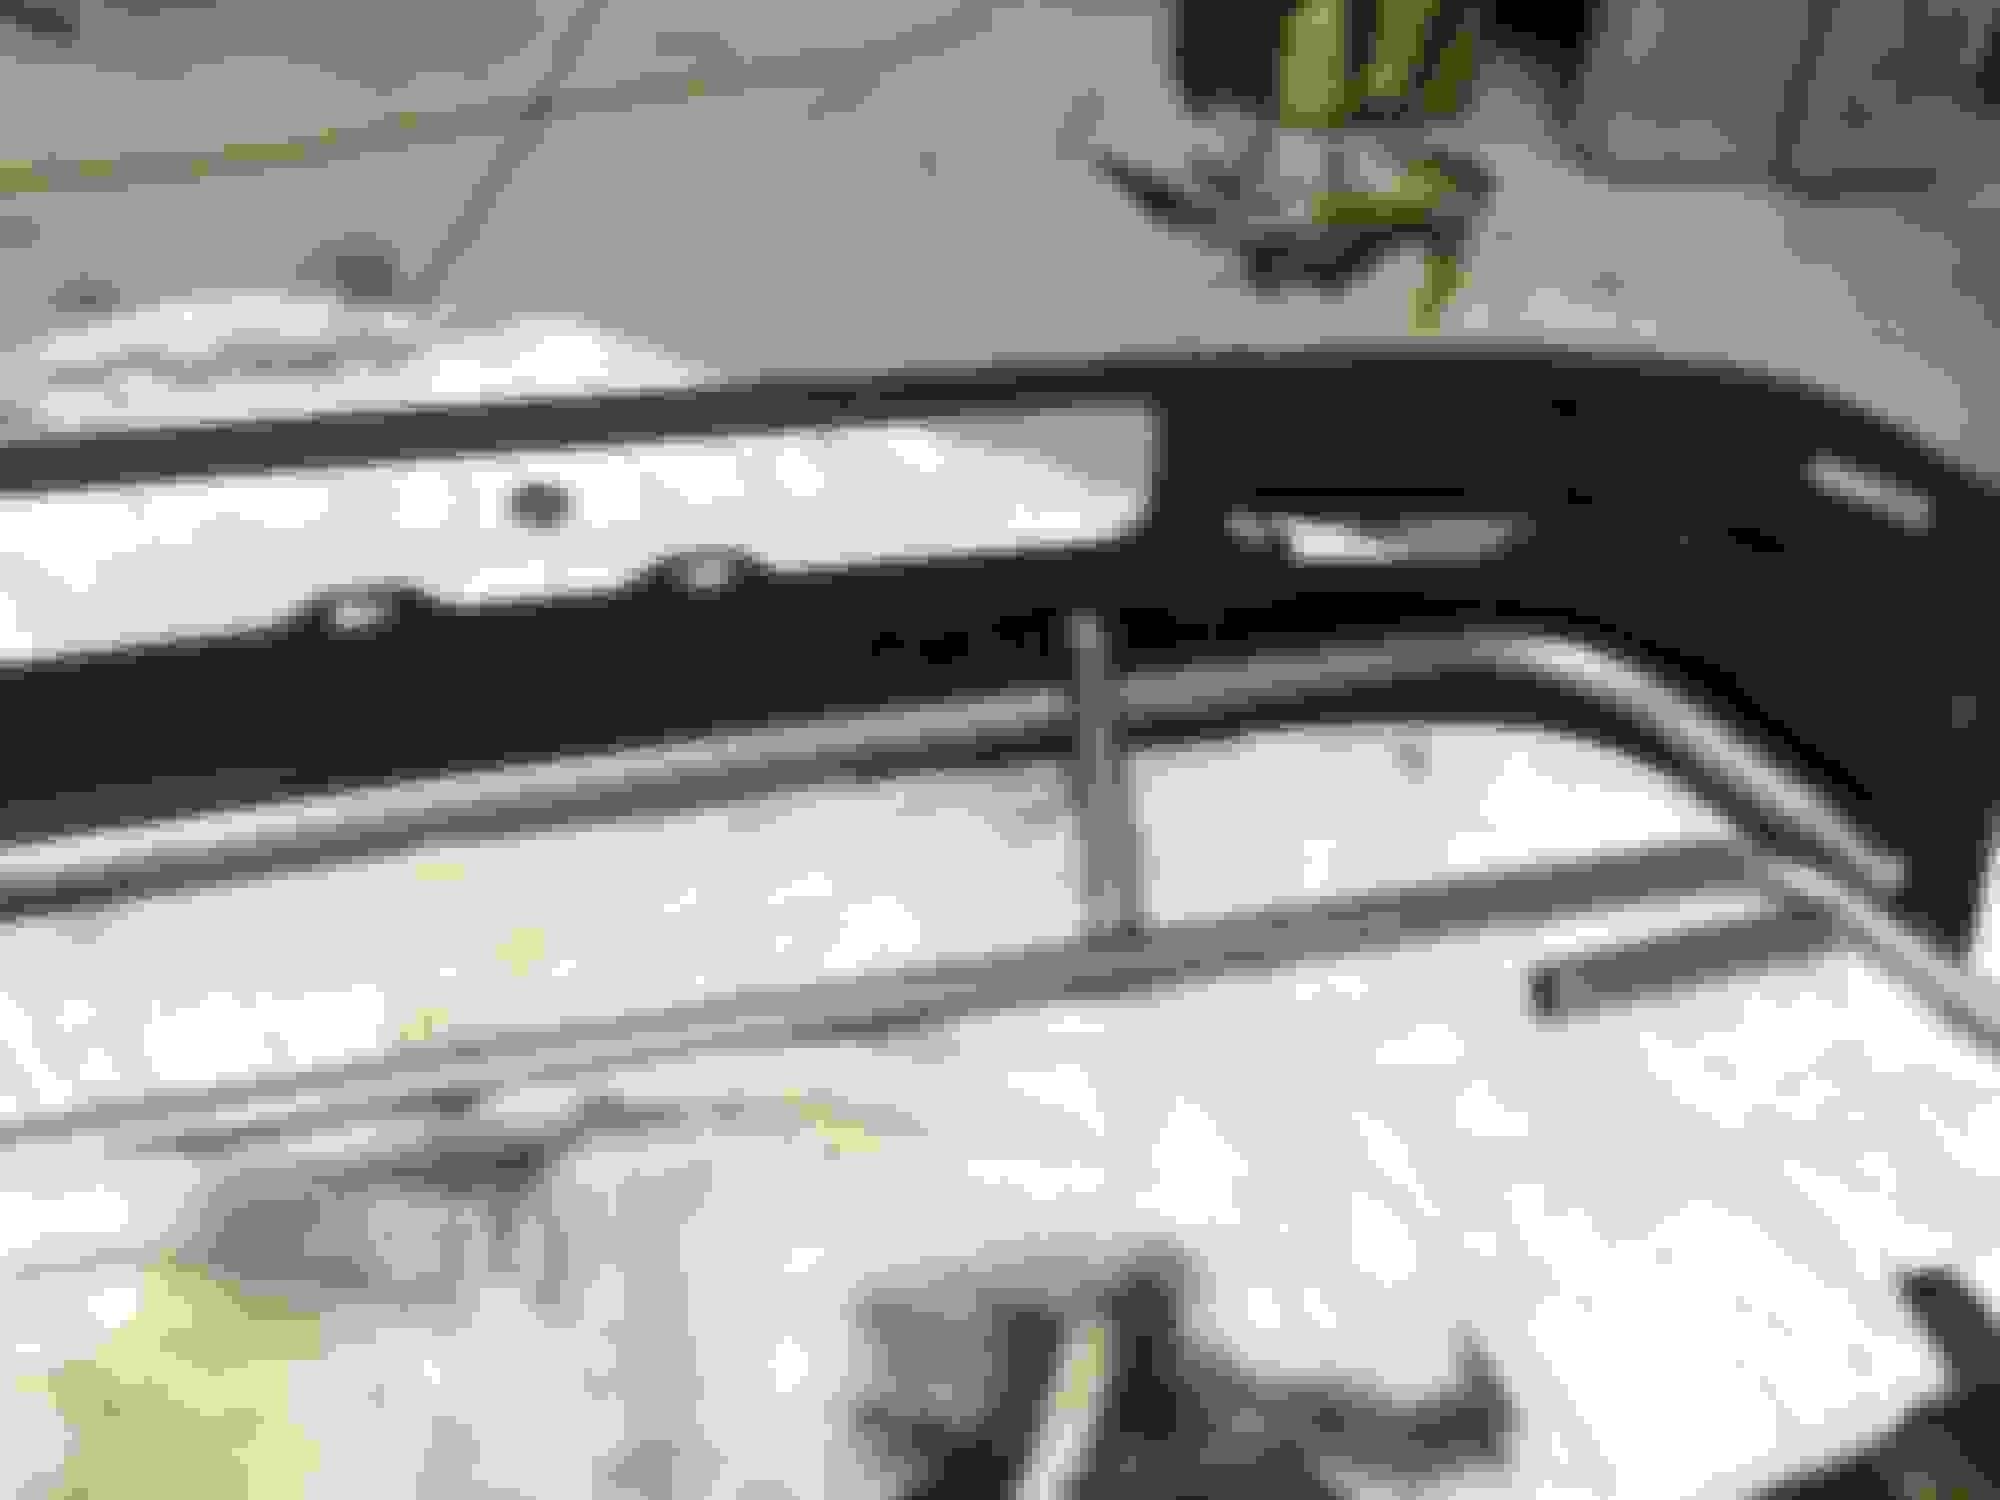
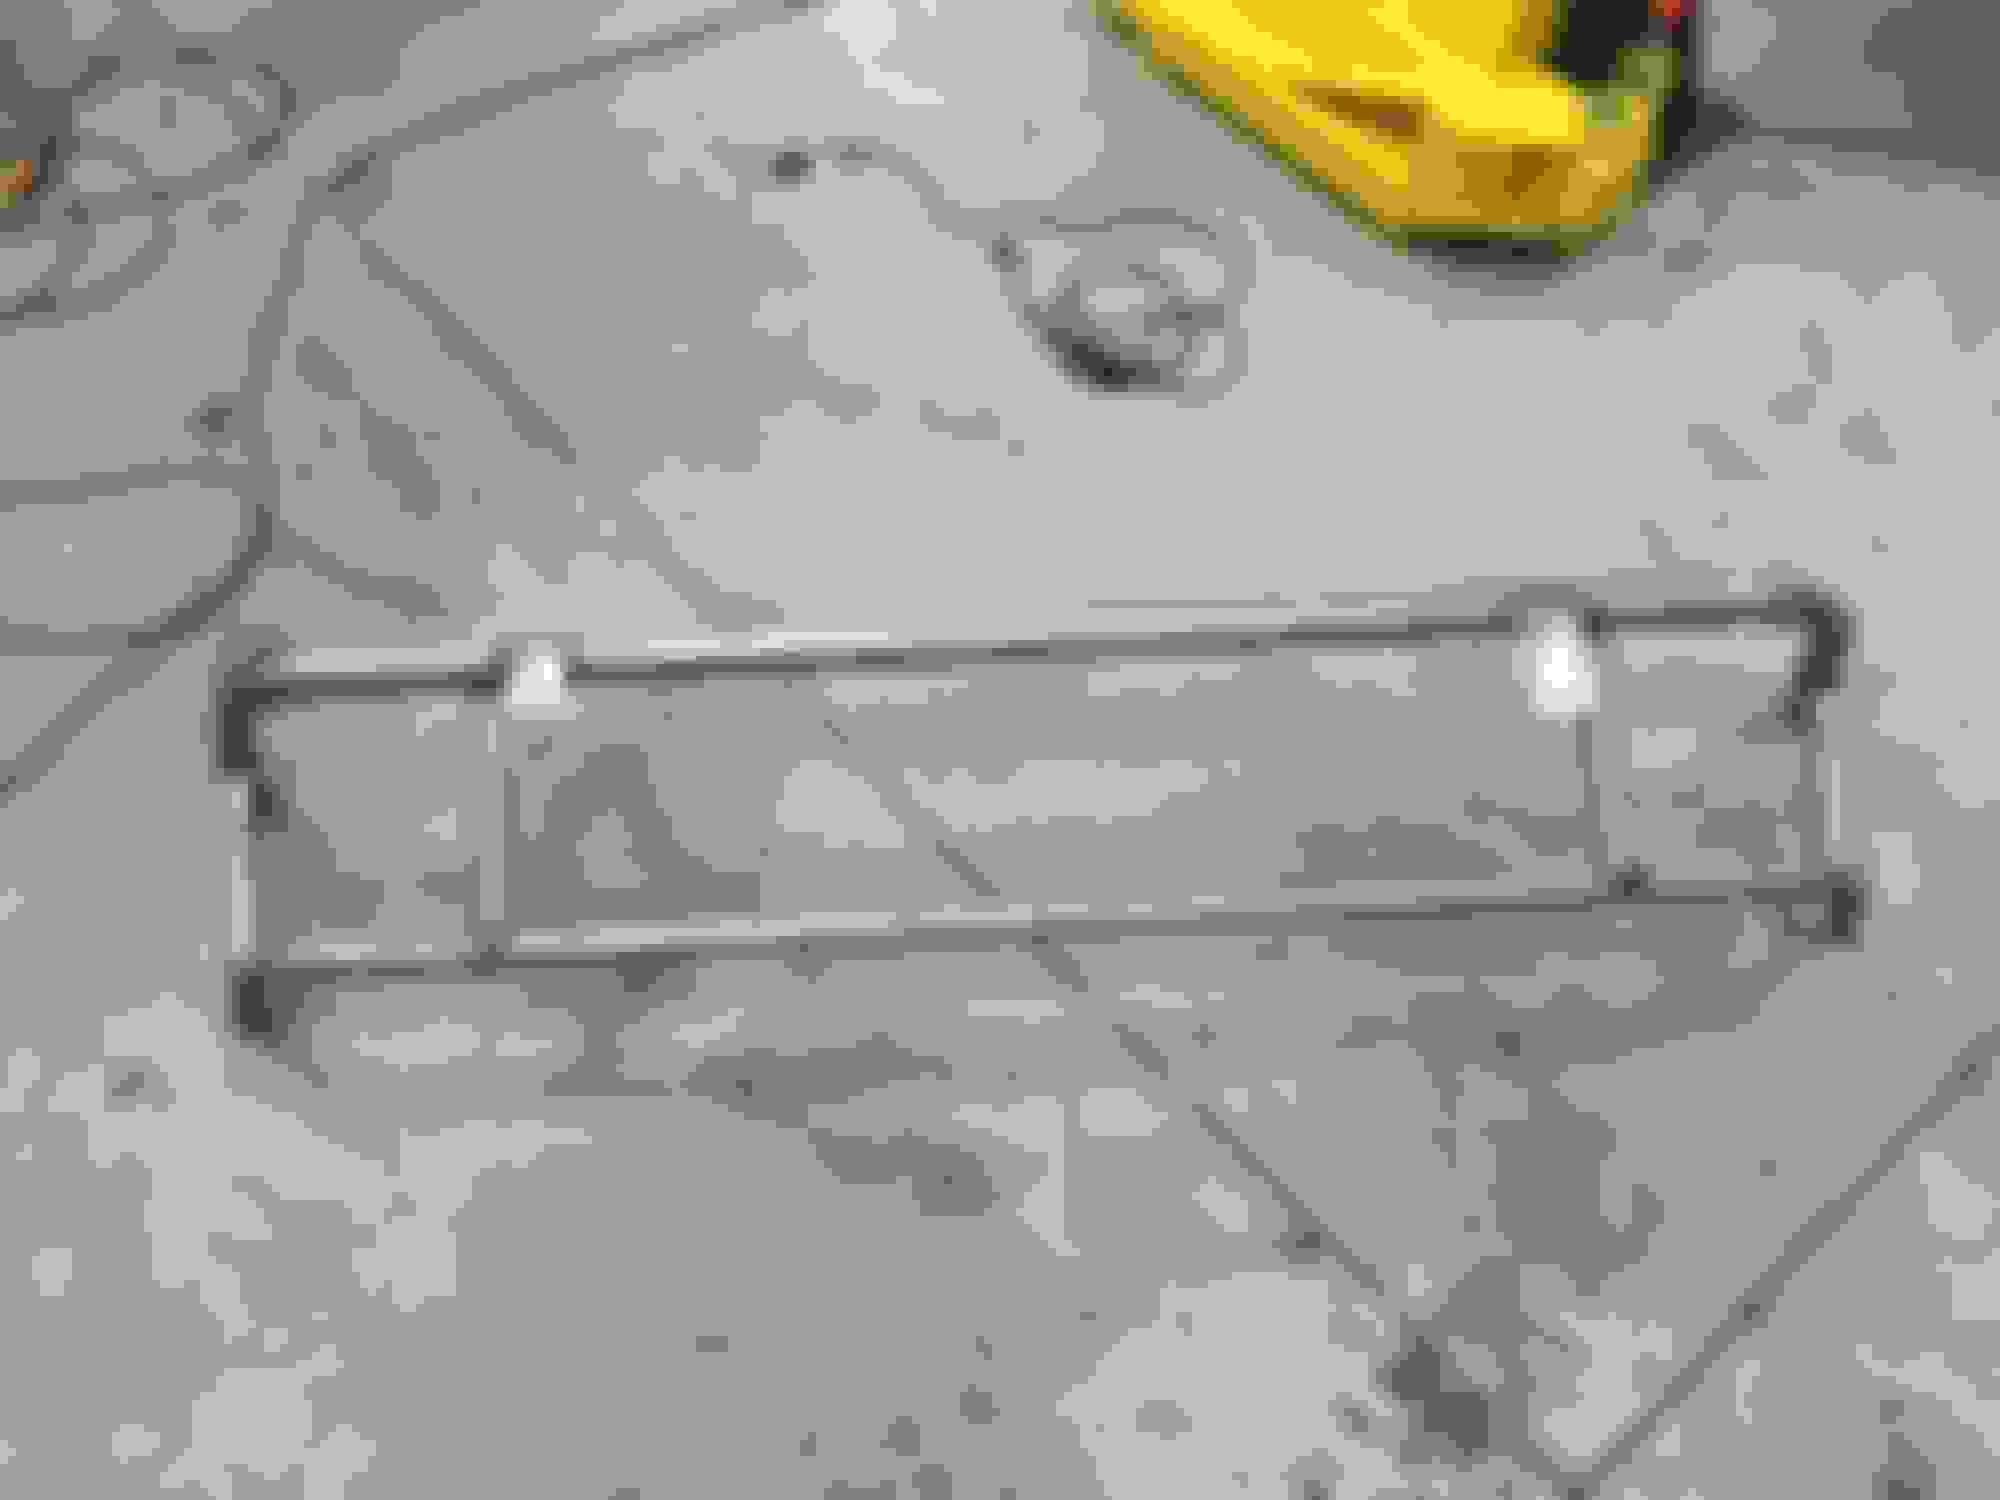
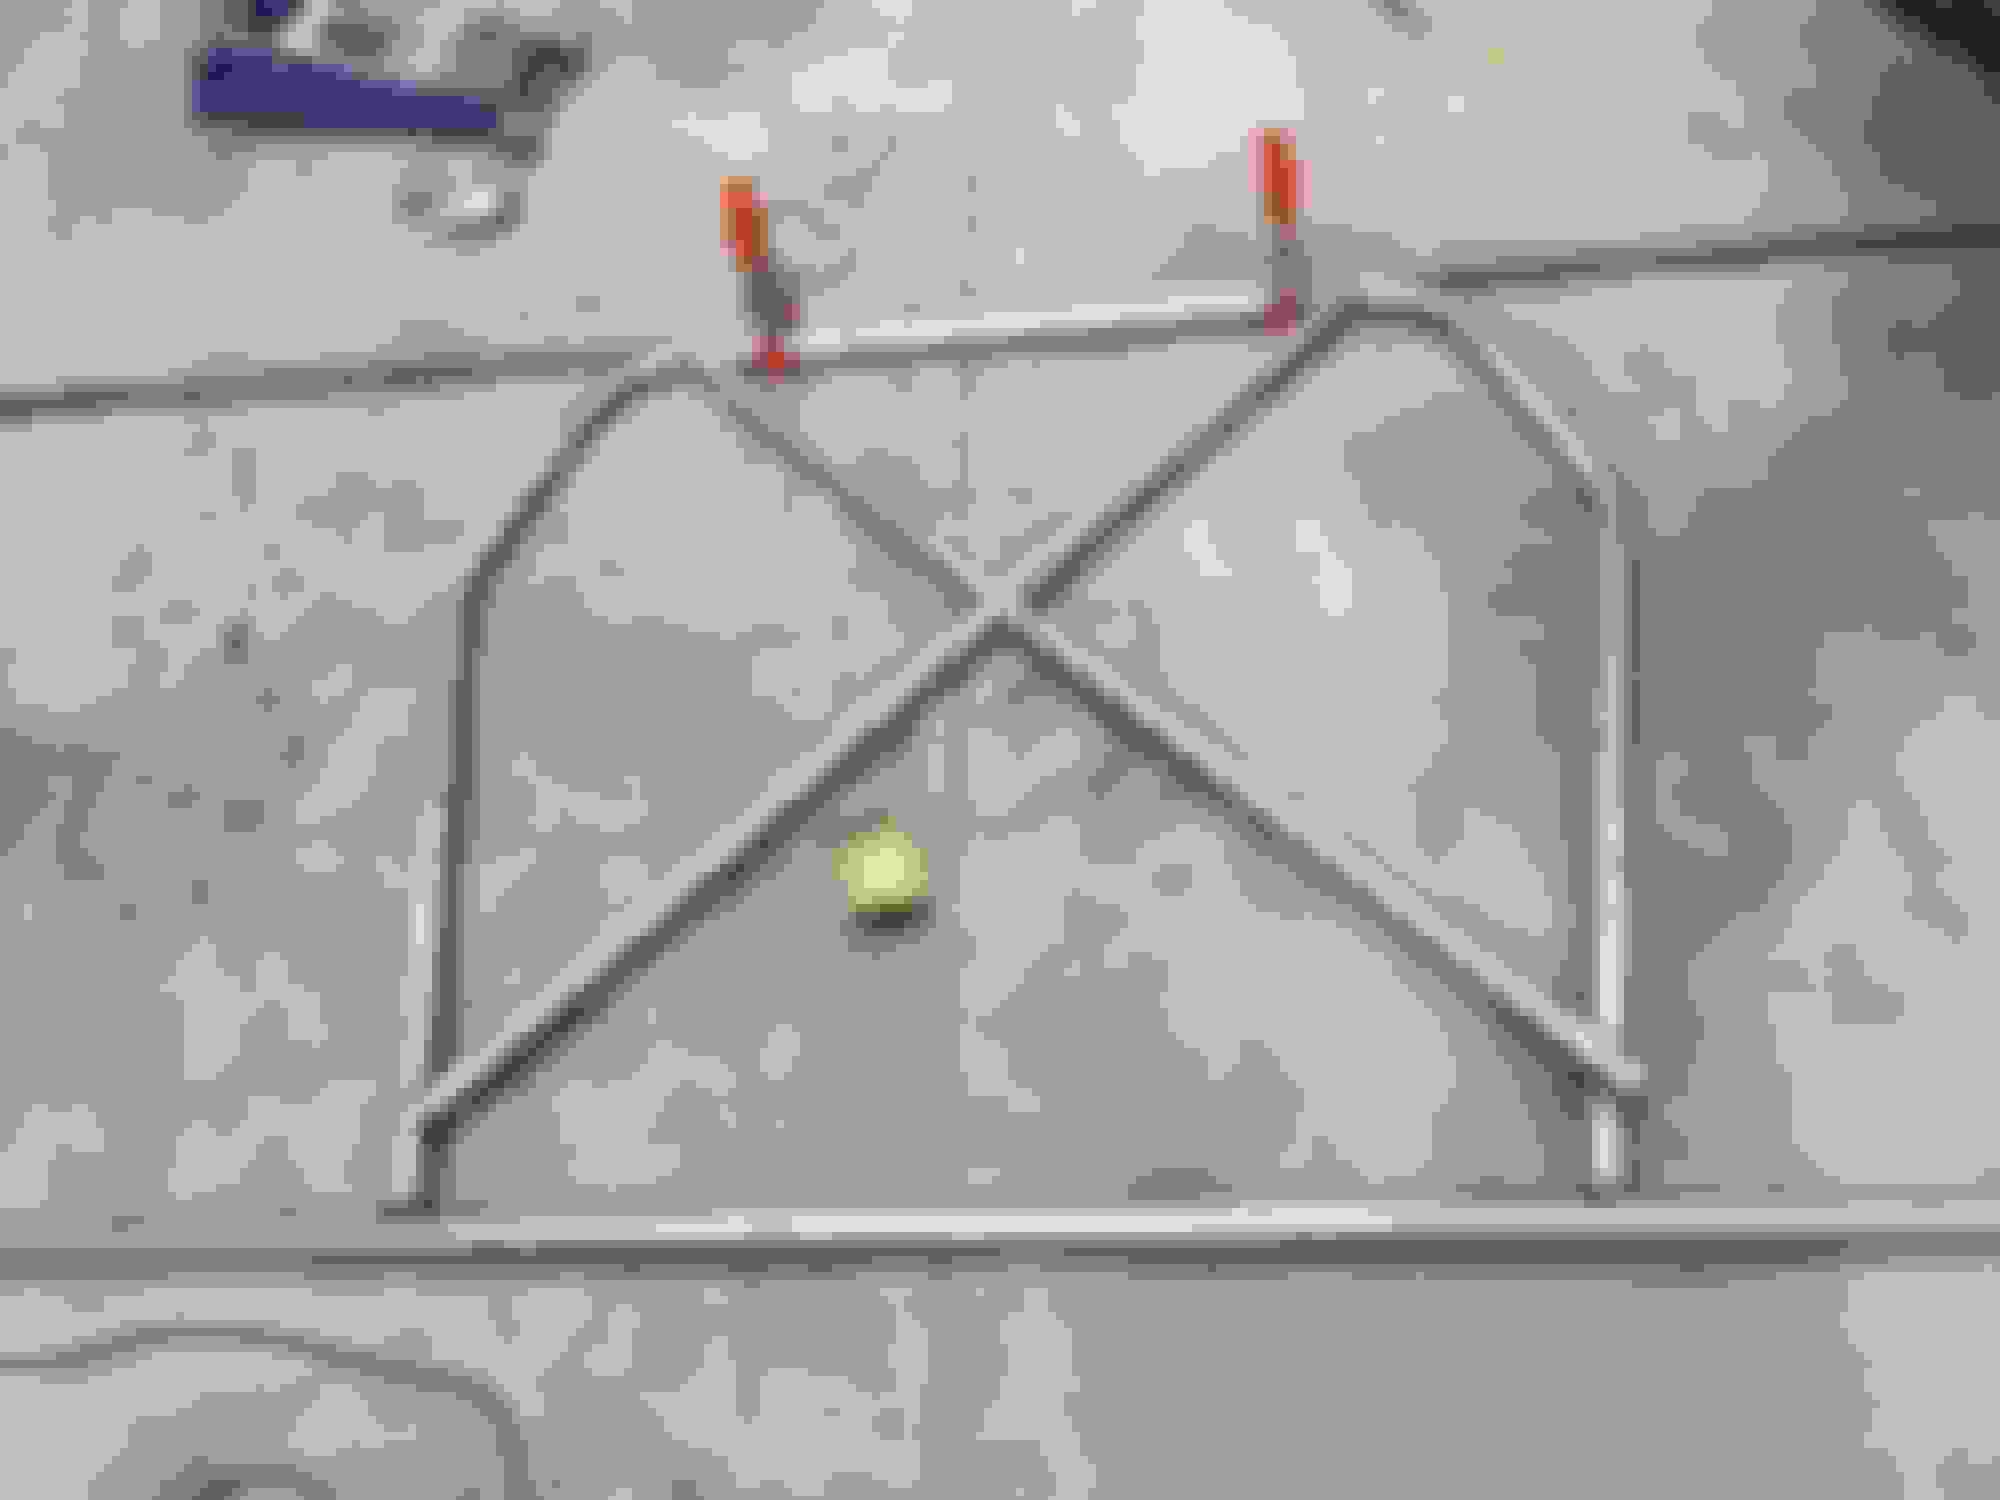
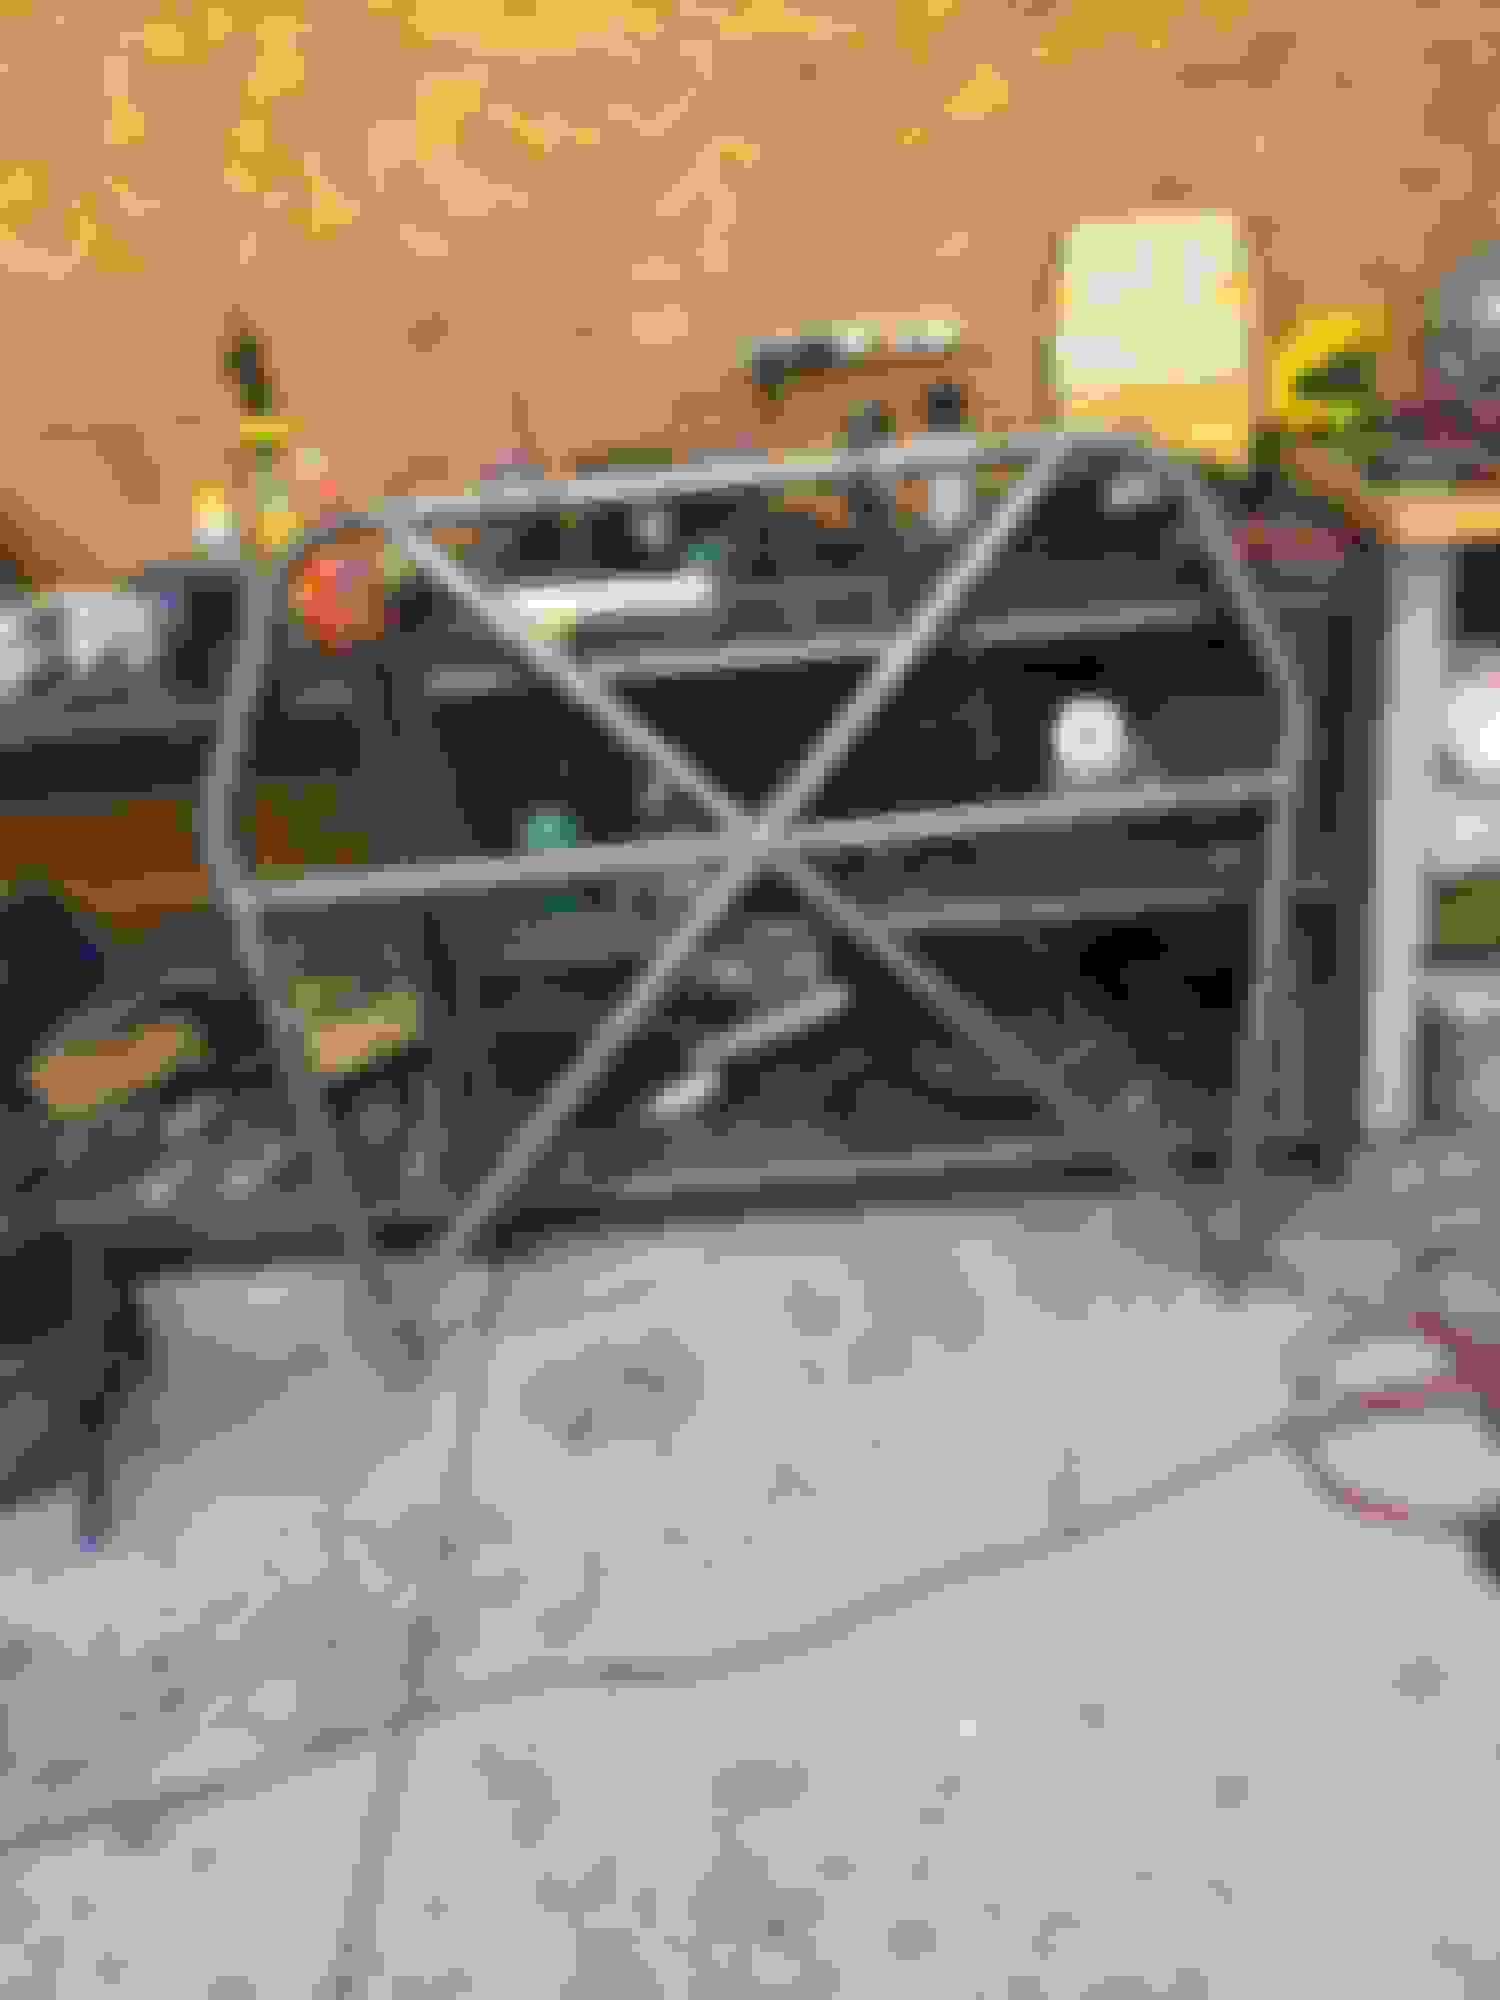
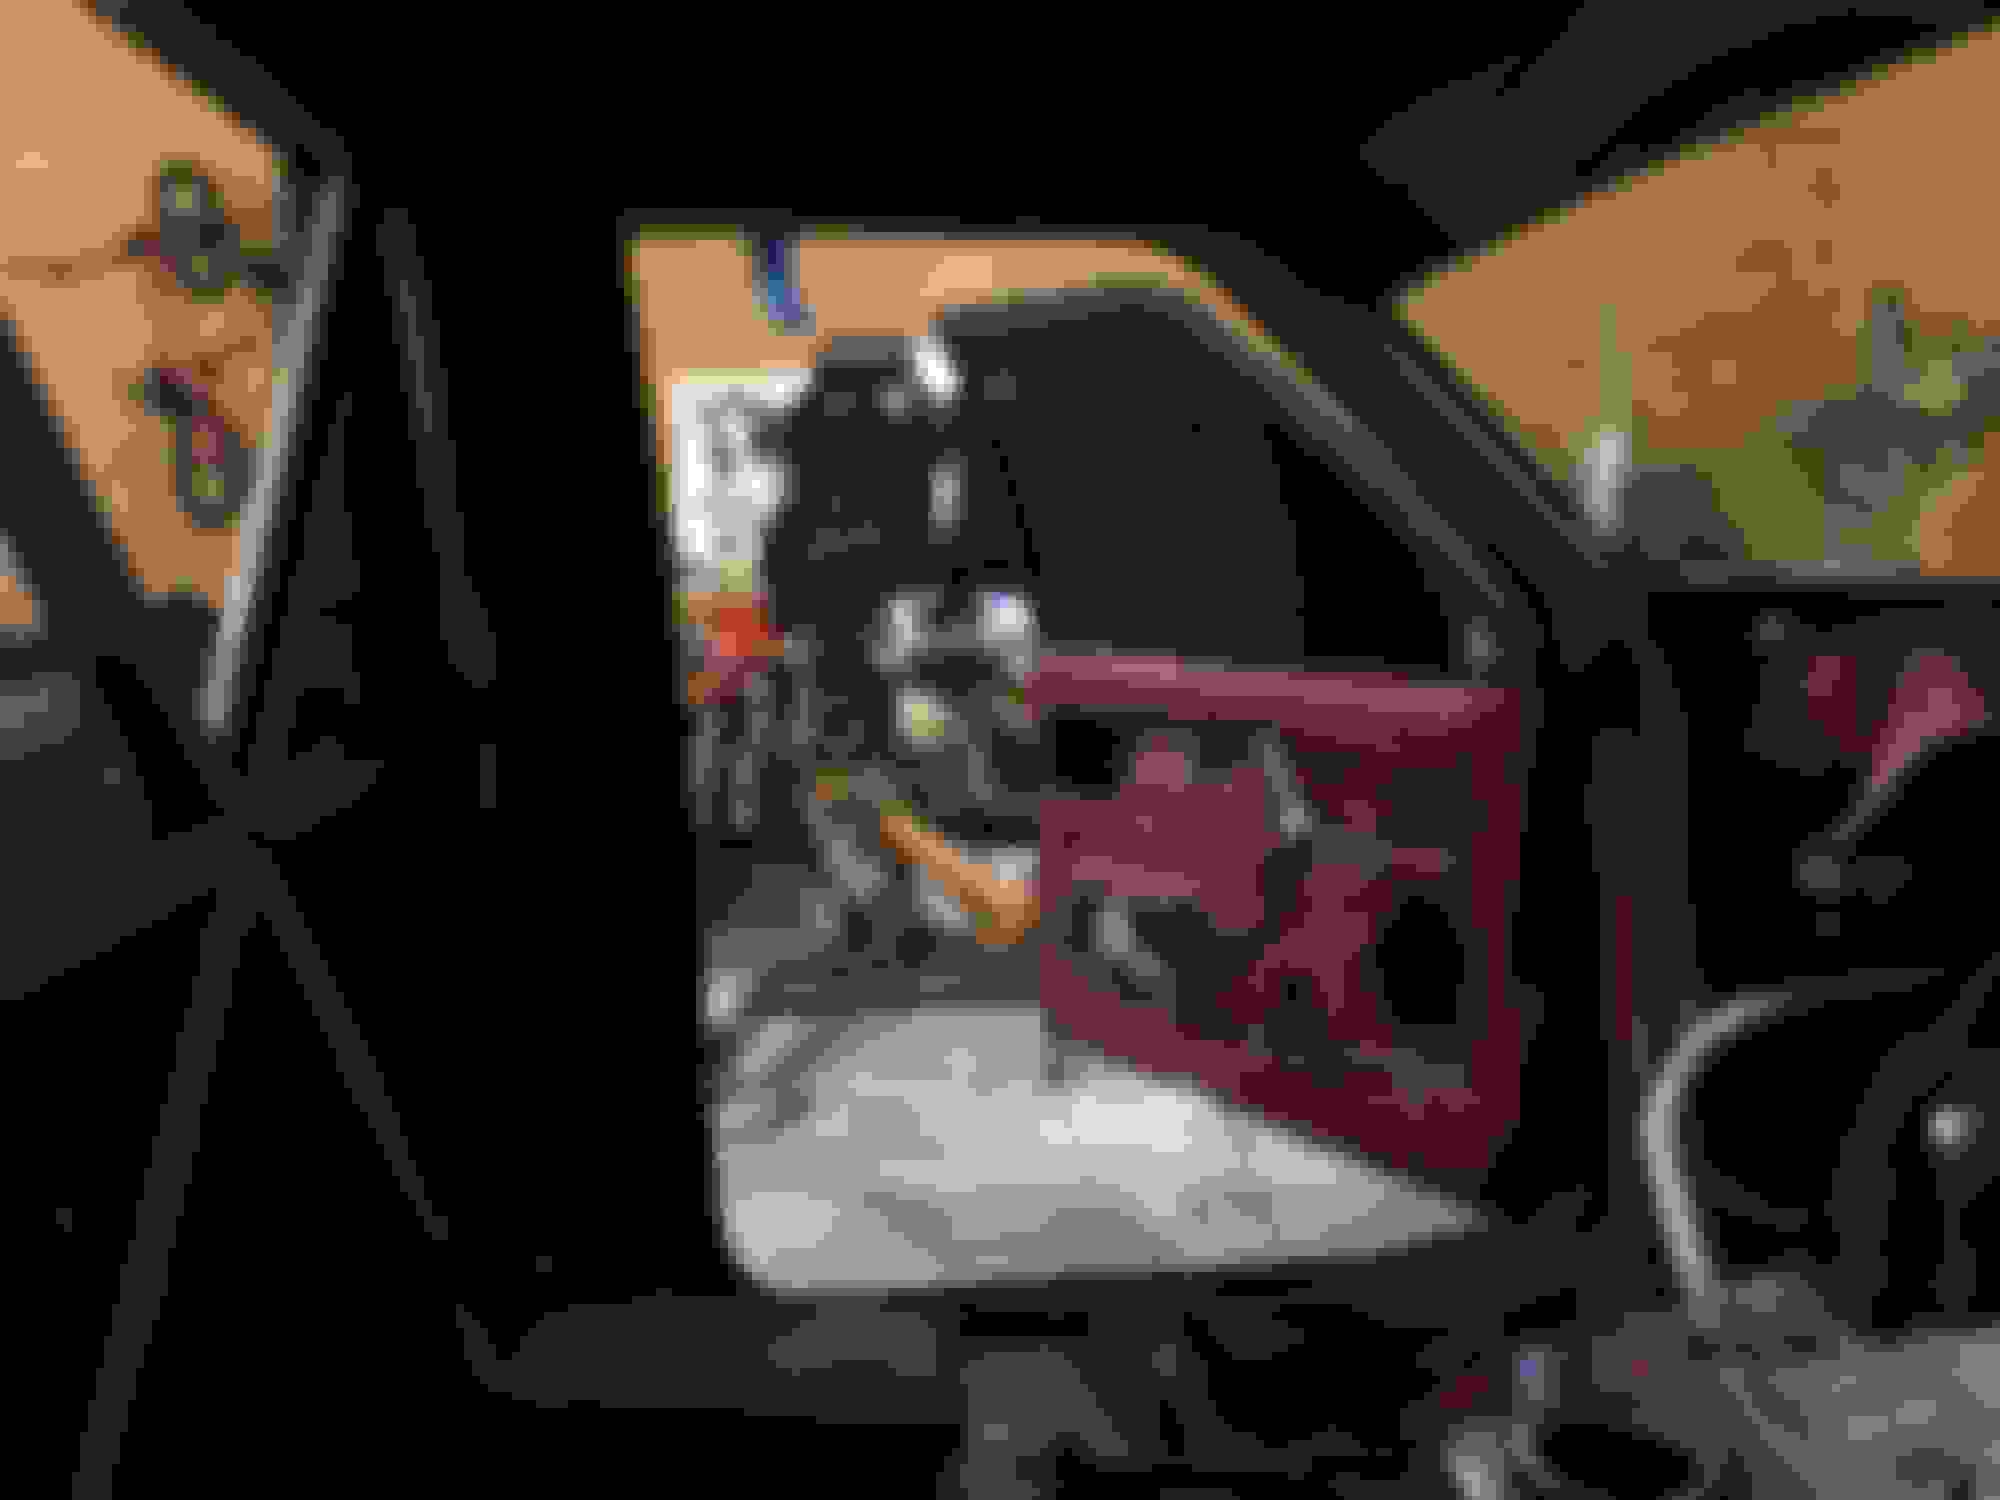
So next was the tube front. I figured if I was going to build one, it should tie into the cage as well, rather than just plating the firewall. This meant I'd have to do the cage first, so we got started. I bent up a main hoop, test fitted it, then my buddy tig'd it all together. The last pic is just me trying to get an idea of what the rear bars would look like. I decided to go through the back window with them rather than through the cab like many guys do. I just couldnt bring myself to risk cutting into such a clean cab, knowing I'd sort the lexan issue later. All tubing is 1 5/8" .120" DOM. Designed with no real class in mind, I just wanted to uphold some sort of rule book when making the cage so I'd have guidelines. I built it to pass NHRA 8.50 tech while observing a few global time attack rules. I would have used chromoly but when I first ordered everything I still was thinking it may be MIG welded. Sadly you cannot MIG chromoly, thus my mistake was made.
Last edited by alex_s817; Dec 24, 2017 at 10:55 AM.
Better/much easier to use DOM for a cage anyway. The only proper way to anneal a chromoly cage after it's been welded is to put the whole chassis in an oven.
Helluva build man, love the creativity and attention to detail.
Better/much easier to use DOM for a cage anyway. The only proper way to anneal a chromoly cage after it's been welded is to put the whole chassis in an oven.
Helluva build man, love the creativity and attention to detail.
I love it too. My first car was a 2.4l d-50 5 speed. Burnt the tires every day of my ownership going to and from high school lol.. has a 318 in it now
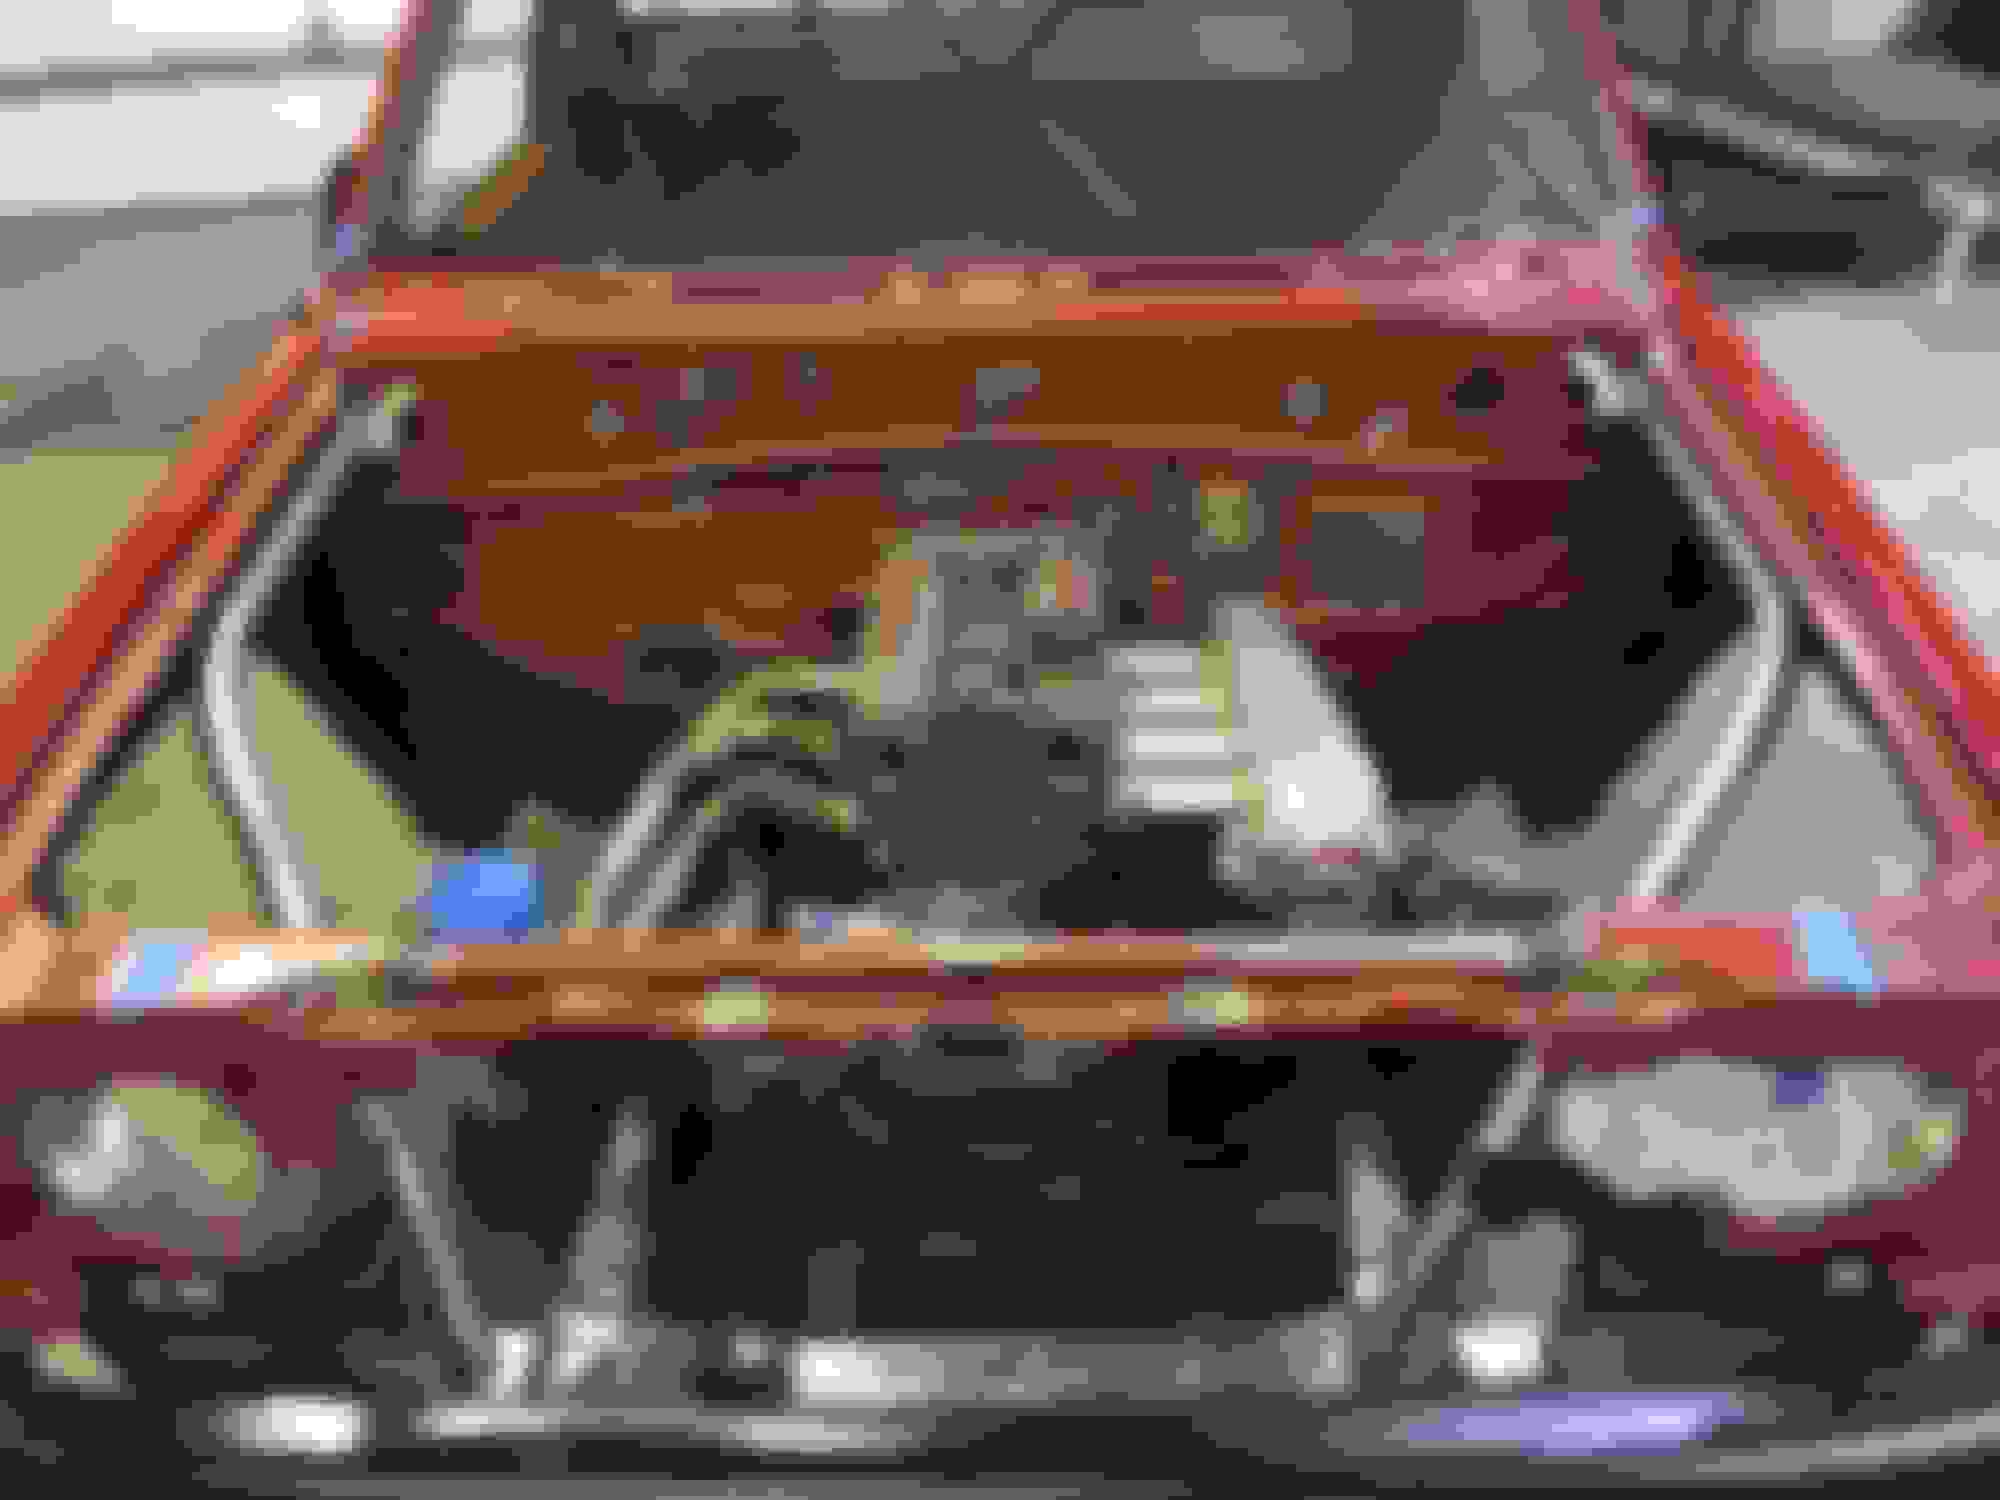
With the main hoop done, I decided to go ahead and do some sound deadening underneath the headliner/panels before the hoop was permanently welded into place. Building the A-pillar bars was probably the hardest part. I wanted them to tuck up and out of the way as much as possible which was pretty straight forward, but replicating that for the opposite side was definitely a *****. I got it done after a couple of attempts. Very happy with how well they fit. Also added some removable door bar mounts. I did this mostly because I still have so much work to do on the inside of the cabin and laying over the door bars would be a nightmare.
Once I had the a-pillar bars somewhat in place, I mocked up the front bars for the tube front. I kept the OEM core support (it bolts on to the frame) so that I would have a way to know where the front fender mounts needed to be without having to build a jig/fixture.
thank you everyone! sorry for lack of updates, I've been all over the place.
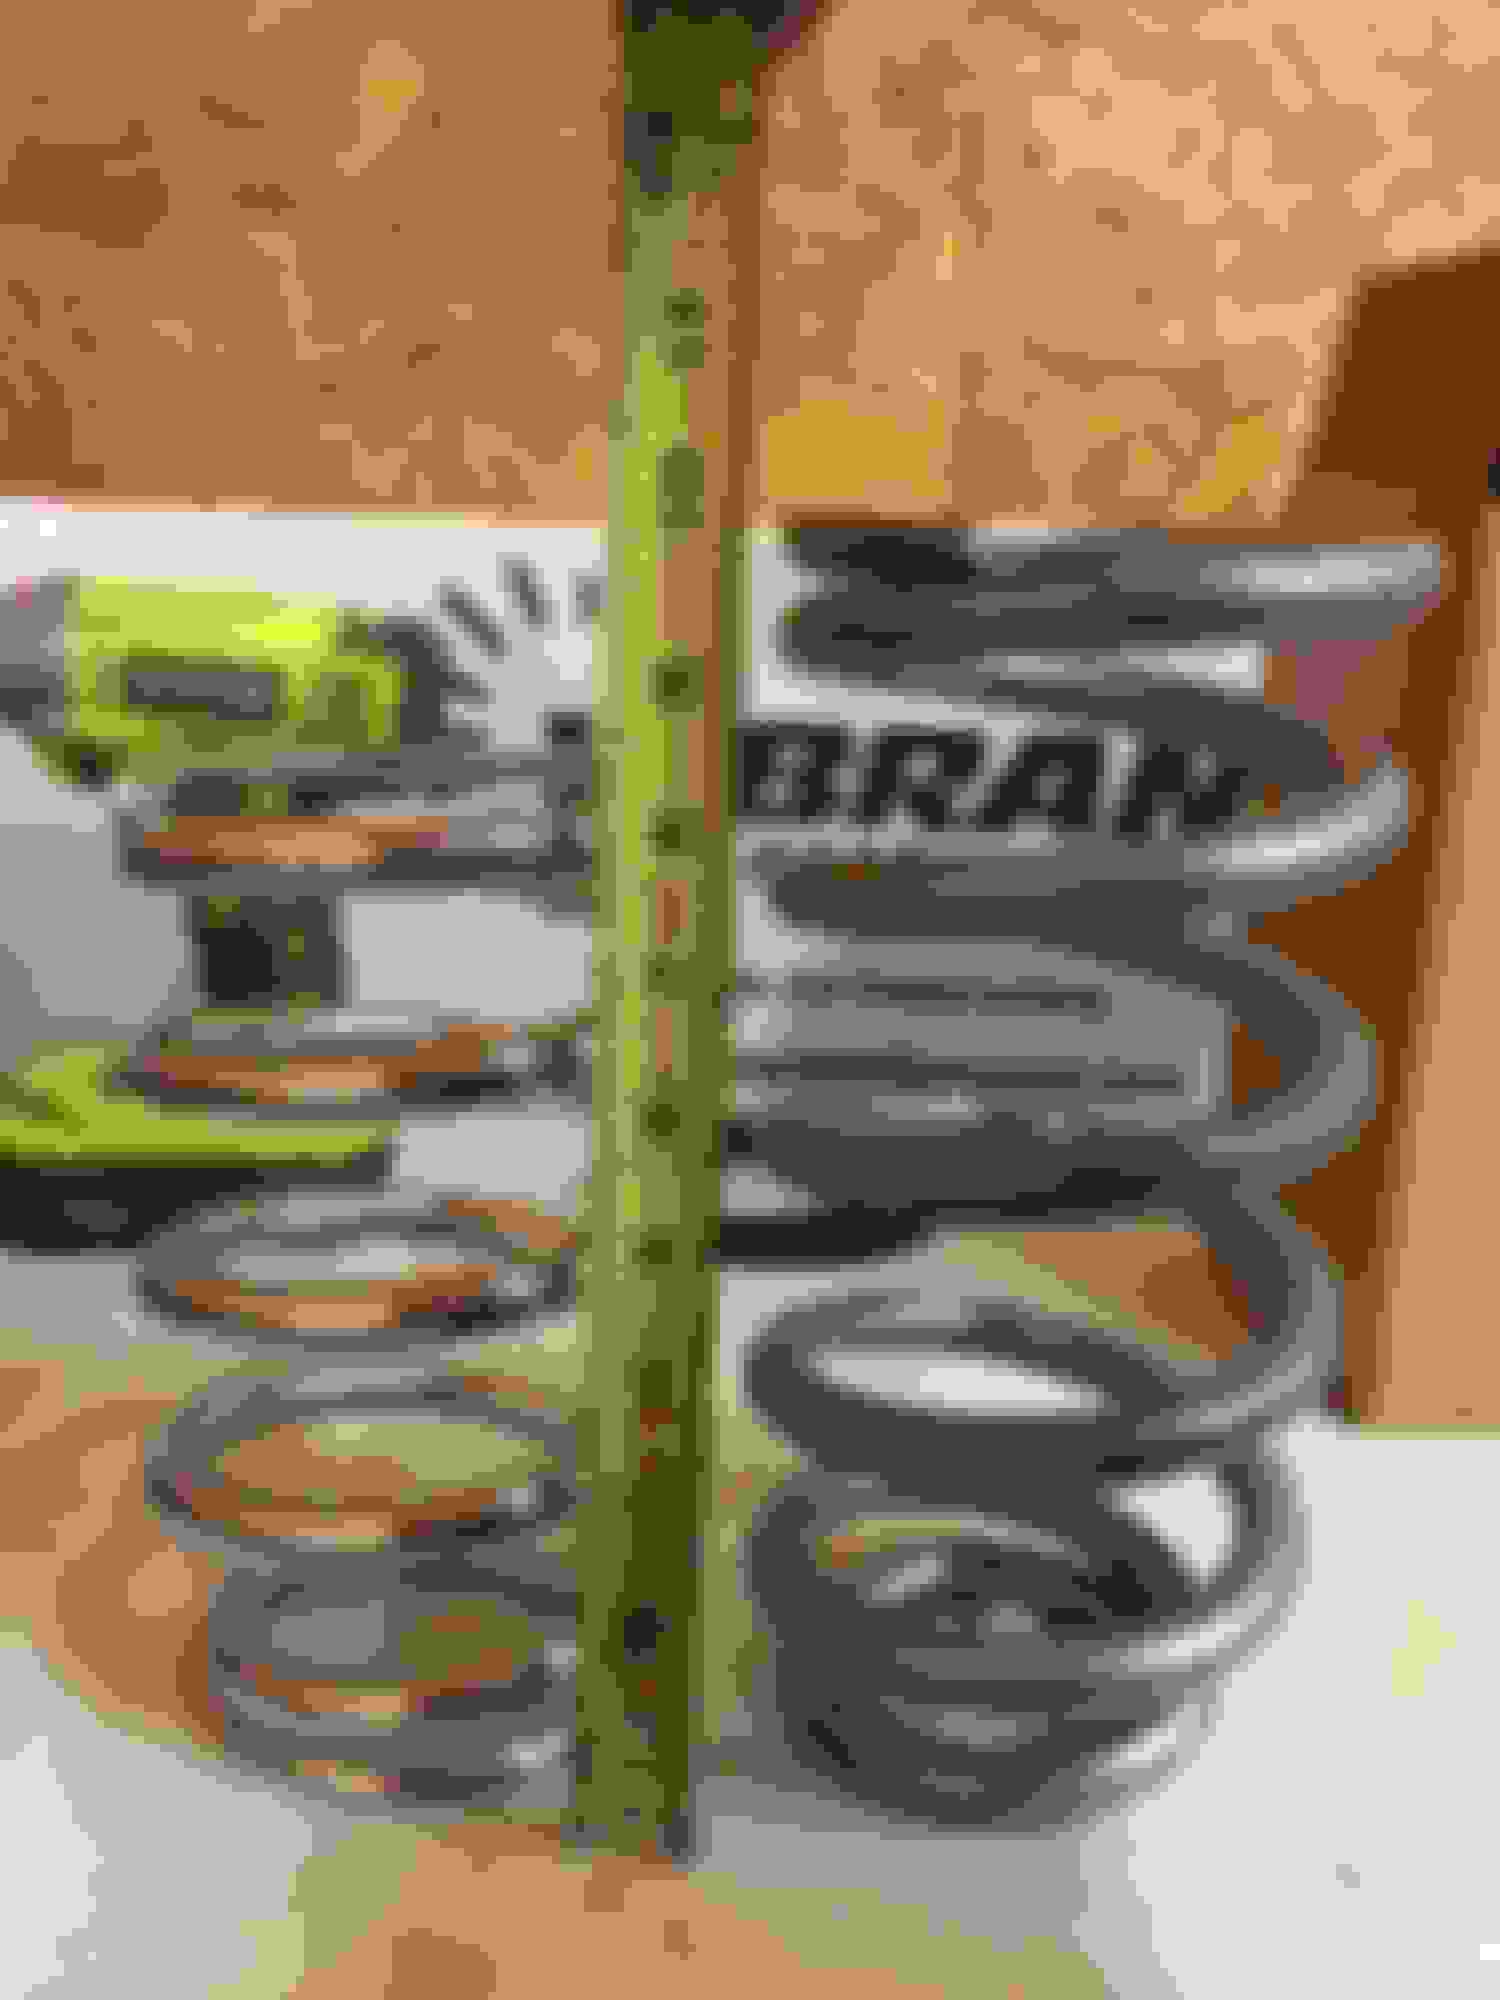
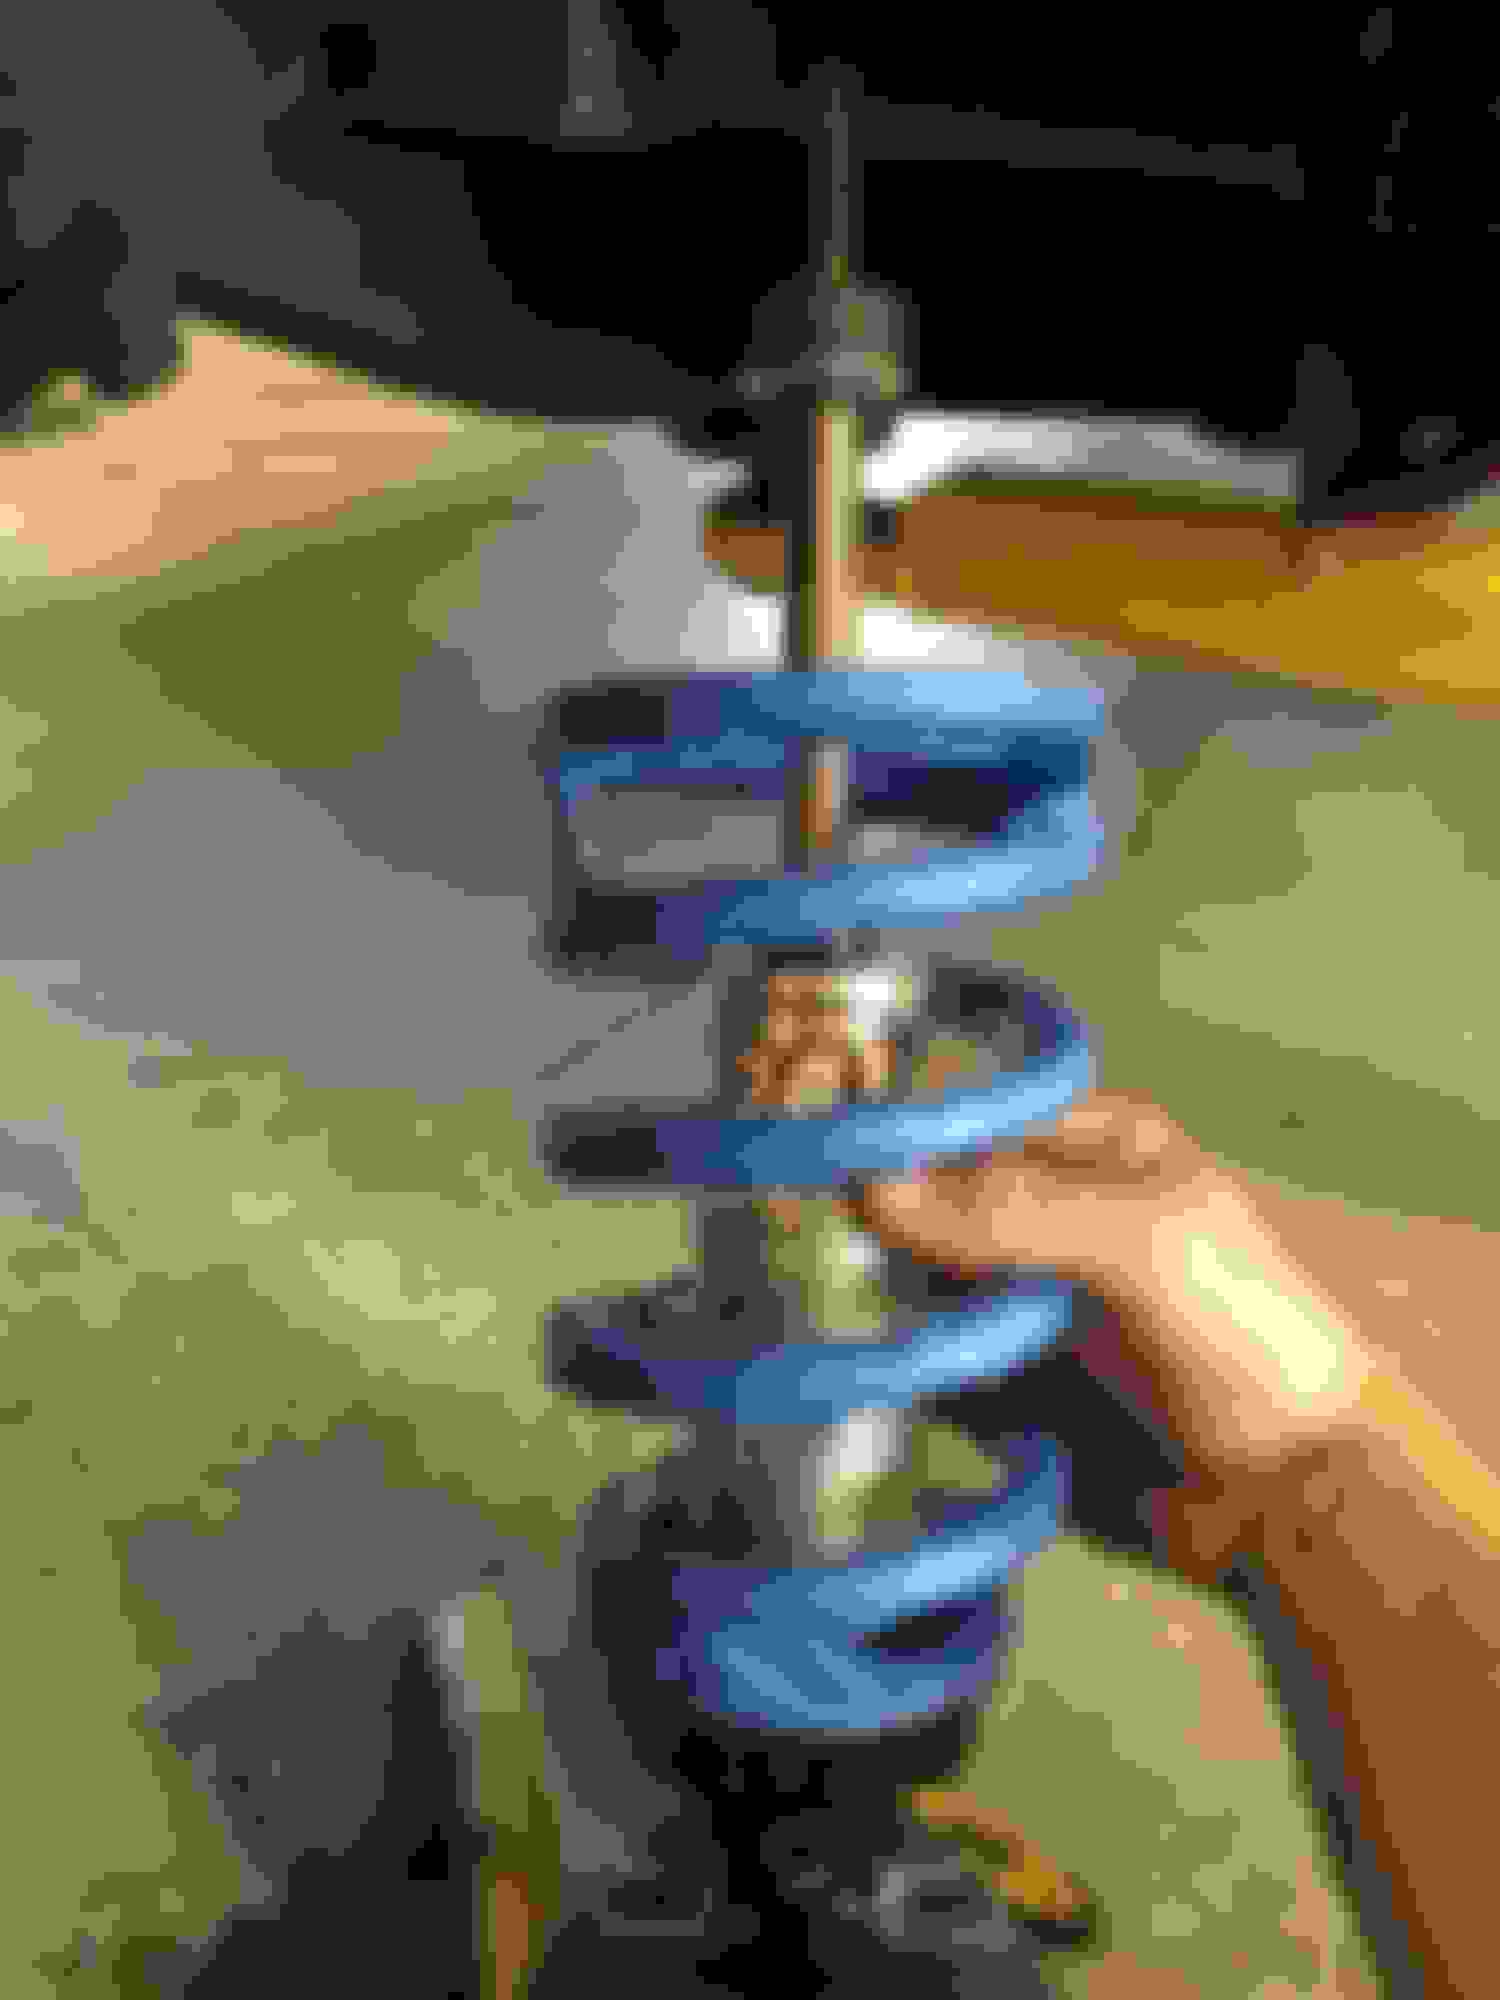
So next thing.... and again, please forgive the slightly off order of pics. I kinda jumped all over the place while doing all of this, was the front suspension. Most people just run lowering springs and bell tech struts, but since I had QA1 stuff on the rear, I really wanted it to match and perform well. Of course, they dont make anything for my truck. I figured out that the chevy s10 strut has the same lower mounting style as the mighty max, so I ordered a set of coilovers for that truck. Of course the springs were way too long, and there was no way they would fit. The S10 upper spring hat sits much higher than the mighty max one, so the spring height was more than a couple inches out of wack. I think at one point I mounted everything and used a jack, but the amount of tension on everything was insane, not to mention the ride height would have been higher than stock at the lowest height setting lol. So of course that had to change. I called QA1 and they told me the shortest spring I could run was 7" and came off a mustang II. So i ordered a set in the lowest rate they offered and crossed my fingers. They were still too long. So I opted to modify the lower control arm and the upper perch so that I could make it all bolt together without an insane amount of tension on everything. You'll notice the spring being taped up and thats because QA1 will not take anything back if you've so much as breathed on it too heavily. With that done, I was able to get it pretty low, and it didnt feel like I was bolting together a spring loaded bomb. Of course the spring rate will need to be changed, but for now, I had a somewhat finished front suspension.