
1998 Evolution V: "The Classroom"


Thread Starter
Evolving Member


Joined: Oct 2020
Posts: 292
Likes: 196
From: Stuttgart
Ordered the exhaust today today. 'Custom' 3 inch with no reductions from Russ Fellows in UK. Will come with a 200 cell cat (less restrictive than OEM 300+) along with a extended rear 'box' (silencer/muffler). Standard is a mid mounted resonator. Mr Felllows mentioned it is typically @ 5000 rpm holds at 96 dbs.
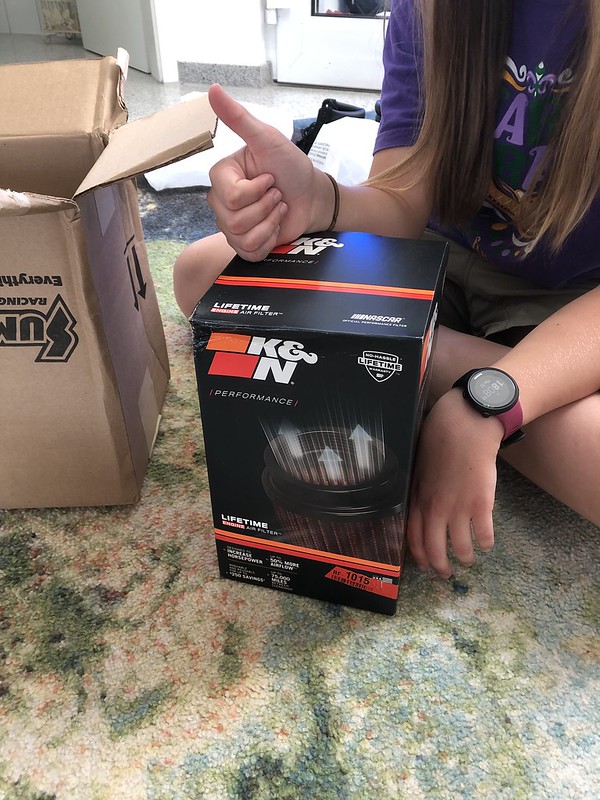
Also received our K+N filter for the intake system (PN: KNN-RF-1015). Obviously tried to get the largest filter...but our measurements were a bit optimistic! The filter just fit and even then had to finagle the install. Nothing larger will fit!
Installed:
Thumbs!
Another task complete...and the little lady is back in town...time for some progress!
Also received our K+N filter for the intake system (PN: KNN-RF-1015). Obviously tried to get the largest filter...but our measurements were a bit optimistic! The filter just fit and even then had to finagle the install. Nothing larger will fit!
Installed:

Thumbs!

Another task complete...and the little lady is back in town...time for some progress!
Last edited by Tim M; Jul 22, 2021 at 12:07 PM.
Thread Starter
Evolving Member
Joined: Oct 2020
Posts: 292
Likes: 196
From: Stuttgart
Put a few hours in today...finally.
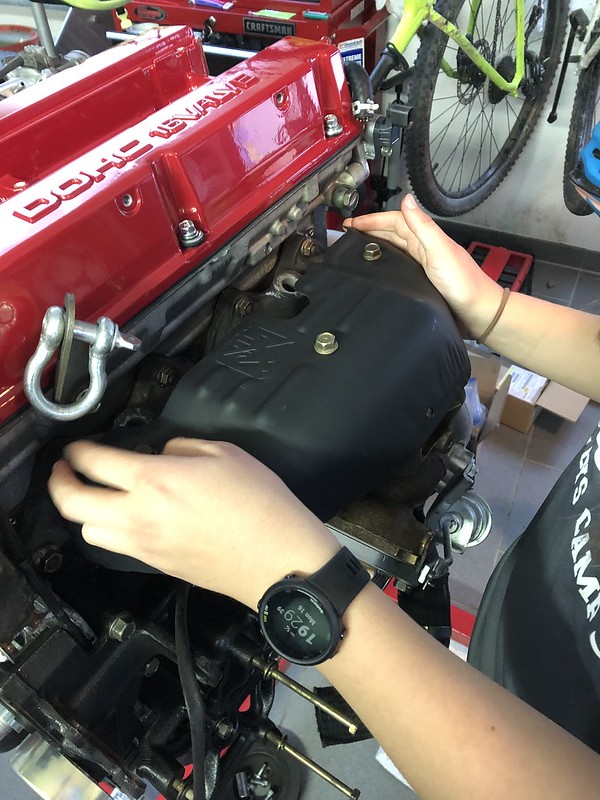
Installed the head permanently with 80 ftlb torque on the ARP. She made it to 60 and I lent a hand after that:
Next oil pump plate gasket:
The balance shaft delete plug (shafts were already removed from the engine...new oil pump required a new factory delete plug - nice rubber coating)
The pump plate itself:
Oil pump pickup 'strainer':
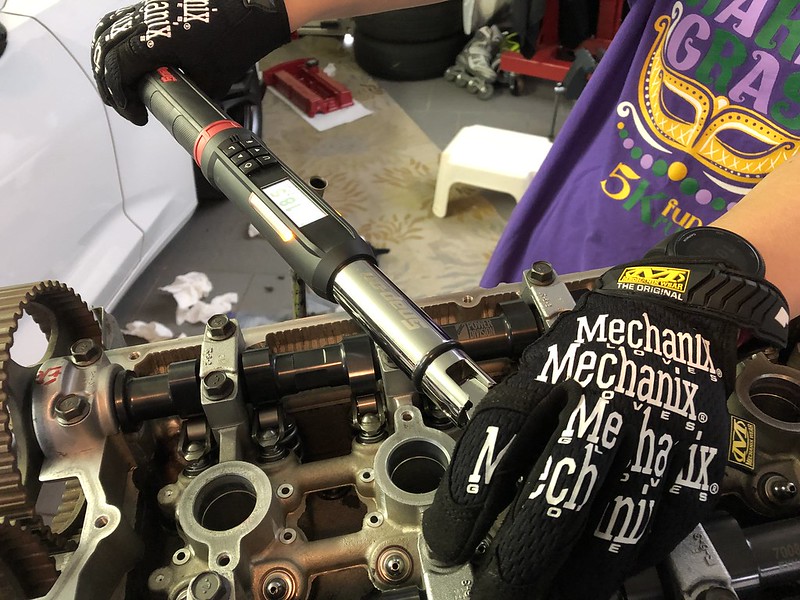
She loves that digital torque wrench...interesting to see her realize the NM equals ft lb, etc.
Oil filter adapter:
The remainder is all temp installed...other than the waterpump - didn't get a image of that...she was moving too fast.
We are still waiting for more hardware and another set of 8 rocker arms...to complete the cam install and cam timing setup.
Little shocked at the price of a quality road race oil pan...ouch!
Installed the head permanently with 80 ftlb torque on the ARP. She made it to 60 and I lent a hand after that:
Next oil pump plate gasket:

The balance shaft delete plug (shafts were already removed from the engine...new oil pump required a new factory delete plug - nice rubber coating)
The pump plate itself:

Oil pump pickup 'strainer':

She loves that digital torque wrench...interesting to see her realize the NM equals ft lb, etc.
Oil filter adapter:

The remainder is all temp installed...other than the waterpump - didn't get a image of that...she was moving too fast.
We are still waiting for more hardware and another set of 8 rocker arms...to complete the cam install and cam timing setup.
Little shocked at the price of a quality road race oil pan...ouch!
Thread Starter
Evolving Member
Joined: Oct 2020
Posts: 292
Likes: 196
From: Stuttgart
Few items arrived yesterday...differential and transmission fluid:
And transfer case fluid:
More arrived today with bunch of arabic all over the package - some important pieces to the puzzle...more to follow. ;-)

And transfer case fluid:

More arrived today with bunch of arabic all over the package - some important pieces to the puzzle...more to follow. ;-)
Thread Starter
Evolving Member
Joined: Oct 2020
Posts: 292
Likes: 196
From: Stuttgart
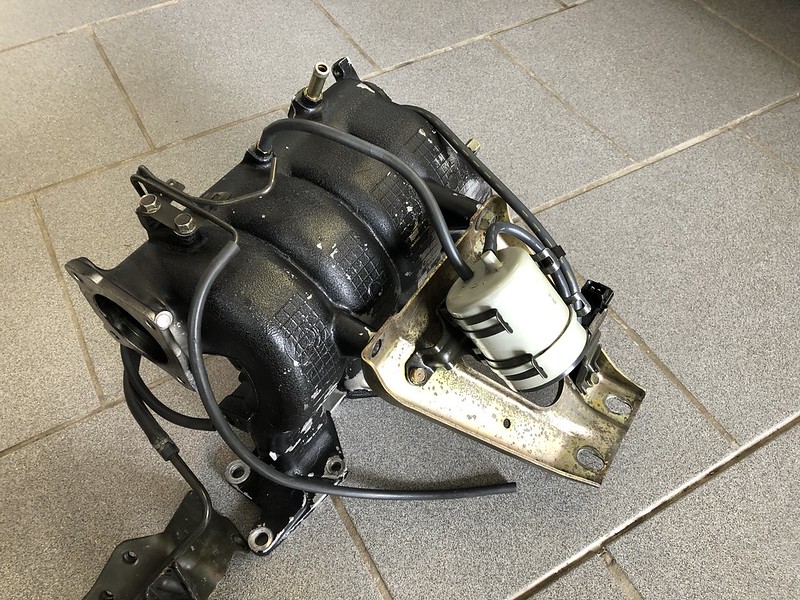
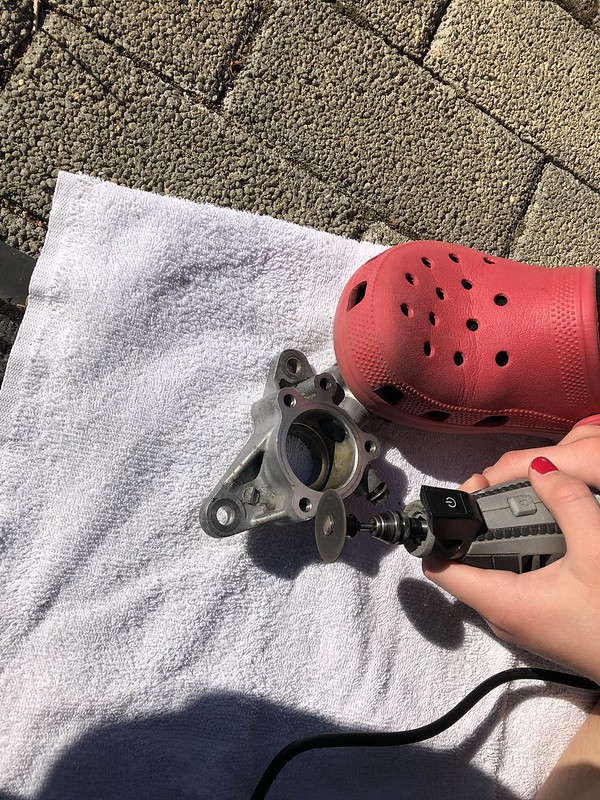
Time for some manual labor! Previous owner decided a spray bombed intake manifold looks good...until the paint starts to flake off. First thought was to take to the machine shop for their high pressure cleaner. But Europe is closed until September so let the young one go at it with a drill mounted wire brush. Wasn't exactly easy...an hour later with sore arms/hands...
Previous:
In-work:
Finished!
Previous:
In-work:

Finished!

Thread Starter
Evolving Member
Joined: Oct 2020
Posts: 292
Likes: 196
From: Stuttgart
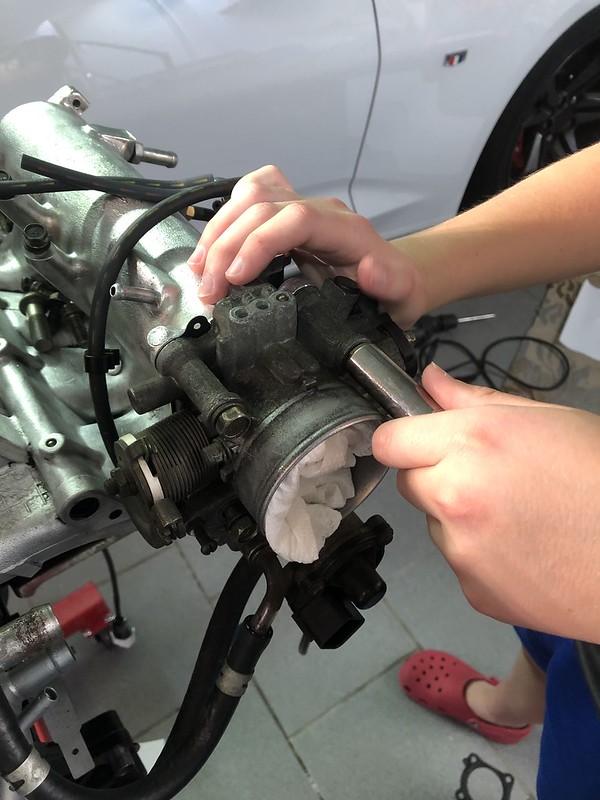
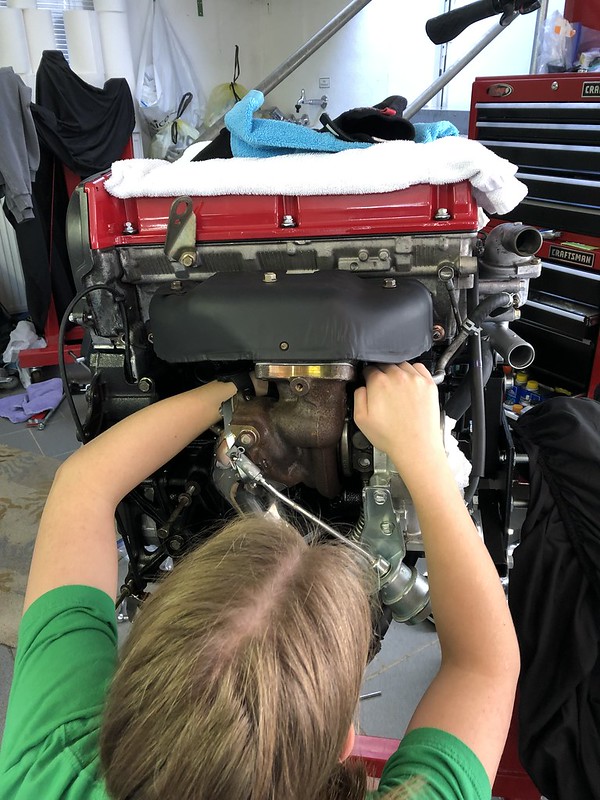
Cleaned the throttle body and added a new IAC gasket - don't want any boost leaks!:
On went the intake manifold:
Looks pretty good...better than the black flaking paint previous!:
Next will be the valvetrain completion - 'bleeding the HLA's and timing the cams!

On went the intake manifold:

Looks pretty good...better than the black flaking paint previous!:

Next will be the valvetrain completion - 'bleeding the HLA's and timing the cams!

Newbie
Joined: Feb 2013
Posts: 8
Likes: 1
From: tri
Looks like a fantastic restore! Where I am, there are alot of imported scrap evos 1 through 10. Since you are in Germany, have you checked camskill.co.uk? I have found alot of new mitsu parts for older models there.
Thread Starter
Evolving Member
Joined: Oct 2020
Posts: 292
Likes: 196
From: Stuttgart
fto: Thanks! We'll check it out...
We made a two night Scout trip to Bergtesgarden area to attempt to climb a smaller Alpine mountain (Watzmann)...so consumed the weekend.
But did received some oil from the local economy (Castrol for engine pre-lub and flush) and Valvoline VR1 from the states for engine break-in:
Also received a batch of new hardware for either missing or replacing old that seen better days - engine mount bolts, nuts, drain and fill plugs along with a new turbo coolant hose:
Threading them on - easy!:
Then to cutting up my Sears Craftsman (we found an exact replacement)...trimming off the 1/4 drive female end...she seemed to enjoy it even though quite a bit of safety precaution. (Yes the vise is in the garage...):
Result!:
We made a two night Scout trip to Bergtesgarden area to attempt to climb a smaller Alpine mountain (Watzmann)...so consumed the weekend.

But did received some oil from the local economy (Castrol for engine pre-lub and flush) and Valvoline VR1 from the states for engine break-in:

Also received a batch of new hardware for either missing or replacing old that seen better days - engine mount bolts, nuts, drain and fill plugs along with a new turbo coolant hose:
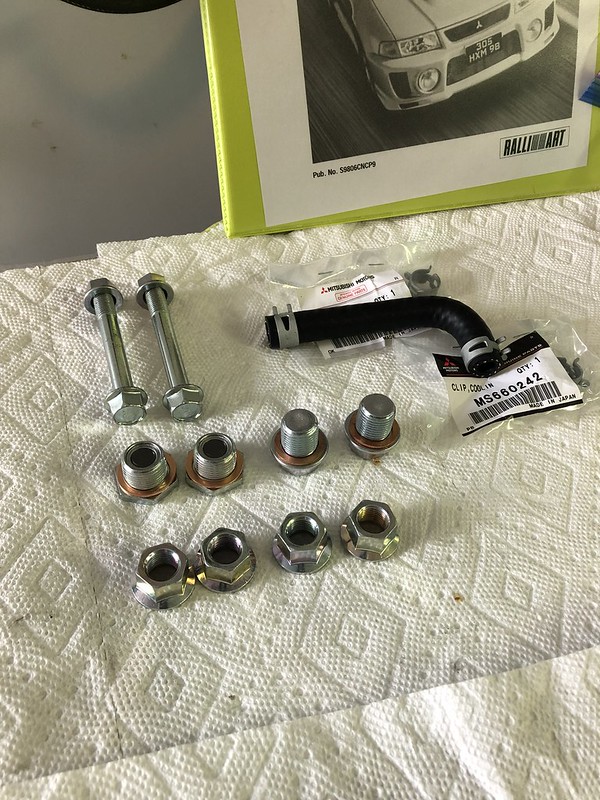
Threading them on - easy!:

Then to cutting up my Sears Craftsman (we found an exact replacement)...trimming off the 1/4 drive female end...she seemed to enjoy it even though quite a bit of safety precaution. (Yes the vise is in the garage...):

Result!:

Thread Starter
Evolving Member
Joined: Oct 2020
Posts: 292
Likes: 196
From: Stuttgart
More parts arrived!
Evo 6 Thermostat hardware and lower o-ring seal:
New exhaust manifold hardware...original was crusty!:
And finally, to really clean up the appearance and apparently a good thing for the turbo - an OEM insulator:
Slowly, but surely...itching to fire this thing up!

Evo 6 Thermostat hardware and lower o-ring seal:

New exhaust manifold hardware...original was crusty!:

And finally, to really clean up the appearance and apparently a good thing for the turbo - an OEM insulator:
Slowly, but surely...itching to fire this thing up!
Thread Starter
Evolving Member
Joined: Oct 2020
Posts: 292
Likes: 196
From: Stuttgart
More parts arrived...Mitsubishi vacuum line manifolds are still available and quite reasonable in cost...knowing that air leaks are not good for drive-ability or engine survival...exact replacement parts with high quality Japanese parts - a joy!:
Throttle body install with new embossed metal gasket:
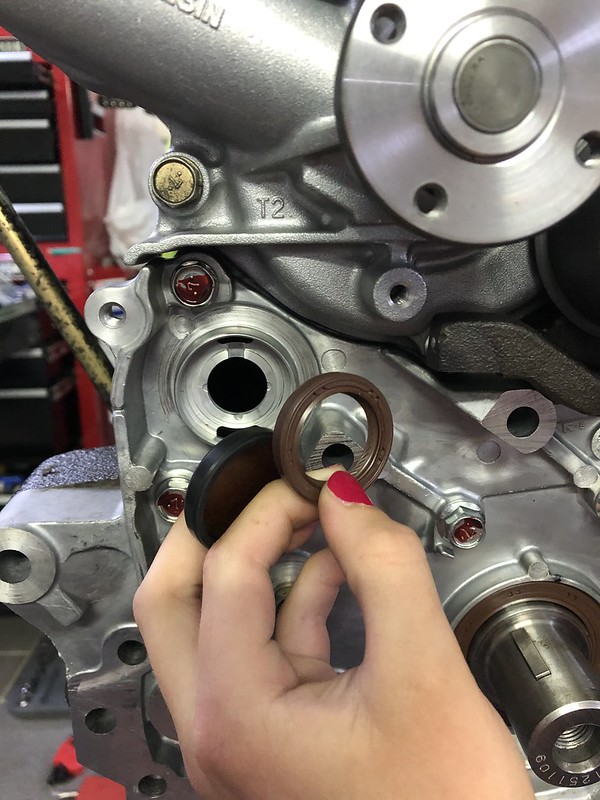
Rear main seal prep:
Rear main seal install...just enough room to slide it in:

Throttle body install with new embossed metal gasket:
Rear main seal prep:

Rear main seal install...just enough room to slide it in:

Thread Starter
Evolving Member
Joined: Oct 2020
Posts: 292
Likes: 196
From: Stuttgart
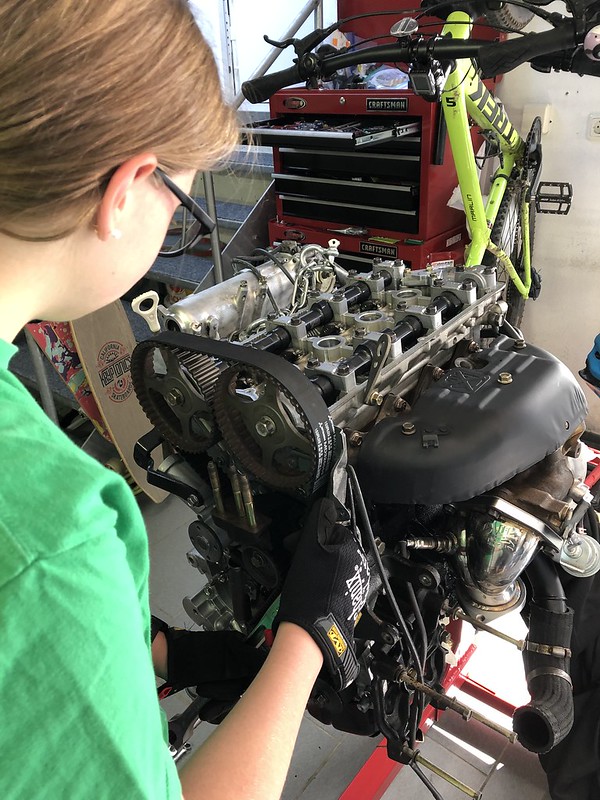
Pulled the cams to allow us to turn the engine over during prelube...had to enlist assistant #2 for a spell to get this moving:
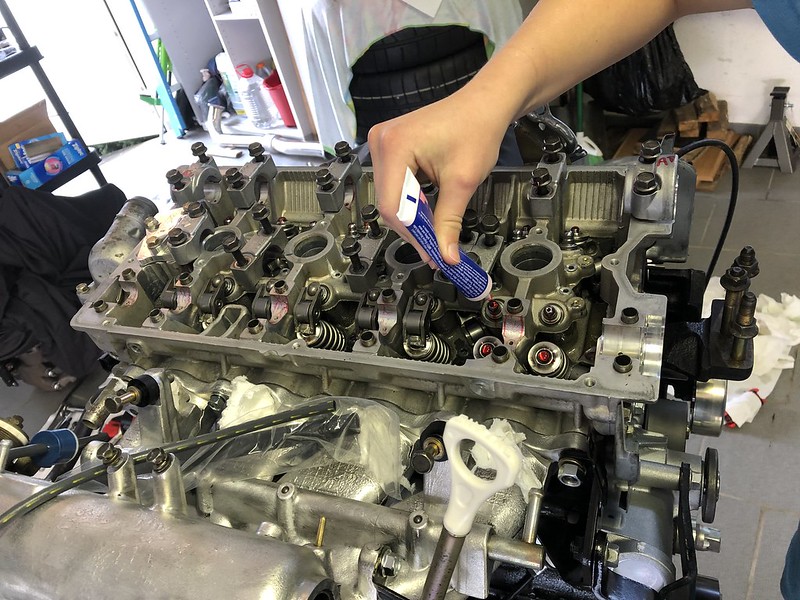
We also pumped up the GSC 'No Tick' hydraulic lash adjusters (lifters)...that was mess and fingers sore after using a fine rod to push the plunger until air bubbles stopped...all while submerged in engine oil (no images - too messy).
In goes the 'flushing' oil:
Assistant to man the drill:
Took a bit to figure out if all is well...we were turning the drill too slowly...once we maxed the rpm, Old Faithful resulted! (We had also removed the OEM oil pressure sensor in hopes to remove any 'debris' on the initial prelube...it was reinstalled to fully prelube the engine while we turned the crank).
It was actually a good example of what interesting forces happen inside an engine and the engineering behind it. The slow pump rpm resulted in no oil movement...but once we hit a certain point, significant oil pressure/flow was created. And the force the oil came out the engine was quite impressive!
Cams reinstalled with all new rockers (not inexpensive, but if it builds a bit of reliability and quiet operation...) and torqued:
Careful...only 20 NMs!

We also pumped up the GSC 'No Tick' hydraulic lash adjusters (lifters)...that was mess and fingers sore after using a fine rod to push the plunger until air bubbles stopped...all while submerged in engine oil (no images - too messy).
In goes the 'flushing' oil:

Assistant to man the drill:

Took a bit to figure out if all is well...we were turning the drill too slowly...once we maxed the rpm, Old Faithful resulted! (We had also removed the OEM oil pressure sensor in hopes to remove any 'debris' on the initial prelube...it was reinstalled to fully prelube the engine while we turned the crank).

It was actually a good example of what interesting forces happen inside an engine and the engineering behind it. The slow pump rpm resulted in no oil movement...but once we hit a certain point, significant oil pressure/flow was created. And the force the oil came out the engine was quite impressive!
Cams reinstalled with all new rockers (not inexpensive, but if it builds a bit of reliability and quiet operation...) and torqued:
Careful...only 20 NMs!

Thread Starter
Evolving Member
Joined: Oct 2020
Posts: 292
Likes: 196
From: Stuttgart
Set the timing on the camshafts...hopefully we did this correctly!
Intake cam mark:
Exhaust cam mark:
Crank mark:
Hydraulic tensioner setting...grenade pin slides freely in and out:
Does this look close enough?

Intake cam mark:

Exhaust cam mark:

Crank mark:

Hydraulic tensioner setting...grenade pin slides freely in and out:

Does this look close enough?
Thread Starter
Evolving Member
Joined: Oct 2020
Posts: 292
Likes: 196
From: Stuttgart
Little body work:
Pulled the front bumper...10 bolts/clips and off. Nice storage, eh?:
Cleaning the oil cooler areas...looks original (maybe not the horns):
Pulled the oil cooler...been exposed to elements for 6 years...look for an aftermarket replacement. Quite a light install actually:
New set of heater hoses...Mitsu sells as a kit - quite reasonable. Likely the high quality OEM rubber was good for another 20 years though:
Little driveline work:
New transfer case o-rings...big and small:
And a little engine work...wrapping the assembly up...
Assistant mesmerized at the valvetrain as she turns the engine over for the first time...
Once satisfied...pulled the hydraulic tensioner's grenade pin:
On to torqueing bolts - exhaust...figured afterward that pulling the heat shield provides nearly full access!:
We then realized we may not have torqued the cam timing belt adjustable pulley...so off cam the front cam drive once again...and messing up the belt tensioning...lots to learn!
Pulled the front bumper...10 bolts/clips and off. Nice storage, eh?:

Cleaning the oil cooler areas...looks original (maybe not the horns):

Pulled the oil cooler...been exposed to elements for 6 years...look for an aftermarket replacement. Quite a light install actually:

New set of heater hoses...Mitsu sells as a kit - quite reasonable. Likely the high quality OEM rubber was good for another 20 years though:

Little driveline work:
New transfer case o-rings...big and small:


And a little engine work...wrapping the assembly up...
Assistant mesmerized at the valvetrain as she turns the engine over for the first time...
Once satisfied...pulled the hydraulic tensioner's grenade pin:

On to torqueing bolts - exhaust...figured afterward that pulling the heat shield provides nearly full access!:
We then realized we may not have torqued the cam timing belt adjustable pulley...so off cam the front cam drive once again...and messing up the belt tensioning...lots to learn!
Thread Starter
Evolving Member
Joined: Oct 2020
Posts: 292
Likes: 196
From: Stuttgart
Some real progress!
More new vacuum manifolding:
Some metal reworking after dad demonstrated how soft aluminum will dent on the cam sensor housing if dropped (ack!)...assistant was happy to put the Dremel to it:
And install...final major component along with the AIR system tubing:
And a few bolts/covers to produce a complete powerplant:
Worked out the borrowed hoist and connecting apparatus without damaging the freshly coated valve cover (lucky!)...and installed the Cusco/Exedy two disc clutch - looks usable and light - 12 pound flywheel:
Friend also lent me a scale...119 kgs (262 pounds) for a near fully dressed 4G63 bullet (intake to turbo with alternator) - nice for ~400 CHP capability:
Big step:
And IN!:
Trans/transfer case install, fuel pump replacement, and awaiting the Russ Fellows exhaust to delivery...several other bits and pieces too...nonetheless, big stress reduction!
More new vacuum manifolding:

Some metal reworking after dad demonstrated how soft aluminum will dent on the cam sensor housing if dropped (ack!)...assistant was happy to put the Dremel to it:
And install...final major component along with the AIR system tubing:

And a few bolts/covers to produce a complete powerplant:

Worked out the borrowed hoist and connecting apparatus without damaging the freshly coated valve cover (lucky!)...and installed the Cusco/Exedy two disc clutch - looks usable and light - 12 pound flywheel:

Friend also lent me a scale...119 kgs (262 pounds) for a near fully dressed 4G63 bullet (intake to turbo with alternator) - nice for ~400 CHP capability:

Big step:
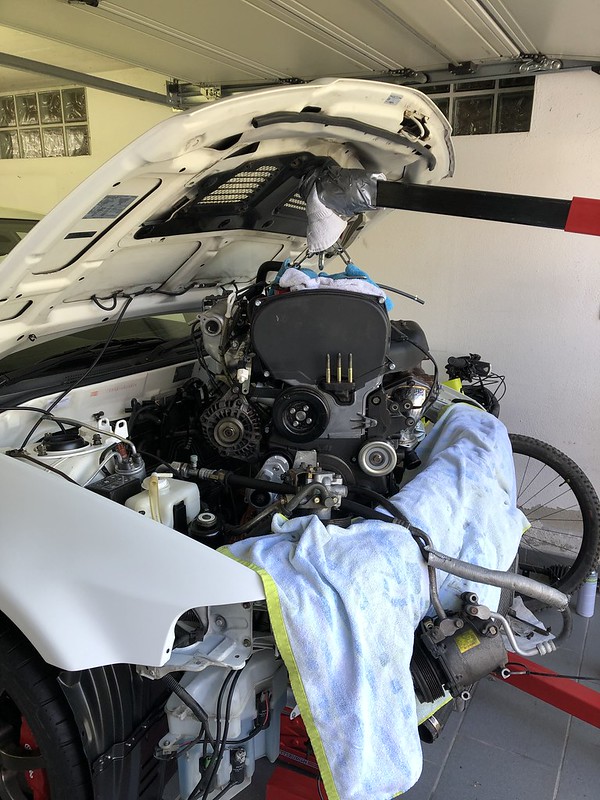
And IN!:

Trans/transfer case install, fuel pump replacement, and awaiting the Russ Fellows exhaust to delivery...several other bits and pieces too...nonetheless, big stress reduction!
Last edited by Tim M; Sep 6, 2021 at 01:41 PM.
Thread Starter
Evolving Member
Joined: Oct 2020
Posts: 292
Likes: 196
From: Stuttgart
We continue to analyze all the connections...most appear to fall into place once we begin - scavenger hunt in some cases...
Few minutes today to install a new front badge:
Complete!:
And used an entire roll of paper towels to work on this:
Probably not worth is, but clean is more enjoyable...
Few minutes today to install a new front badge:

Complete!:

And used an entire roll of paper towels to work on this:

Probably not worth is, but clean is more enjoyable...
Thread Starter
Evolving Member
Joined: Oct 2020
Posts: 292
Likes: 196
From: Stuttgart
Not much improvement, but I feel better. Installing a new throwout bearing (the new fork lacked a bushing - oops):
Popped in the refreshed OEM injectors (we hope they will be too small!):
Some young lady fun...jeez - stay on task!:
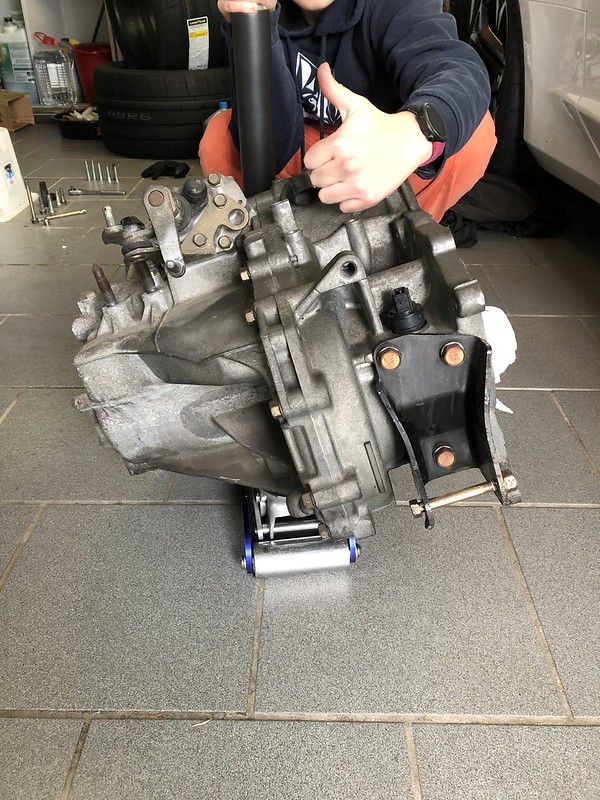
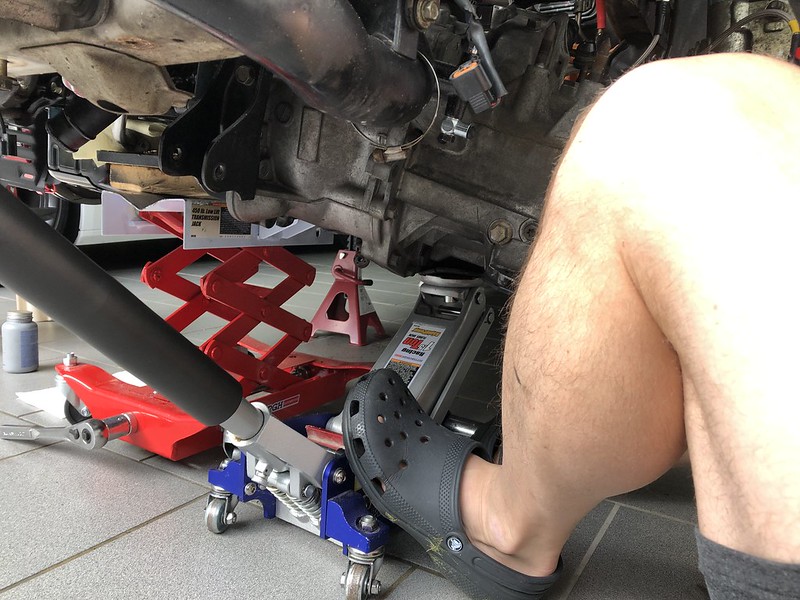
Back to the trans...on the move - balanced on a floor jack...precariously:
And Installed...hairy leg is mine...she was a bit too fragile for this part - served as eyes for the block to bellhousing alignment. Once we realized the idler pulley and belt tensioner should be removed to allow the motor to drop angle further - it all fit together...with some muscle:
Positive progressive!

Popped in the refreshed OEM injectors (we hope they will be too small!):

Some young lady fun...jeez - stay on task!:

Back to the trans...on the move - balanced on a floor jack...precariously:
And Installed...hairy leg is mine...she was a bit too fragile for this part - served as eyes for the block to bellhousing alignment. Once we realized the idler pulley and belt tensioner should be removed to allow the motor to drop angle further - it all fit together...with some muscle:
Positive progressive!