
How-To polish (rims)

How-To polish (rims) 56k warning
This is my first how-to so hopefully I am writing and explaining everything clearly enough for people to easily understand. If their are any questions, feel free to PM me at any time. I am not an expert and do not claim that status. Remember that doing any polishing work is at your own discretion. Damage done by improperly polishing can be costly, so please plan what you are doing ahead of time. On with the show.
This is a how-to that will explain the process I applied when fixing a polished wheel. The process is very similar to polishing something that has not been polished before. The roughness of the surface will determine what grit you need to start with.
Polishing is a time consuming process that will require determination and attention to detail to get right. Skipping steps or being lazy will definitely show in your final result. So, to save time, do it right the first time!!
Ok onto the main part!! For the application I�m involved with I used the following materials:
Sandpaper - grits 400-2000

Sanding block-- not necessary but helps with first couple of steps. When you get into the higher sandpaper, do it by hand!!
Bowls-- Or something else to hold water for wet sanding:

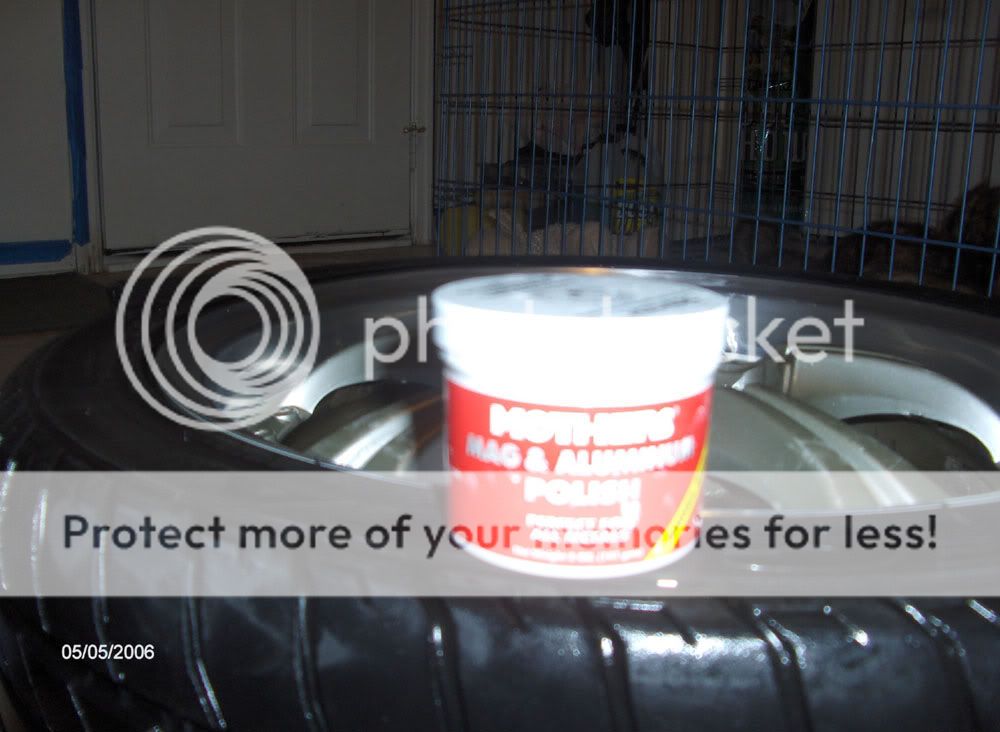
Mothers Polish-- or some other polishing agent
Soap and water-- make sure to clean thoroughly with soap and water between each step. Some people may not do this, but I do to make sure I don�t get dirt scratches in the later high grit steps.
Non-abrasive towels-- or cloths. For applying the polish.
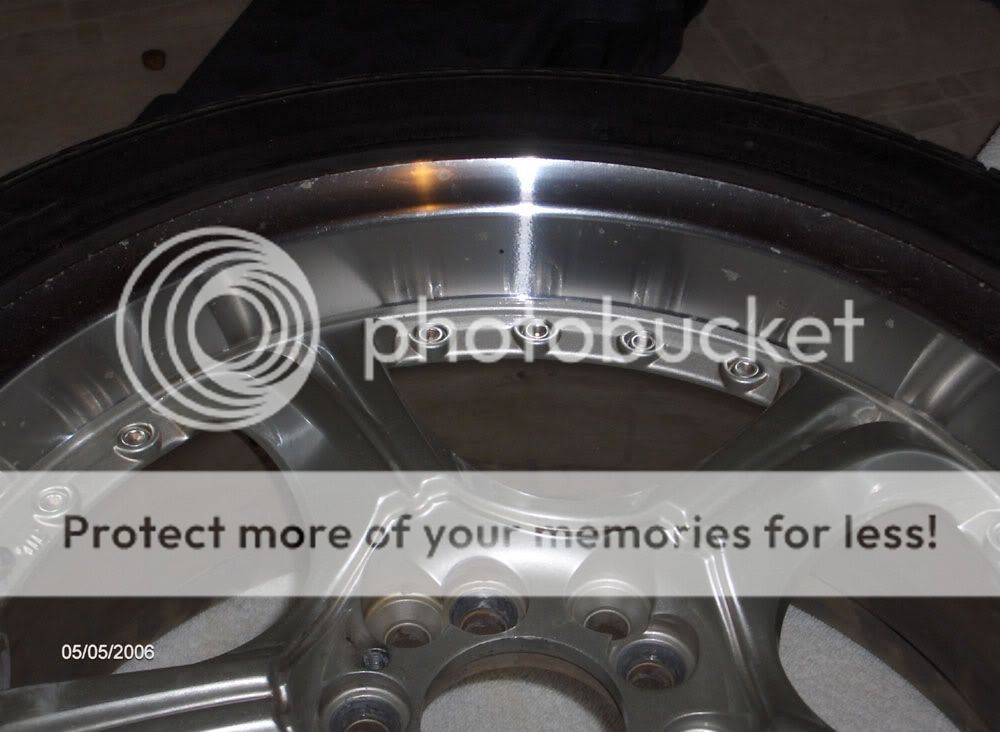
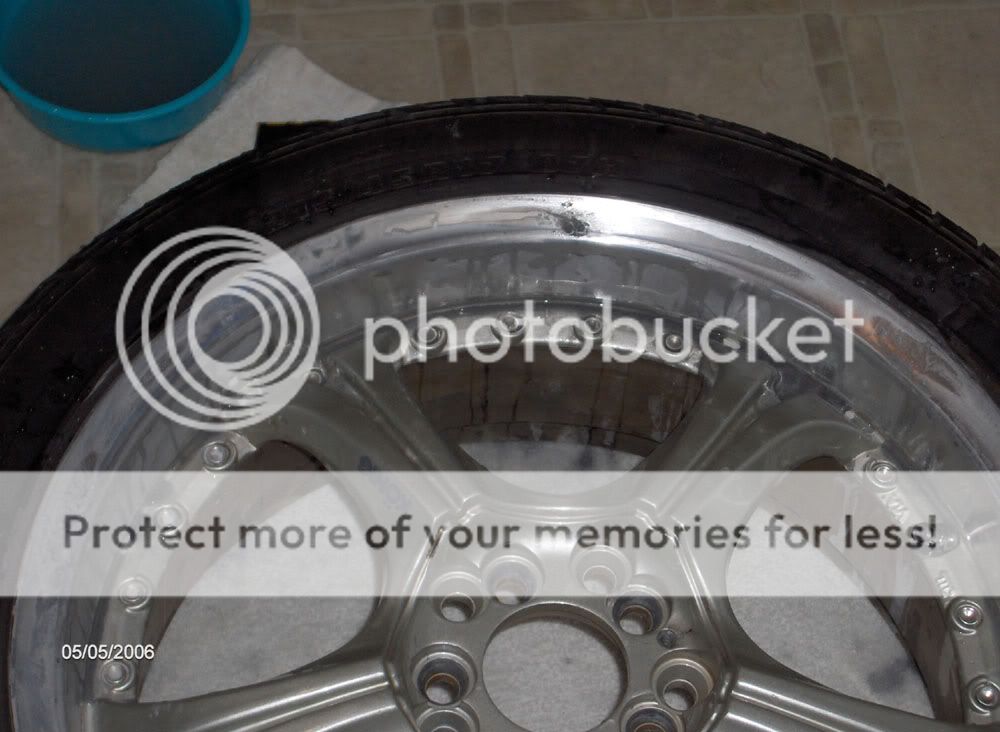
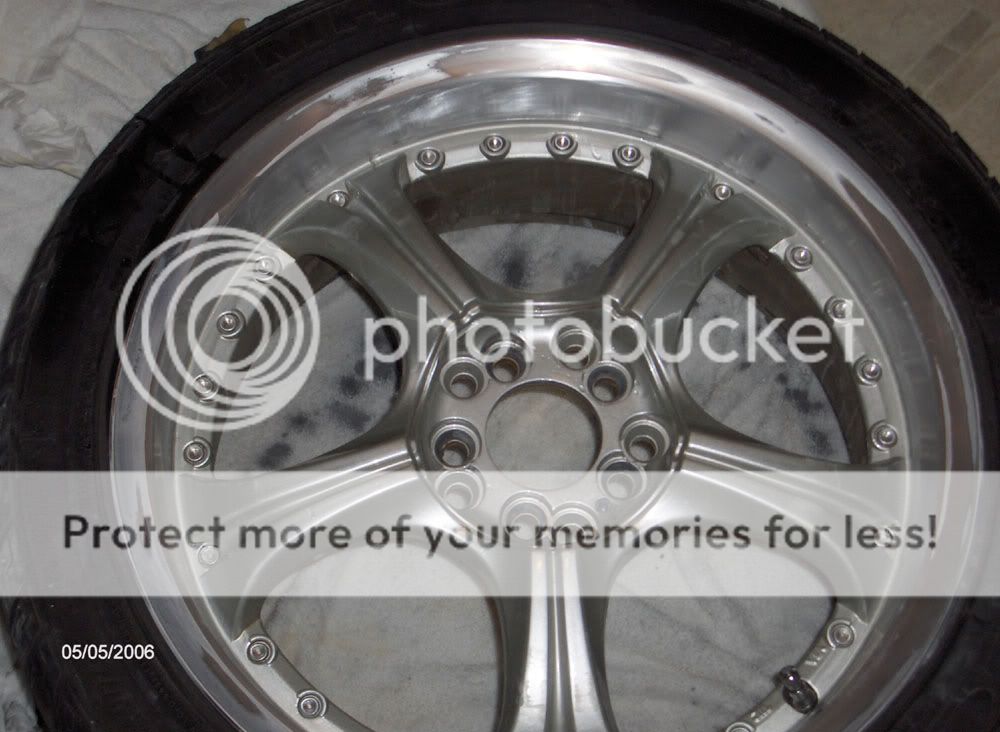
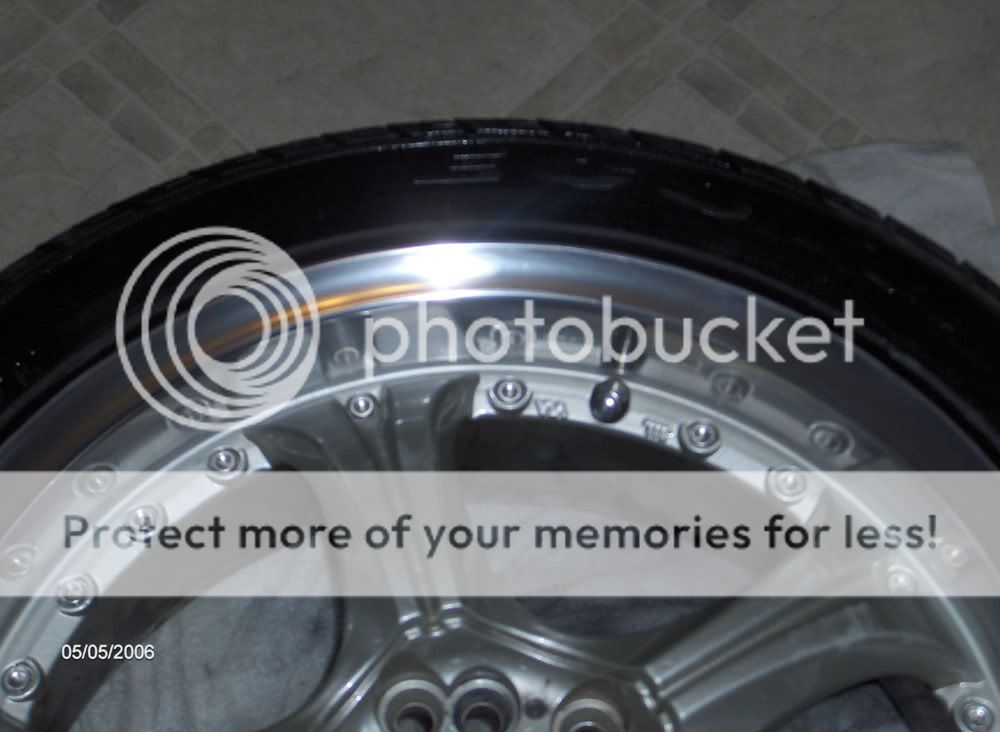
Ok, here we have a pretty busted up rim. Theirs is no major damage to the rim, but the salt has eaten into the polished part of the rim. What can you do for $100 for a set with tires??

Begin by starting with your lowest number grit sandpaper. I started with 400grit.
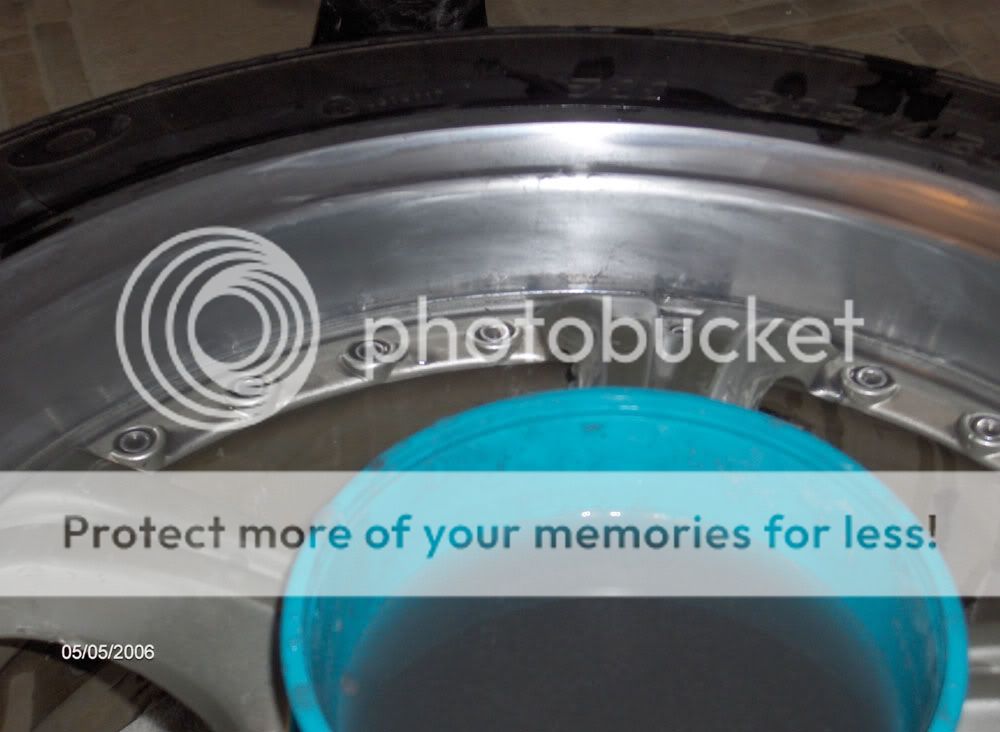
After a little while of sanding and sweating you start to see what you are taking off the surface of the rim:
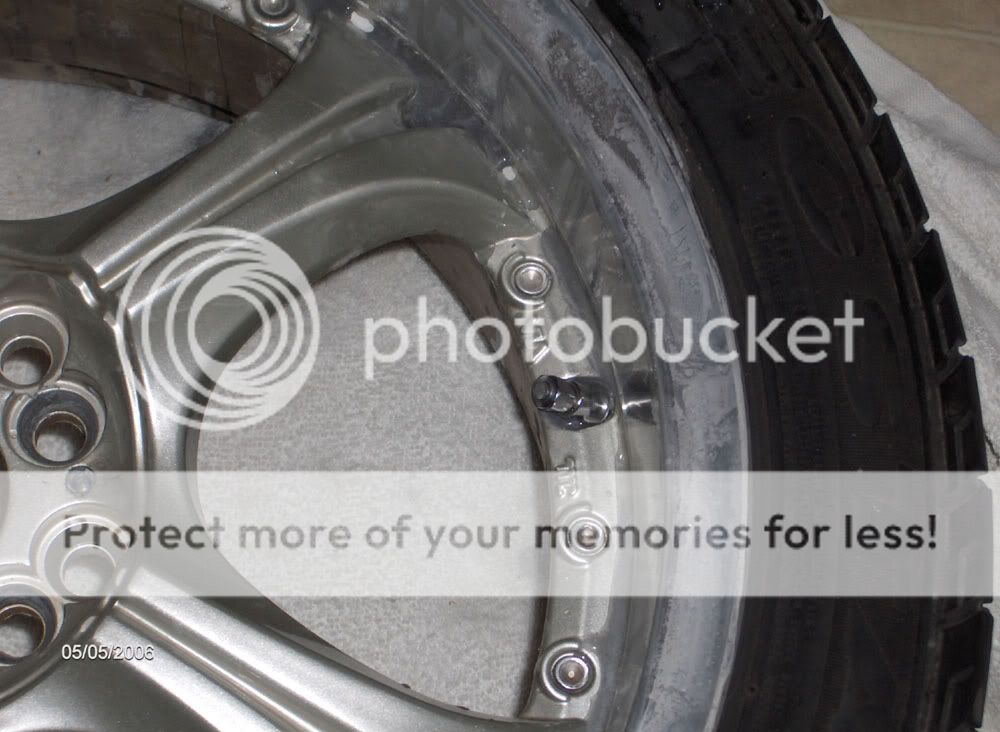
And here I are about finished with step one. I still need to wash the wheel and make sure it�s clean and ready to start with the next grit up.
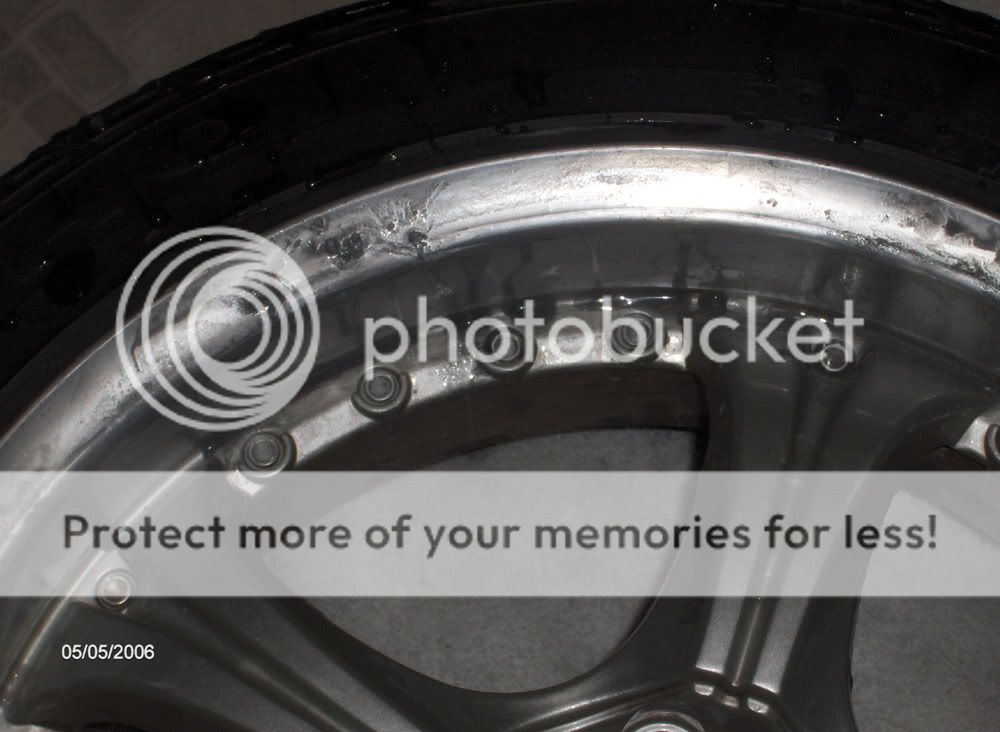
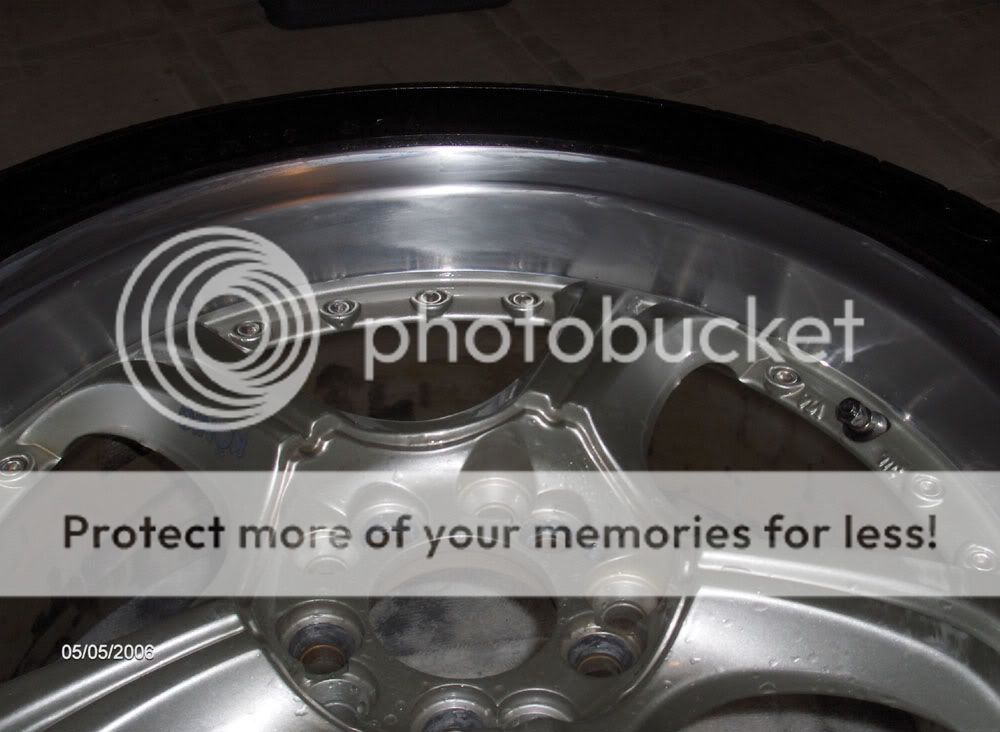
All clean and ready for step 2 with 600 grit
Middle of step 2:
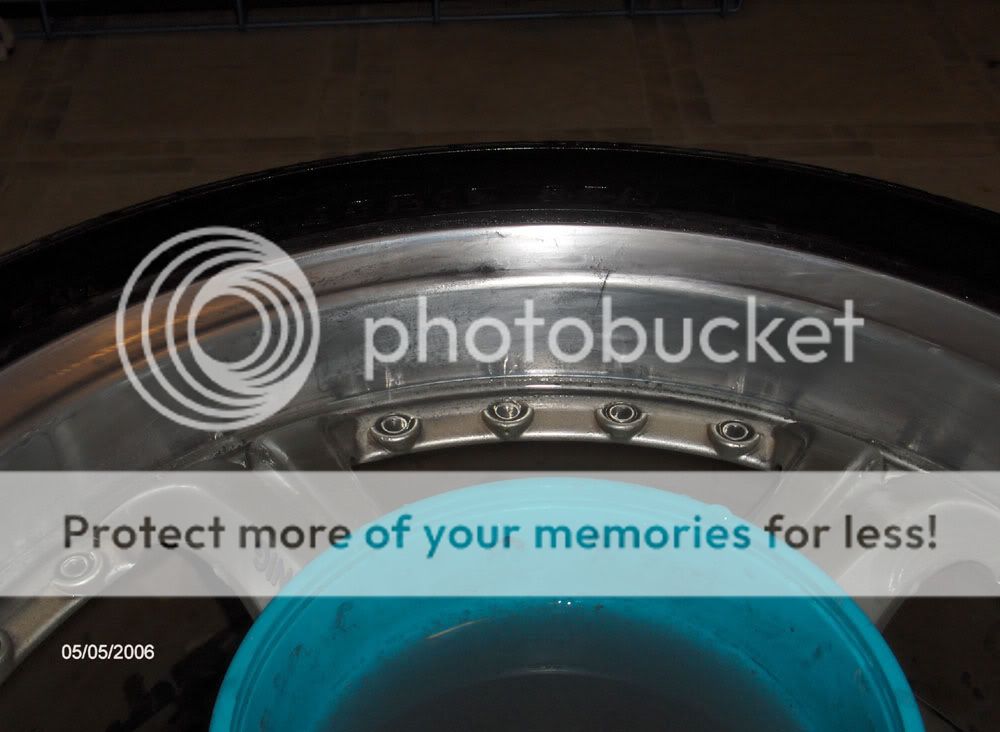
All clean again ready for step 3 with 800 grit:
In the middle of step 3:
Steps 4-6 are more of the same. By this point you should be noticing that the metal should be looking pretty shiny. And it should also be consistant. So if their are places where it seems the marks from the sandpaper are different then that means that you probably didn't hit that area enough. So you will want to go back over it with the previos grit of sandpaper to try to get a uniform look to the entire piece.
After you have completed all the grits of sandpaper you should have a very smooth surface. It will not look completely shiny just yet. Look over your piece and make sure that everything is consistant and you don't have gaps or differences in the surface. If you do, go back and correct them. When it's completely polished imperfections are magnified and easily identified.
When your surface is all smooth and ready to go wash your pece. Wash it good to make sure you have all the oils/dirt, and debris off of the piece. Then with your terry cloth or other non-abrasive towel, start adding mothers polish a little bit at a time. You want to rub it in until it starts to turn grey/black. A little bit goes a long way. After it has a faded dry look to it, go over it with another clean cloth/towel.
I usually do pieces with 2 coats of mothers, but with this piece I have pictures taken with only one coat on them. It's up to you if you feel it is necessary to put on 2 coats. I usually put on 2 cause I tend to get spots I may have overlooked the first time around.
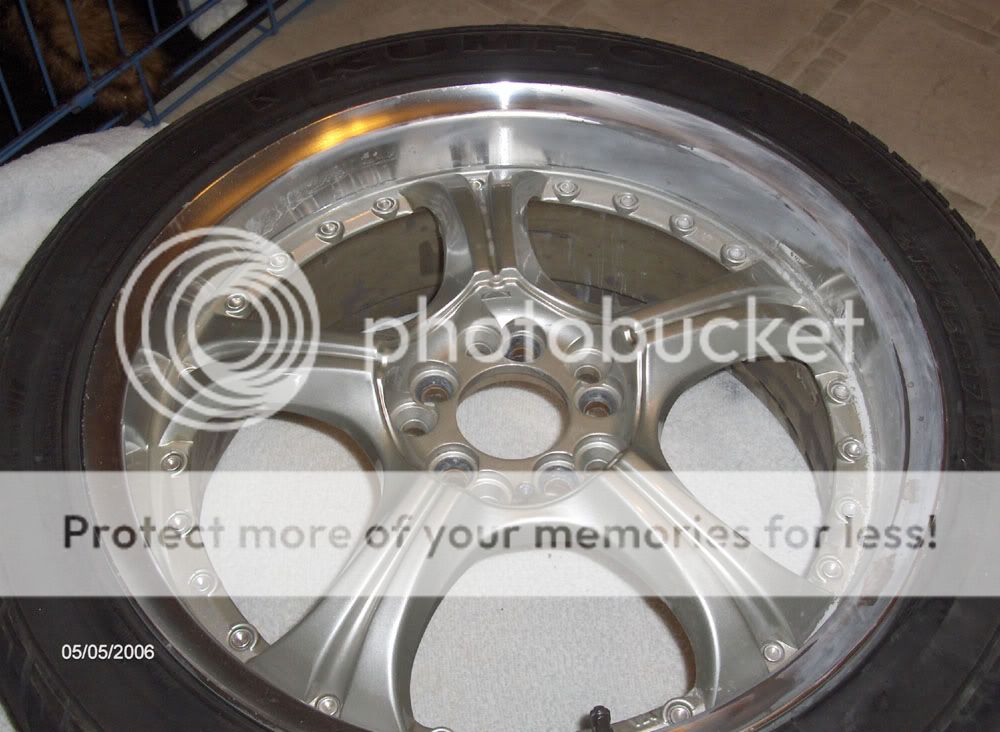
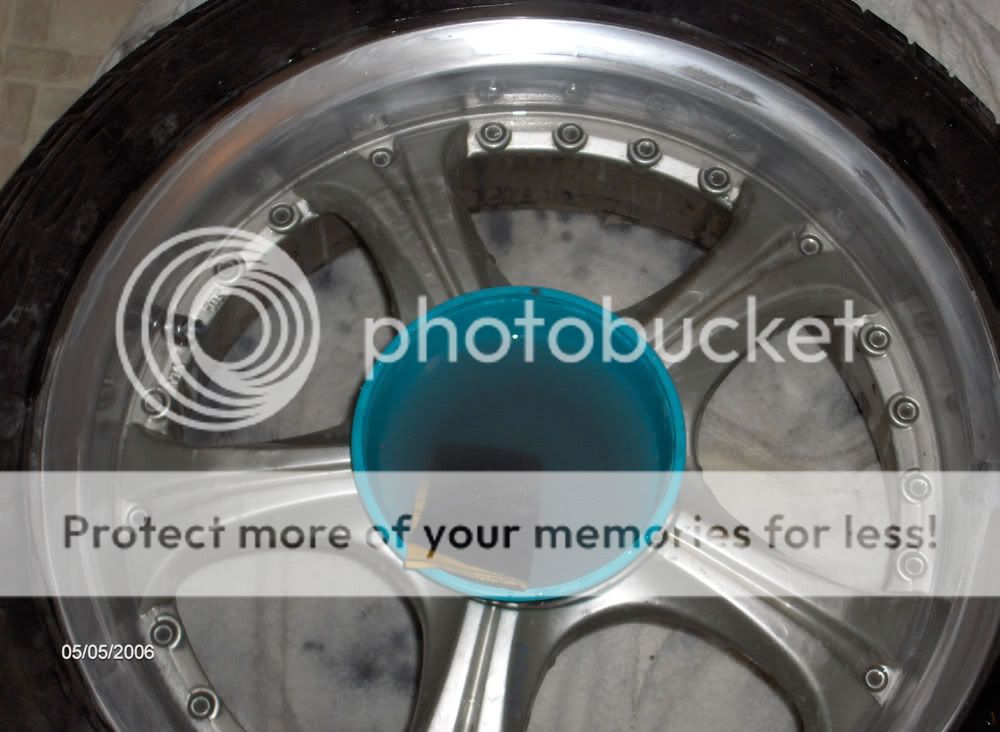
And here's what you should end up with:
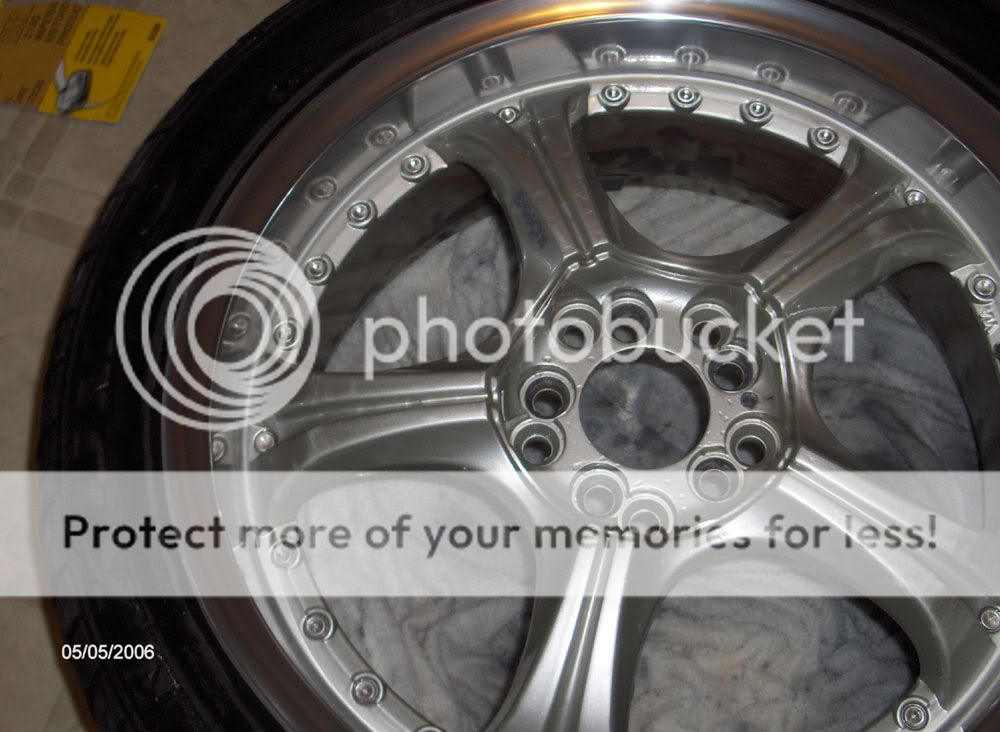
The pictures were taken inside with artificial light. If done correctly, the polished piece will really stand out in real sunlght!!! It's a long and tedius process. This piece alone took about 2 1/2- 3 hours. But if you stick with it you will be rewarded with a beautiful piece that looks much cleaner than it originally did. Thanks for viewing and hopefully this helps anyone looking to polish something.
Stay tuned for the how-to on painting the rest of this wheel graphite.
This is a how-to that will explain the process I applied when fixing a polished wheel. The process is very similar to polishing something that has not been polished before. The roughness of the surface will determine what grit you need to start with.
Polishing is a time consuming process that will require determination and attention to detail to get right. Skipping steps or being lazy will definitely show in your final result. So, to save time, do it right the first time!!
Ok onto the main part!! For the application I�m involved with I used the following materials:
Sandpaper - grits 400-2000
Sanding block-- not necessary but helps with first couple of steps. When you get into the higher sandpaper, do it by hand!!
Bowls-- Or something else to hold water for wet sanding:
Mothers Polish-- or some other polishing agent
Soap and water-- make sure to clean thoroughly with soap and water between each step. Some people may not do this, but I do to make sure I don�t get dirt scratches in the later high grit steps.
Non-abrasive towels-- or cloths. For applying the polish.
Ok, here we have a pretty busted up rim. Theirs is no major damage to the rim, but the salt has eaten into the polished part of the rim. What can you do for $100 for a set with tires??
Begin by starting with your lowest number grit sandpaper. I started with 400grit.
After a little while of sanding and sweating you start to see what you are taking off the surface of the rim:
And here I are about finished with step one. I still need to wash the wheel and make sure it�s clean and ready to start with the next grit up.
All clean and ready for step 2 with 600 grit
Middle of step 2:
All clean again ready for step 3 with 800 grit:
In the middle of step 3:
Steps 4-6 are more of the same. By this point you should be noticing that the metal should be looking pretty shiny. And it should also be consistant. So if their are places where it seems the marks from the sandpaper are different then that means that you probably didn't hit that area enough. So you will want to go back over it with the previos grit of sandpaper to try to get a uniform look to the entire piece.
After you have completed all the grits of sandpaper you should have a very smooth surface. It will not look completely shiny just yet. Look over your piece and make sure that everything is consistant and you don't have gaps or differences in the surface. If you do, go back and correct them. When it's completely polished imperfections are magnified and easily identified.
When your surface is all smooth and ready to go wash your pece. Wash it good to make sure you have all the oils/dirt, and debris off of the piece. Then with your terry cloth or other non-abrasive towel, start adding mothers polish a little bit at a time. You want to rub it in until it starts to turn grey/black. A little bit goes a long way. After it has a faded dry look to it, go over it with another clean cloth/towel.
I usually do pieces with 2 coats of mothers, but with this piece I have pictures taken with only one coat on them. It's up to you if you feel it is necessary to put on 2 coats. I usually put on 2 cause I tend to get spots I may have overlooked the first time around.
And here's what you should end up with:
The pictures were taken inside with artificial light. If done correctly, the polished piece will really stand out in real sunlght!!! It's a long and tedius process. This piece alone took about 2 1/2- 3 hours. But if you stick with it you will be rewarded with a beautiful piece that looks much cleaner than it originally did. Thanks for viewing and hopefully this helps anyone looking to polish something.
Stay tuned for the how-to on painting the rest of this wheel graphite.
Last edited by SRTRaceR04; May 5, 2006 at 05:14 AM. Reason: add the 56k warning

Originally Posted by Kid Lancer 7
wow i need to do this!!... this shouldnt be a problem while the wheels are still on the car would it? just the level of comfort?
very nice writeup, that's exactly what I needed. The salt ate through the polish on my polished lip also. How about making sure it stays like that ? Can I just spray the lip after I'm done with some clearcoat or something ?
Originally Posted by alexandru
very nice writeup, that's exactly what I needed. The salt ate through the polish on my polished lip also. How about making sure it stays like that ? Can I just spray the lip after I'm done with some clearcoat or something ?
Usually if you're going to (rattle) spray paint surfaces, such as rims, it's usually a good idea to scuff the surface up a little bit because it helps the paint adhere better. Now if you have a completely slick surface, it may not stick the way it's supposed to.
I have yet to have a problem with any of the pieces I have polished. I have not seen the slightest sign of rust or anything.
Here is the middle of my exhaust on my bike polished:
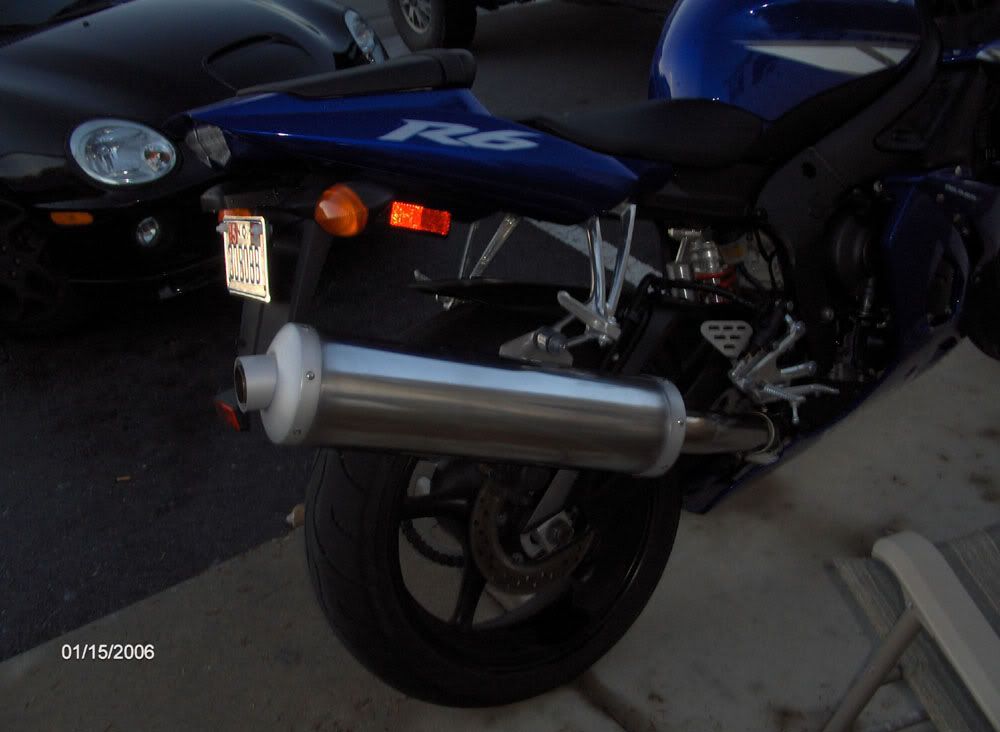
Then I polished the 2 ends:

It's been like this since January and I haven't seen a problem at all!!! Hope that helps!!
Trending Topics
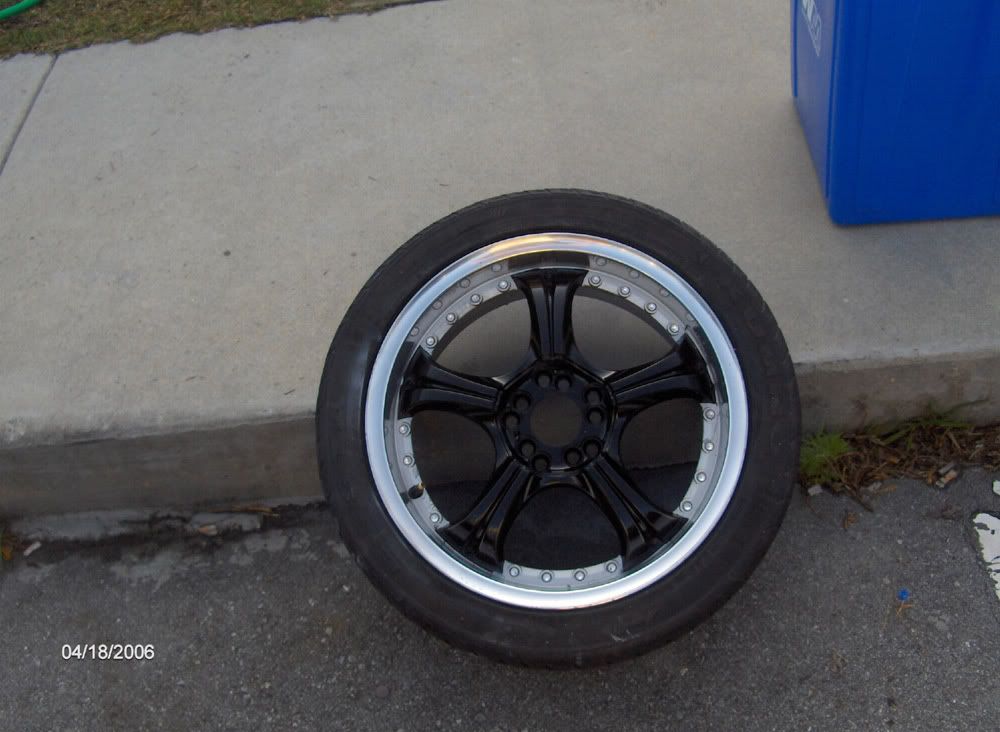
Here is a picture of one of the other rims I completed. It's a better pic. I think it shows how much more it shines rather than inside with artificial light. It was not a sunny day when I took the picture.

Evolved Member
iTrader: (7)
Joined: Aug 2003
Posts: 1,846
Likes: 0
From: Miami Lakes, Florida --Da 305 baby!
the sandpaper method is great!!.. i used it on my glossblack lips that had a whole bunch of winter crap on them.. i started with a wet (soap & water) 400 grit, bumped it up to a 600 grit.. then a 1000 grit.. washed off all the crizzap lol with more soap n water.. then topped it with meguiars metal polish (get it at any car store) the shine was so immaculate.. i couldnt believe that they were my rims... even my neighbors begged me to clean theirs.... (hummm gas money for 2 weeks?  ) but i declined them... cuz it was time to take my ""NEW"" rims for a spin in the busiest part of town!
) but i declined them... cuz it was time to take my ""NEW"" rims for a spin in the busiest part of town!
Last edited by Kid Lancer 7; Jun 19, 2006 at 07:20 AM.

this is used in body shops as well.. if you want to just have a quicky as long as it doesnt have big dents in it you can go from 800 to 1500... if you want to throw in some elbow grease us 2000 grit and then polish.. its'll come out straight chrome.. haha

Thread
Thread Starter
Forum
Replies
Last Post
SRTRaceR04
Evo How Tos / Installations
7
Jan 15, 2011 01:59 PM