
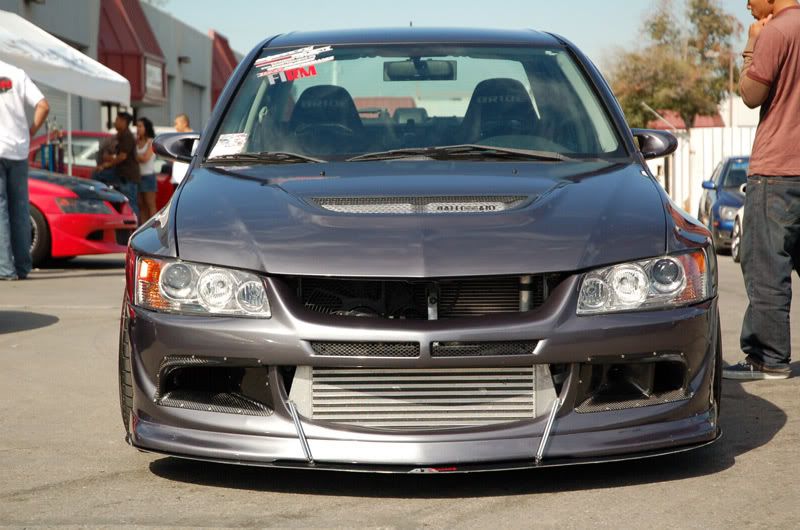
nose chopped viii bumper w/ how to (pre-paint & post paint)

I guess you guys are goin to the wrong shops... I know Mitsu Dealerships that paint bumpers for $150
They can say they are giving you extra clear and extra effort but, theirs nothing special about oem paint
They can say they are giving you extra clear and extra effort but, theirs nothing special about oem paint
IX bumper just doesn't flow with the car IMO, too much going on maybe? VIII bumper with a clean lip looks really simple and flows better on most cars, and with the nose cut it really has a clean look.
Highjack - Anyone want to trade a IX bumper with SE lip for a VIII bumper? hah!
Highjack - Anyone want to trade a IX bumper with SE lip for a VIII bumper? hah!
Thread Starter
EvoM Staff Alumni
iTrader: (149)
Joined: Apr 2005
Posts: 6,108
Likes: 18
From: New Jersey
Thread Starter
EvoM Staff Alumni
iTrader: (149)
Joined: Apr 2005
Posts: 6,108
Likes: 18
From: New Jersey
how to: evo viii bumper nose chop
note: there are many ways to go about this, this is how I did it
note 2: if you aren't familiar with the term plastic welding - google it
tools/materials required:
heat gun
dremel
sharpie
soldering iron
sandpaper (150 grit/1000 grit)
1/8" thick abs plastic sheet
fiberglass strips
fiberglass resin
bondo
clamps
plastic strips (plastic welding material - cut thin pieces off the cut out bumper triangle)
1. cut the triangle out of the bumper - when you do the top leave as much as you can to keep the top connected (you'll only be able to leave a very thin section)
2. take abs plastic sheet and place it under the cut out triangle hole - trace the cutout on to the sheet with a sharpie
3. begin cutting the traced shape out - be sure to leave material around your trace lines (you can always cut more off if needed)
4. test fit piece until it fits relatively snug in cut out area
5. clamp piece into cut out are and if it isn't perfectly shaped to the cut out use a heat gun to mold the piece - towards the front of the bumper required the cut out piece to be slightly sloped down - *this step may not be needed for everyone (all depends on your cutting technique from step 1)*
6. once satisfied with fitment and shape of your cut out piece begin plastic welding piece into place
a. do the underside first and then do the top side - use small strips of the triangle you cut out as your welding material
7. cut out 3 fiberglass strips approx 4" longer than the underside of the cut out on each side
a. apply resin to the underside and lay down your first strip apply resin and repeat two more times
8. sand down the topside so the plsatic welds are even with existing bumper material - pay close attention not to sand too much of your welds
9. sand surrounding cut out area of existing paint with 150 grit sand paper since you want to be able to spread the bono slightly beyond the cut out
10. rough the topside of the cut out material with the 150 grit sand paper for added adhesion with the bondo
a. apply bondo in a thin layer (recommended being no more than a 1/4" thick when completed so less you use the better)
11. sand your the bondo with 150 grit sand paper - often taking your hand and sliding from one side to the other checking for unsmooth areas
a. skip to 13 if the cut out is smooth
12. apply a second layer of bondo if necessary (keep in mind you want it to be as thin as possible when complete)
13. wetsand area with 1000 grit sand paper to achieve a smooth finish
14. back to focusing on the very thin top section of the triangle
a. sand the edges smooth with 150 grit sand paper as carefully as possible
b. if satisfied wetsand with 1000 grit sand paper
c. if not satisfied with how this came out you can just cut the thin section out and have the two top sections disconnected (hood latch is right there and you can't see this part with the hood closed unless you get down an look)
15. that's it - take it to a paint shop
good job on everything the only thing i did different was instead on bondo on top i used fiberglass, then bondo, then putty. becuz they say fiberglass has more flexibility. But im not criticizing im jsut saying!! good job though!! to you....heres a pic of my old bumper on my car with a colormatch do luck lip so u get an idea =)
Wow love that so much more than the stock VIII. That evo is so nice.


