When you click on links to various merchants on this site and make a purchase, this can result in this site earning a commission. Affiliate programs and affiliations include, but are not limited to, the eBay Partner Network.
HOW TO: ETS Intake and ETS UICP Detailed Install Guide
Evo X How Tos / InstallationsPost or link to your detailed how to / installation articles in here. If you have any questions regarding the how tos, feel free to post them in the Request sub-forum.
Photos are not visible I just see that the photobucket account needs to be upgraded to enable third party hosting. I can't find a how to on this subject anywhere else. Any help?
Photobucket is screwing everyone over trying to force all members to pay $400 a year to allow 3rd party hosting :|
I've already backed up my photos and will be deleting my account from them. Screw them.
Photobucket is screwing everyone over trying to force all members to pay $400 a year to allow 3rd party hosting :|
I've already backed up my photos and will be deleting my account from them. Screw them.
That's so lame! I ended up just giving it a go and referencing final product pictures all over the webs and eventually figured it out. Everything fits perfect, the only adjustment I made was on the bottom bracket for the heat shield I added a couple washers as the existing screw isn't threaded all the way up and it wasn't clamping everything down tight.
I took it for a test drive this morning and no problems, I feel greater throttle response and the sound of the turbo and BOV is wonderful, just makes you want to gun it and hear it wooooshhhhh.
It is totally lame as there are a TON of DIY photos that are saved on Photobucket and now none of them that are hosted on sites like this work anymore :|
I agree though. Throttle response goes up but so does fuel consumption as you want to hit the gas a lot more Sounds great too!
Update: The heat shield needs to mount directly on the frame rail instead of the factory intake bracket.
Thanks!
Michael
Just installed the intake a few hours ago and want to point out that there’s absolutely no chance the heat shield will mount onto the frame rail. The only way possible is to mount it to factory intake bracket, otherwise the heat shield would have to be significantly larger to reach the frame rail.
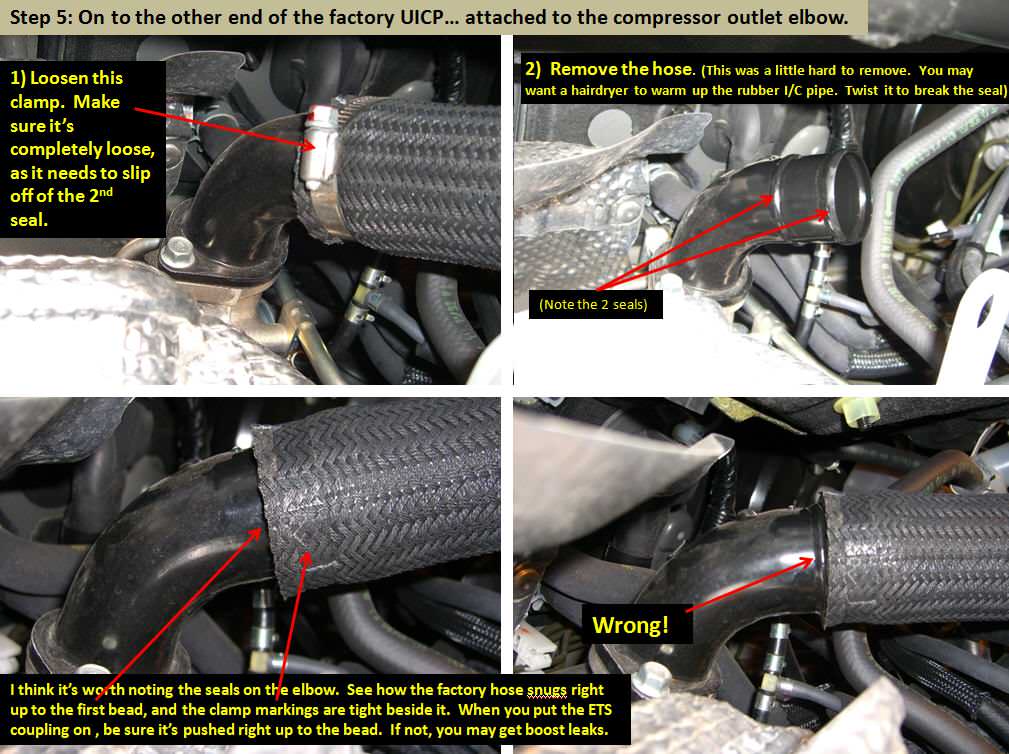
Install was straightforward though, this guide helped tons. Biggest issue for me was removing the BOV return hose from the IC pipe. That thing was ****ing sealed on there and when I finally got it off I cut my hand up from pulling up so hard when it released.
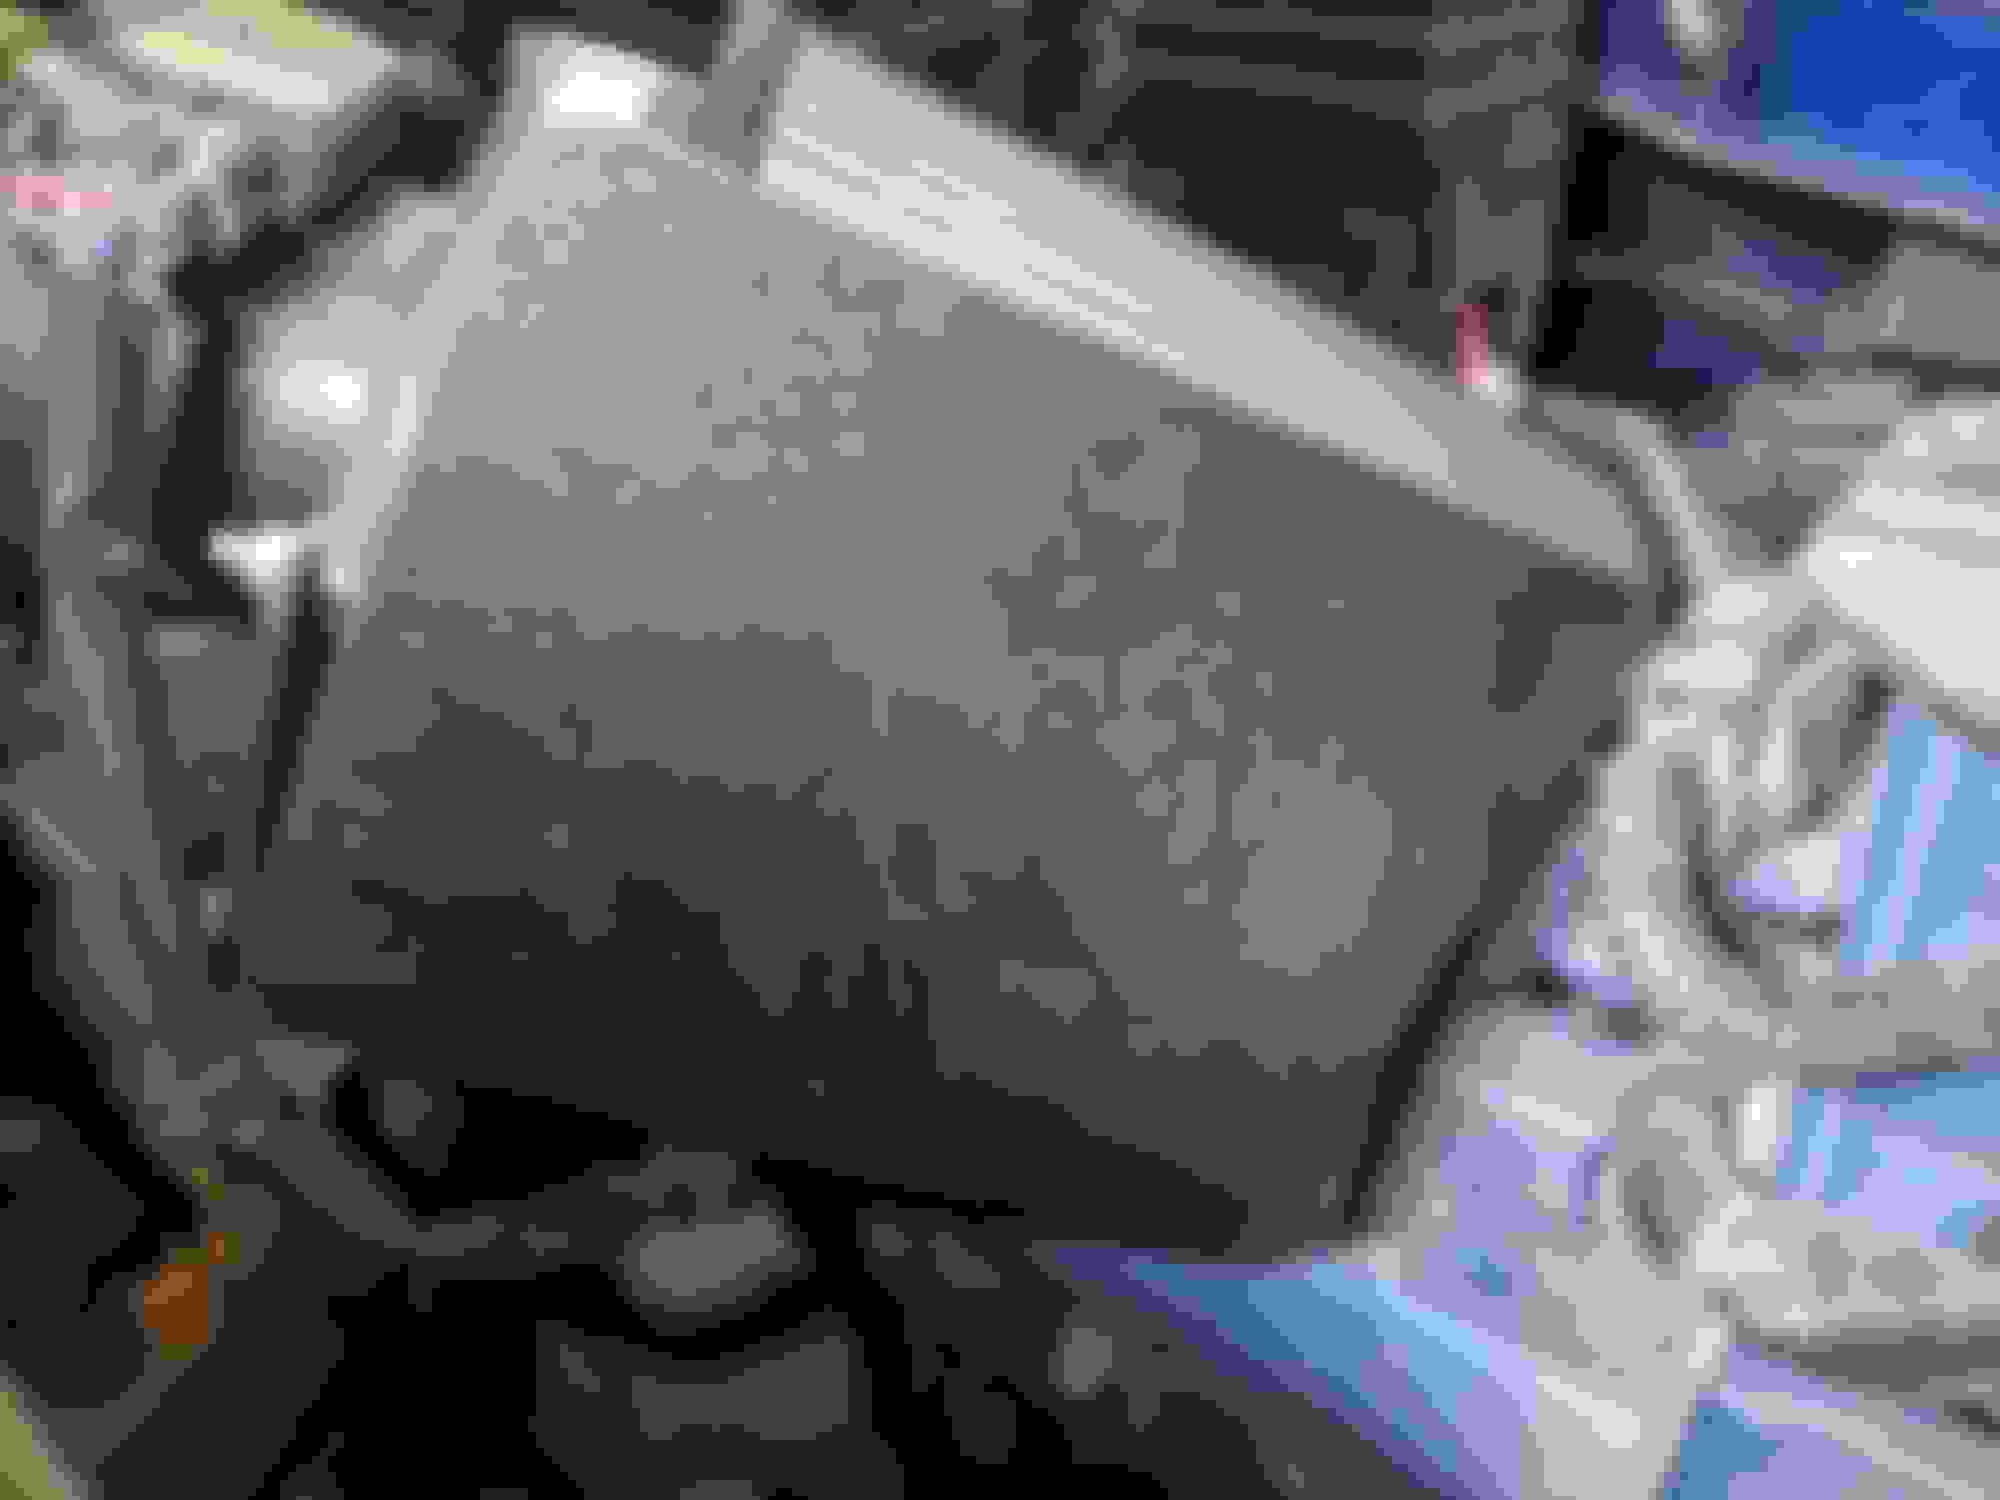
I'd either check your install again or show us what your heatshield looks like as it fits perfectly to the frame rail. I'll take some pics in a bit.
Excuse the dirtiness. I haven't detailed the engine bay this spring yet.
Interesting, you certainly have it on there. To make it work I would have to adjust the intake to sit lower in the engine bay, but that doesn't feel right as everything installed perfectly with all couplers/pipes snug. As mine currently sits, it mounts well to the factory intake bracket, so I'm not sure if I'll bother trying to change it.
It ultimately seems like whether it's better to mount it to the factory intake bracket or the frame rail will depend on how far down/up the cone filter is sitting in the engine bay.
As long as its installed and there are no leaks then I guess in the end it doesn't matter.
I tried originally to install it the way the instructions suggested but I could not for the life of me align the heat shield to be square with the intake bracket.
Damn I need to wash my engine bay lol. Seeing the pics on a computer makes it much worse looking :P
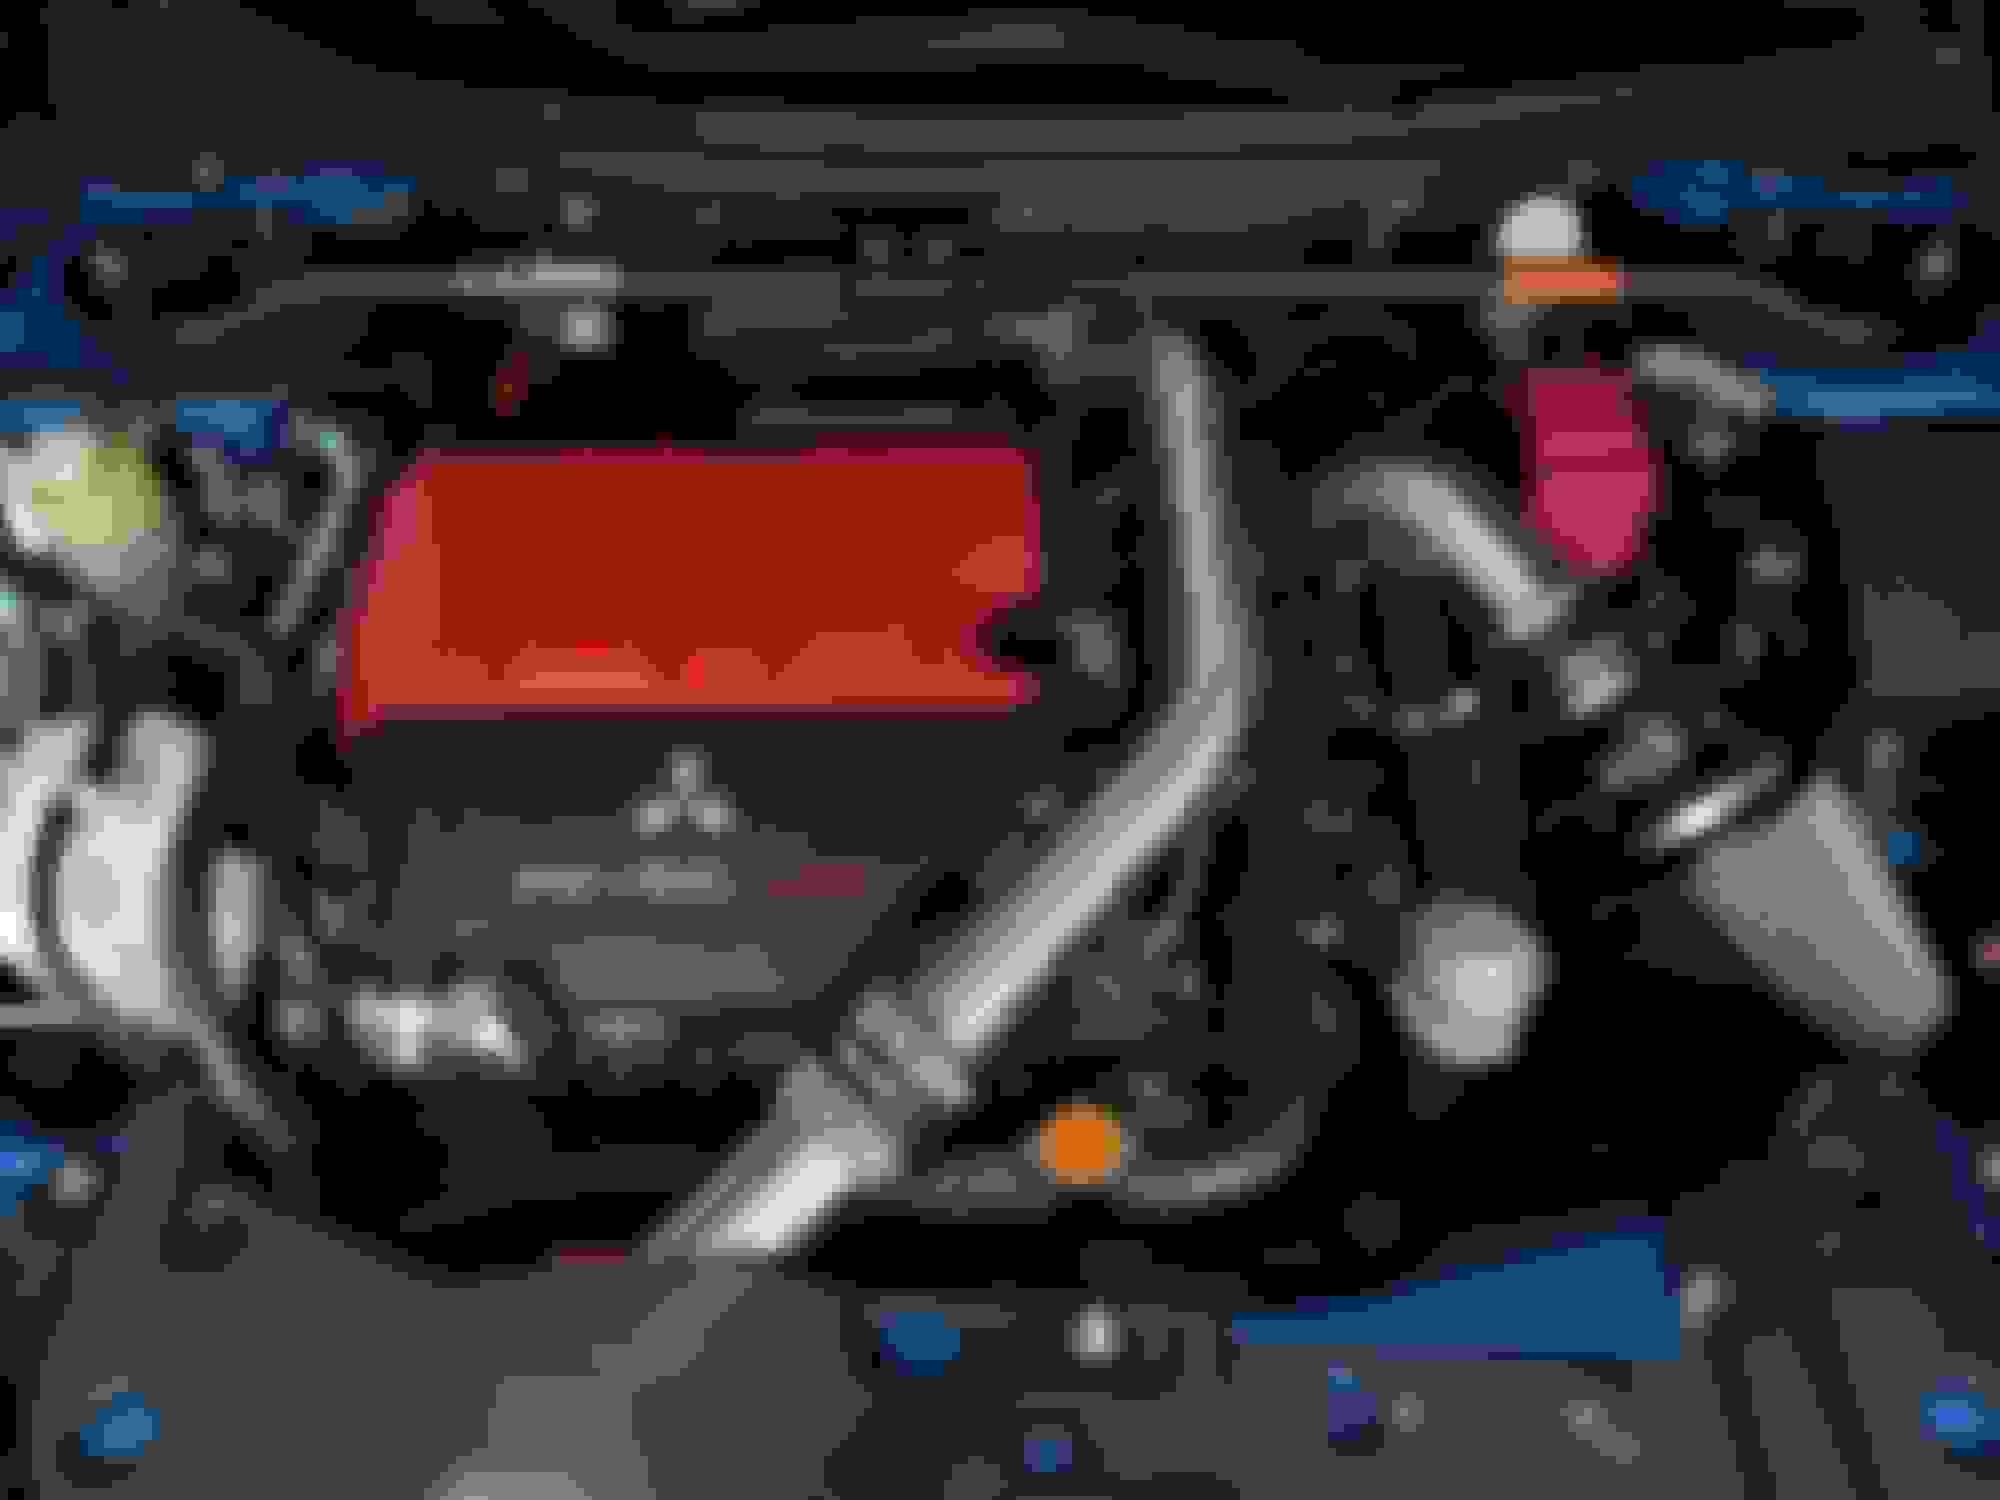
Here's a pic of my install. You'll see that the filter sits lower.
Exactly, with my install the filter sits a few inches higher than yours, which is what defines if you can mount to the factory intake bracket or frame rail.
Side note: I'm jealous you have the intake with brushed piping. ETS only offers wrinkle black now and it doesn't match my UICP (brushed piping like yours).



 Sounds great too!