When you click on links to various merchants on this site and make a purchase, this can result in this site earning a commission. Affiliate programs and affiliations include, but are not limited to, the eBay Partner Network.
Unfortunately some mods were done that did not get documented. There are some things I am capable of doing but just do not have the time or facilities to do. Things that would be a pain to do without a lift.
Other work done (Not pictured):
OS Giken R2CD clutch and push/pull conversion installed.
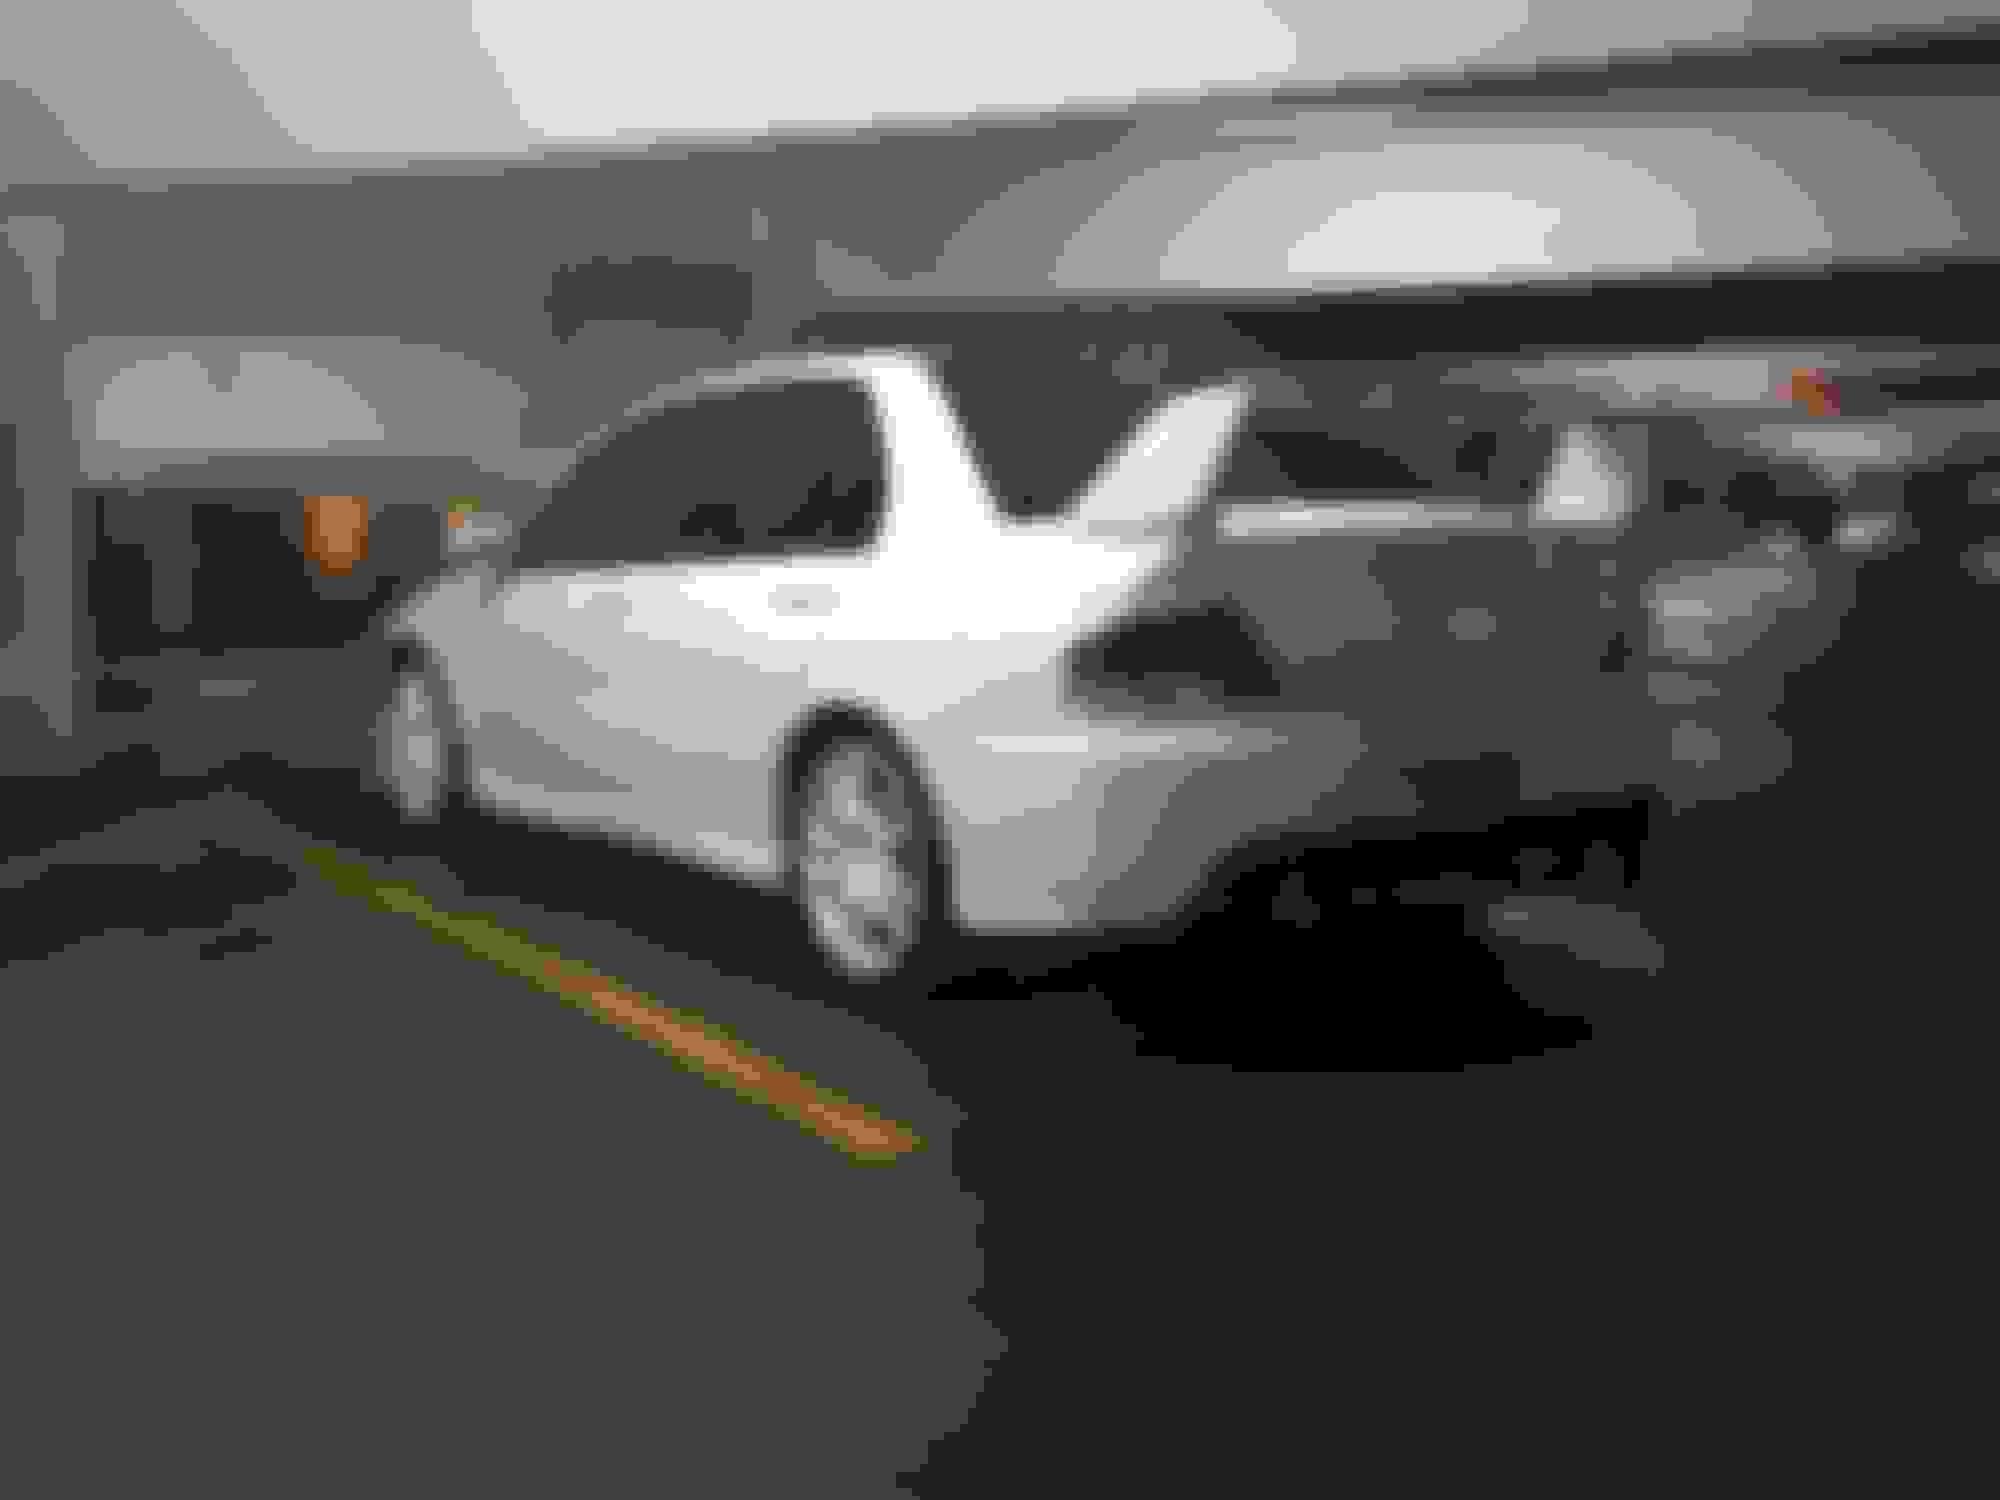
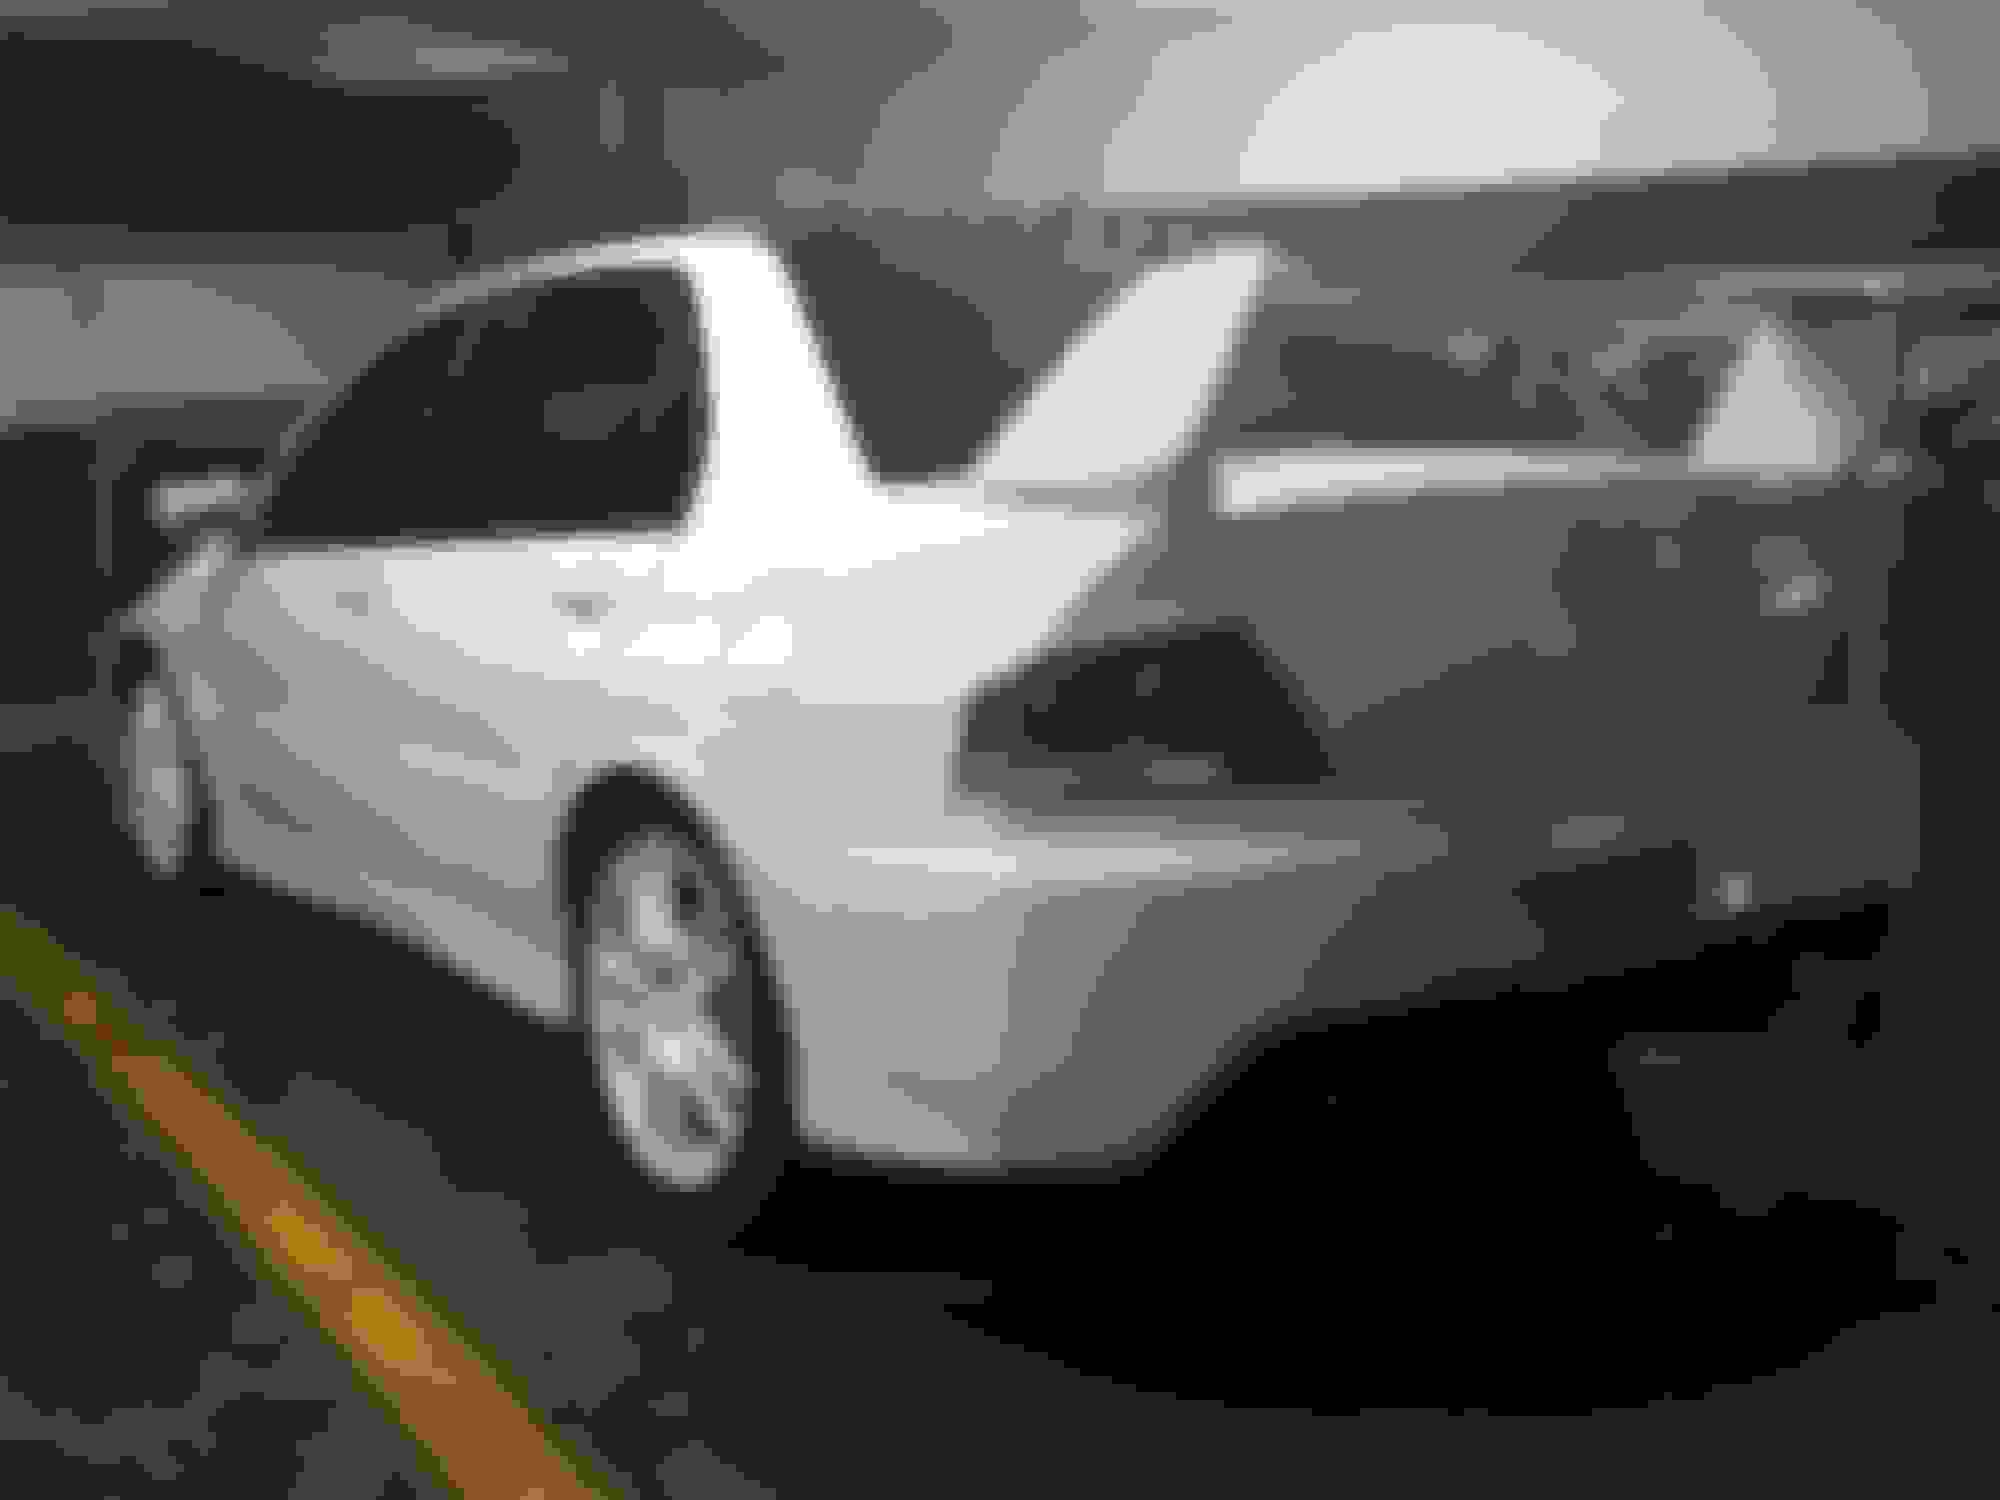
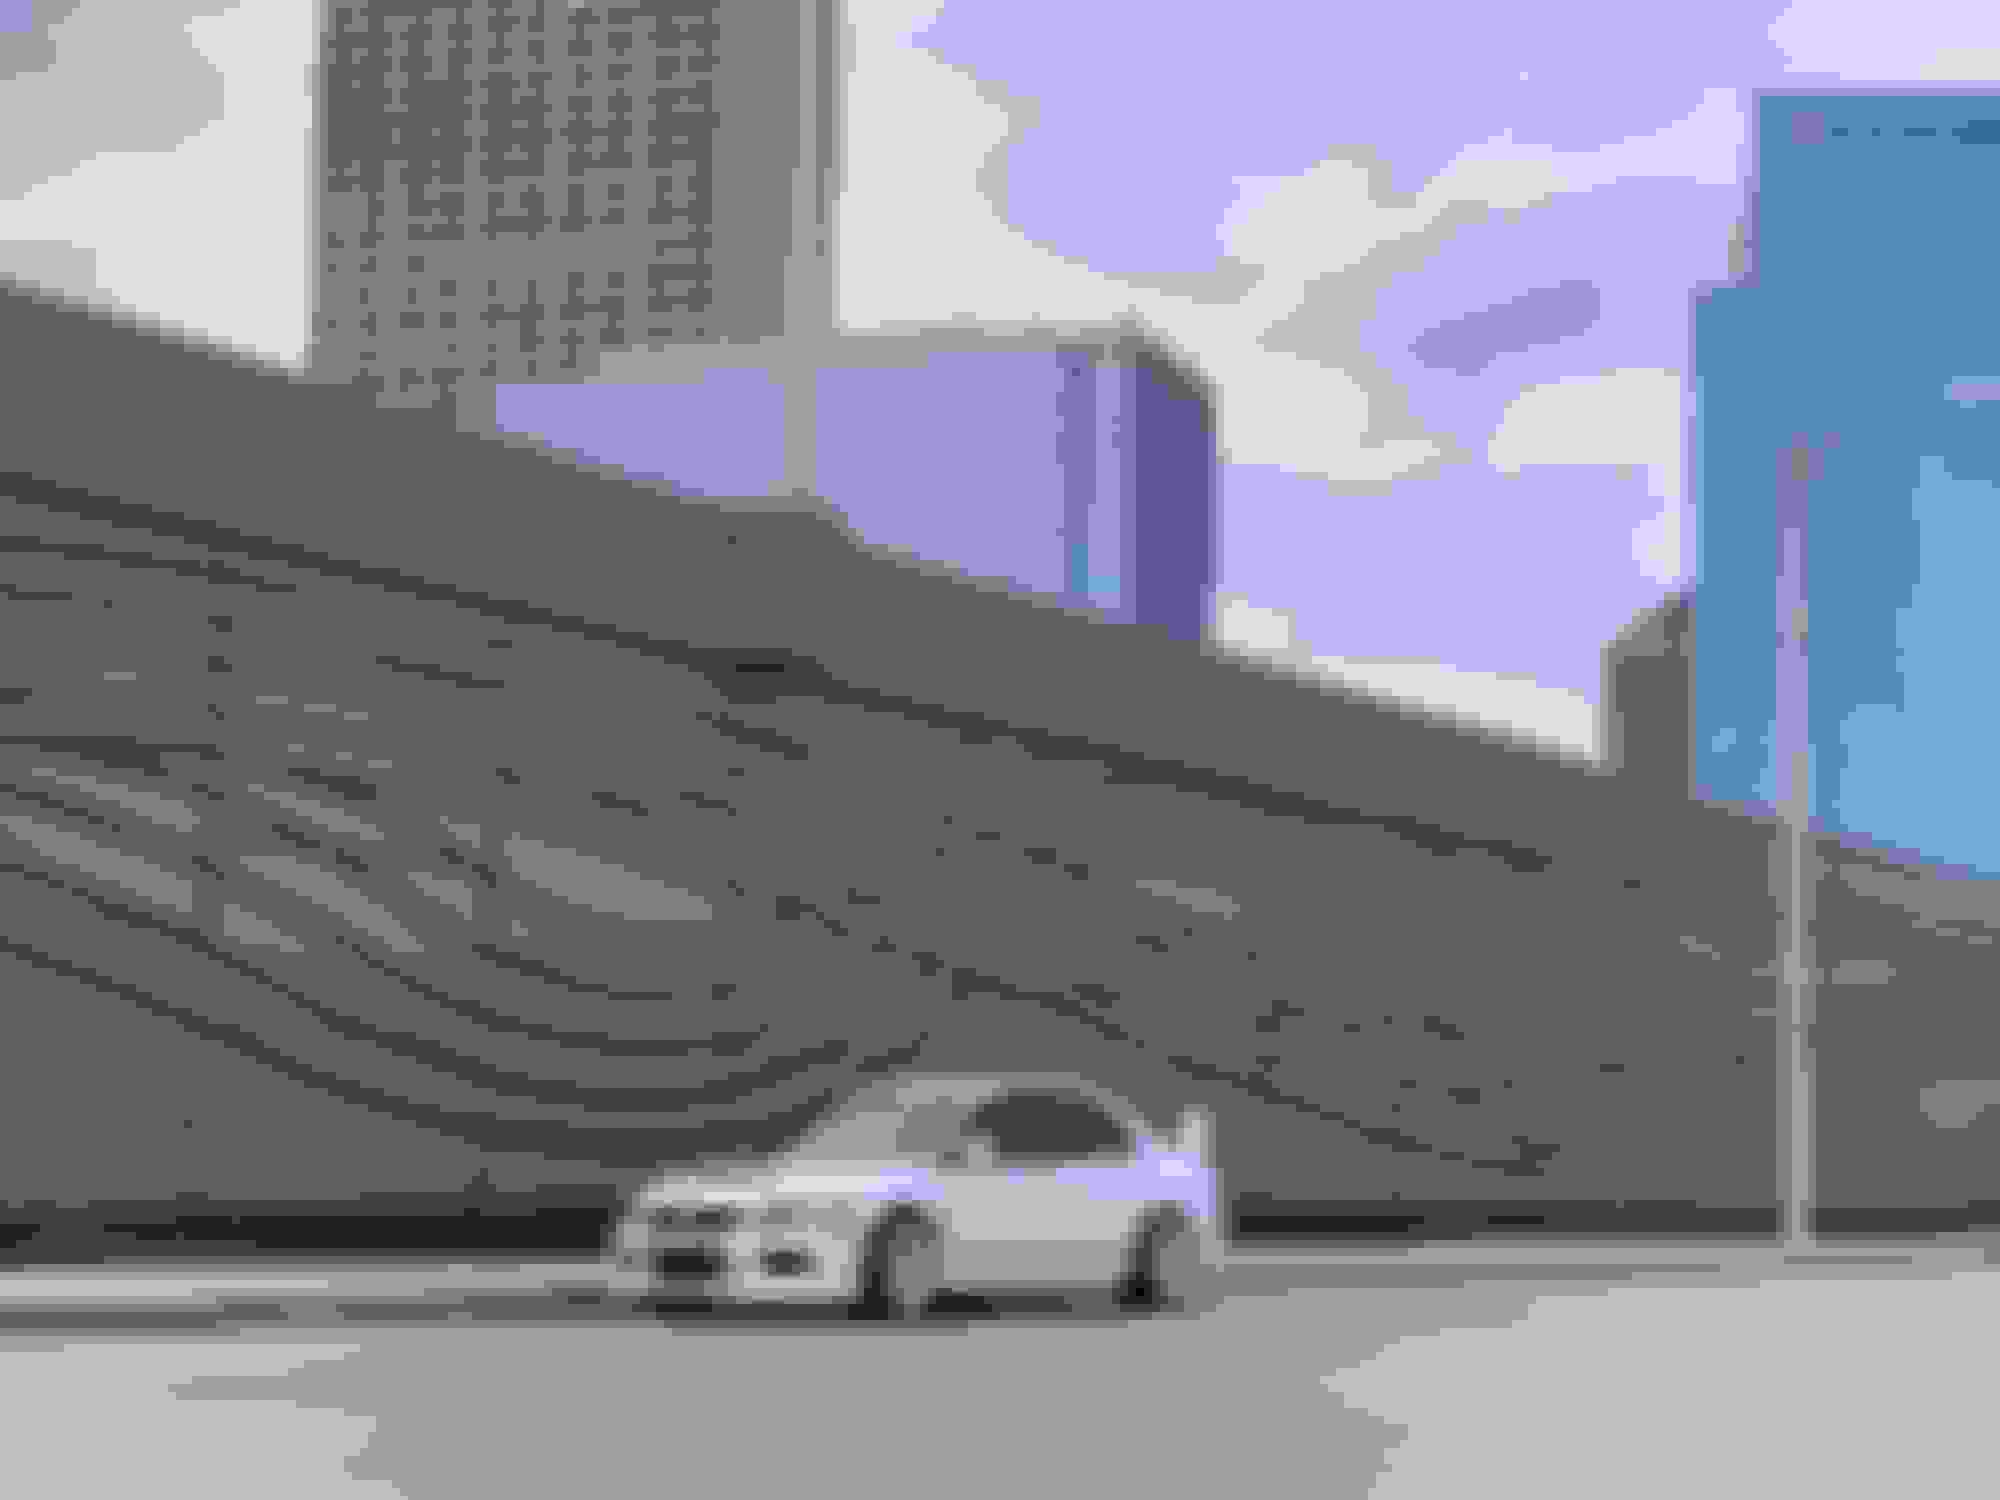
Installed the STM rear bumper bar, retrofitted the license plate lights, and slapped the plate on before I put the car away for the rest of the winter.
Unfortunately I was unable to wash it before it was put away, the paint is still too new to be washed.
Stay tuned!
Once spring is here I can install the power mods I have laying around, and get the car tuned!
Hey everyone its been a minute. I have been slowly making progress on the car, but am having hard time finding time to work on it in the summer months.
I live and work downtown, and am very close to my work, so I walk everywhere. I really only use the evo to get groceries lol. It basically sits in a parking garage (dont worry, private garage) down here 7 days a week.
With that being said there have been some improvements over the last couple of months!
Suspension Update
There was some maintenance to be done on the rear suspension.
The lower inner control arm bushing were shot, and so were the rear diff bushings.
- Replaced all 6 lower control arm bushings with all new OEM ones and hardware.
- Installed Torque Solutions poly rear differential mounts.
- While the sway bar was out we put in some whiteline adjustable end links.
- Cleaned up the mustache bar and painted it black.
Nice shot of the massive H&R sway bar.
Engine Update
As for all the other power mods I have yet to install; Its been taking longer than expected because of all the small details I need to take care of before they can go on the car.
The HKS upper intercooler pipe needs the port for the oem anti-lag cut off and a bung for an air temp sensor welded in its place. (you guessed it.. going speed density).
Other than that there are an assortment of brackets I want to get anodized/poweder coated before i install them as well.
As you can see from the pictures above the exhaust is pretty janky. The USDM buschur catback was on the car when I purchased it and as expected
it doesn't line up with the JDM rear bumper. So I fixed that this weekend, and what a nightmare it was..
Like I said this catback/test pipe was on the car when I bought it (2012), and its been through at least 4 Wisconsin winters in my hands. Needless to say every bolt fought me all day.
I ended up having to use a propane torch on EVERY bolt to break them lose.
And I also had to take the testpipe and midsection of the catback off the car completely to cut the bolts attaching the testpipe to the catback off because heat just did not work.
Needless to say I used anti-seize on every single bolt during reassembly.
After it was all disassembled here are the new items that were put on:
- STM Ultra Quite mid muffler
- Buschur JDM fitment SD muffler
The car was a bit too loud for my taste with the testpipe/standard buschur catback combo. BUT i hate the look of the buschur magnaflow muffler exhaust. I think the SD looks clean an simple from
under the car, but I knew it would be too loud. Luckily STM makes a nice muffler that goes in place of the testpipe!
Where I spent most of my day.. garage floor.. i need a at-home lift.
It definitely was a challenge doing this all by myself, blocks of wood were key in getting exhaust to fit just right.
After all that the final product!
The exhaust fits a lot tighter up to the chassis now, with the new oem hangers and hardware it looks a bit cleaner underneath as well.
The sound at idle is still loud and so is spirited driving around town, but cruising at partial throttle is quite, even on the freeway there is no drone what so ever.
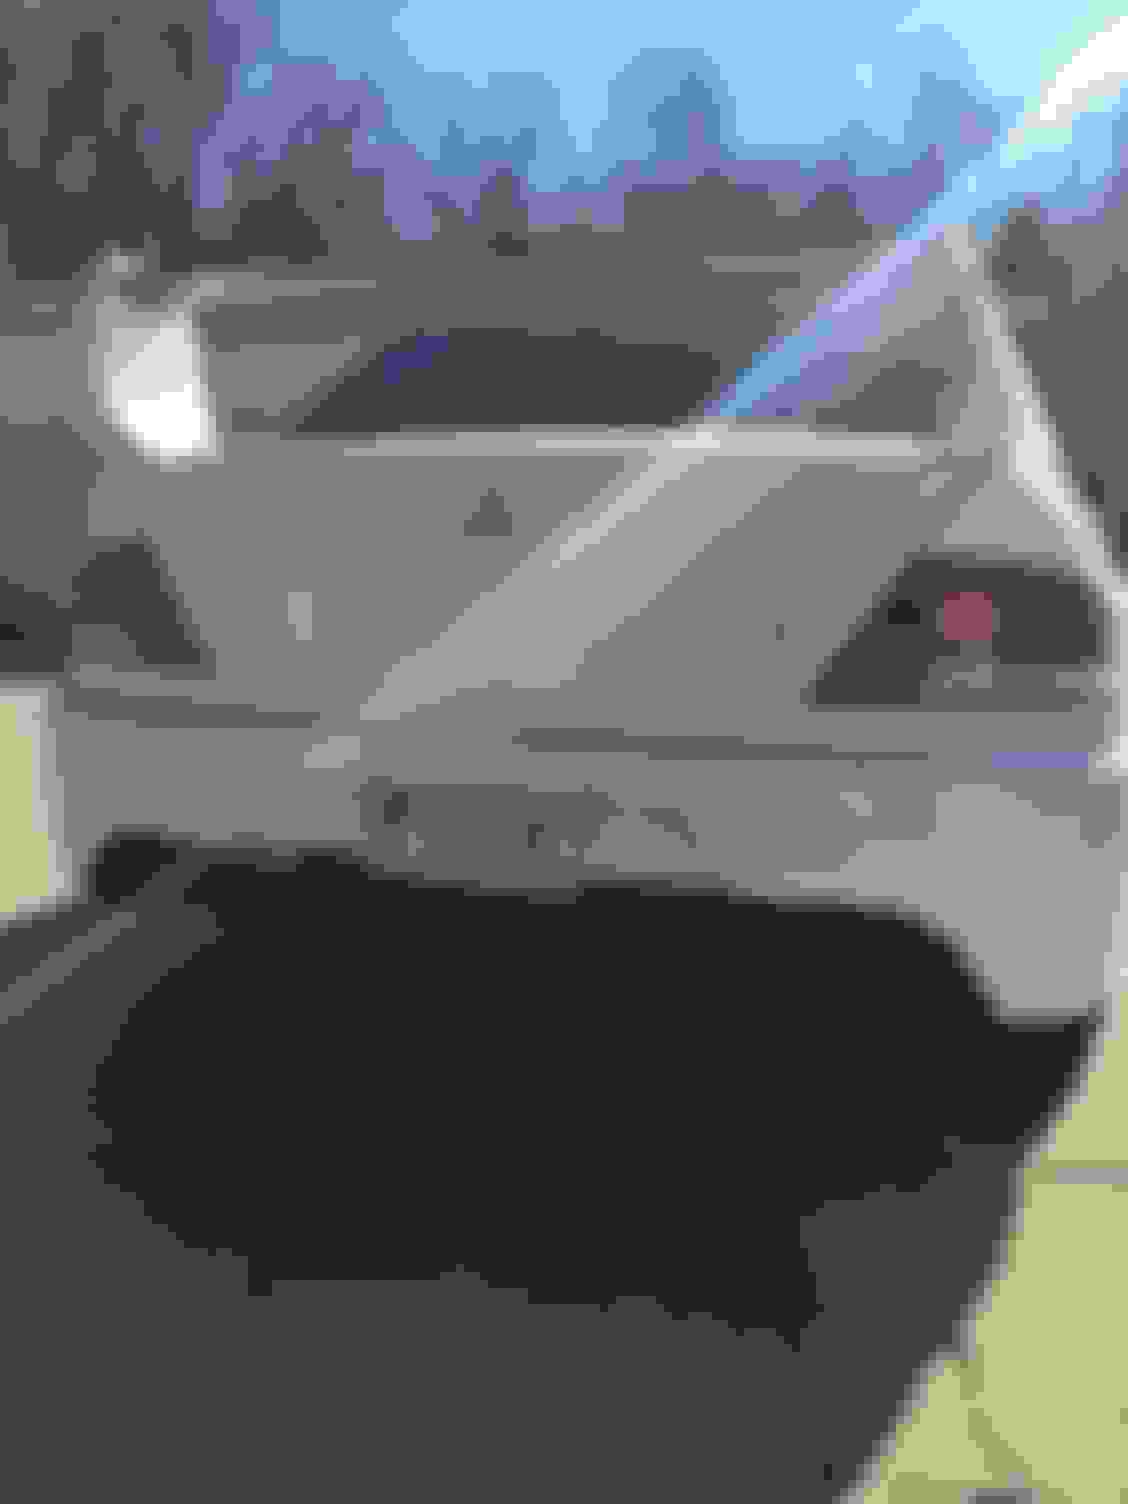
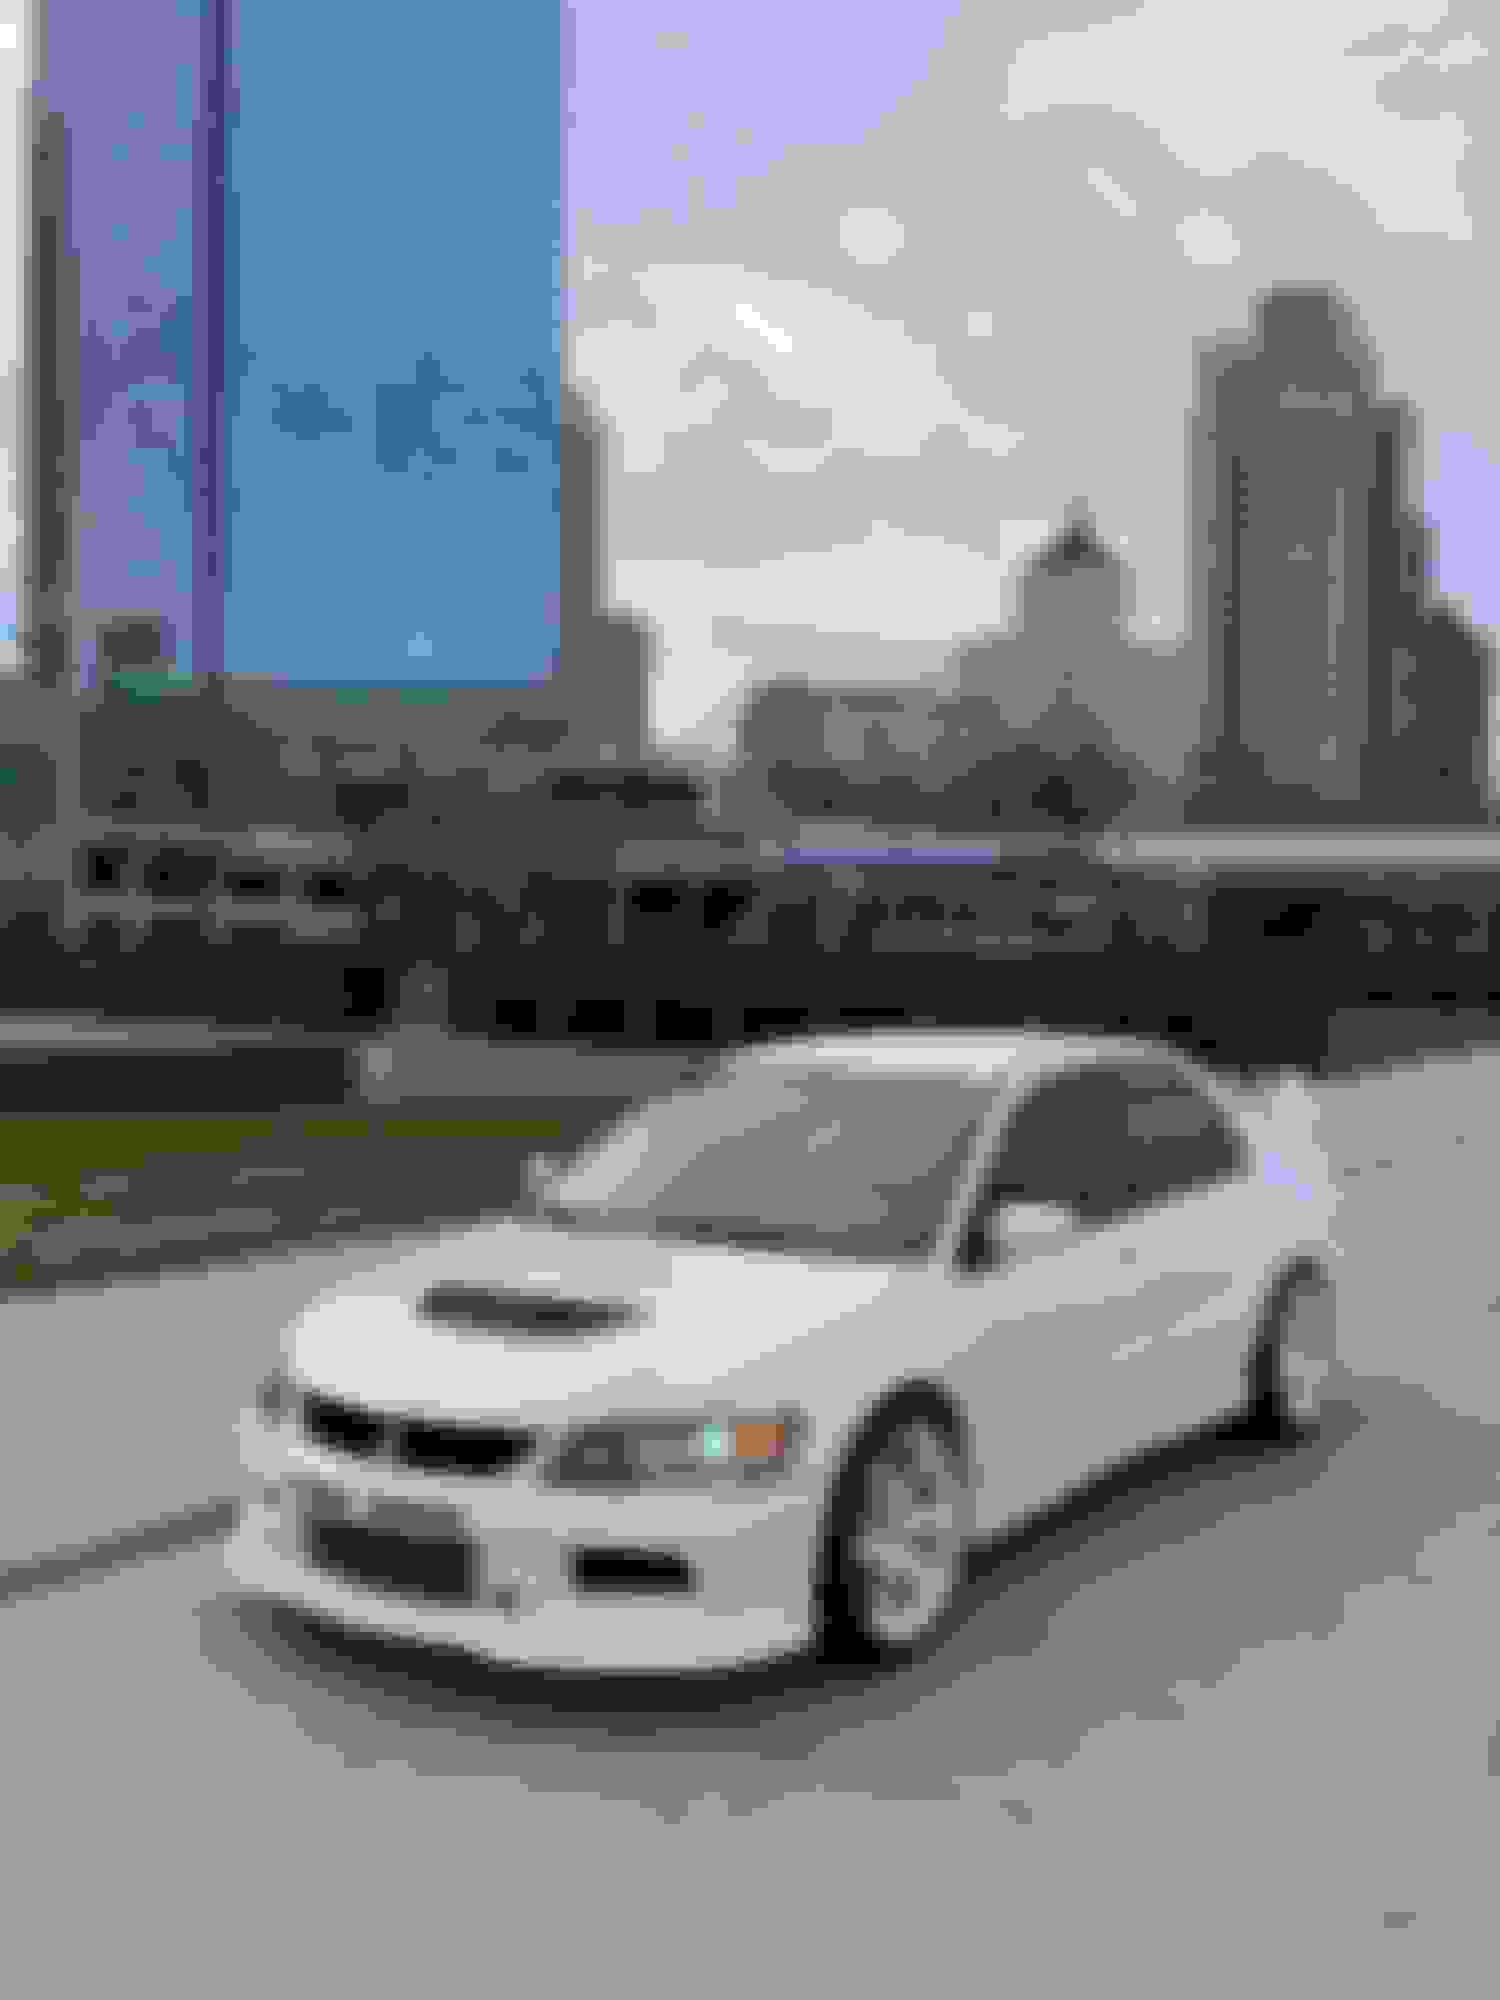
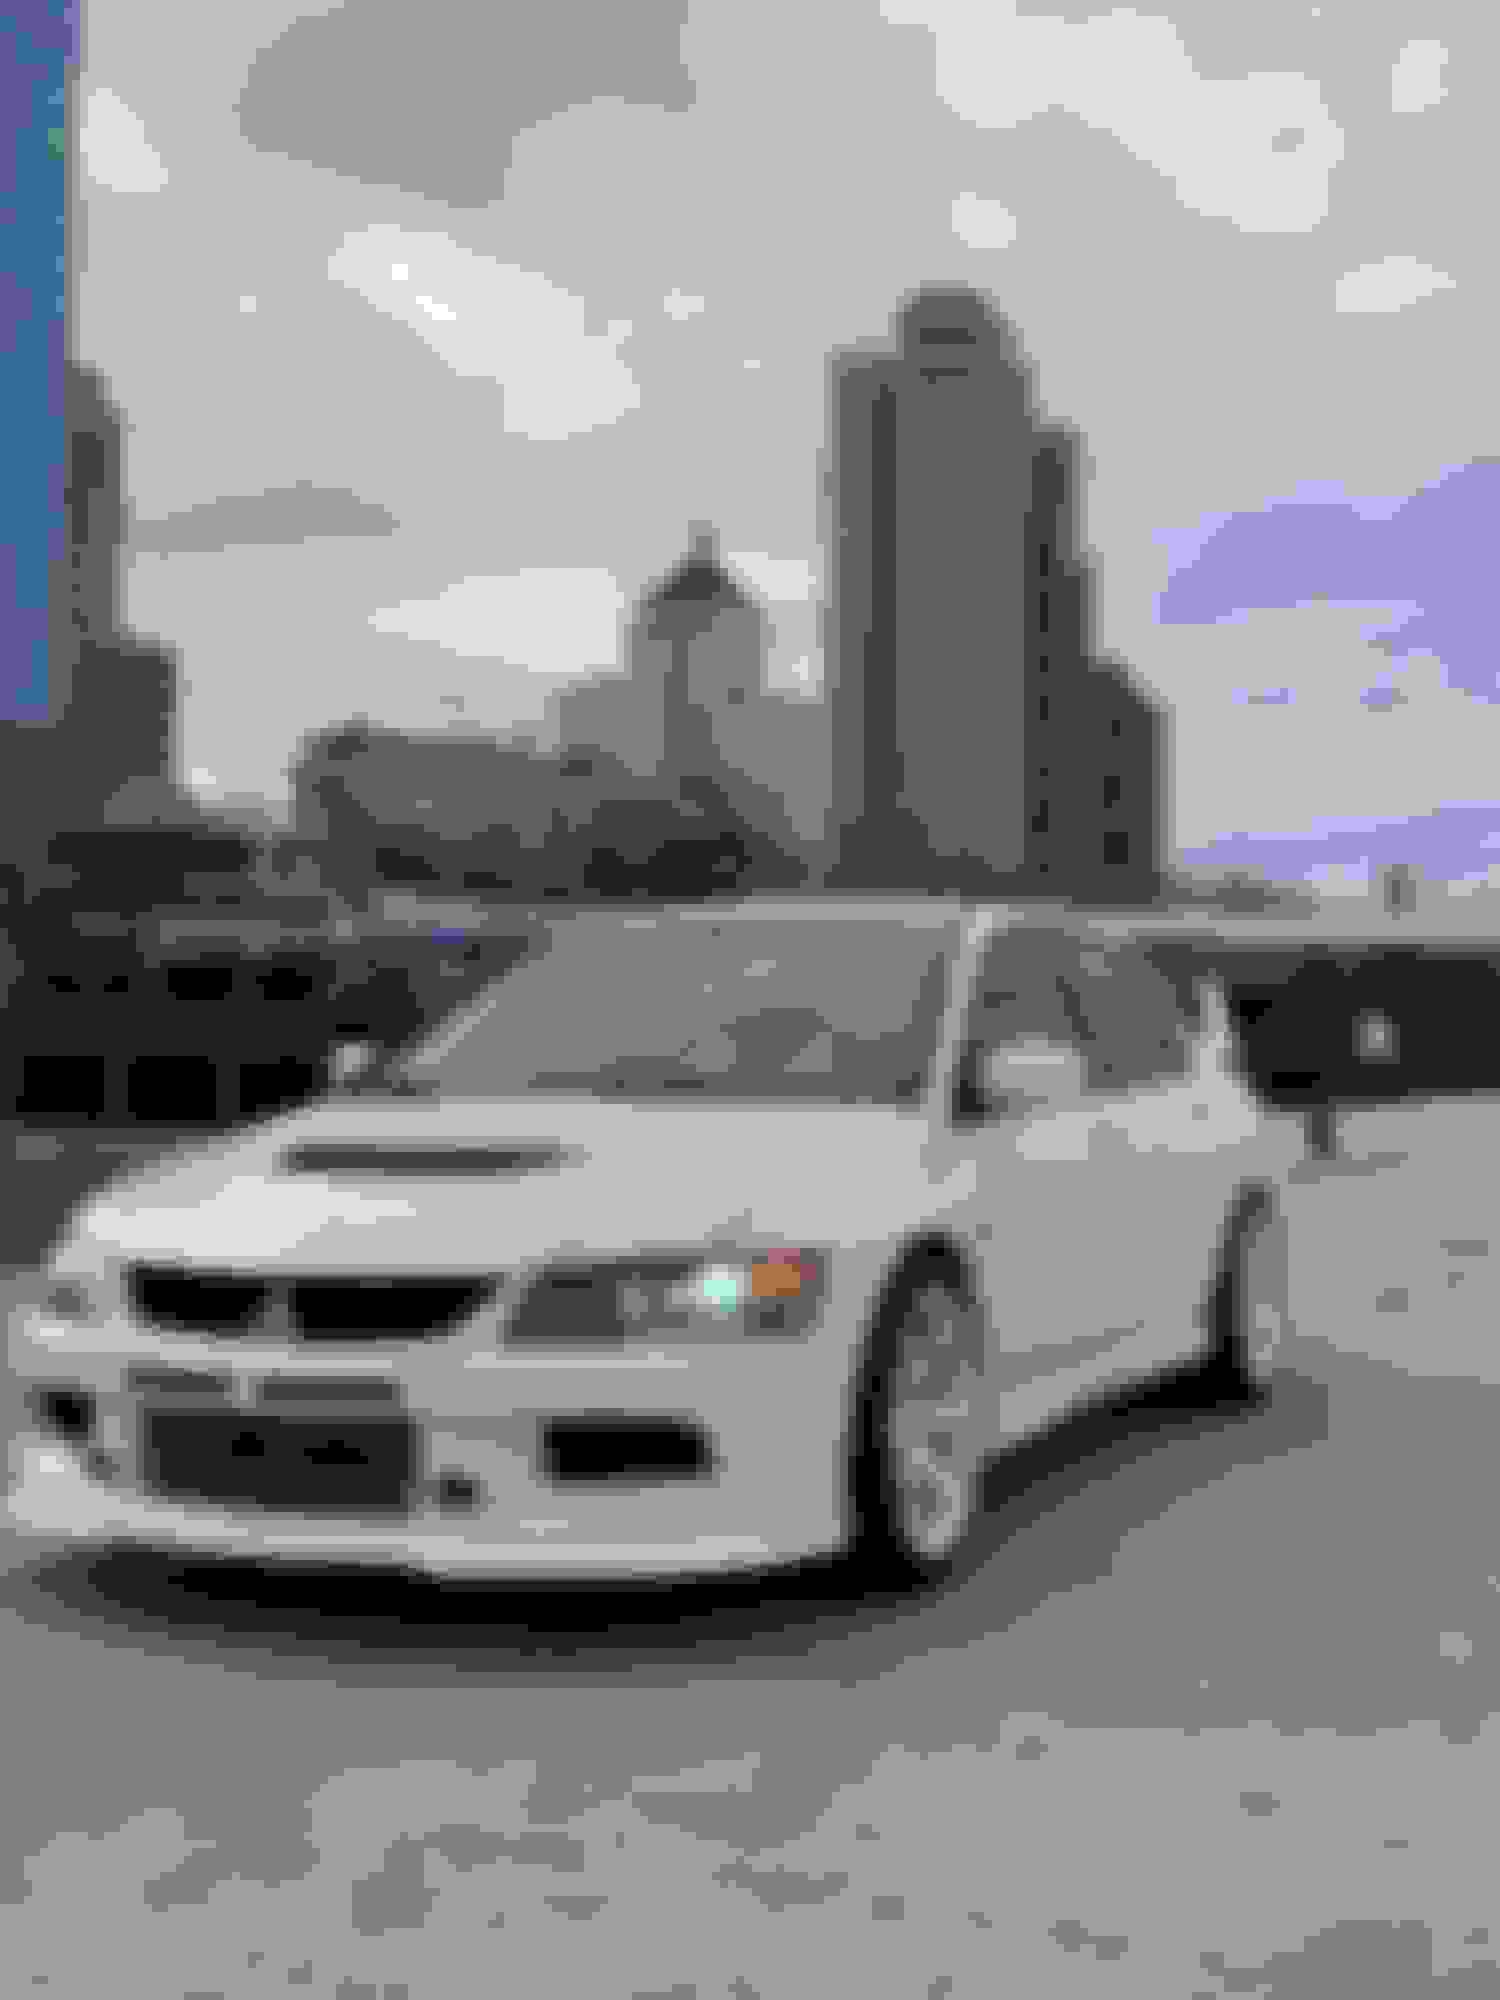
Exterior Update
Not much of an update here, just did a few things to clean up the look of the car.
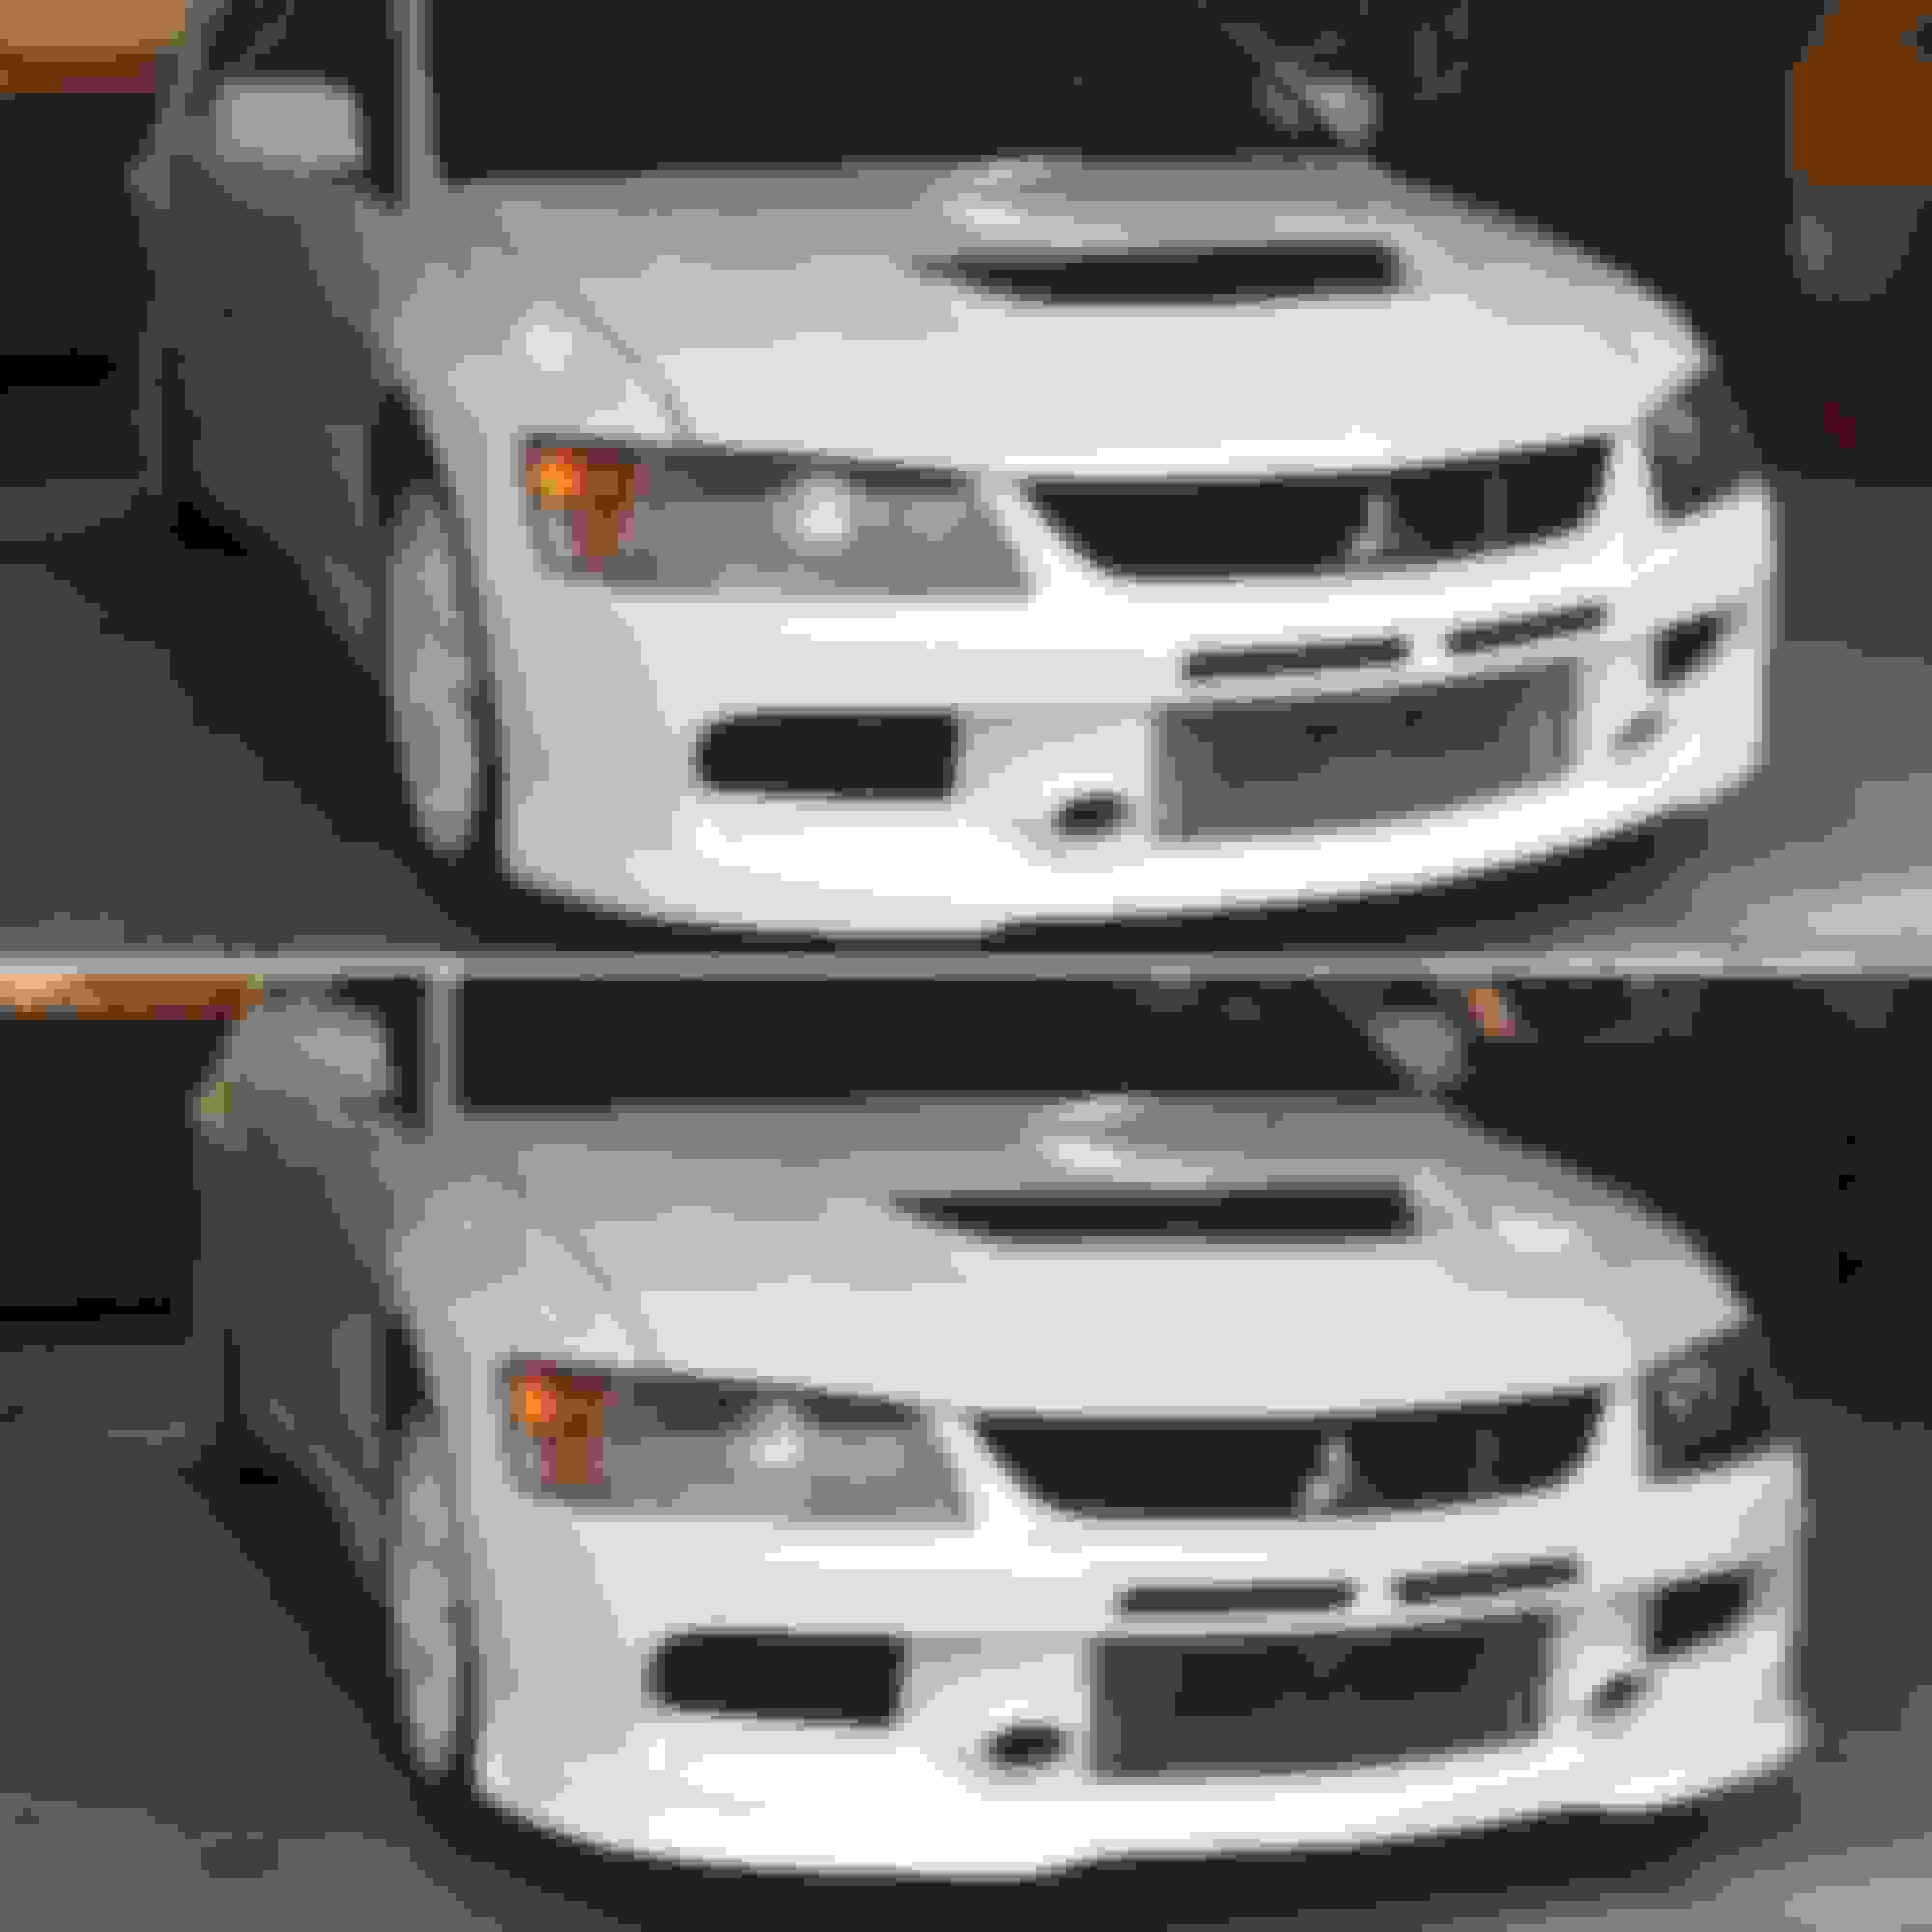
- Front fascia resprayed.
- Headlights sanded down and re-polished.
- OEM SE front lip painted and installed.
- OEM intercooler grill mesh installed.
The exterior is pretty much complete, one last expensive item and the exterior will be complete for my taste. That item or items are 18x9.5+22 TE37's in white,
but its going to take some time to track down discontinued white OG te's.
A little before and after the lip/mesh was installed. In the before picture the headlights had already been fixed.
**NOTE** I need to take an updated picture, I thought I had one of after the respray, but I did not. The "after" bottom photo is still before the lip and fascia were painted to match.
Future Notes
I hope to have this car on the dyno before fall, but that may change. After I have all the parts its going to be a gauntlet of installations, and the car will probably be down a few weeks.
I also have to get the car corner weighted and aligned again with all the new suspension changes in the last year.
Stay tuned for the dyno, if its not this fall, it will be getting tuned in the spring at the absolute latest.
Also stay tuned for more mods, I should be able to start installing power mods sometime mid to late august!
Last edited by TurboTal; Jul 25, 2018 at 09:08 PM.
Its been a while since I last did an update but to be honest the car sat in storage in the same state it did after the last post.
Unfortunately I did not get the remaining mods done before the end of the season last year so the car did not get tuned like I had hoped.
The plan is now to do all the mods over a few weekends, just waiting for it to get a bit warmer out.
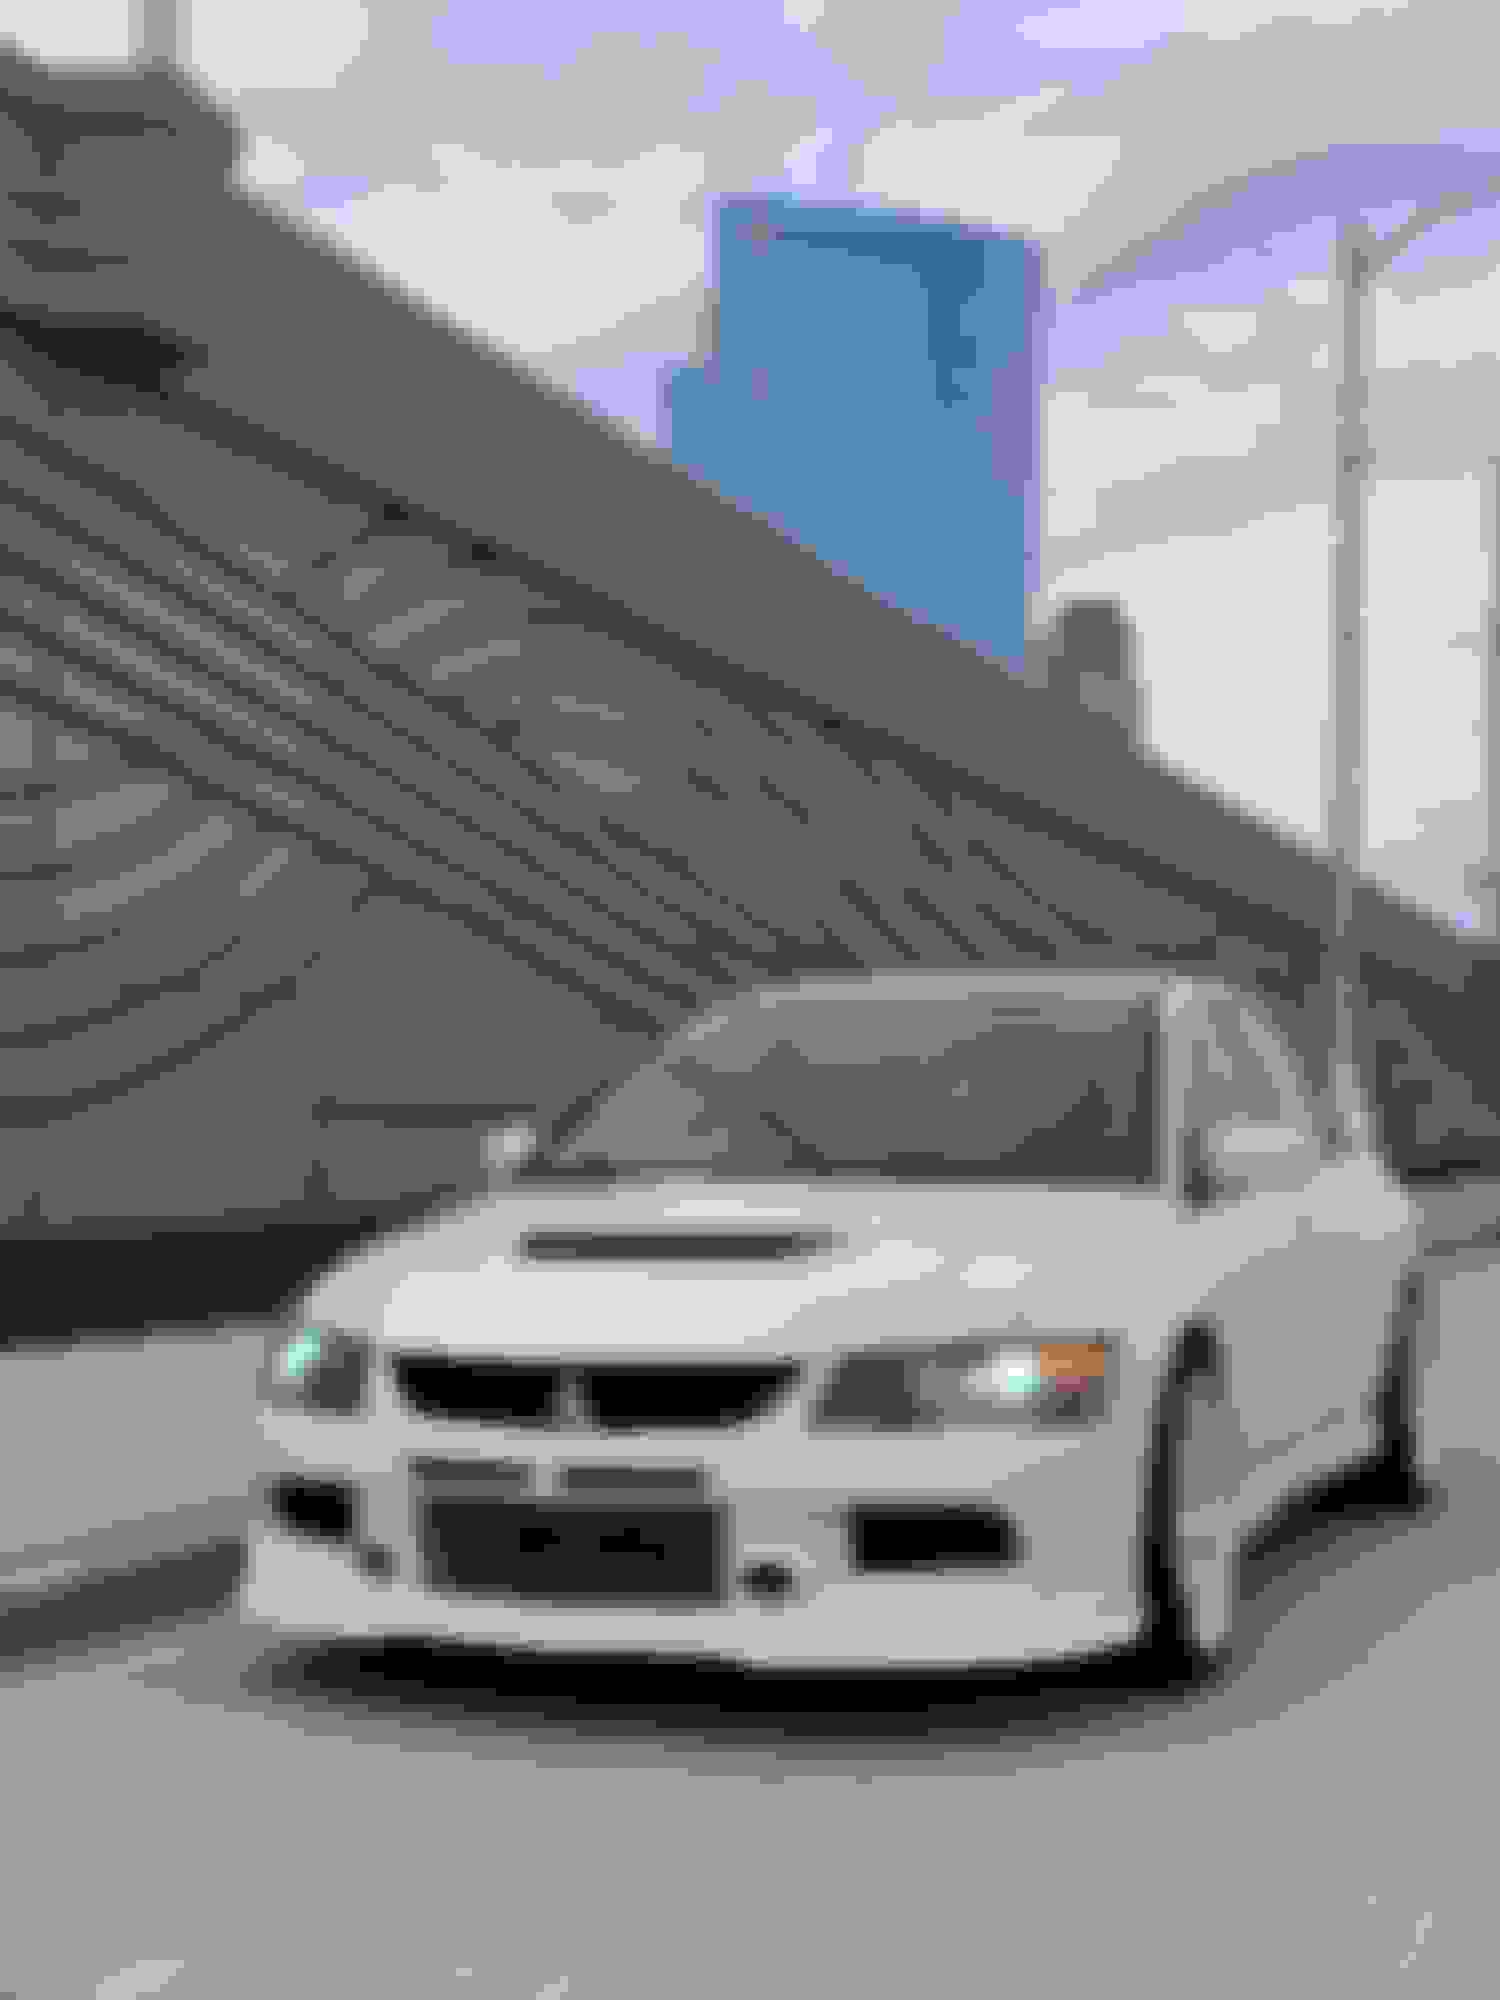
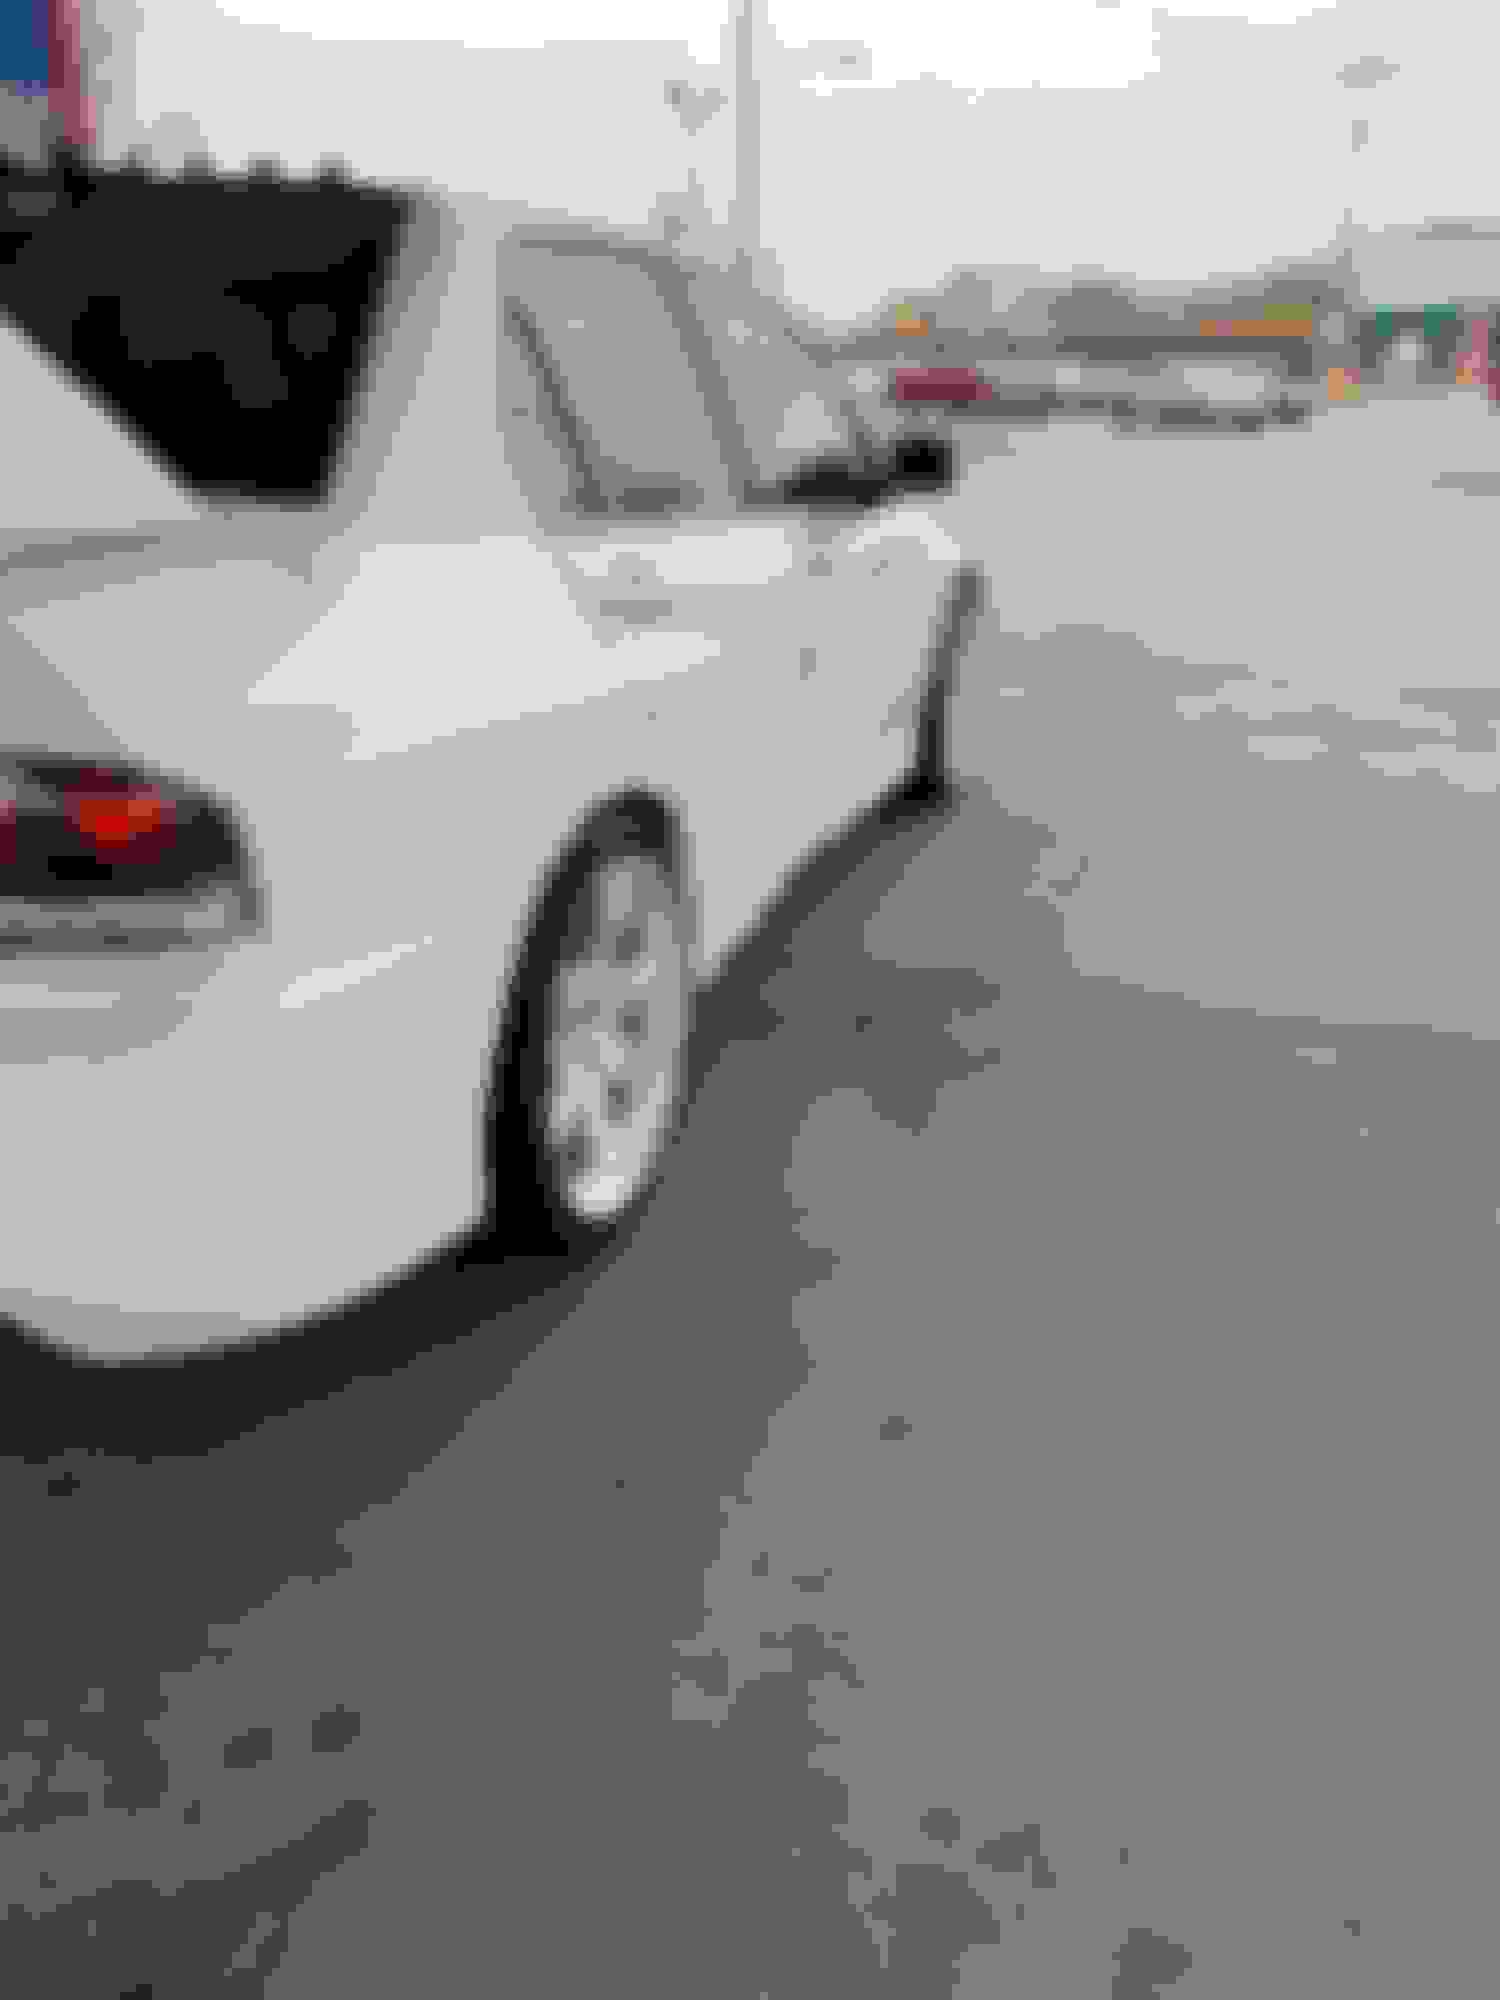
With that being said a big change has been added to the car! Some new wheels!
Specs:
- 18x9.5+22 White OG TE37's
- 255/35R18 RE71R's
Before I even owned an evo (8+ years ago), I knew exactly how I wanted the exterior to look. I wanted a white evo 9, with white te37s, and now that dream has finally came true!
Once I had the funds it took about 1.5 years of searching Japanese action proxy sites before I found this set.
I just can't stop looking at this car! so stoked!
A few things to note:
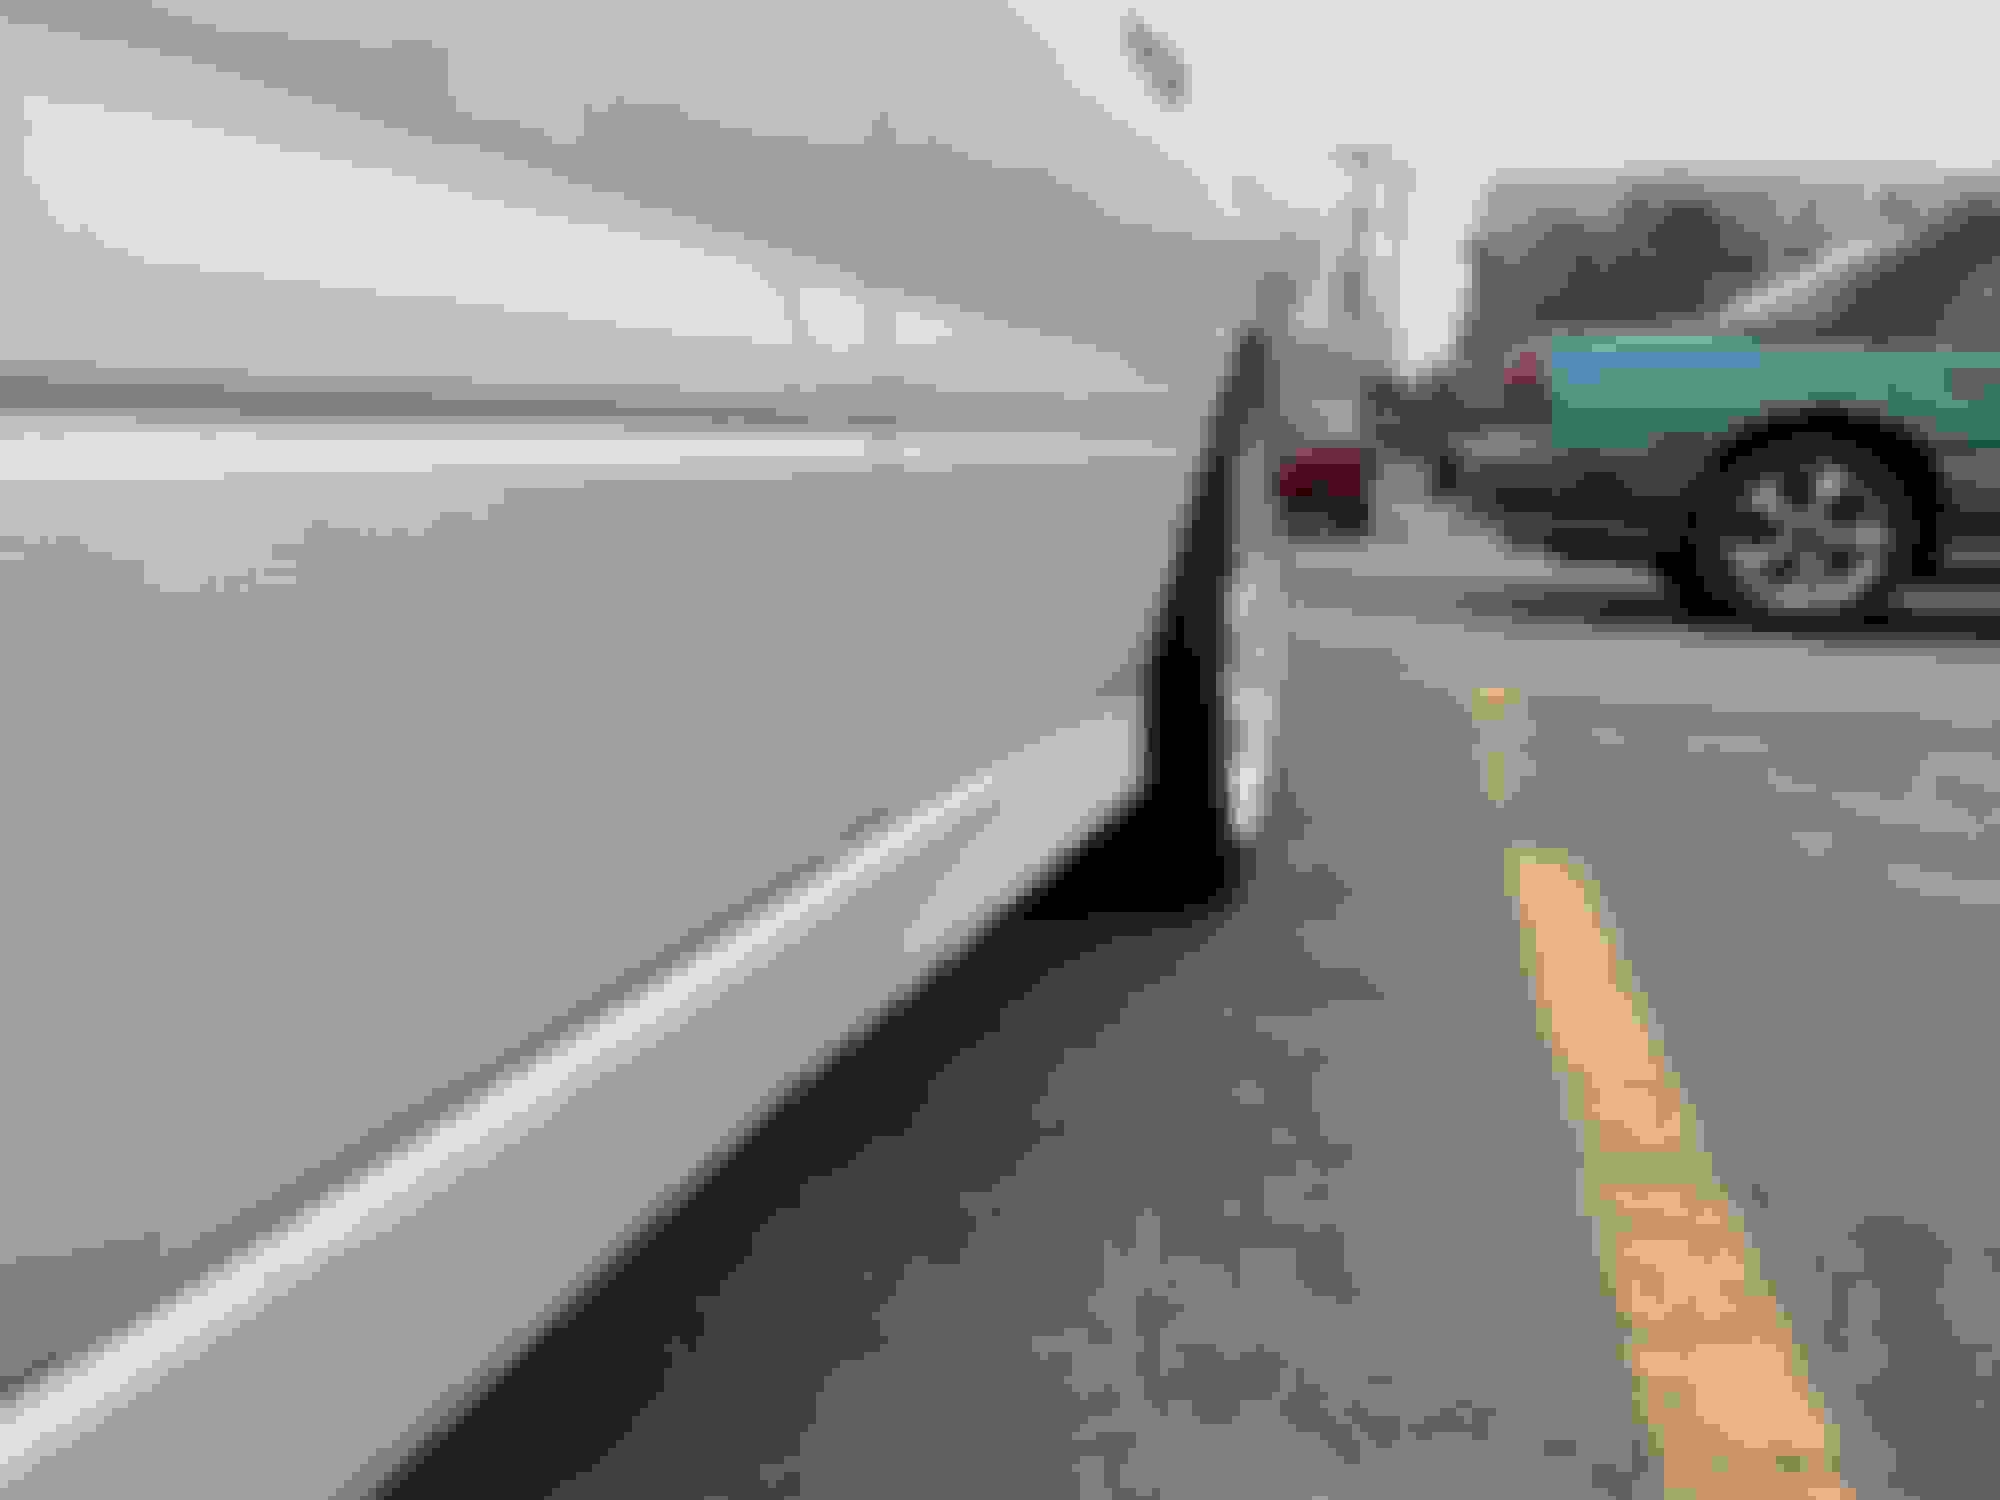
- The car is riding kinda high in front, but the rear has settled with zero rubbing! (rolled flat quarters, and relocated bumper mounting tab)
- The front rubbing on the side-skirt a but when turning the wheel from 80% to full lock. I think this has to do with the -0.5 degree camber in front after doing the roll-center correction kit. (It should be -1.5, and hopefully an alignment will solve this)
- The wheels have been ceramic coated, I'll keep ya posted on how I like the coating.
Future plans this summer:
I have a ton of mods waiting to go on, the engine bay is going to be pretty much stripped down to just the long block and exhaust manifold.
There was a tad bit of surface rust on the shock tower, so im going to sand down and repaint the engine bay with the wicked white paint i have left over.
After the bay is painted, all the new parts will be going in, and the parts that are not getting replaced will get a nice bath in de-greaser.
I may take that time to also get most of the bolts re-zinc plated, and a few other items anodized.