When you click on links to various merchants on this site and make a purchase, this can result in this site earning a commission. Affiliate programs and affiliations include, but are not limited to, the eBay Partner Network.
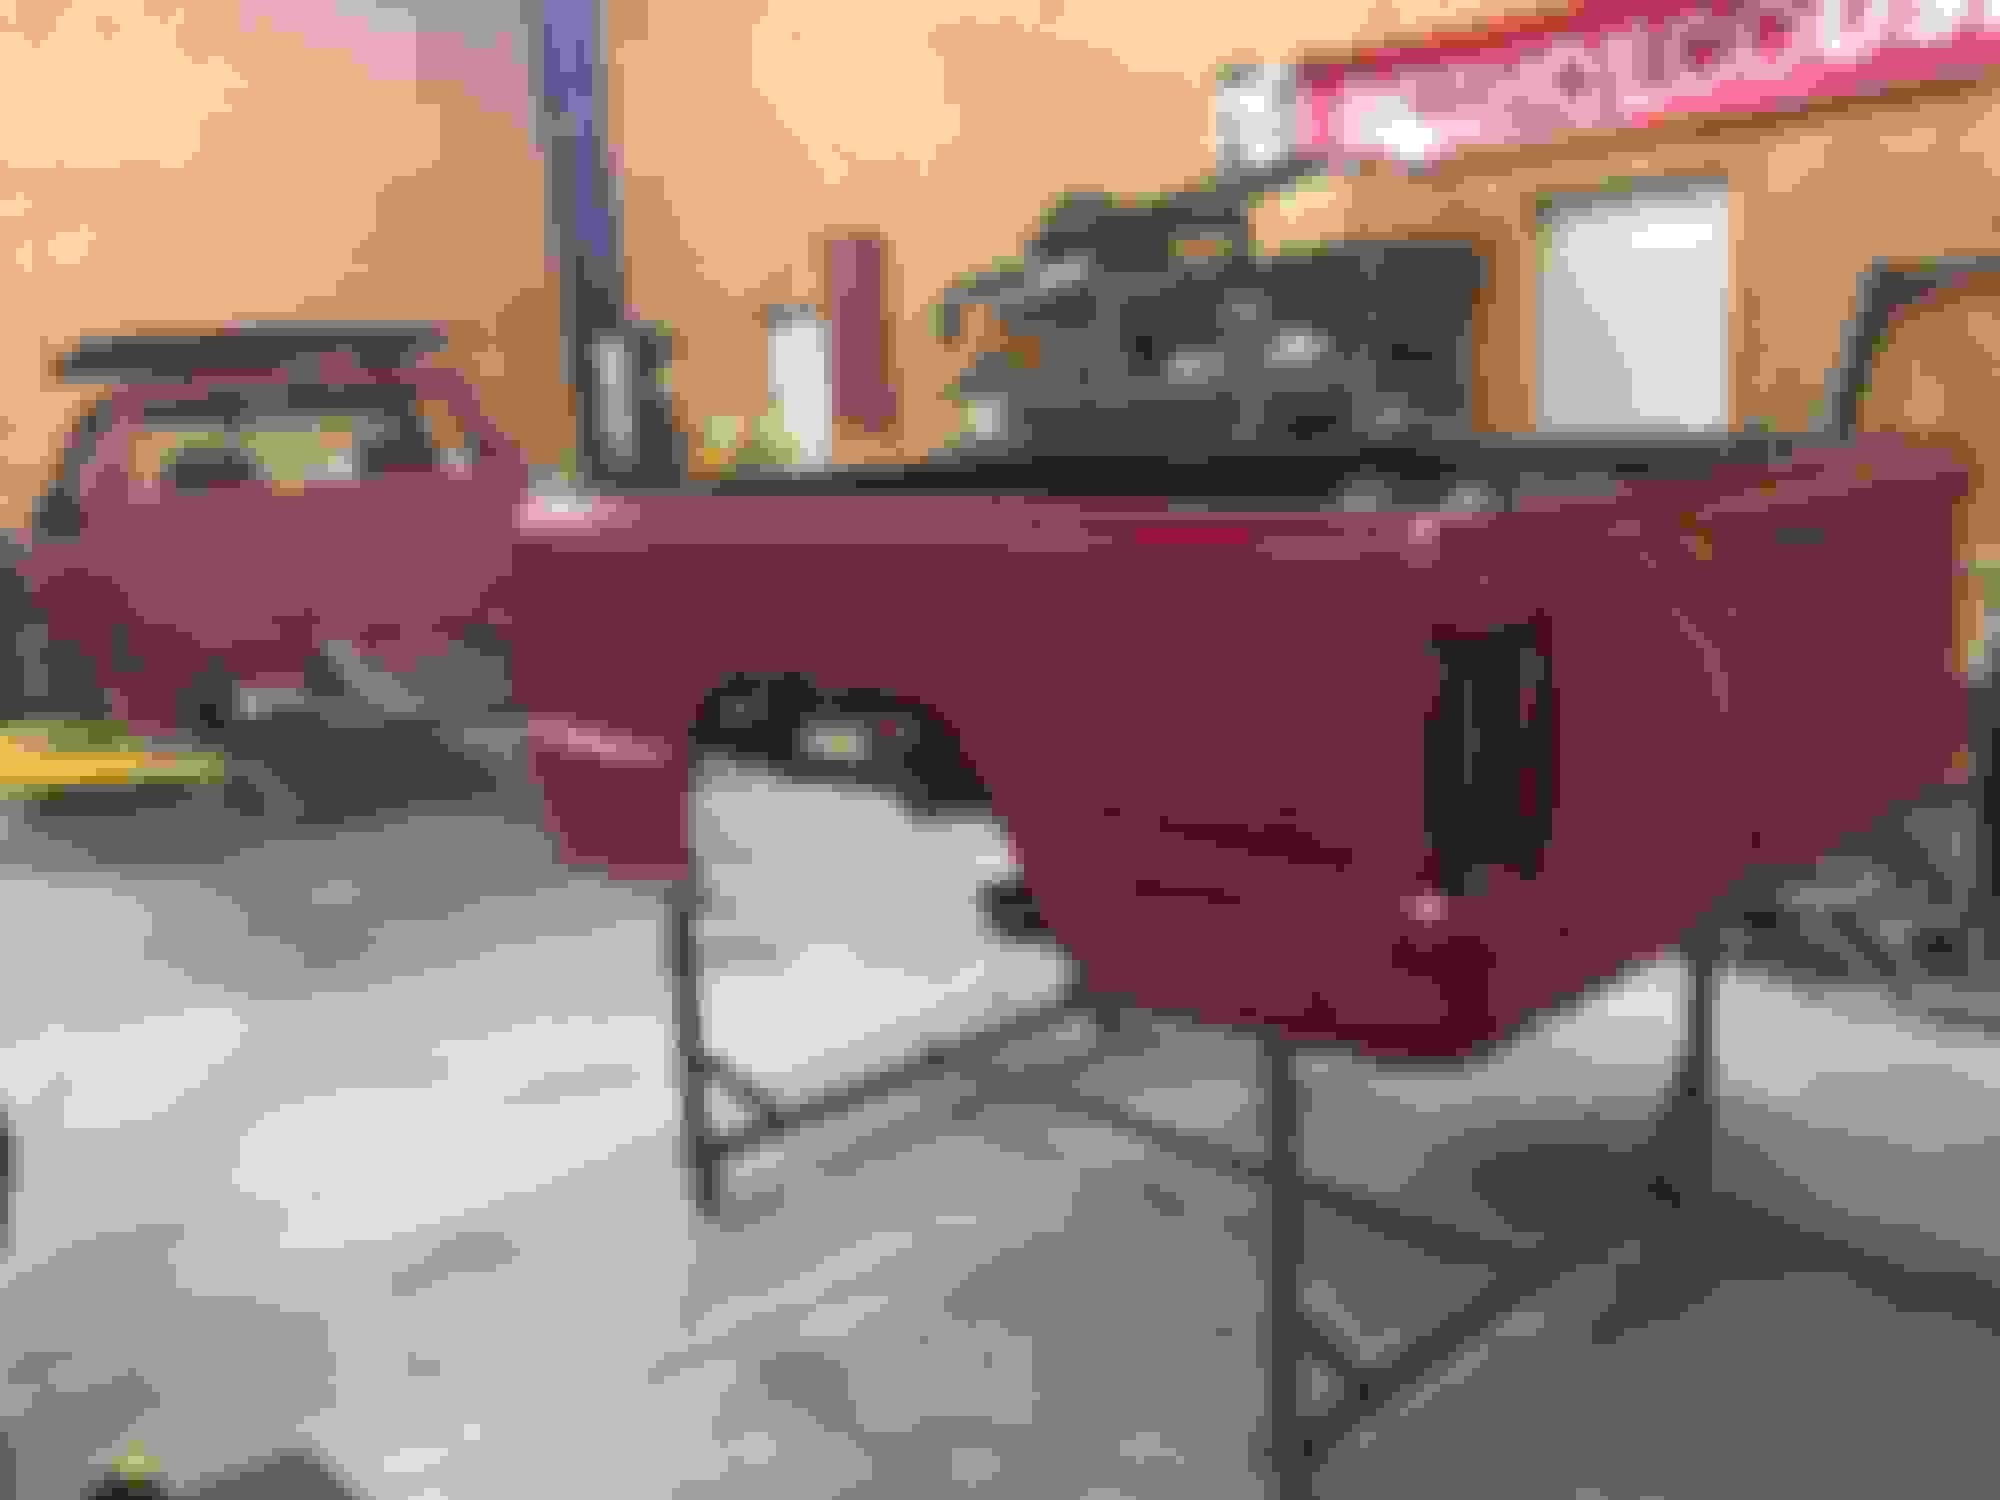
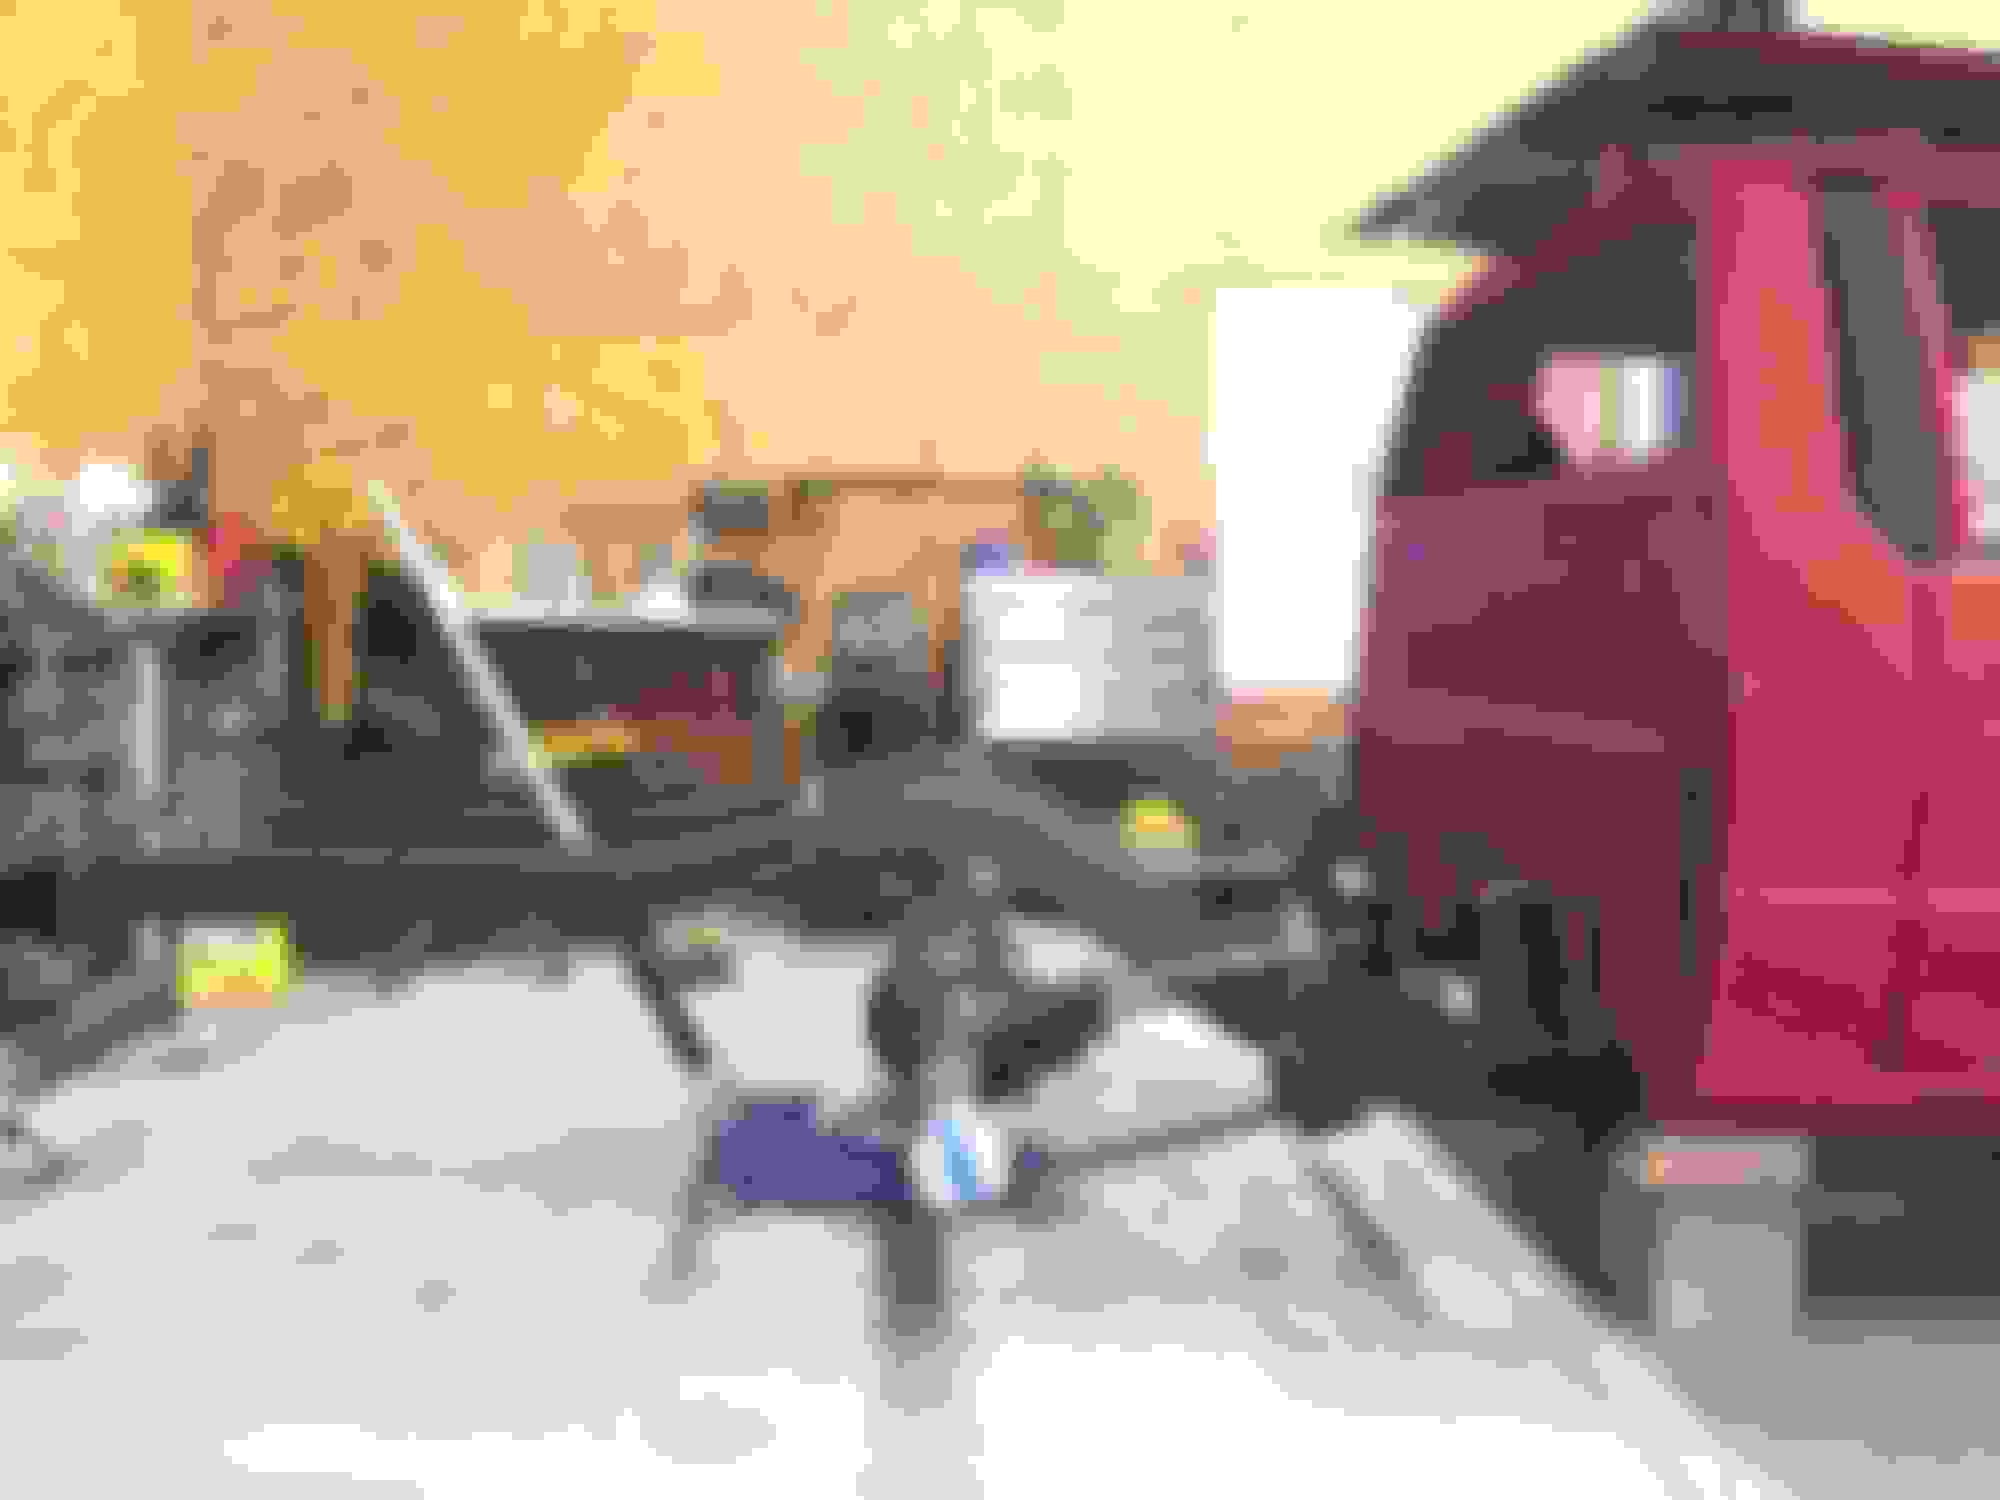
Honestly....I probably left the rear frame in place, ready to be welded for over 2 weeks. I was nervous about it moving and nervous about my weld quality, + this project was getting pretty expensive so messing up would mean more money wasted. Once I convinced myself to stop being a *****, I went ahead and welded it into place. When I bought the lift, I also found a good deal on MIG, so I had some time to practice and experiment. With the bed constantly going on and off, I made a cart to help me install/check fitment it on my own.
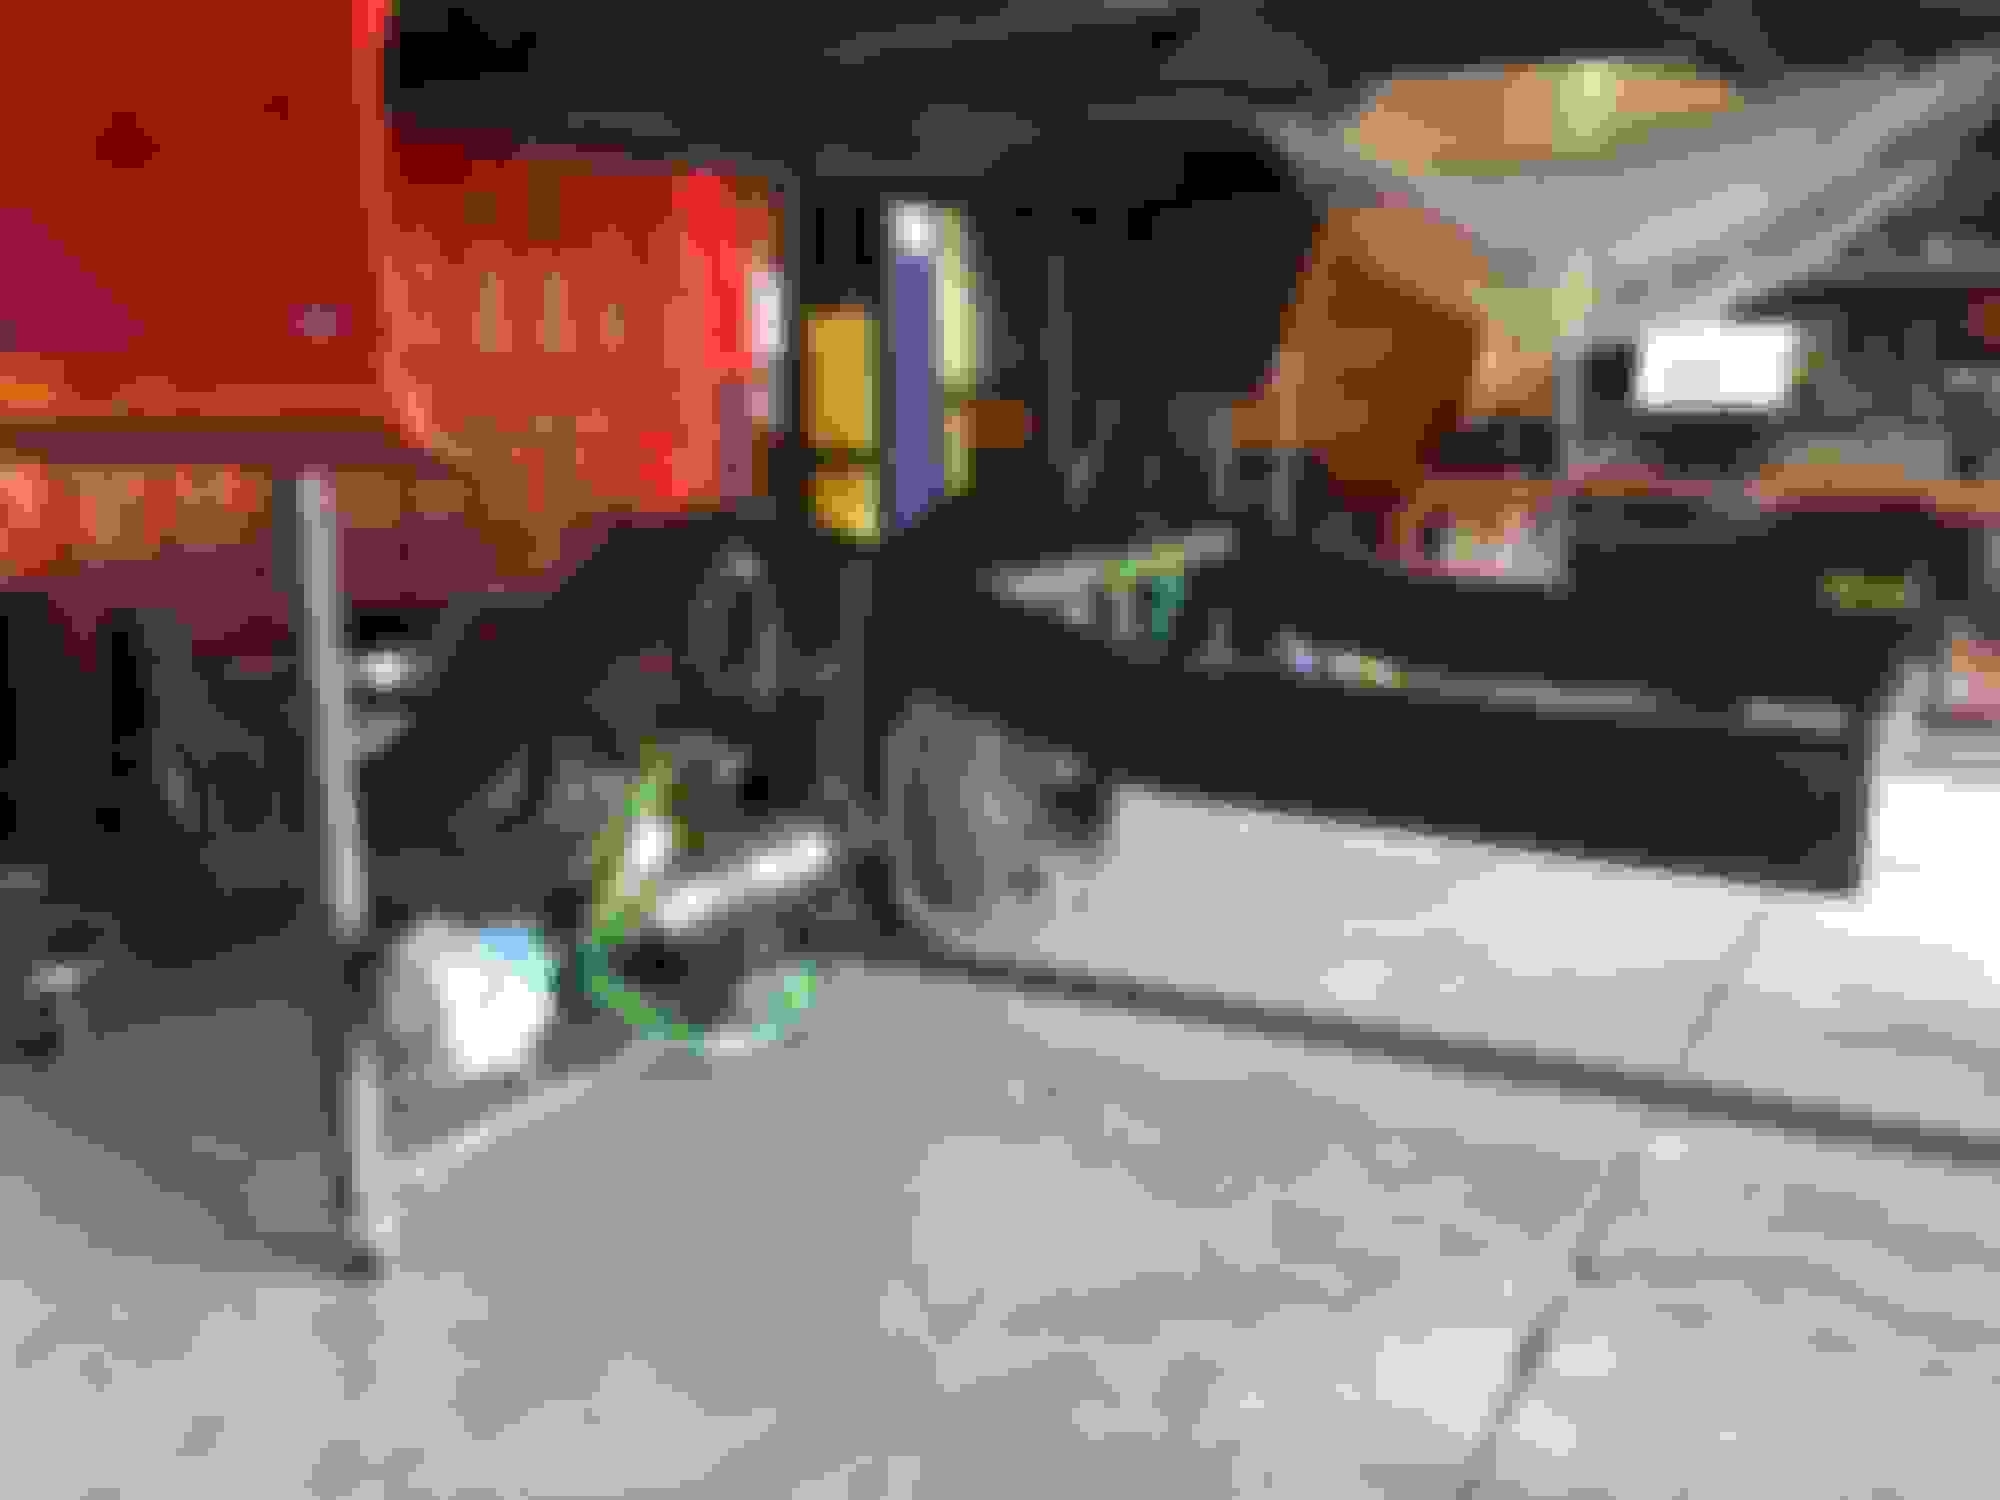
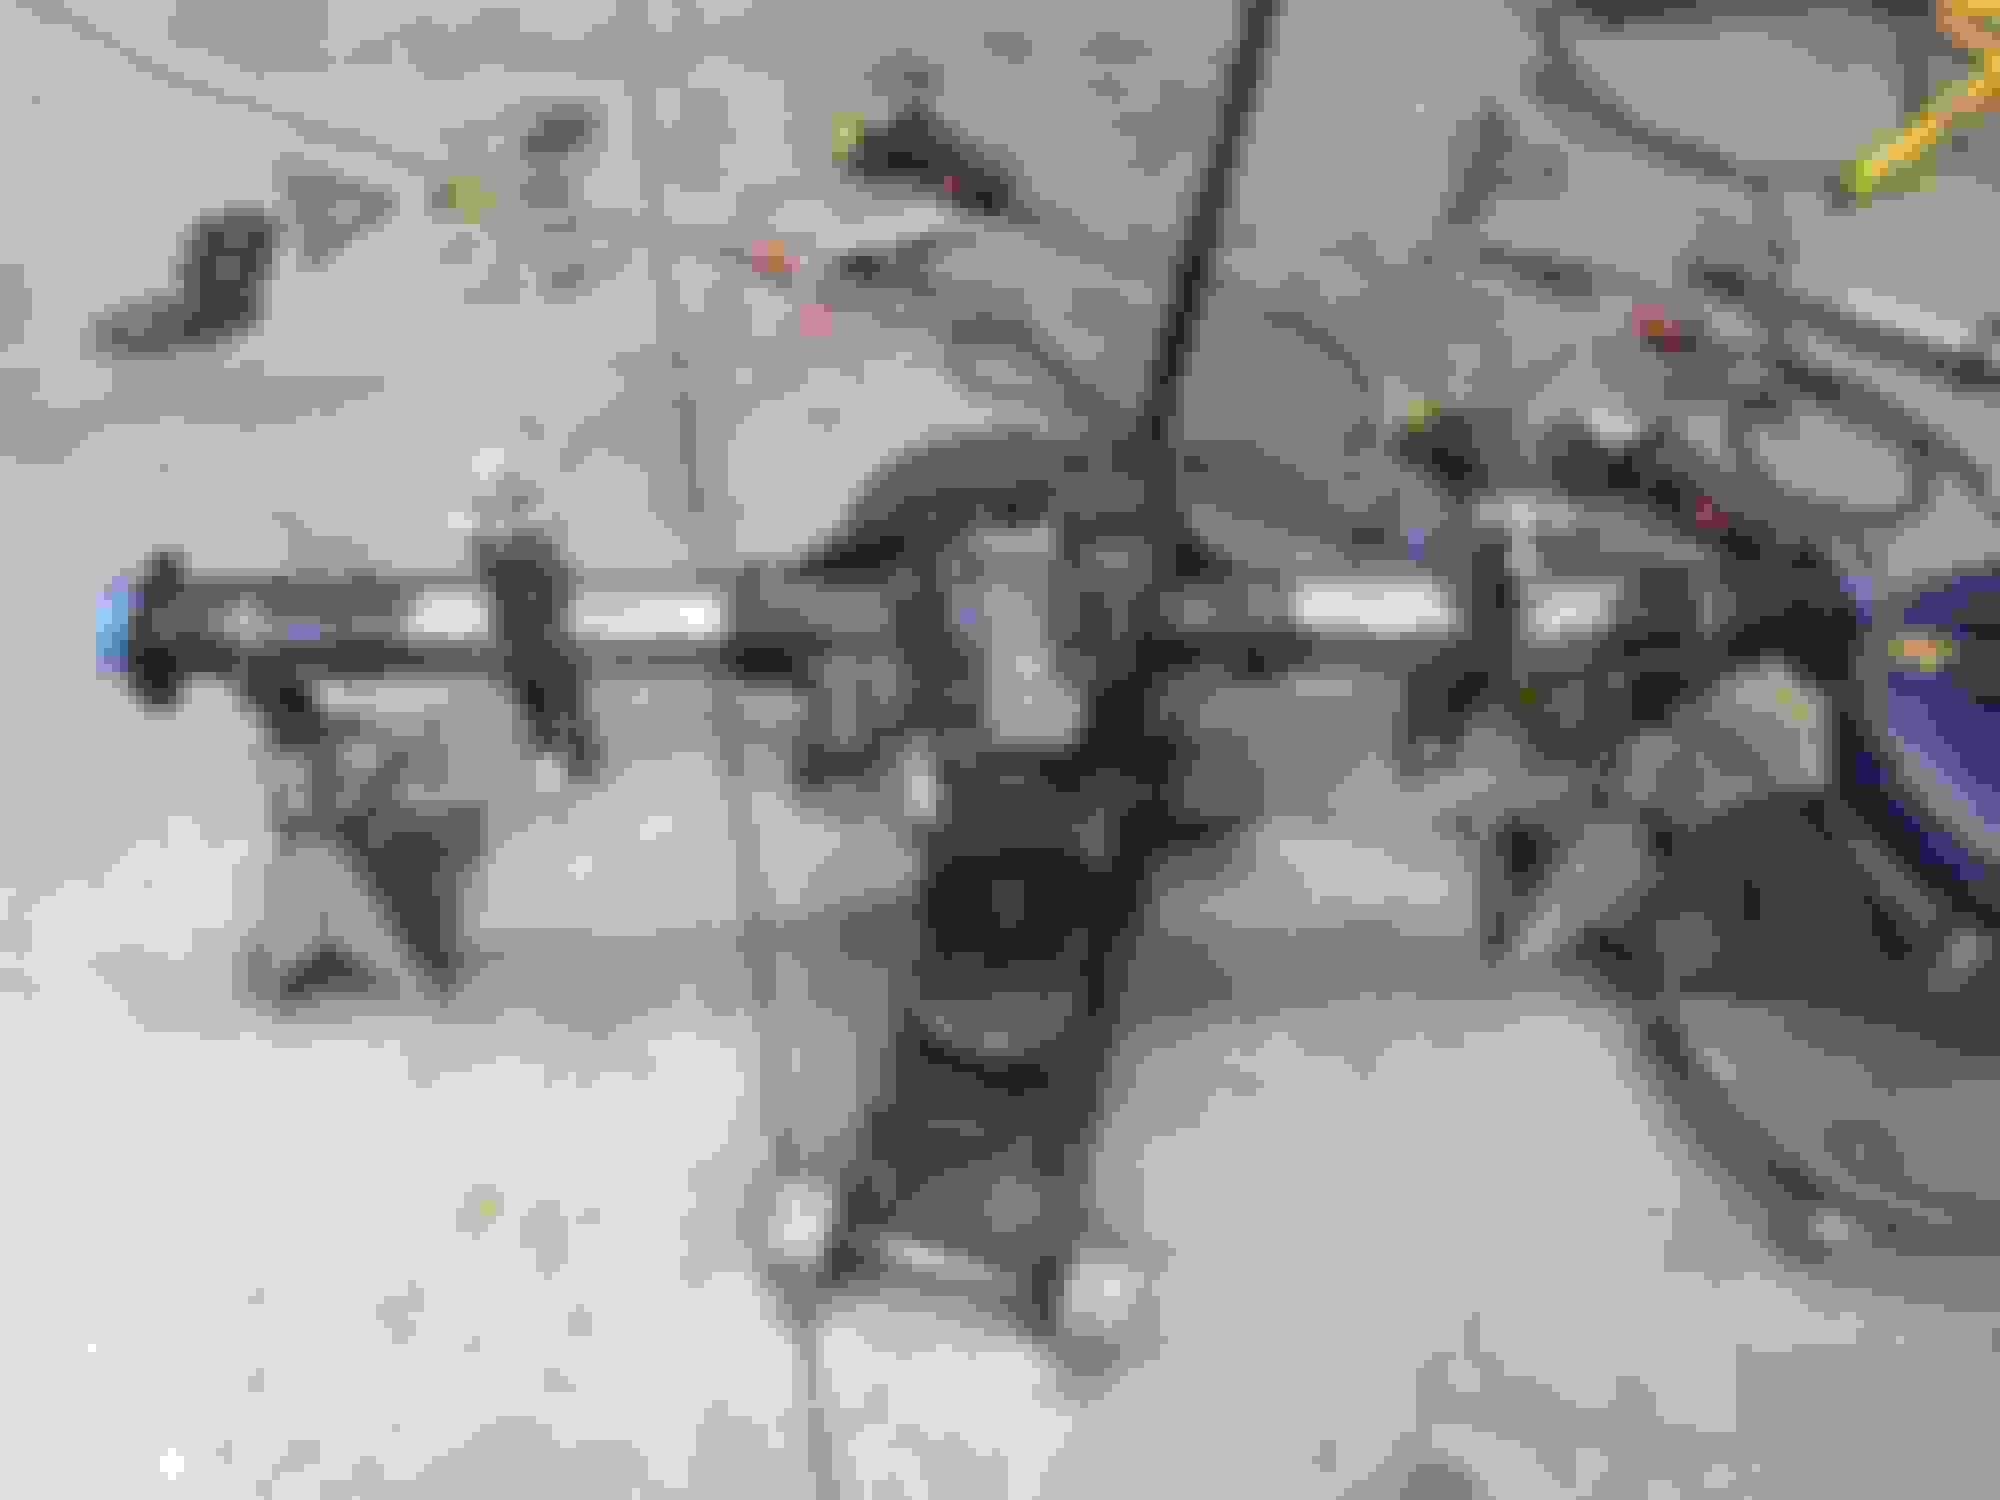
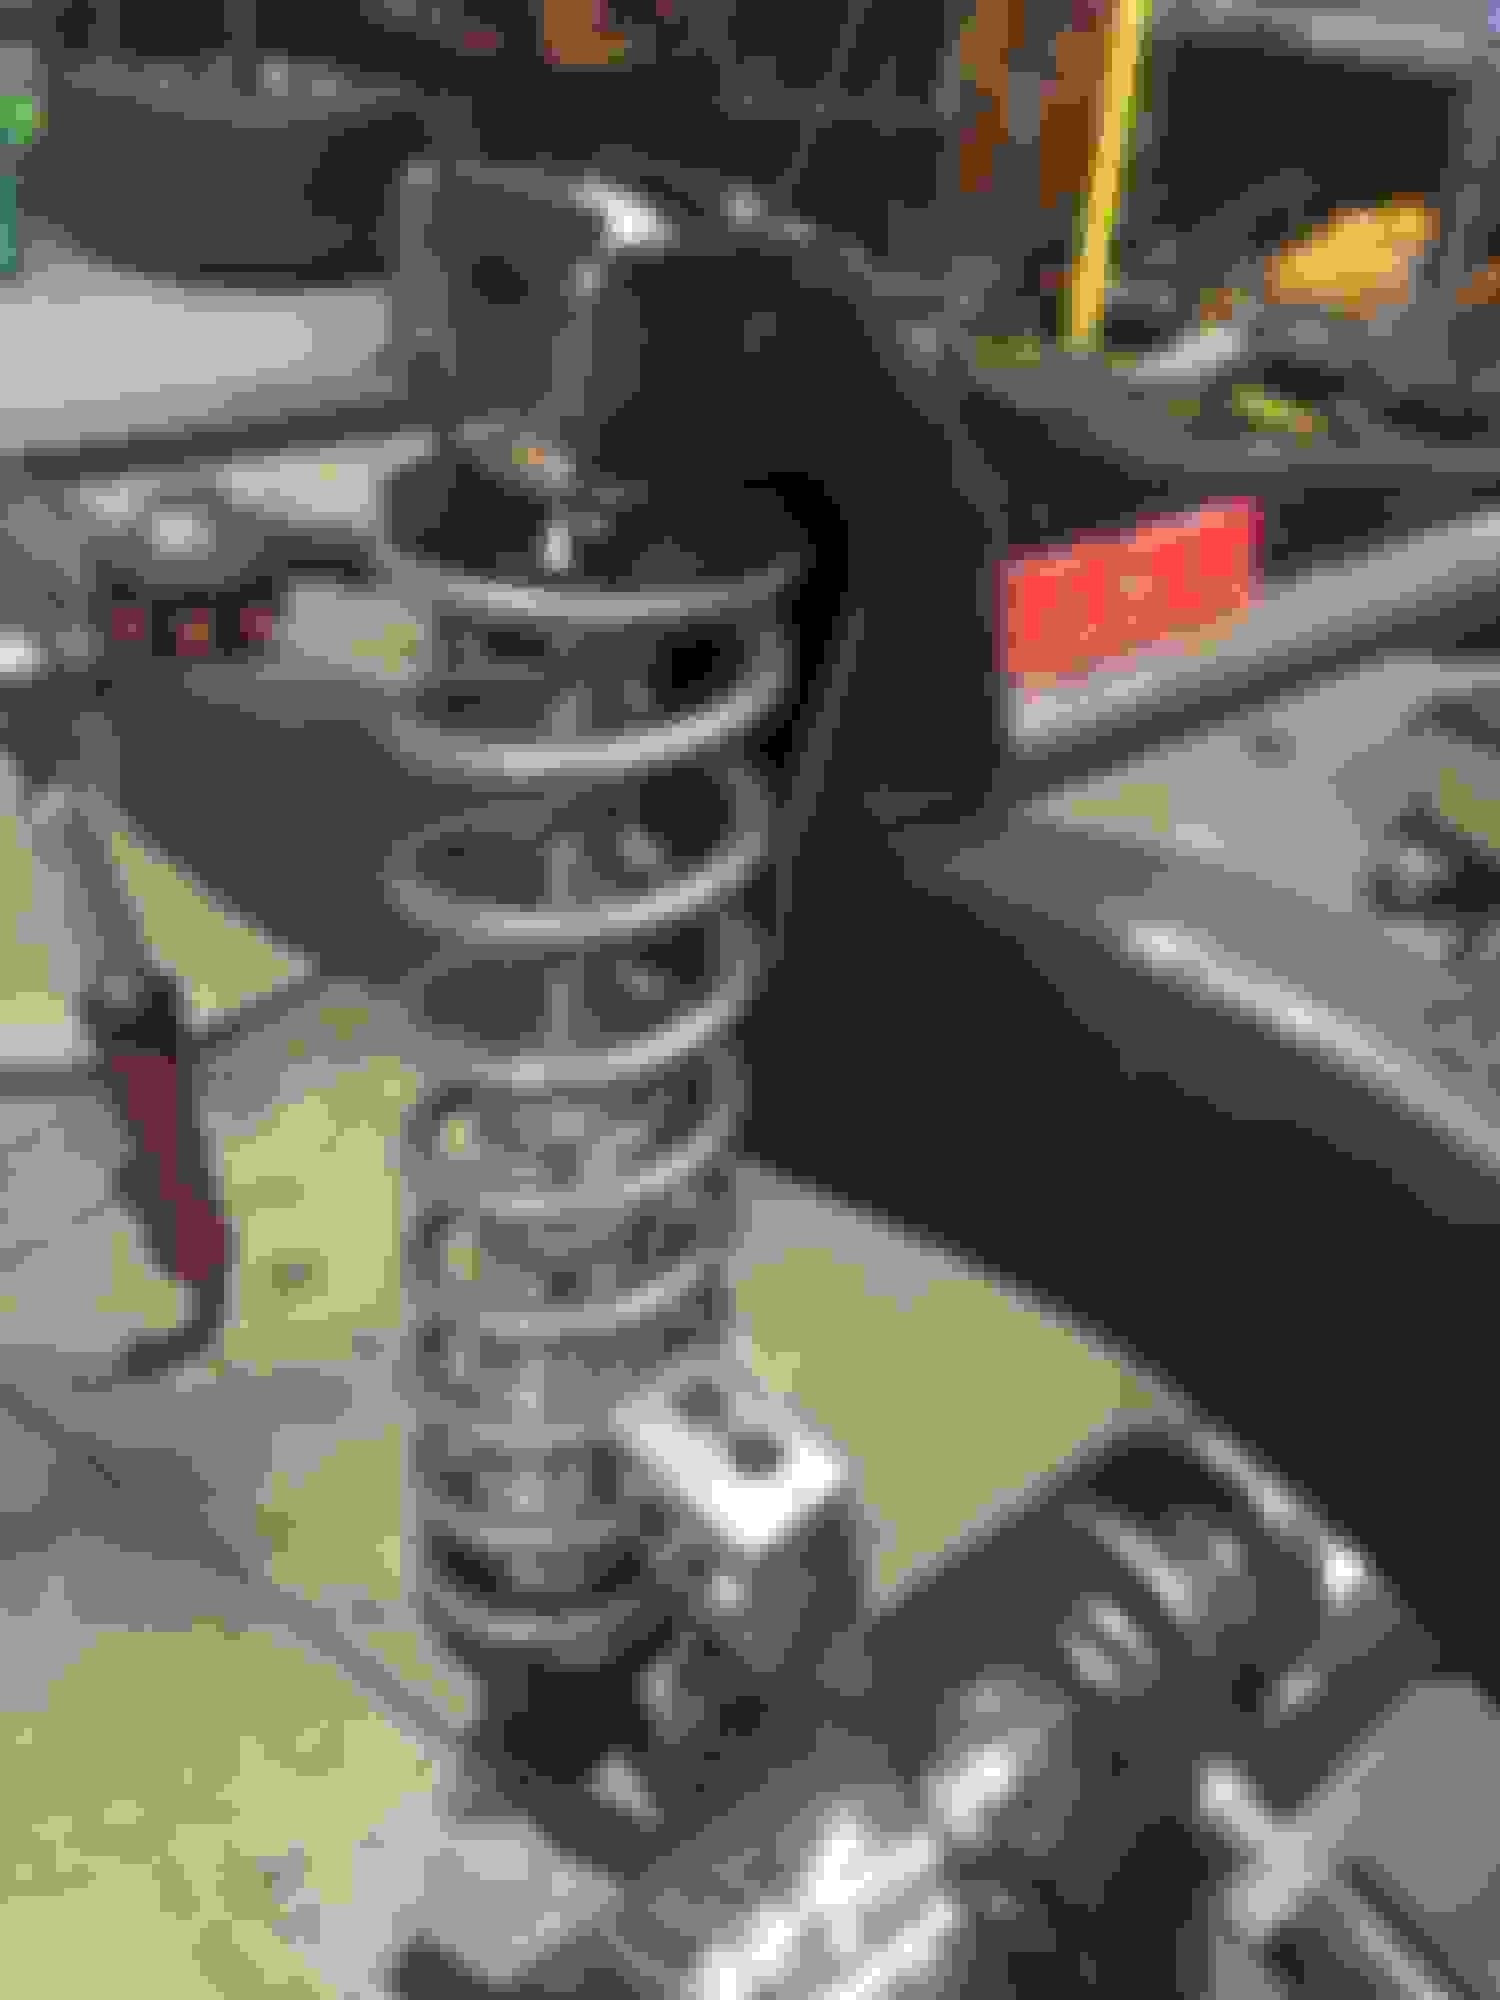
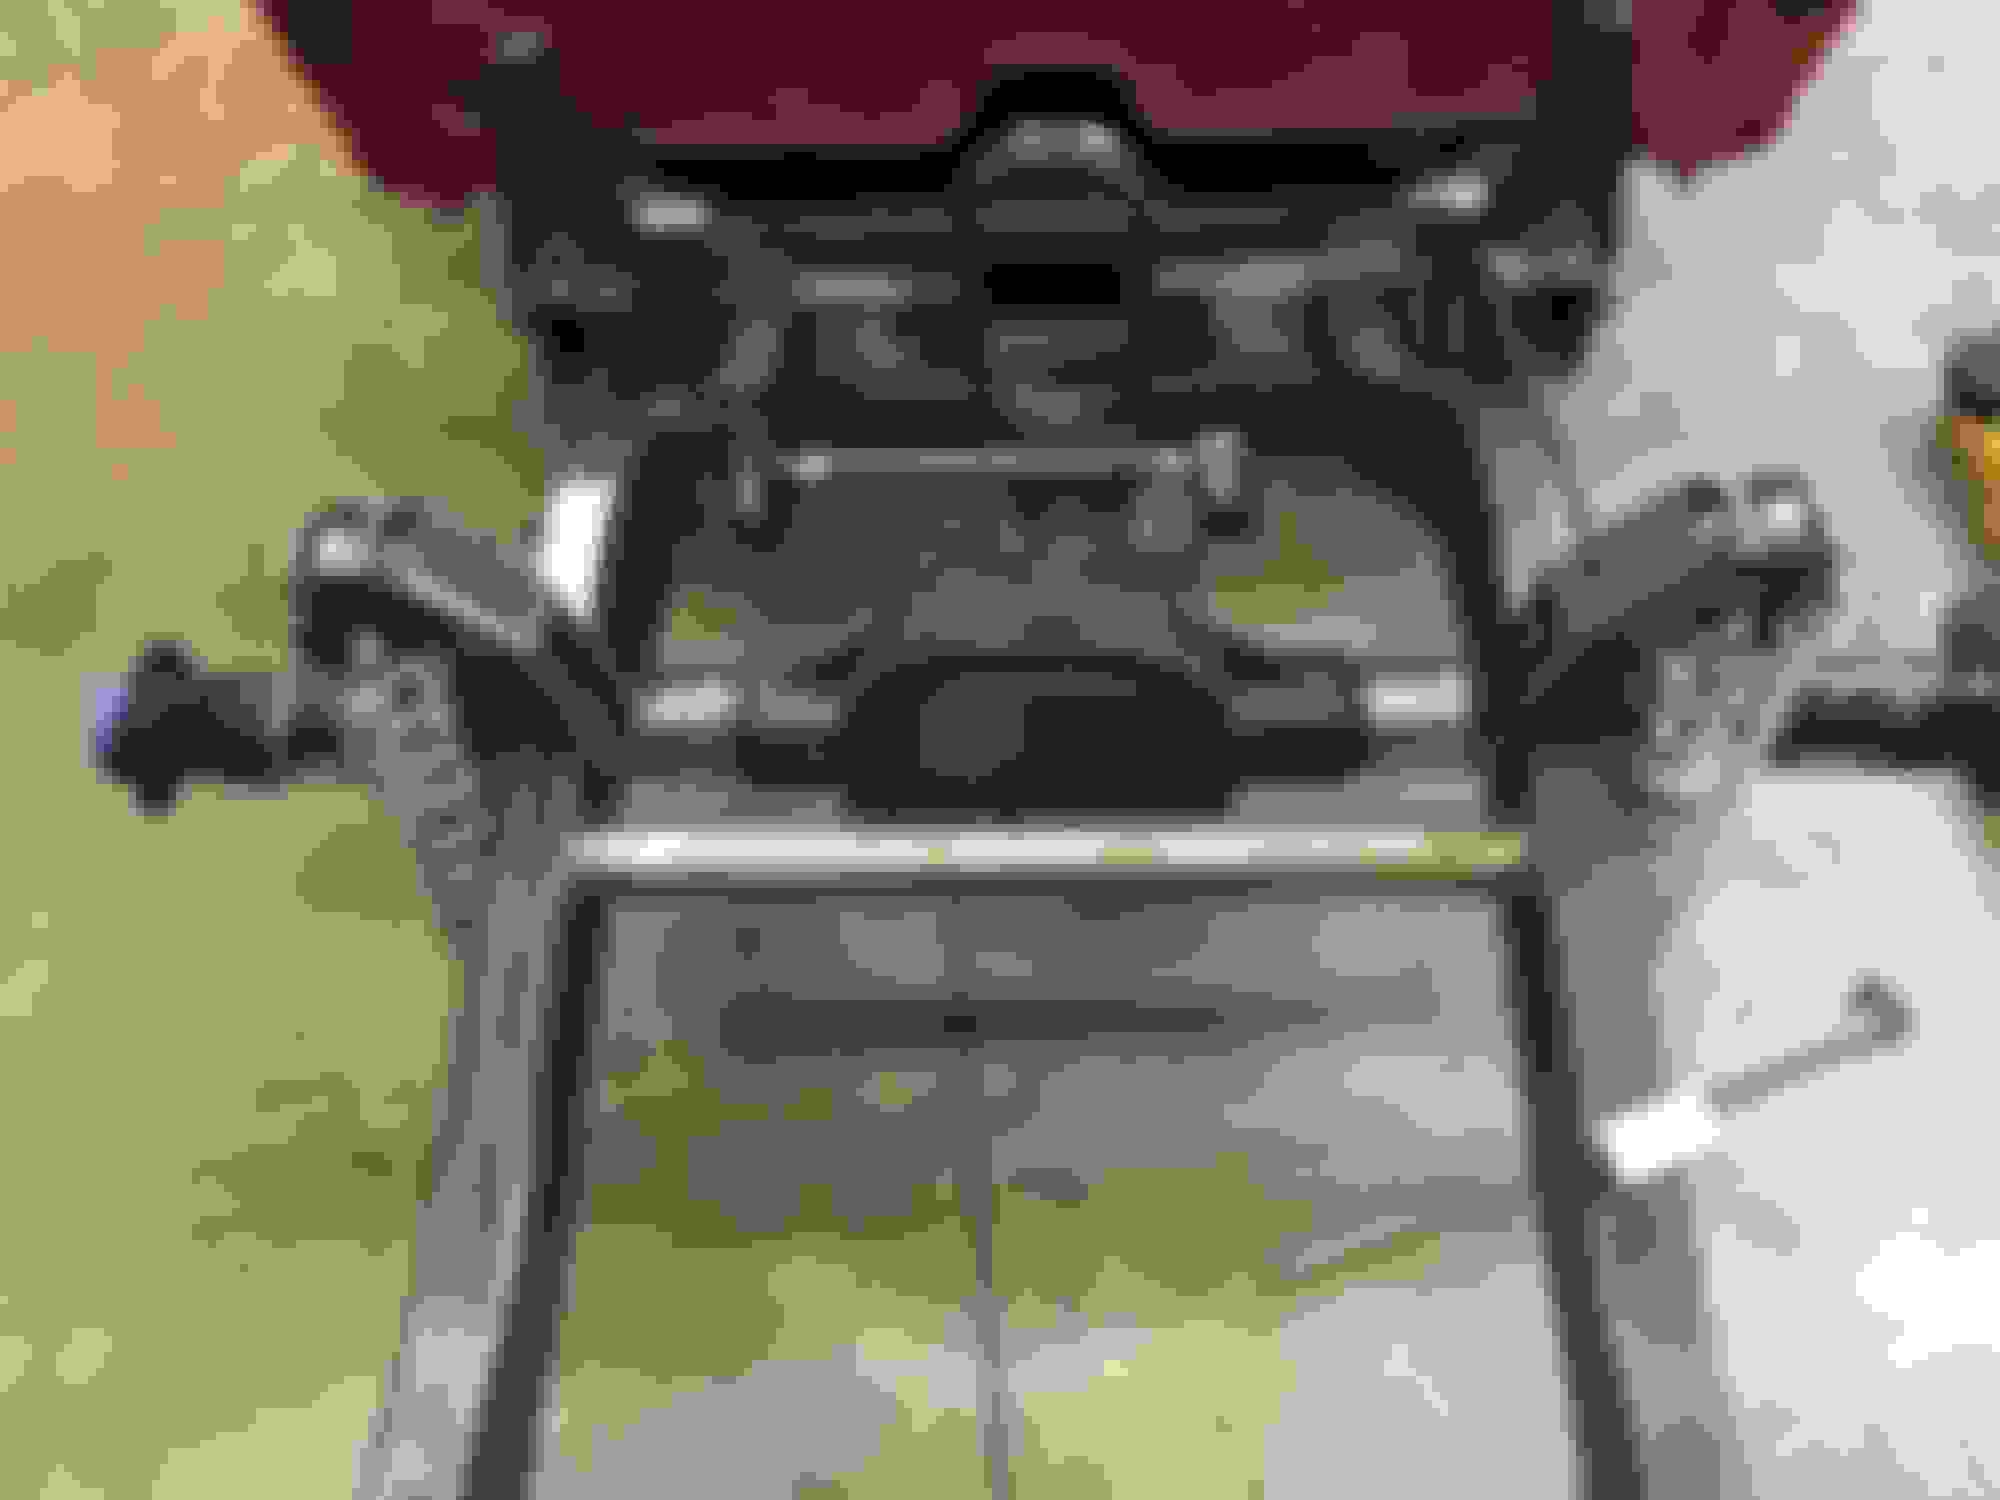
Making sure the bed had the same gap to the cab as before was very important to me, and it took me a few tries to get the rear bed mounts positioned properly to make it work. After this, I added some triangulated braces to the frame, got the axle positioned properly, and made some upper suspension mounts. I decided to build the coilover mounts the way that I did because I didn't want to sacrifice travel. The mounts will be hidden inside the new wheel tubs anyway.
Many of these pics were taken halfway through or during a test fit, so dont worry if you see goofy hardware, tack welds, or untrimmed stock frame rails. All of that will obviously go away in the end haha.
For now, I just wanna keep it simple (famous last words). Gonna see if I can find or modify coilovers for the front, the rear I'll keep the leas and build my own leafpack so I don't have to use lowering blocks. Basically a fun little cruiser for now, I just started to strip it out in my driveway. Thank you for no HOA
Thank you guys for the kind words! It's been a long road, I'm pumped that you guys are into it!
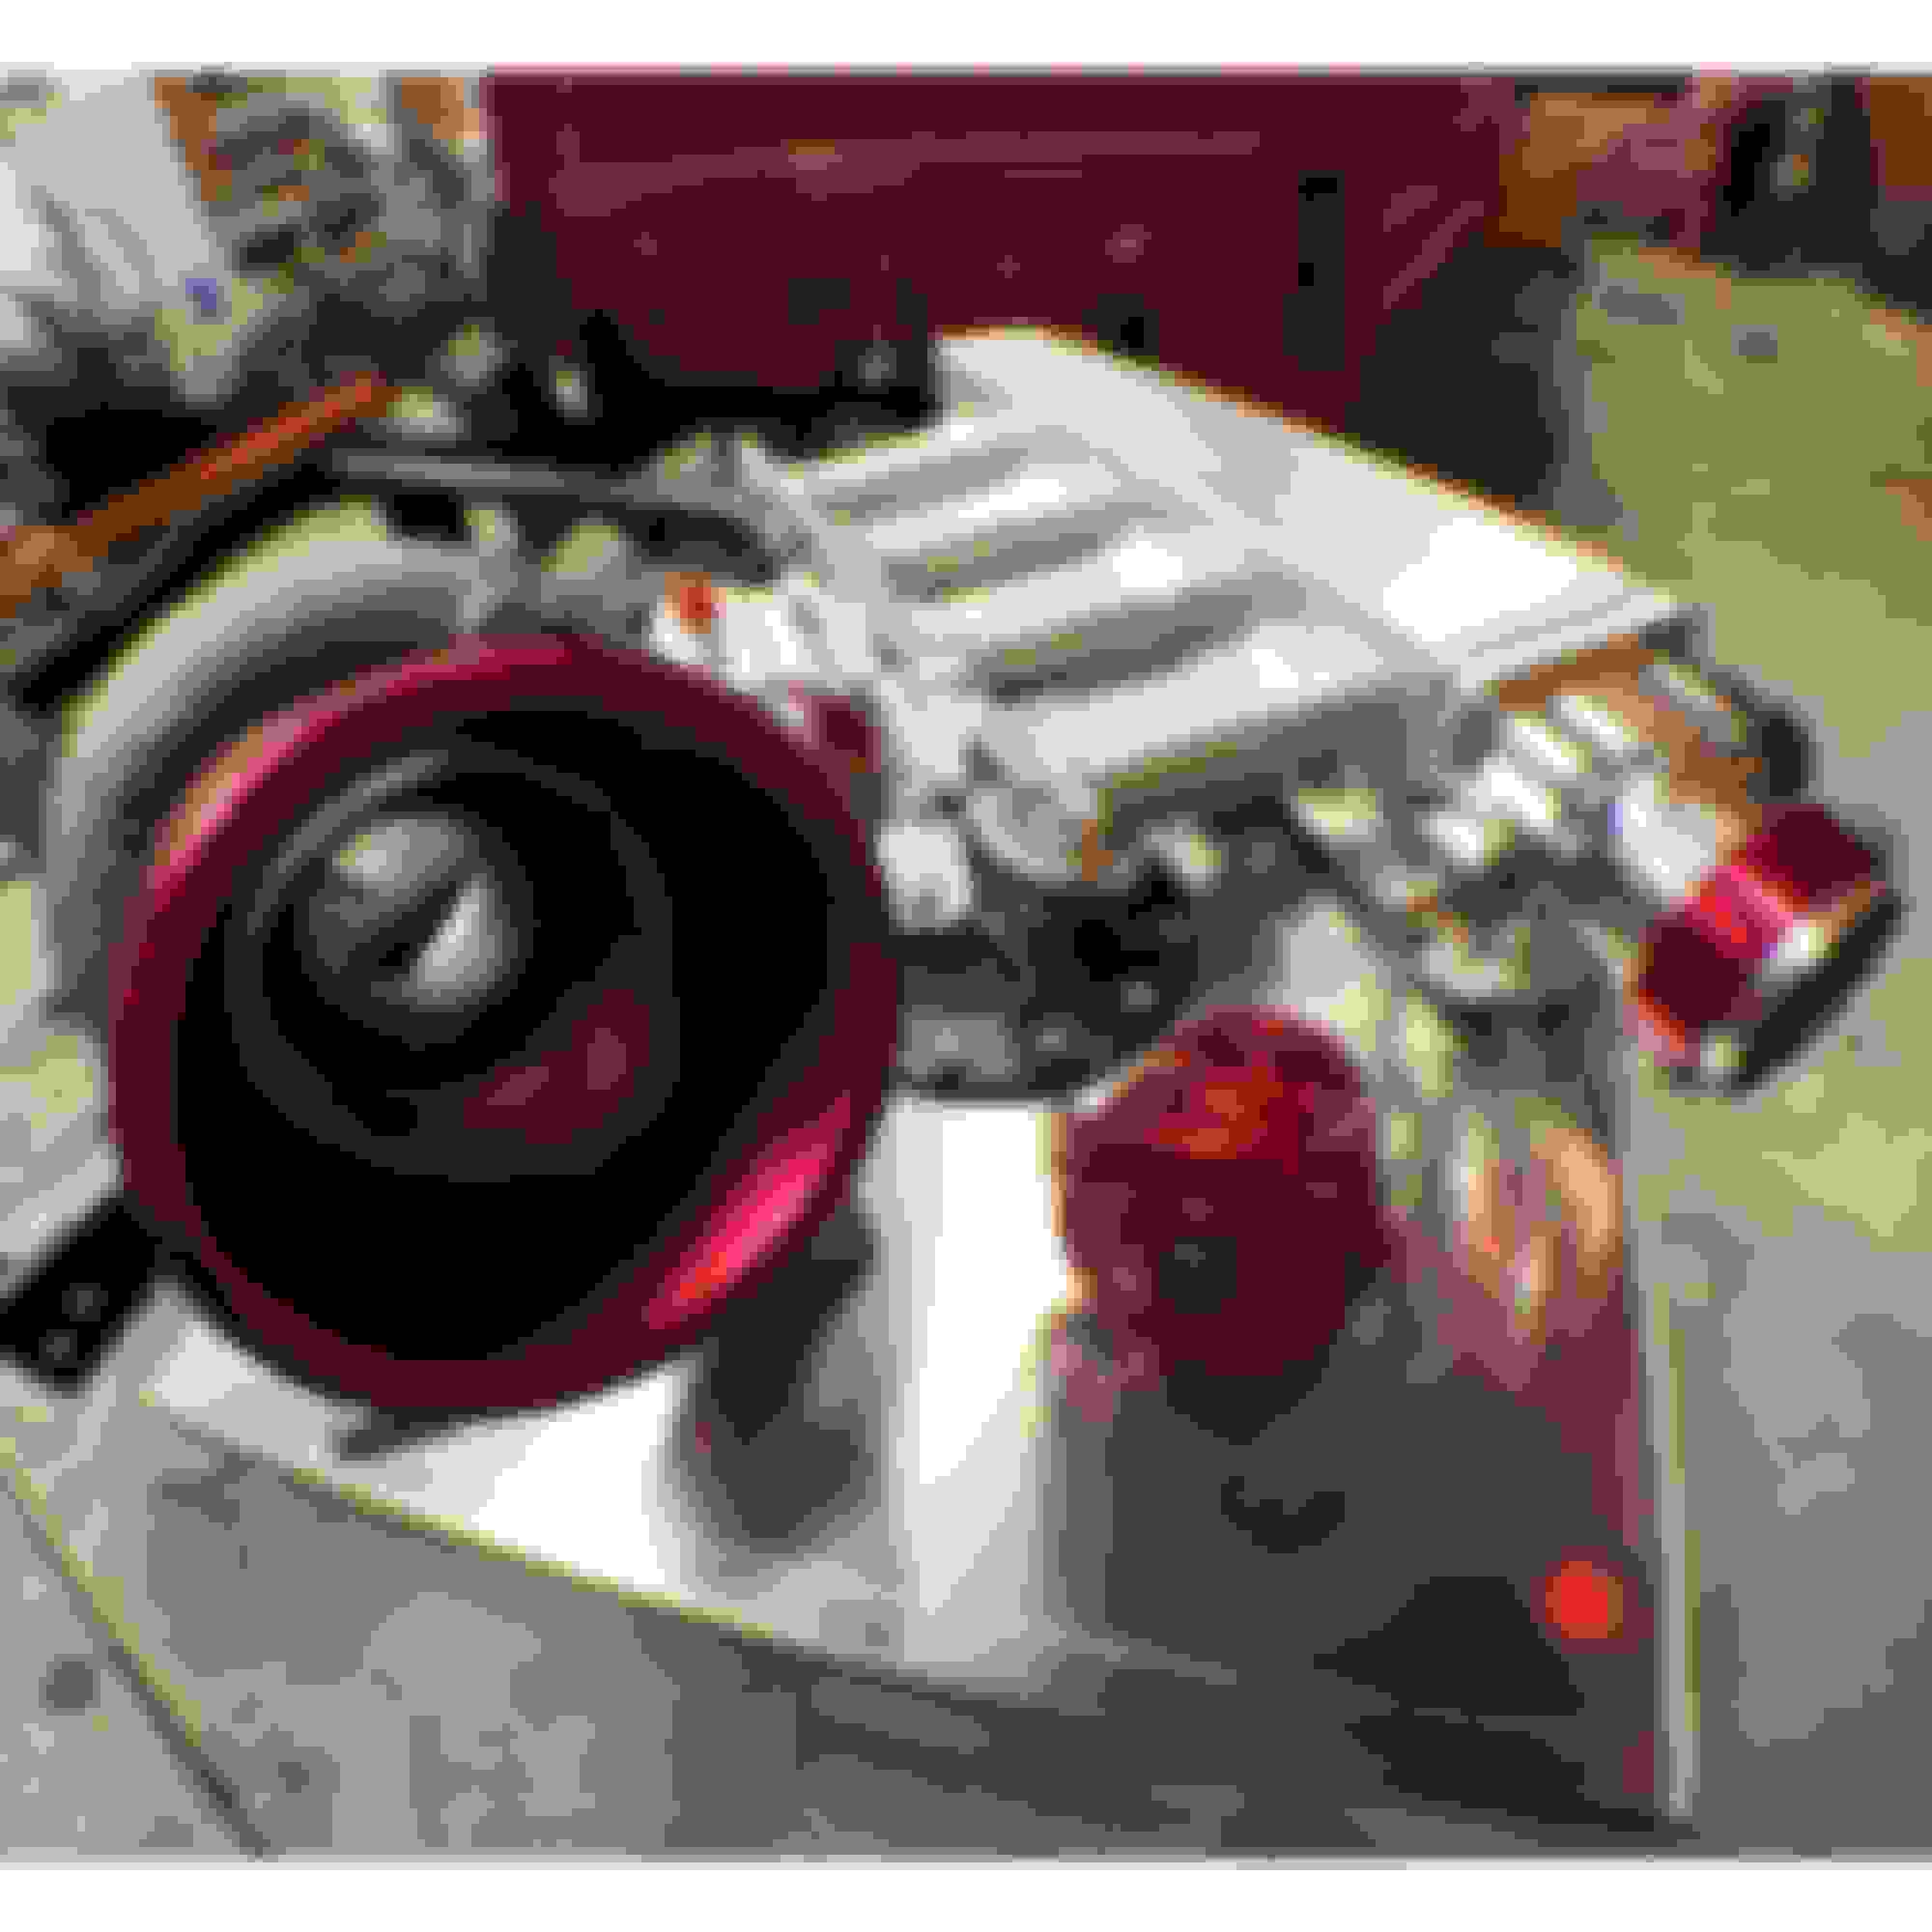
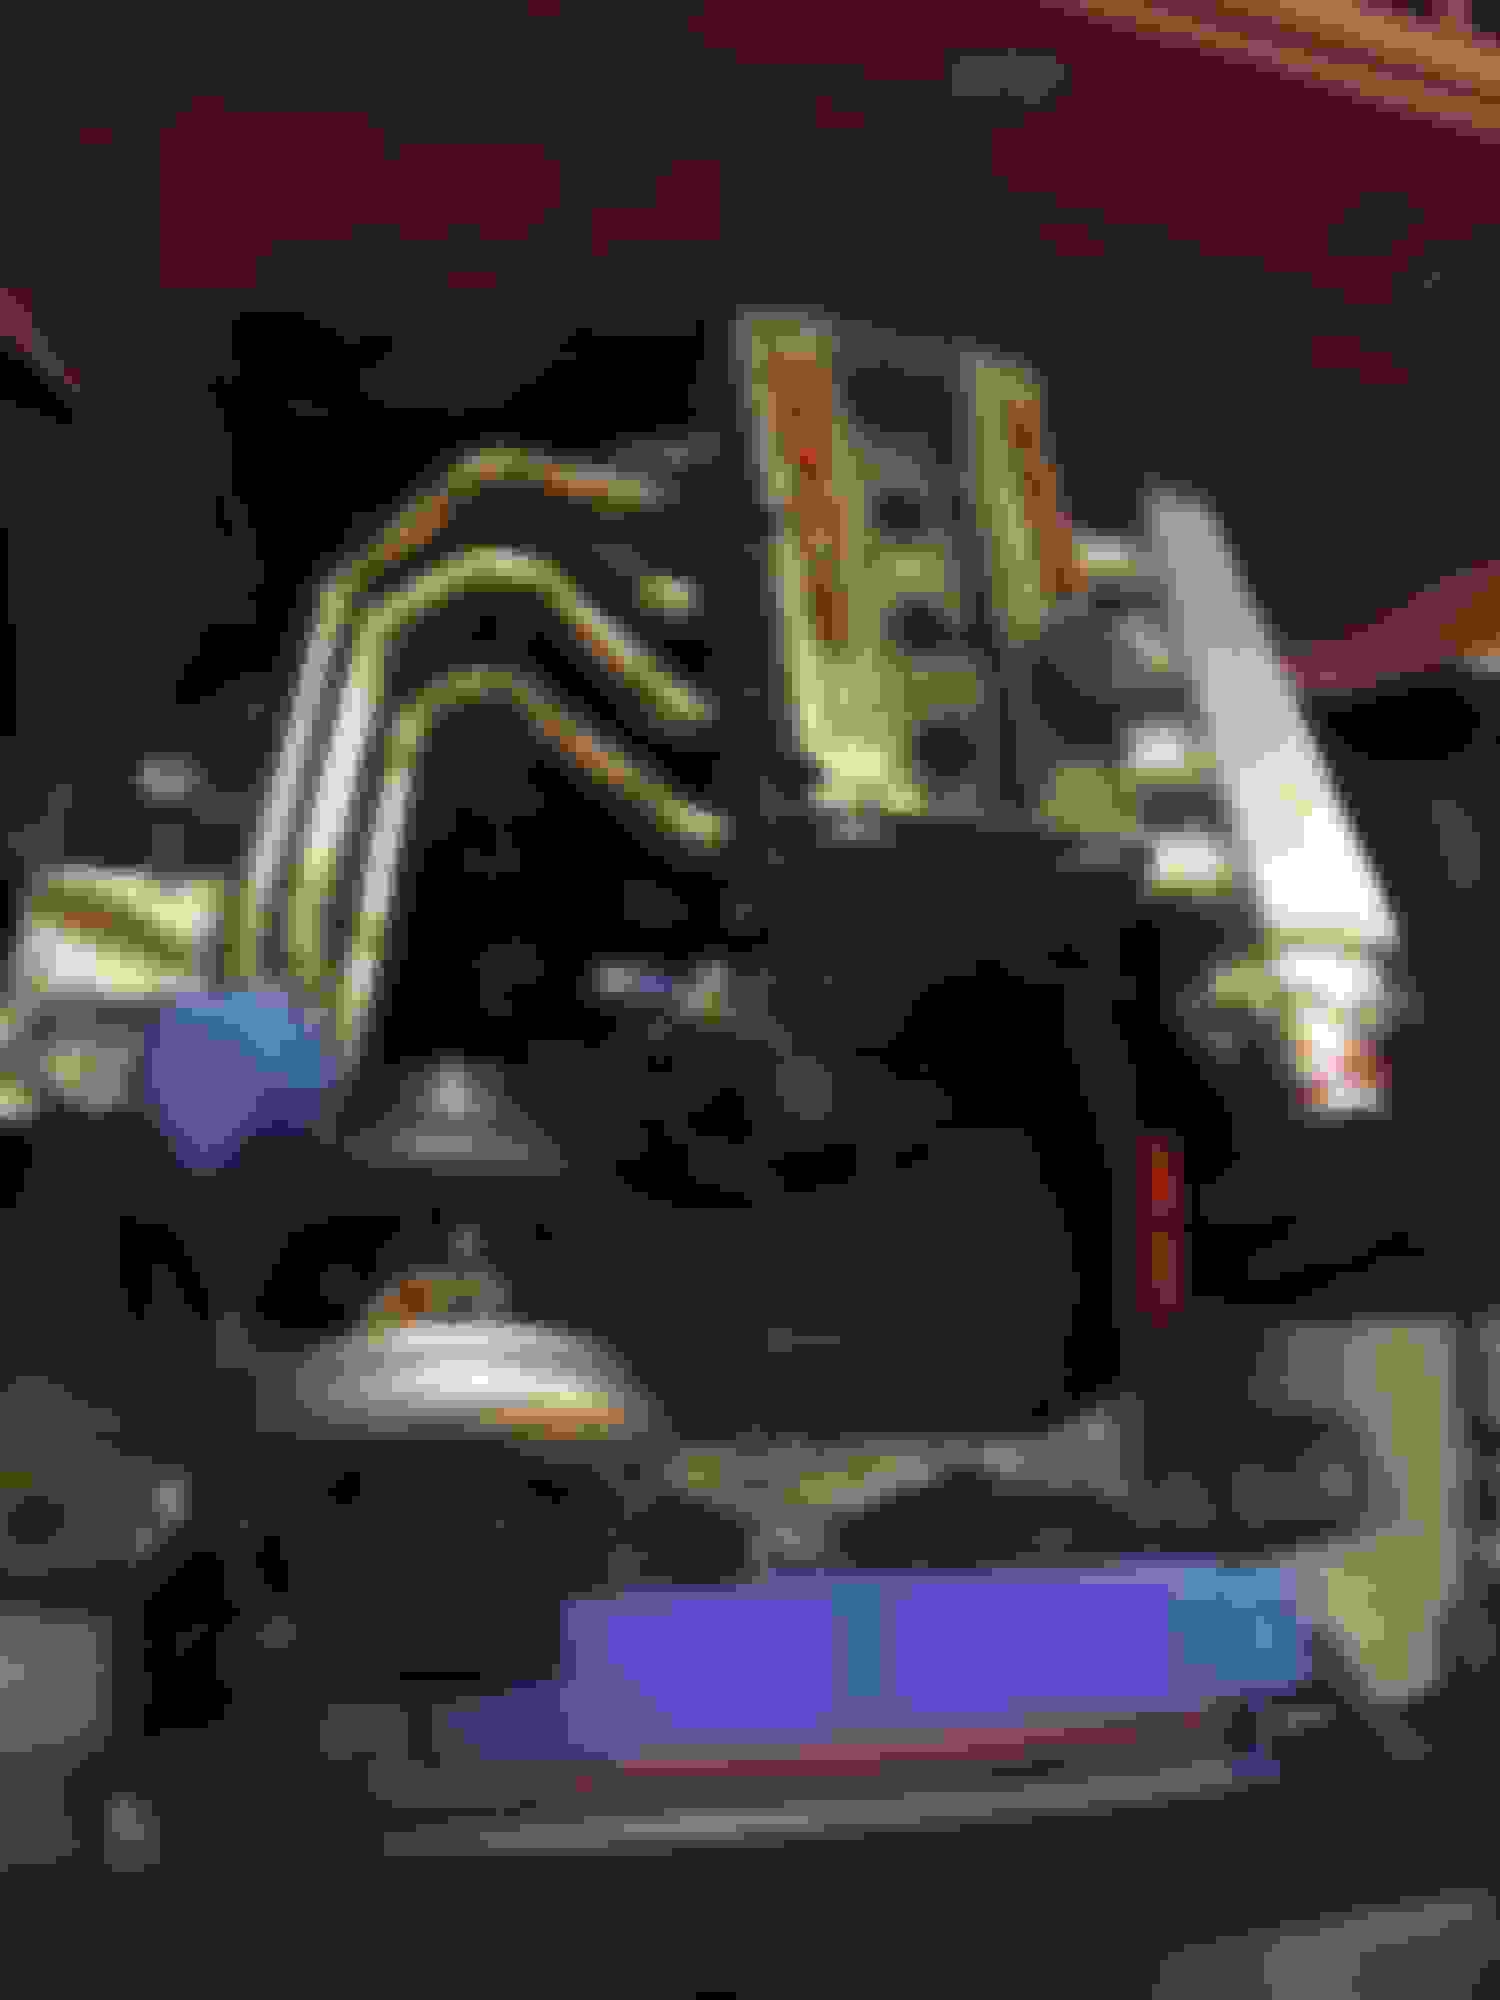
So next was the exhaust manifold. I wanted to do a forward facing setup on my evo, and I've been selling my forward facing compatible AC condenser kits to evo guys for the past 4 years. So it only seemed right to do the same with the truck, but obviously it's quite a bit different with a RWD configuration. I set the turbo in there just for kicks, and was hooked on the idea
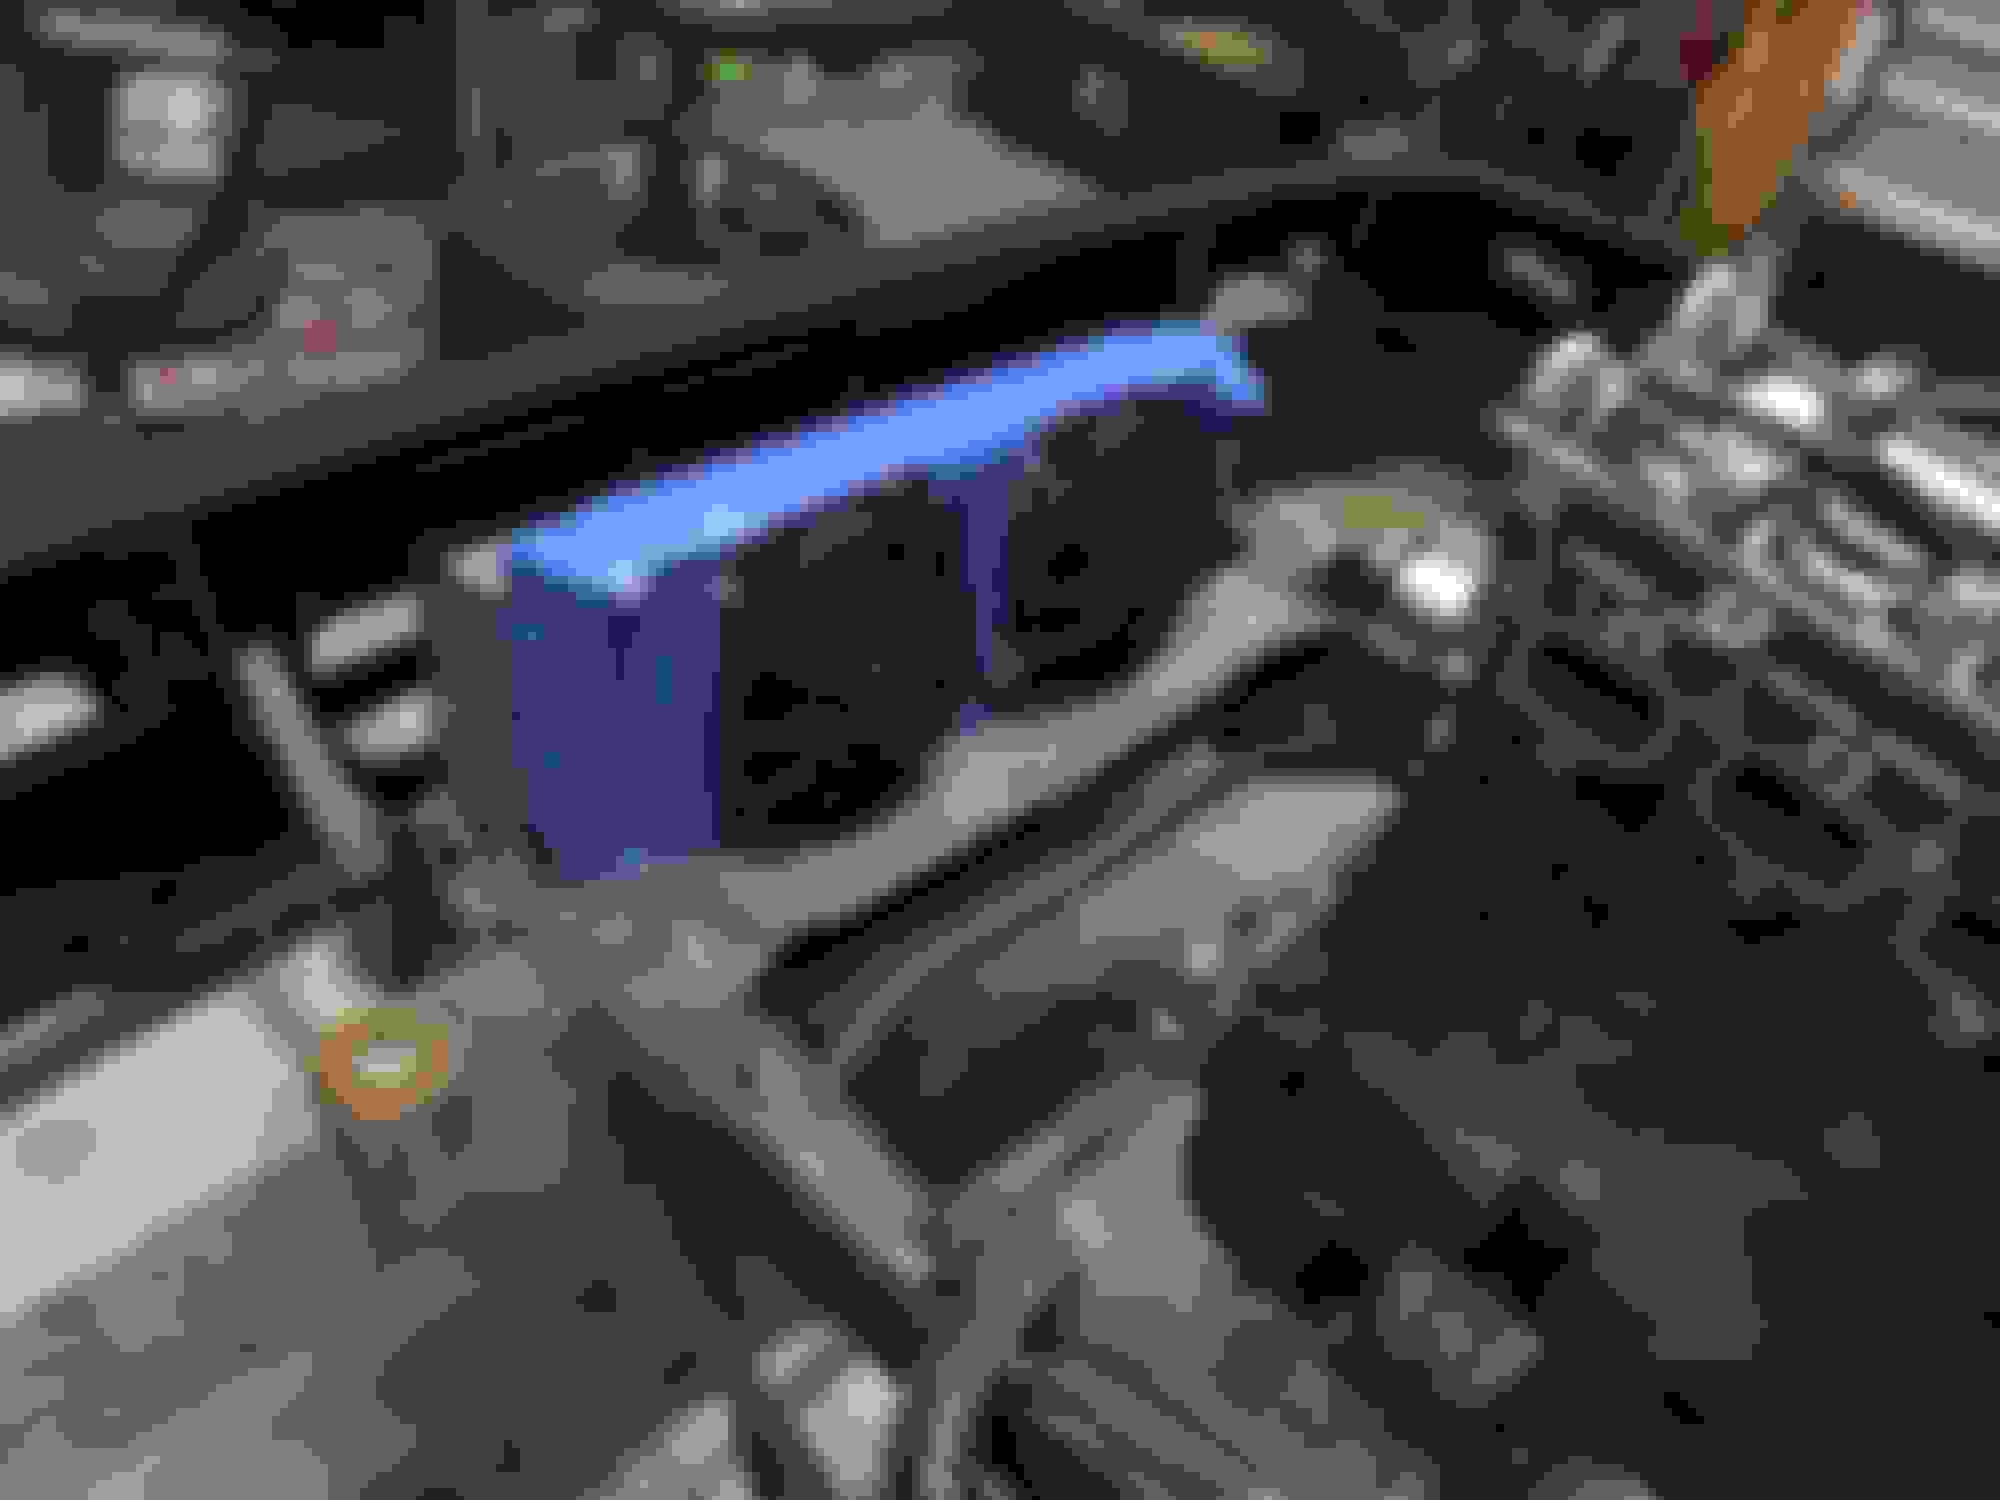
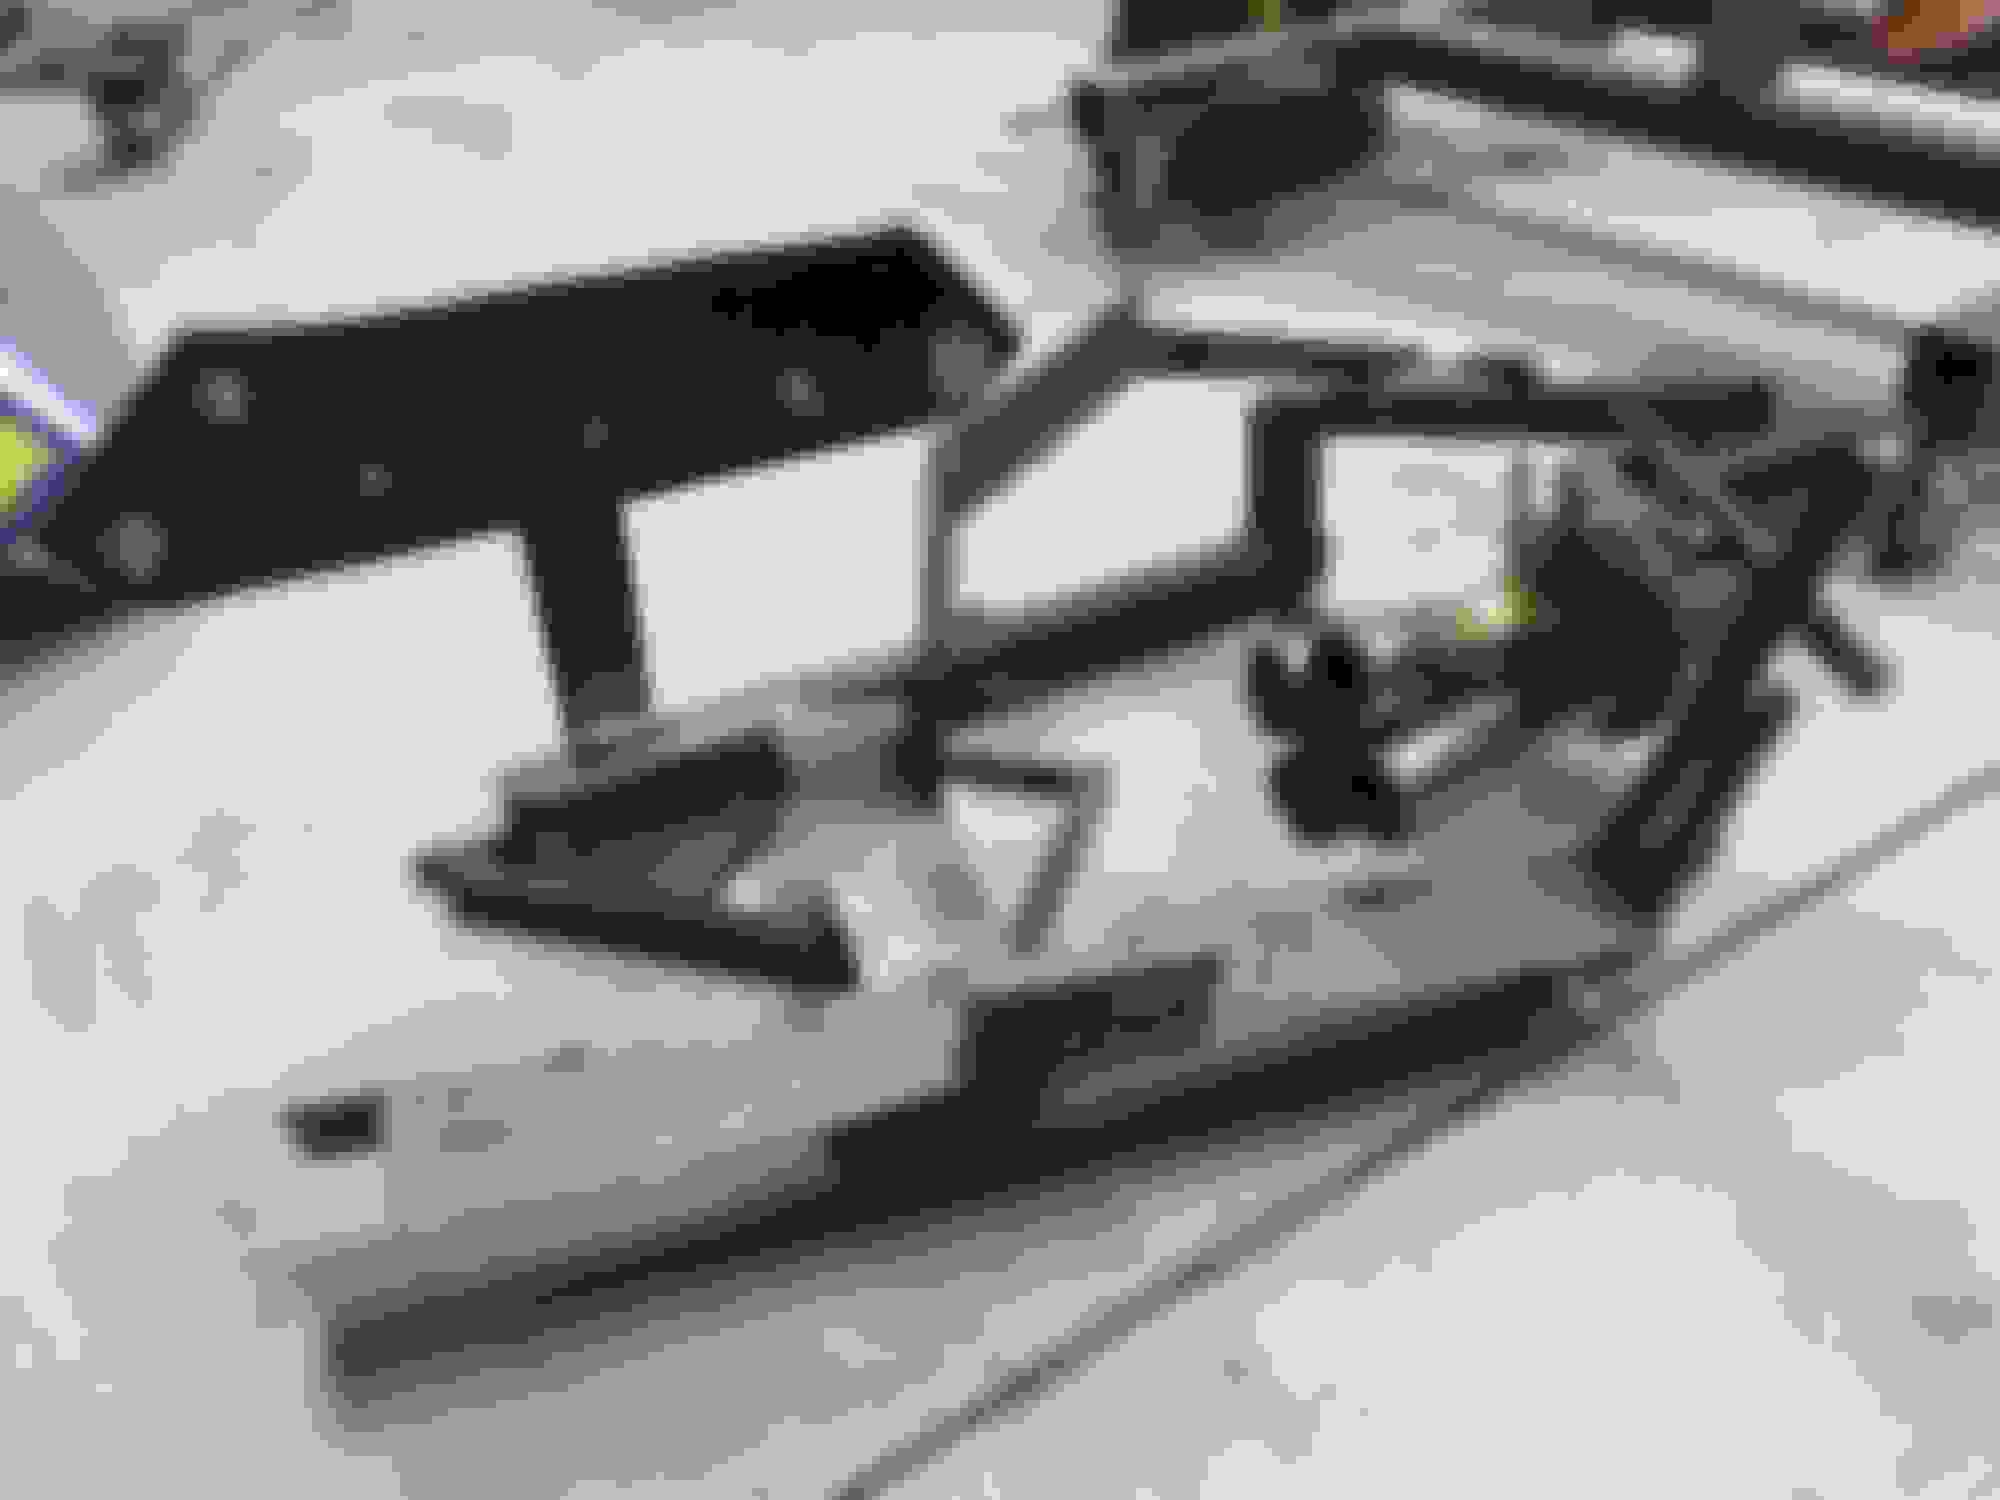
Before I could do anything though, I had to make a rear trans mount. I realized if we built an entire turbo kit based around a transmission that wasn't fixed, I could be looking at a HUUUUGE headache. Thankfully with the lift and a lucky stock mount location, I was able to design a pretty simple mount. I located the trans as high up as possible to keep the engine sitting close to level. The factory floor was the limiting factor on this.
So I ordered a tial 44mm gate, BOV, some aluminum IC pipe, and some ferrule o-ring style clamps for the charge pipe connections. My friend Mike (@mike_laird on instagram) was able to weld up the flange to the throttle body from the inside. He did the turbo compressor outlet too (thanks Toxic Fab for this idea years ago). I powder coated the comp housing chrome and was starting to get some cool looking stuff happening .
I can kinda sorta tig weld at this point, but its not good enough to really do anything up to par....not to mention I still don't own a TIG machine. I placed the turbo where I wanted it and made sure that the rest of the setup would have adequate space. I.E. intercooler/air filter/oil return line/downpipe/waste gate dump. Since I already had the HX35 which has a bullseye power stainless t3 housing, I wanted to run it. I know that it will be the limiting factor for power in the future, so I opted to design a manifold that would allow for change. CX racing sells these stainless v-band to t3 tight radius elbows, so I figured I'll run that and if I ever switch to a v-band inlet turbo, all I've gotta re-do is the elbow/maybe downpipe/etc...rather than an entire new manifold too.
My friend Tanner (@praxisfab on insta) who lives in Florida built me a collector and mailed it to me so that I could mock things up. I ordered a stainless head flange and some sch 40 1.25" pipe + weld els, Ready to make moves!
At this time I remembered an article I had read years ago by Tony Palo from t1. He was pointing out how many people built their cars based on the turbo system and then suffered from cooling issues because they built the radiator around what space they had left. I decided to sort the radiator first. I love tucked rads, they always just look so clean. But with this turbo being so far forward, could I really handle running something short enough to still be "tucked"? I decided on the Rywire tucked rad, but of course I still dont know for sure that it will adequately cool this thing. People run them on 1k whp hondas and I've seen quite a few v8s with them, so fingers crossed it does the job. I ordered one + a vibrant IC core and mocked things up. You'll notice I also cut the front fenders and radiator support off somewhere in there too. I had been toying with the idea of doing a tubular front end, figured if I cut it off I wouldnt have much choice in the matter.
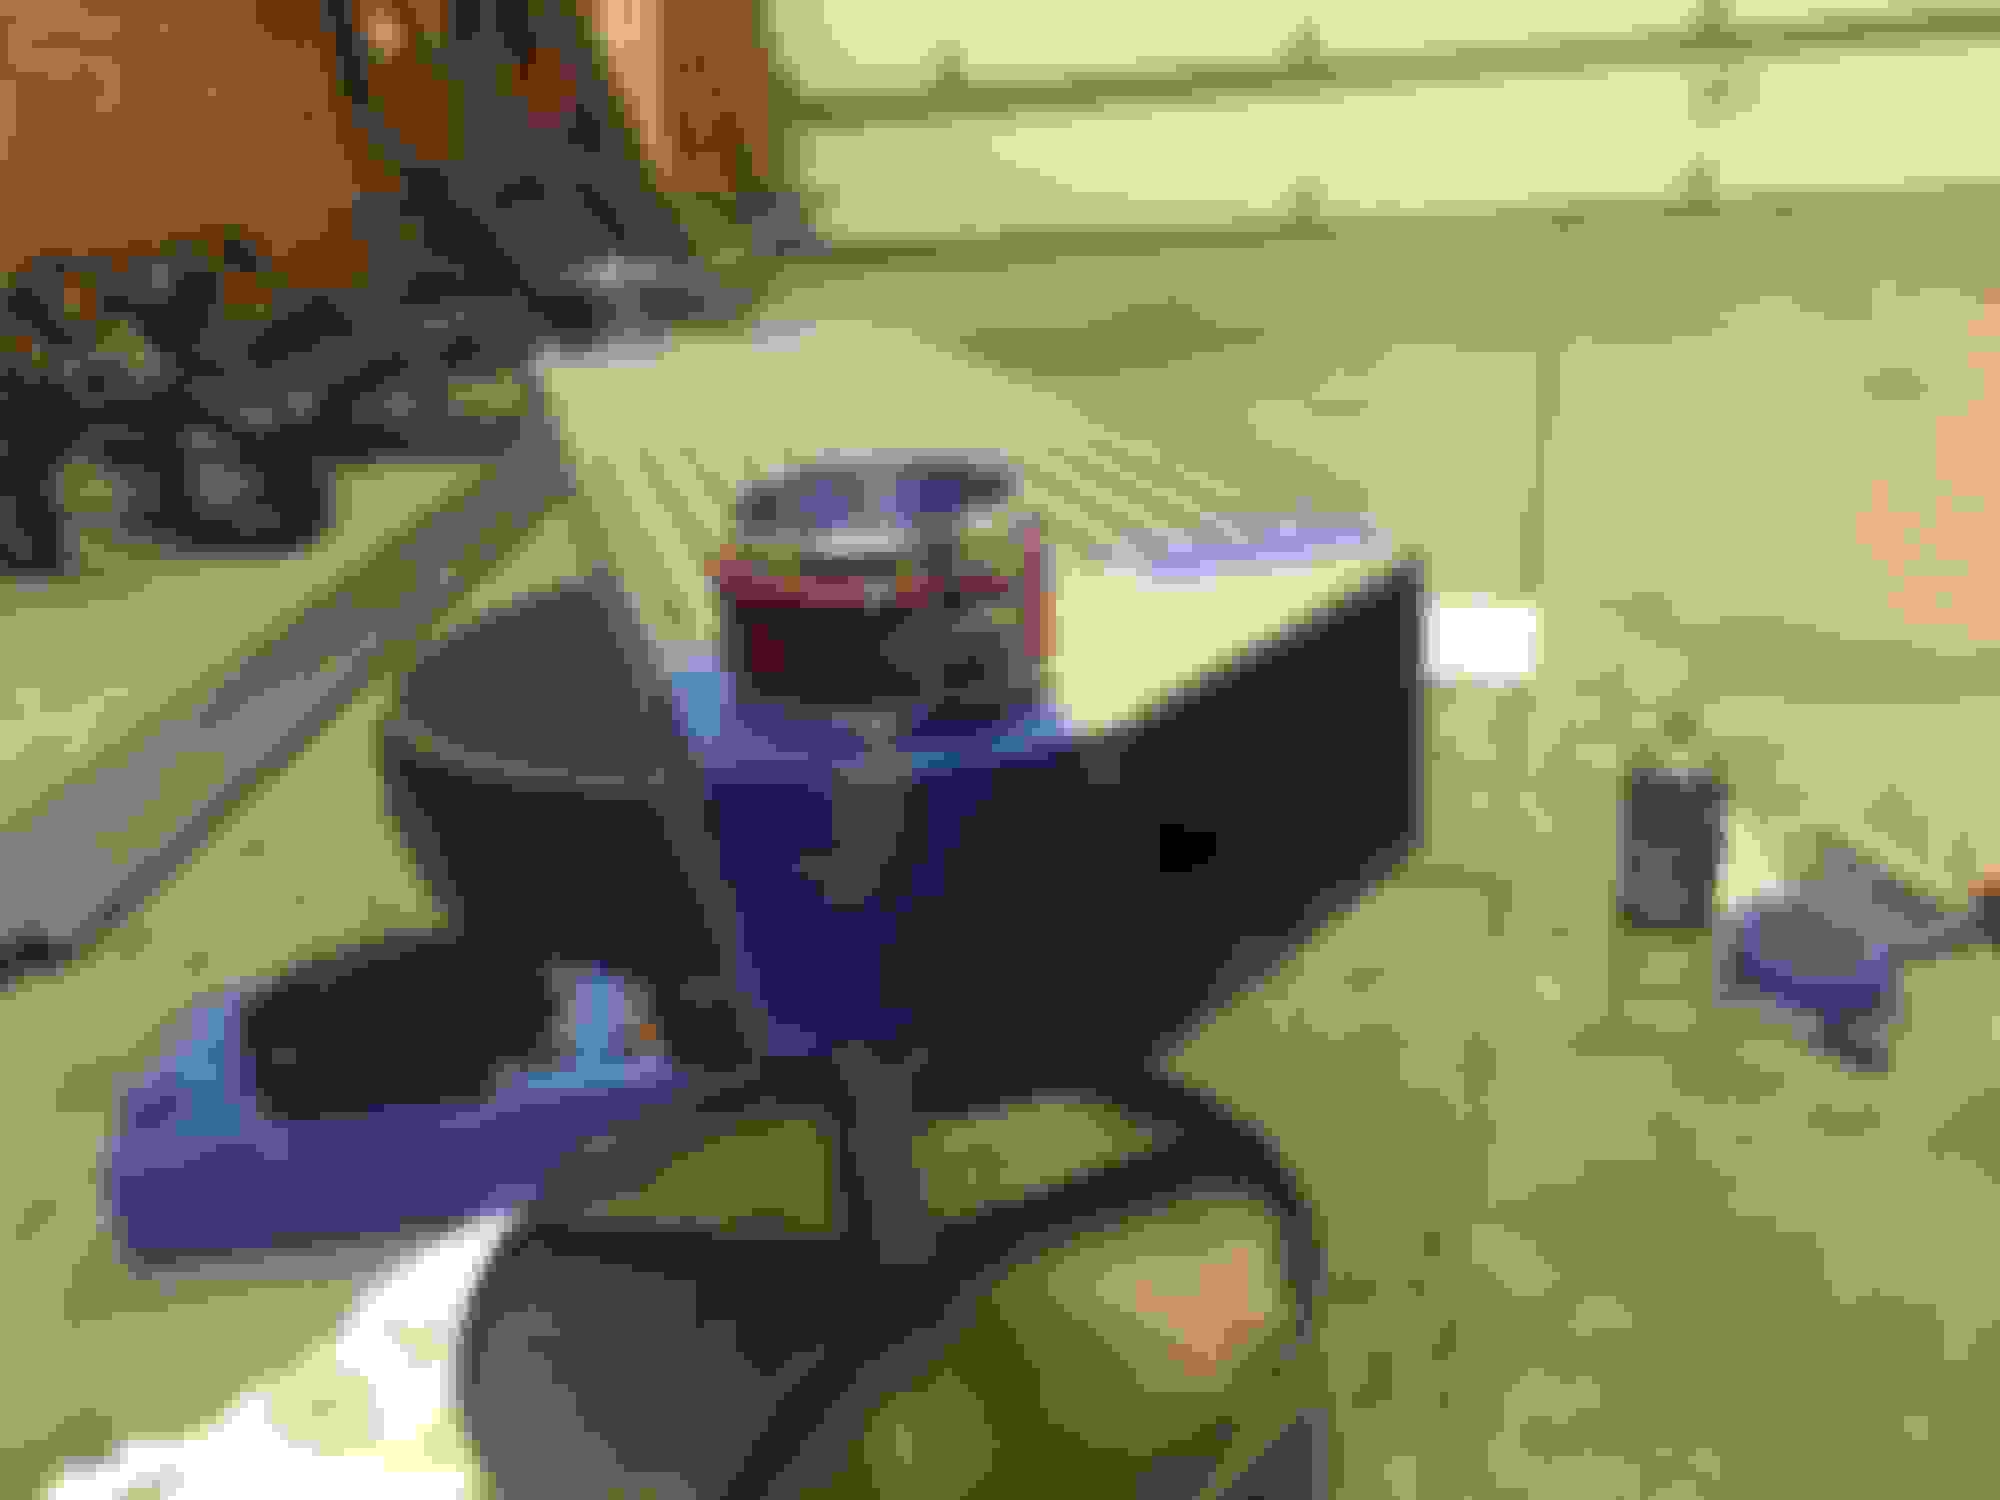
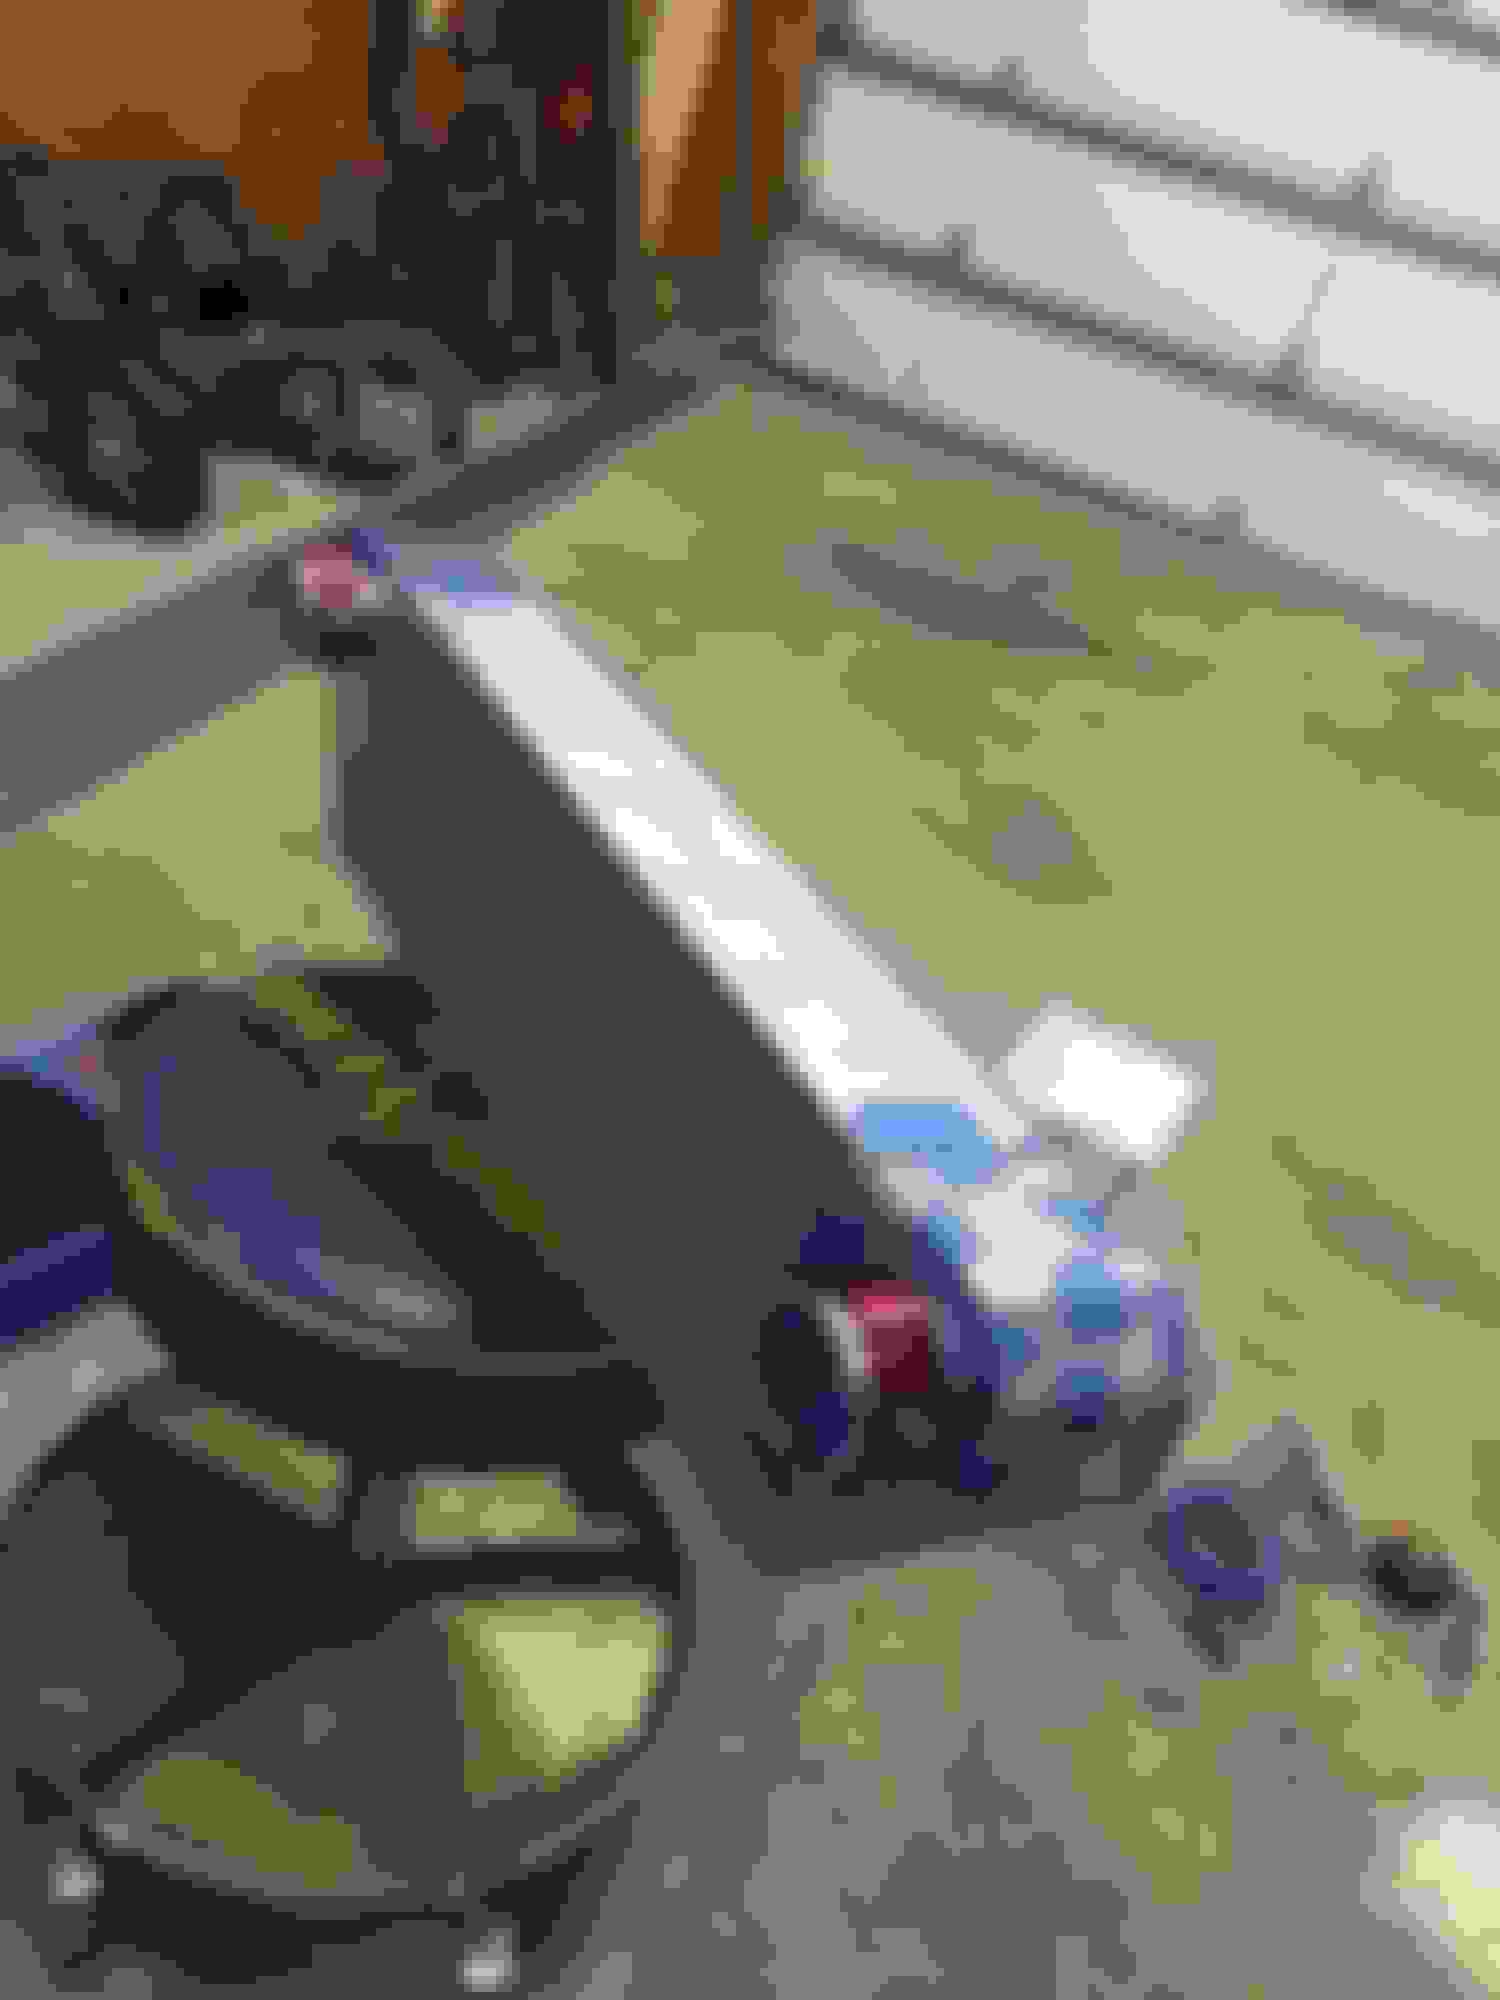
Once that was somewhat in place, I went back to the manifold. Now the crazy thing about this entire plan was that I wanted to MIG weld a manifold jig at my house in NC, and then FLY it down in a checked bag to Orlando where we could build the thing. I know the idea sounds crazy, and thats because it really was haha.
I built the fixture the best that I could, trying to consider anything and everything they may end up in the way if we weren't careful.
So after the monstrosity of a fixture was created, I flew down to florida and we went to work! Tanner is really meticulous and he's literally the only person I would want for this job. He's willing to make changes when I don't like something and he doesn't really settle for mediocrity. If fitment is off or prep isn't the best it can be, he'll fix it.
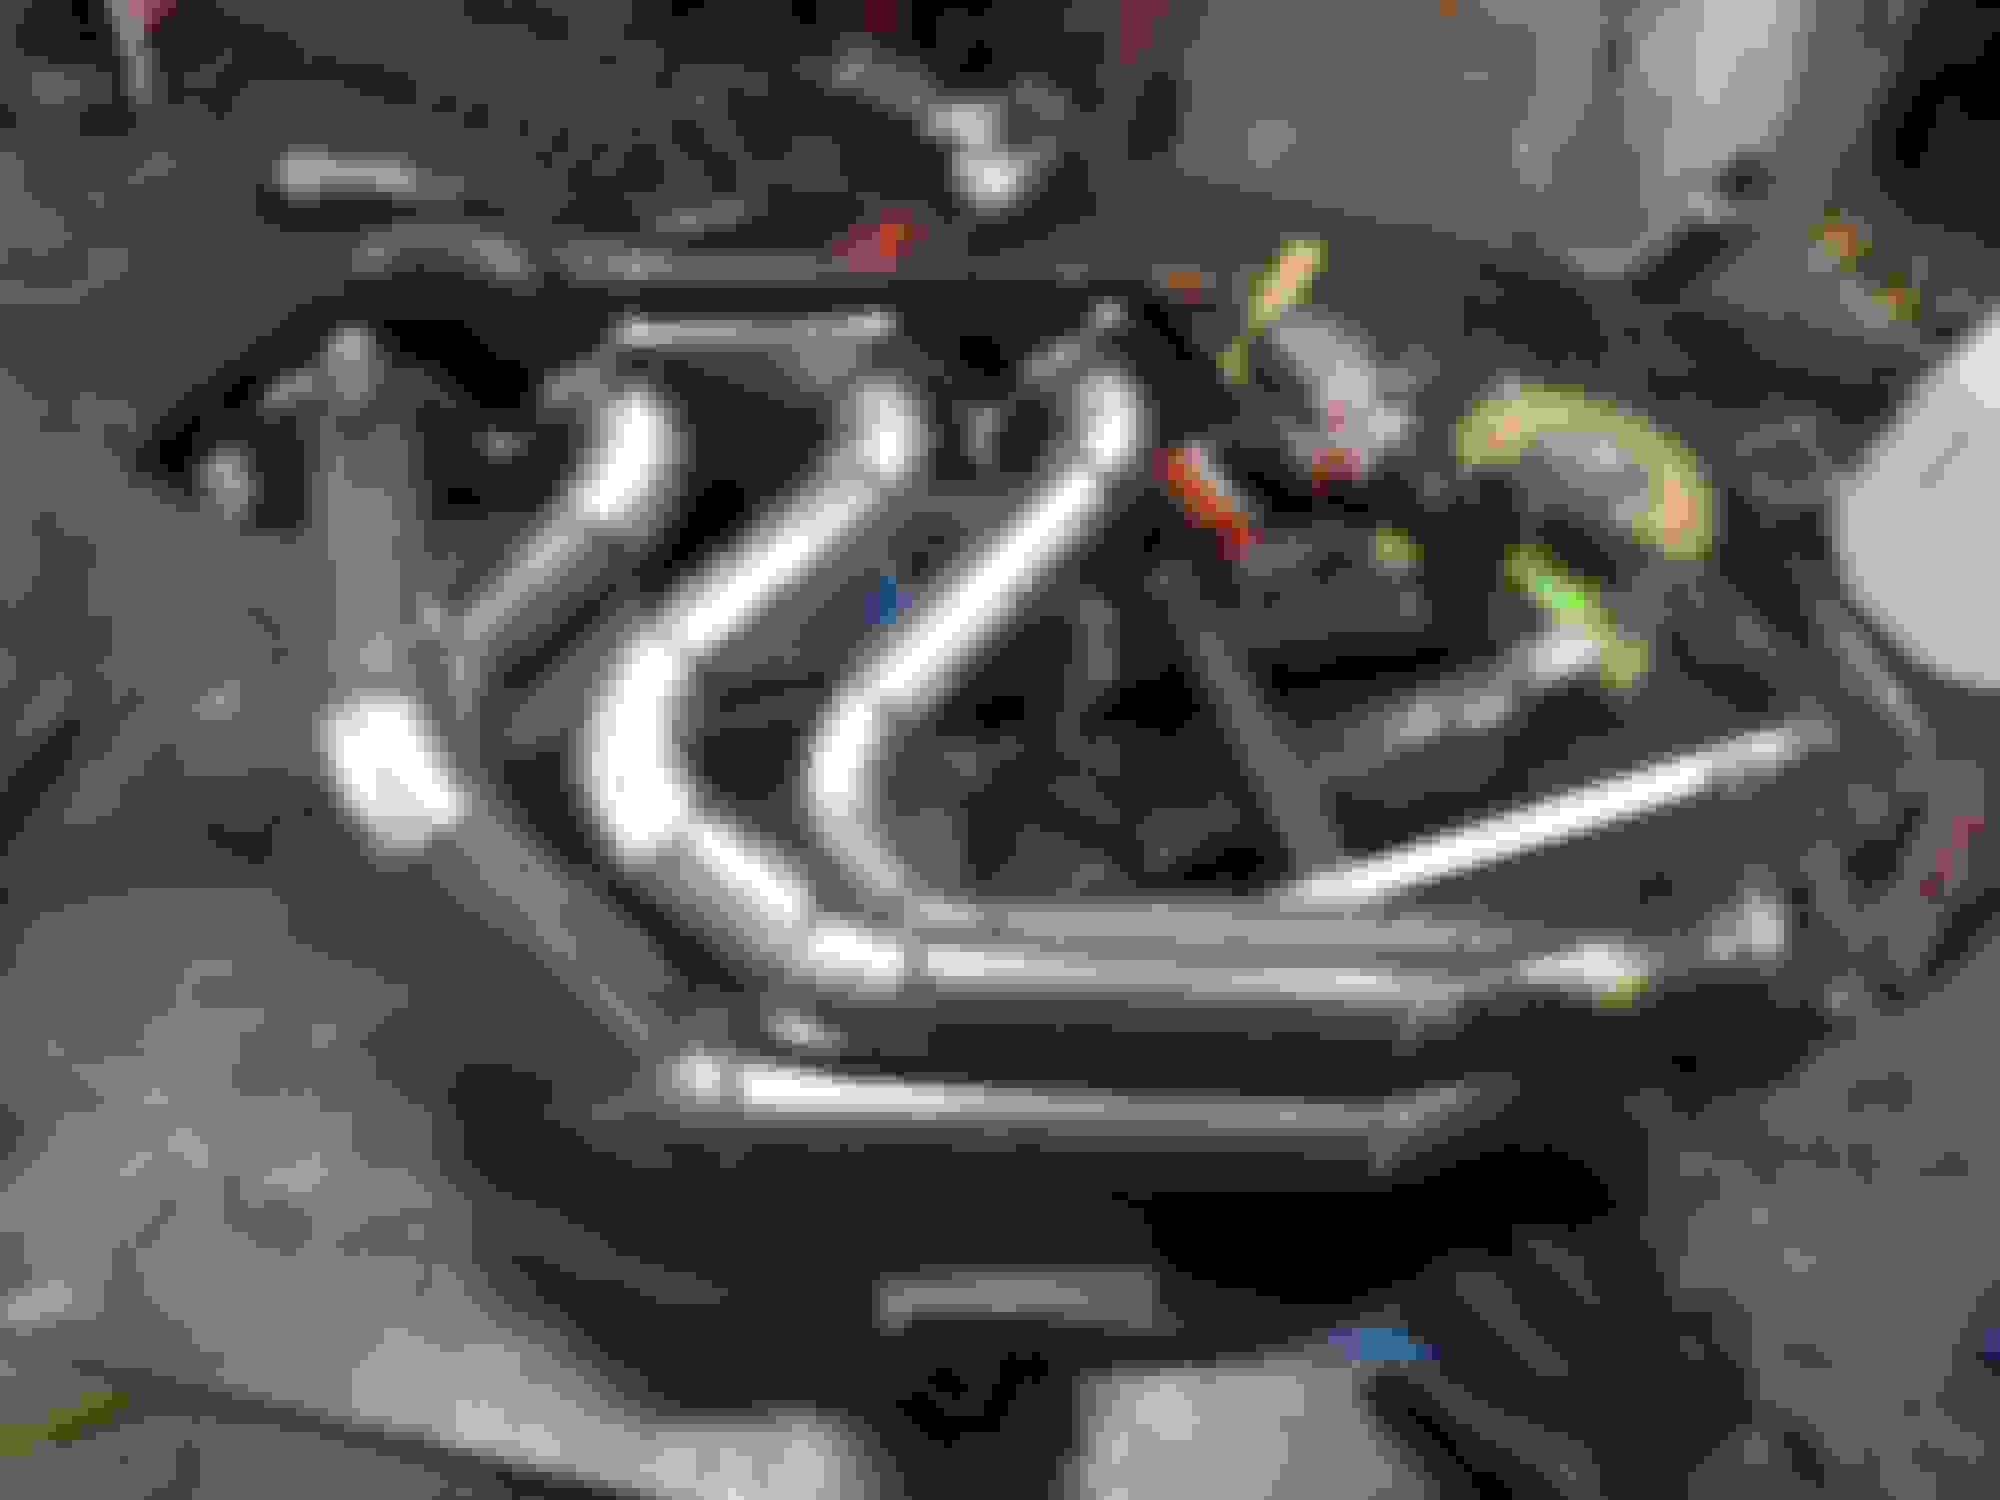
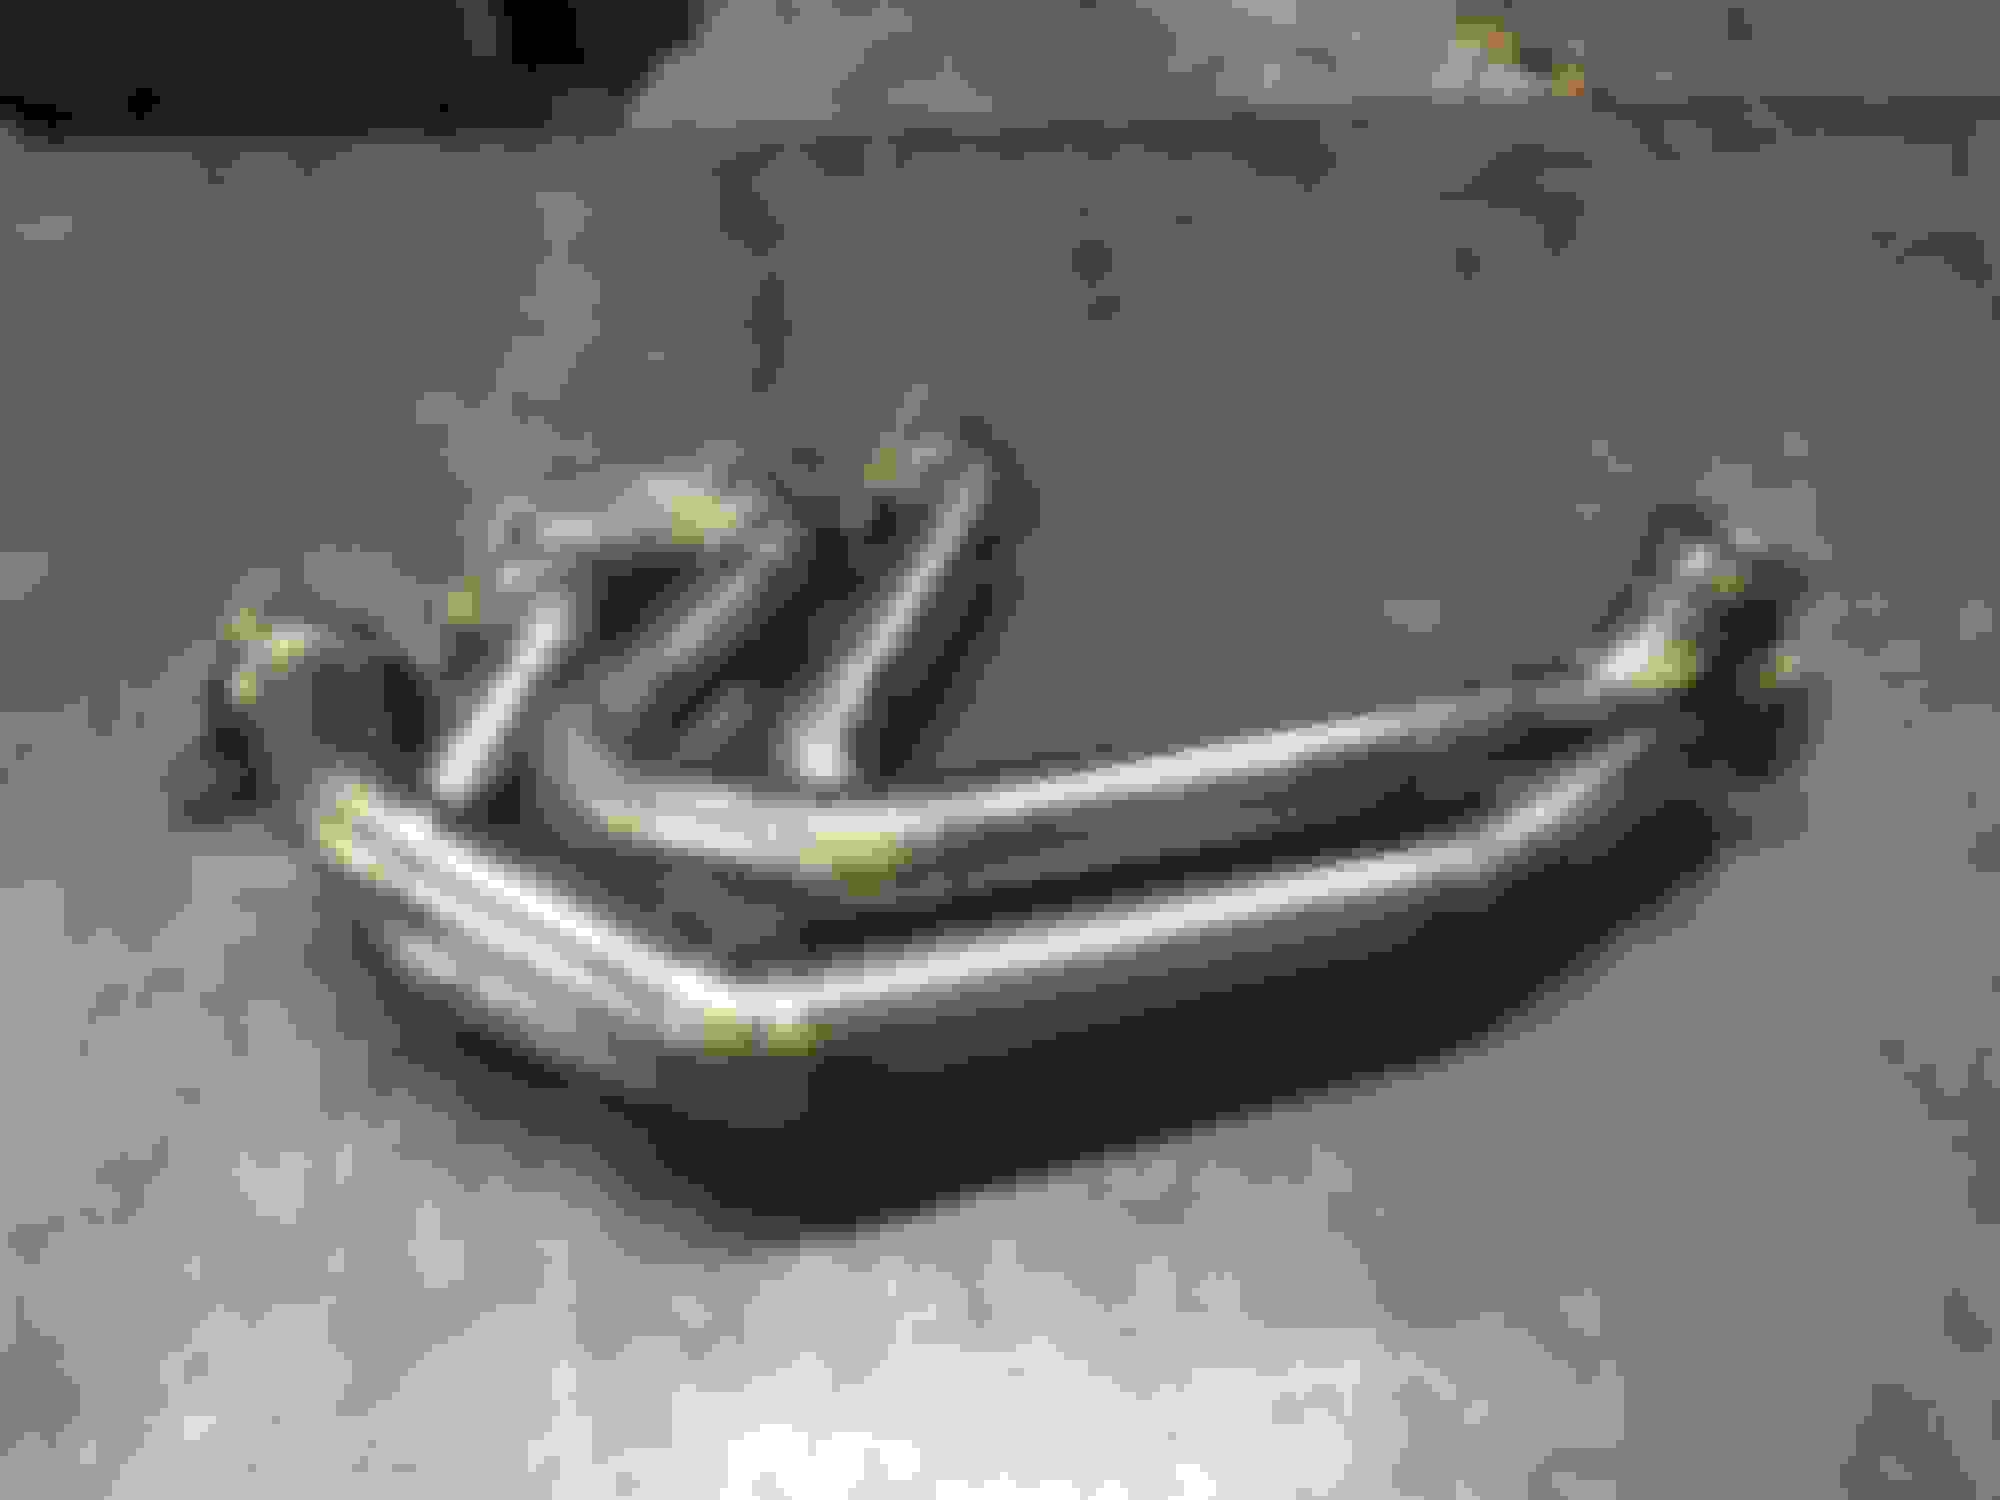
Here are some pics of the fitting/tacking/finish welding of it.
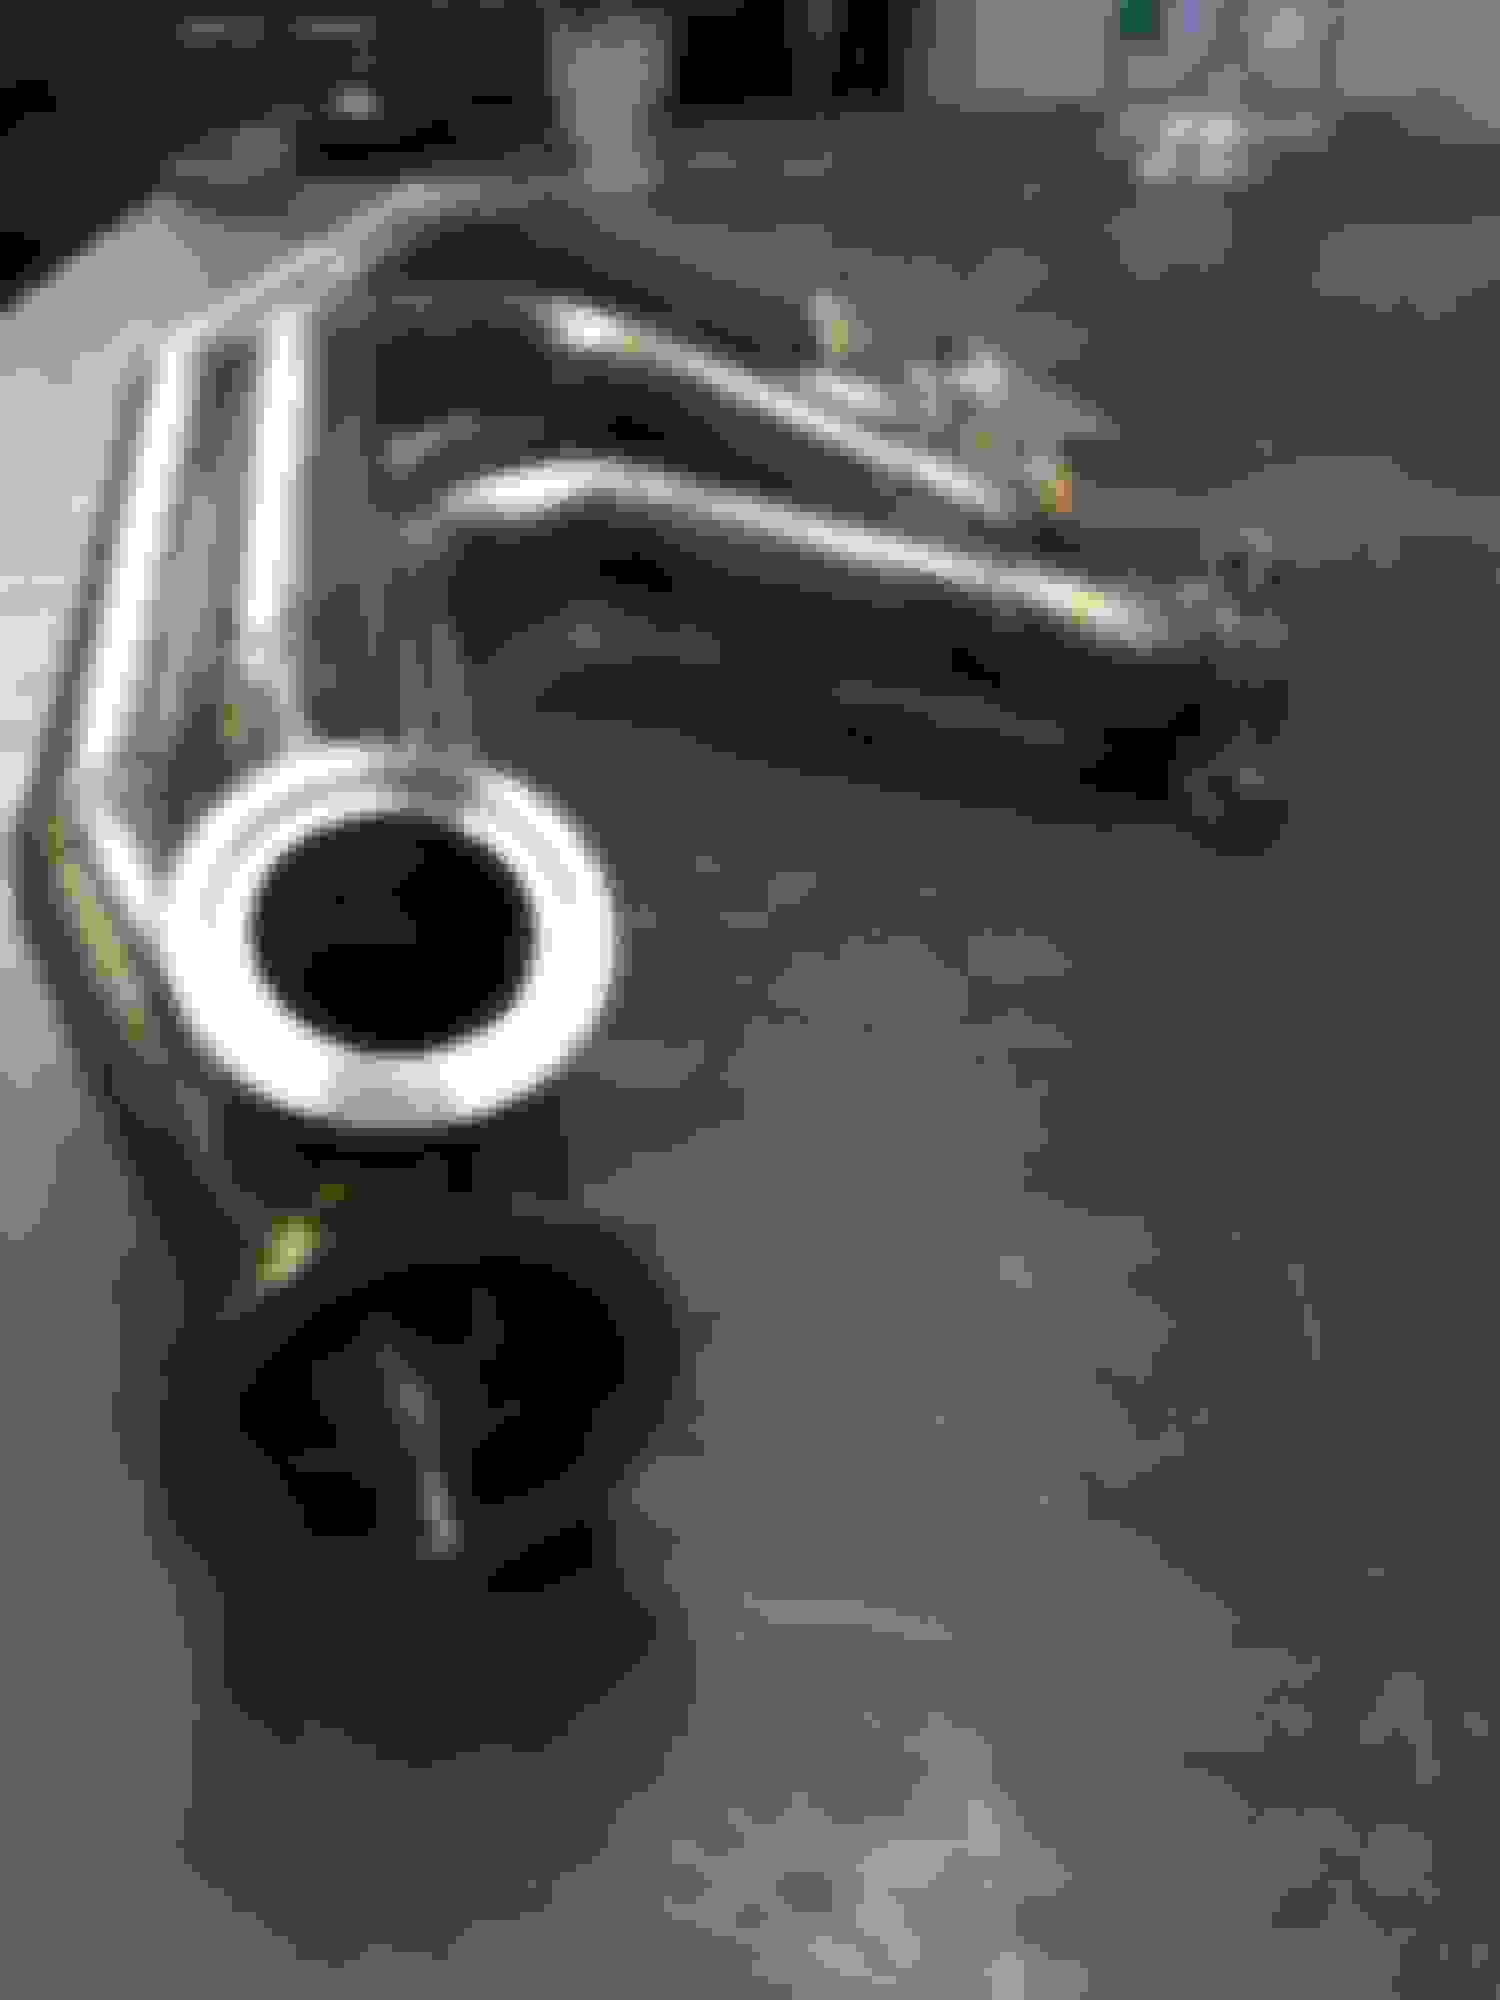
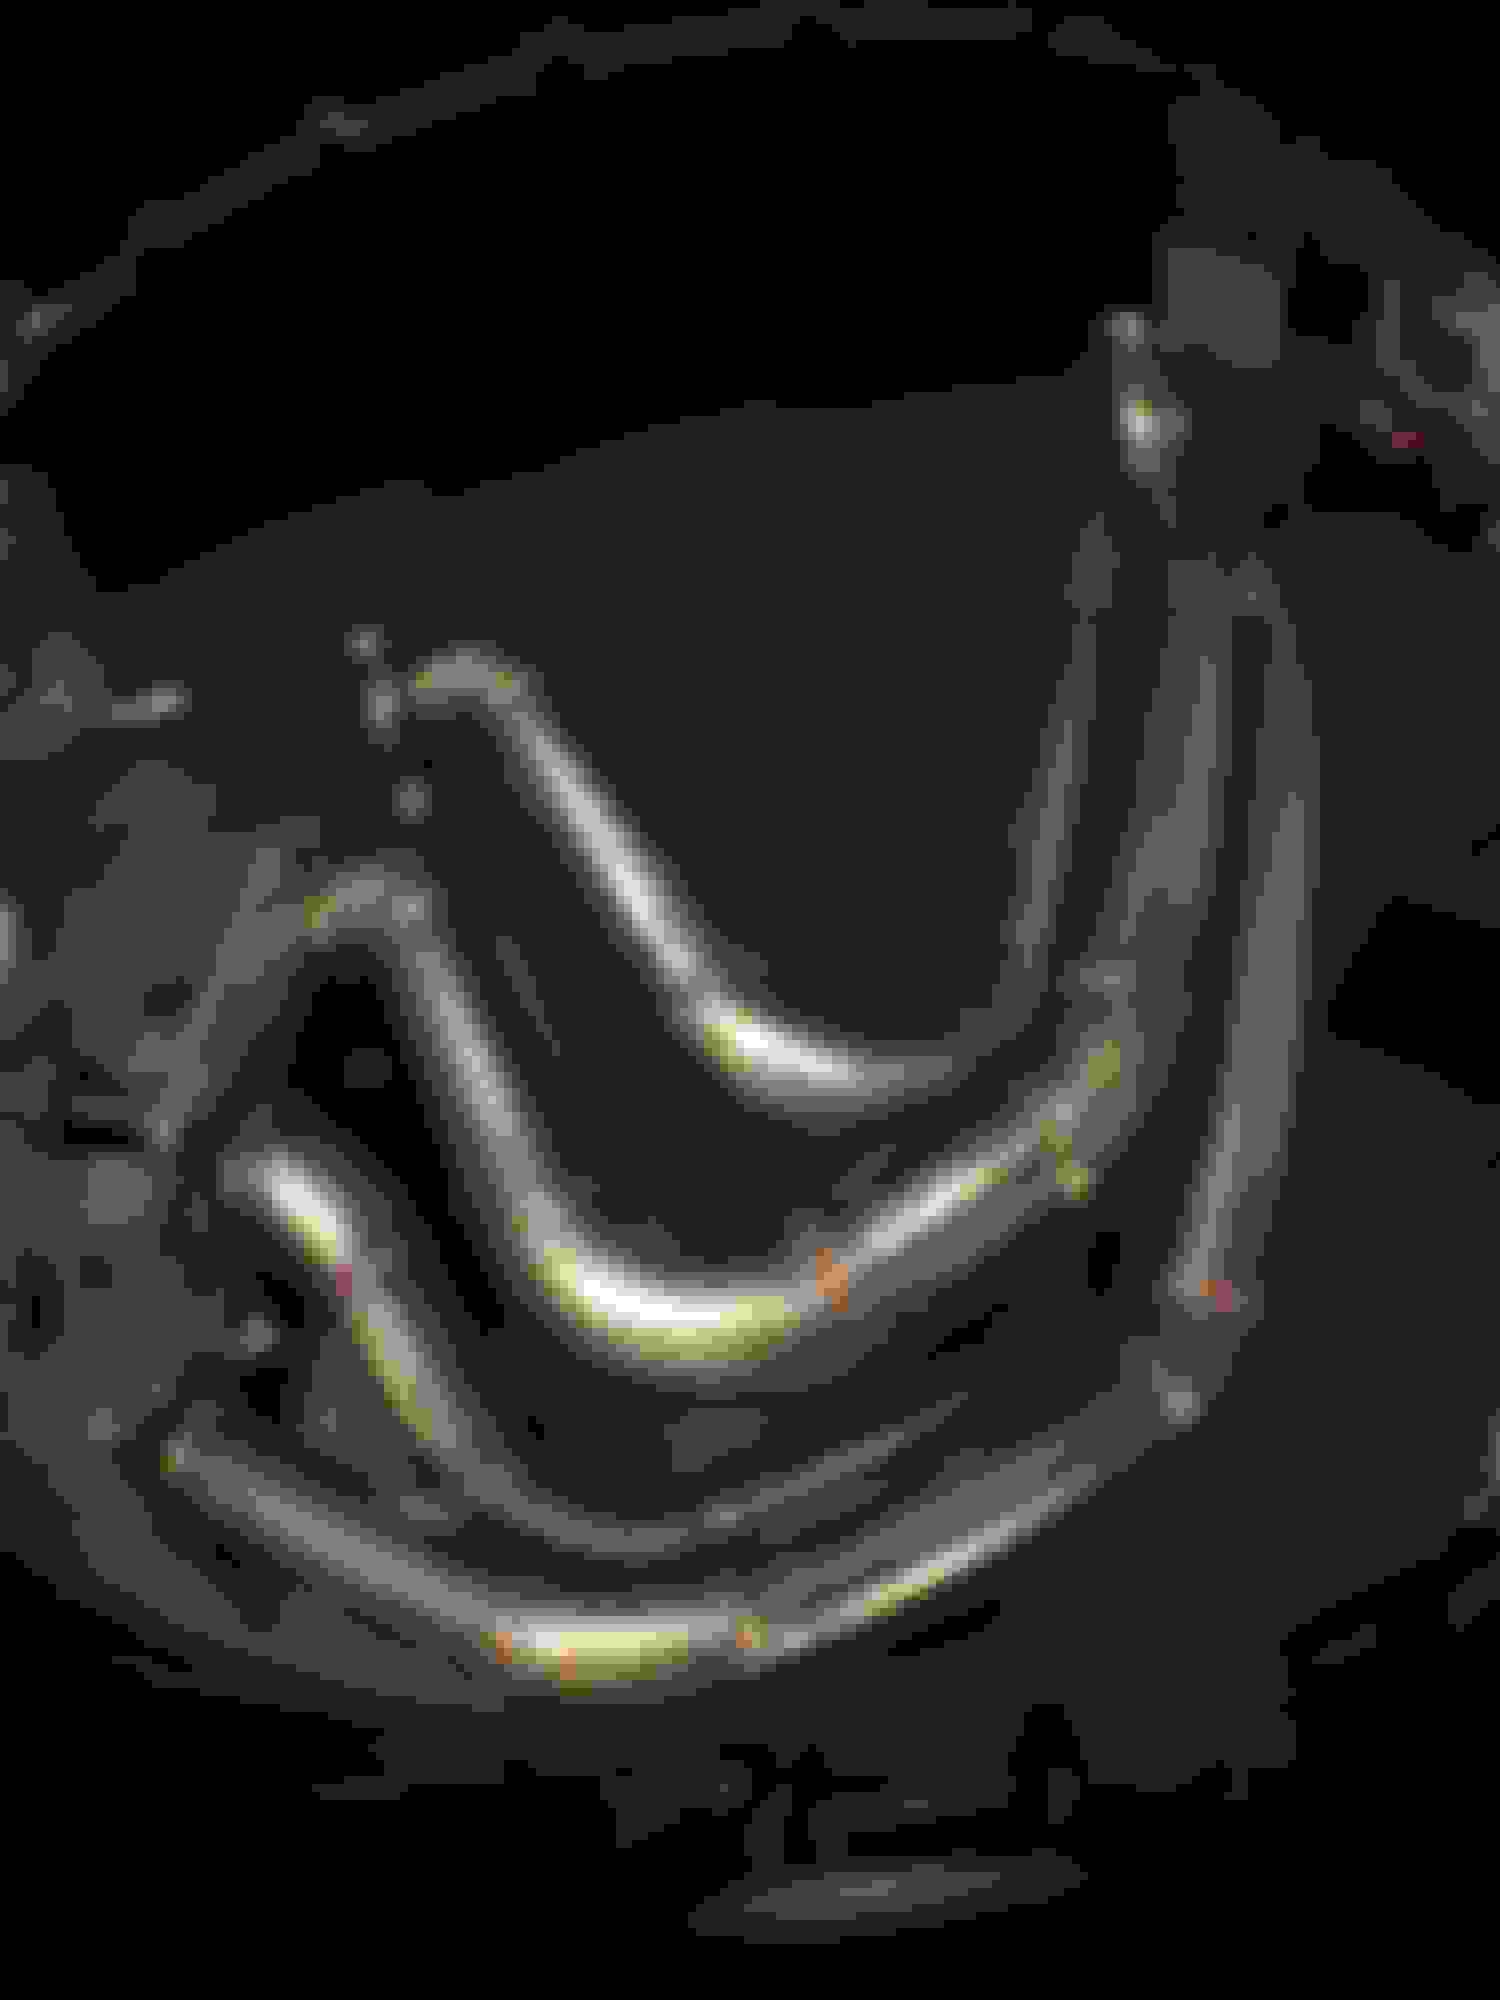
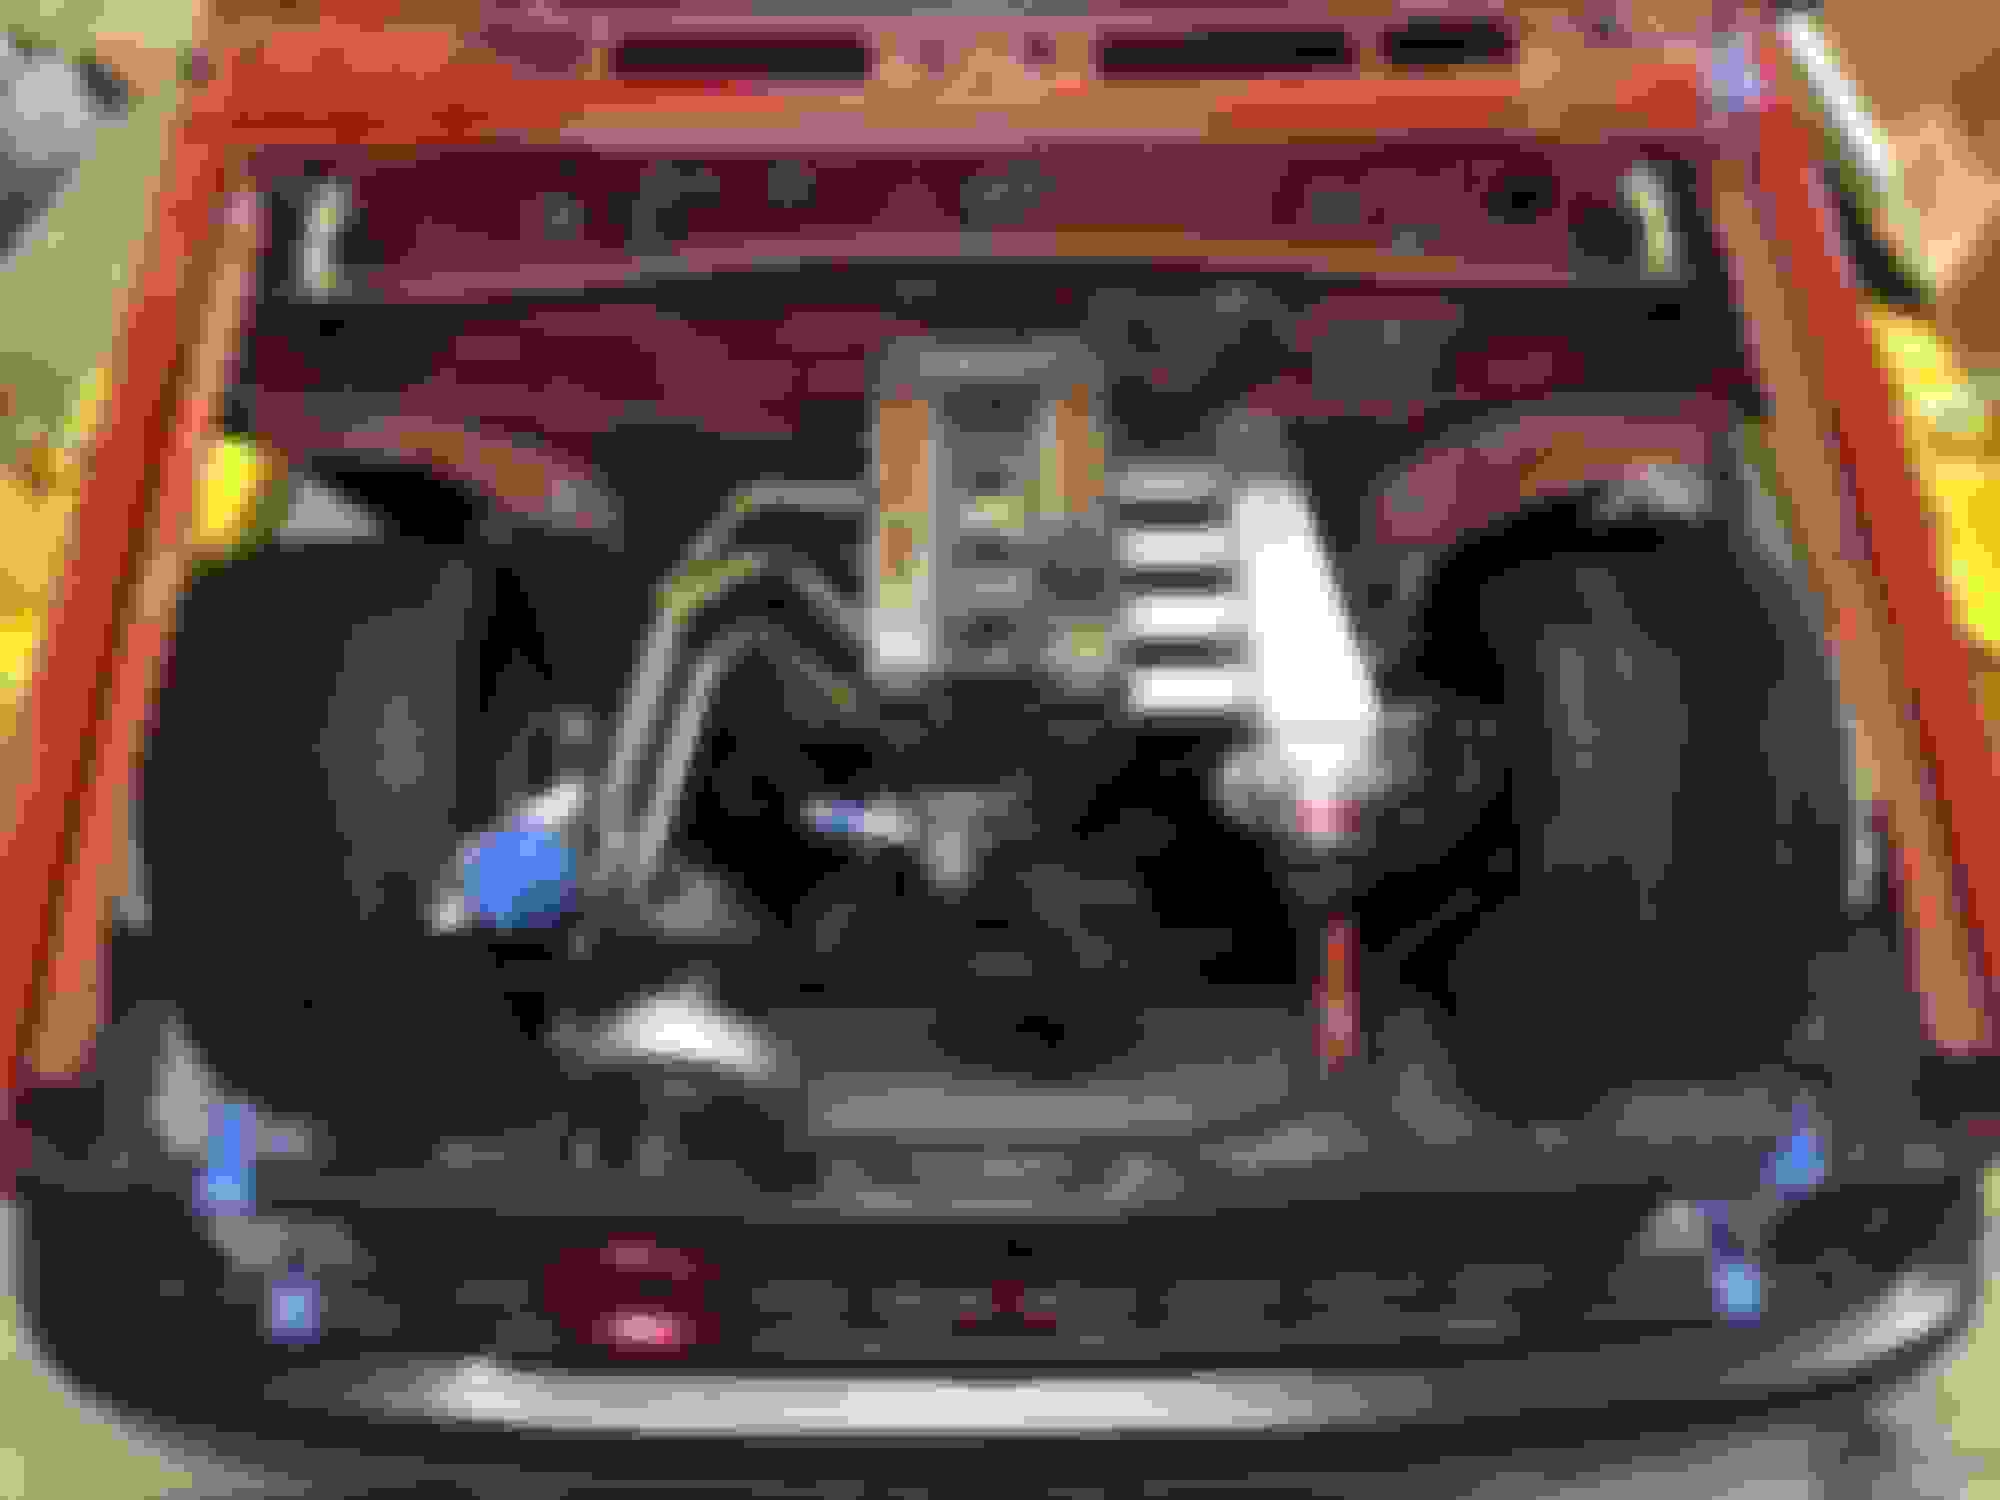
So now im pretty ****ing pumped. I've got a manifold and the engine bay will finally start to look like it may one day feature a running engine. Tanner absolutely killed it and we built the entire thing in under 5 days while going to FD orlando in the same time frame. We pulled an all nighter the last night and I flew out at 7am with the manifold wrapped like I was shipping a newborn child. When I got home I was exhausted, but I had to give it a test fit. Lets be honest, the chances of this jig having stayed straight through the baggage process were pretty slim. On top of that, I might have warped it with the mig, it may have warped when finish welded, blah blah blah so many factors to worry about. I was prepared for this of course. Figured it would at least be close.
Surprisingly enough, it fit 100% dead on. I couldnt believe it!
Last edited by alex_s817; Dec 15, 2017 at 01:01 PM.
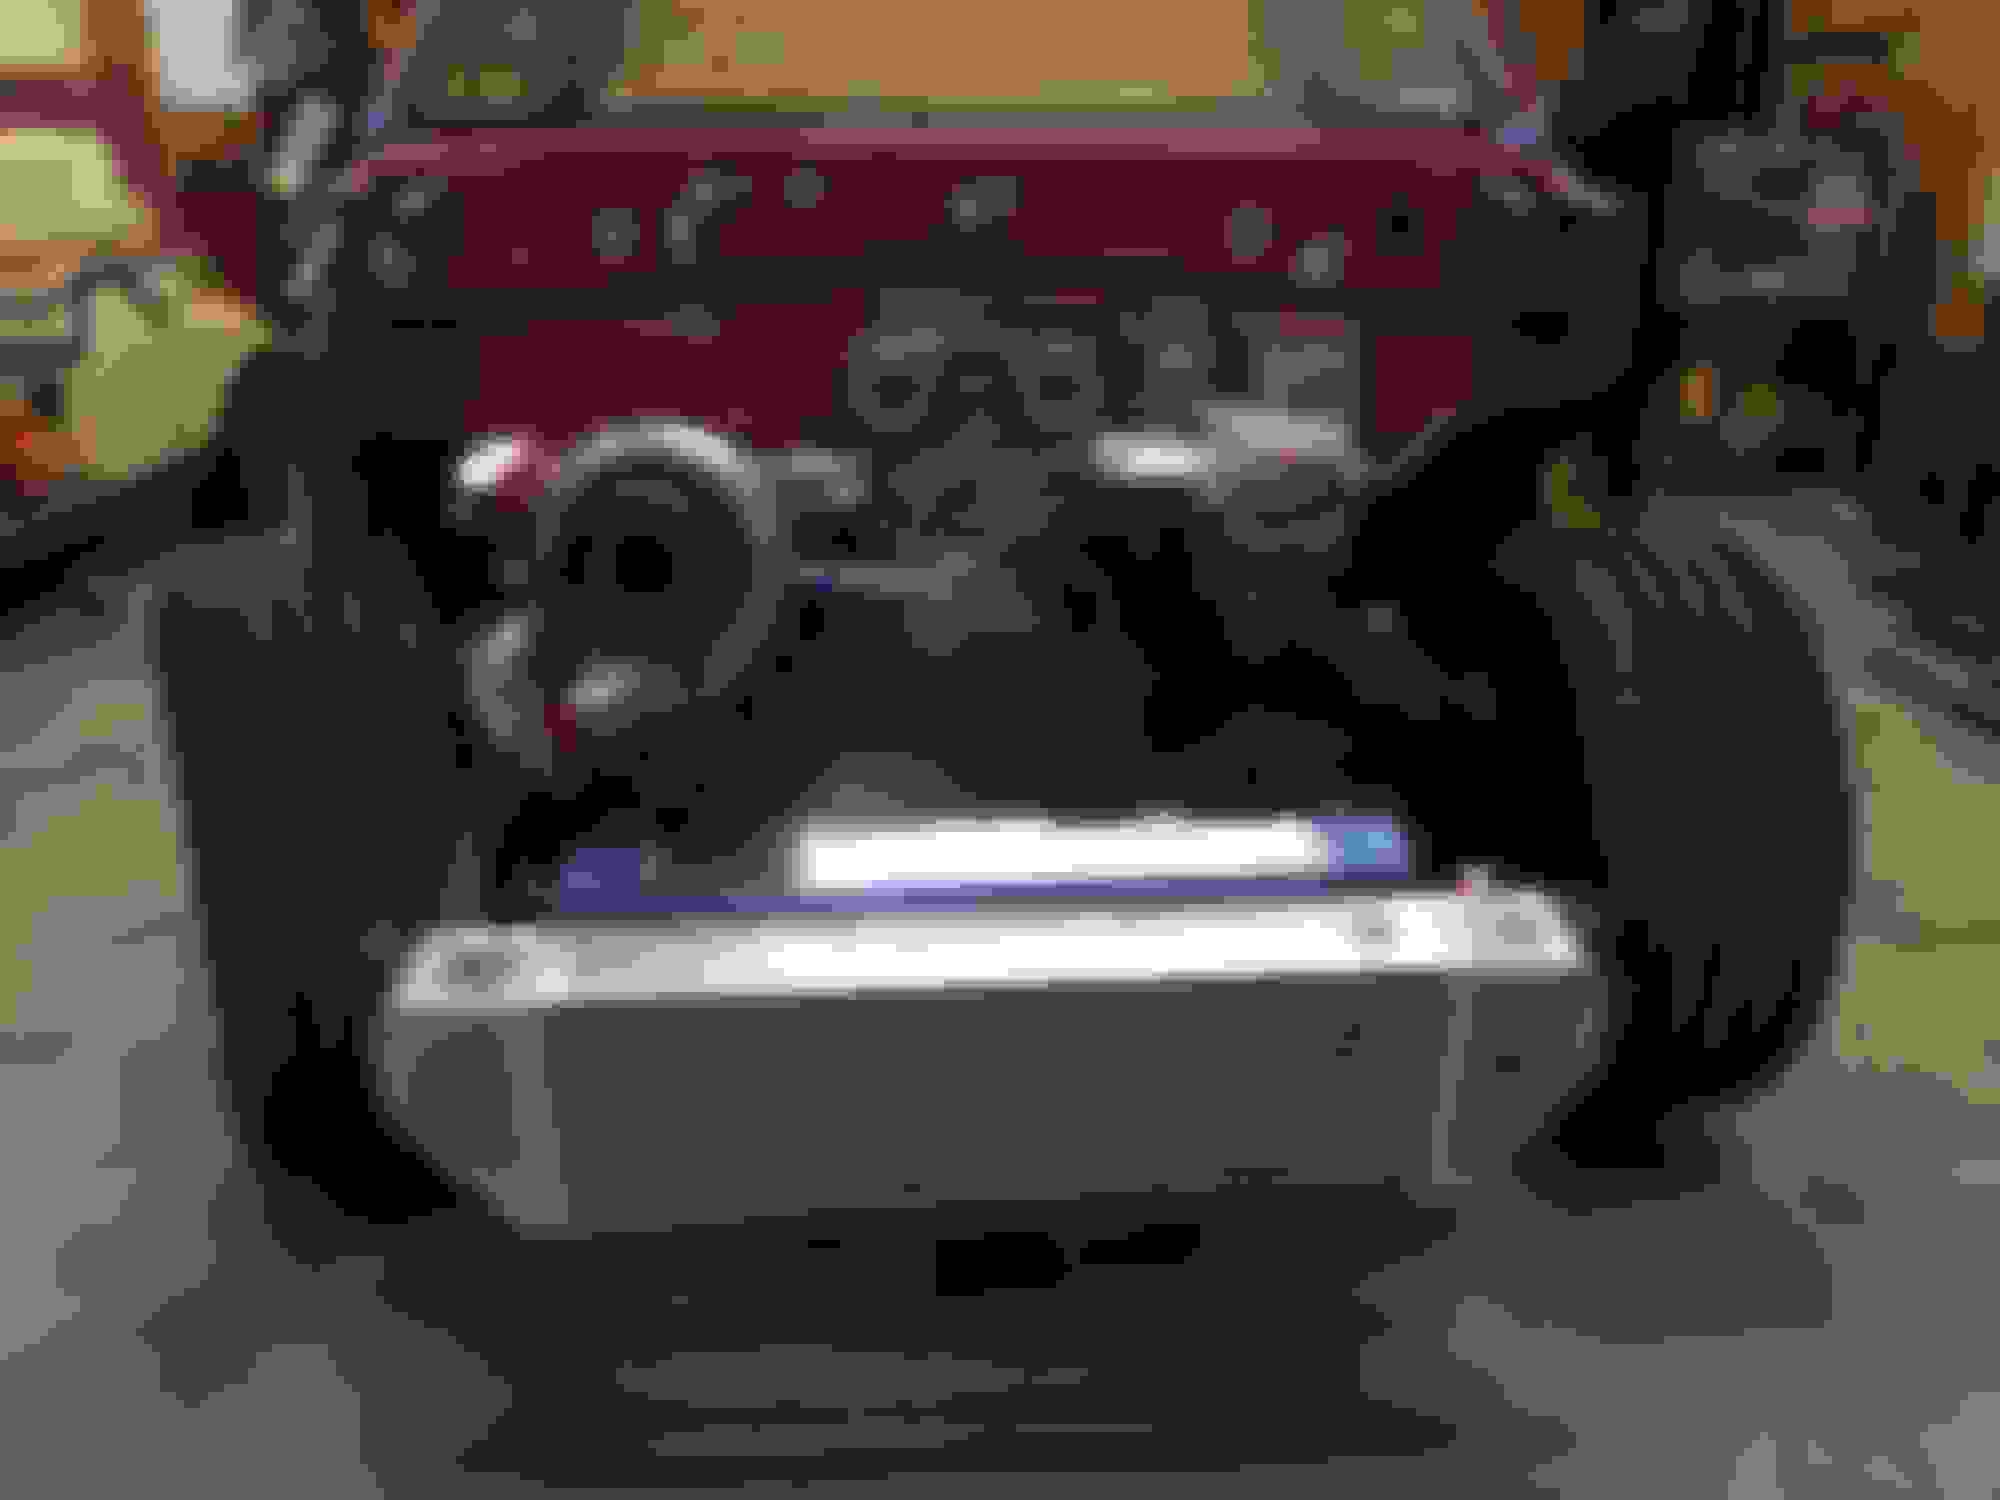
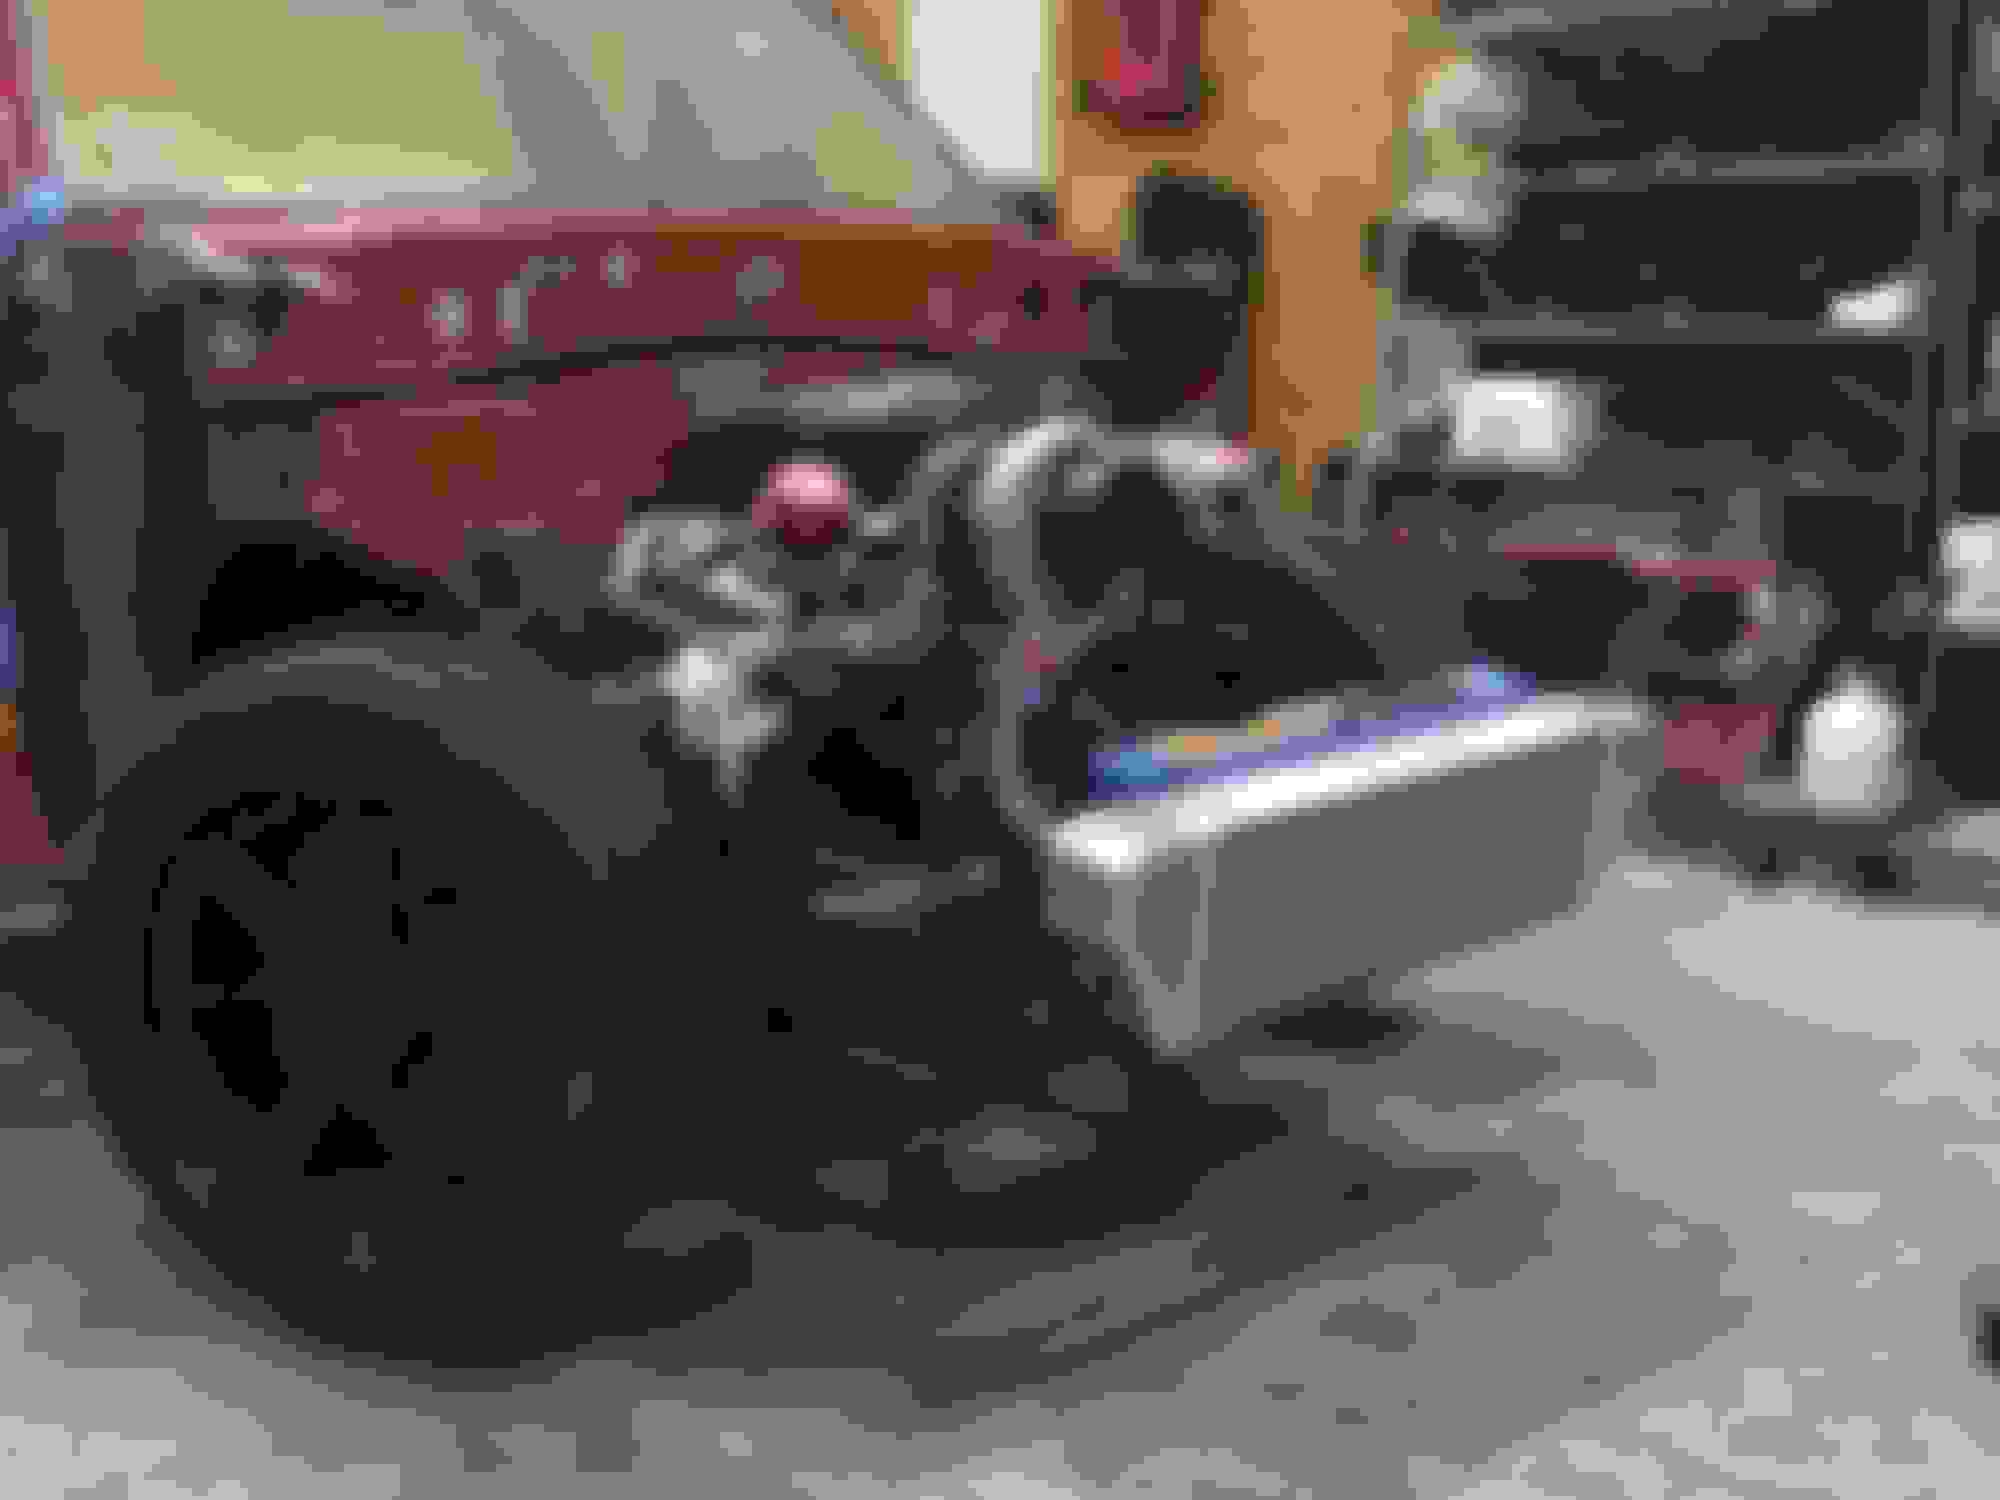
From the beginning, I didnt really care for the stock MM front bumper. Most guys that swap/turbo these trucks run the intercoolers up high in the grill area since the stock bumper fits so tight to the frame. I found a few mini truck guys that run an early 90s 4 runner bumper, so I got one in the very beginning of this build. It takes some modification so make it fit perfect and I'll finish the side fitment issues later, but I wanted to have it around for intercooler fitment stuff. It allows me to position the IC low like we do on our cars.
Last edited by alex_s817; Dec 15, 2017 at 03:23 PM.
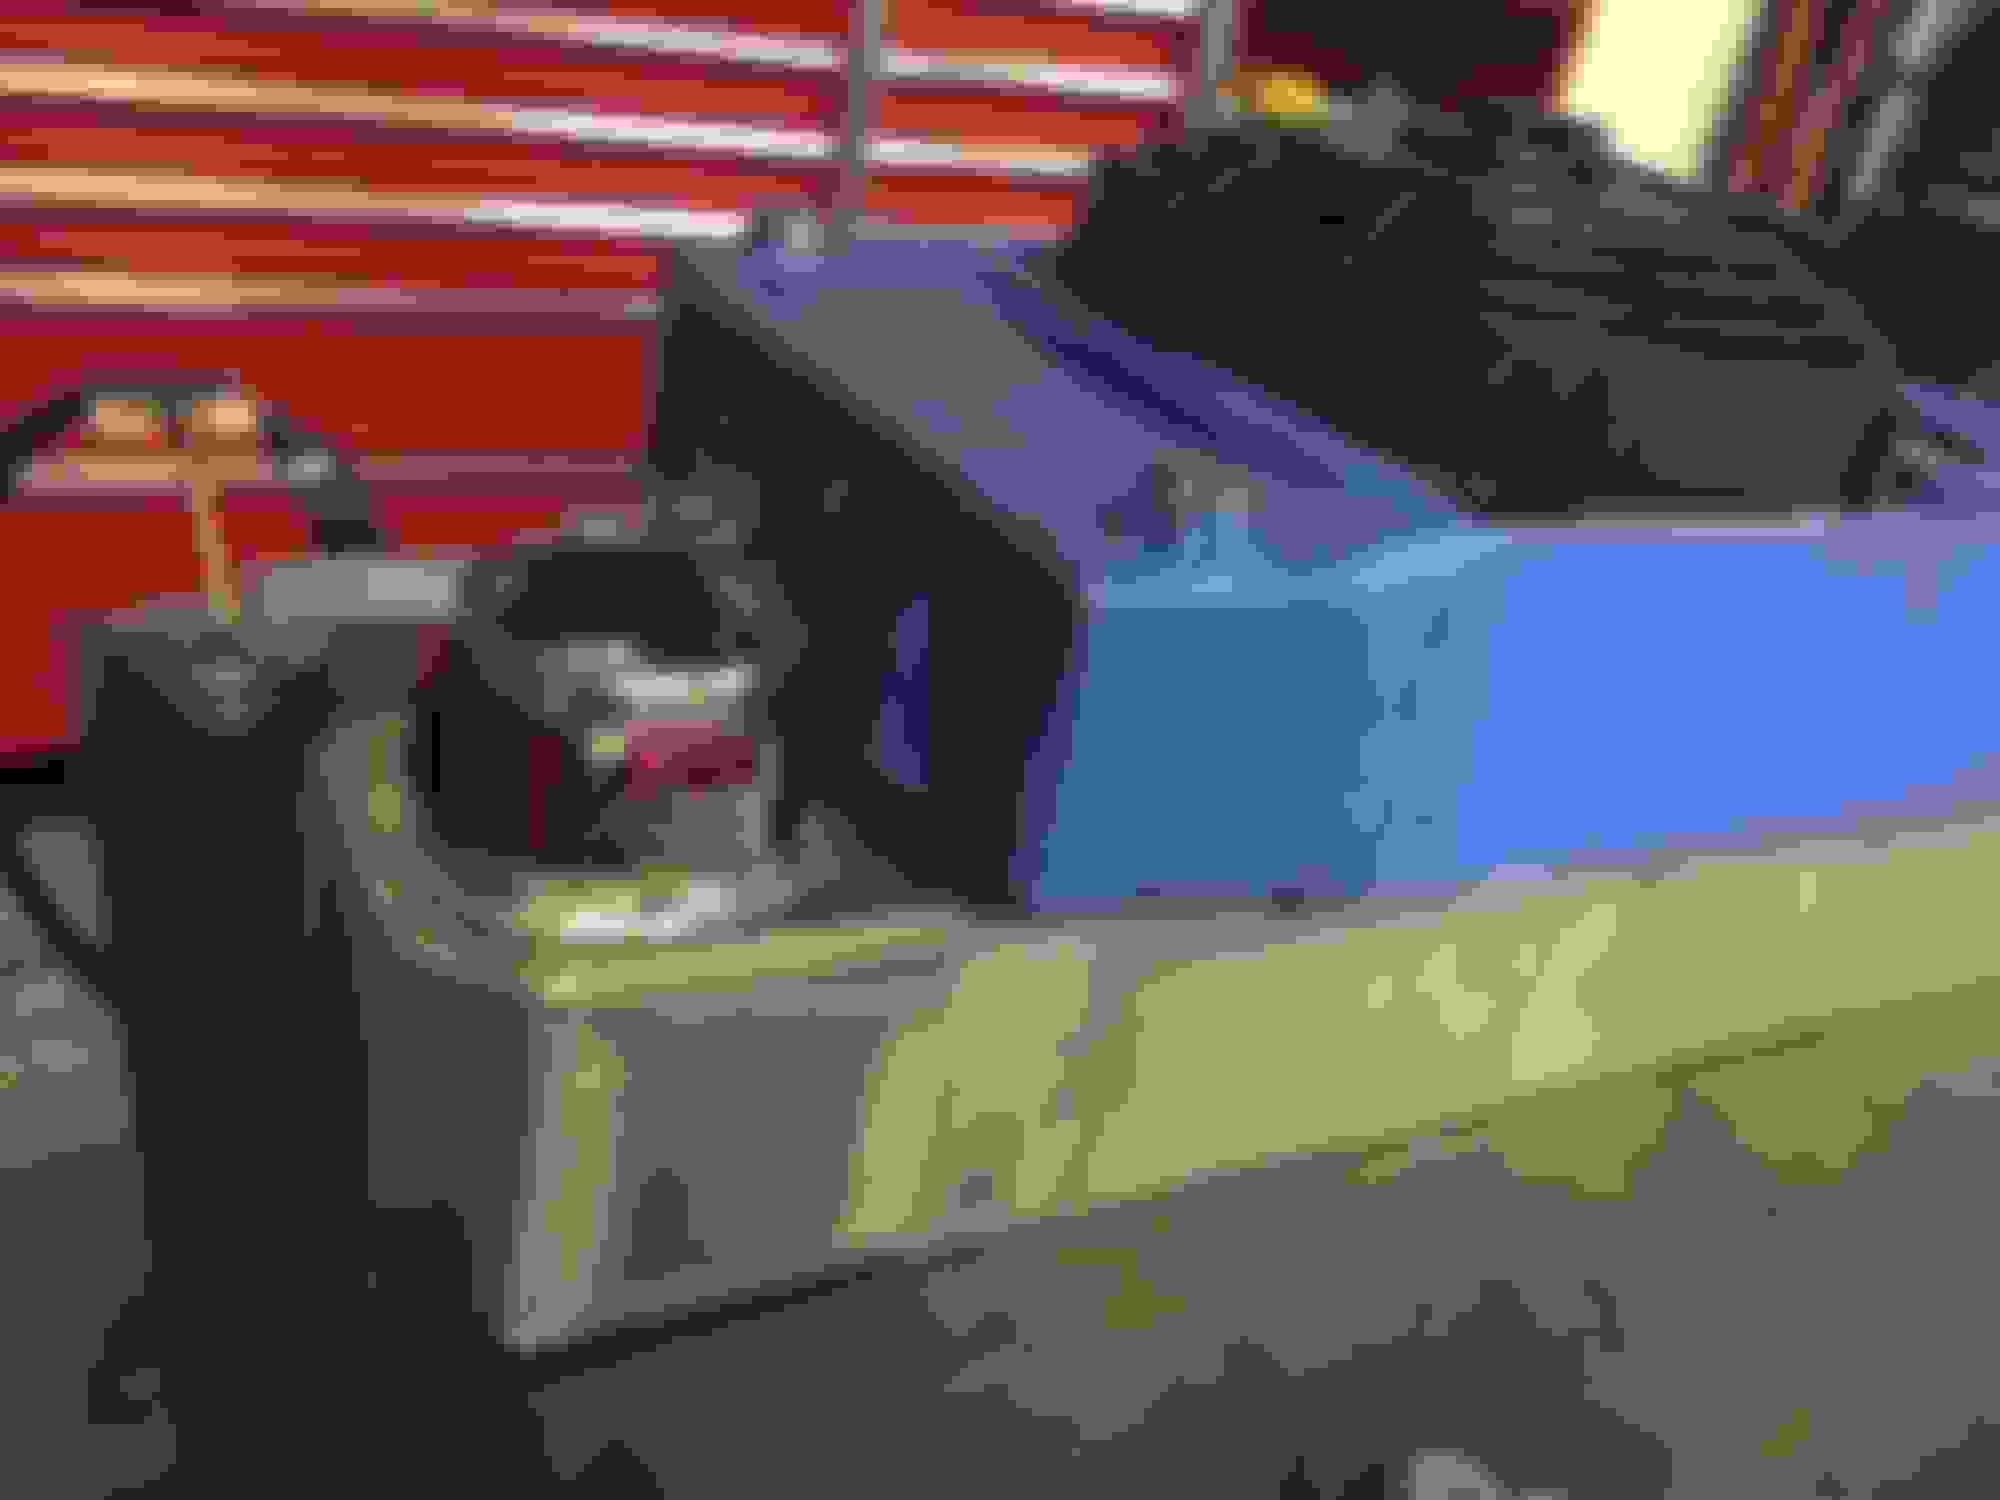
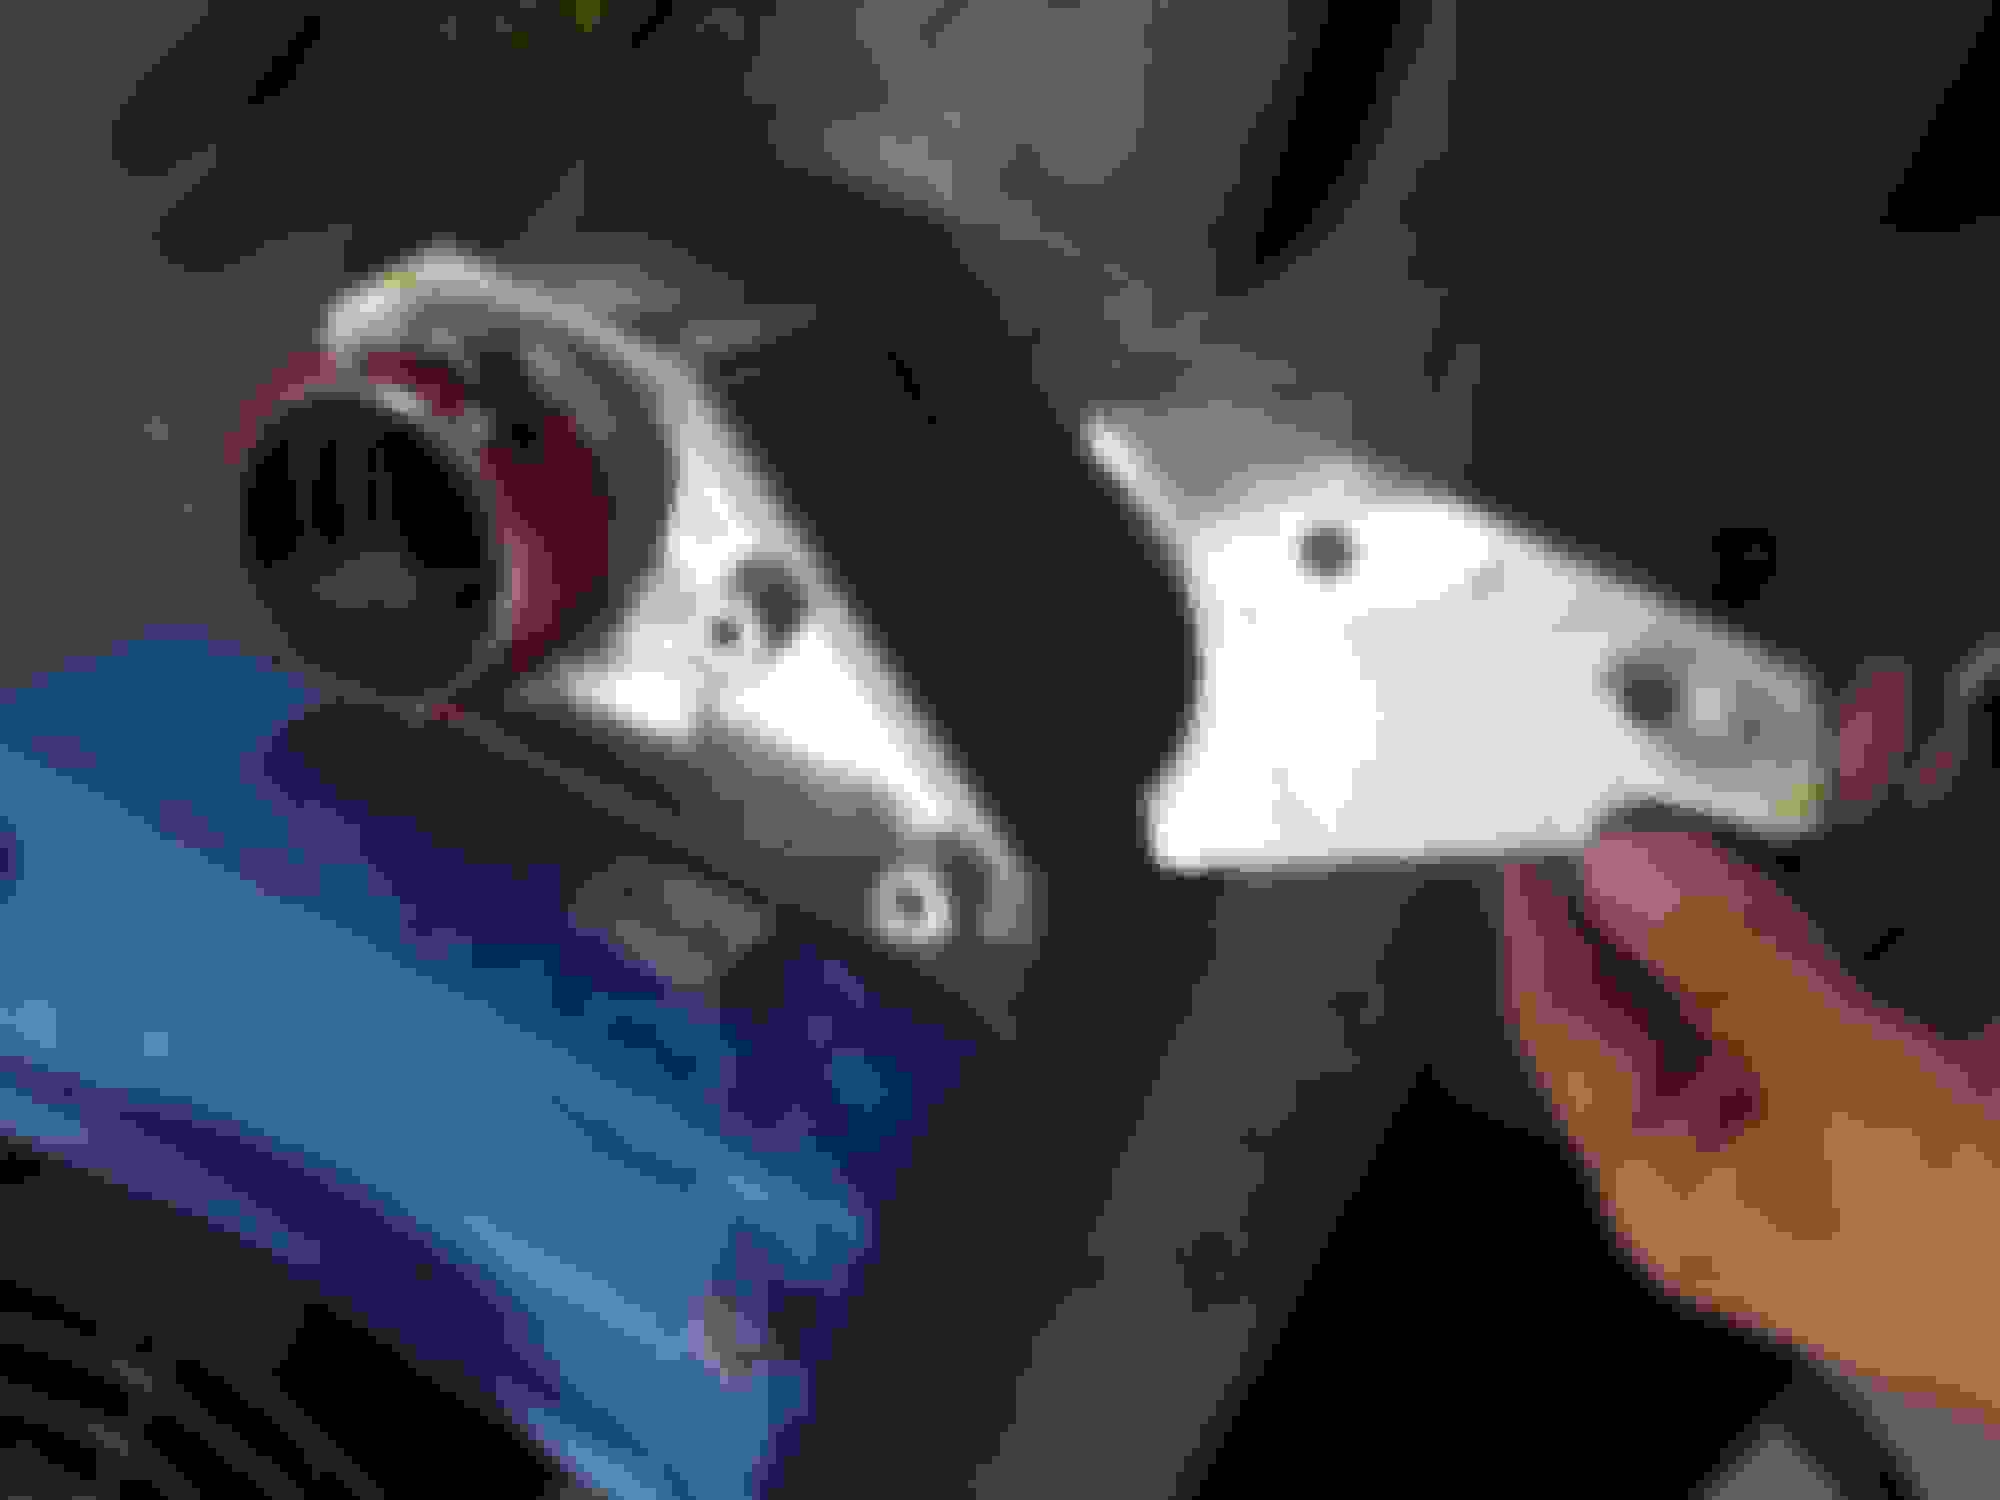
With the bumper sorted, I ordered the largest Vibrant core that I could fit between the bottom of the bumper/turbo/bumper brackets. It's rated at 650 and I'll be on e85, so it should do the trick. Plus this Holset will prob max out around 580ish anyway. I've seen some of the intercooler/rad combos that the guys at Speedfactory have been doing, so I opted to make something similar. I made some cardboard templates then traced them onto some 3/16" (overkill I know) aluminum sheet for the end tanks. I wanted it to be back door on both sides. My friend Mike was able to weld them up for me, came out pretty much exactly how I wanted. Of course in a perfect world the tanks would have been curved with smoother airflow in mind, but I wasn't really equipped to do that at the time and this should do just fine IMO.
 Dec 11, 2017, 11:13 AM


 .
.