
DIY JDM headlight conversion + demon eye on usdm headlights, LOTS of pics!!


Thread Starter


Joined: Oct 2012
Posts: 356
Likes: 37
From: Vancouver WA
DIY JDM headlight conversion + demon eye on usdm headlights, LOTS of pics!!
A while ago when I first purchased my evo I had to do some headlight work when I was restoring the car from some front end damage, I made a thread about those here: https://www.evolutionm.net/forums/ev...lots-pics.html
Those have been holding up great! Recently my brother purchased an electric blue evo 8 with some hazy looking headlights. I wasn't sure what I was going to be able to with them other than clean the lens and paint the housing and make an amber corner to replicate the jdm headlights. Well I ended up working on the projector as well and painted the cutoff blue and added a demon eye as well.
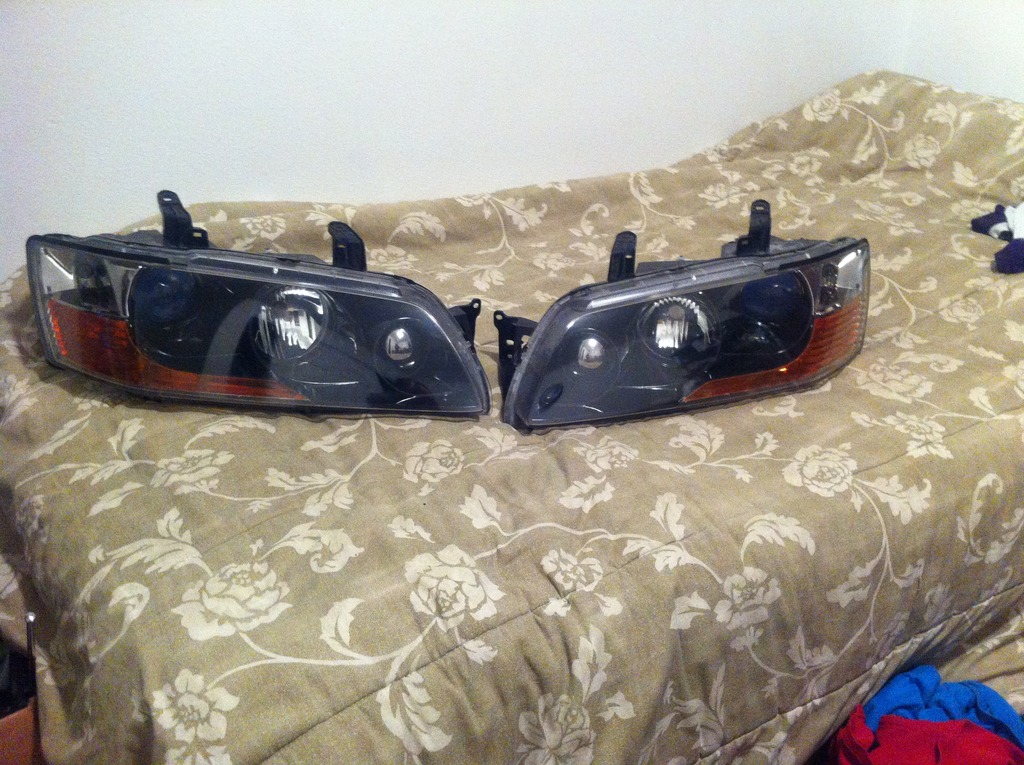
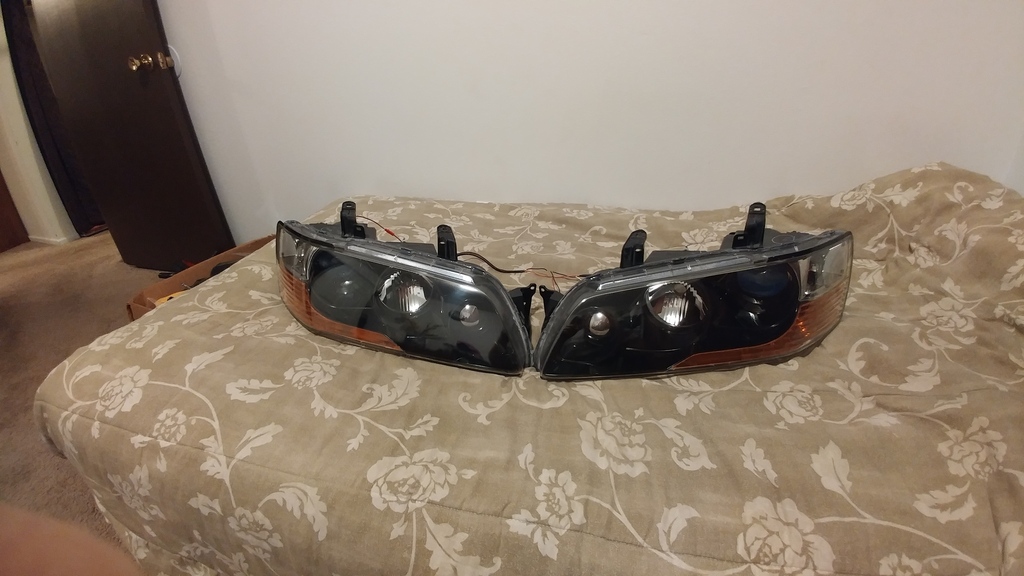
So here are the headlights before any work done
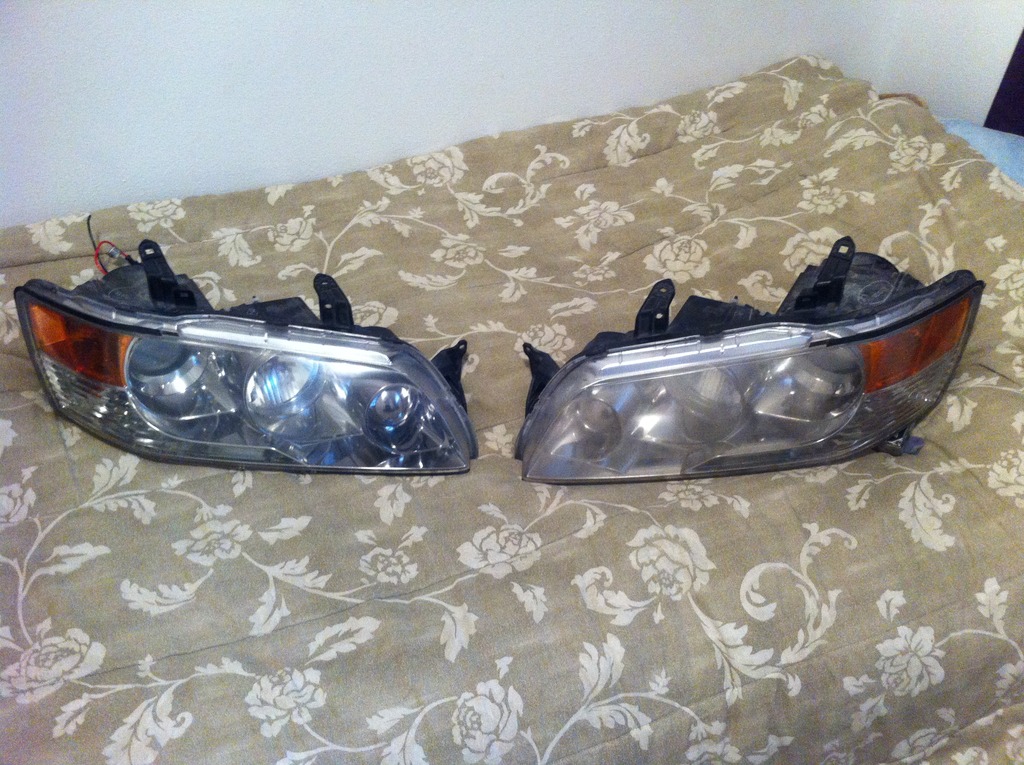
So last time i did headlights I opened them up by baking them in the oven which I didn't do this time because it kinda warped headlight housing (exterior housing) so I used a heatgun to warm up the sealant then pried the lenses off.
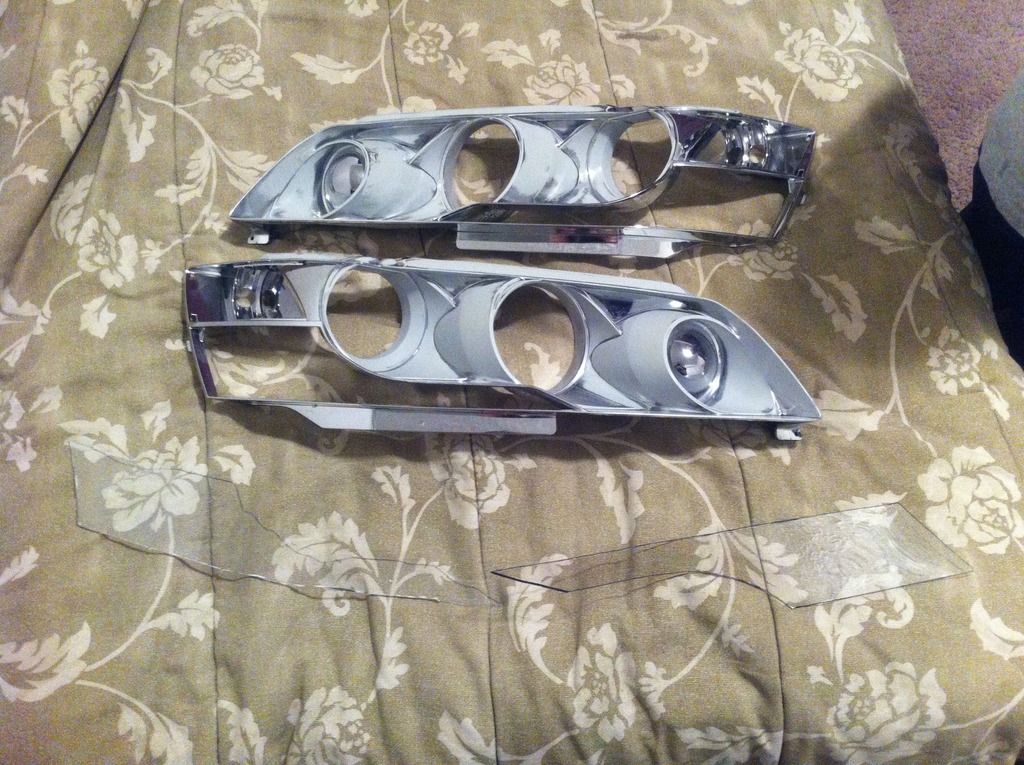
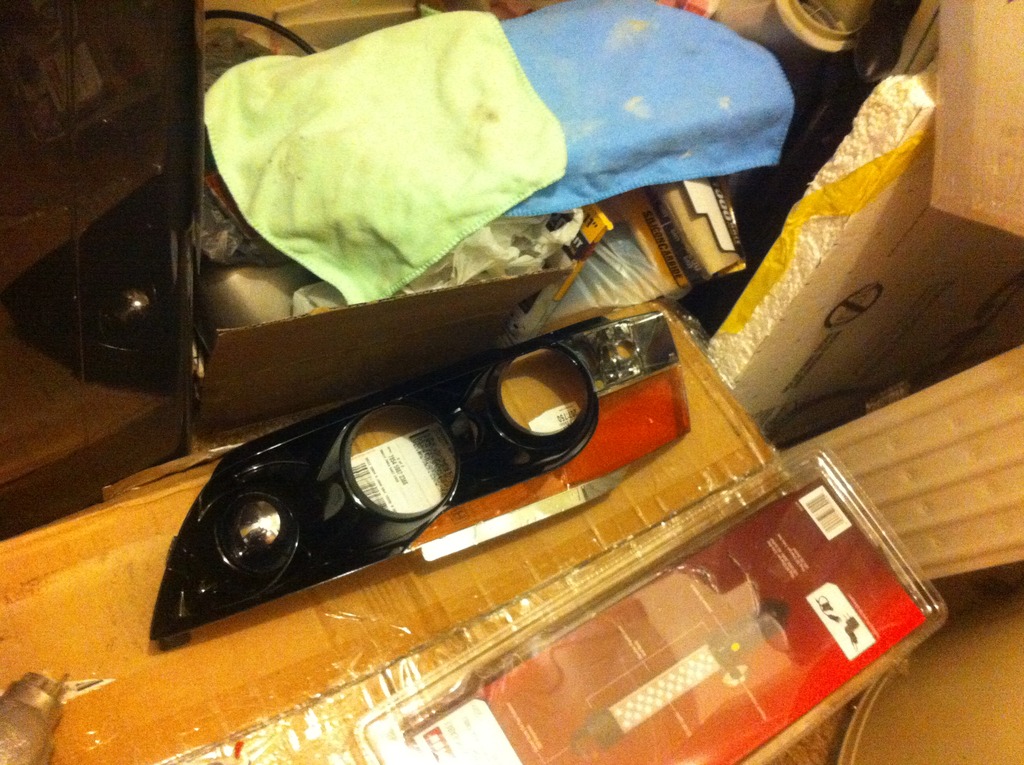
I used 500 grit sandpaper to sand as much of the housings as possible while trying not to scratch the fake foglights in the housings since I will mask them off and leave them factory chrome. Here are the housings after some sanding.
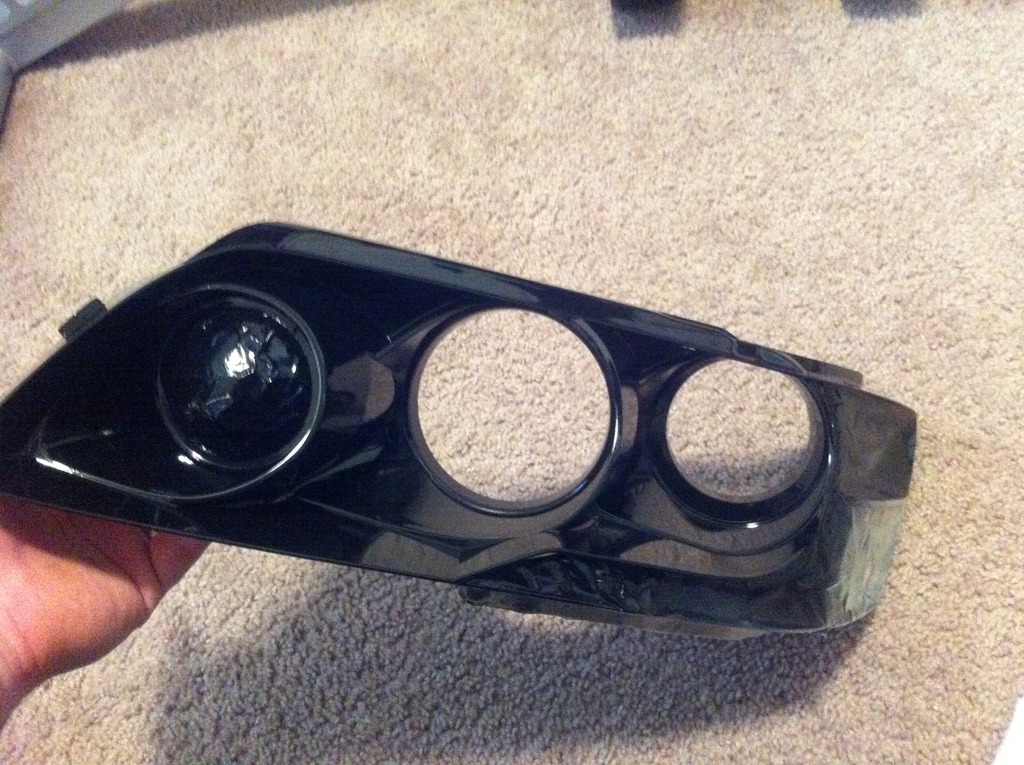
I used the same primer that I used on my headlights which is made by duplicolor then painted the housings gloss black as per my brothers request. Gloss black used here was made by rustolium.
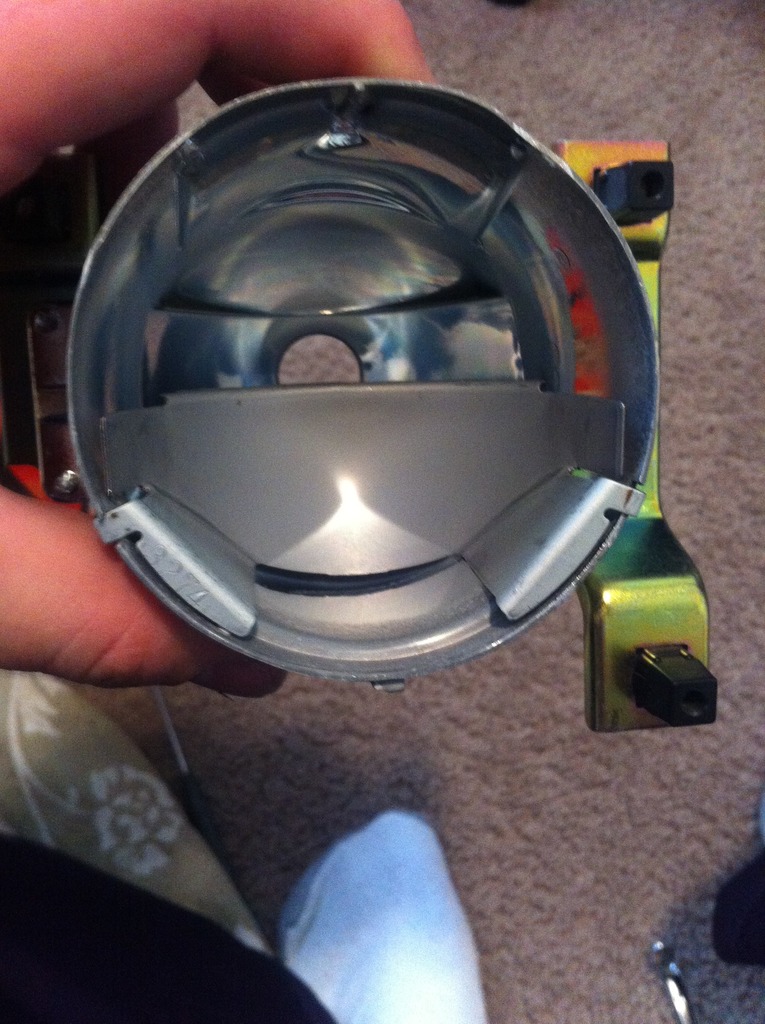
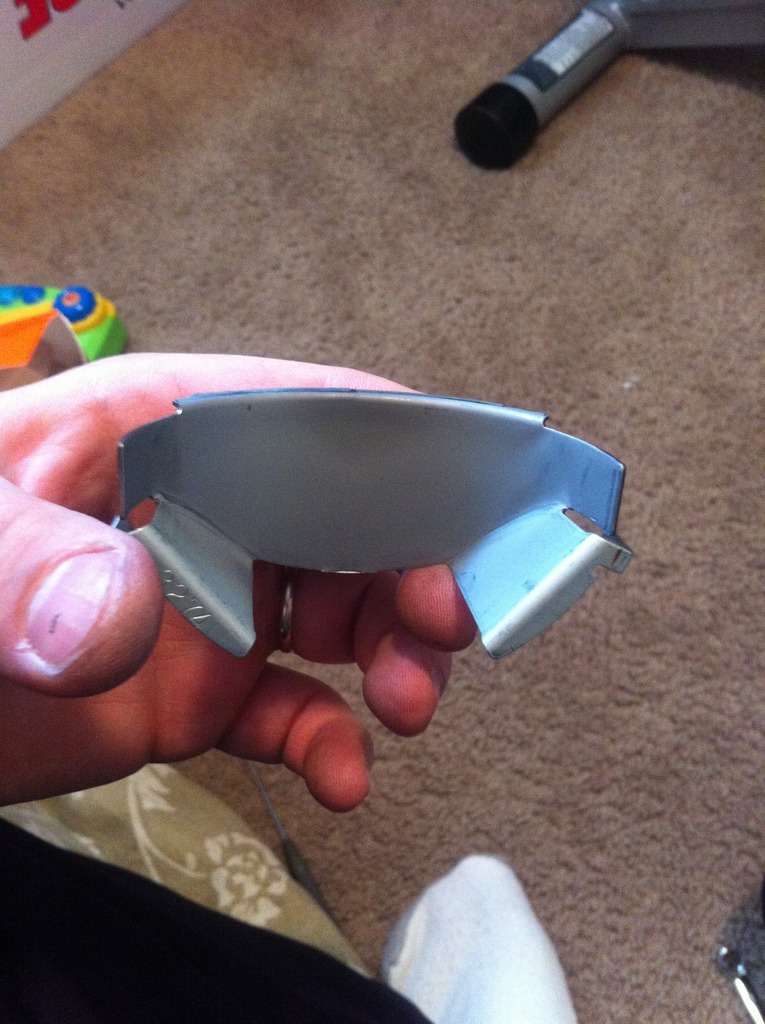
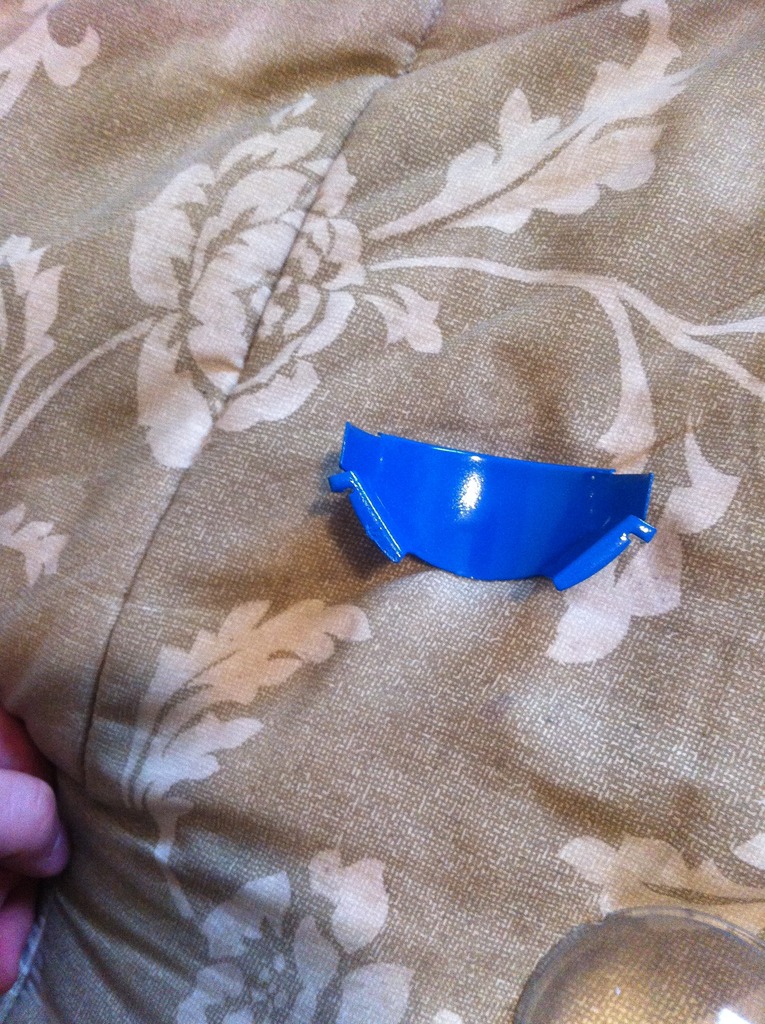
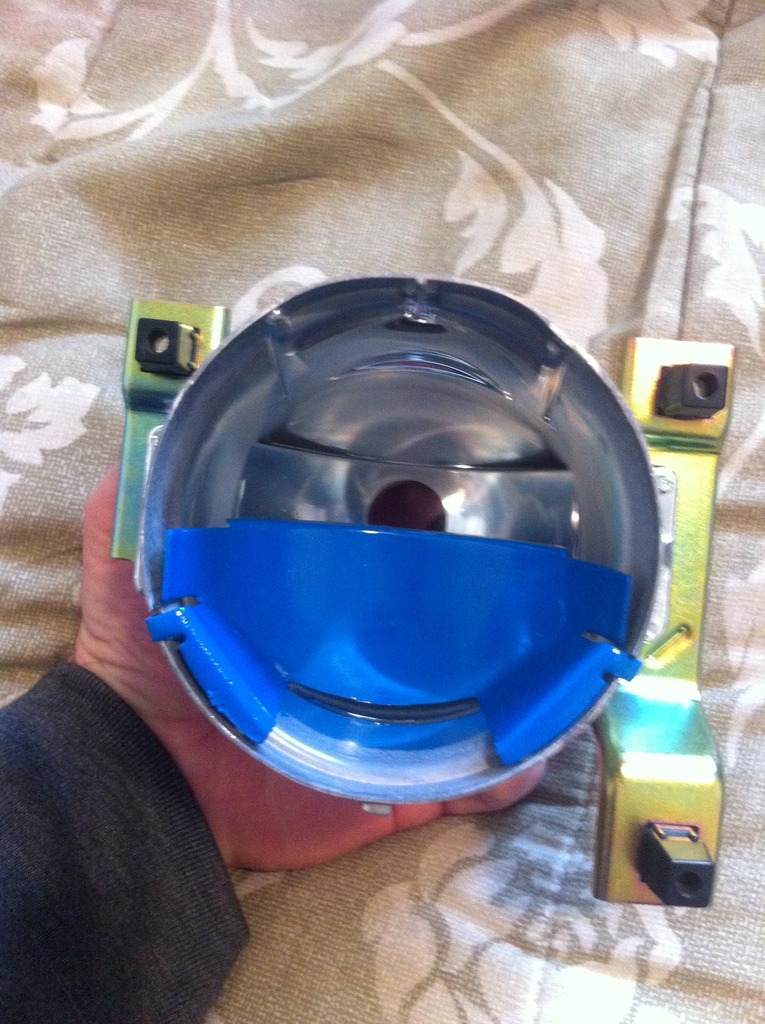
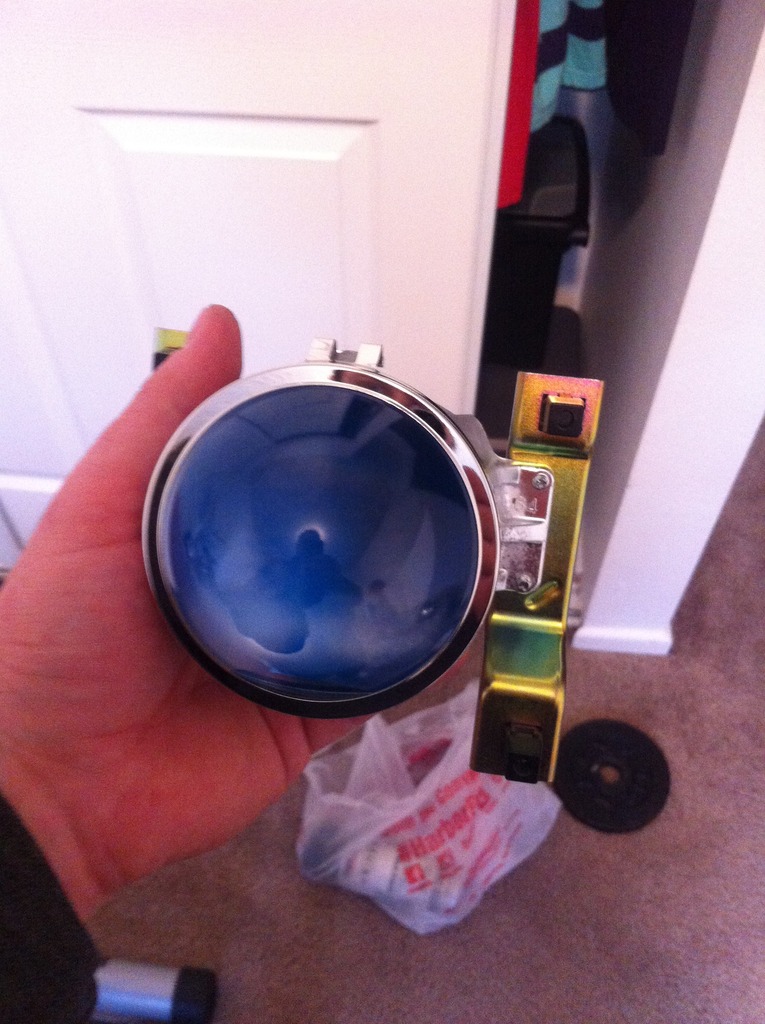
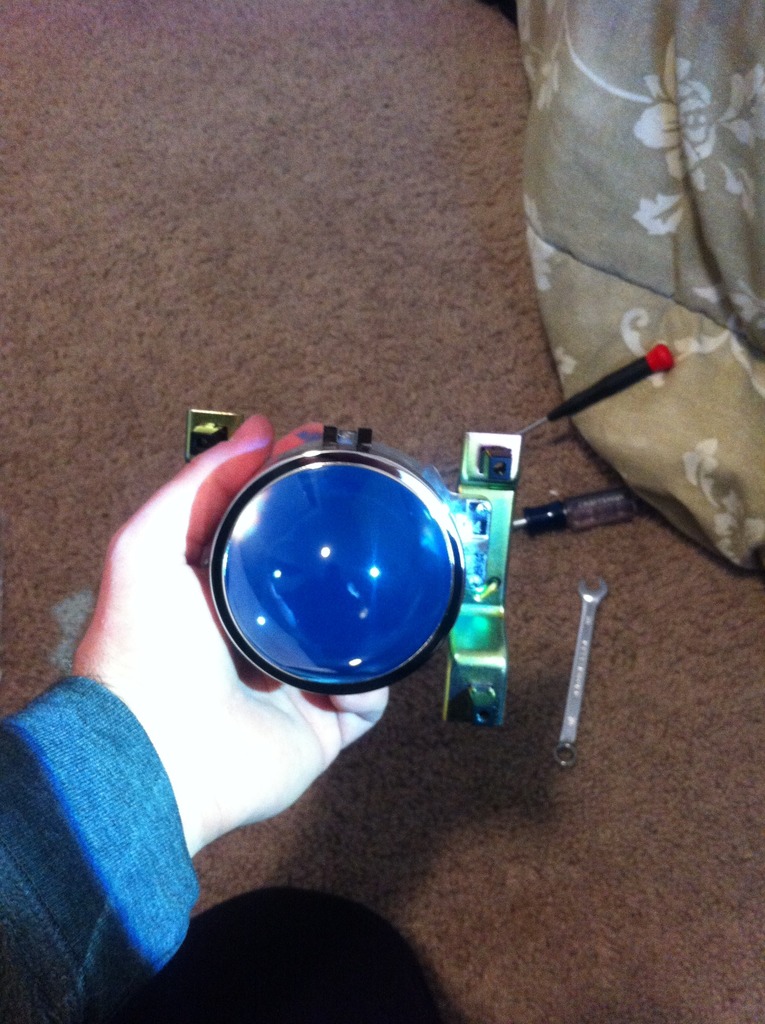
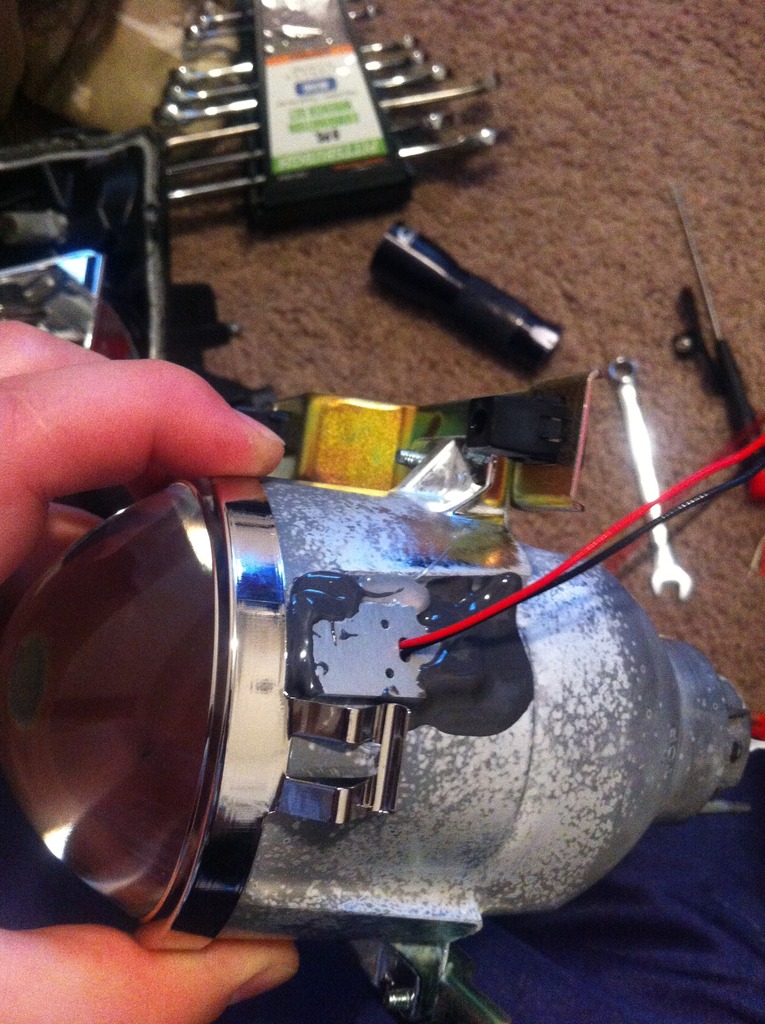
After I painted the housings I took a look inside the projector. So even though these are non hid projectors they still have cutoffs in them which means you can paint them and have a demon eye effect on a sunny day! Also these cutoffs are removable which makes it even faster to paint them because there is less masking off to do. The paint used to for the cutoffs was duplicolor engine paint which supposedly will hold up in temperatures up to 500*F.
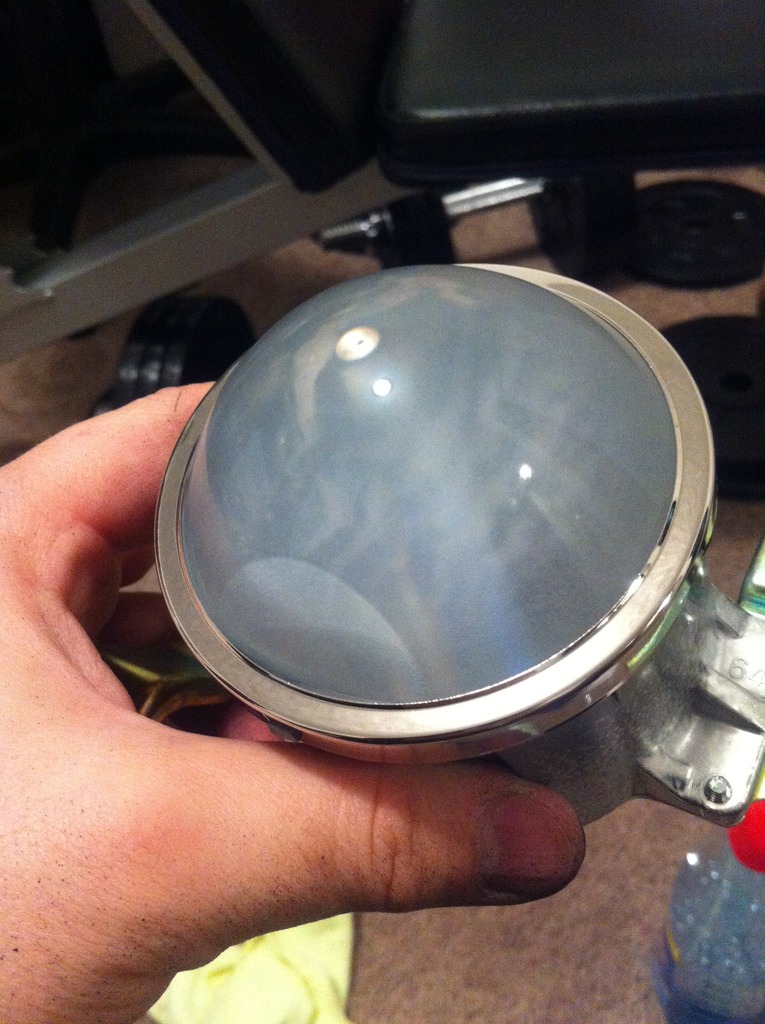
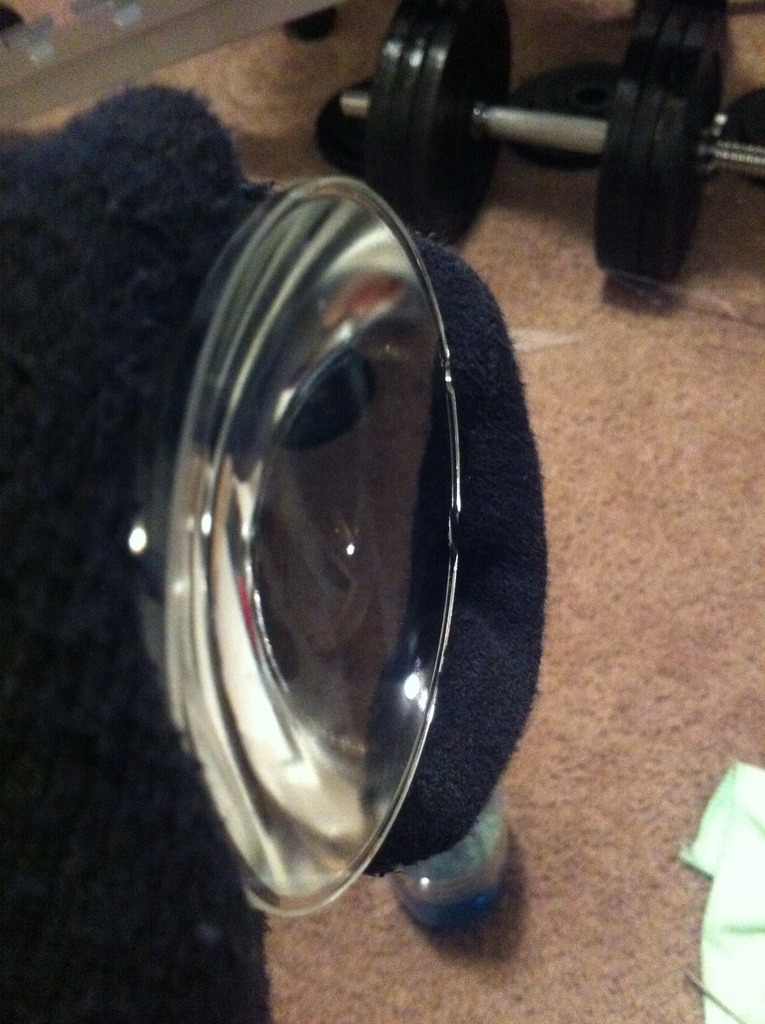
Before putting the projectors together I polished the projector lens because they were really foggy looking.
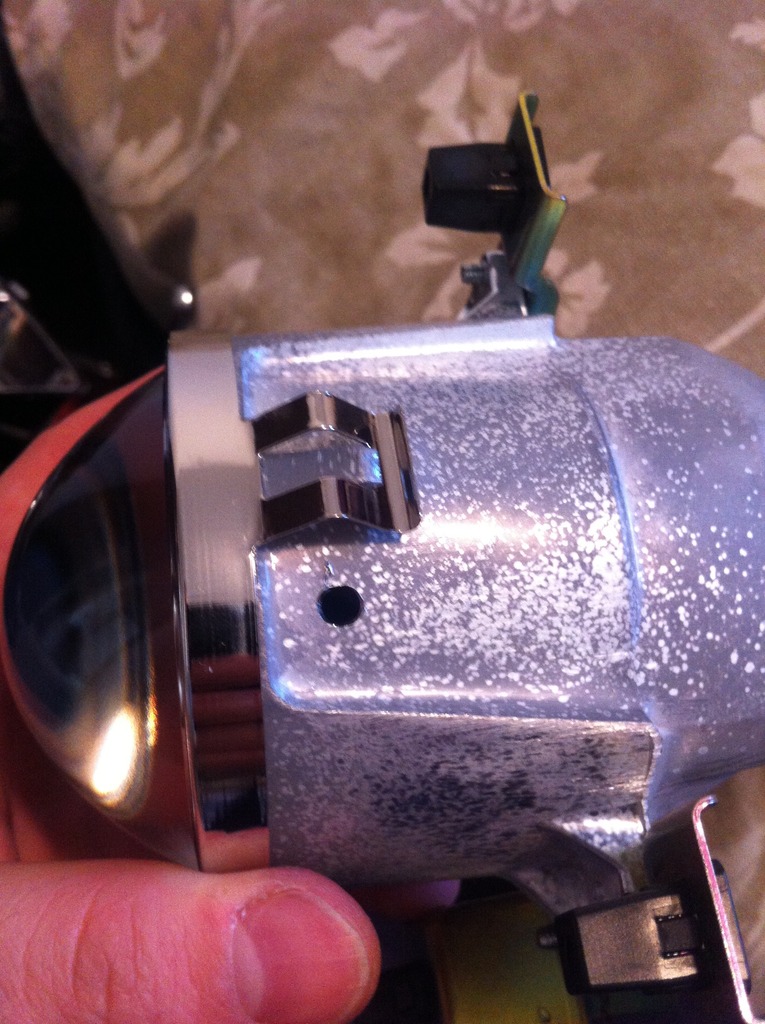
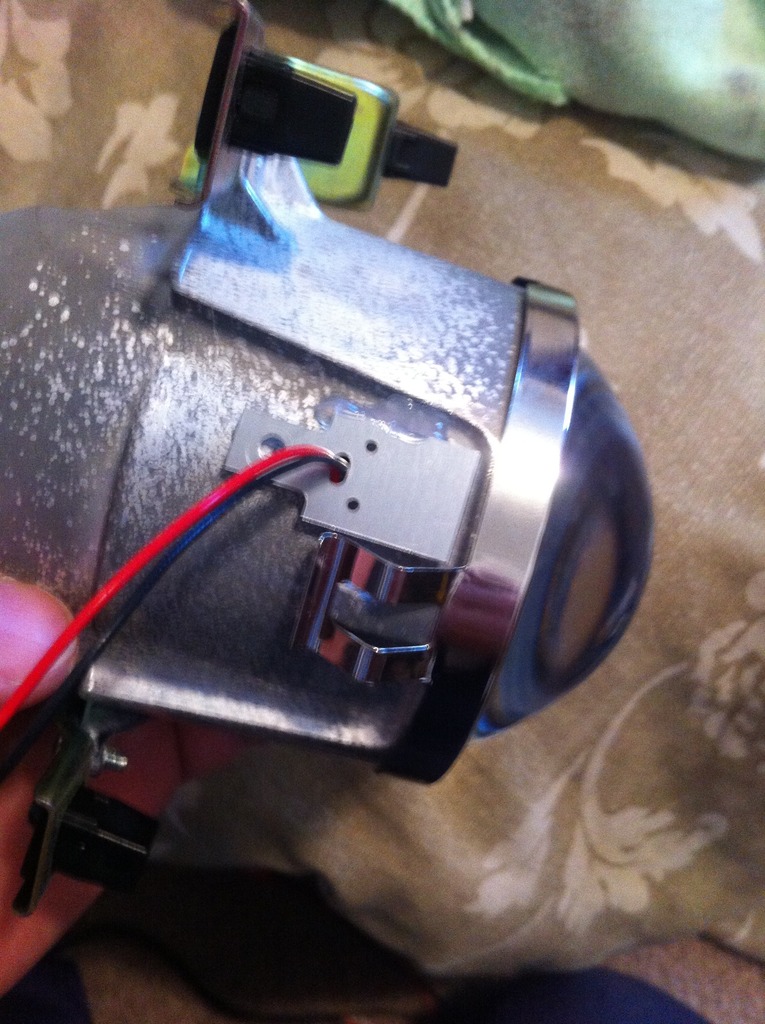
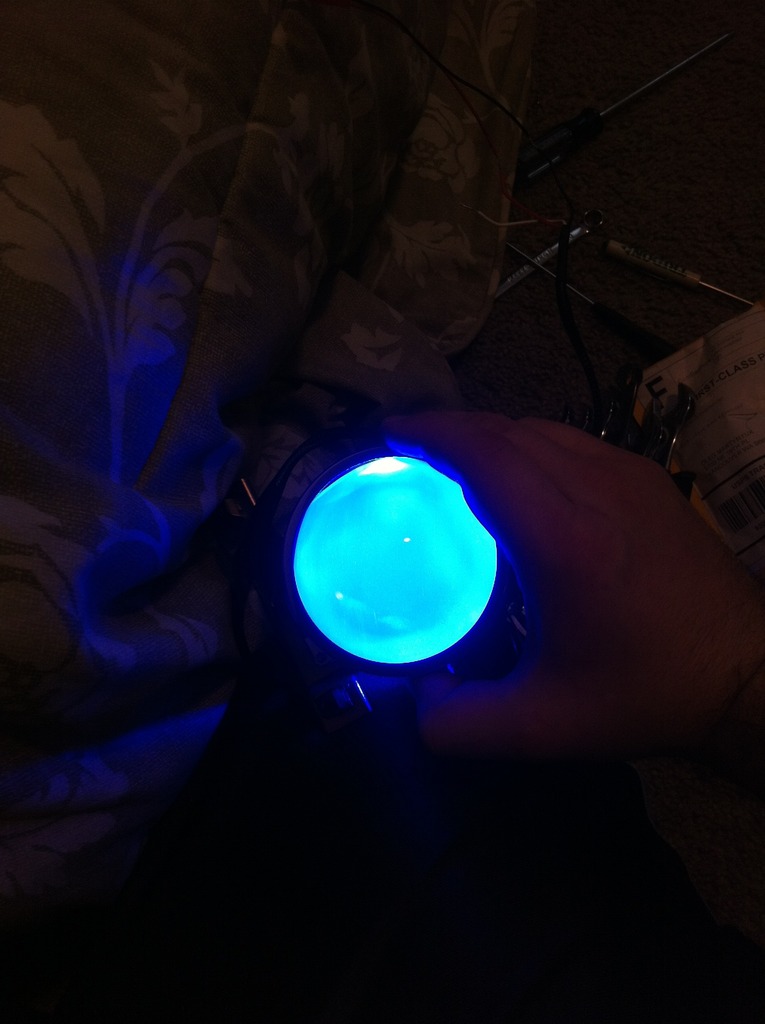
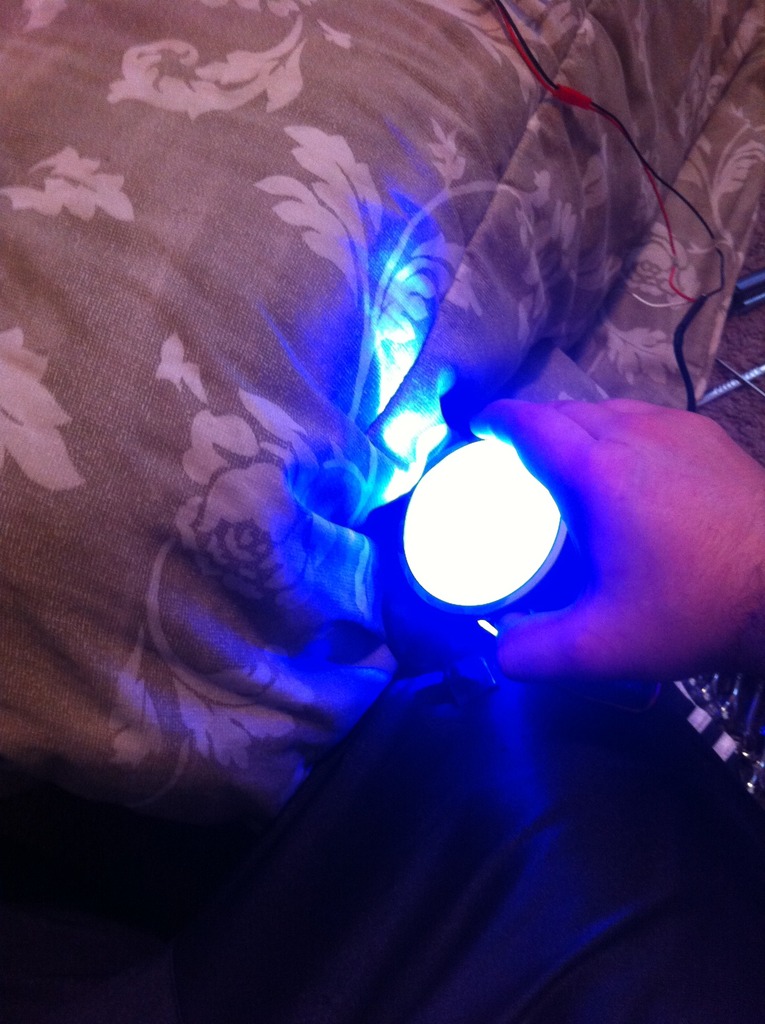
After I put the projectors together I decided that I should install a real demon eye system. In my headlights I just purchased 12v leds and glued them inside the projector not knowing they actually make demon eye led kits which I used in these projectors. I removed the bracket that comes with them since I wouldn't be able to use it because the projector lens retainer does not screw on, it has a latch. To mount the leds I drilled a hole in the top of the projector for the light to shine through and put a dab of hot glue to hold the led in place, I then used jbweld and let it sit for 24 hours.
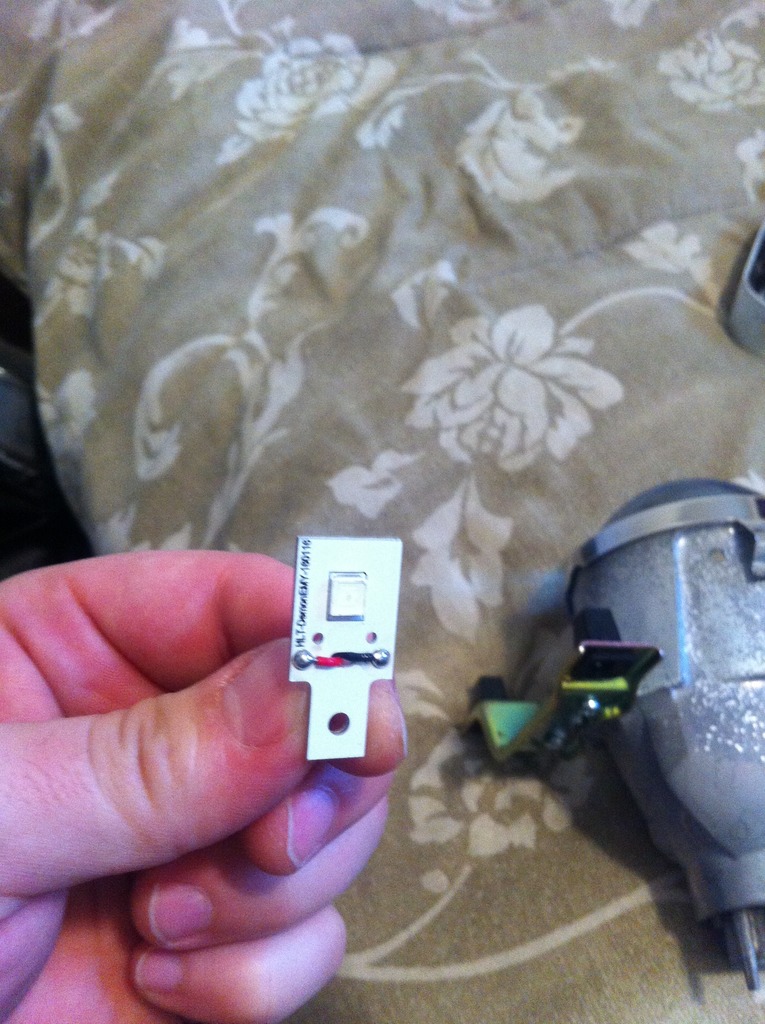
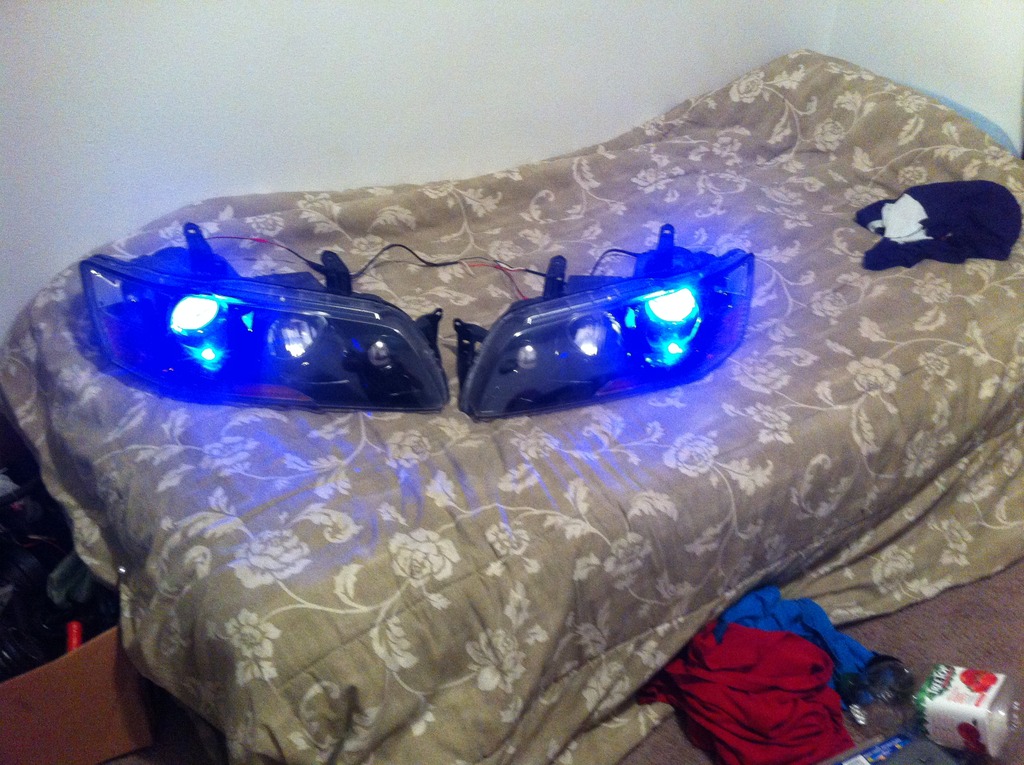
Here are the demon eye! these are so bright that the camera has a hard time picking up the actual color.
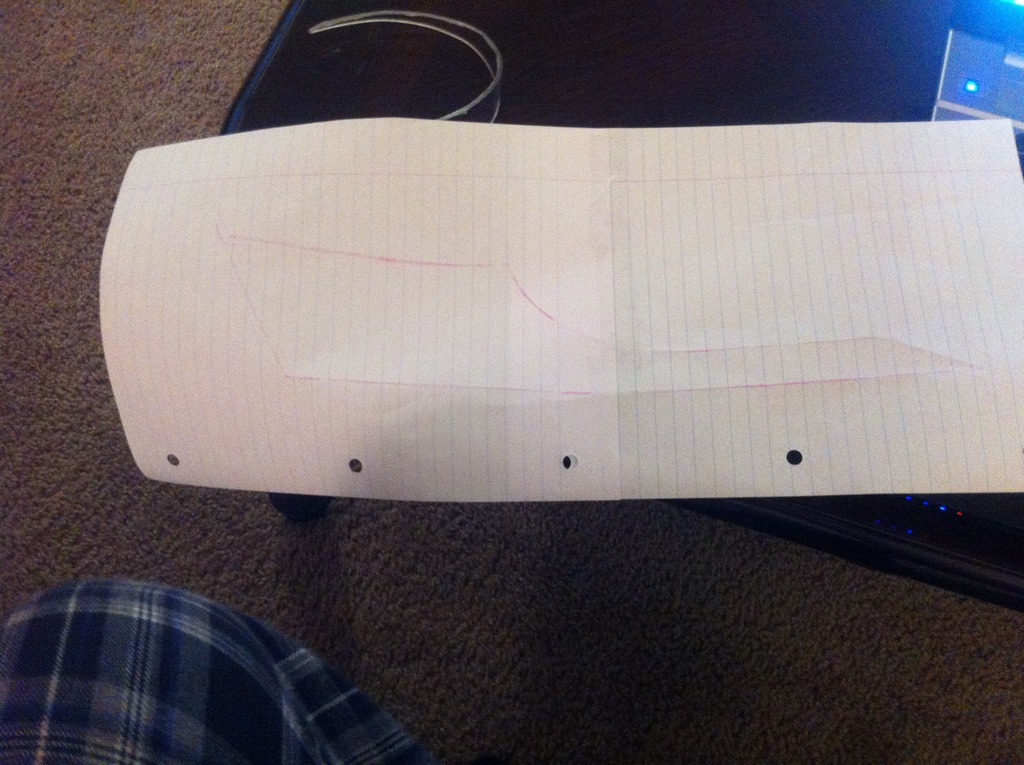
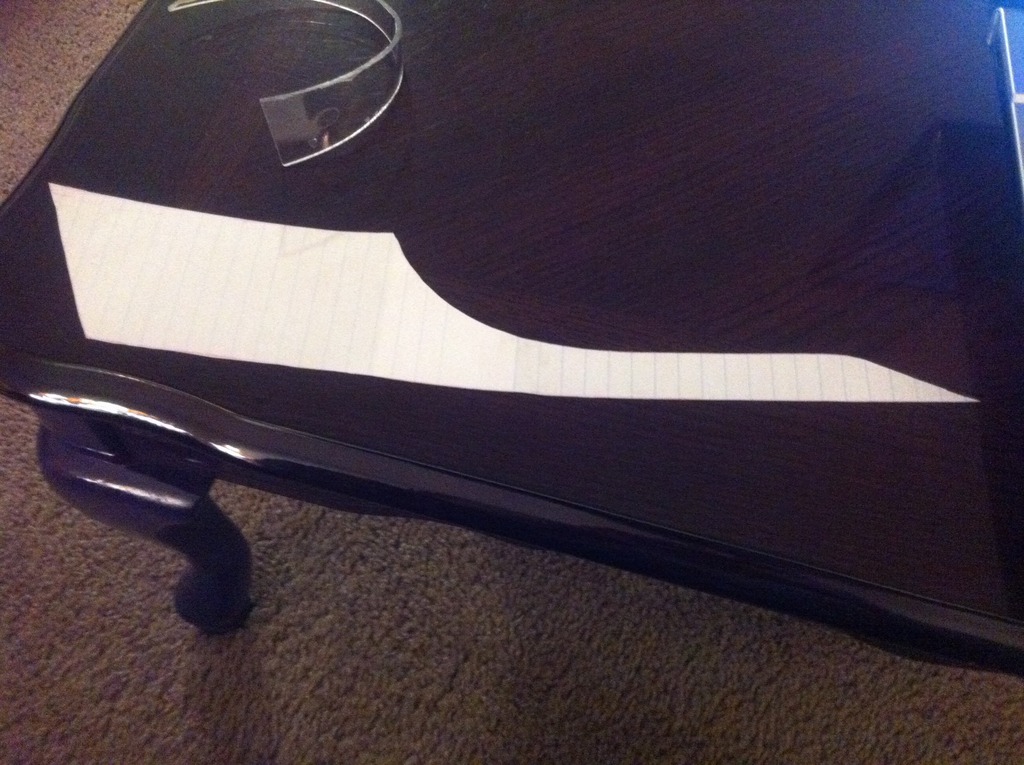
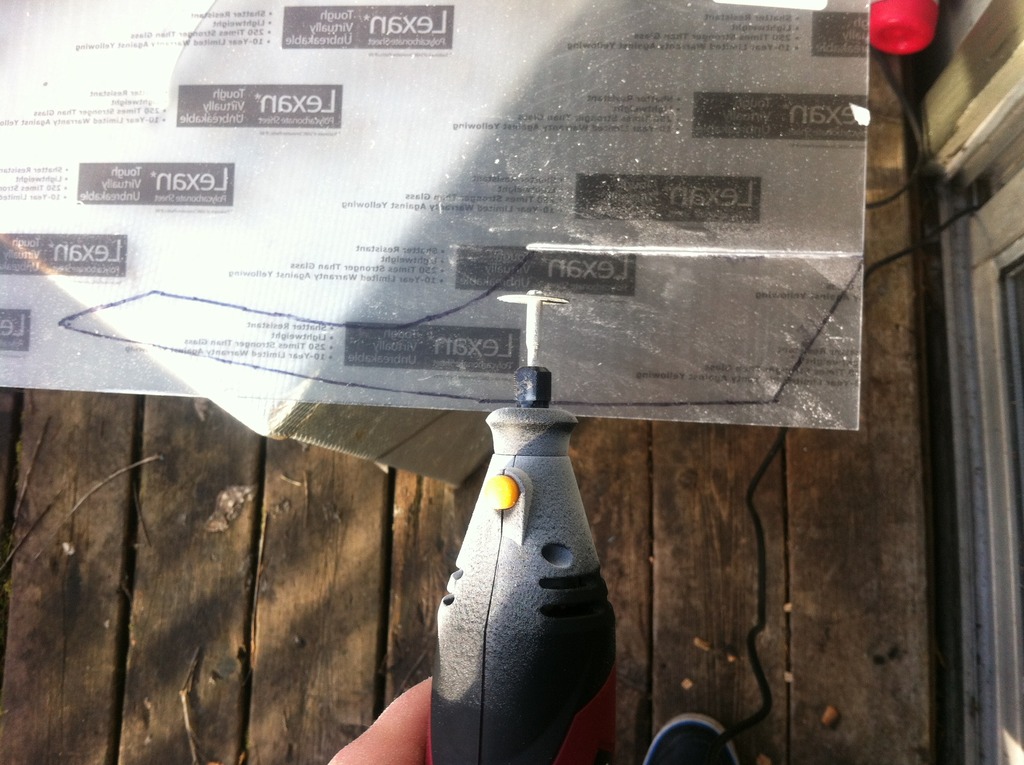
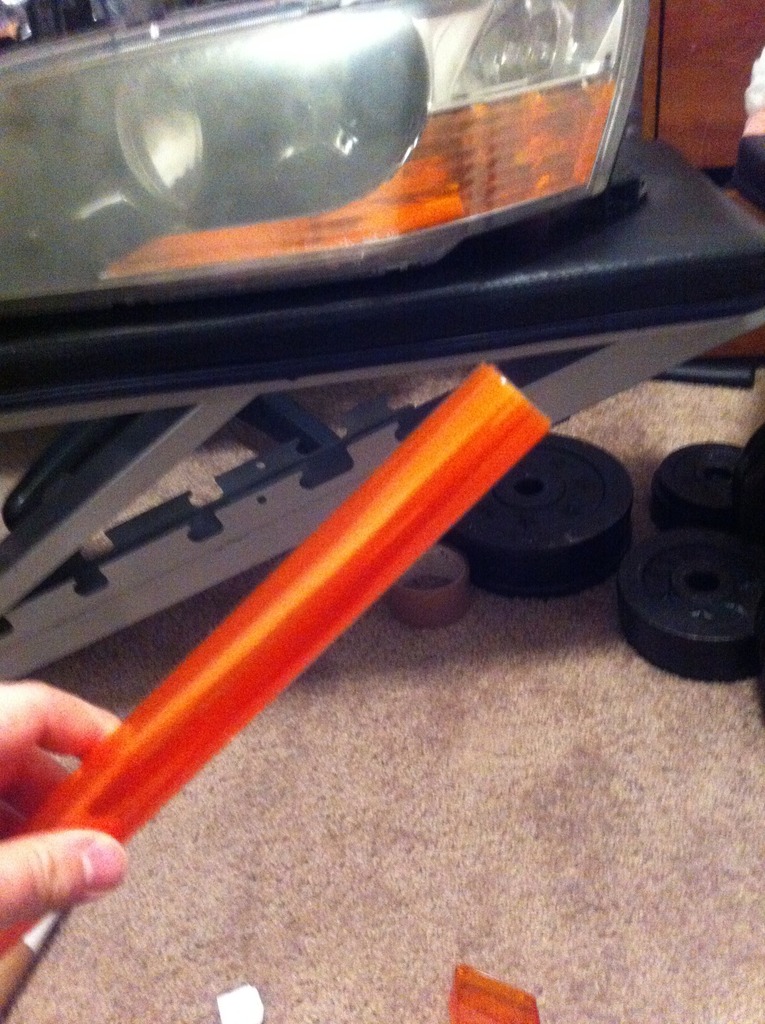
So on my headlights I painted the inside of the headlight lens amber but this time I tried to make an amber piece again since the last time i tried i failed. I went to home depot and got a sheet of lexan, I then used lined paper and traced the turn signal section of the headlight housing and cut it out. I traced the piece of paper onto the lexan which then I used a dremel to cut out the rough shape of the corner.
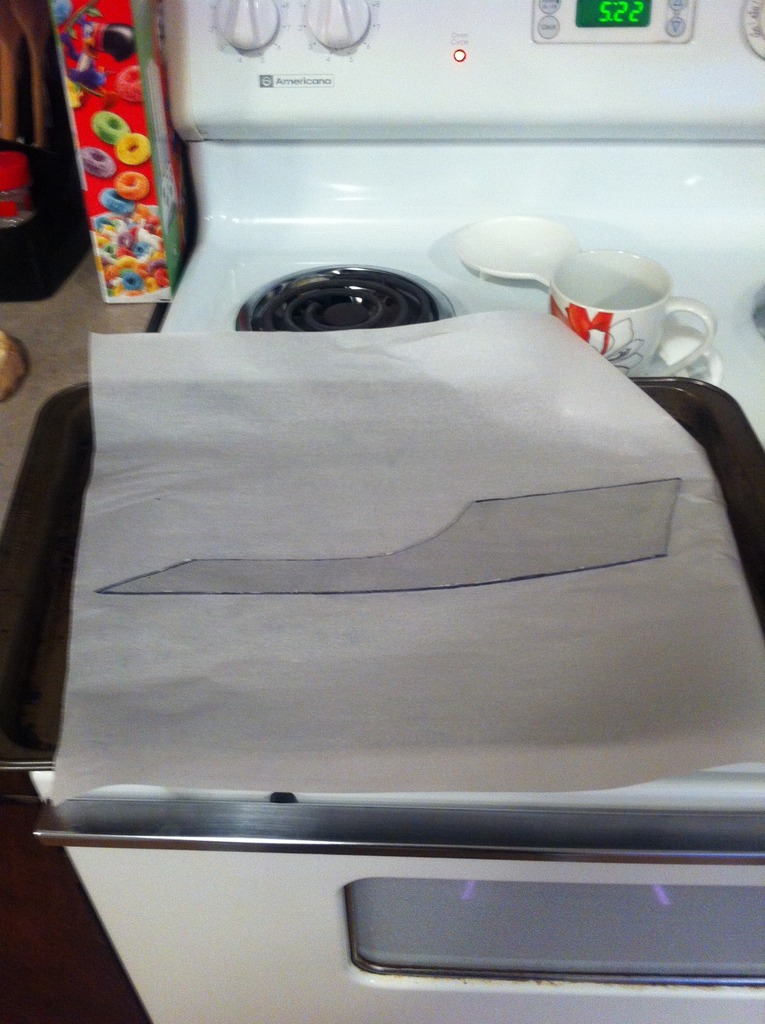
The next part was to shape the corners using heat. This was trial and error for me. I used a random piece of lexan to test out what heat it takes to make it pliable, so after figuring that out I used the oven and baked the lexan corner for 10 minutes at 275* and after taking it out of the oven I quickly set it on the housing to get it to take shape. However when I put the other corner in it bubbled up and warped pretty bad, I had to make several more pieces and screwed them all up again. I decided to make several more and use a heat gun instead. I got lucky with the first piece somehow but still was able to shape the lexan using a heat gun, allthough it was more of a pain.
After shaping the corners I used a dremmel to trim the edges so that the corner will pretty much slip into the housings.
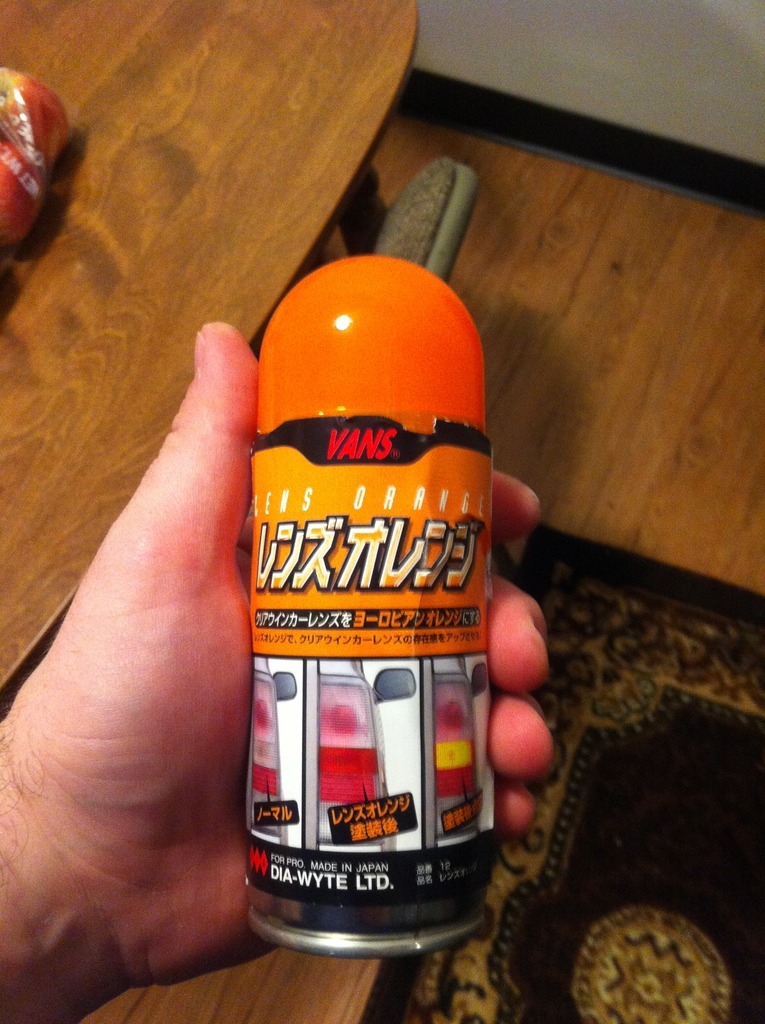
The next step was pretty easy, I tried using this jdm amber paint made by vans but it turns out really foggy, dont buy this crap! its expensive too! Instead I used amber tint film and applied 5 layers on each corner which made them look pretty close to the jdm plastic amber corners. To secure the corners in the housings I used a little bit of hot glue, once the headlights will be put together the corners will be sandwiched in between the lens and the housings so you don't have to use to much.
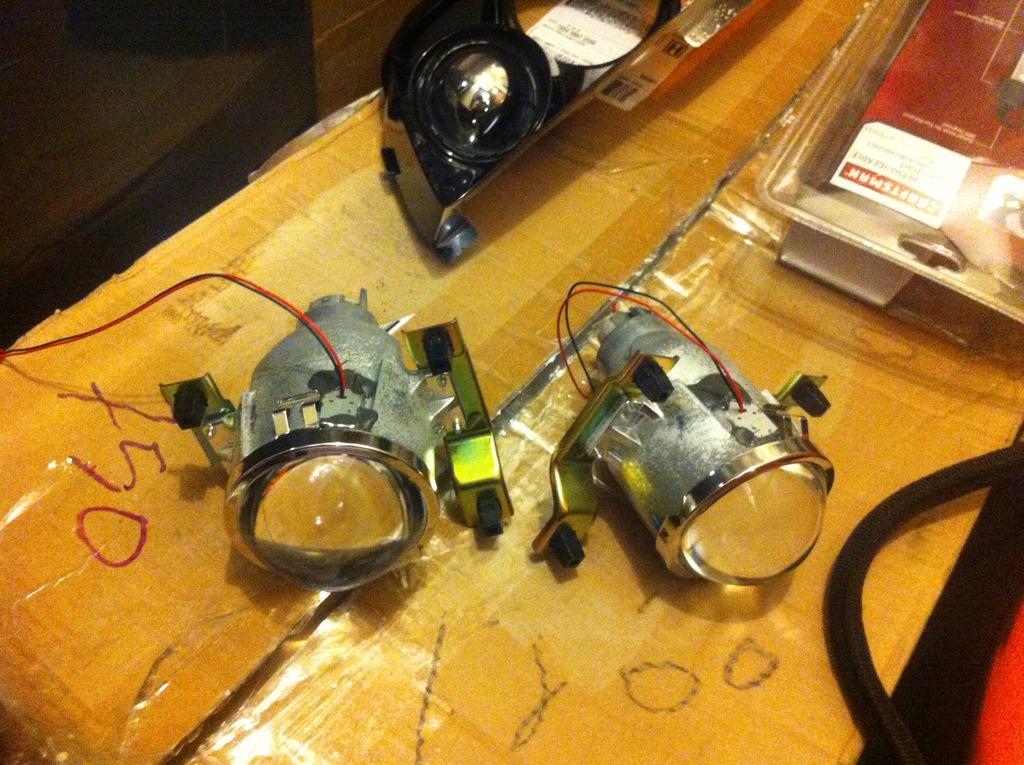
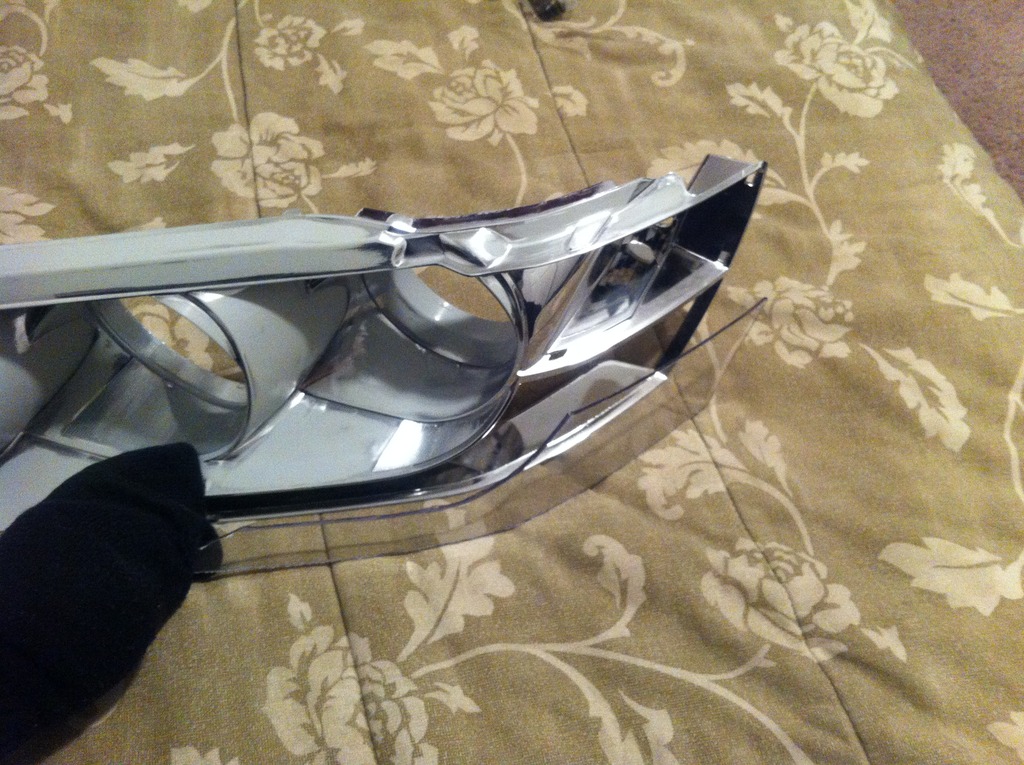
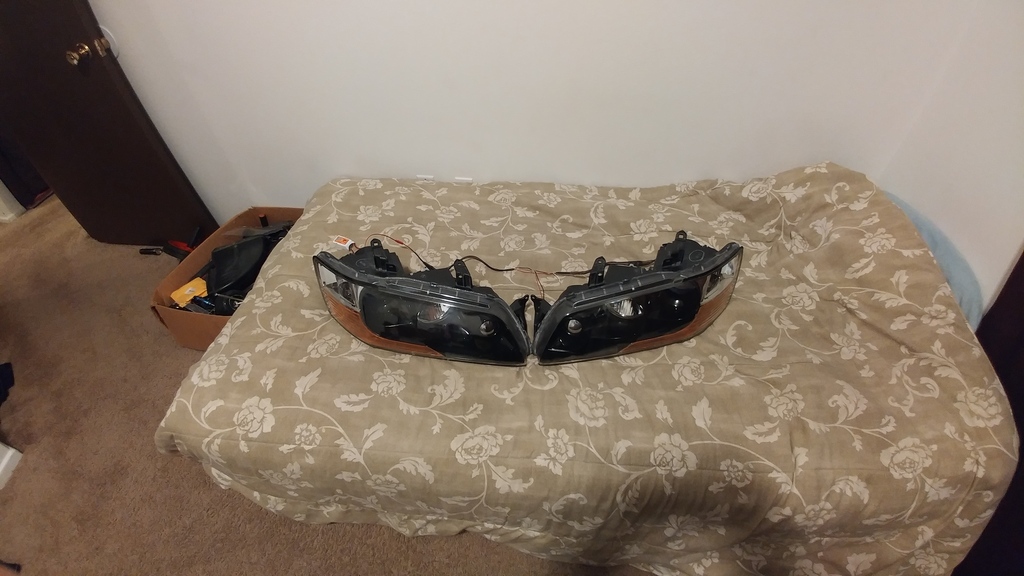
So after sealing them up this is how they came out after polishing the lenses some, pretty nice!
I made a short video here
Hope this was helpful to anyone that wants to work on their headlights! after doing a couple of these I feel confident enough that I could mod headlights for other people, if you are interested pm me, this kinda work is fun and extremely satisfying for me!!
Those have been holding up great! Recently my brother purchased an electric blue evo 8 with some hazy looking headlights. I wasn't sure what I was going to be able to with them other than clean the lens and paint the housing and make an amber corner to replicate the jdm headlights. Well I ended up working on the projector as well and painted the cutoff blue and added a demon eye as well.
So here are the headlights before any work done

So last time i did headlights I opened them up by baking them in the oven which I didn't do this time because it kinda warped headlight housing (exterior housing) so I used a heatgun to warm up the sealant then pried the lenses off.
I used 500 grit sandpaper to sand as much of the housings as possible while trying not to scratch the fake foglights in the housings since I will mask them off and leave them factory chrome. Here are the housings after some sanding.

I used the same primer that I used on my headlights which is made by duplicolor then painted the housings gloss black as per my brothers request. Gloss black used here was made by rustolium.

After I painted the housings I took a look inside the projector. So even though these are non hid projectors they still have cutoffs in them which means you can paint them and have a demon eye effect on a sunny day! Also these cutoffs are removable which makes it even faster to paint them because there is less masking off to do. The paint used to for the cutoffs was duplicolor engine paint which supposedly will hold up in temperatures up to 500*F.


Before putting the projectors together I polished the projector lens because they were really foggy looking.


After I put the projectors together I decided that I should install a real demon eye system. In my headlights I just purchased 12v leds and glued them inside the projector not knowing they actually make demon eye led kits which I used in these projectors. I removed the bracket that comes with them since I wouldn't be able to use it because the projector lens retainer does not screw on, it has a latch. To mount the leds I drilled a hole in the top of the projector for the light to shine through and put a dab of hot glue to hold the led in place, I then used jbweld and let it sit for 24 hours.


Here are the demon eye! these are so bright that the camera has a hard time picking up the actual color.


So on my headlights I painted the inside of the headlight lens amber but this time I tried to make an amber piece again since the last time i tried i failed. I went to home depot and got a sheet of lexan, I then used lined paper and traced the turn signal section of the headlight housing and cut it out. I traced the piece of paper onto the lexan which then I used a dremel to cut out the rough shape of the corner.


The next part was to shape the corners using heat. This was trial and error for me. I used a random piece of lexan to test out what heat it takes to make it pliable, so after figuring that out I used the oven and baked the lexan corner for 10 minutes at 275* and after taking it out of the oven I quickly set it on the housing to get it to take shape. However when I put the other corner in it bubbled up and warped pretty bad, I had to make several more pieces and screwed them all up again. I decided to make several more and use a heat gun instead. I got lucky with the first piece somehow but still was able to shape the lexan using a heat gun, allthough it was more of a pain.


After shaping the corners I used a dremmel to trim the edges so that the corner will pretty much slip into the housings.
The next step was pretty easy, I tried using this jdm amber paint made by vans but it turns out really foggy, dont buy this crap! its expensive too! Instead I used amber tint film and applied 5 layers on each corner which made them look pretty close to the jdm plastic amber corners. To secure the corners in the housings I used a little bit of hot glue, once the headlights will be put together the corners will be sandwiched in between the lens and the housings so you don't have to use to much.


So after sealing them up this is how they came out after polishing the lenses some, pretty nice!


I made a short video here
Hope this was helpful to anyone that wants to work on their headlights! after doing a couple of these I feel confident enough that I could mod headlights for other people, if you are interested pm me, this kinda work is fun and extremely satisfying for me!!
Thread Starter
Joined: Oct 2012
Posts: 356
Likes: 37
From: Vancouver WA
thanks! should be able to get pics of these on the car. Installed hid bulbs in these and the light output is actually not bad, comparable to my factory hid headlights.
Thread Starter
Joined: Oct 2012
Posts: 356
Likes: 37
From: Vancouver WA


Thread Starter
Joined: Oct 2012
Posts: 356
Likes: 37
From: Vancouver WA
Trending Topics


Thread Starter
Joined: Oct 2012
Posts: 356
Likes: 37
From: Vancouver WA

Thread Starter
Joined: Oct 2012
Posts: 356
Likes: 37
From: Vancouver WA
The thing is the usdm housings are different size than jdm/europe from what ive heard so if you try to install those ambers there will be a noticeable gap, thats why I did what I did.

This is correct. It's not a huge difference but they are definitely slightly different


This is a clean install! Great work!
Definitely a better option than putting in the amber lenses from a JDM headlight.
If I ever modify my headlights again then I am installing some nice HID projectors.
Definitely a better option than putting in the amber lenses from a JDM headlight.
If I ever modify my headlights again then I am installing some nice HID projectors.

seeing your DIY conversion made me jelly... this is perfect for RS owners too with non-HID heads. I am afraid to cut mine open though and screw them up. I owned real JDM heads on my last Evo and this is probably the most accurate to the JDM ones I have seen anyone do. Wish you were closer.. I would pay to have mine done too. Great work!