When you click on links to various merchants on this site and make a purchase, this can result in this site earning a commission. Affiliate programs and affiliations include, but are not limited to, the eBay Partner Network.
Valve stem seals are taken off before hot tanking, if they were left in they would retain moisture which could cause all sorts of issues for the valves. With that said, a set of seals from GSC that uses higher temp rated viton than stock is only $15 so I think it's good piece of mind to just replace them.
Also, be sure to get a ring file to set the end gaps on the rings properly.
You're right. I just checked and it looks like they did take off the stem seals and replace them.
Originally Posted by letsgetthisdone
The head passed a pressure check, but did they check valve guide clearance?
I don't think they did, but I know the valves were removed. Possibly to relap the valves. He didn't charge me for it lol. I cleaned the valves before bringing the head to the shop. Amazing what a dremmel can do XD.
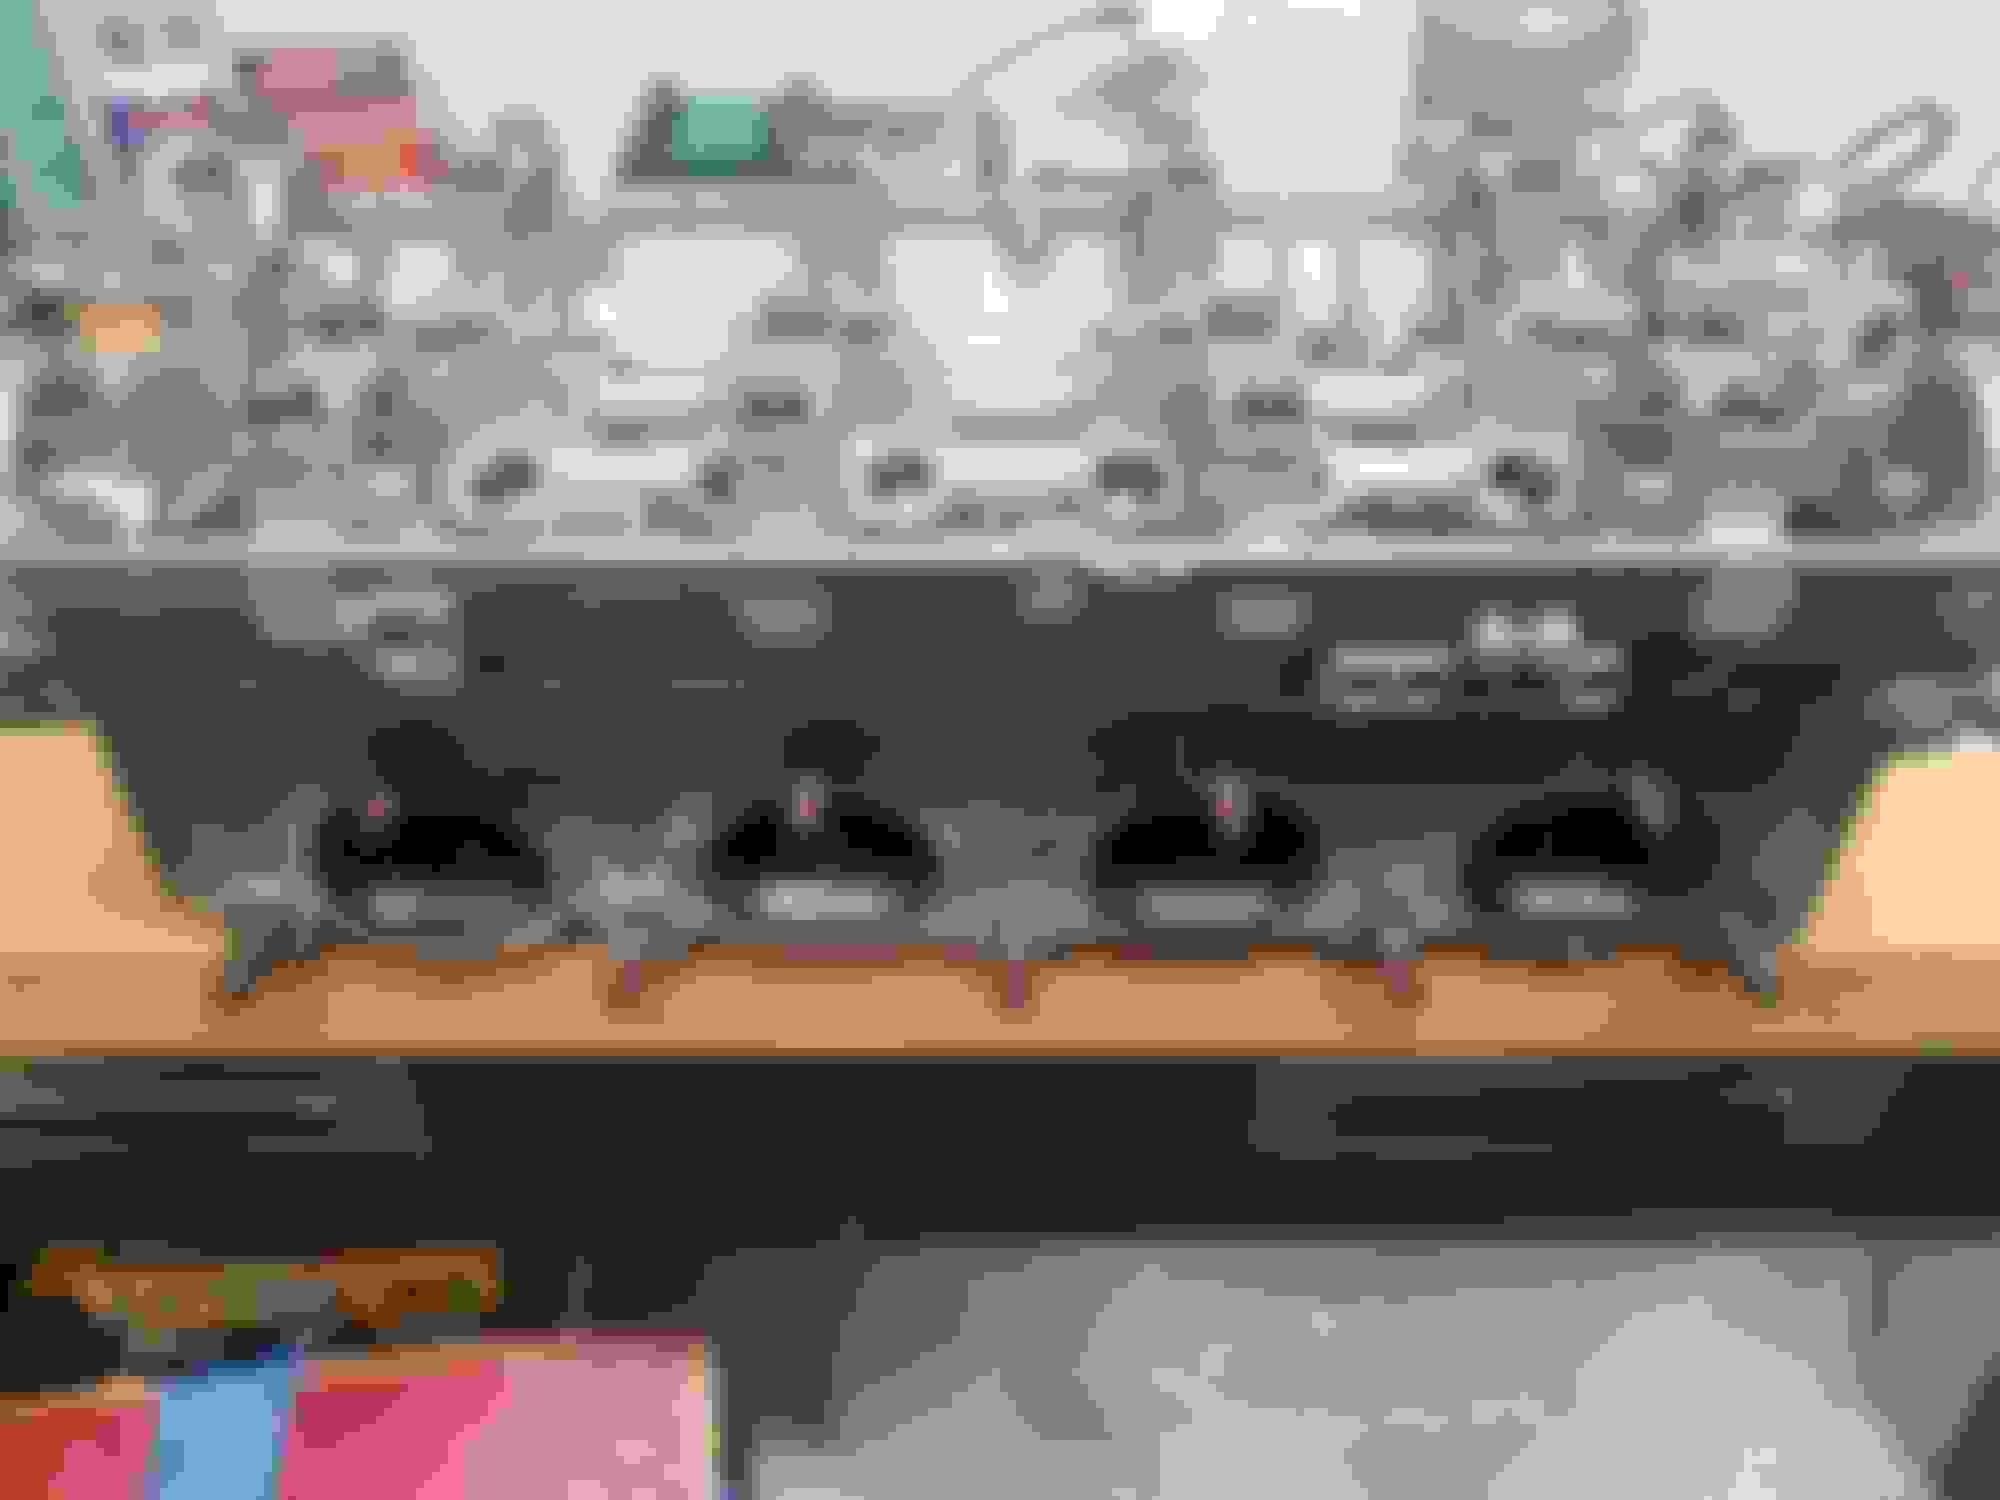
I just got all the parts back from the machine shop and they did a good job on the block and the cylinder head (as far as I can tell).
I've gone ahead and measured the new cylinder bore numbers and found all oil clearances in the block set by MAP. It's hard to tell what clearance they were going for as the bearings are used, but overall they look pretty damn consistent. There was a lot of repetitive work I did to get these numbers.
Avg Cylinder bore near perfect after hone:
1: 3.3662"
2: 3.3660"
3: 3.3661"
4: 3.3661"
New PTW..I can live with this. I'm going to switch pistons only around to make PTW closer to 0.0040" across the board (i.e. P3 in C1, P1 in C2, and P2 in C3) This means that my machine shop only took off about 0.00035" with the hone, which is impressive:
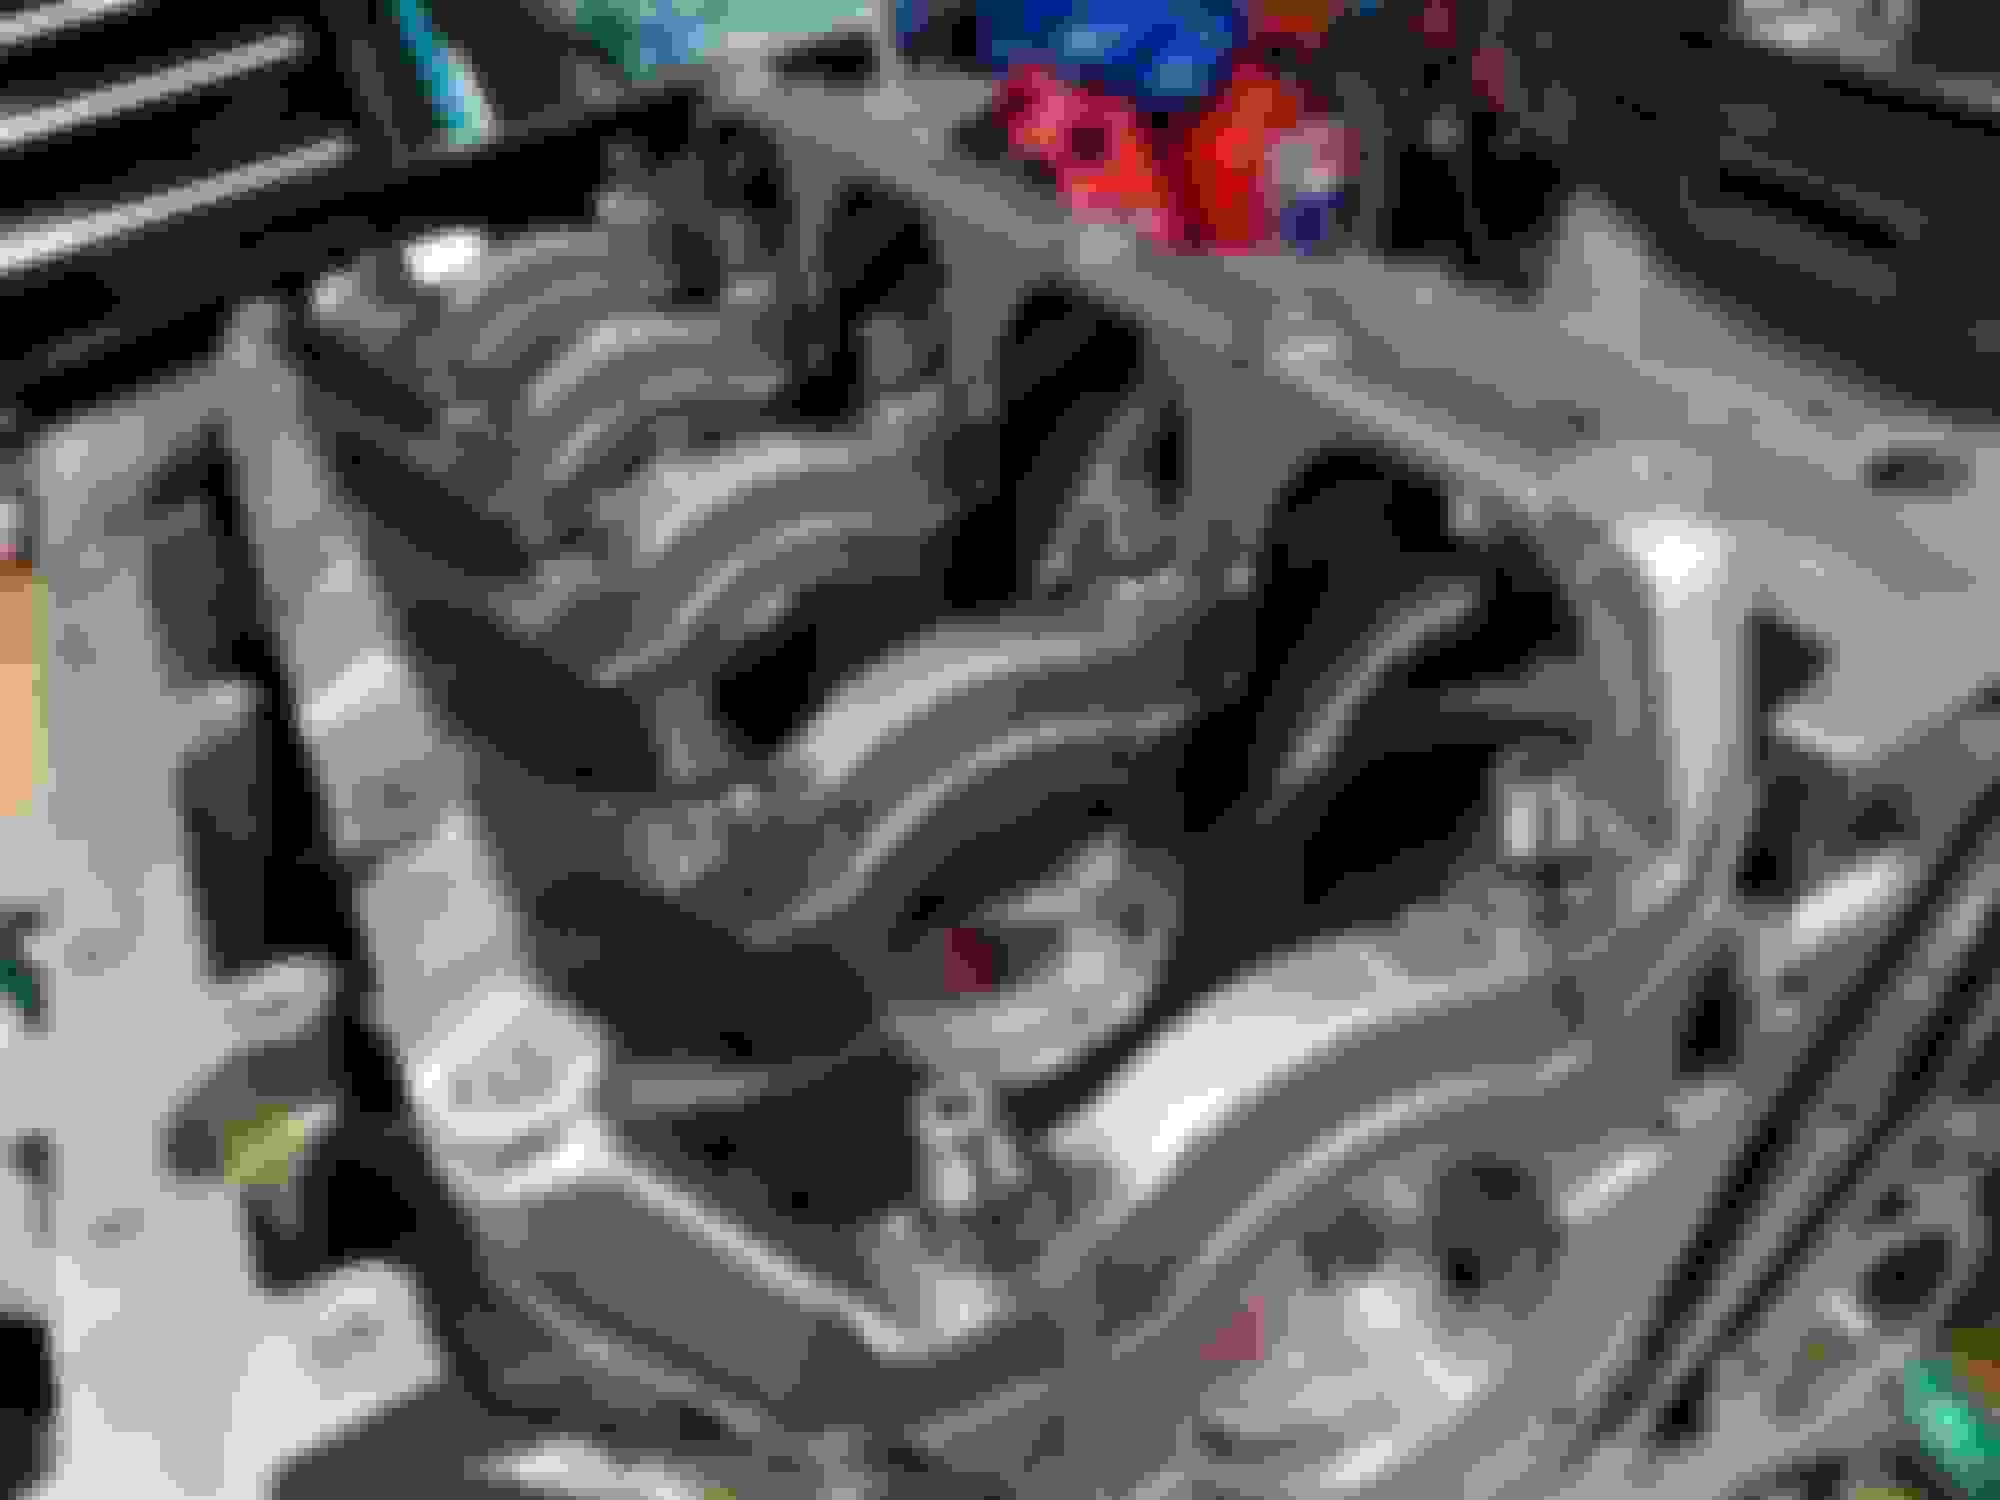
The Manley billet crank was very consistent between main journals. I spent all day yesterday cleaning, blueprinting, and reassembling. I've ordered new ARP 2000 rod bolts because my current ones will no longer stretch to spec. They have already been stretched once so I will use them as mock up bolts for future builds.
I had to put more than 70 ft lbs of torque on the bolt for it to stretch to HALF of the specified range, which makes sense as they've already been yanked!
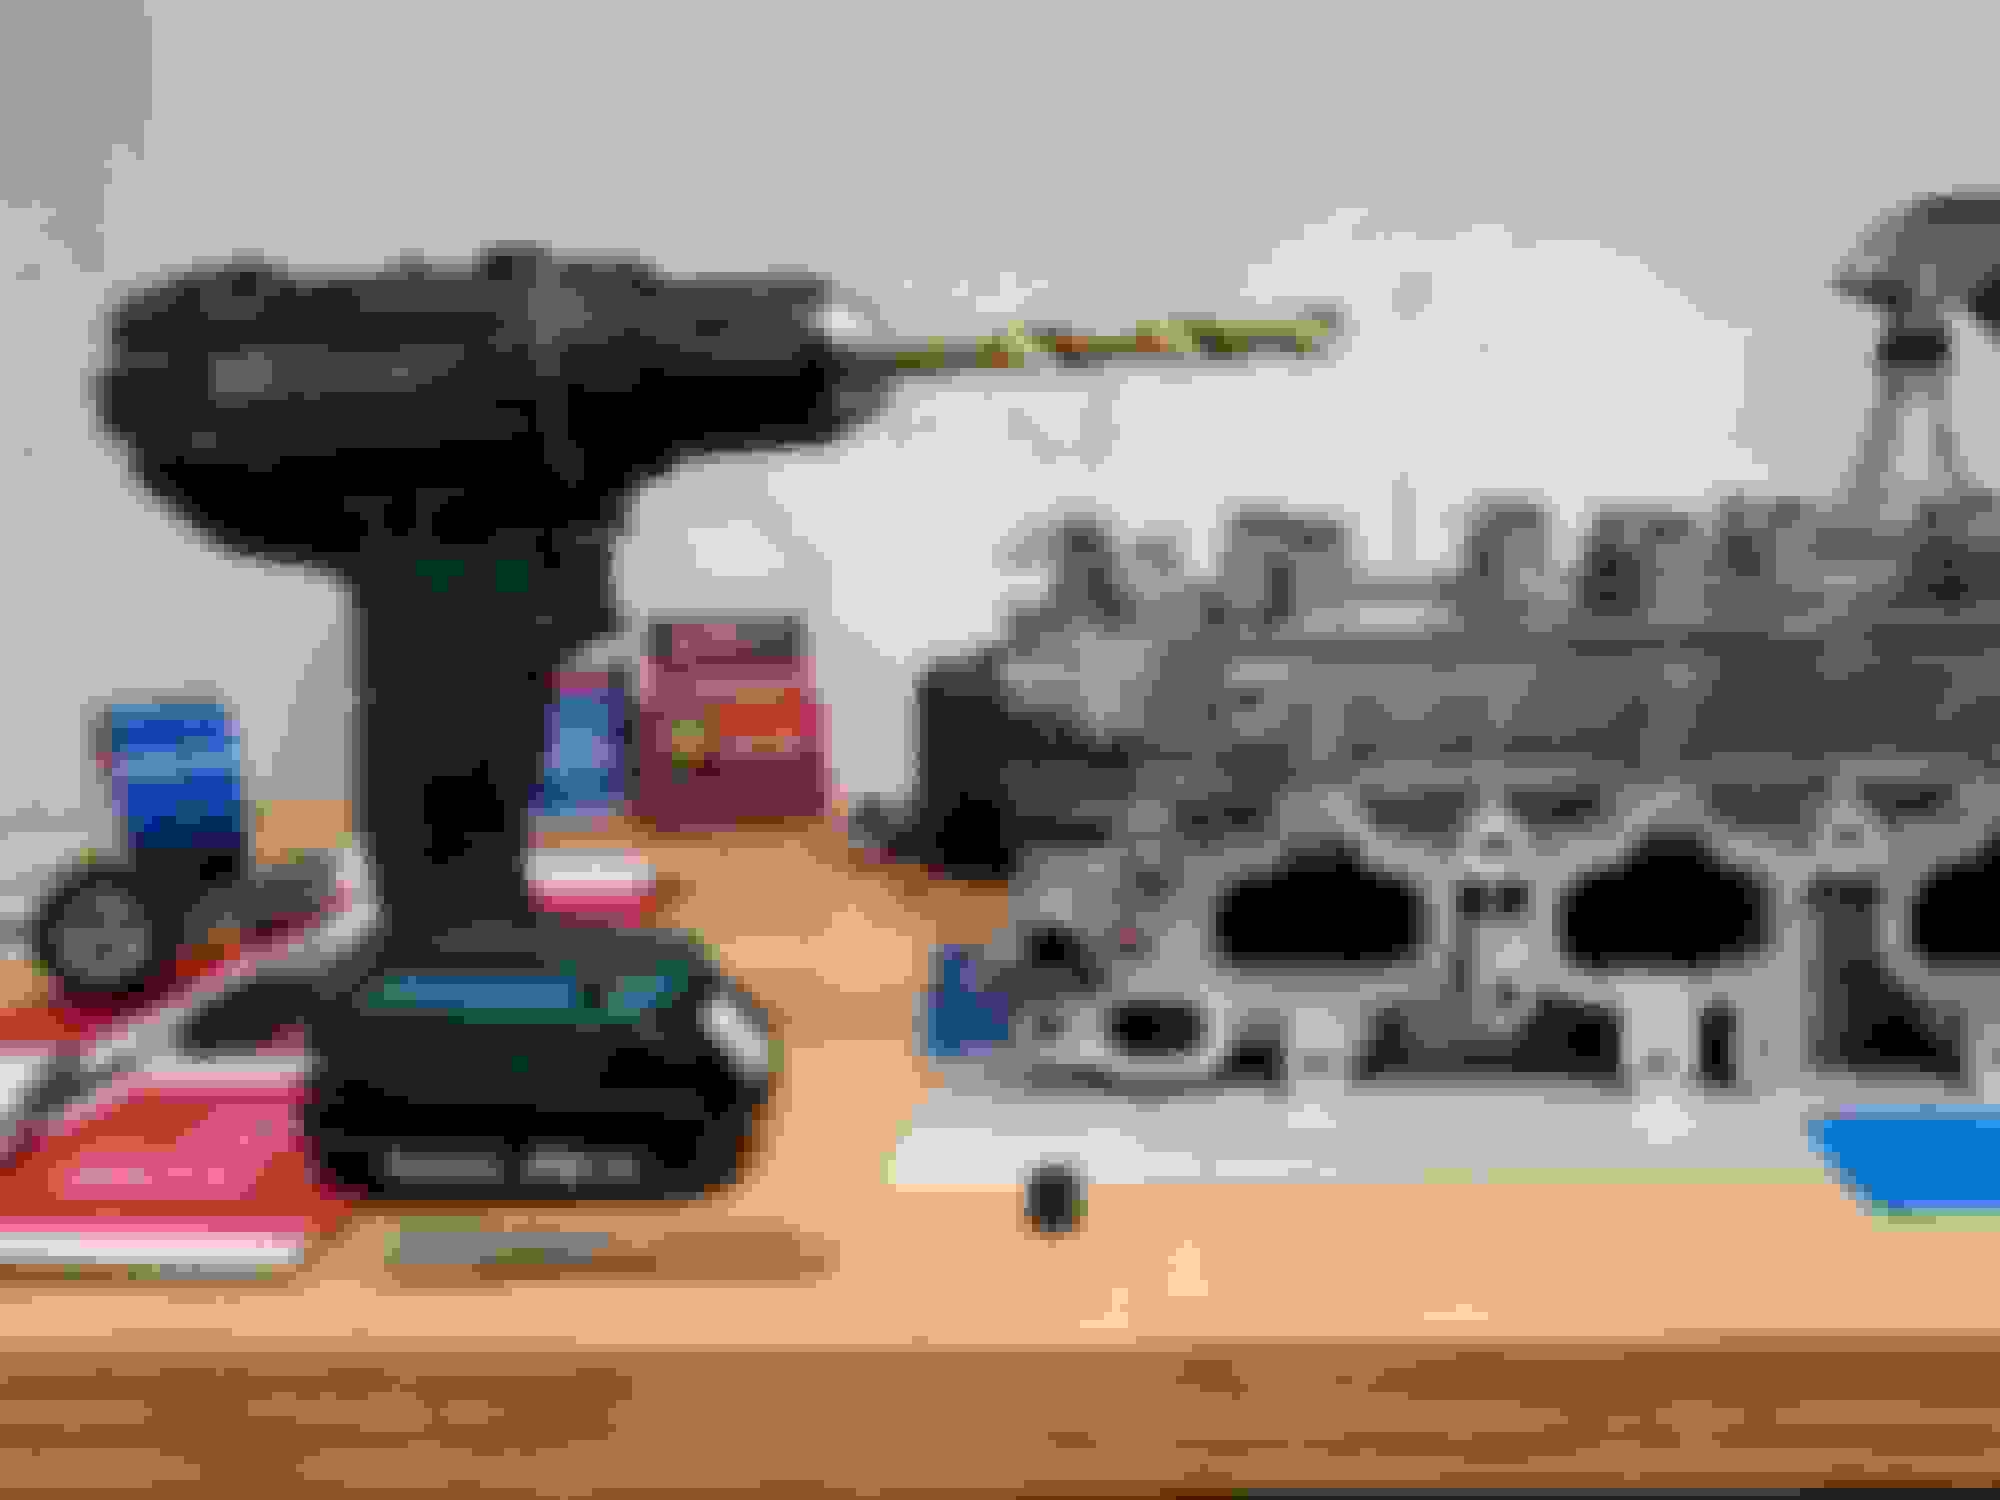
New piston rings and rod bolts should be here this week.
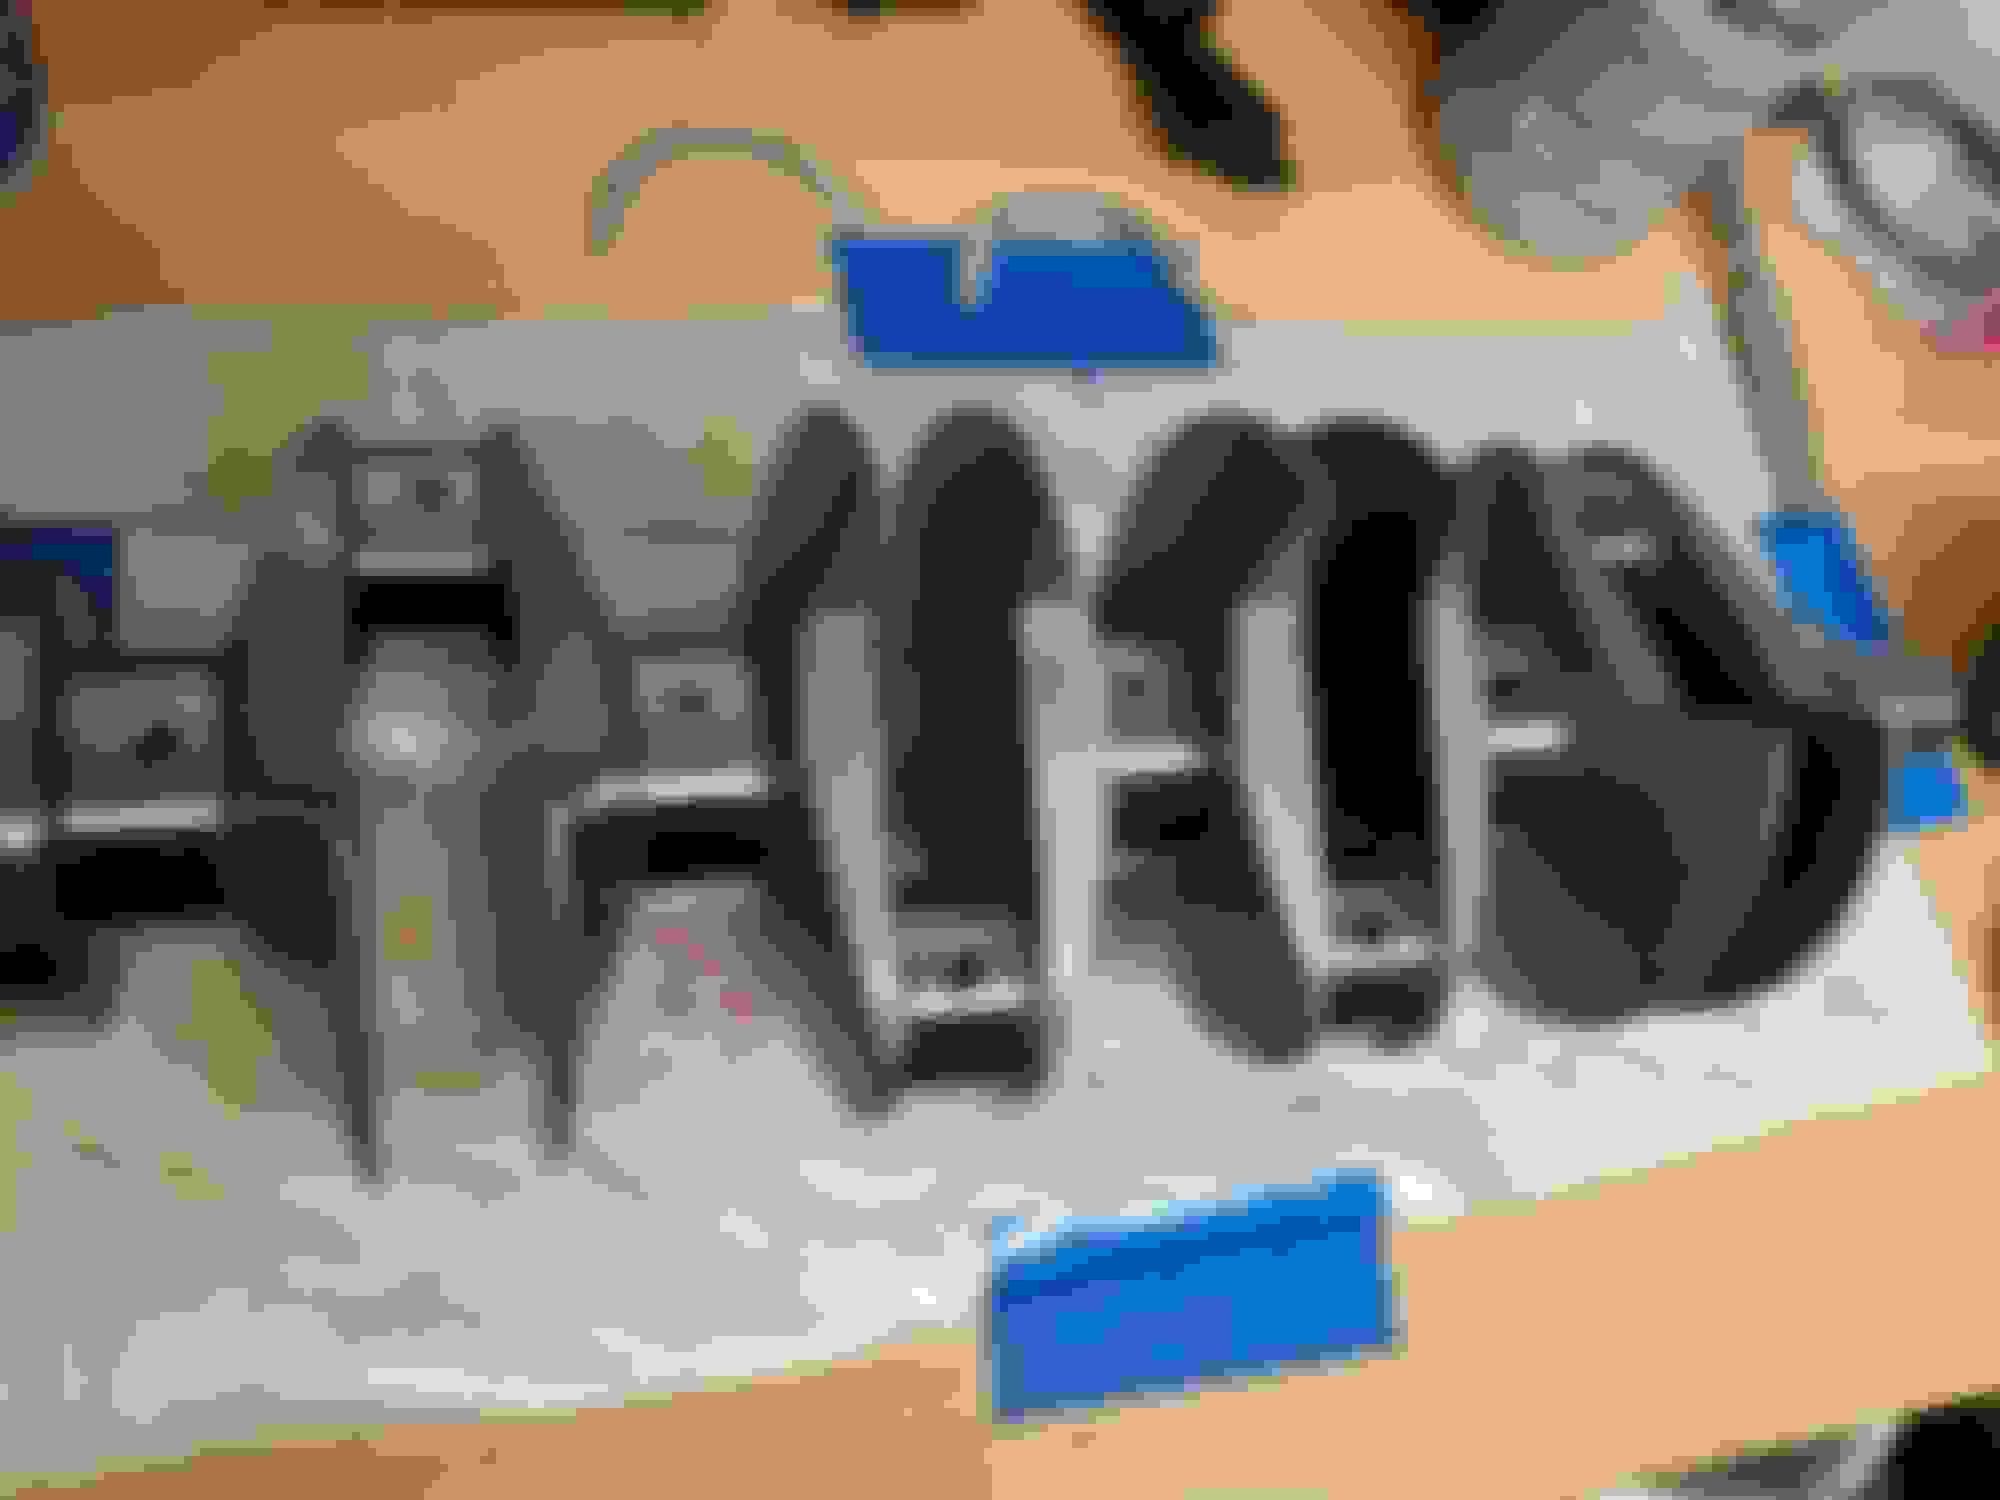
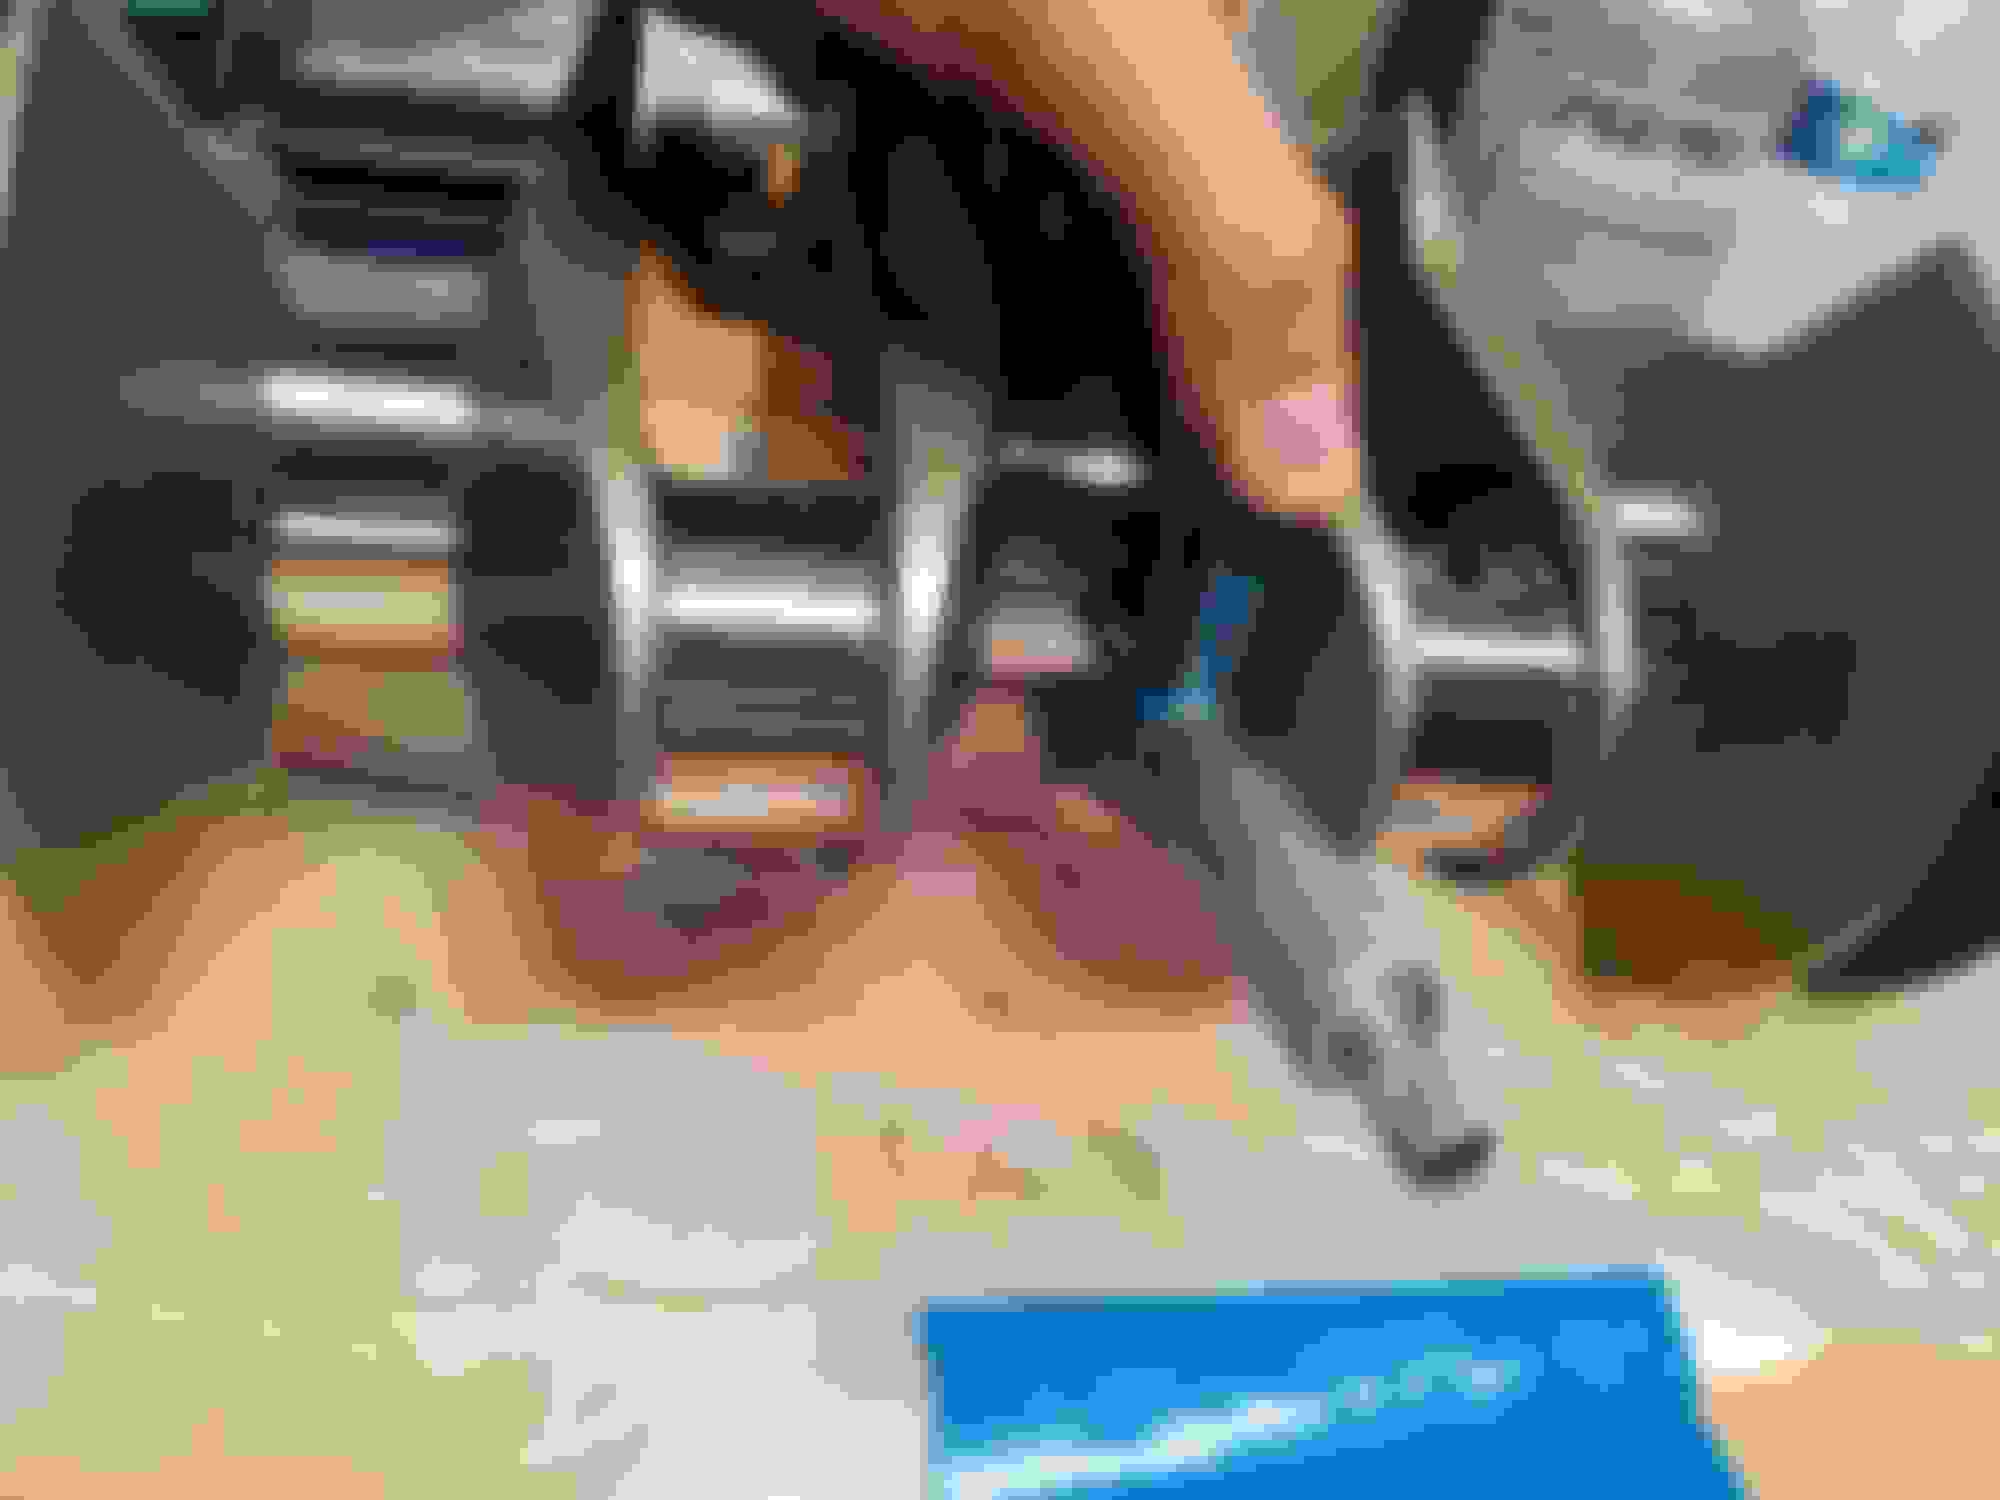
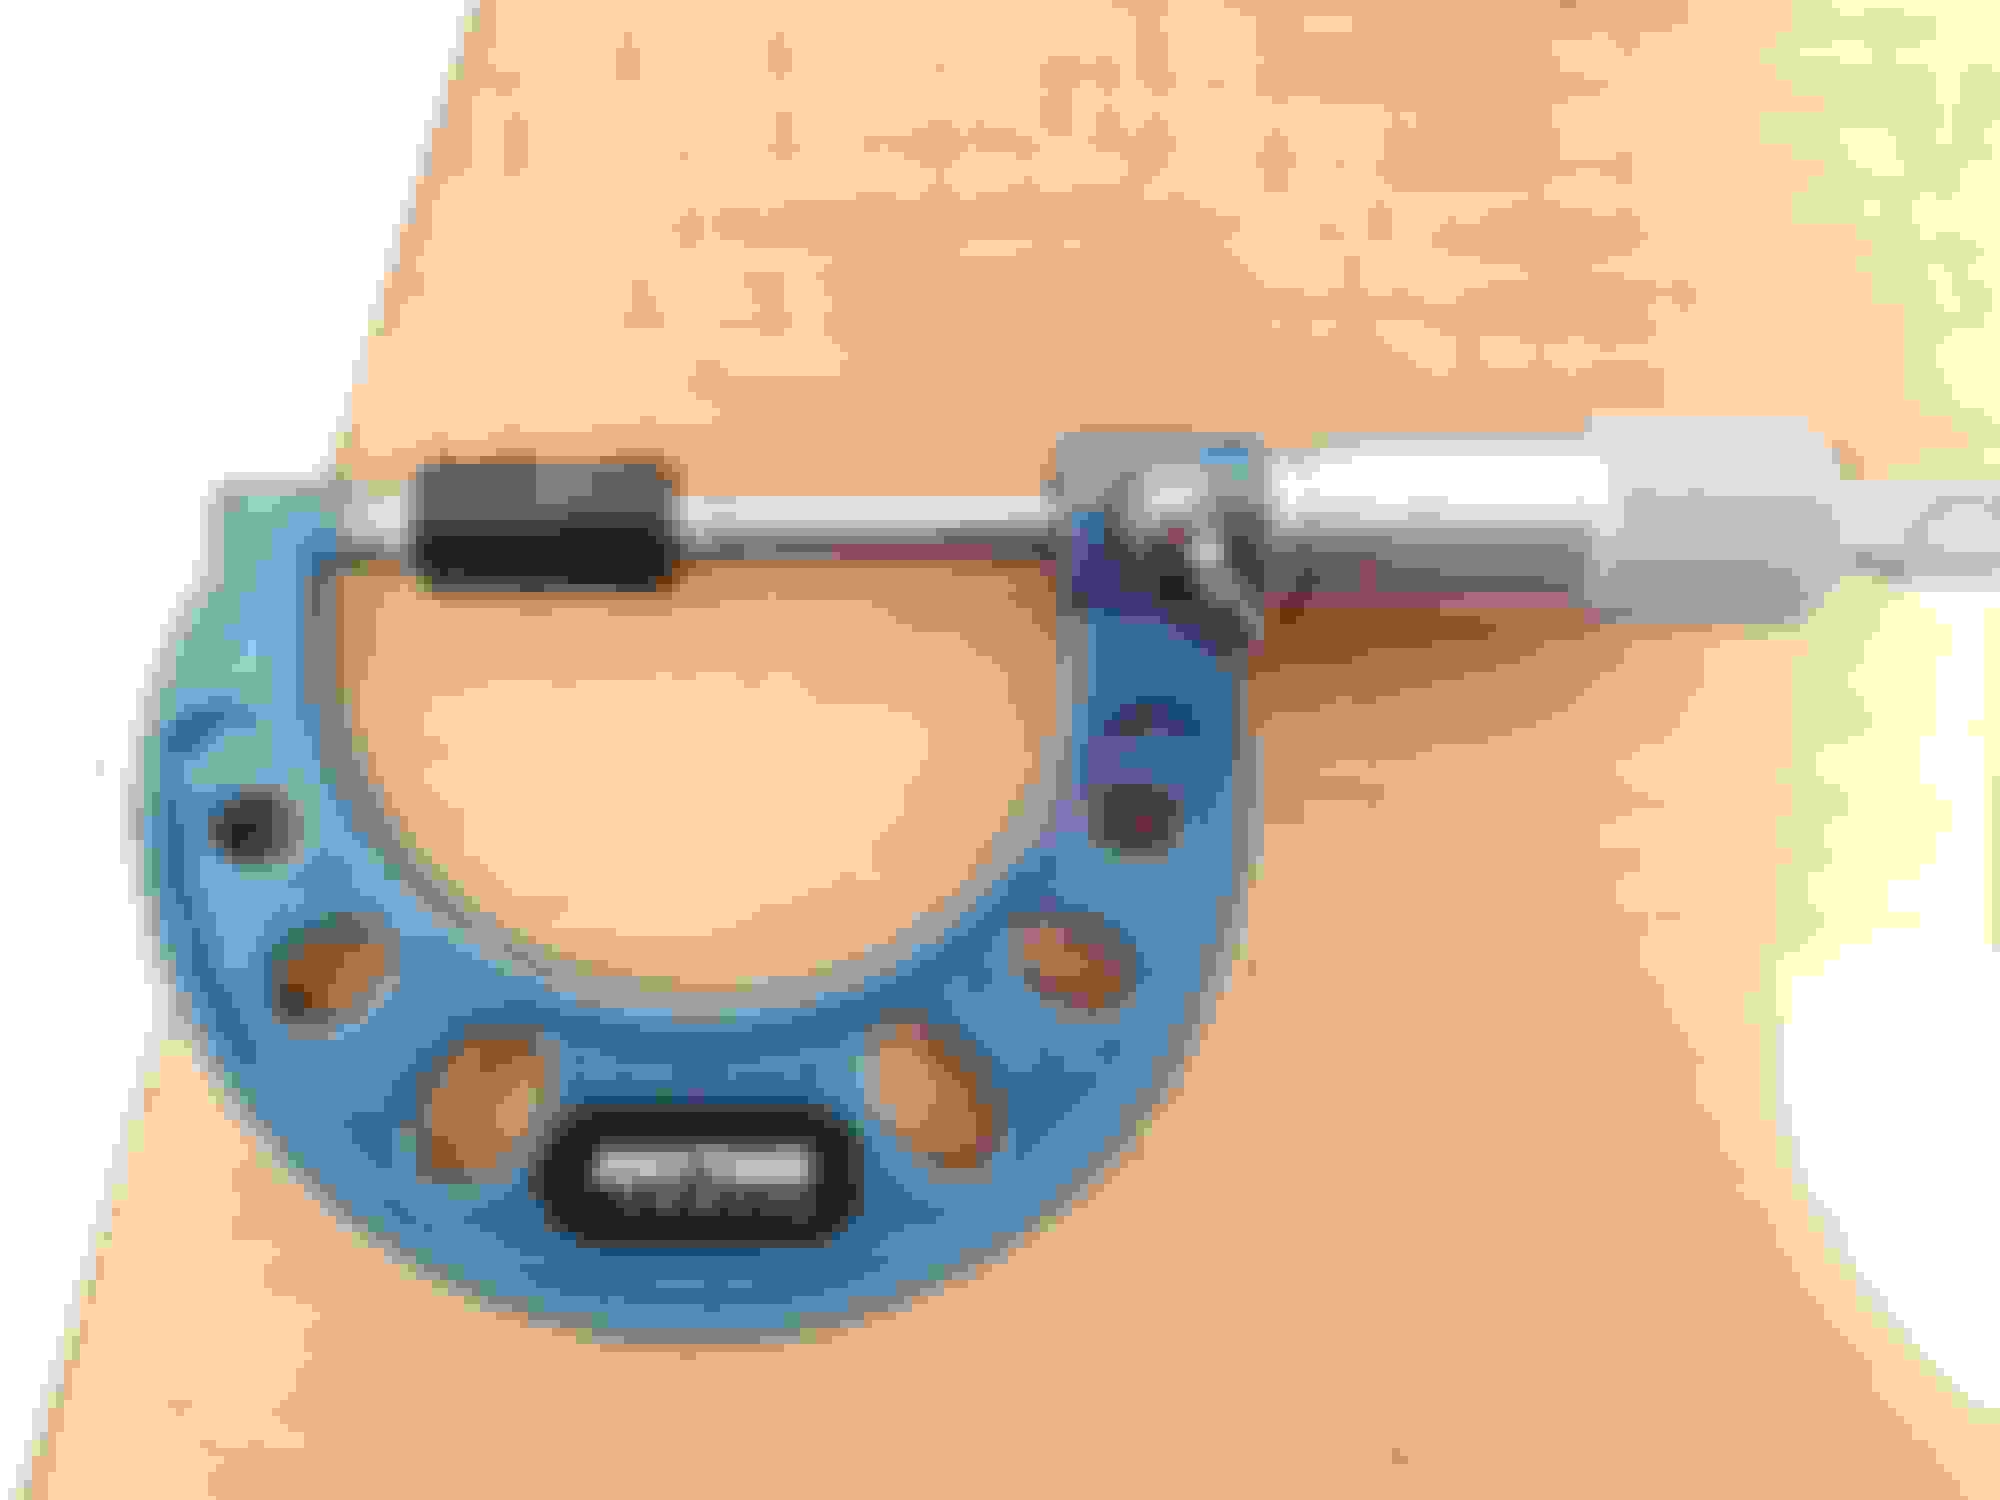
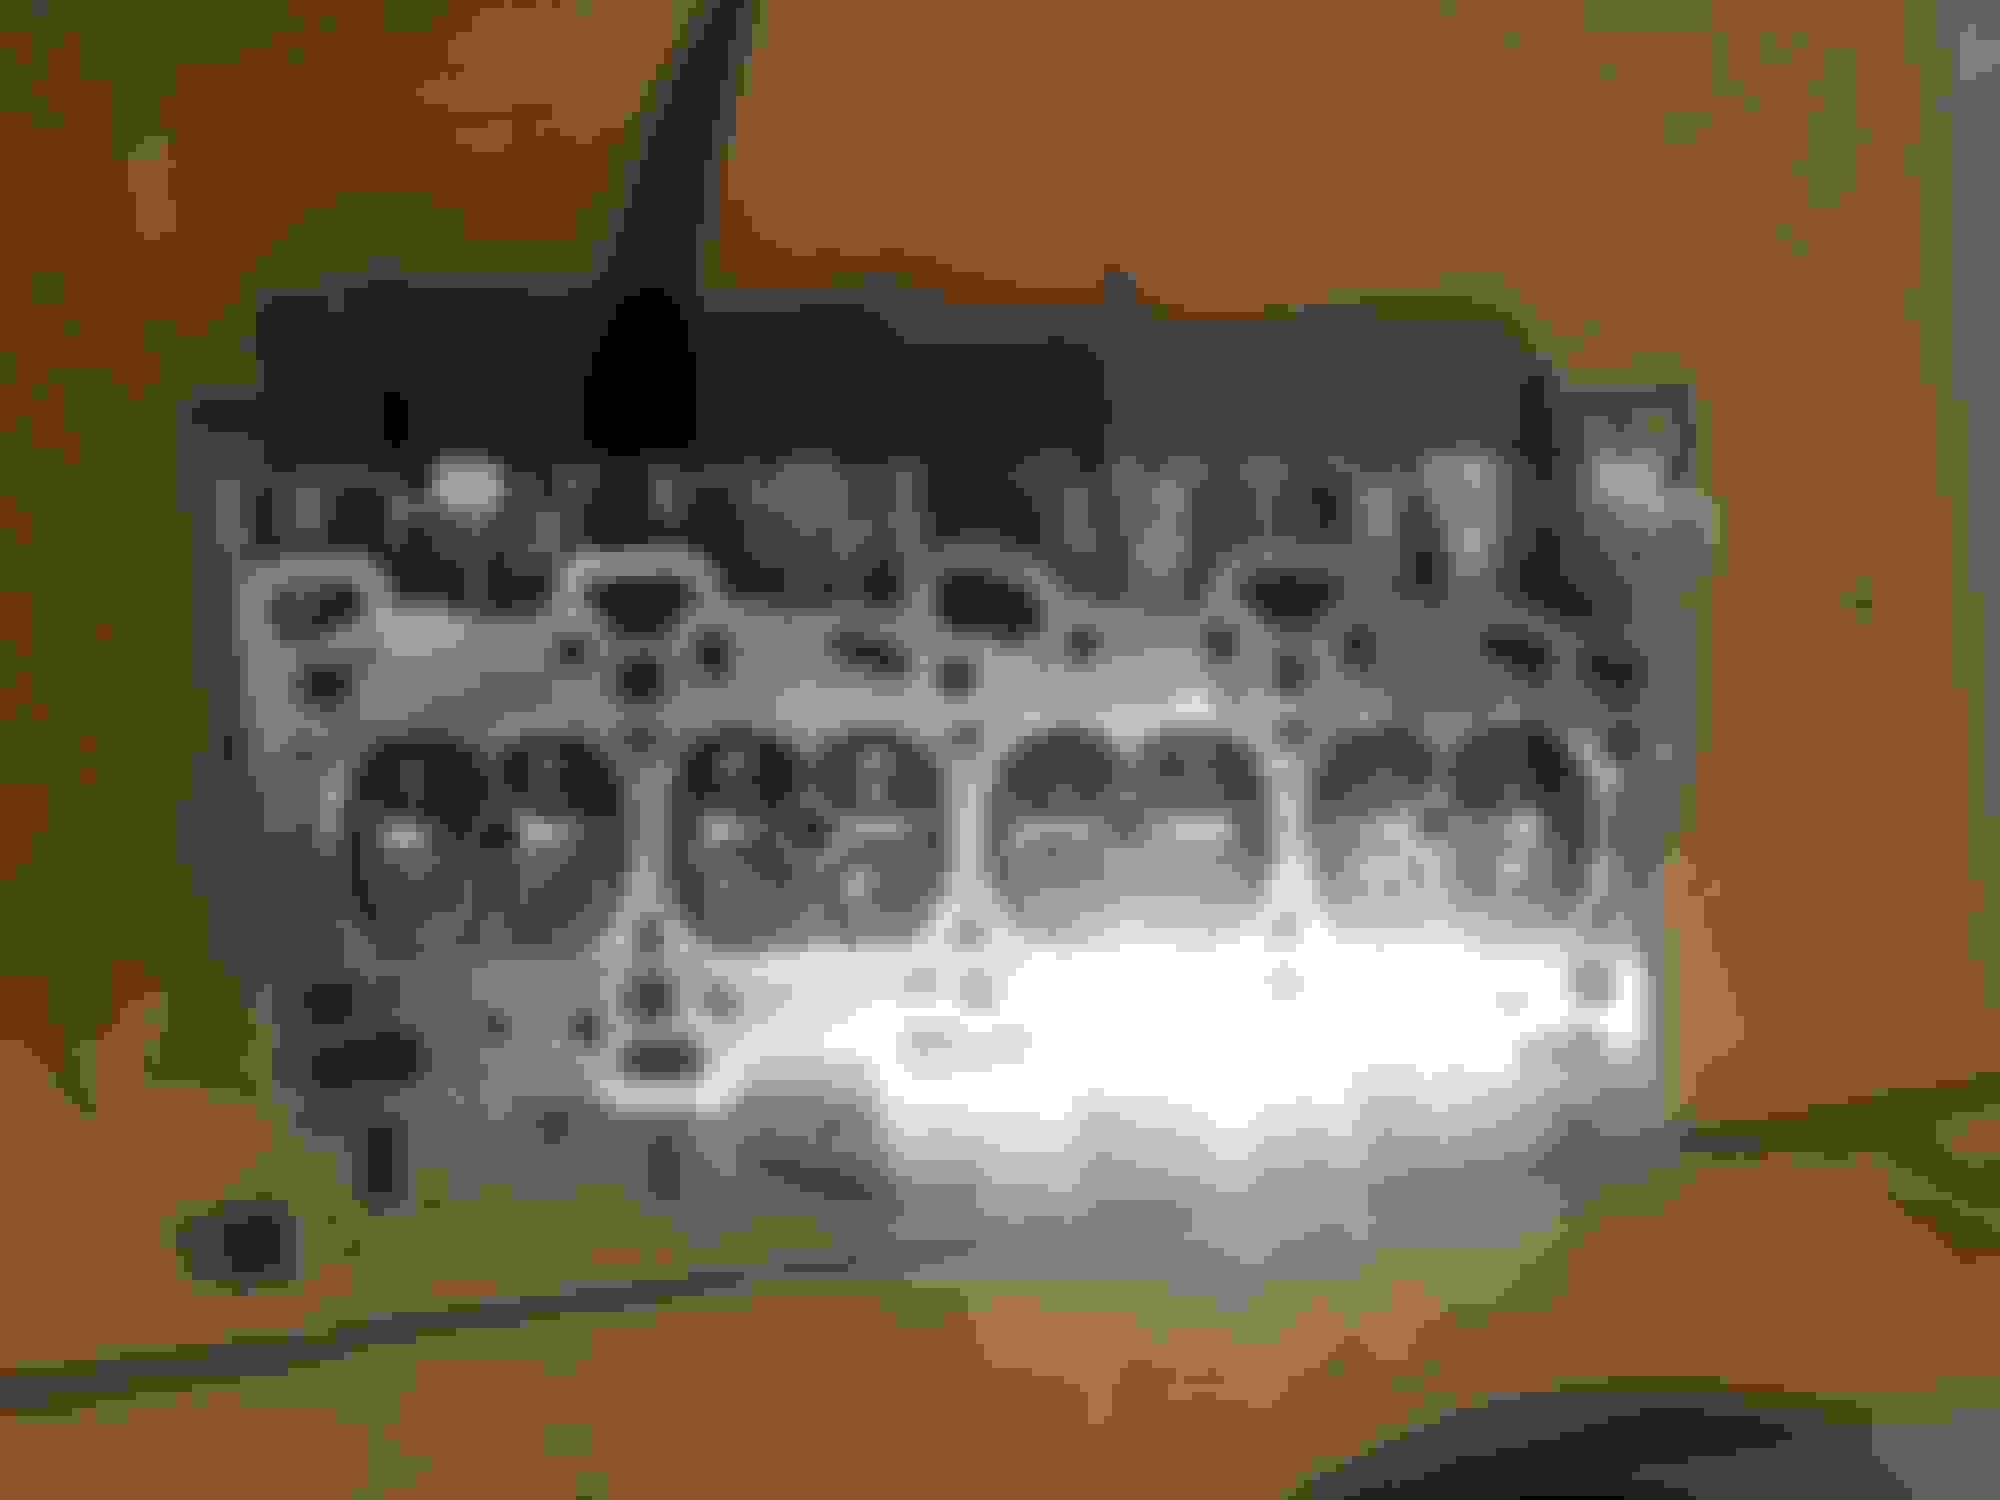
On to the pics...
Oil Squirters back in
New Hone Crosshatch
Main bearings back in after lots of cleaning
Main studs back in
Lots of Lube!
Torqued to 60ft lbs in 3 steps to take measurements
Measuring main bores with bearings in place using dial bore gauge
Had to move the damn engine block to my table to get to the last two main bearing bores. I don't have a 7 foot dial bore gauge.
Pre-cleaning crank
Measuring journals
Checking micrometer calibration
Crank endplay in spec
Before cleaning piston
After cleaning Piston
After cleaning the HELL out of the pistons. I killed 12 dremel attachments. Don't allow your engine to burn this much oil or you will be doing the same.
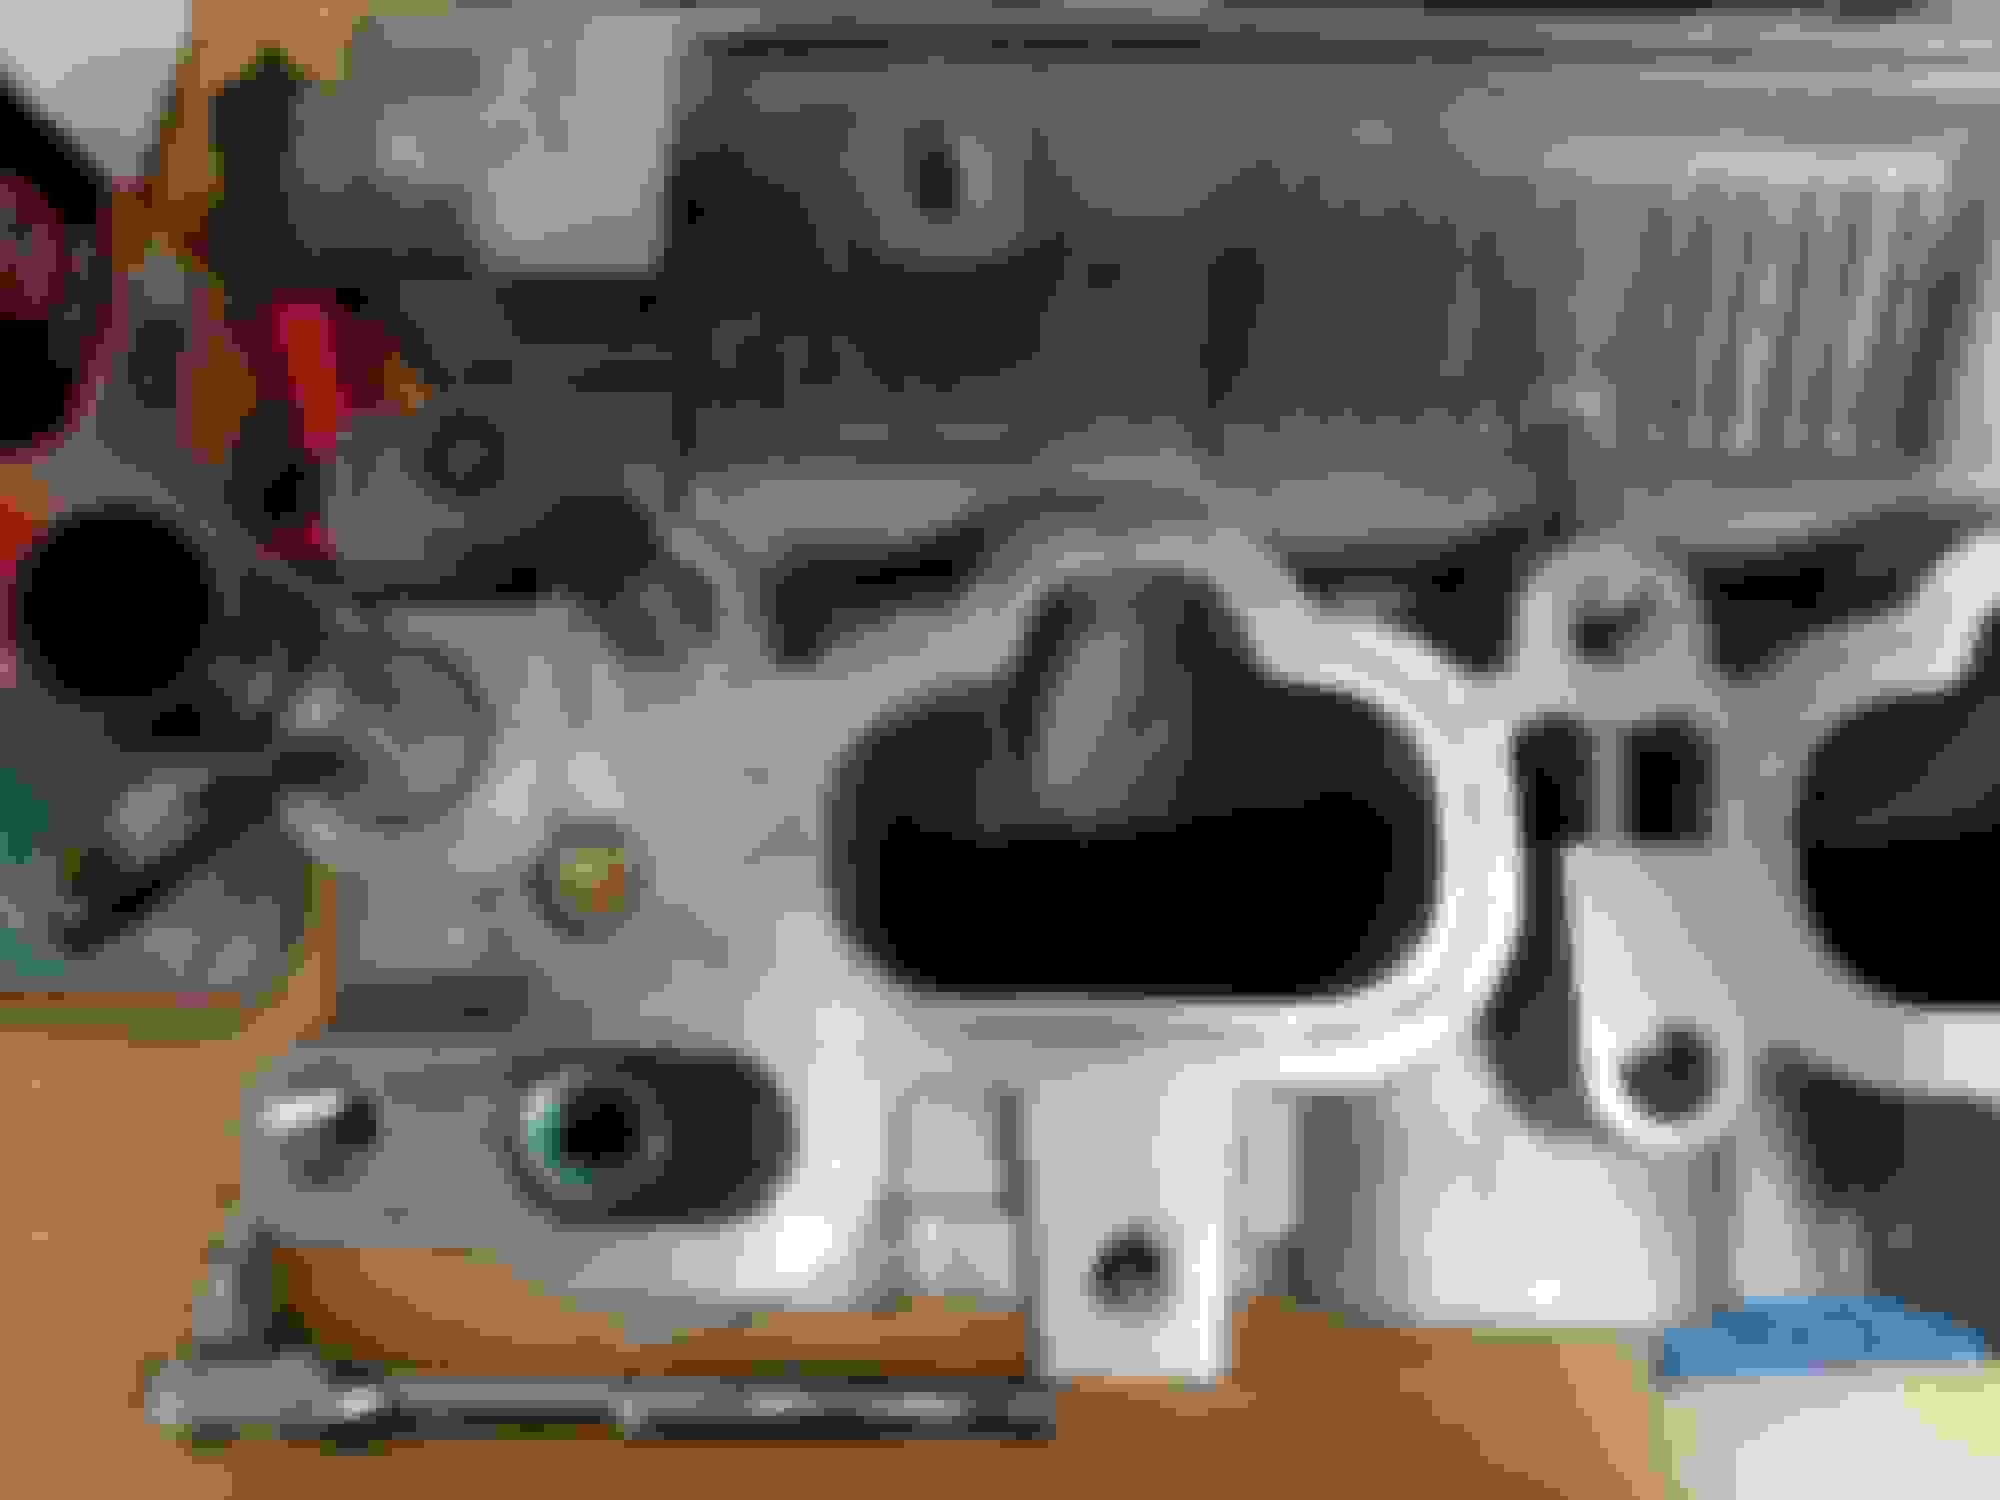
Resurfaced cylinder head. This is after I also cleaned the hell out of the valve heads. They were covered with carbon and burnt oil even after hot tank.
Cleaned as far up the intake ports as I could reach.
So much left to do....
Finally, something I should have done a long time ago...
Thanks for looking!
Last edited by Pal215; Nov 30, 2017 at 12:20 PM.
Reason: Added clearance
You should invest in a bench grinder. Harbor freight has pretty good deals on them. Cleaning valves and piston crowns is a pretty fast affair with a brass wire wheel. Also good for cleaning off corroded stuff pretty quickly. Definitely a time saver.
You should invest in a bench grinder. Harbor freight has pretty good deals on them. Cleaning valves and piston crowns is a pretty fast affair with a brass wire wheel. Also good for cleaning off corroded stuff pretty quickly. Definitely a time saver.
Glad to see it's coming back together.
I agree, but I just don't have the space right now Definitely a future investment. Thanks! I hope she runs better than she did prior.
When measuring bearings installed in the bore, they are only to be measured vertically, that is there smallest point. They are slightly oval in shape, with the diameter getting bigger as you go towards where the shells meet. You only measure X and Y when there is not bearing in the bore, to check for bore roundness.
How is your setup different if we compare with Stock PTW clearance and Ring end gaps ?
A block with over 100 000 Kms will develop some sort of ovality . Can we do the same with such mileage blocks ?
I can't comment on stock PTW and end gaps as I don't know them off the top of my head but most aftermarket piston manufacturers will make their pistons .003-.0035" under the bore size they are made for. So for people doing drop ins your PTW would be stock PTW + .003(5)". For an engine that is being overbored, pistons should be individually measured and given a corresponding cyl # and the bore would be honed to a finished diameter that gives you your final desired PTW accurately for each cylinder, such as what the OP has done with his engine.
Ring end gaps will always be tighter on factory applications, intended power output, fuel used, and bore diameter are usually the largest factors for this. Cooler fuels like ethanol and methanol can run tighter ring end gaps because they have greater latent heat so they can keep cylinders cooler versus gasoline. As for setting gaps relatively, most builders and manufacturers say to set the second ring gap larger than the top ring. This helps to vent blowby pressure between the first and second ring better.
Blocks do go out of round over a period of run time. Most of this comes down to things like how it was run, oiling, tension of the rings, crosshatch angle on the cylinder wall, piston shape, whether an offset gudgeon pin is used or not, and other factors. With that said, if properly maintained, bores won't wear that much. My engine had 100k when I did my drop ins and out of round and taper on every cylinder was under .001", original crosshatching was still present pretty much everywhere.
So to answer your question, yes you could do this to a high mileage engine, to a point. If you need to hone more than .0005" then it'd probably be better to have the engine overbored so you're not stuck running a massive PTW. If your out of round is out of spec then your only option is to overbore it, there is no other way to correct for an out of round issue.
Sorry for the long winded response, hopefully that answers your question.
When measuring bearings installed in the bore, they are only to be measured vertically, that is there smallest point. They are slightly oval in shape, with the diameter getting bigger as you go towards where the shells meet. You only measure X and Y when there is not bearing in the bore, to check for bore roundness.
In that case, i'm in better shape than I thought. I'll have to update the clearances when I get home from work today. Thanks for the heads up
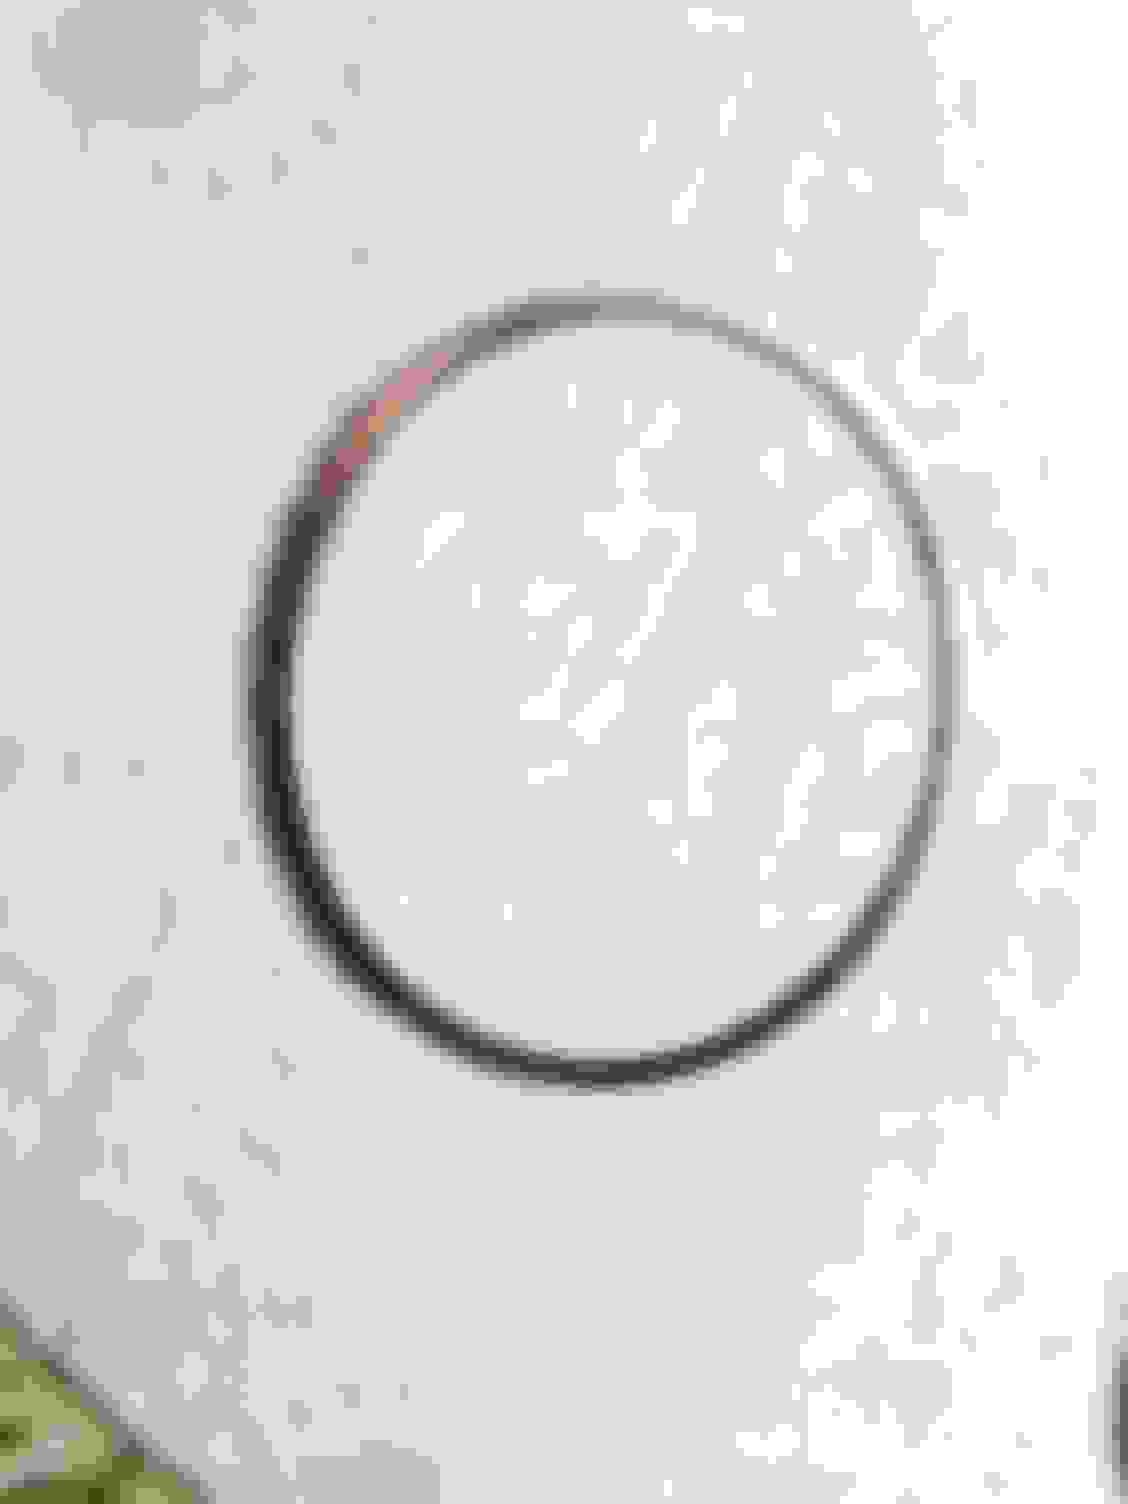
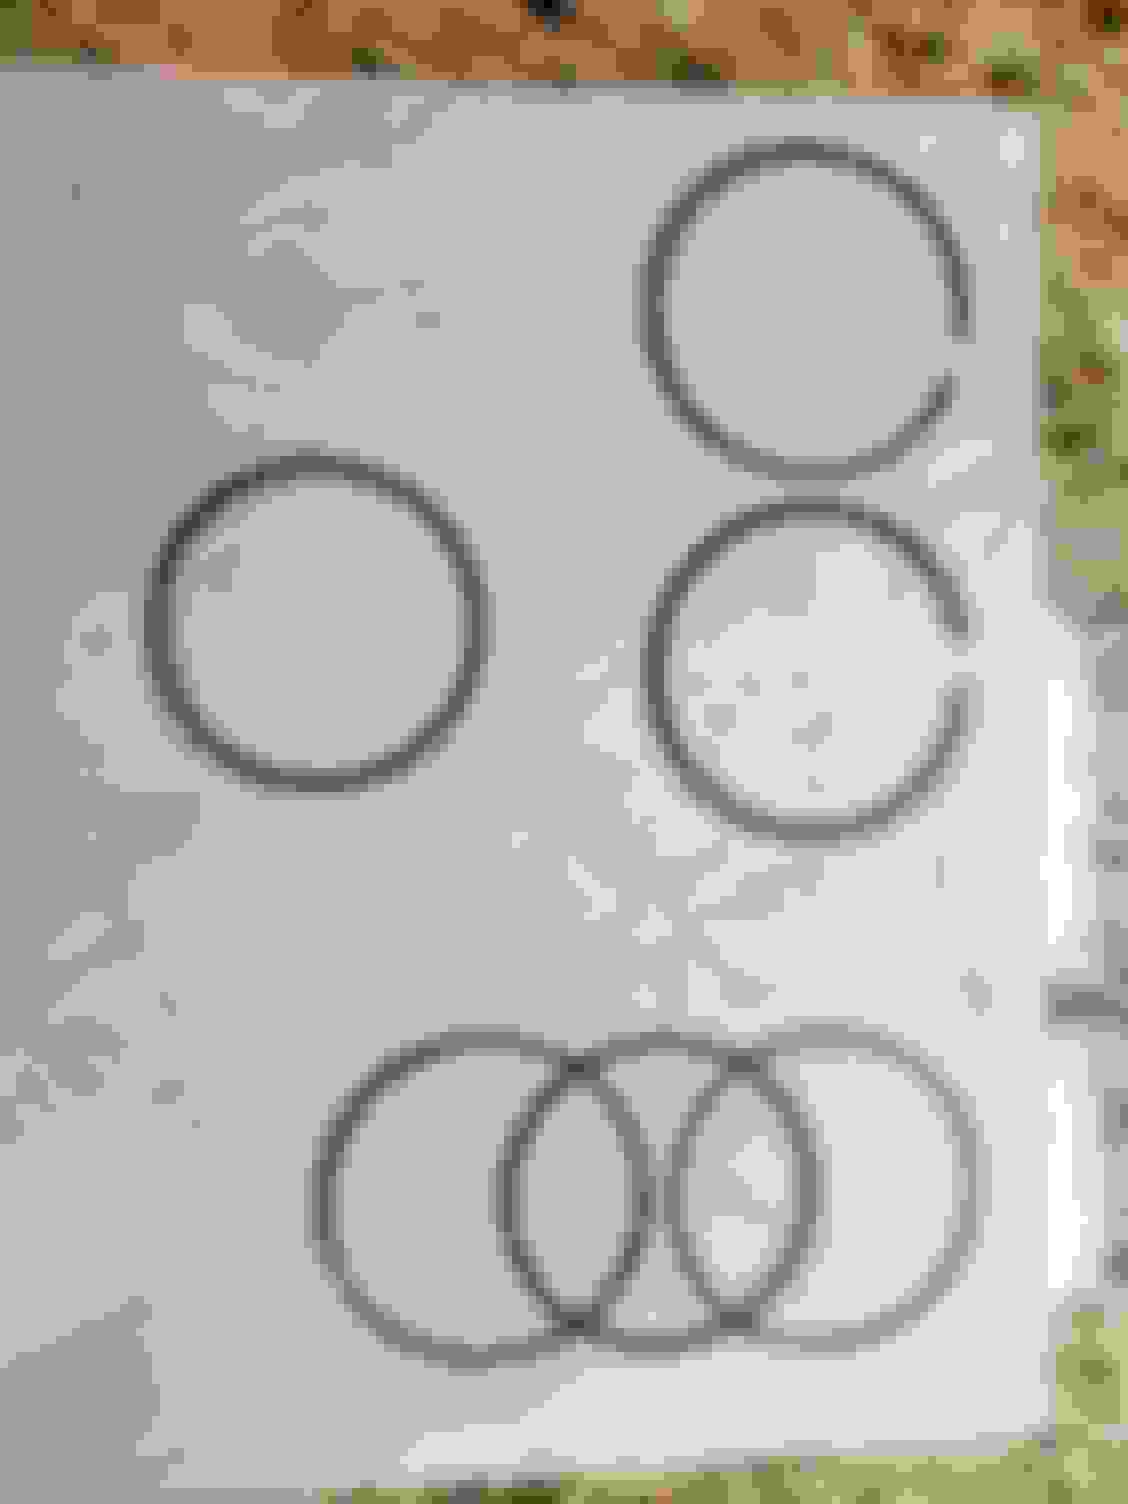
Hey guys, I need some help again. My new piston rings came in today, but each kit has 5 rings. My pistons had an extra 6th ring installed on the bottom under the last oil ring nearest to the piston rod. Can anyone tell me what this is? Is it some kind of custom MAP sourcery? Anyone know if I need it or where to get spares ?
That's not a ring, it's the oil rail support because the ring land has an opening in it for the wrist pin. Clean it and reuse it.
Hey Sean,
Do you know if the dimple on the oil rail support needs to be on the timing side or the flywheel side of the piston? FWIW, MAP installed them upside down. The convex side of the dimple was facing up instead of down towards the rod like how it needed to be.
Edit: Dimple needs to be facing down and up against one side of the wrist pin groove. Timing side vs flywheel side doesn't matter. I choose timing side for more consistency.
Last edited by Pal215; Feb 6, 2018 at 01:06 PM.
Reason: updating with answer
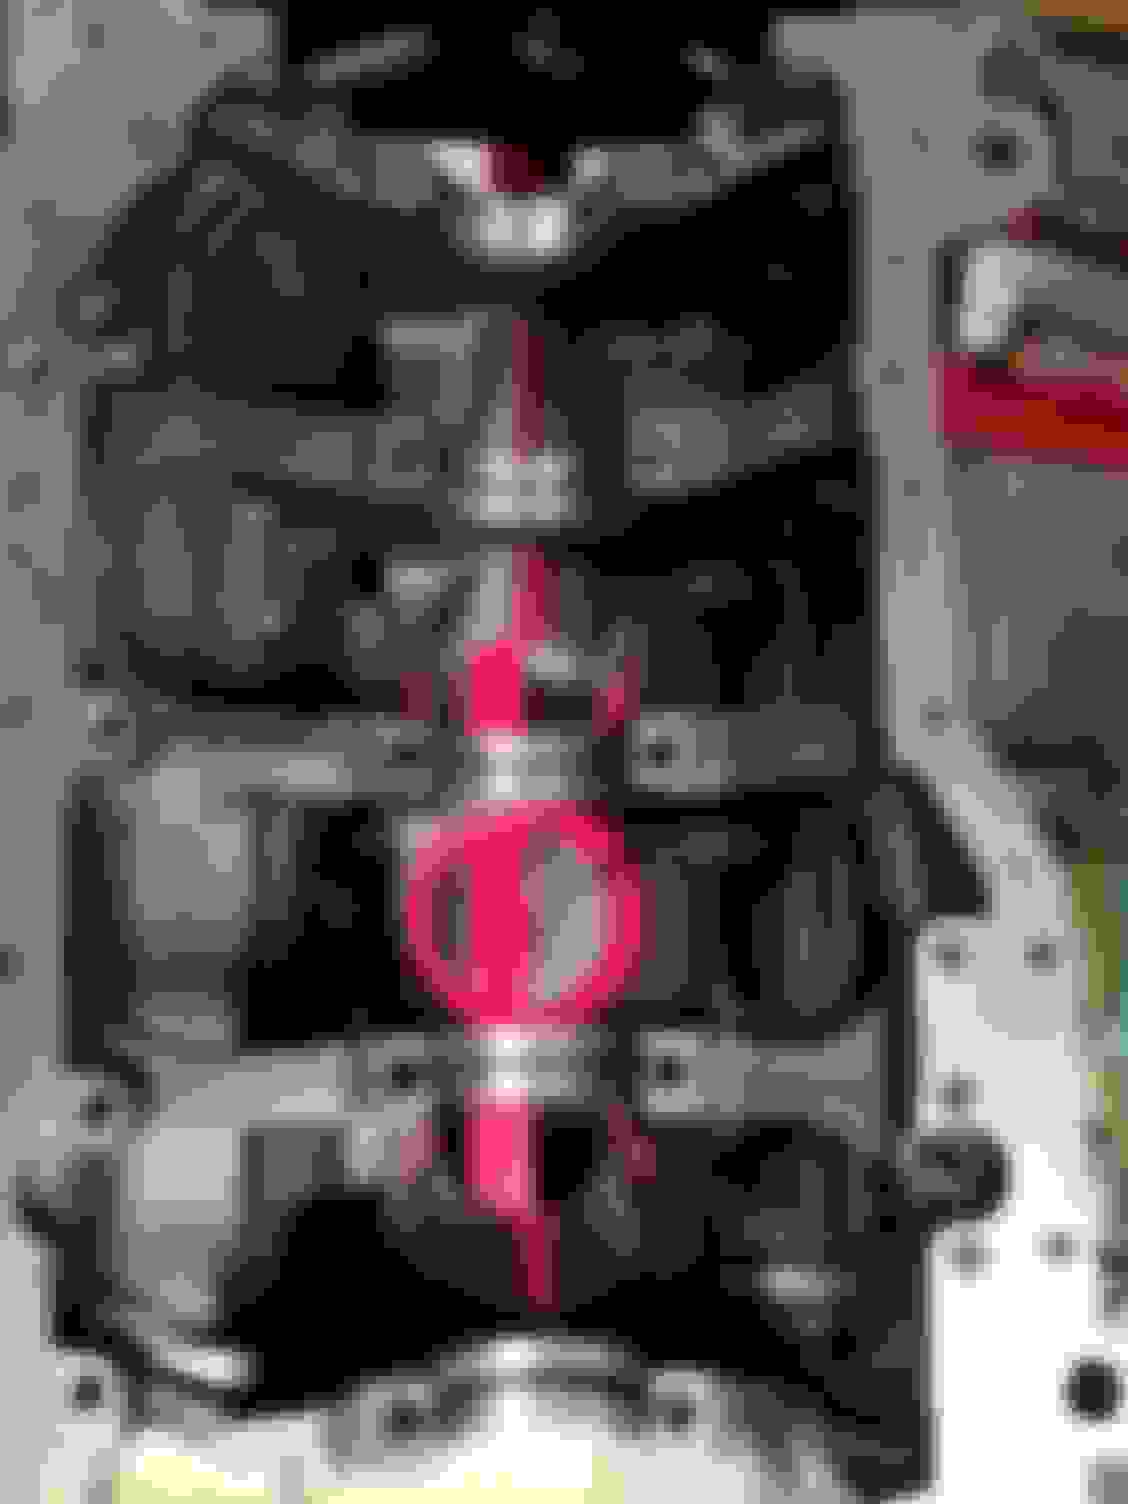
Did you check to make sure none of the compression rings were upside down? That would definitely cause oil comsumption issues.
Yes, the compression rings seemed to all be the correct orientation, with the numbers facing the top of the piston. I'm thinking that the oil burning was attributed mainly to bad ring seating and issues with the oil rings, but it's hard to say.


 Definitely a future investment. Thanks! I hope she runs better than she did prior.