When you click on links to various merchants on this site and make a purchase, this can result in this site earning a commission. Affiliate programs and affiliations include, but are not limited to, the eBay Partner Network.
here's how I separated the verticals. Use 1 first, then 2 wedges that would apply the lift. Use the heatgun and blow thru the bottom and a little bit on the seams (if you can see the adhesive). with the wedges you will hear the velcro separate as the adhesive softens and stretches. move the wedges inwards as the gap increases. you can use a 3rd tool to cut the soft adhesive or to add lift. You can also separate/wedge between the velcro strips once theyre accessible
I plan to add a 2" riser eventually, with increased angle of attack possibly so here's where I'm at right now
those are curtain rods, the best (weight, rigidity, dimensions) material I can find with limited search. I may have added almost 1 pound now (rods + glue on the double rod)
I'll provide updates on this thread. feedbacks are encouraged
Added : *** WARNING *** This method will cause some bulging of the CF. Be sure to read more below
I don't think I did this right because the whole thing feels a bit heavy (will measure weight and balance later). I used 1 16oz can of the Great Stuff(r) Big Gap Filler and sprayed downwards (1 side only, 5 holes) and let it hang overnight. the foam did reach all the way thru and I just needed to fill the rods the next day. Pretty sure the foam is compressed and will be strong but heavier. I think a better approach is to use an extended straw, put it all the way in and walk it backwards as you spray lightly. That might be messier
Last edited by ViciousLSD; Jan 9, 2022 at 11:48 PM.
Yeah, working w/poly-U foam is a messy job for sure. And yes, placing a tube at the bottom & then pulling it upwards is an effective way to get that foam down where it needs to be.
Maybe once the foam cooks off & releases its VOC's it will seem a bit lighter?
I can just hear a comment if you go to the track & someone mentions, "Oh, you're running the stock EvO wing"
Last edited by MinusPrevious; Dec 31, 2021 at 01:40 PM.
Yeah, Poly-U foam is a messy job for sure. And yes, placing a tube at the bottom & then pulling it upwards is an effective way to get that foam down where it needs to be.
Maybe once the foam cooks off & releases its VOC's it will seem a bit lighter?
I can just here a comment if you go to the track & someone mentions, "Oh, you're running the stock EvO wing"
that's what I was thinking so I took it outside but then I figured its the plastic covering requiring me to apply more grip I added about 2lbs of reinforcement which makes it top heavy without the side covers (thats a good reason not to add the rods). Maybe my wing will topple sideways lol nah those rods provide support to the bracket as well
I dont know how hard of a decision others had to make but I really dont like the racing-look wings on our cars. I wish somebody made a kit that makes use of the spoiler side covers that completes the evo's appeal. I'm tempted to try and make the AoA adjustable, if I could get another set of brackets
Please excuse the mess... that's from shaving off the excess rod material, so yours should be much much cleaner. I was going to paint it but it got too cold outside. I managed to flare the edges of the rods by jamming aluminum rivnuts. This is ready for assembly and track duty
Last edited by ViciousLSD; Jan 2, 2022 at 10:32 AM.
I've added WARNING message in the previous post.
I have a slight bulging on the top side of the CF section. I was worried about this since I've worked with expanding foam before - it is still expanding 5 days later and will distort the flat section. Its perfectly flat about 4" sections from the brackets, but the rest is bulging (like an aircraft wing shape) evenly. I bet the bottom bulged as well - not sure what these would do for downforce. Higher pressure on top, lower pressure at the bottom me thinks.
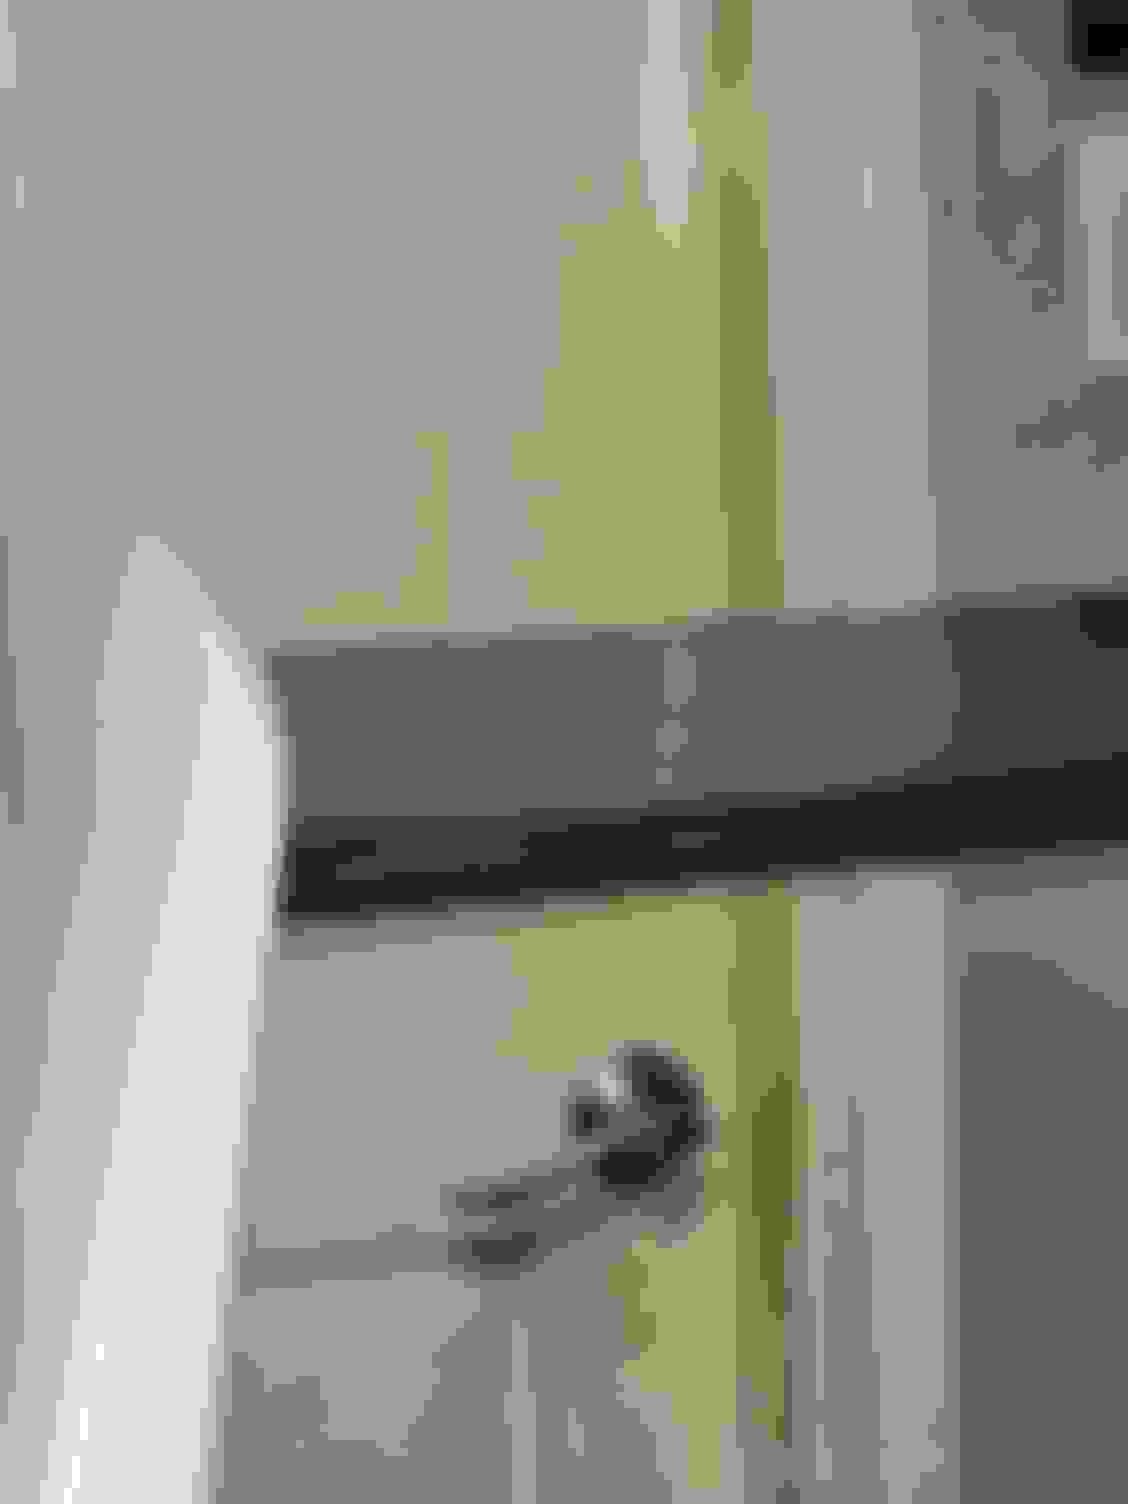
Hard to take a picture but notice the reflection of the door moulding
If someone does this mod, consider fastening the CF to a flat surface and plan to leave it for 5 days. I read the foam cures faster if theres more moisture in the air. Maybe use that info to speed up the curing process
Last edited by ViciousLSD; Jan 10, 2022 at 12:18 AM.
The foam tape was nice for sealing the CF area but too thick for the plastic cover,
Depending if your velcros are still working fine, i think the 2mm 3M mounting tape is fine for sealing but you might need a bigger double sided tape at the bottoms of the plastic cover. Maybe the 6mm(1/4") 3m tape is the best option.
While I have the OE spoiler gasket kit, I used the foam tape for now since I want a full seal
When installing the rubber bumpers of the trunk I find 3 full turns to be just right
Last edited by ViciousLSD; Jan 10, 2022 at 12:35 AM.
I was thinking this was going to happen..there are different expanding foam pressures, mild to extreme, for cf composite you want to go with the least expanding foam but even then it doesnt take much to expand and push/warp materials. Especially cf. Its pretty powerful stuff. If anything, the bulg on the top is in a place where it would help with even more downforce..least we know it can take it. Maybe make sure the wing is mounted better than oem lol
I was thinking this was going to happen..there are different expanding foam pressures, mild to extreme, for cf composite you want to go with the least expanding foam but even then it doesnt take much to expand and push/warp materials. Especially cf. Its pretty powerful stuff. If anything, the bulg on the top is in a place where it would help with even more downforce..least we know it can take it. Maybe make sure the wing is mounted better than oem lol
I was discouraged from using 'regular' gap filler since I recently packed a T-case for shipping - it doesnt expand very much so the packaging was quite heavy. I think fastening the CF flat on its topside should help against bulging, maybe a 2x4 type wood would do also.
 Dec 30, 2021, 10:55 AM


 I added about 2lbs of reinforcement which makes it top heavy without the side covers (thats a good reason not to add the rods). Maybe my wing will topple sideways lol nah those rods provide support to the bracket as well