
DIY: Red Out Tails (EVO VII STYLE)


So I just got my Evo VIII, and I love it! It's a very nice car, but there are a few things I would like to change about it to make it my own. The first thing is these tail lights! I don't like the altezza look at all, so I decided to get rid of it! This is how I went about doing it.
First I talked to my girlfriends dad as he is a professional bodyman. I basically told him what I was after and he gave me 3 options.
1. Bring them to someone that tints cars, and ask them if they can do it with tint film. I told I could get red tint film off ebay and he laughed and said, "Don't do that, you'll screw it up."
2. Bring them to a body shop and have them do it.
3. Get some tranparent candy apple red paint, and clear, and go to town on it. I chose this option. With that in mind, lets start!
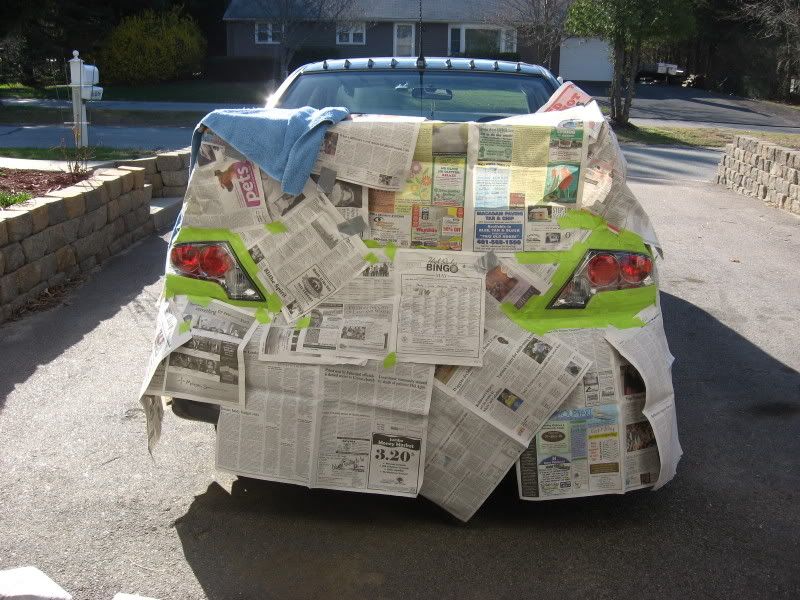
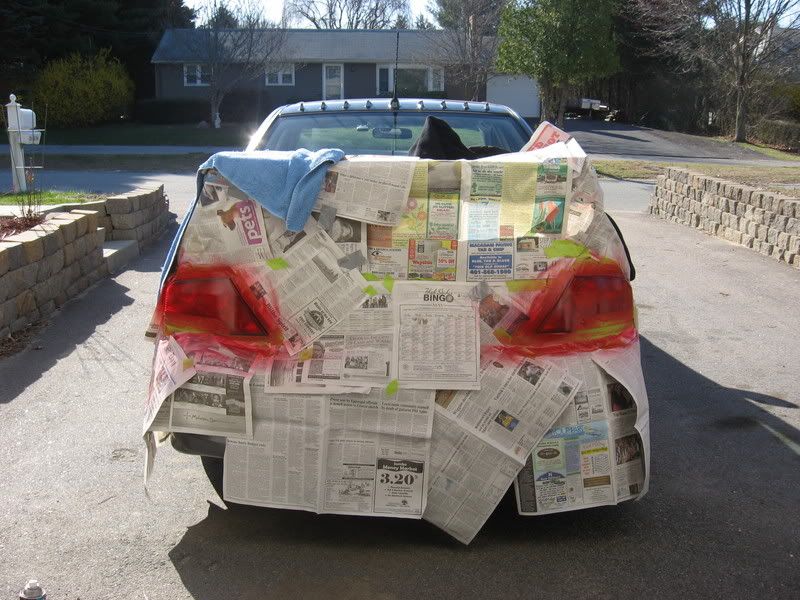
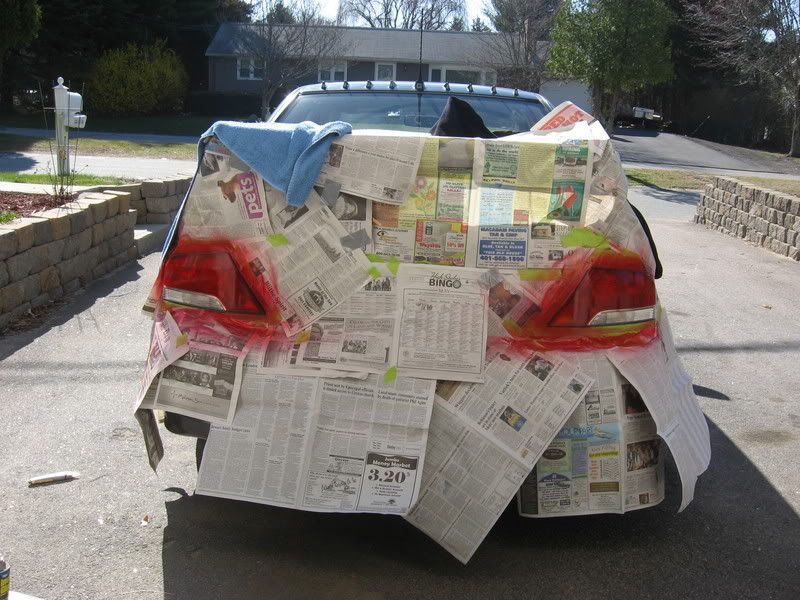
1.) Tape off the rear 1/2 of the car, along with the tail lights. I chose to keep the tails on the car because it seemed like it would be easier. This is the step you dont want to skip on at all! I took atleast 30 minutes taping everything off and making sure it looked perfect. TAKE YOUR TIME HERE!!
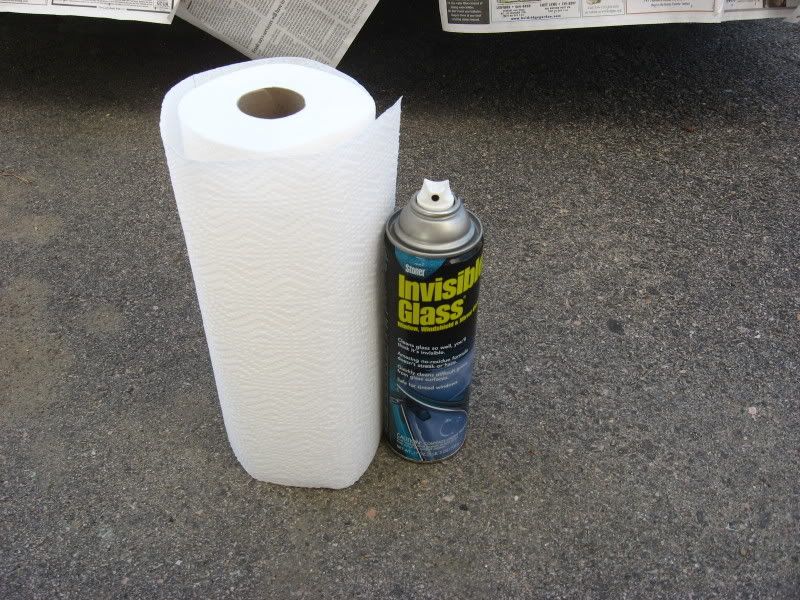
2.) After we have everything taped of really well, we can move on. Next we want to clean the surface as best we can. You can use a few things for this. I recommend preps-all, rubbings alcohol, some kind of prep wipe, or glass cleaner. The only thing I had was glass cleaner. If you are like me and only use glass cleaner its very important that you scrub at the light. Make sure everything is dry and clean
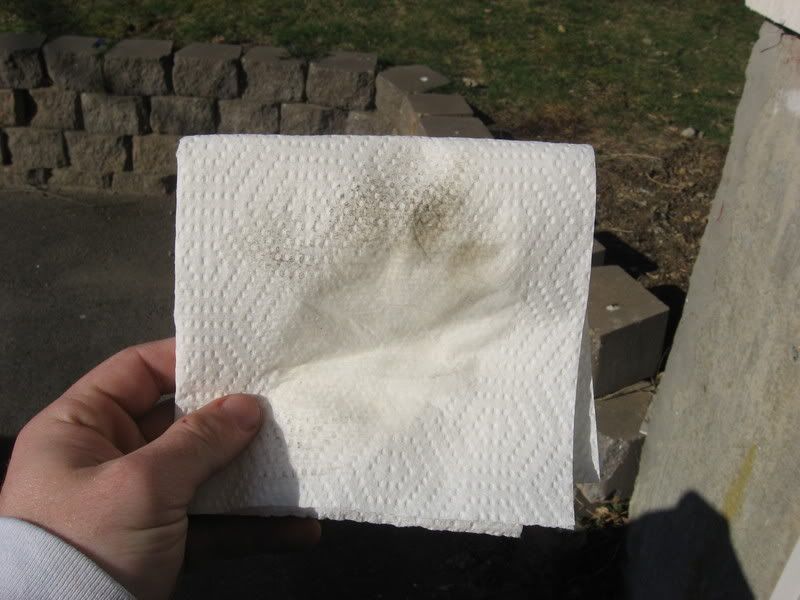
My car had been cleaned the day before...
 \
\
3.) Next is the nerve-racking part. Painting your precious car!! Its really not that bad, but if you're not good at spray painting, I would not suggest trying unless you have extra tails laying around. These are the paints you need:
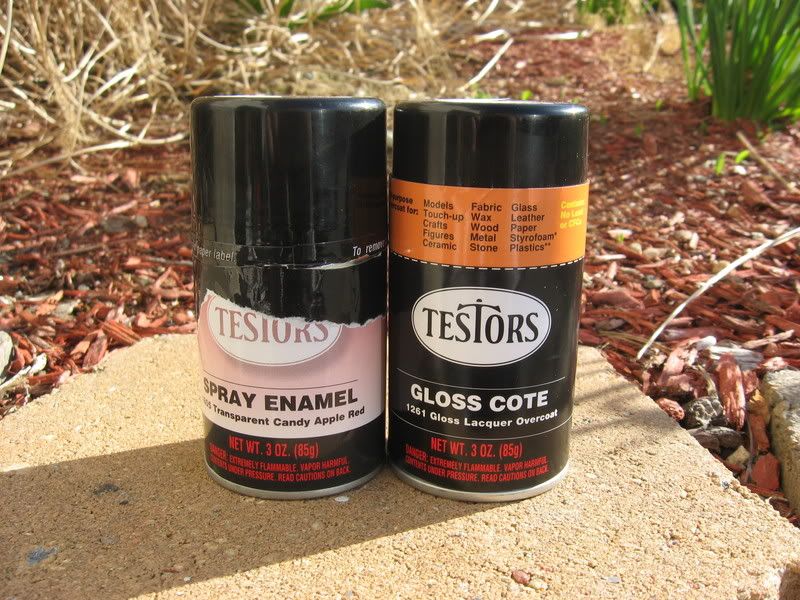
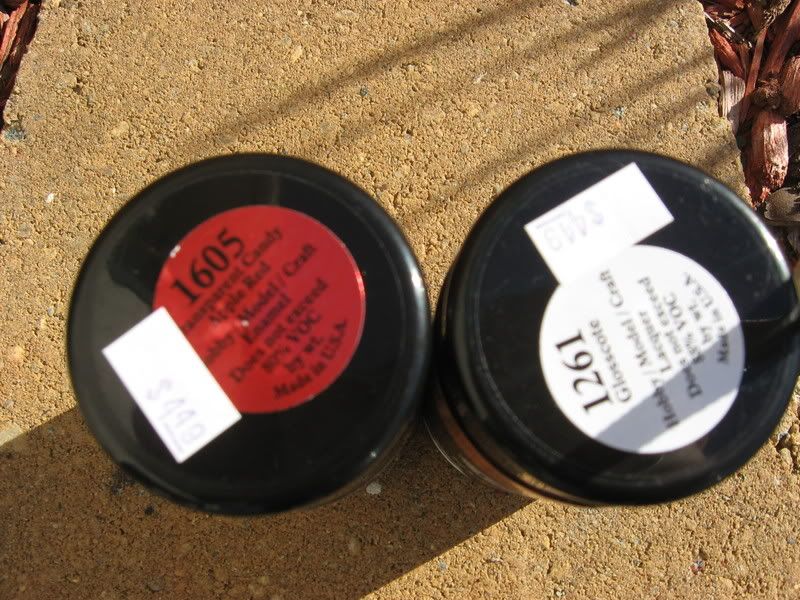
Testors Transparent Candy Apple Red, part # 1605
Testors Clear Coat, part # 1261
These should be pretty easy to get. If you cant find them locally, call up Testors and order some.
Alright so lets paint. First, shake the paint can hard for a good 5 minutes. These paints are enamel based and take quite a bit of shaking to mix well. Once the paint is shaken up well spray thin even coats on the light. Keep your hand about 10-12 inches from the light. These paints are very easy to make run, so be careful! I applied 3 coats of the candy apple red.
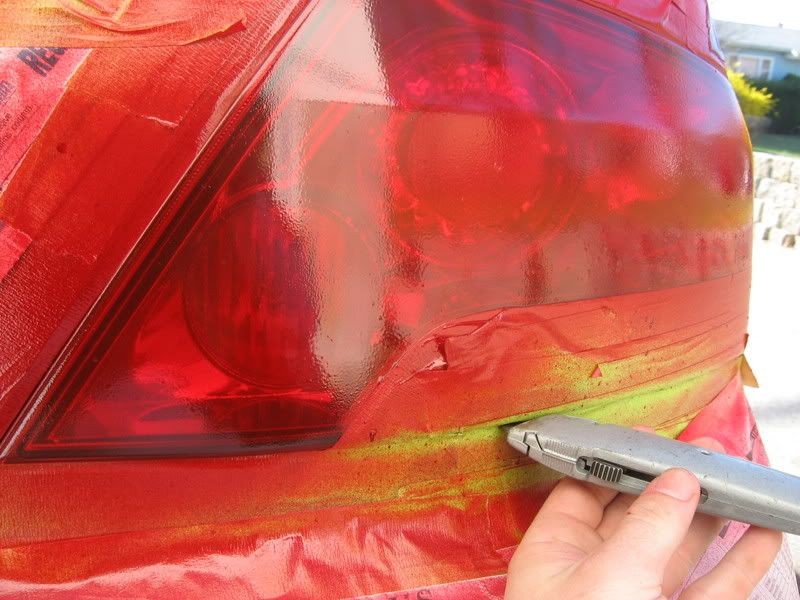
4.) Let the red tack up for about an hour. After thats done, we cna start to clear. I Taped off the bottom corner of the lens to replicate the Evo VII tails, so I had to cut that masking tape off before I could clear them. This is important because if I just paint and clear without un-masking that part, you will clearly see that the light have been painted. We want them to look nice and stock so this step is necessary.
After about 4 coats of clear on each light they look like this!
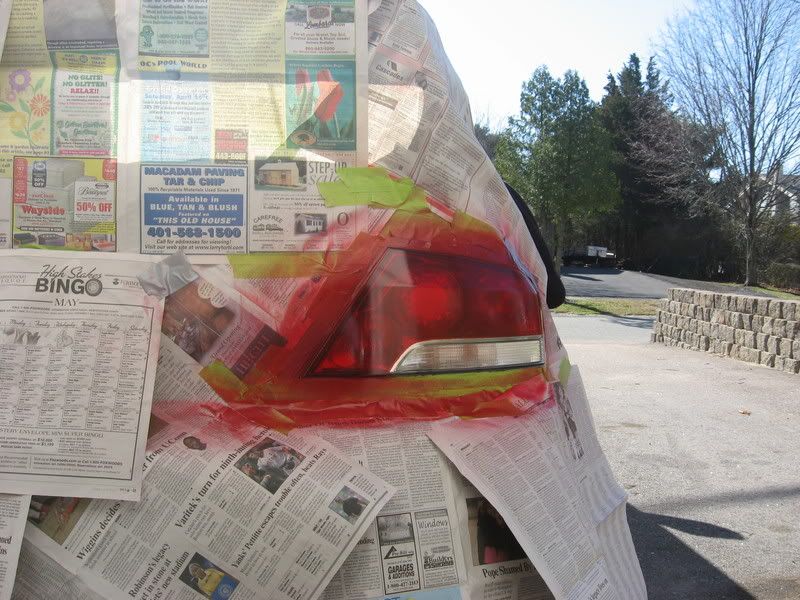
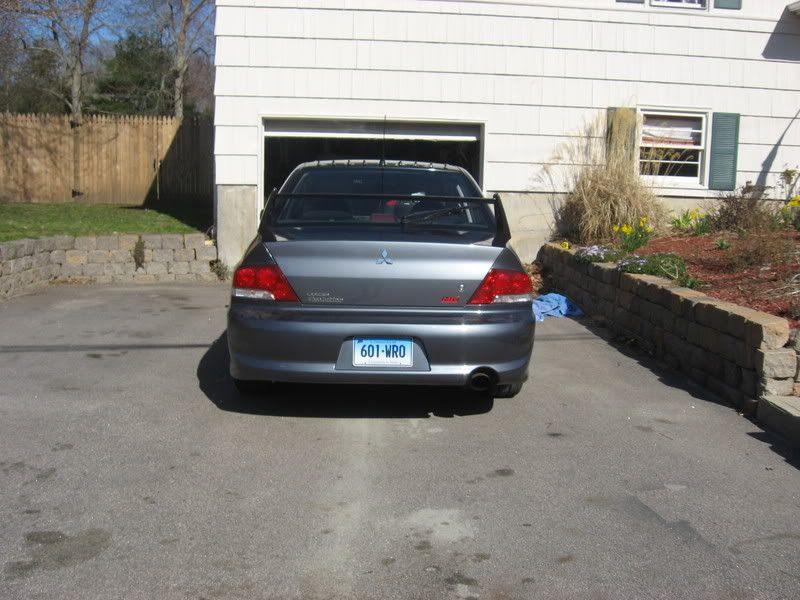
Let these bake in the sun as long as possible. I'm giving mine all day! DO NOT wash your car for 3 full days, and dont wax the lights for 3 MONTHS! This paint takes time to harden. After my 3 months have passed, I'm going to wetsand and compound them. They should look excellent then! Heres the finished product.
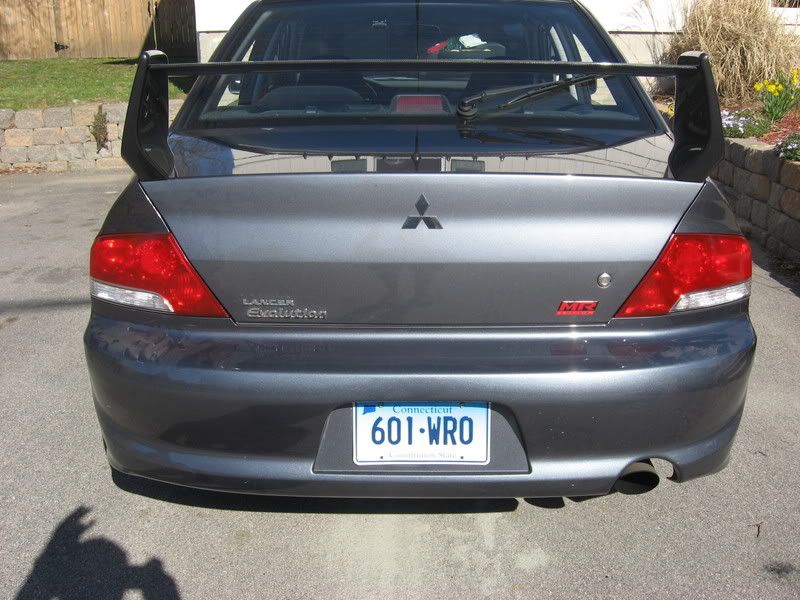
They look a bit cloudy because they're not completely dry.
First I talked to my girlfriends dad as he is a professional bodyman. I basically told him what I was after and he gave me 3 options.
1. Bring them to someone that tints cars, and ask them if they can do it with tint film. I told I could get red tint film off ebay and he laughed and said, "Don't do that, you'll screw it up."
2. Bring them to a body shop and have them do it.
3. Get some tranparent candy apple red paint, and clear, and go to town on it. I chose this option. With that in mind, lets start!
Thinking ahead
This is important as I was doing this outside. The positon that the car is parked is crutial. You want to be with the wind. So if in painting and I get a gust of wind, the overspray doesnt go onto my car. This would suck!1.) Tape off the rear 1/2 of the car, along with the tail lights. I chose to keep the tails on the car because it seemed like it would be easier. This is the step you dont want to skip on at all! I took atleast 30 minutes taping everything off and making sure it looked perfect. TAKE YOUR TIME HERE!!
2.) After we have everything taped of really well, we can move on. Next we want to clean the surface as best we can. You can use a few things for this. I recommend preps-all, rubbings alcohol, some kind of prep wipe, or glass cleaner. The only thing I had was glass cleaner. If you are like me and only use glass cleaner its very important that you scrub at the light. Make sure everything is dry and clean
My car had been cleaned the day before...
\3.) Next is the nerve-racking part. Painting your precious car!! Its really not that bad, but if you're not good at spray painting, I would not suggest trying unless you have extra tails laying around. These are the paints you need:
Testors Transparent Candy Apple Red, part # 1605
Testors Clear Coat, part # 1261
These should be pretty easy to get. If you cant find them locally, call up Testors and order some.
Alright so lets paint. First, shake the paint can hard for a good 5 minutes. These paints are enamel based and take quite a bit of shaking to mix well. Once the paint is shaken up well spray thin even coats on the light. Keep your hand about 10-12 inches from the light. These paints are very easy to make run, so be careful! I applied 3 coats of the candy apple red.
4.) Let the red tack up for about an hour. After thats done, we cna start to clear. I Taped off the bottom corner of the lens to replicate the Evo VII tails, so I had to cut that masking tape off before I could clear them. This is important because if I just paint and clear without un-masking that part, you will clearly see that the light have been painted. We want them to look nice and stock so this step is necessary.
After about 4 coats of clear on each light they look like this!
Thats it!!!
Let these bake in the sun as long as possible. I'm giving mine all day! DO NOT wash your car for 3 full days, and dont wax the lights for 3 MONTHS! This paint takes time to harden. After my 3 months have passed, I'm going to wetsand and compound them. They should look excellent then! Heres the finished product.
They look a bit cloudy because they're not completely dry.
LmFAO ! why didnt you just remove the tails from the car. would have taken 2 minites...... vs probably 30 minites of taping off the car...............

just thought i'd throw out an update on durability. I have had my lights painted now for 7 months, through a chicago winter, and numerous carwashes and the paint on them has no damage at all. I painted the outside of the lights and did not use any clear. If need be you can use a clear coat safe polish to freshen them up from time to time. I prefer meguiars #205.
lol wasted time with the newspaper!!!! i did mines ... but here is my write up
https://www.evolutionm.net/forums/ev...ml#post7075637
https://www.evolutionm.net/forums/ev...ml#post7075637


Isn't the reverse light in the mix? so is your reverse light now look red? just curious, considered doing this, but that makes me reconsider just getting an OEM 9, or similar tail light instead.
