
beastly 2.4 build

A couple months ago I decided I wanted more power and more availability of mods so I chose to go the 2.4 route. Picked up the complete bottom end and 5 speed tranny from a local pick a part for $180 on 50% off day. Took the SOHC head off because I didn't need it. I picked up a hyundai/kia 2.0/2.4 DOHC head(identical to the evo 8 head) for $70. Picked up brian crower valve springs and titanium retainers. getting custom regrinds on the cams. Also picked up Manley 9:1 platinum series pistons, eagle H beam rods, ACL race rod & crank bearings, and a new motor mount to start fabricating the custom motor mount bracket. I still need tons of parts like everything for the new turbo set-up, new intercooler & piping, aftermarket intake mani(unsure which one to go with), fuel injectors, bigger fuel pump... tons of stuff Im probably forgetting, but I just got everything back from the machine shop today so I figured I'd start the build thread with some pictures.
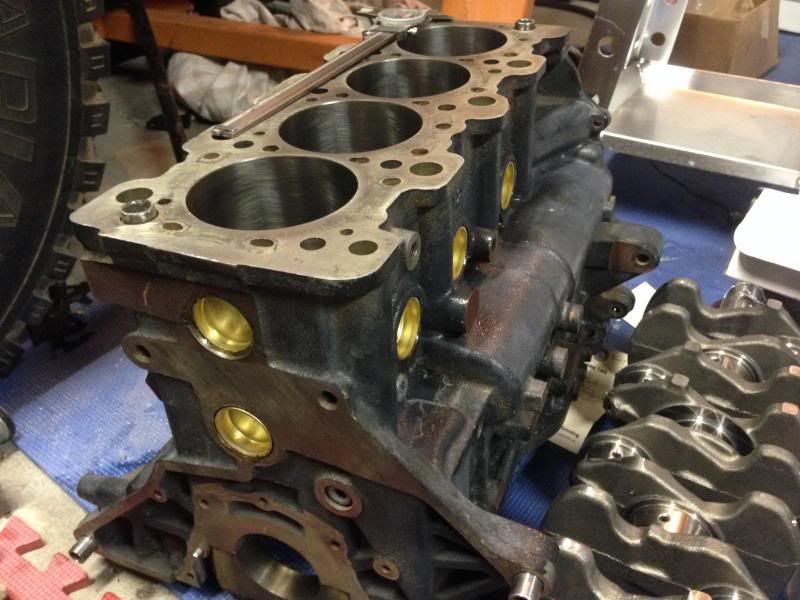
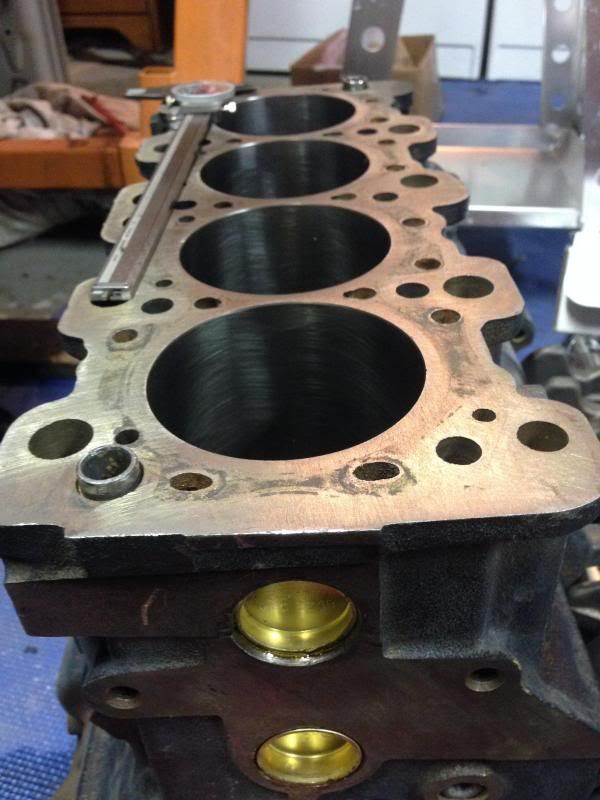
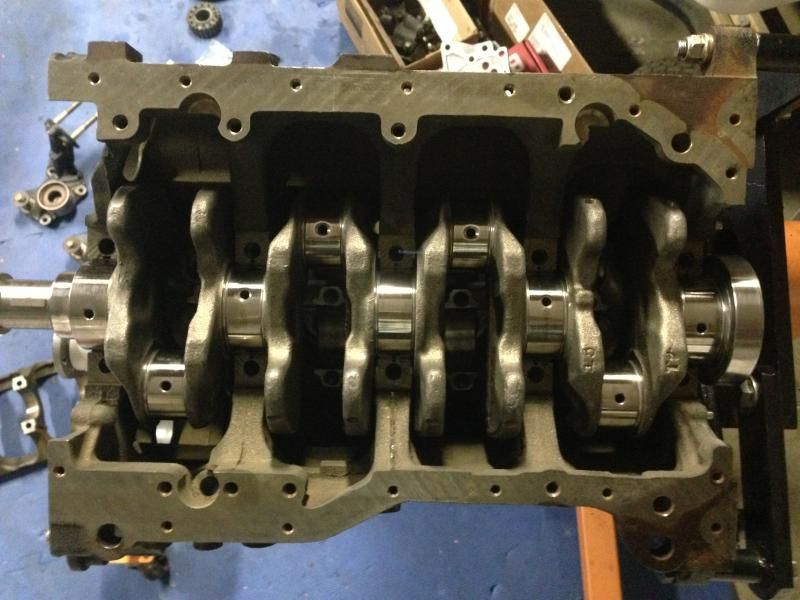
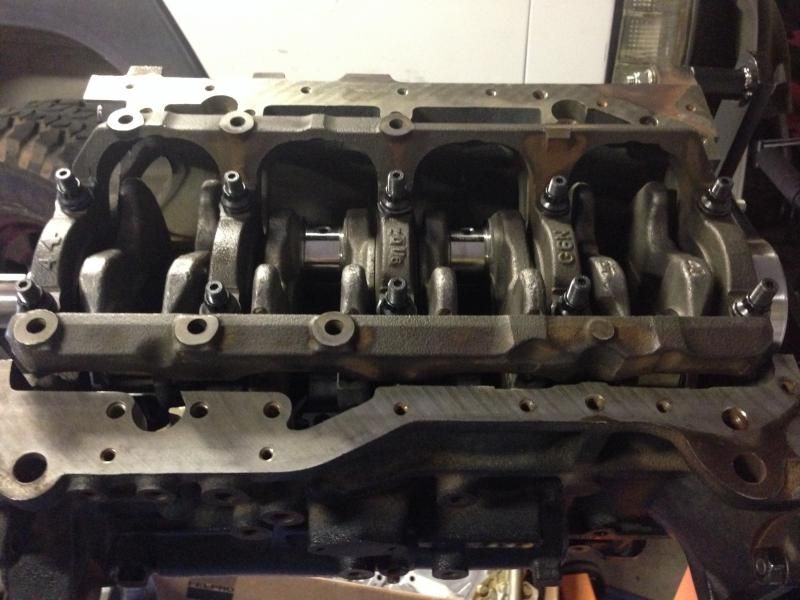
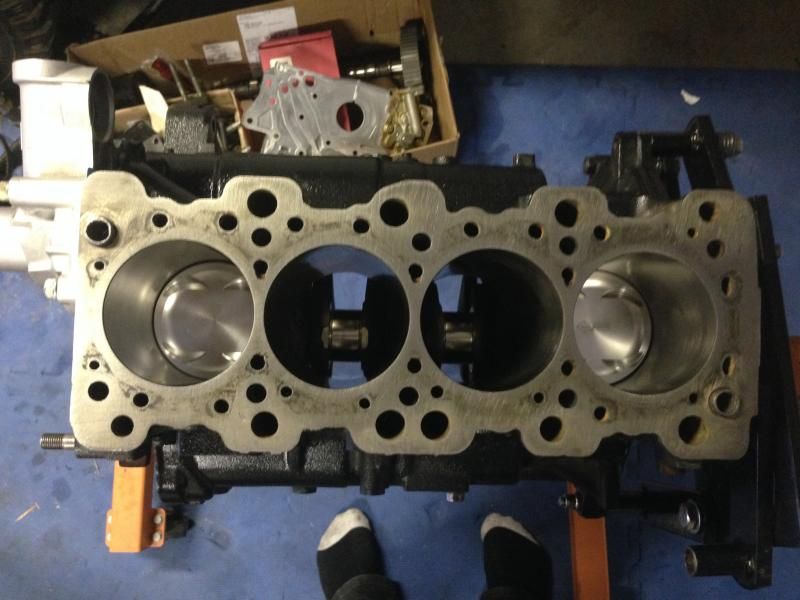
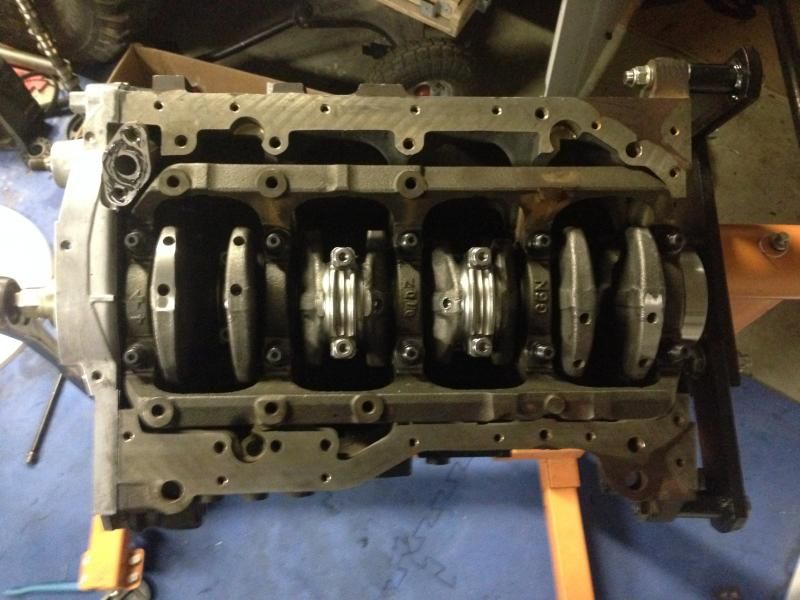
Freshly honed and plugged 2.4 engine block
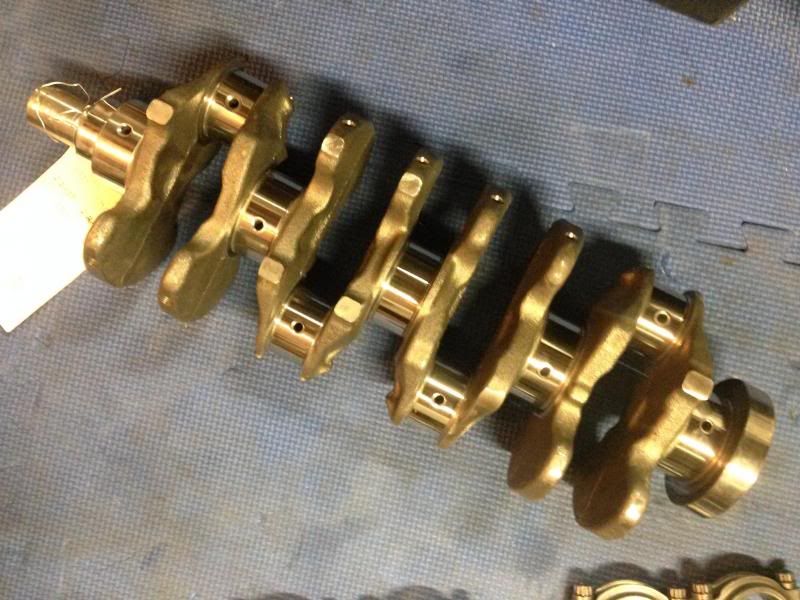
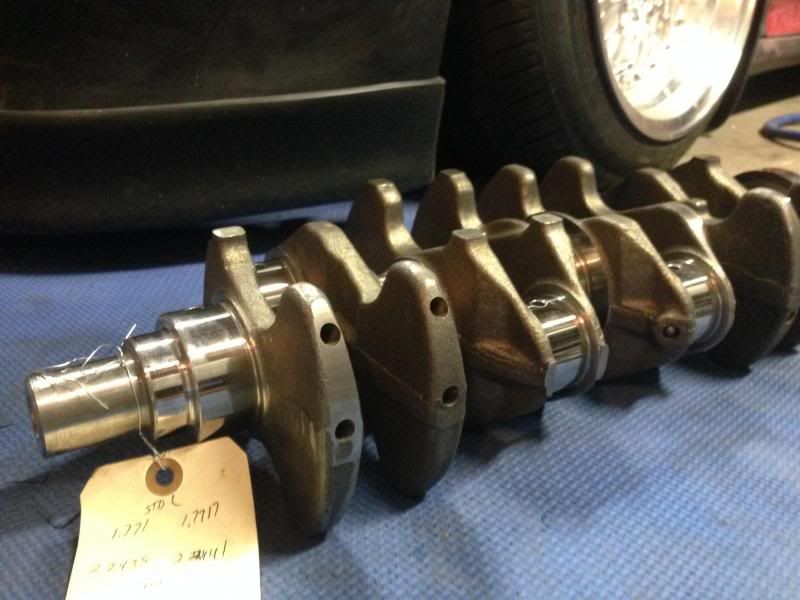
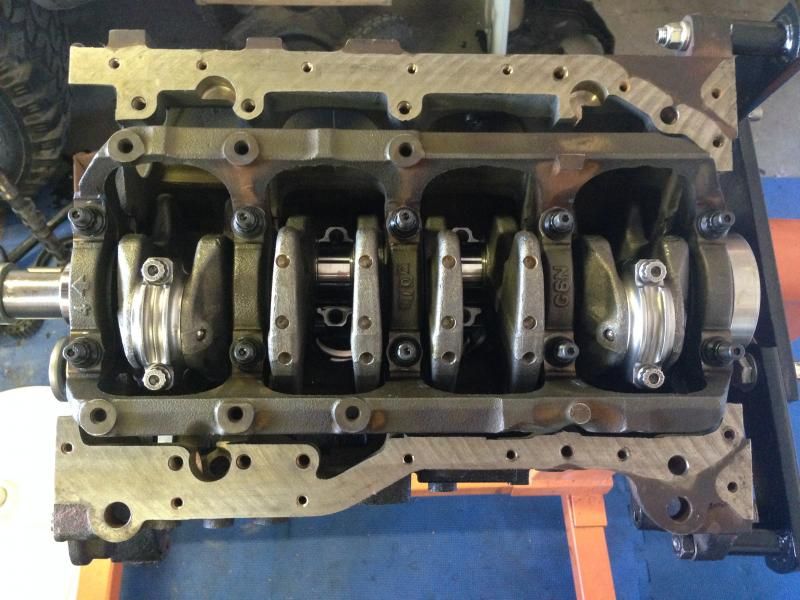
Balanced & polished stock 100mm Crankshaft
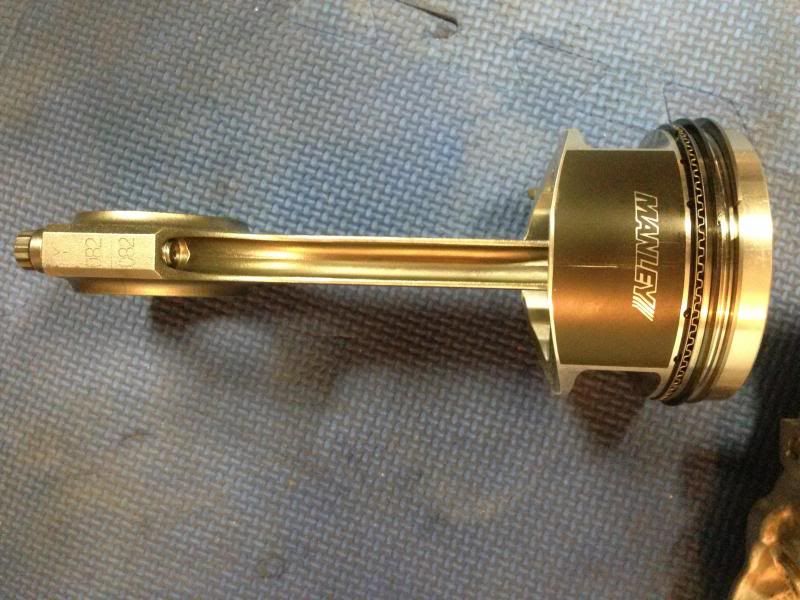
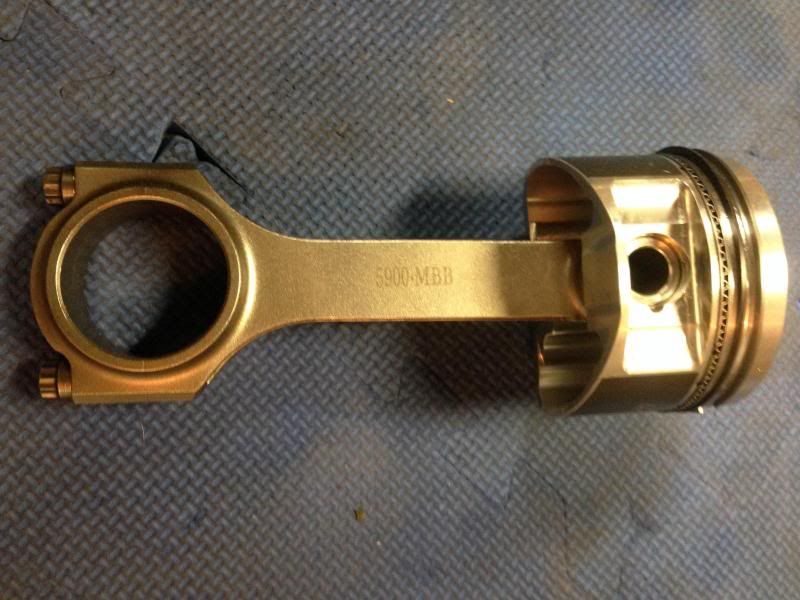
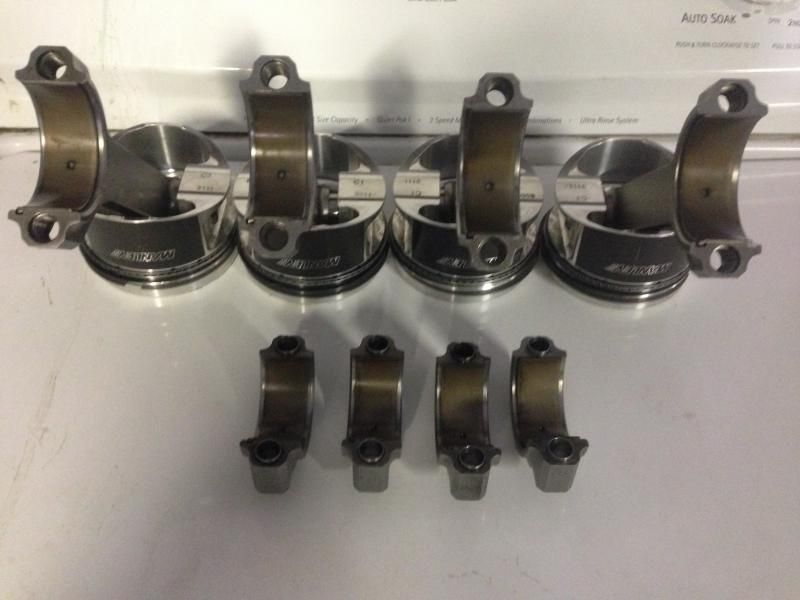
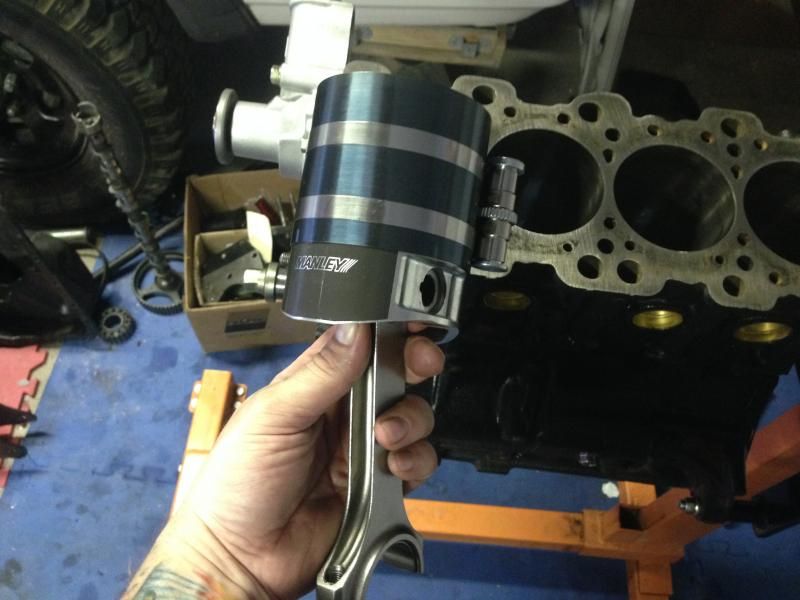
Manley platinum 9:1 pistons & Eagle H beam rods
Balance shaft delete

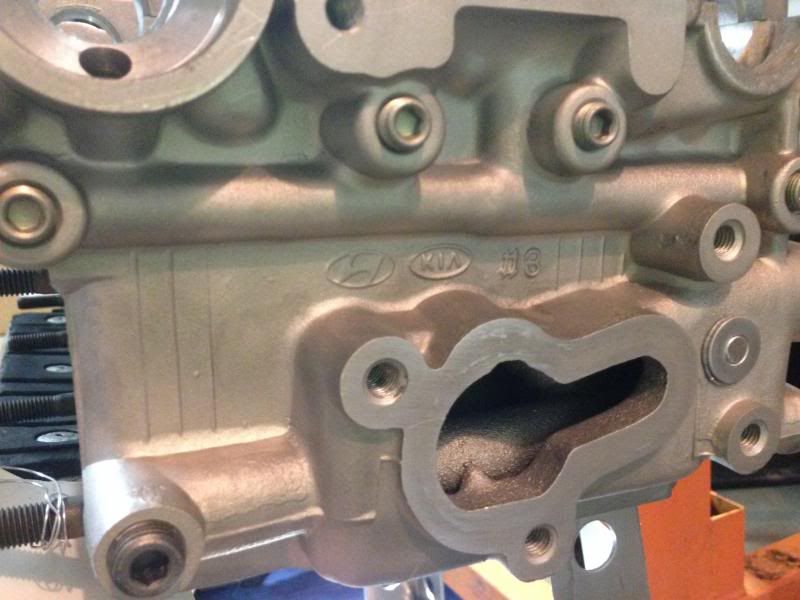
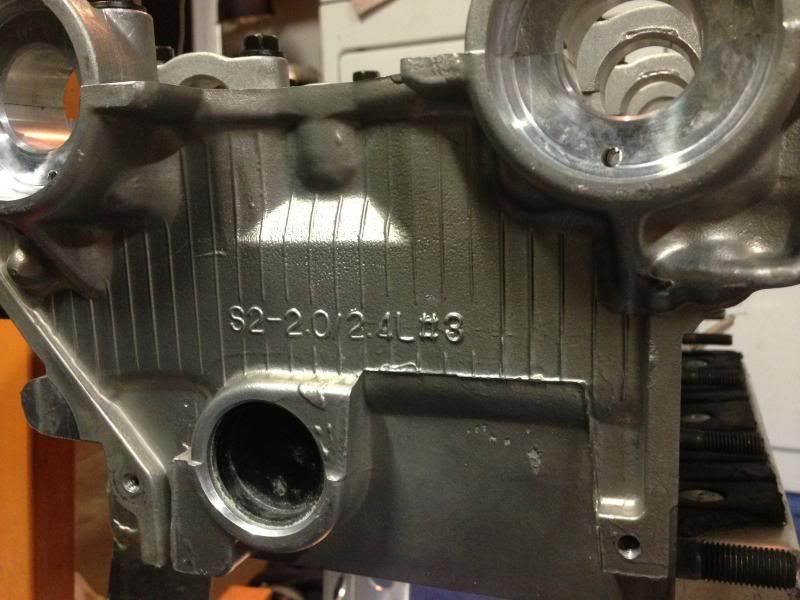
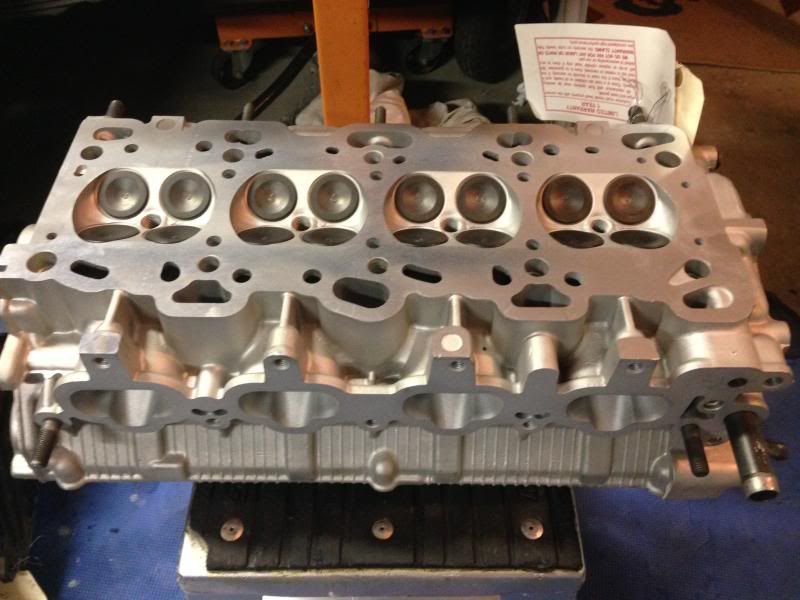
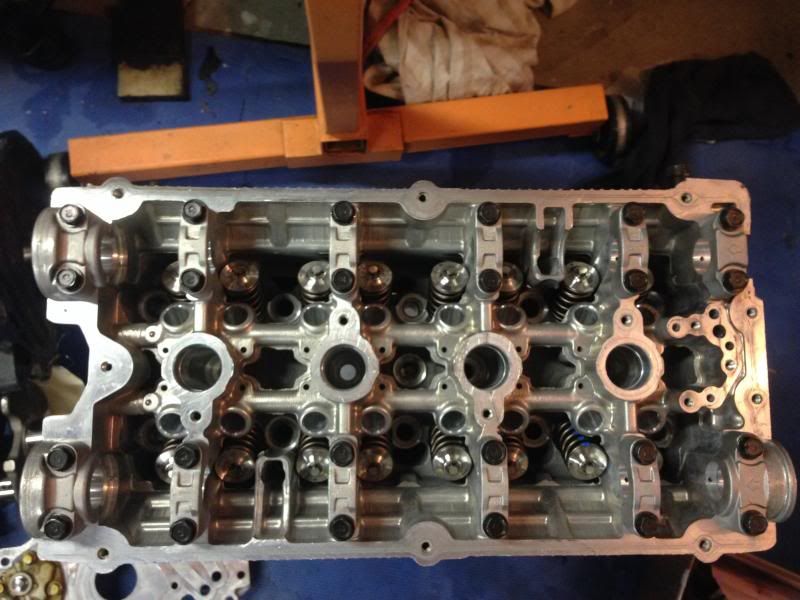
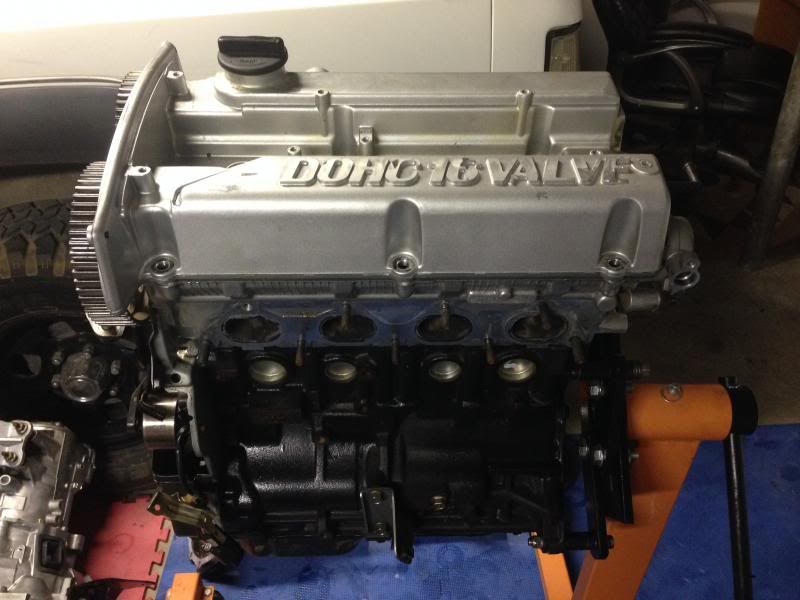
Hyundai/Kia 2.0/2.4 DOHC head with 3 angle and BC springs & retainers
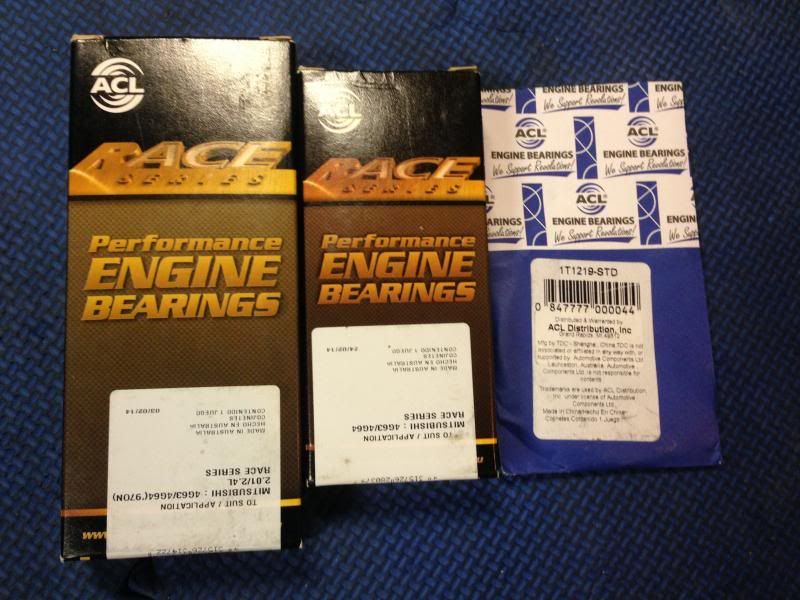
ACL Race series main & rods bearings and thrust washers.
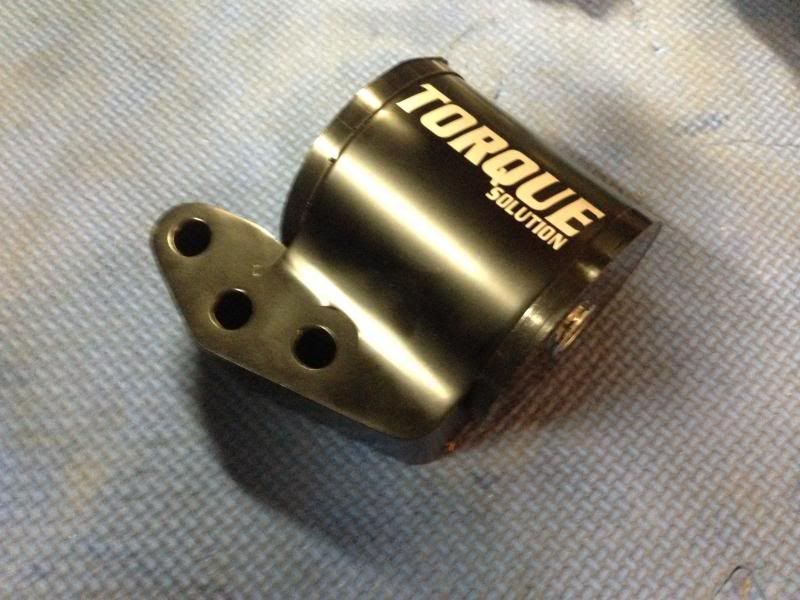
Torque Solution Passenger side "engine" mount
I will keep posting updates and new parts as they come. But for now, Enjoy!
Freshly honed and plugged 2.4 engine block


Balanced & polished stock 100mm Crankshaft


Manley platinum 9:1 pistons & Eagle H beam rods


Balance shaft delete


Hyundai/Kia 2.0/2.4 DOHC head with 3 angle and BC springs & retainers


ACL Race series main & rods bearings and thrust washers.

Torque Solution Passenger side "engine" mount


I will keep posting updates and new parts as they come. But for now, Enjoy!
you sir are correct.. beastly 2.4 build..
I actually decided recently (about 3 days ago) to go this same route, but of coarse with my Auto tranny.. but I will be sticking to a SOHC I think.
Still talking it out with my friends and tuner for whats going to be the best long term. because I maybe not go back to boost.. not sure yet.
I actually decided recently (about 3 days ago) to go this same route, but of coarse with my Auto tranny.. but I will be sticking to a SOHC I think.
Still talking it out with my friends and tuner for whats going to be the best long term. because I maybe not go back to boost.. not sure yet.
Last edited by Demon_ni2; Jun 21, 2014 at 04:07 PM.
This is a build I'm actually excited for. I will be starting this build myself as soon as I locate a decent motor and tranny. Was gonna do the 4g94, but just isn't worth it in the long run.
Evolved Member
Joined: Nov 2013
Posts: 624
Likes: 0
From: nj
small update...
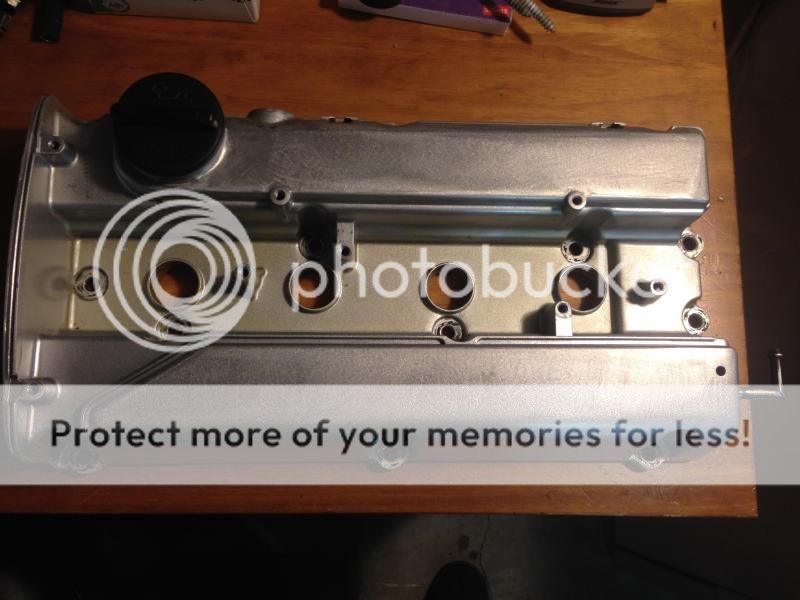
shot the kia/hyundai valve cover to my homies machine shop and had him mill the DOHC 16 VALVE off.
Before:
after

then I took it and cut the timing belt cover portion off and sanded it down as well as all the factory blemishes from the casting process. looks better than new. just waiting to put a finish on it. got something special in mind, not paint or powder

shot the kia/hyundai valve cover to my homies machine shop and had him mill the DOHC 16 VALVE off.
Before:

after

then I took it and cut the timing belt cover portion off and sanded it down as well as all the factory blemishes from the casting process. looks better than new. just waiting to put a finish on it. got something special in mind, not paint or powder


Trending Topics
Lol what do you mean? I been boostin for years. Im not sure what your idea of "big boy" is but this build is probably going to drop a deuce on it.. Lol there's no way of knowing exactly what this build is going to make in terms of power until I get it on the dyno. But as of right now I have all the internal supporting mods to go up to 650hp. swap out the arp studs for the custom aged 625+ head studs and install Manley turbo tuff rods and the engine can push well over 1000hp. I probably wouldn't do that in a fwd lancer but trust me this build is definitely "big boy".
update...
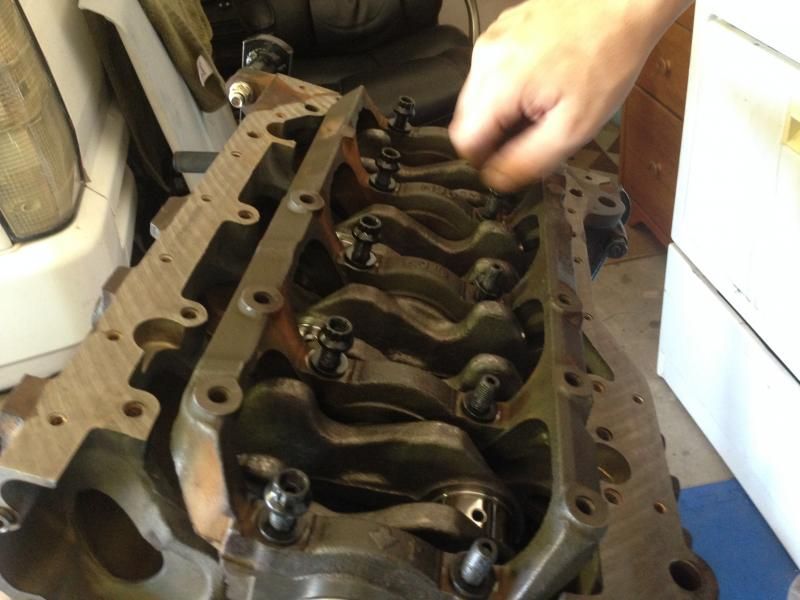
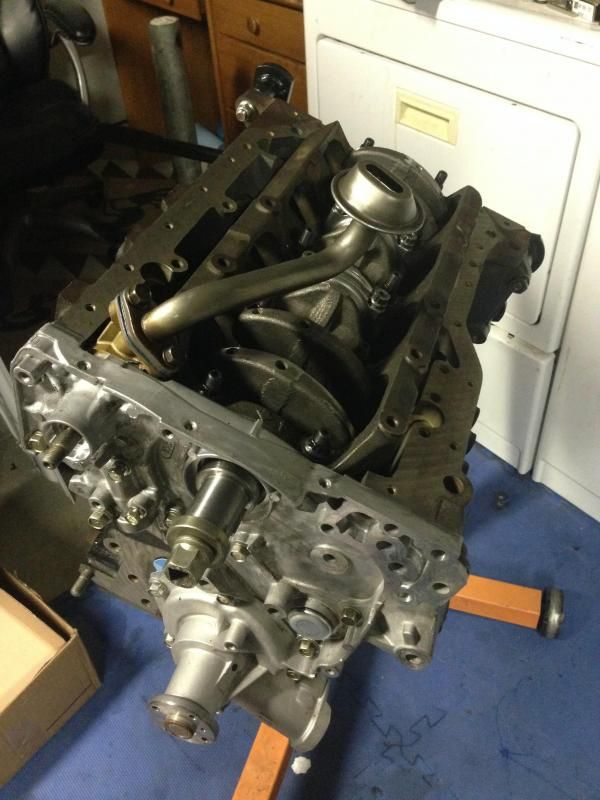
plasti gauging and installing crank.

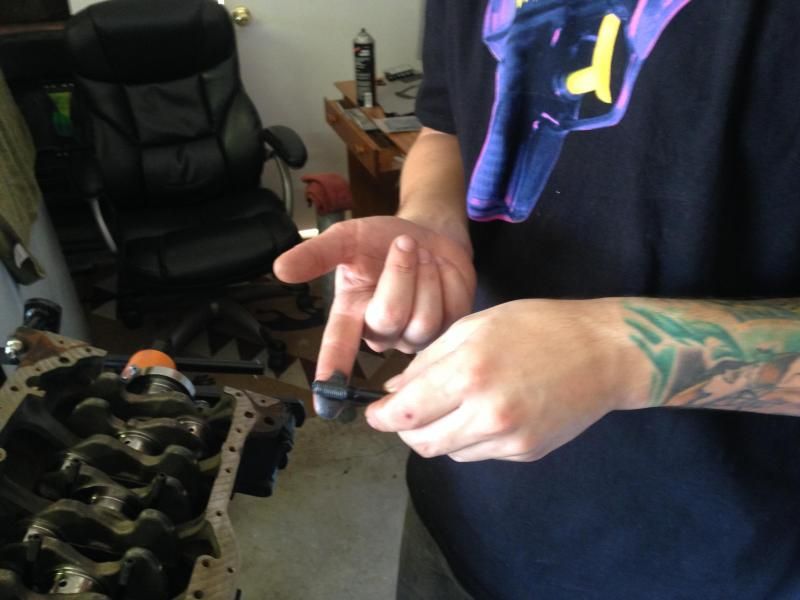
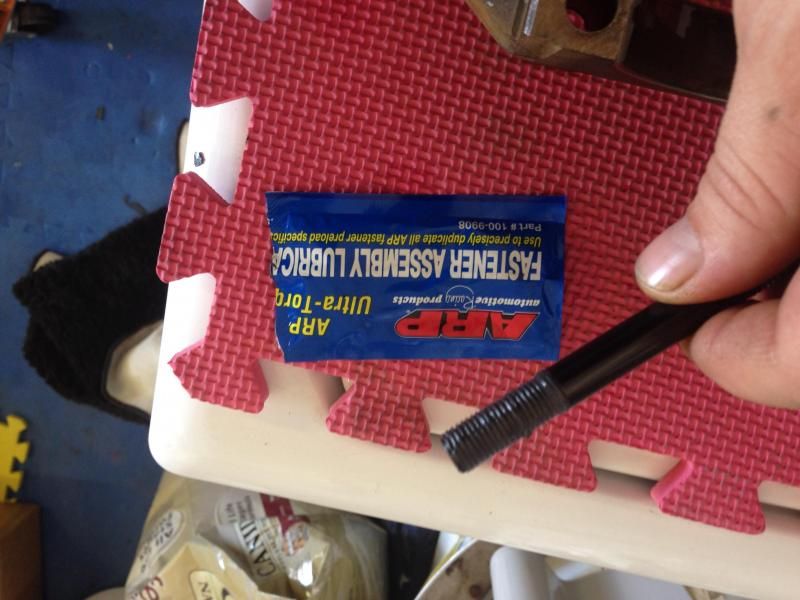
perfect time to install the arp main studs since Ill have to torque the crank cradle to spec to check the oil clearances with plasti gauge.
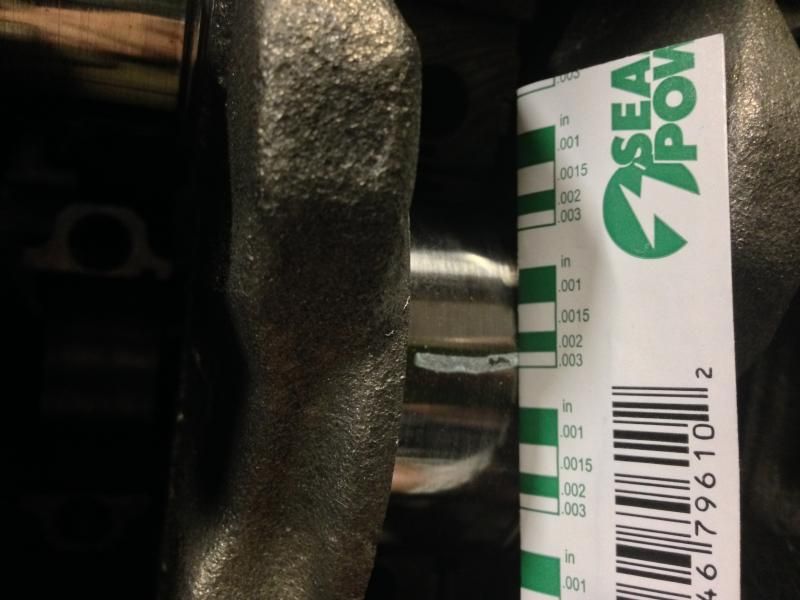
.002 - .003 is good!
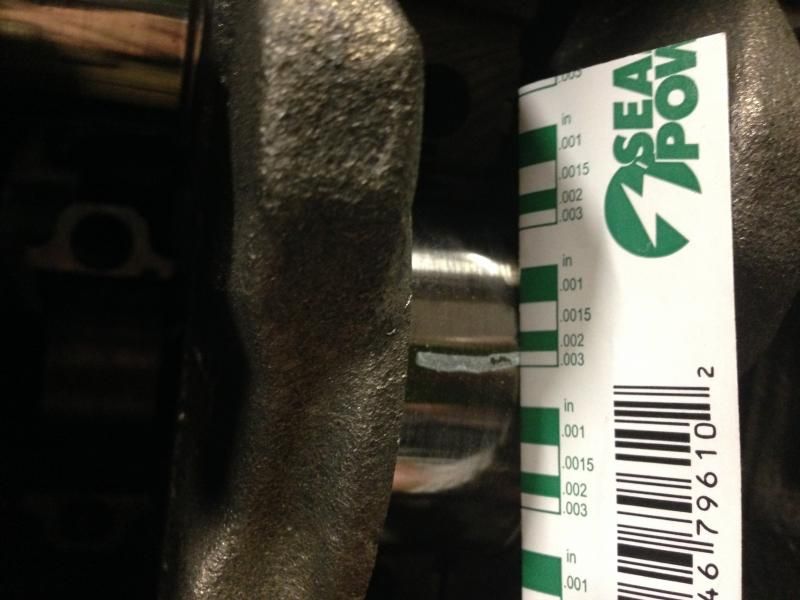
lubed and torqued
time to do the same to the rod bearings. this is a little more difficult as the crank can spin easily while you do it. try to have a friend help hold it from moving while you torque and break free the rod caps. I forgot to take pictures of the plasti gauge specs after checking but they're all right between .002 and .0015. good enough for me!
First you gotta install either #1 and #4 pistons or #2 and #3 pistons. Doing all 4 at one time is probably a pain in the ****.. if even possible.
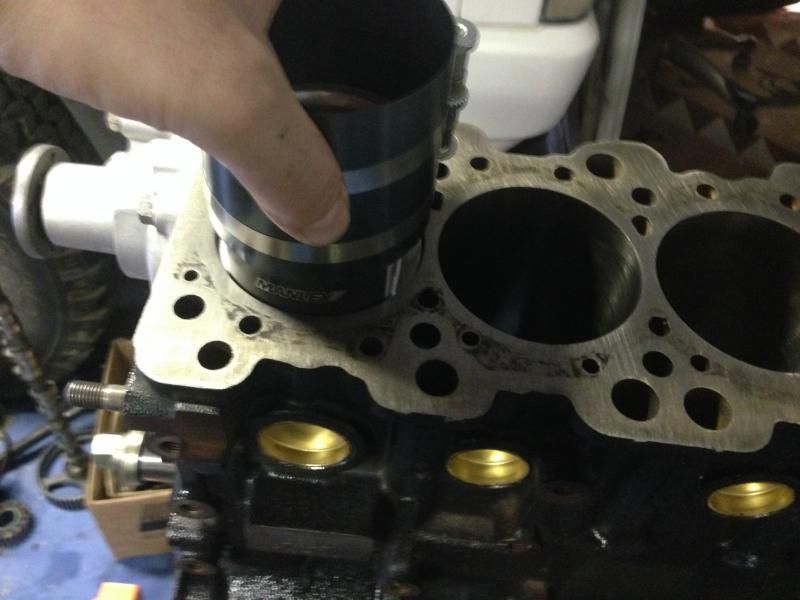
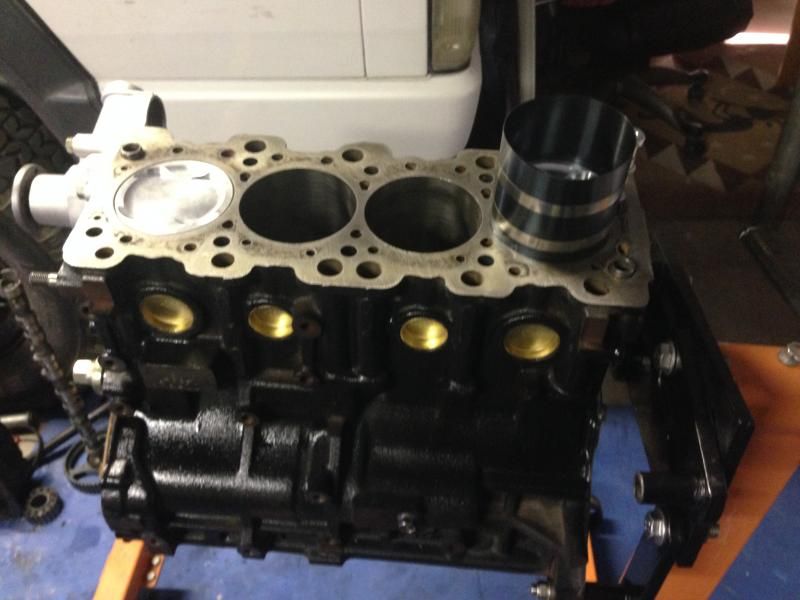
slide pistons in place to check clearances..
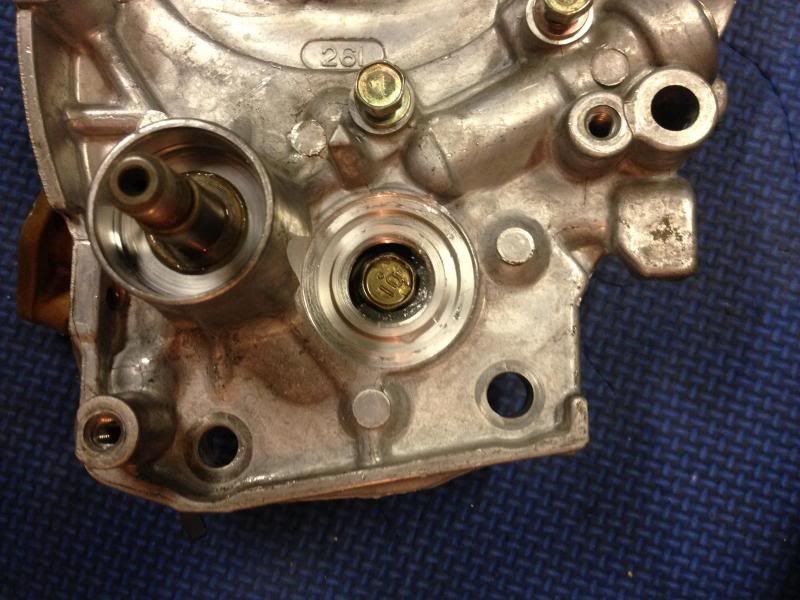
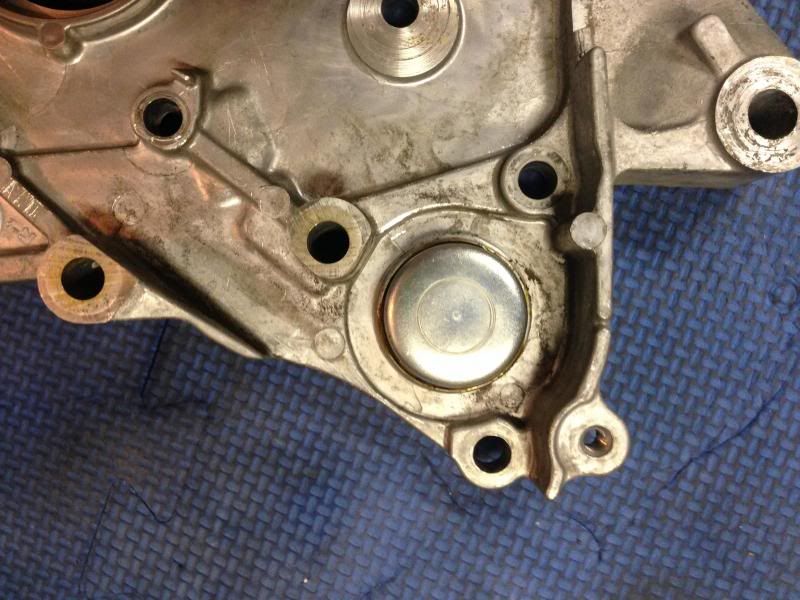
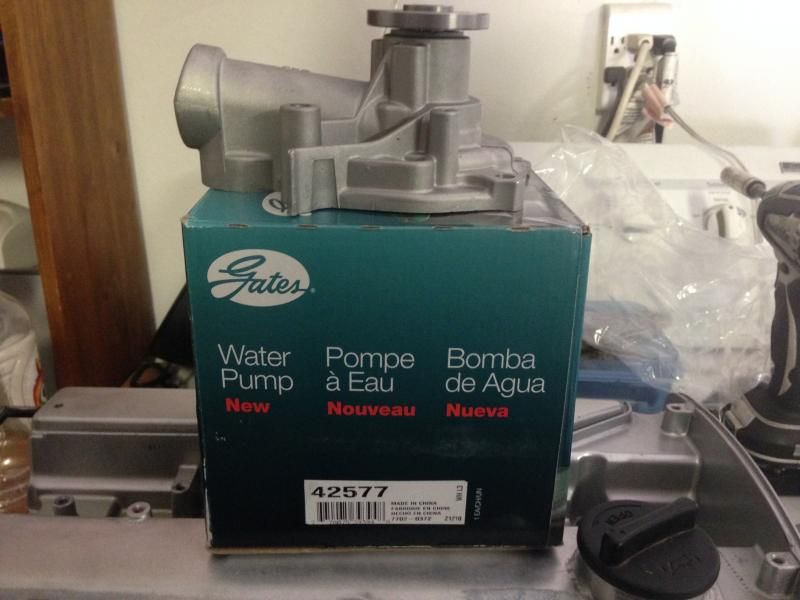
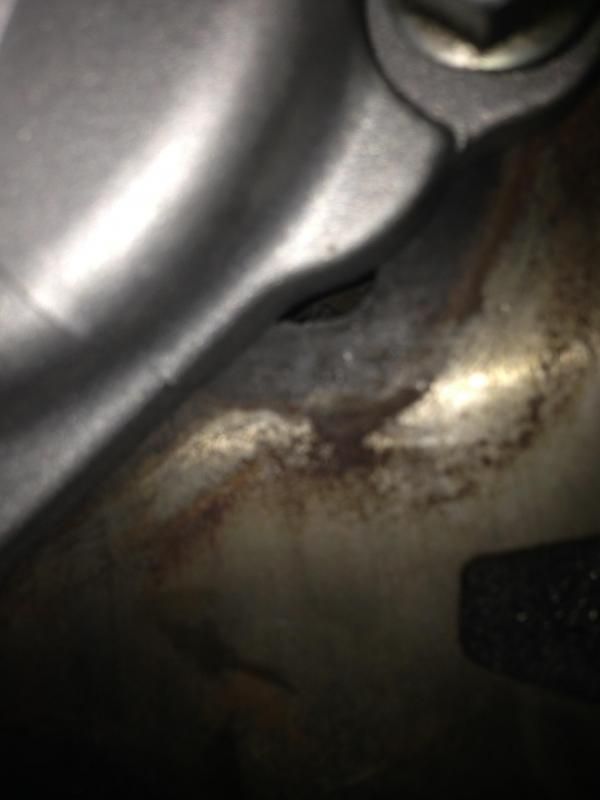
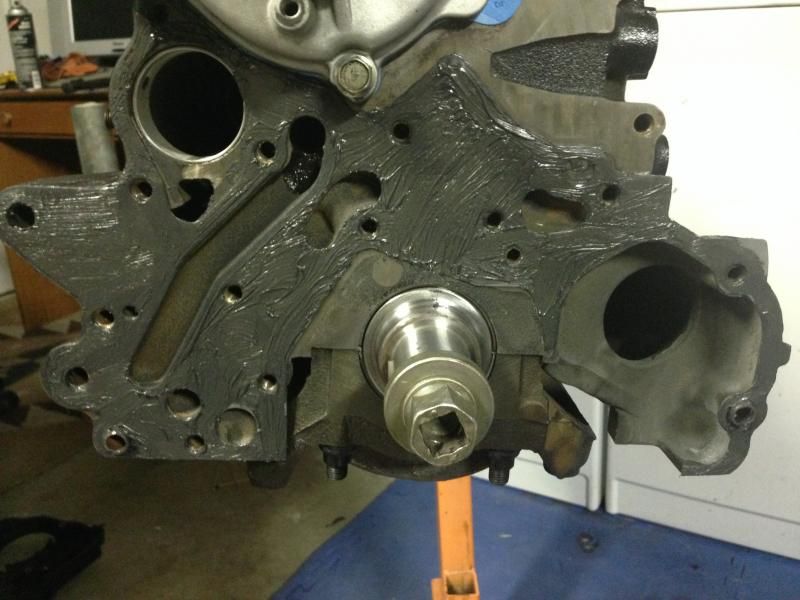
got an evo 8 water pump but its pretty clear it can't be used with the 4g64 block. theres a big hole over one of the water jacket holes because the evo 8 pump has a slighty different shape on one side of it.
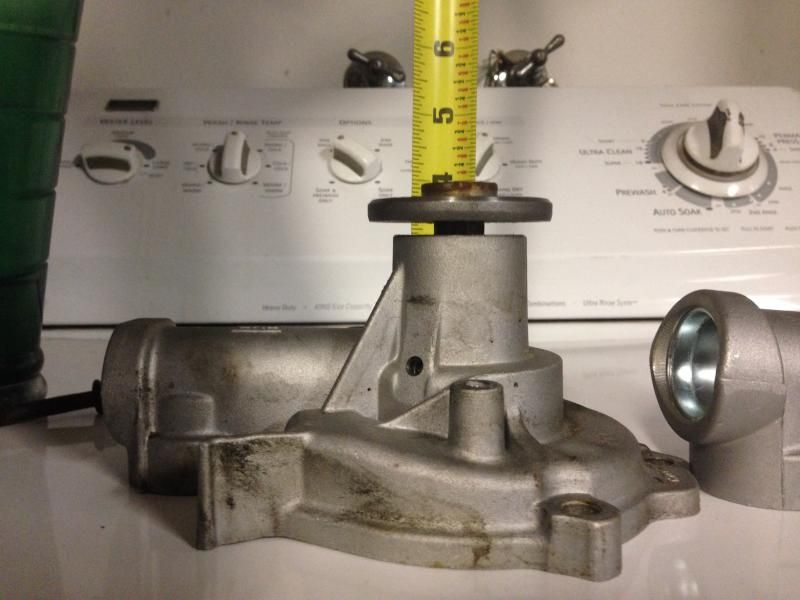
slight difference on the pump shaft length as well but this can be worked around.
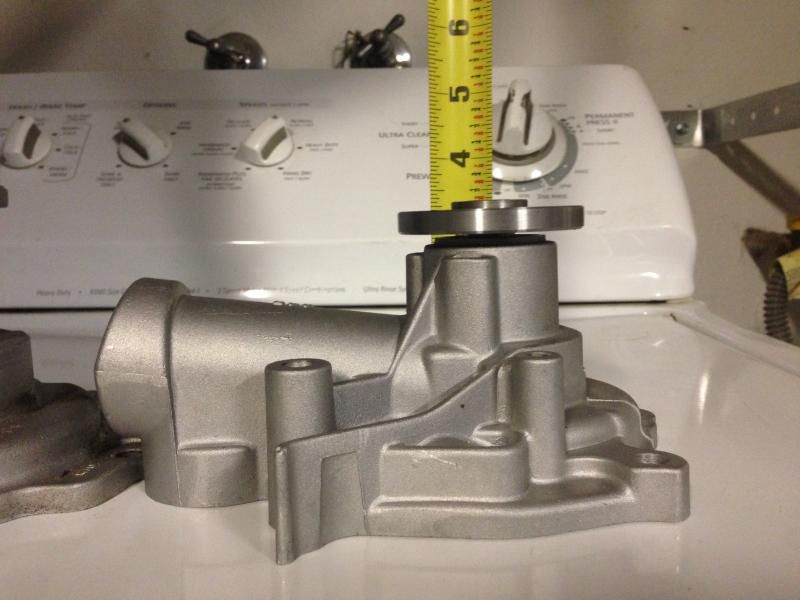
The hole however cannot be worked fixed. and I'm not trying to weld on a cast iron block so back to the stock g64 water pump.
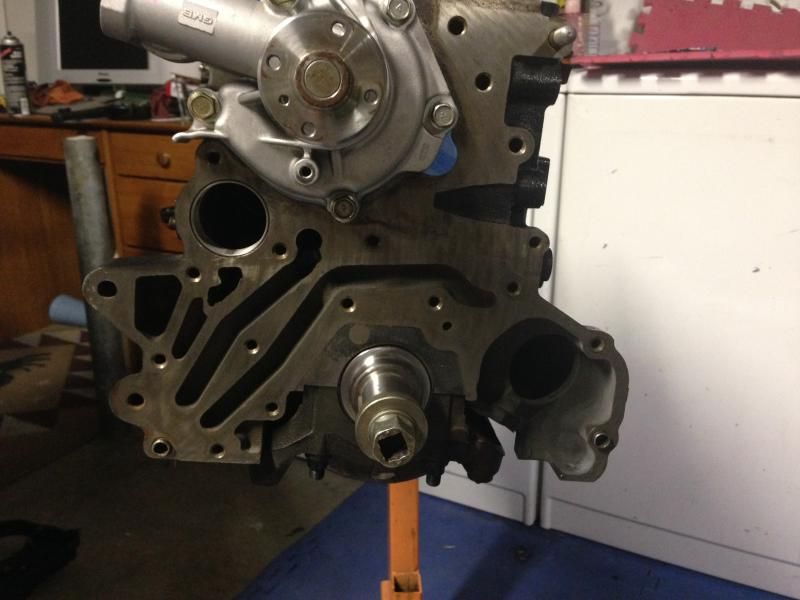
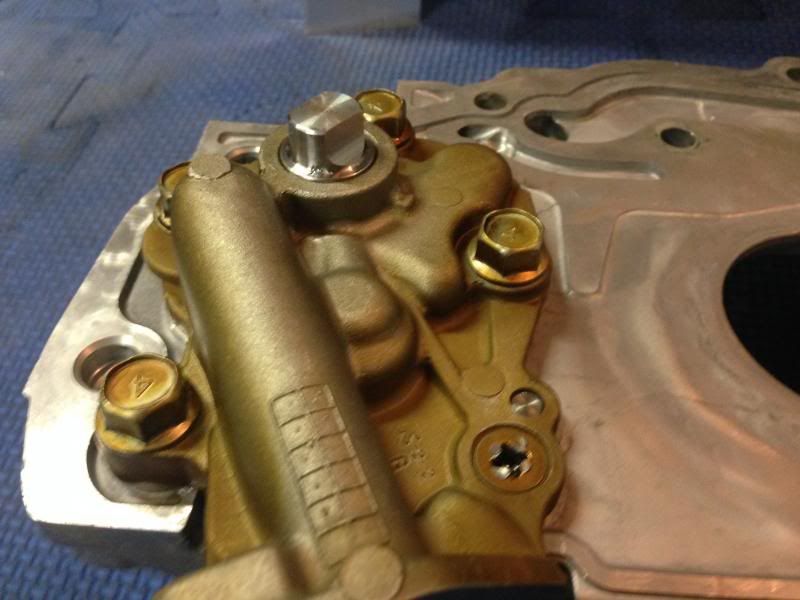
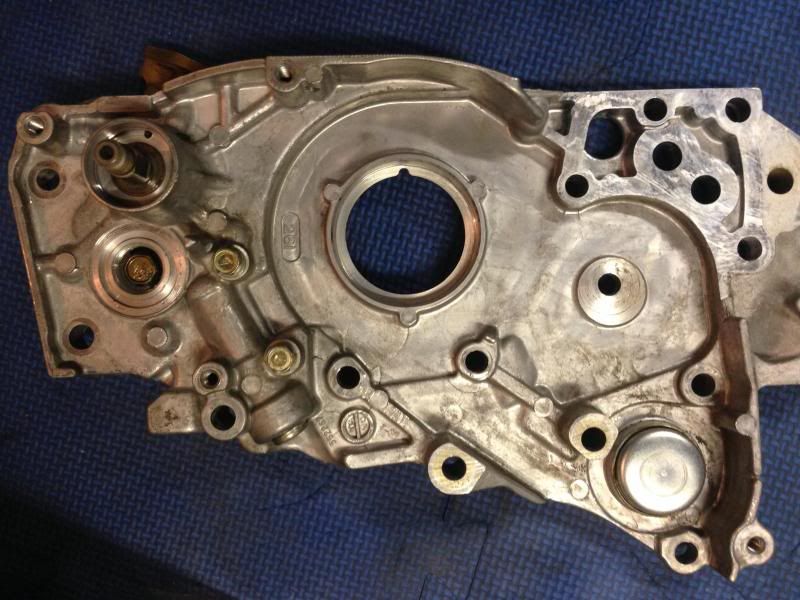
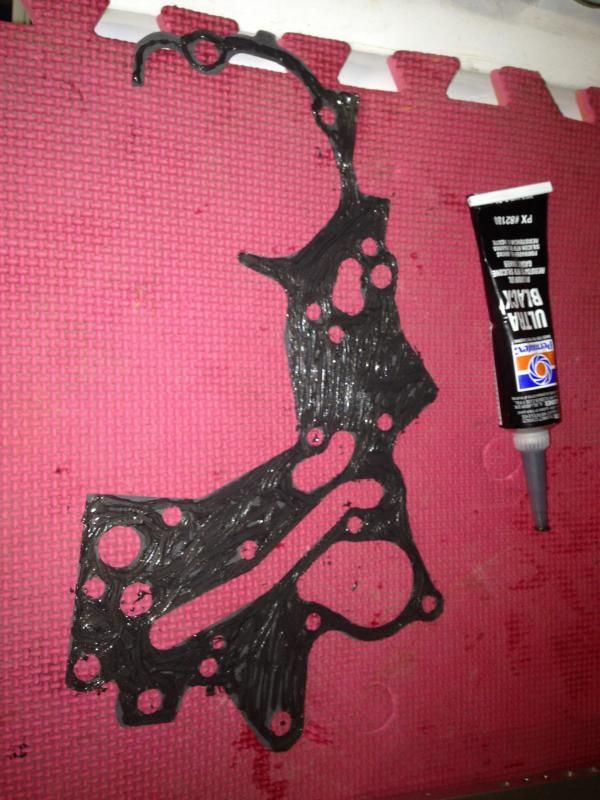
now to put the oil pump plate back on..
might as well add a little added security.. never hurts.
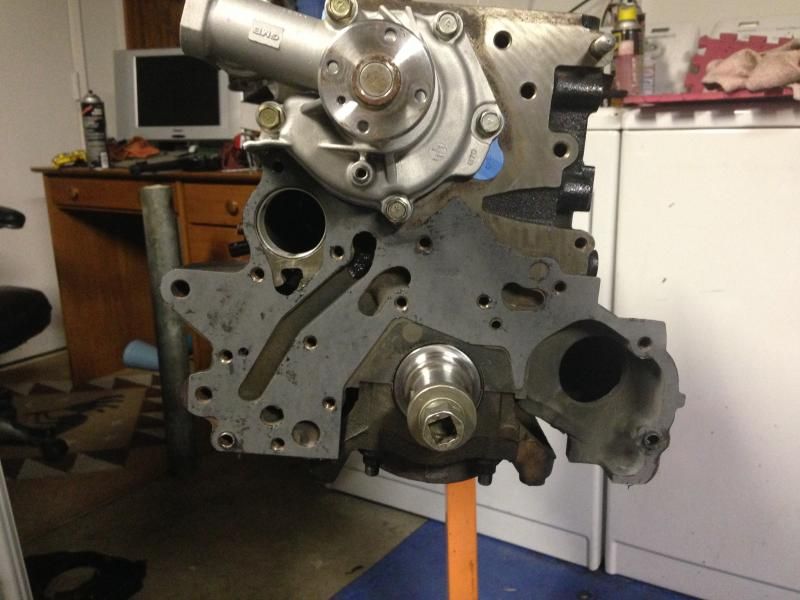
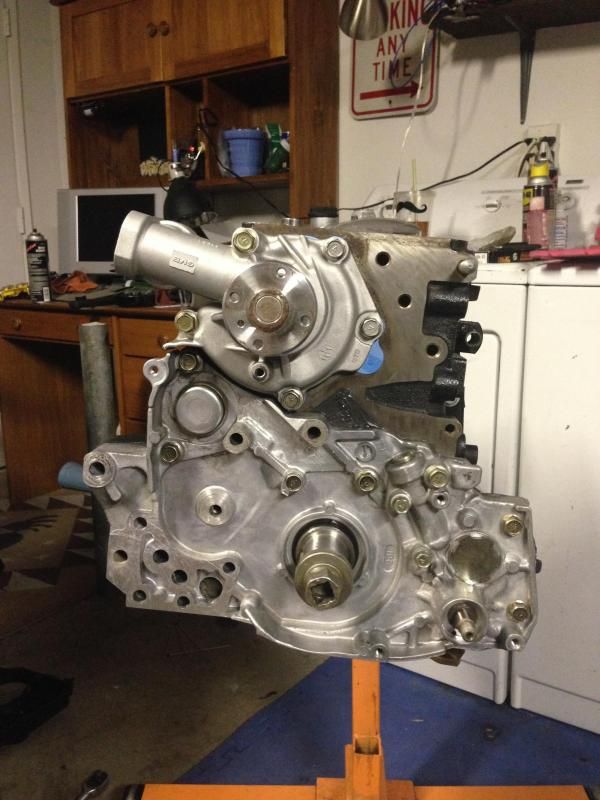
and the oil pickup...
the evo passenger side engine mount bracket.
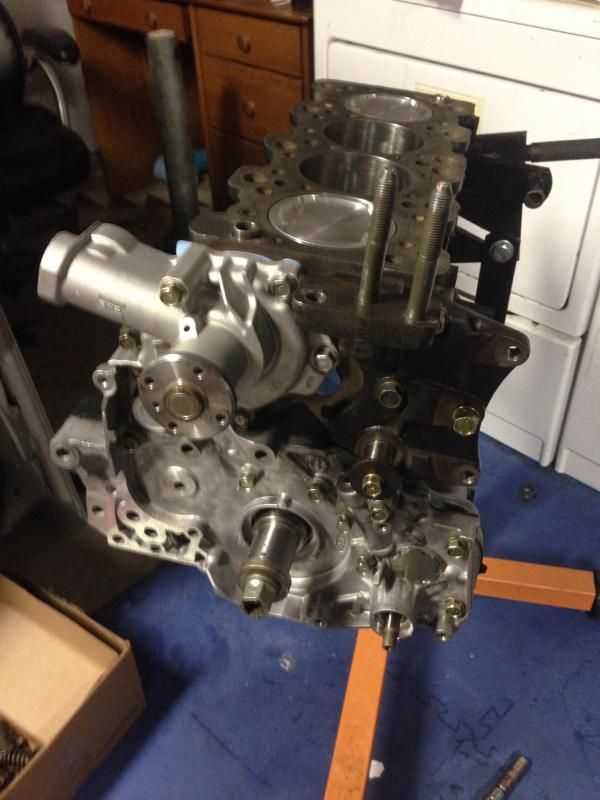
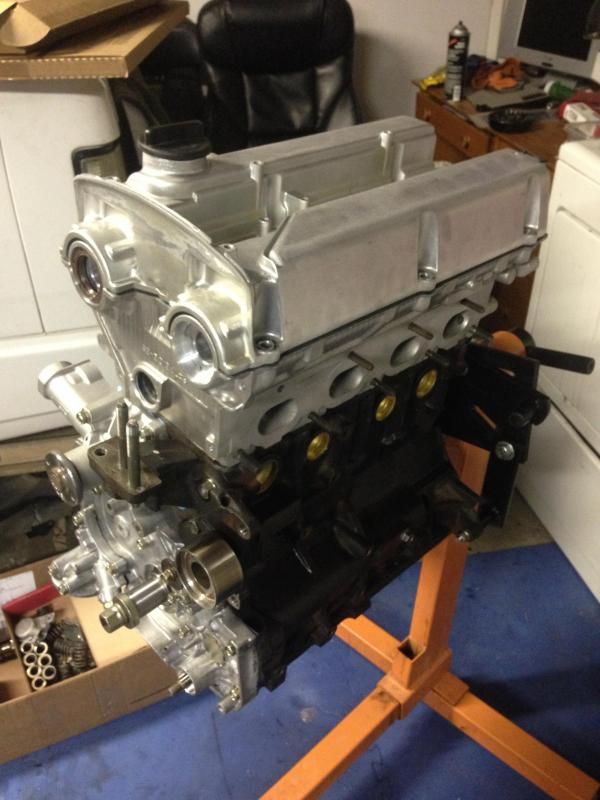
Heres a little mock up shot with the head on. still waiting for the arp head studs and a head gasket in the mail before i can torque it down. also waiting on some other things i ordered like cams, cam gears, crank pulley, evo 399 maf (temporary until i get SD).
plasti gauging and installing crank.


perfect time to install the arp main studs since Ill have to torque the crank cradle to spec to check the oil clearances with plasti gauge.


.002 - .003 is good!


lubed and torqued

time to do the same to the rod bearings. this is a little more difficult as the crank can spin easily while you do it. try to have a friend help hold it from moving while you torque and break free the rod caps. I forgot to take pictures of the plasti gauge specs after checking but they're all right between .002 and .0015. good enough for me!

First you gotta install either #1 and #4 pistons or #2 and #3 pistons. Doing all 4 at one time is probably a pain in the ****.. if even possible.


slide pistons in place to check clearances..


got an evo 8 water pump but its pretty clear it can't be used with the 4g64 block. theres a big hole over one of the water jacket holes because the evo 8 pump has a slighty different shape on one side of it.


slight difference on the pump shaft length as well but this can be worked around.


The hole however cannot be worked fixed. and I'm not trying to weld on a cast iron block so back to the stock g64 water pump.

now to put the oil pump plate back on..
might as well add a little added security.. never hurts.


and the oil pickup...

the evo passenger side engine mount bracket.

Heres a little mock up shot with the head on. still waiting for the arp head studs and a head gasket in the mail before i can torque it down. also waiting on some other things i ordered like cams, cam gears, crank pulley, evo 399 maf (temporary until i get SD).

