


Anti-Lag build Thread


Newbie
Joined: Apr 2012
Posts: 3
Likes: 0
From: usa
Honestly stock turbo is the first goal im going for. then stock block, and then fastest evo period. thats the goals for this car.
And yes stock block for now. it will be a stock block untill i get the records im after or the block lets go. After that youll have to wait and see. I have a few ideas.


And yes stock block for now. it will be a stock block untill i get the records im after or the block lets go. After that youll have to wait and see. I have a few ideas.

Thanks! Today the wire tuck begins. Have my plywood all ready to go and lay it out on and then i will be happy with the engine bay. But just simple break cleaner and a little bit of time and amazing what can come about as a result. Thanks for the kind words.
??? I'm not sure what you are referencing here but i cant see the pictures nor get what you are trying to say.
Honestly stock turbo is the first goal im going for. then stock block, and then fastest evo period. thats the goals for this car.
And yes stock block for now. it will be a stock block untill i get the records im after or the block lets go. After that youll have to wait and see. I have a few ideas.
And yes stock block for now. it will be a stock block untill i get the records im after or the block lets go. After that youll have to wait and see. I have a few ideas.
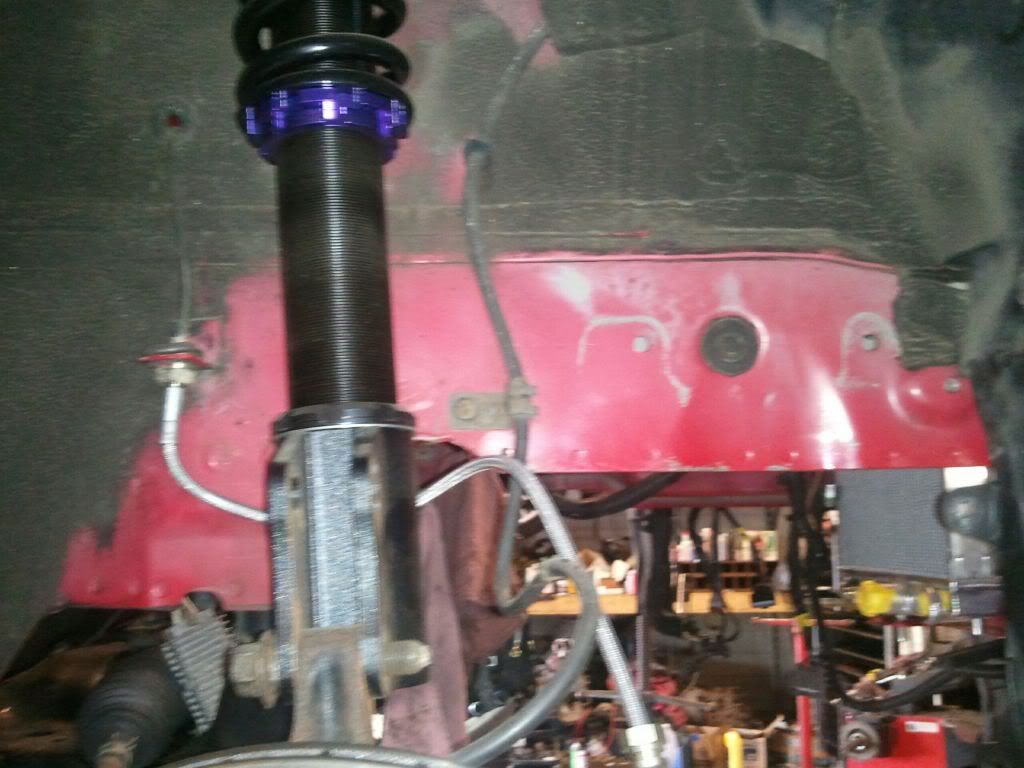
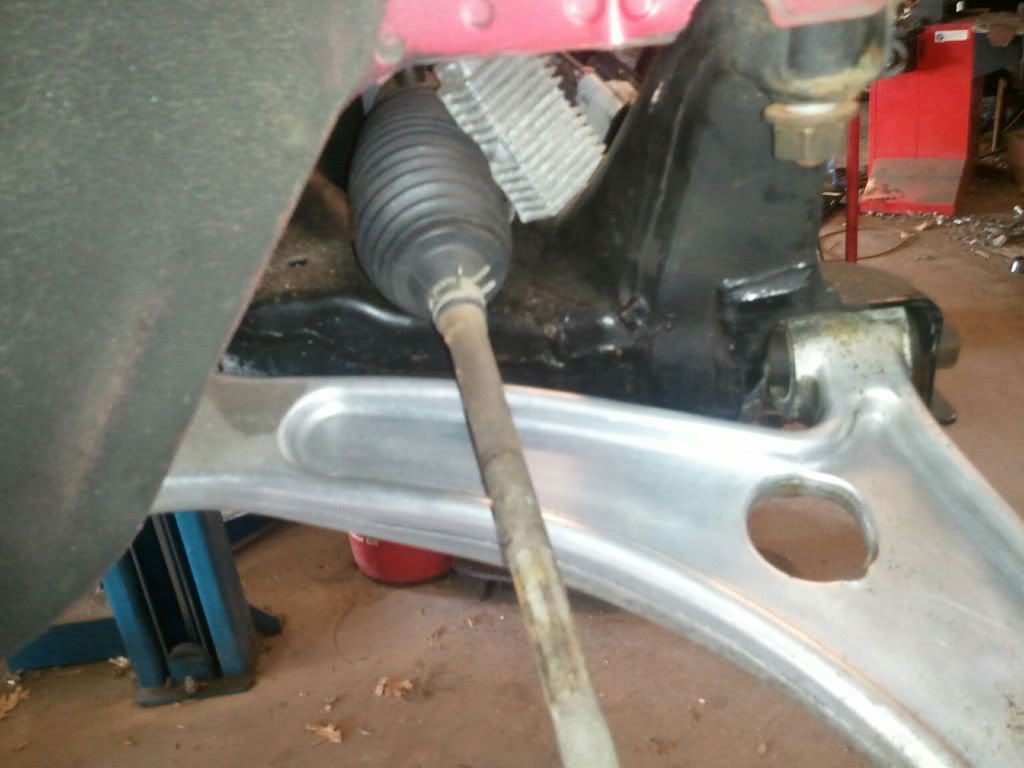
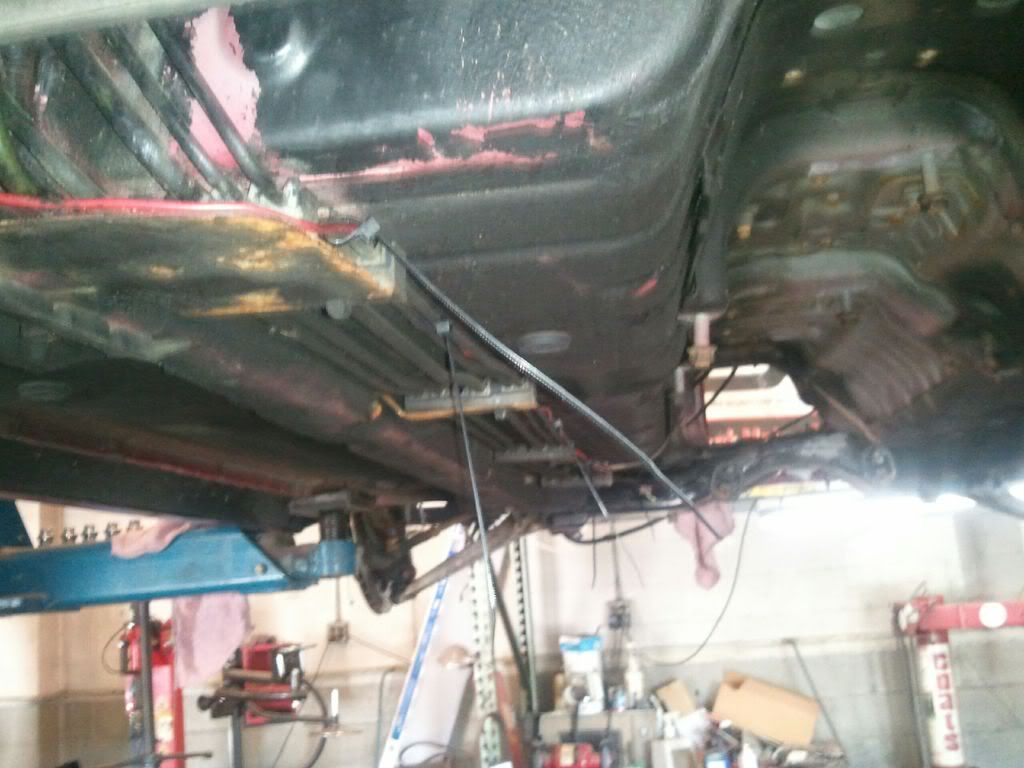
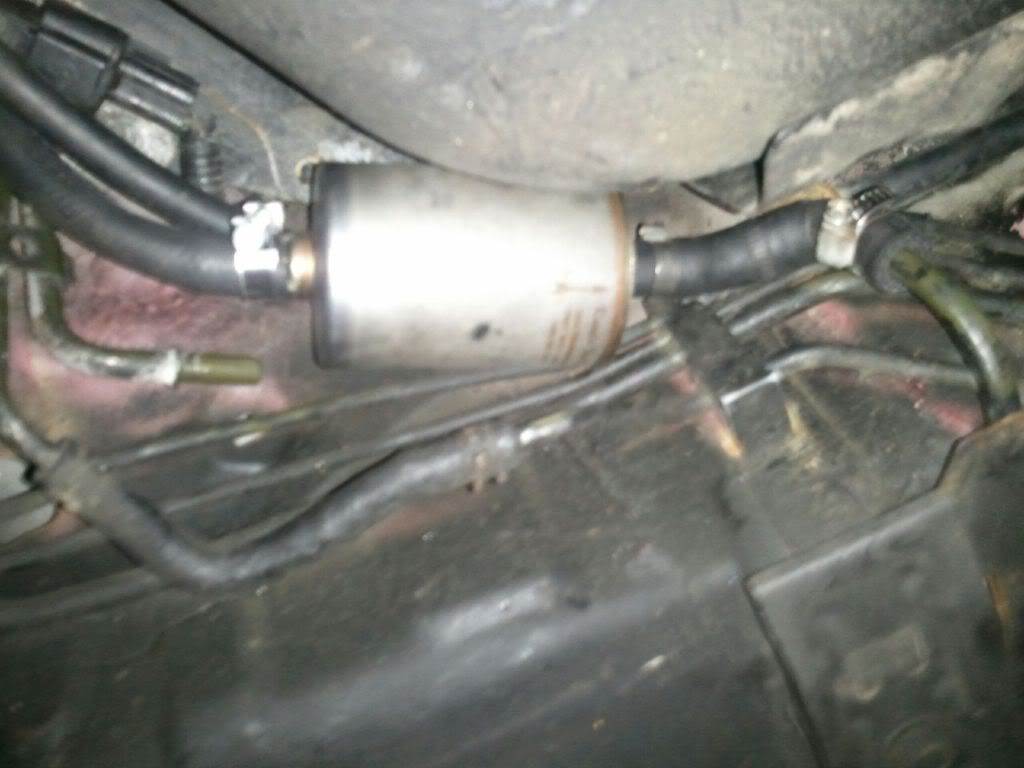
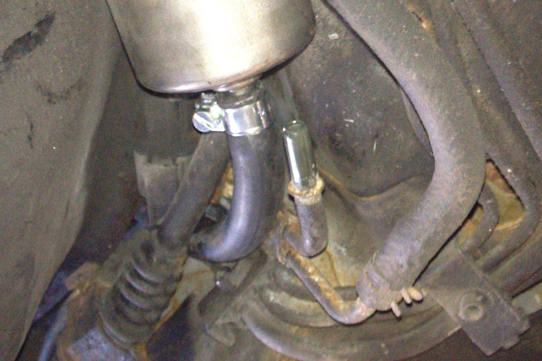
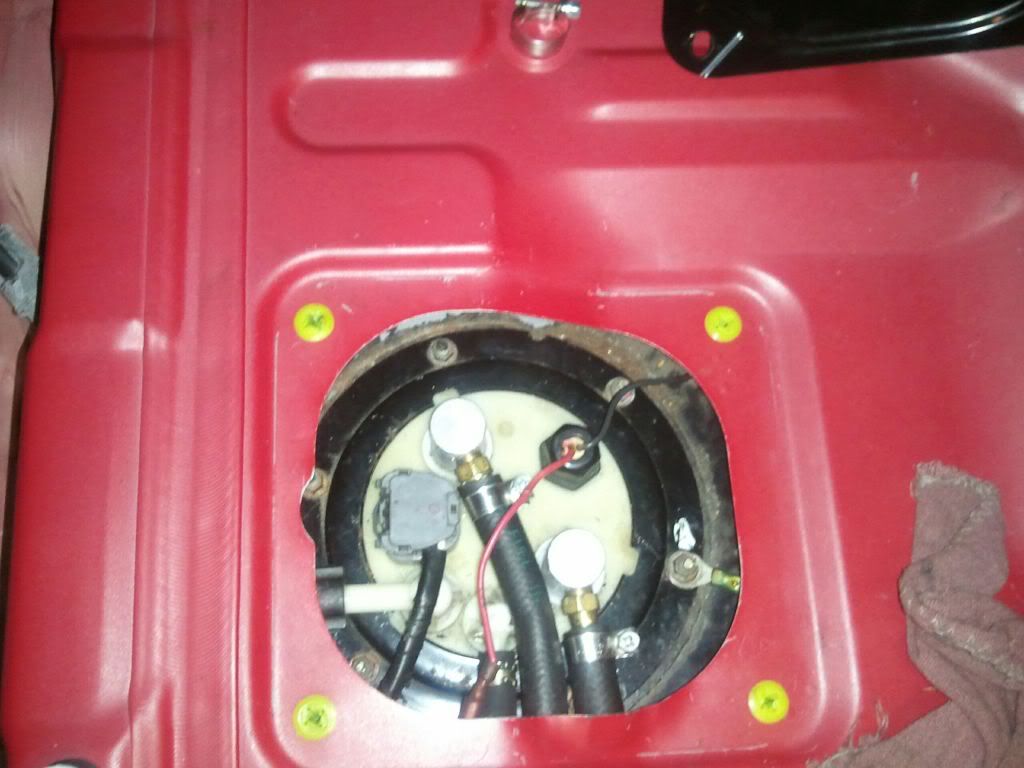
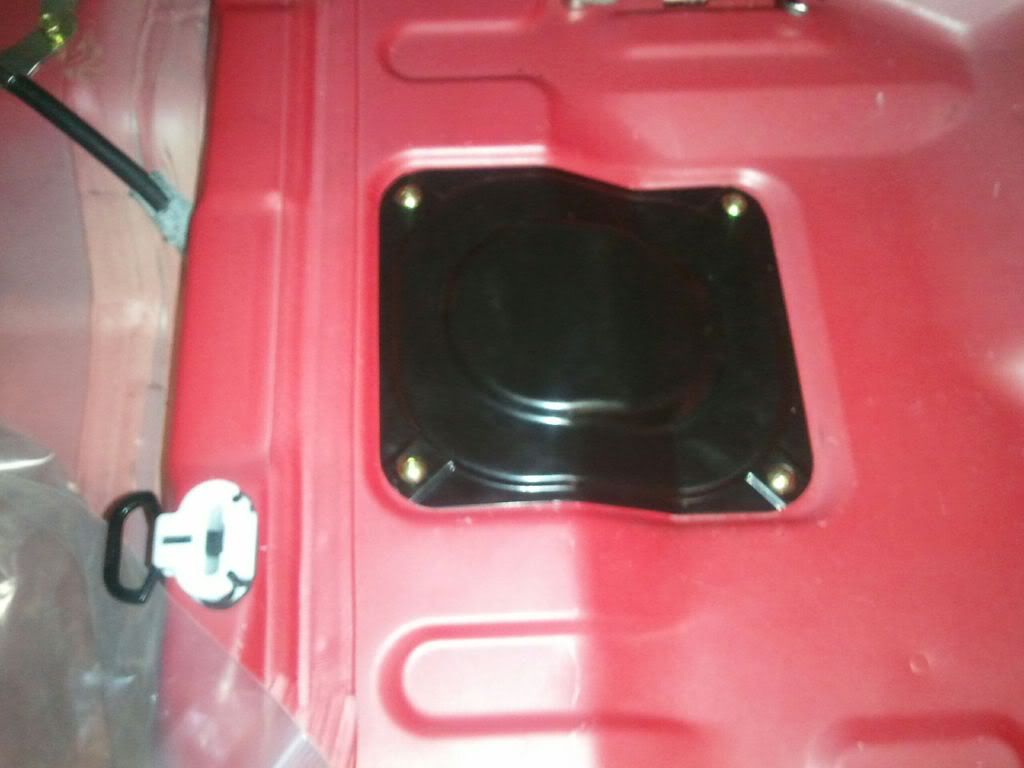
Mini Update Double Pumper, Clean up, Dash removal beginsJust another minor update today as i did the whole BR double Pumper install, routing the hobs switch to the engine bay. (If anyone has questions on this please feel free to pm me, happy to help and save a few headaches that can catch you if you aren't sure). Also i began to clean the lower control arms today, and the crap off the wheel wells. NOT FUN! Every pound counts though. And lastly i began the dash removal today. Here is a couple pictures of the process today, dash pictures will come later with a whole compilation start to finish. Stay tuned updates will be coming fast.
Lower Control arm and wheel well junk cleaning.
BR Double Pumper Install
Lower Control arm and wheel well junk cleaning.
BR Double Pumper Install


Thanks! We are almost there, looking forward to hitting the track shortly


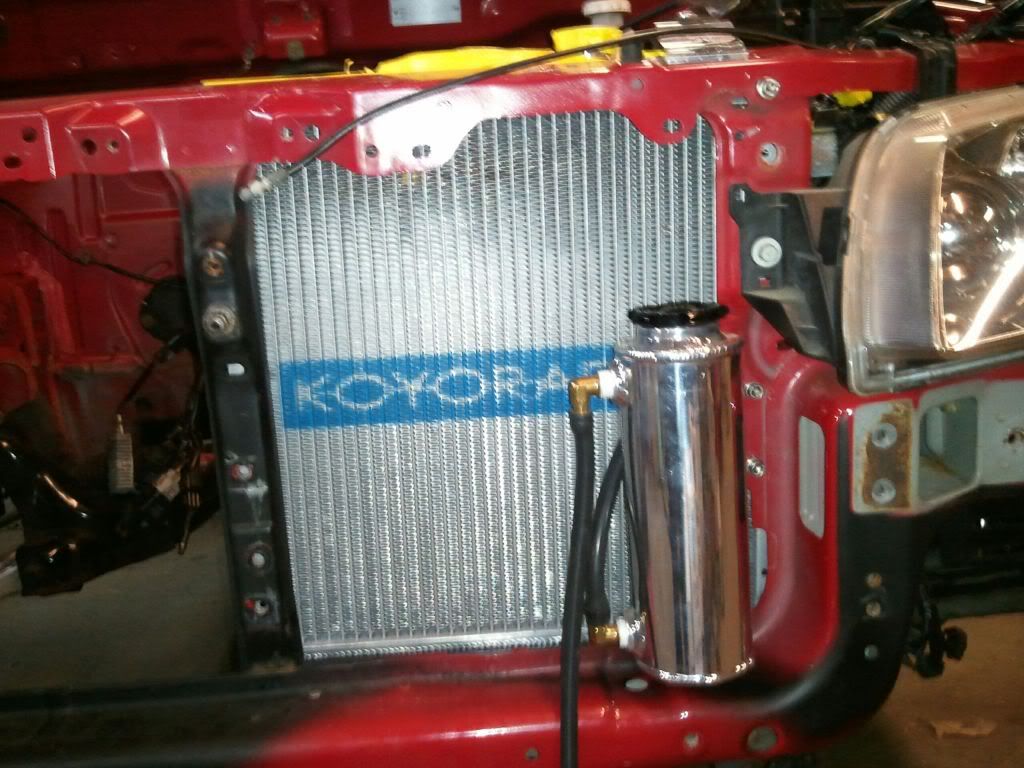
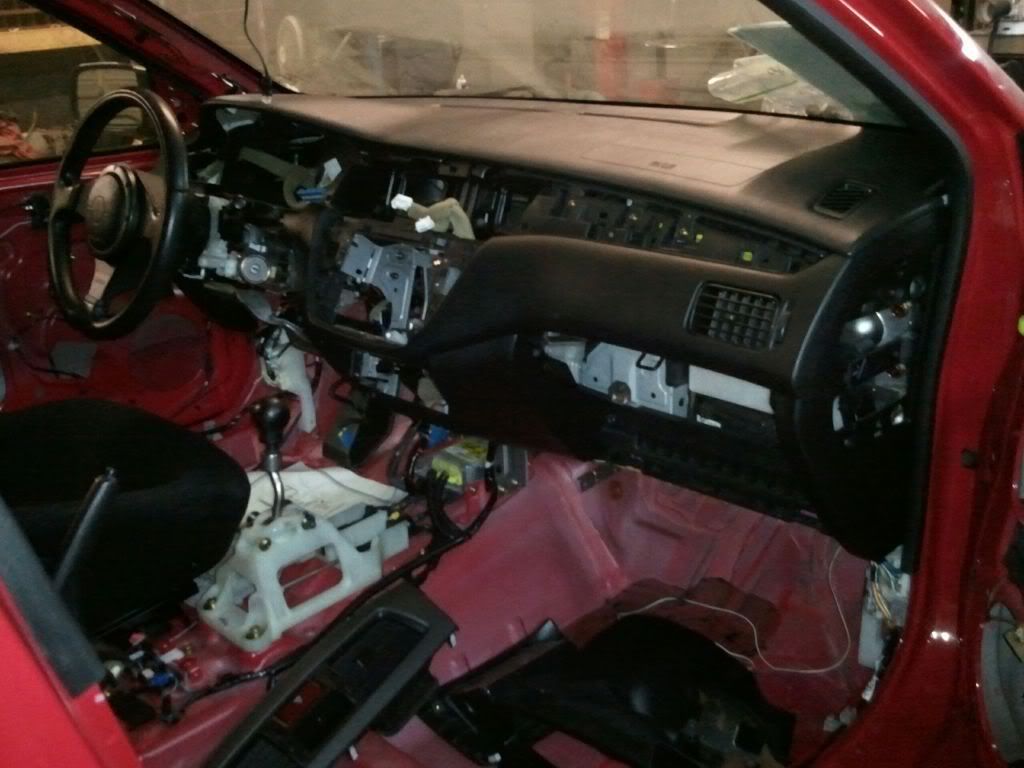
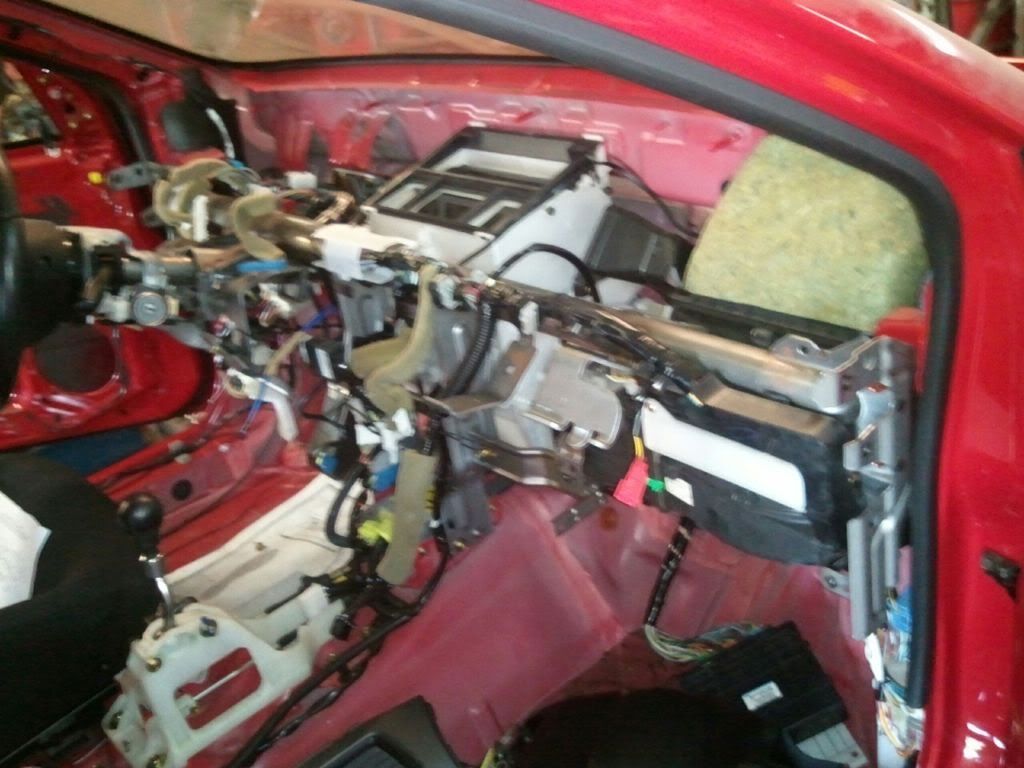
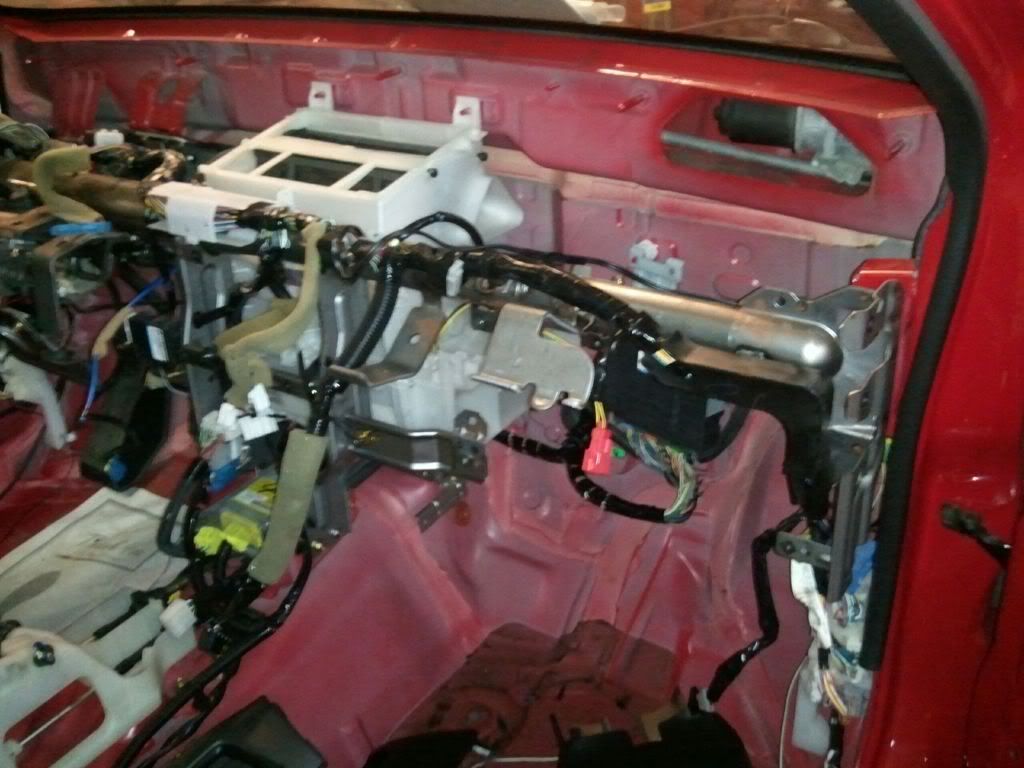
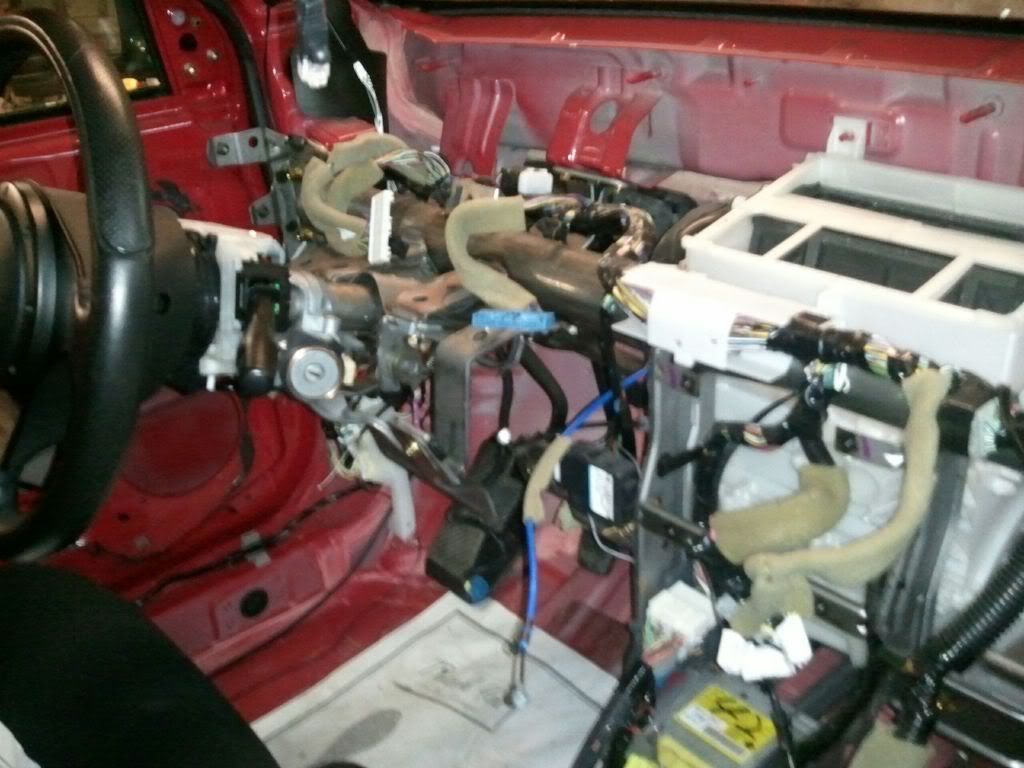
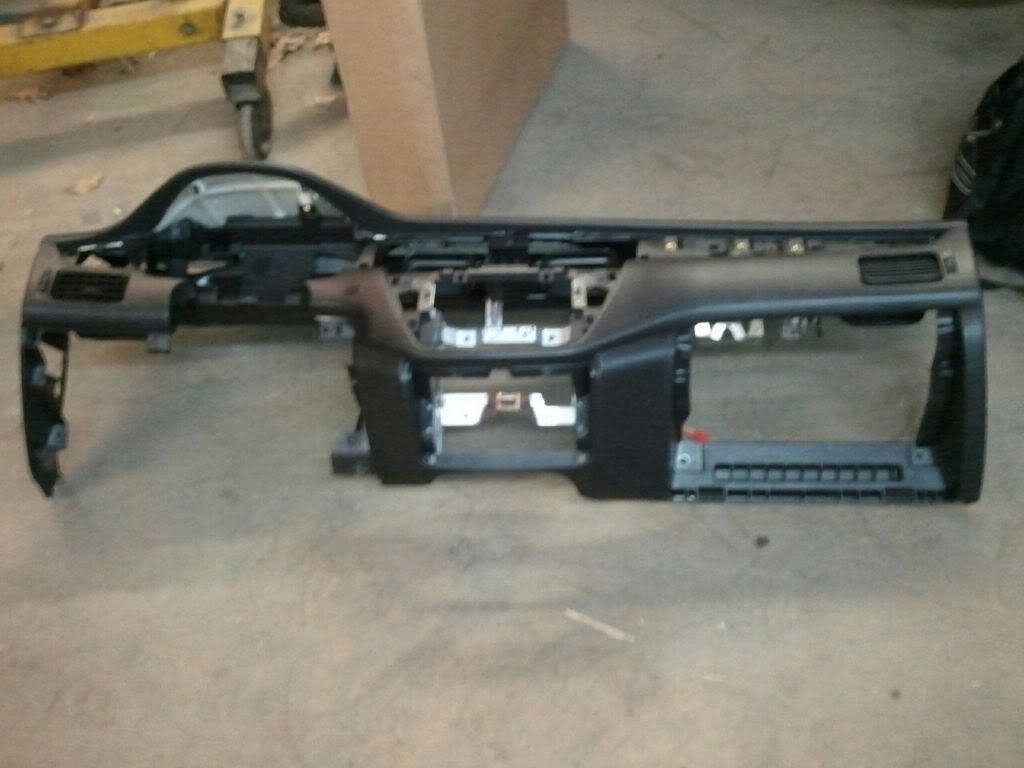
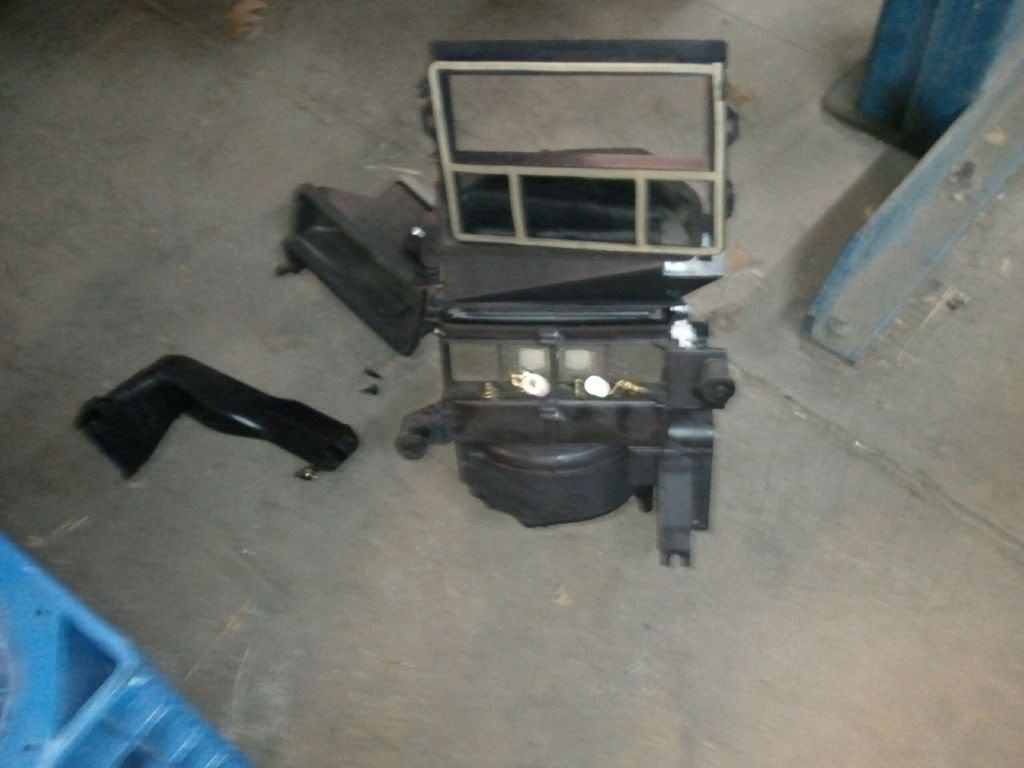
Dash Removal, Blower/Heater Core removal and Complete car rewire and tuck beginning, Mini Rad and STM Overfill can installWell since having some extra time on my hands due to a certain delayed part I began the dash removal today (contemplating making a how to thread, lmk i there is interest and i will take pictures and make one if there is enough interest in it). All that's left under the dash is the heater core which is ready to drop out tomorrow. Then its onto the wiring, being a perfectionist and having some extra time i have decided to not only re-wire the engine bay as well as do a wire tuck, but do all the wiring under the dash and wiring running to the back of the car. Going to be a lot of work but interested to see how much weight i save and having a almost wire free engine bay! Onto just a few pictures for now.
Mini Rad and STM Overflow Can
Dash Removal
Mini Rad and STM Overflow Can
Dash Removal

Wow man your going thru this whole build like a mad man not leaving anything behind. All your hard work will pay off in the end when you get that 9 sex pass. I was thinking about this earlier but what kinda trap speed do you think it's going to take to get a 9 sec pass? I know there's alot of factors but when I ran my stock 8 9.8 hotside near full weight on toyo ra1s the best I could get was an 11.42 at 127 on 26 psi. I know that's no where even close to how fast you will be going and I anxiously await videos of this bad *** Evo making its goals. Best of luck to both you and the beer can.