
PIRANA's Evo9 MR Rebuild Update!


Thread Starter
Evolved Member
iTrader: (43)
Joined: Dec 2003
Posts: 1,222
Likes: 5
From: Arlington, TX


Thread Starter
Evolved Member
iTrader: (43)
Joined: Dec 2003
Posts: 1,222
Likes: 5
From: Arlington, TX
OK, more pics...
Pulled the car out to give it a bath...was easy to push it down the driveway and up the back of the house for 2 people...but to put it back in the garage.....holy crap!!!!
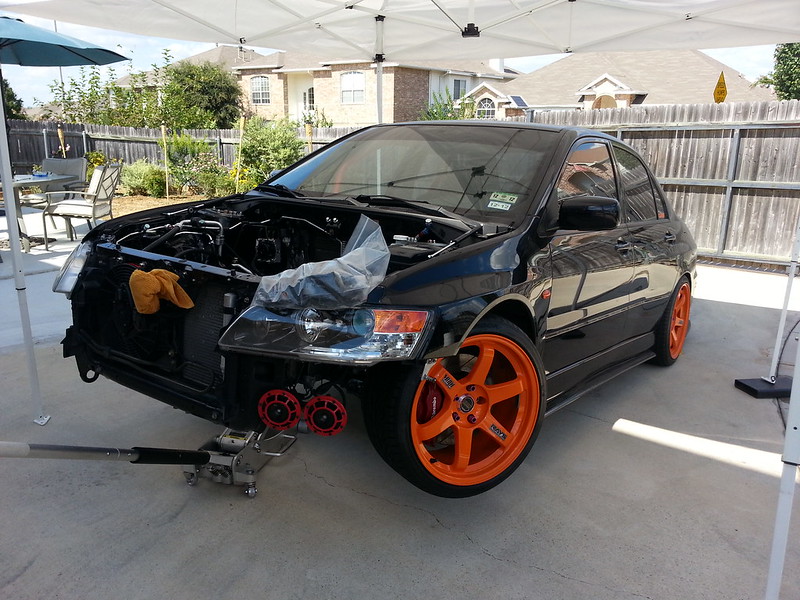
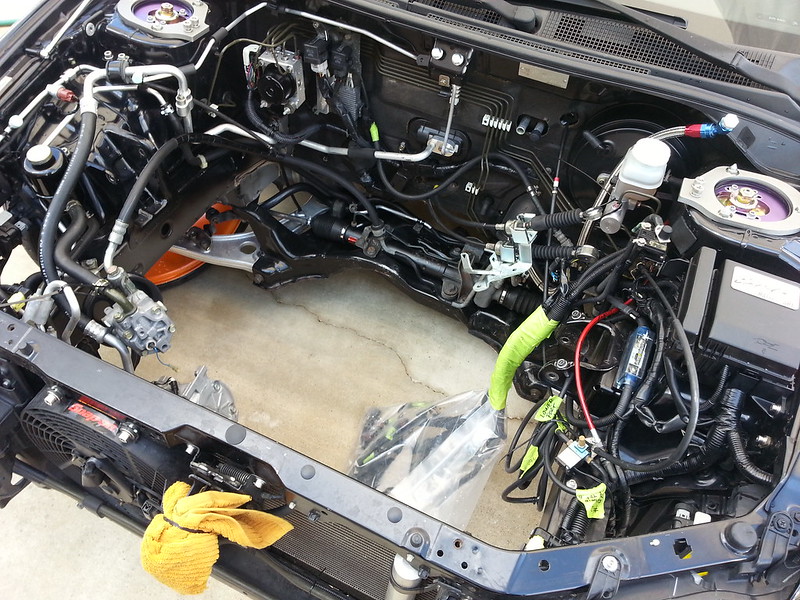
Clean the engine bay, brushed some of the rusted areas and painted them.
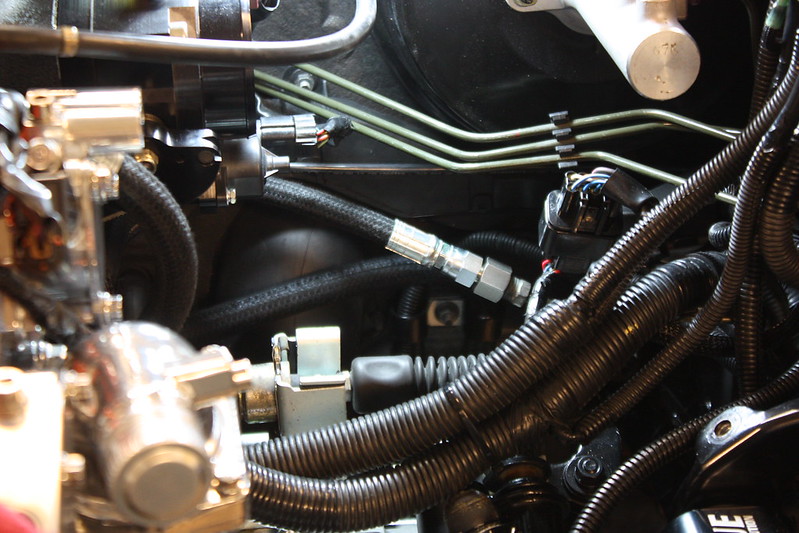
Once back, removed the fuel filter, cleaned the element, redid the 1/2" line.
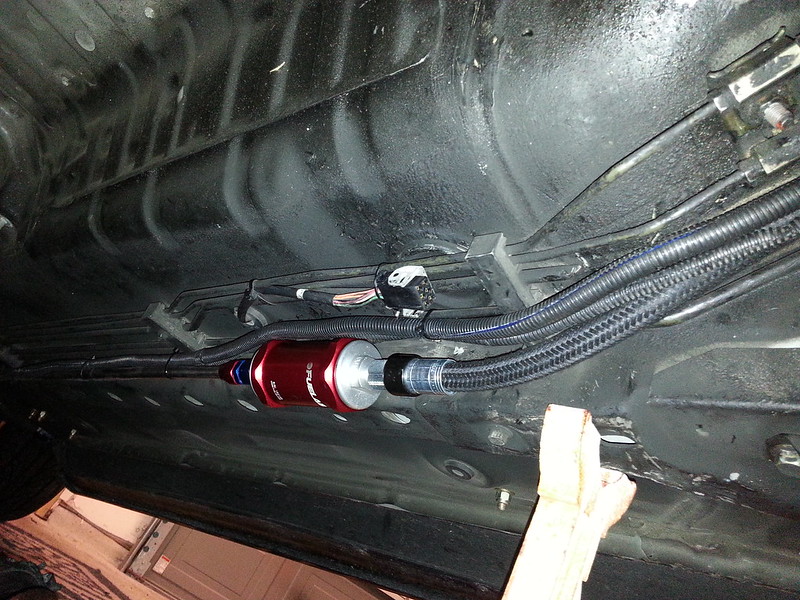
re-routed the lines and secured them in the OEM bracket.

Fuel line secured.

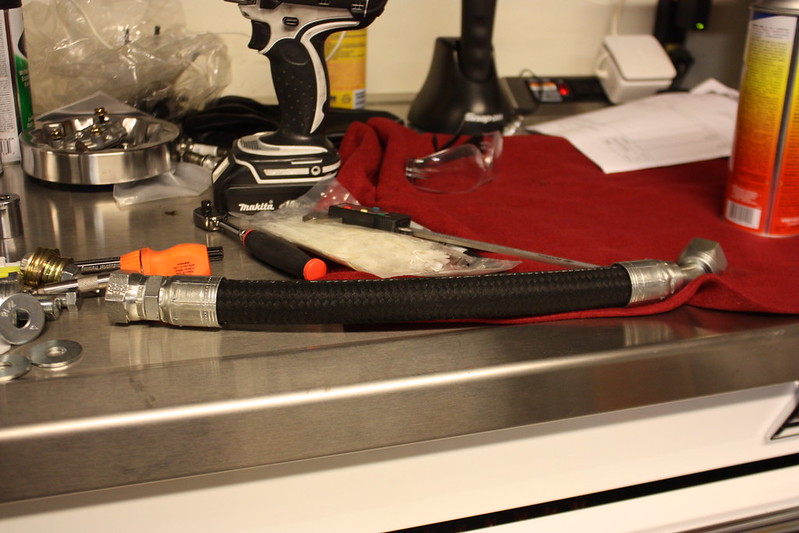
Meanwhile made the -8AN turbo oil return line.
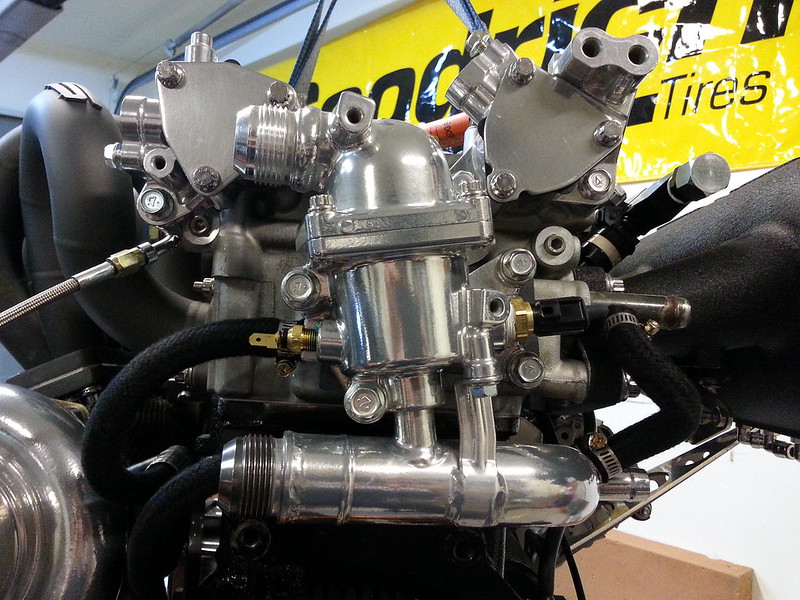
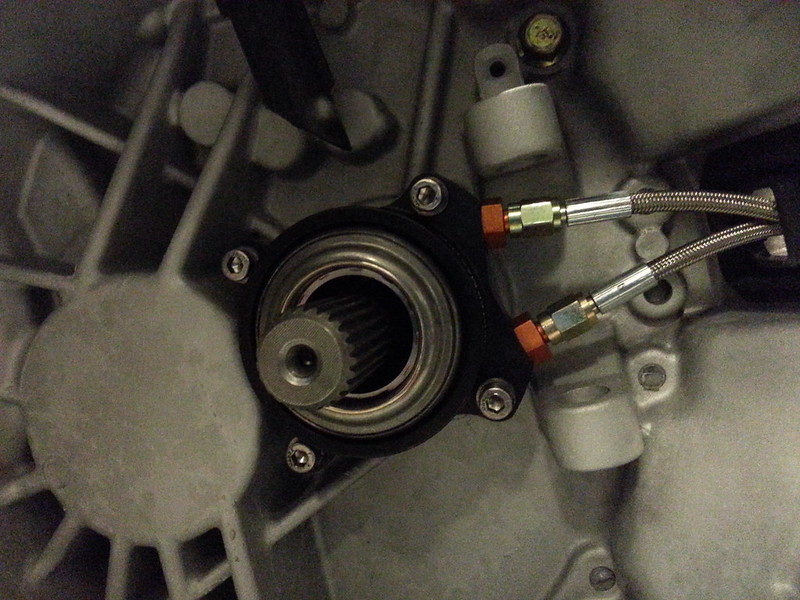
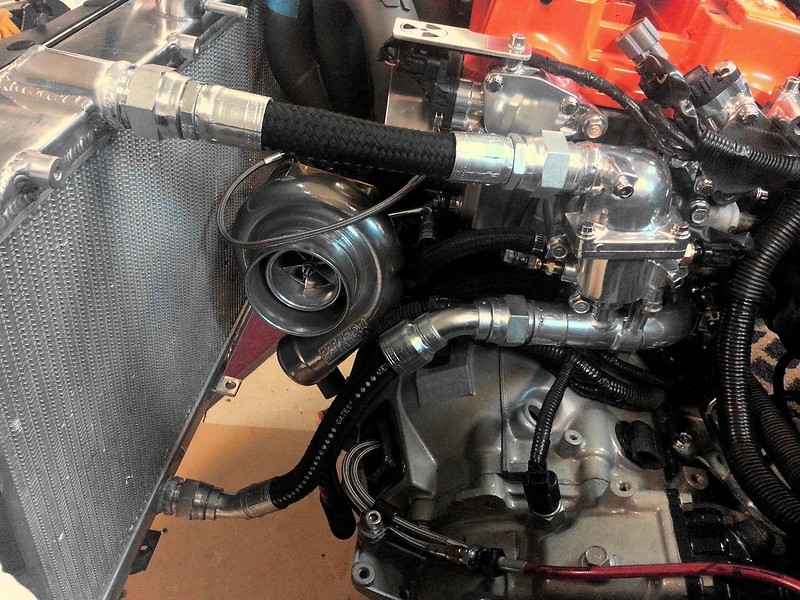
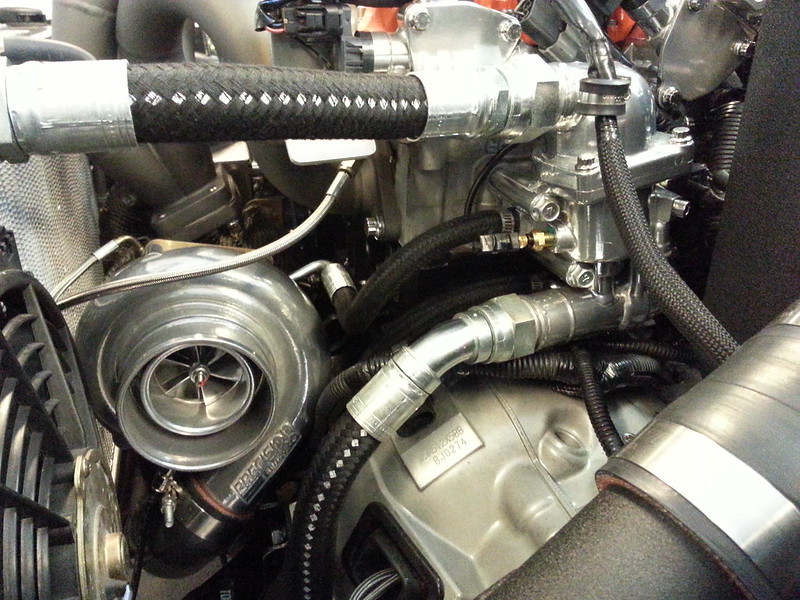
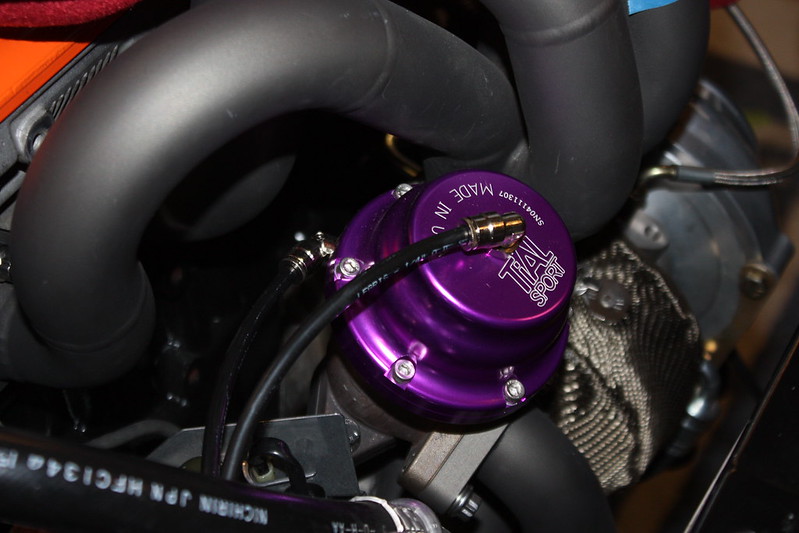
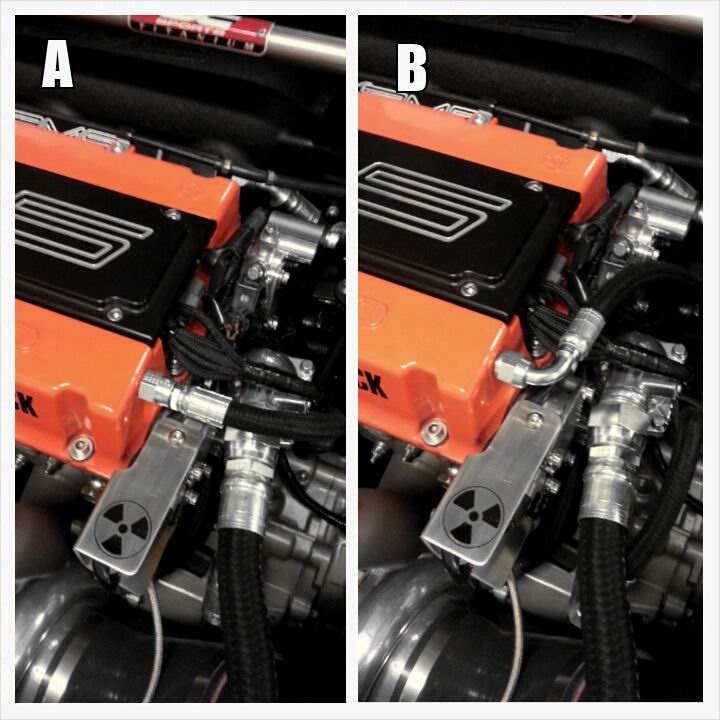
Had a couple of different options routing the turbo coolant supply line. Went with choice B.

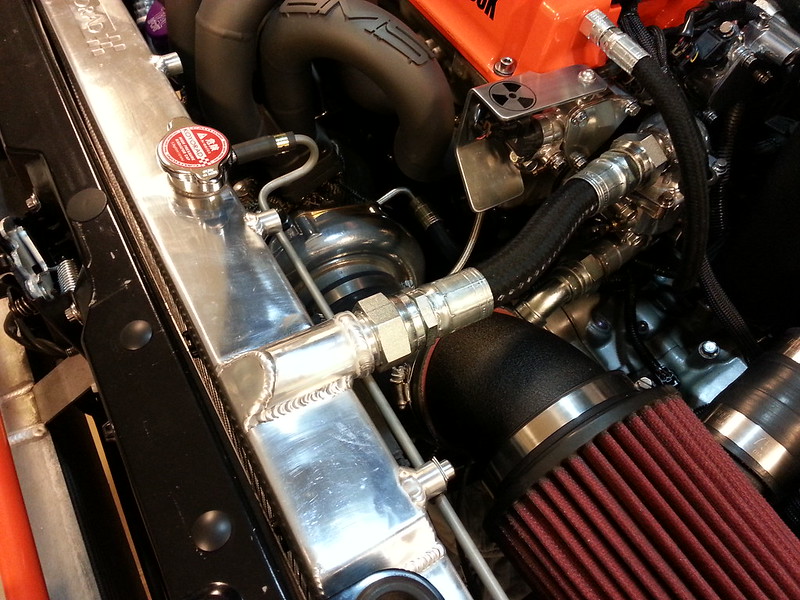
Close up view of the AN bungs for coolant supply and return lines. Also the turbo coolant lines completed.
Ready to drop the engine in!!
Pulled the car out to give it a bath...was easy to push it down the driveway and up the back of the house for 2 people...but to put it back in the garage.....holy crap!!!!
Clean the engine bay, brushed some of the rusted areas and painted them.
Once back, removed the fuel filter, cleaned the element, redid the 1/2" line.
re-routed the lines and secured them in the OEM bracket.
Fuel line secured.
Meanwhile made the -8AN turbo oil return line.
Had a couple of different options routing the turbo coolant supply line. Went with choice B.
Close up view of the AN bungs for coolant supply and return lines. Also the turbo coolant lines completed.
Ready to drop the engine in!!
Thread Starter
Evolved Member
iTrader: (43)
Joined: Dec 2003
Posts: 1,222
Likes: 5
From: Arlington, TX
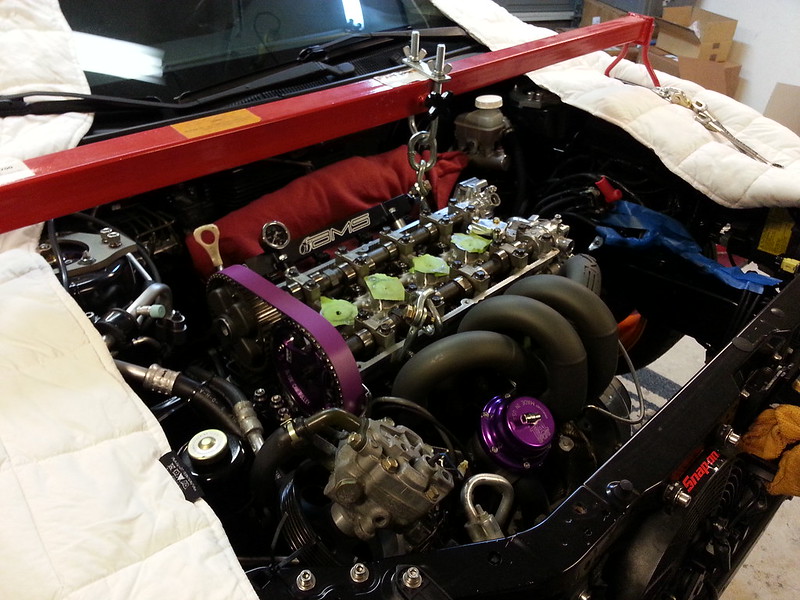
Hoisted and ready to go....one man show!!!
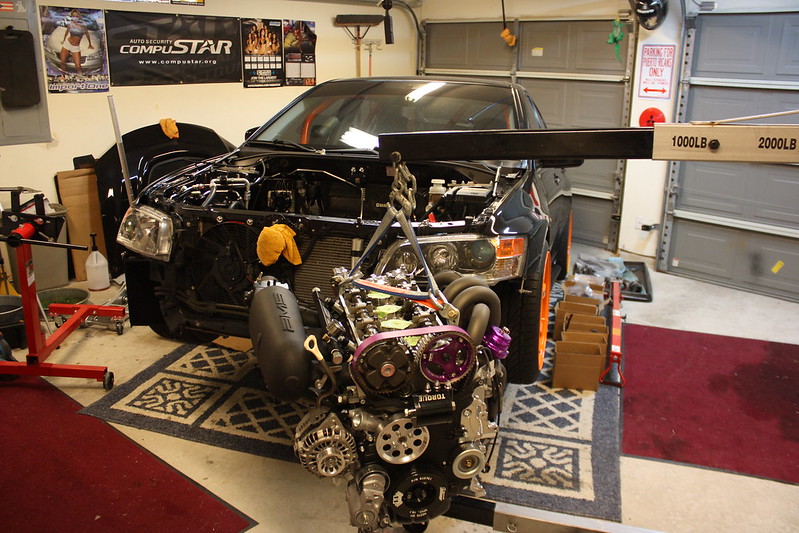
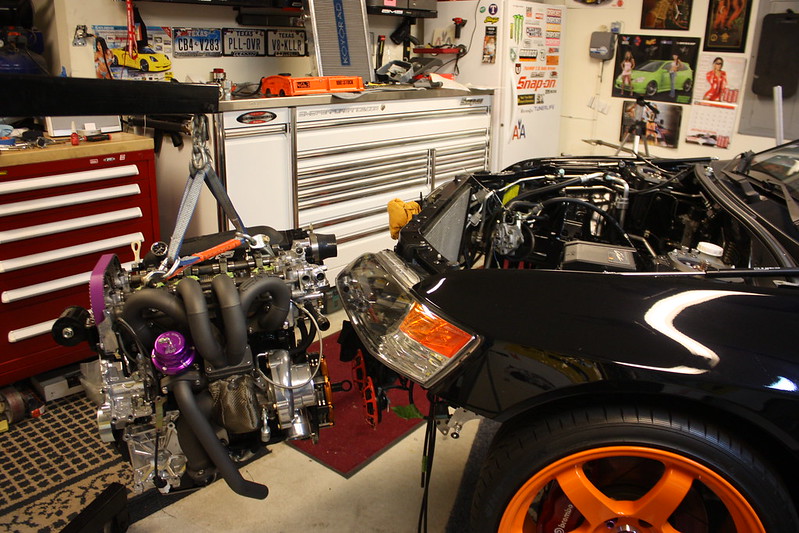


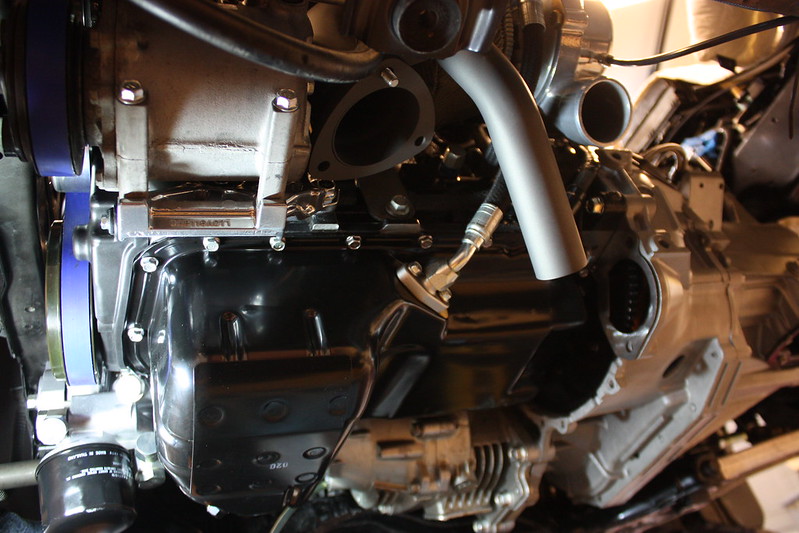
Yeap, still hadnt noticed that the starter plate wasnt installed!

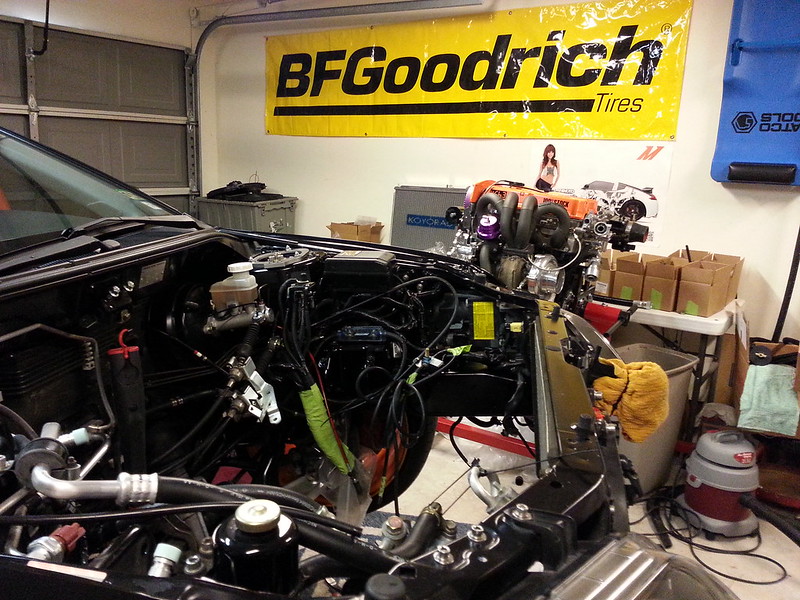
Hmmm, it doesnt fit! Had to remove the TPS to give enough space for the entire engine to fit...this will give me a little problem later.
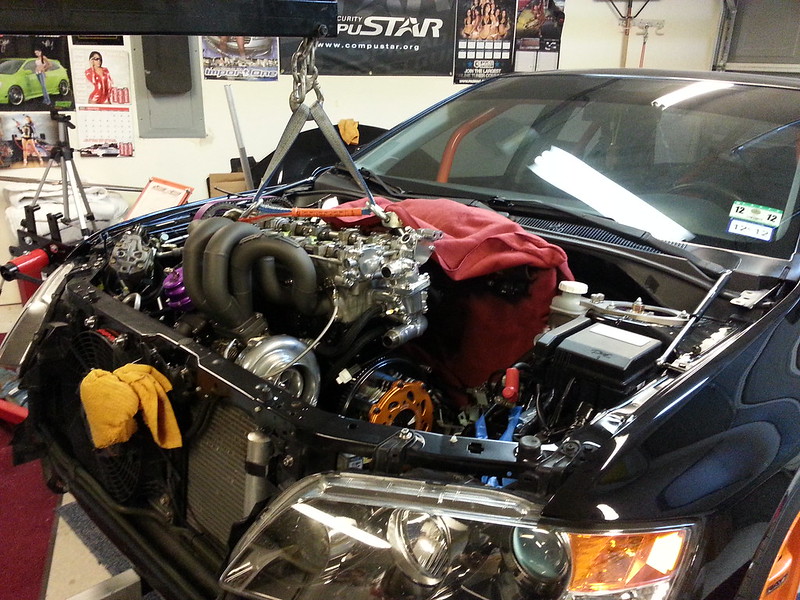
Well at least its inside the engine bay.


Yeap, still hadnt noticed that the starter plate wasnt installed!
Hmmm, it doesnt fit! Had to remove the TPS to give enough space for the entire engine to fit...this will give me a little problem later.
Well at least its inside the engine bay.
Thread Starter
Evolved Member
iTrader: (43)
Joined: Dec 2003
Posts: 1,222
Likes: 5
From: Arlington, TX
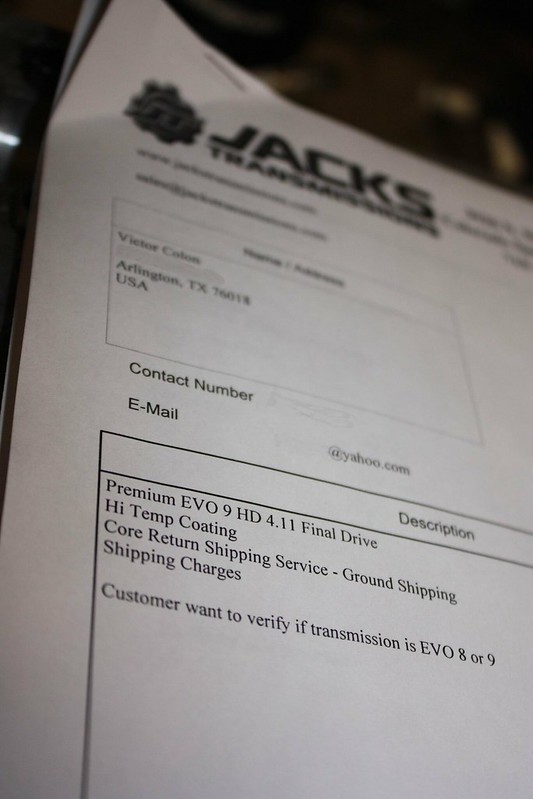
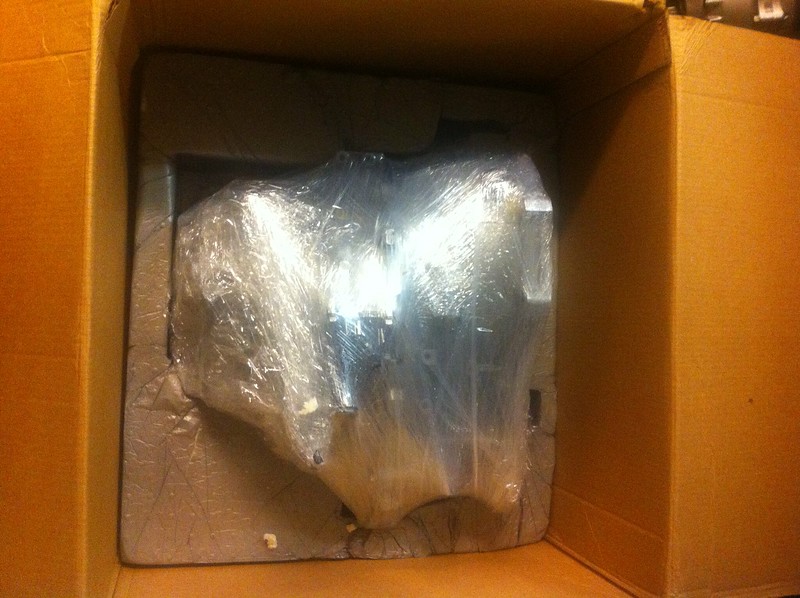
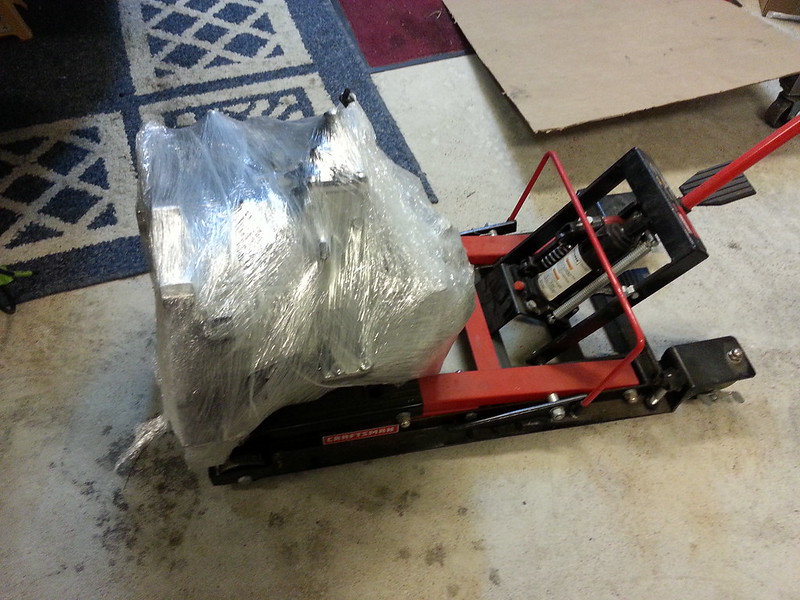
Time for the transmission to come in!!
Tried to use a motorcycle jack to install the trans but it was more of a hassle than help.
Quarter Master TOB.
OK a quick tip...these are very inexpensive and will make your installation go easier. I left those in the engine went the engine went out to the machine shop and apparently one got deformed. I could not install the transmission for nothing in the world, and came to figure out this was the problem!!! Get some if yours are old.

Found that using 2 long bolts, 2 straps and the hoist makes for installing the transmission a snap!!

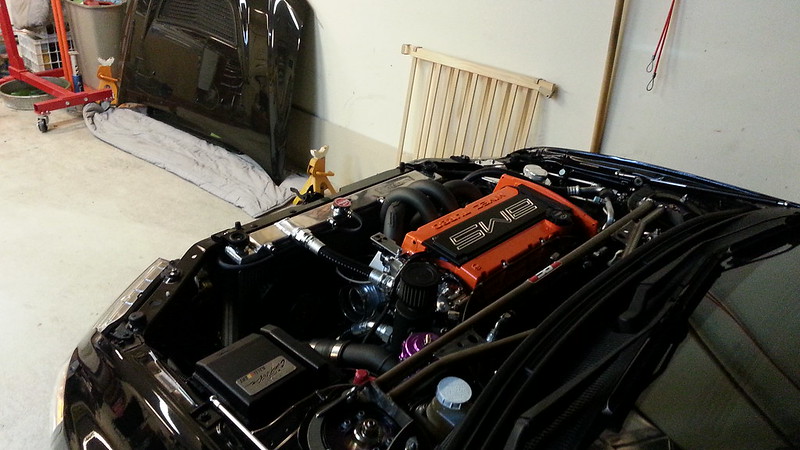
By this time I'm getting super excited as the engine bay is starting to resemble my beloved evo!!!
Thats the new -8AN fuel line ready for connection.

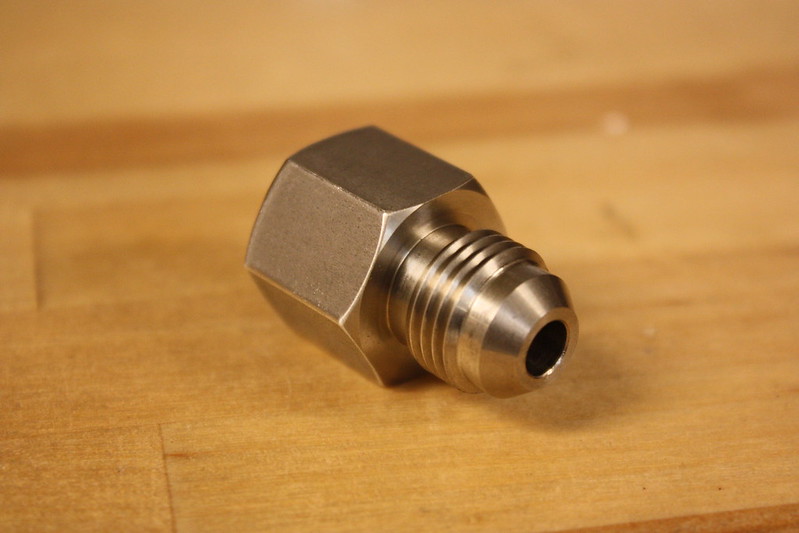
This little adapter made it possible to install a -6AN line straight to the OEM return line. Awesome.

Here is the line completed.
Time to start measuring for the AN coolant lines. This fittings are crimped so you only get one chance. And they are not cheap!

Had to do multiple trips to the shop to set up the angle of the lower line.
Lines completed.
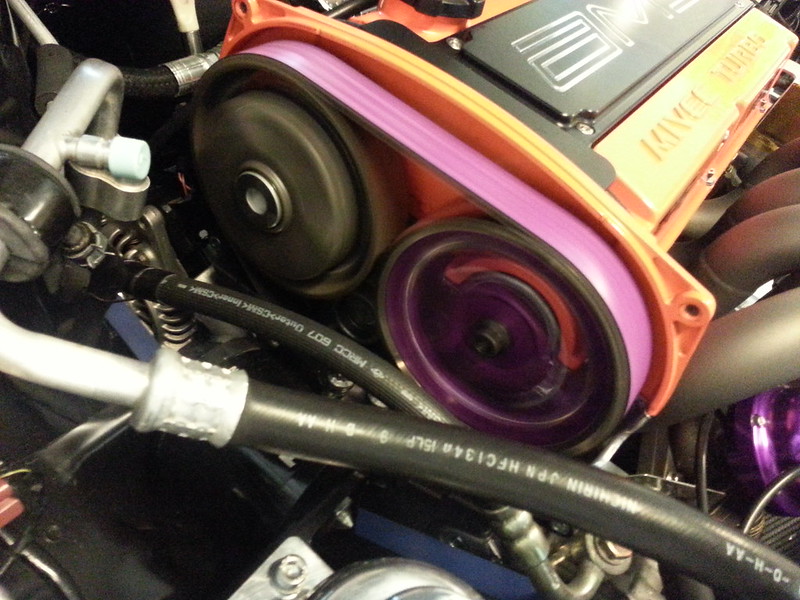
Gates Racing accessory belt installed and starting to route the Polyethylene lines to the wastegate and other accessories.

Close up of the HKS adjustable cam gear with ARP bolt.

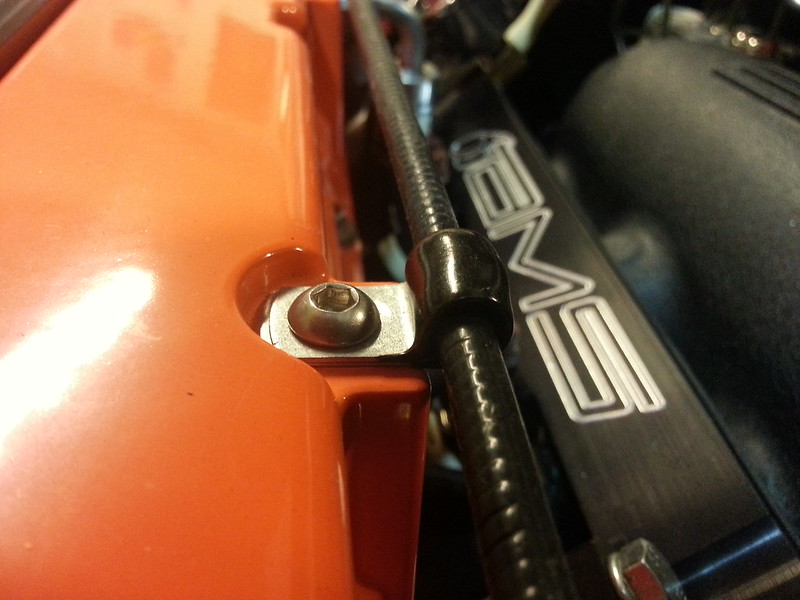
Close up of the re-routed accelerator cable.
Fuelab regulator with -8AN supply line with -6AN return line and poly vaccum line.

Quick disconnect Stainless Steel connectors with poly lines.
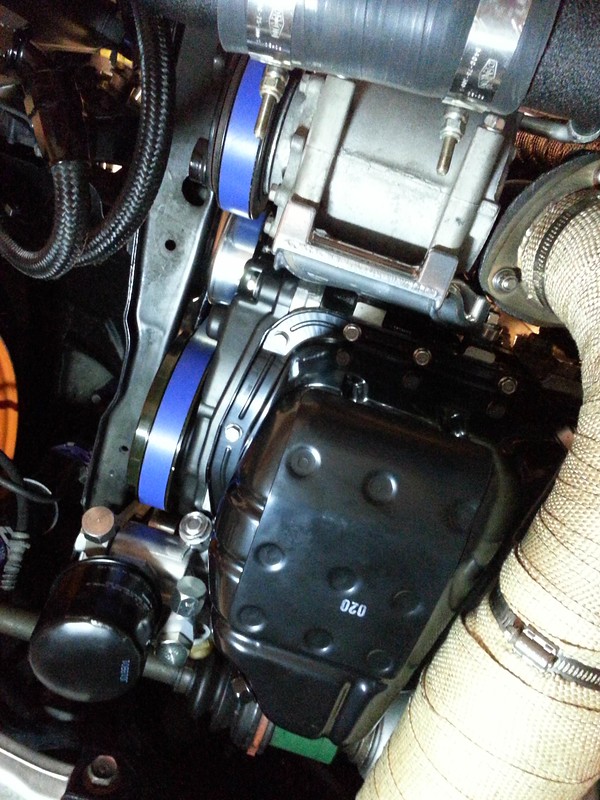
Pic of the -8AN turbo oil return line.
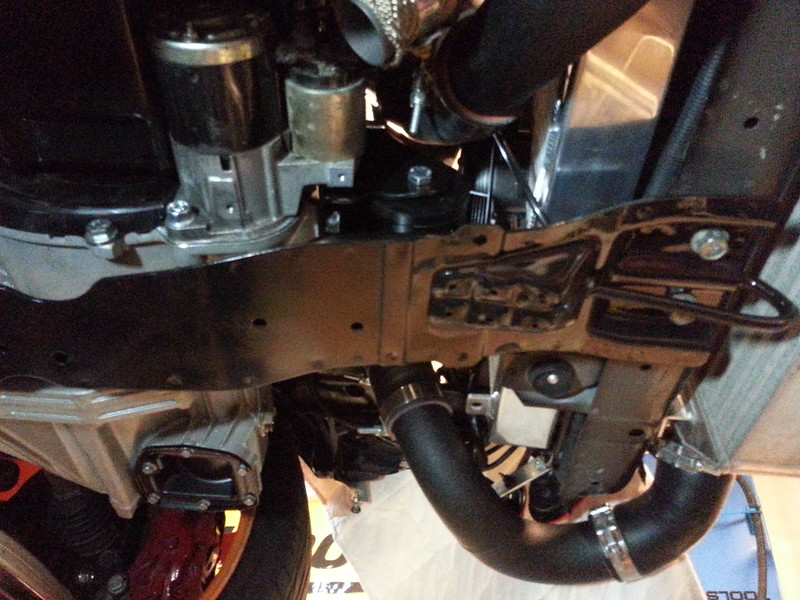
Reconditioned lower engine support brace. I do get asked why not an AMS or Buschur brace, and its because I like lifting the car on this brace plus the tie-down still there.
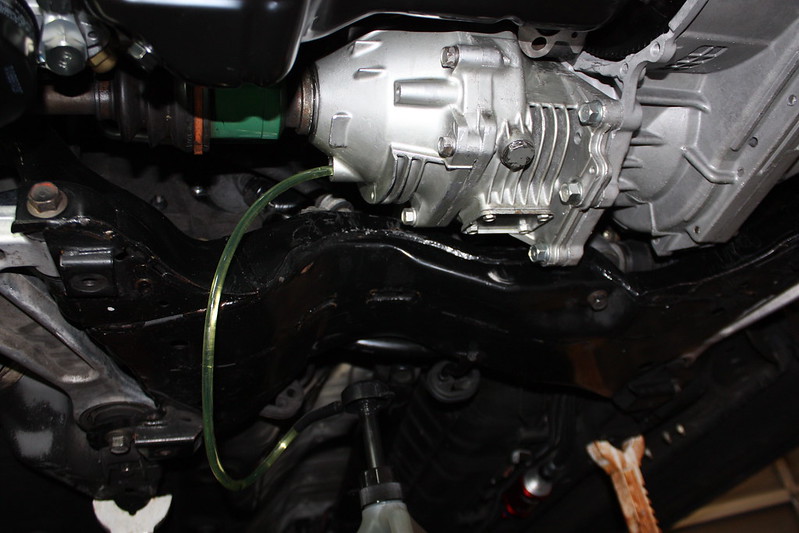
Almost ready, filling up the transfer case. I use OEM Mitsubishi fluids.
Everything is falling in place. Wrapped downpipe installed.

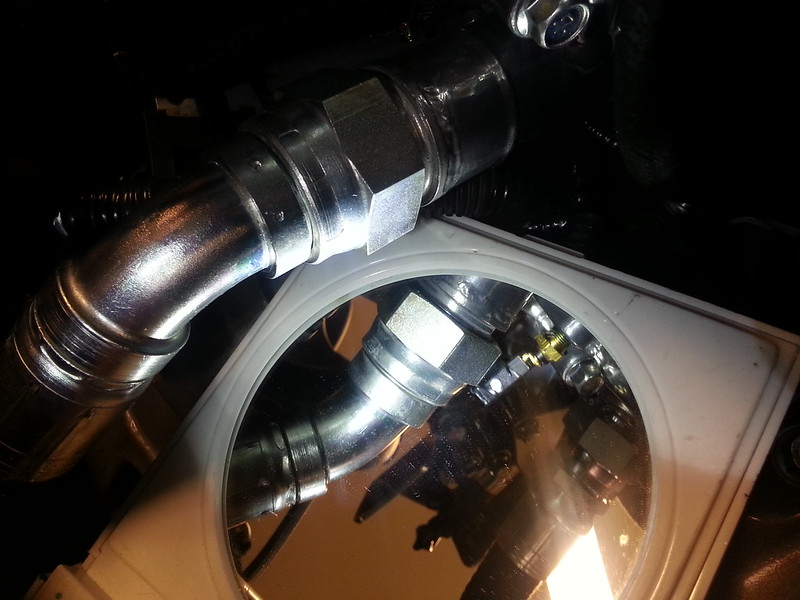
Close up of the unique EATON fittings on the upper radiator hose.

Bottom radiator EATON fitting and hose.
Tried to use a motorcycle jack to install the trans but it was more of a hassle than help.
Quarter Master TOB.
OK a quick tip...these are very inexpensive and will make your installation go easier. I left those in the engine went the engine went out to the machine shop and apparently one got deformed. I could not install the transmission for nothing in the world, and came to figure out this was the problem!!! Get some if yours are old.
Found that using 2 long bolts, 2 straps and the hoist makes for installing the transmission a snap!!
By this time I'm getting super excited as the engine bay is starting to resemble my beloved evo!!!
Thats the new -8AN fuel line ready for connection.
This little adapter made it possible to install a -6AN line straight to the OEM return line. Awesome.
Here is the line completed.
Time to start measuring for the AN coolant lines. This fittings are crimped so you only get one chance. And they are not cheap!
Had to do multiple trips to the shop to set up the angle of the lower line.
Lines completed.
Gates Racing accessory belt installed and starting to route the Polyethylene lines to the wastegate and other accessories.
Close up of the HKS adjustable cam gear with ARP bolt.
Close up of the re-routed accelerator cable.
Fuelab regulator with -8AN supply line with -6AN return line and poly vaccum line.
Quick disconnect Stainless Steel connectors with poly lines.
Pic of the -8AN turbo oil return line.
Reconditioned lower engine support brace. I do get asked why not an AMS or Buschur brace, and its because I like lifting the car on this brace plus the tie-down still there.
Almost ready, filling up the transfer case. I use OEM Mitsubishi fluids.
Everything is falling in place. Wrapped downpipe installed.
Close up of the unique EATON fittings on the upper radiator hose.
Bottom radiator EATON fitting and hose.
Thread Starter
Evolved Member
iTrader: (43)
Joined: Dec 2003
Posts: 1,222
Likes: 5
From: Arlington, TX
Some goodies by Forge Motorsports from Crossoverauto.com, radiator overflow.
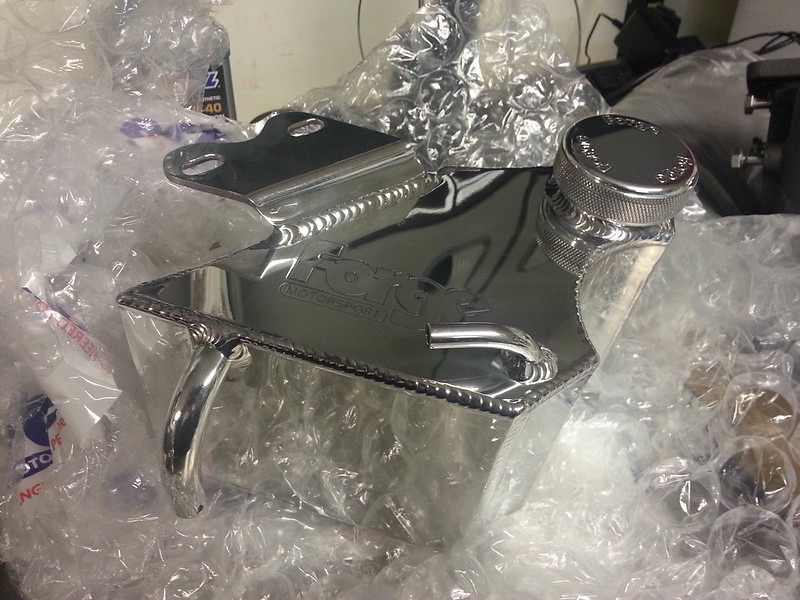
Forge Motorsports power steering reservoir

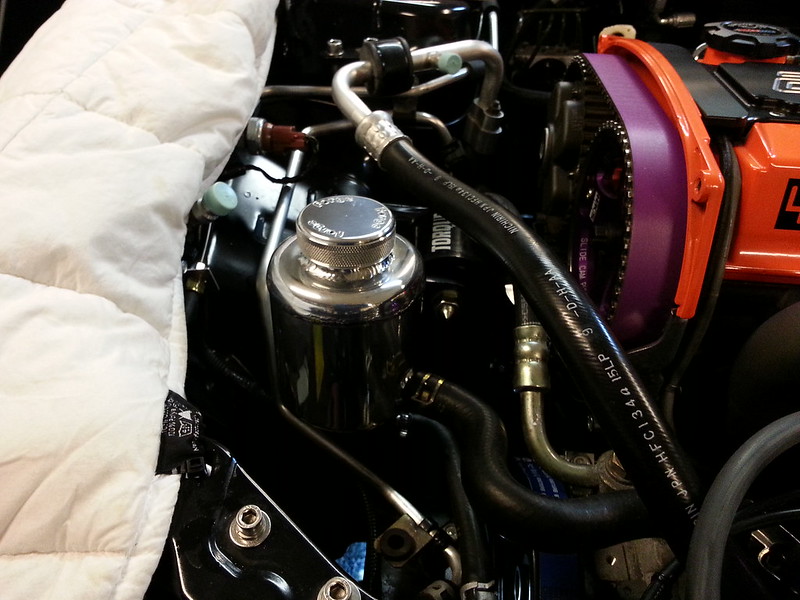
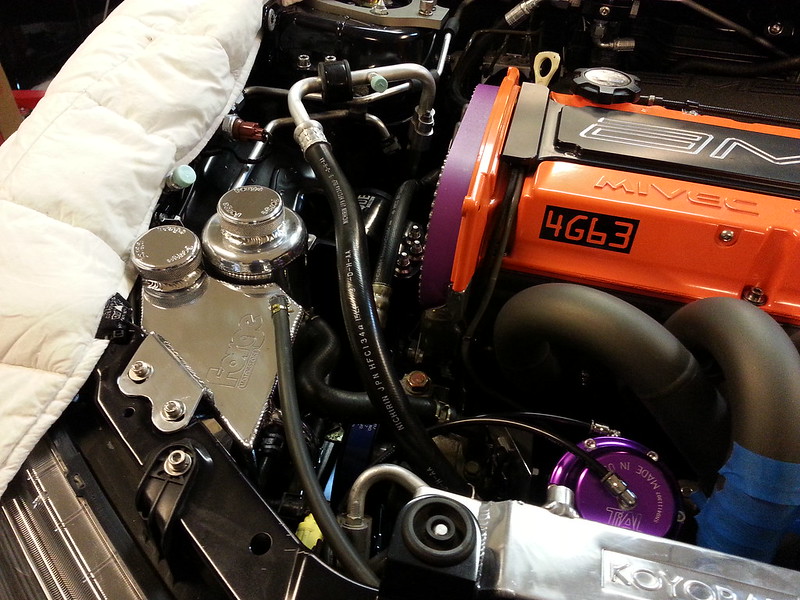
Everything is almost ready...STM oil catch can installed, strut bar (dont know why I installed it), hard pipes, intercooler, AMS COP and CDi box.

YEAP, thats the engine running!!!!!!
Link to video of the first start up!
https://flic.kr/p/npd8Dm
Link to video of turbo spool down at shut down! Will upload later to youtube for a better link and quality.
https://flic.kr/p/npaR9T
And the cars first movement by its own!!!
It was a long night.
Forge Motorsports power steering reservoir
Everything is almost ready...STM oil catch can installed, strut bar (dont know why I installed it), hard pipes, intercooler, AMS COP and CDi box.
YEAP, thats the engine running!!!!!!
Link to video of the first start up!
https://flic.kr/p/npd8Dm
Link to video of turbo spool down at shut down! Will upload later to youtube for a better link and quality.
https://flic.kr/p/npaR9T
And the cars first movement by its own!!!
It was a long night.
Thread Starter
Evolved Member
iTrader: (43)
Joined: Dec 2003
Posts: 1,222
Likes: 5
From: Arlington, TX
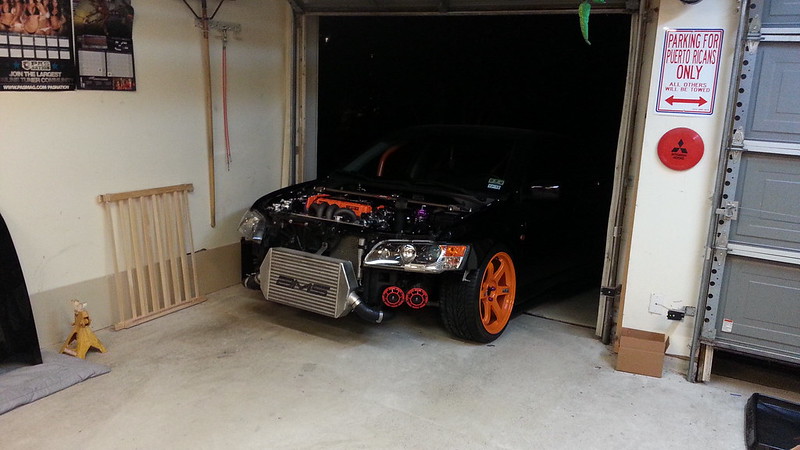
Next day the sun was out and so was the Evo...just for a little walk.
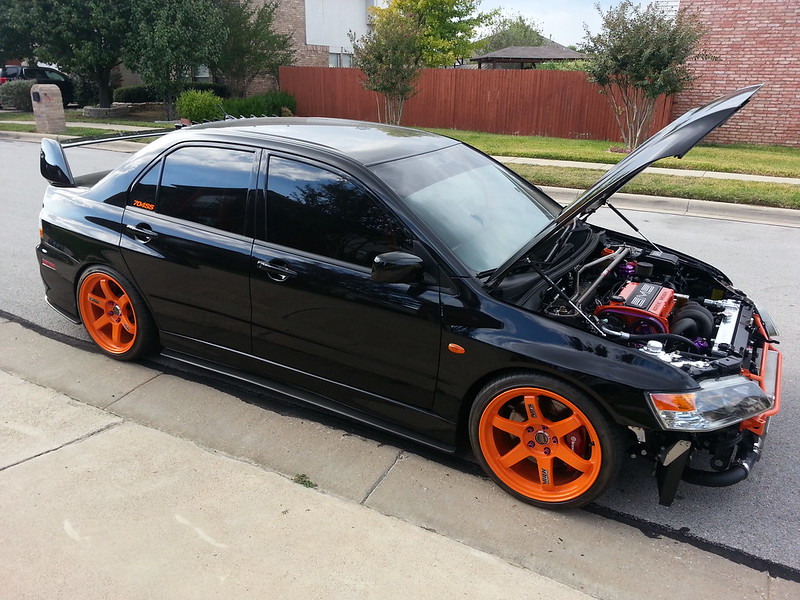
Link to video of evo coming out for first time!!!!!!!!!!!
https://flic.kr/p/noU1R6
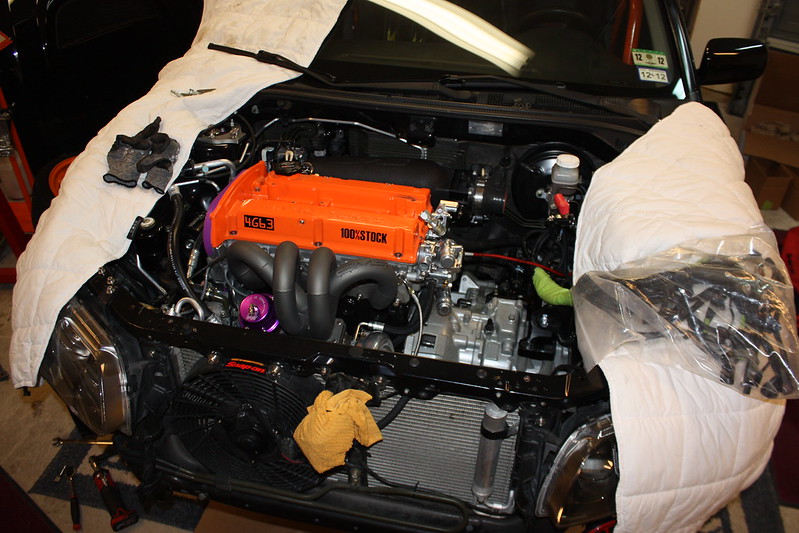
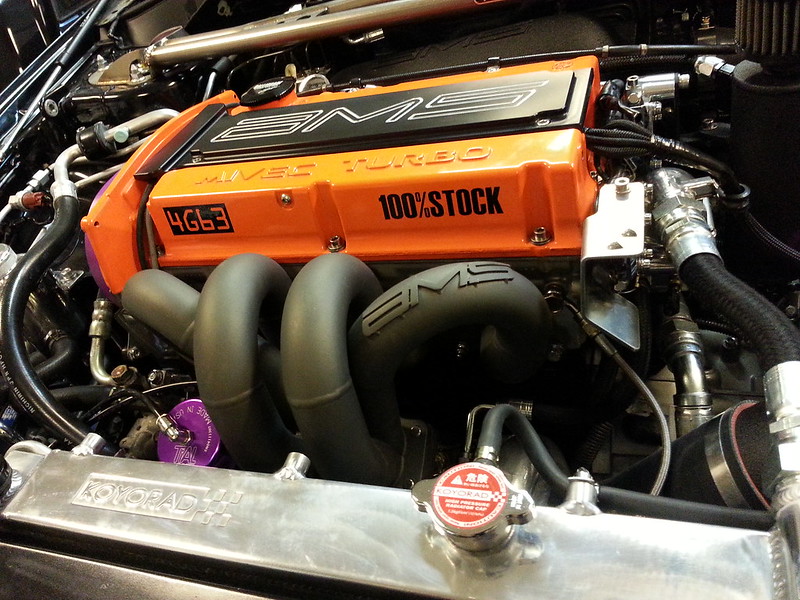
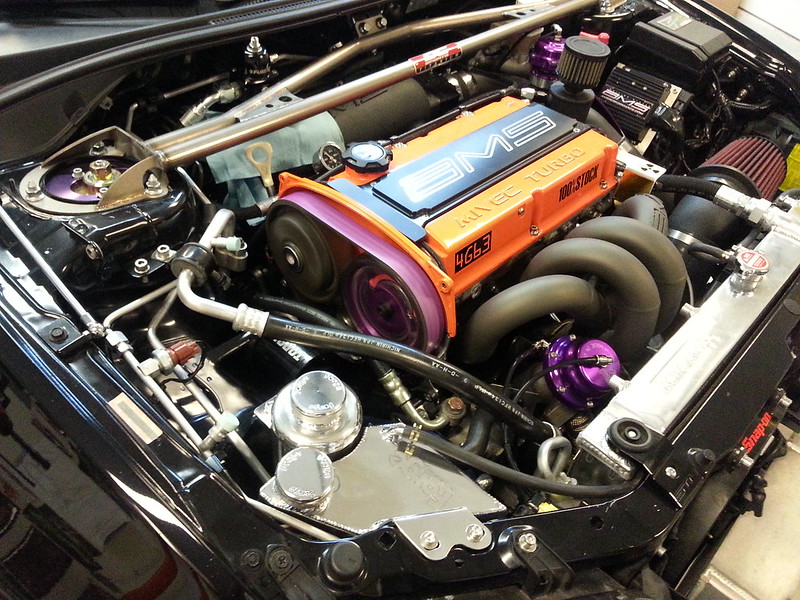
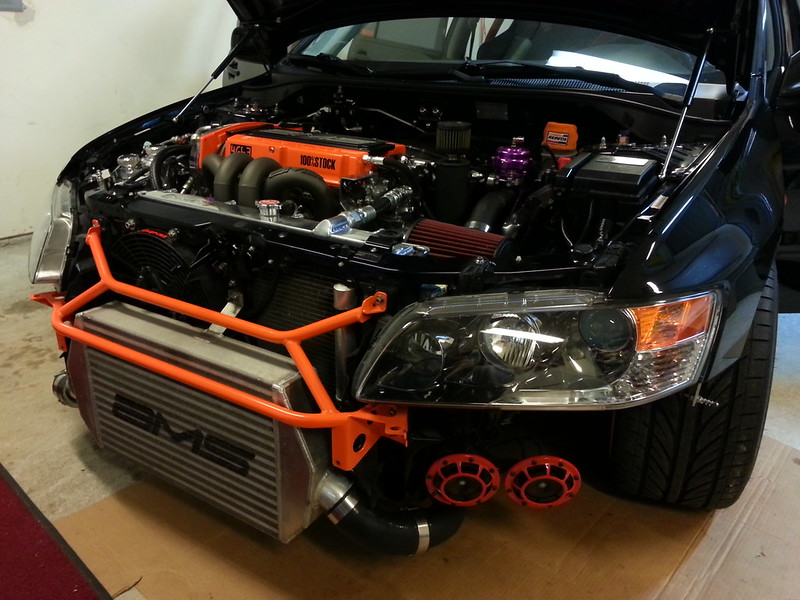
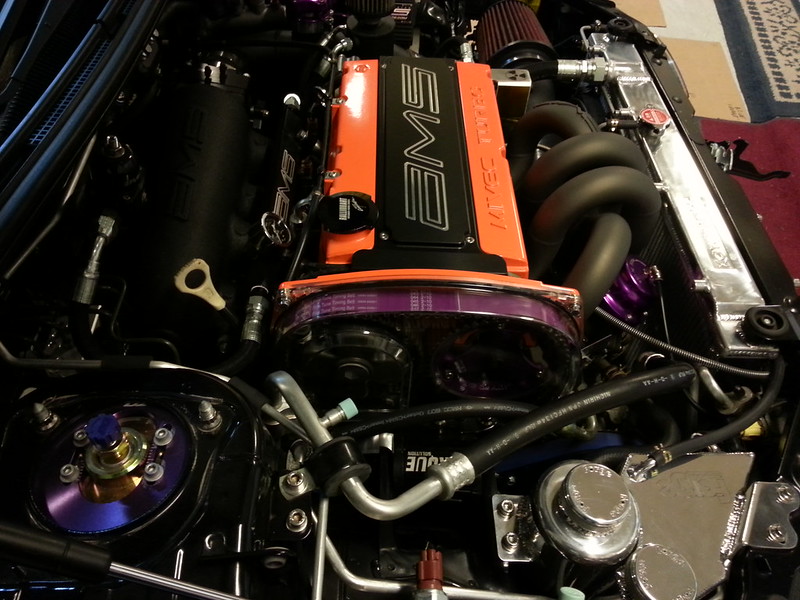
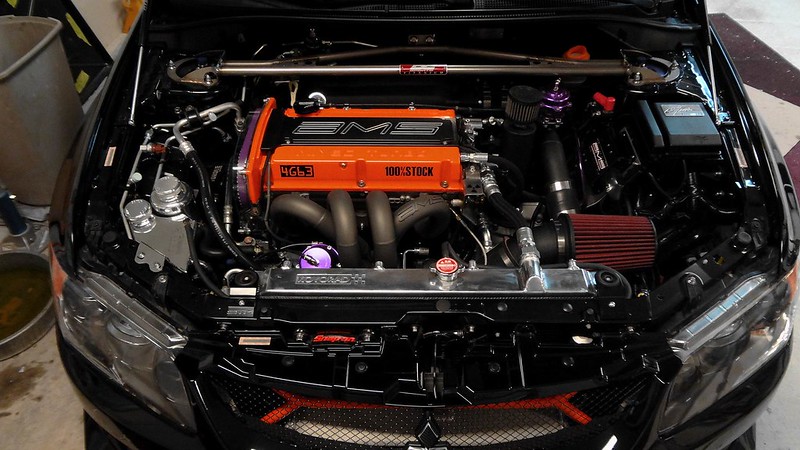
Pretty much a completed pic of the engine bay.

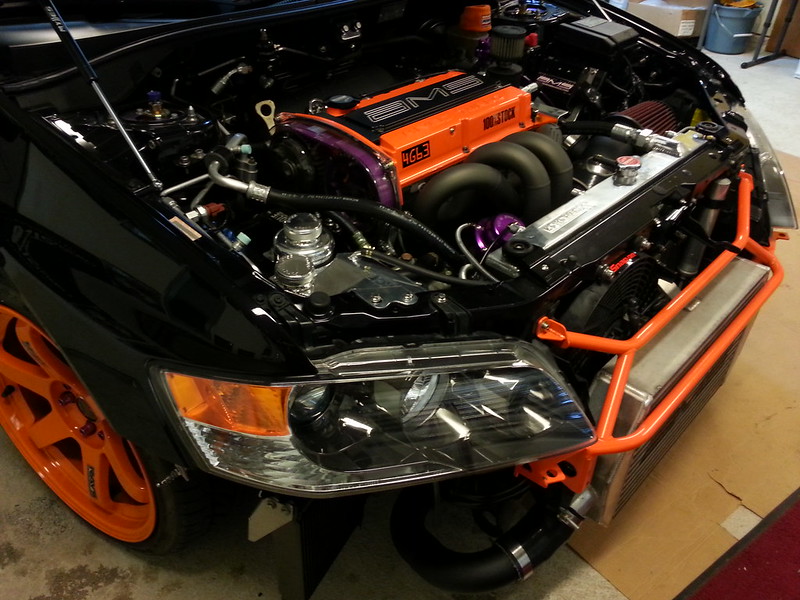


So some minor changes, the coolant overflow line had to re-routed on the left side of the car. Since I couldnt use the OEM line which has a formed U shape, the one I used collapsed. So to remedy the problem I used a brake line to make a coolant return line. I think came out pretty good.
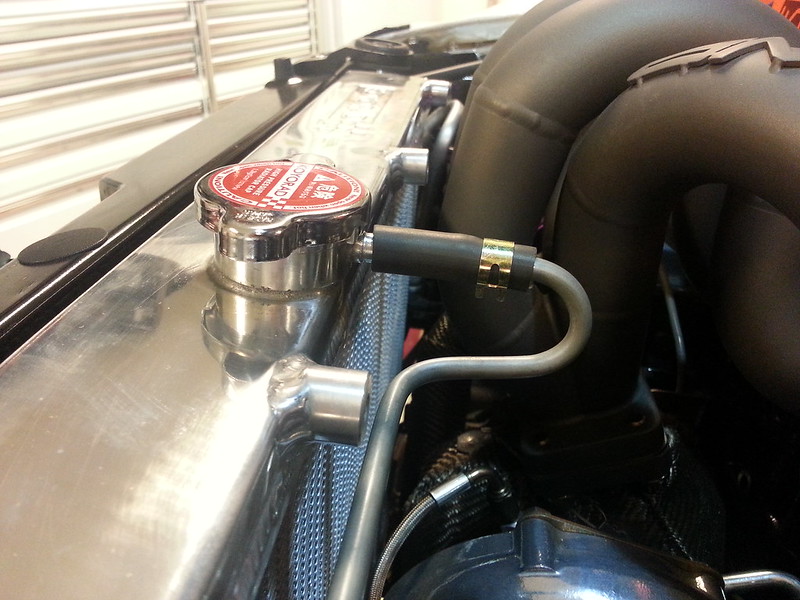
Also the poly line thats connected to the wastegate melted. Duh!
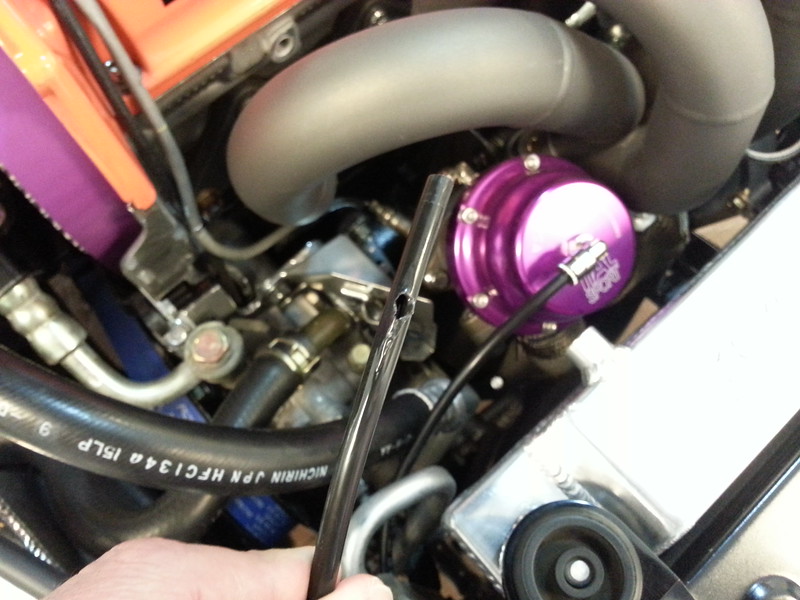
So I used the metal spring from the "coolant" brake line to shield the line. It has worked since. No problems.

Also made a new blow-by line at a 90* instead of the straight.
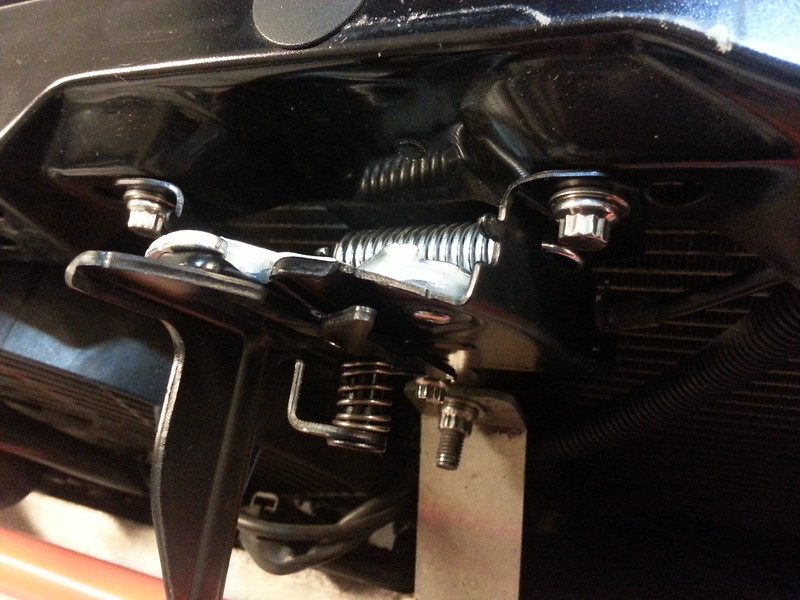
Now it was time to start making everything else look better. New OEM latch with ARP hardware.

Im no tuner, but I gave it a try, and tried to set up my start up tables and idle.
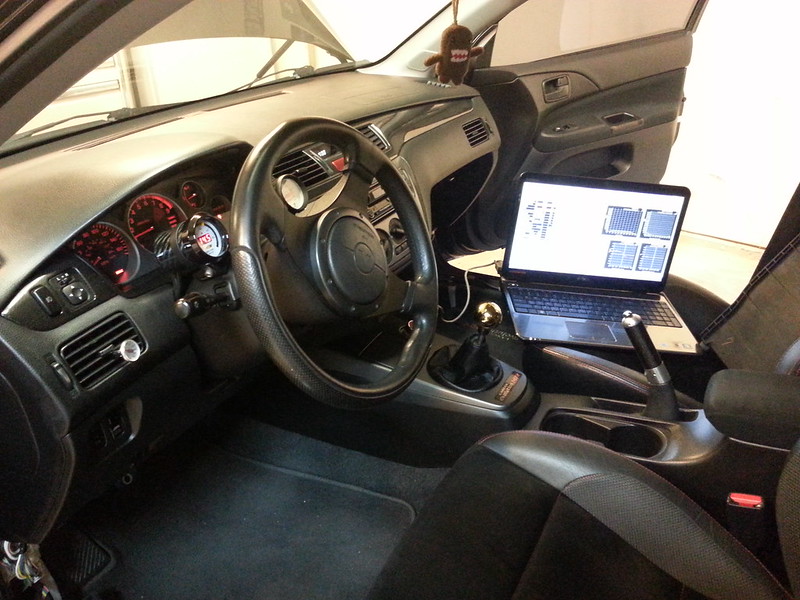
Was very happy with my results.
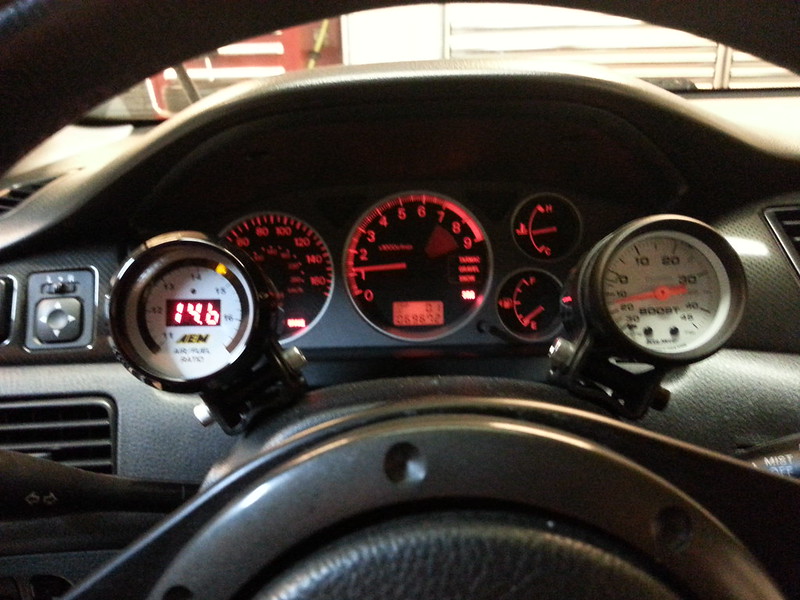
Video link to show the idle.
https://flic.kr/p/npdG2s
Thats all for tonight!!!
Link to video of evo coming out for first time!!!!!!!!!!!
https://flic.kr/p/noU1R6
Pretty much a completed pic of the engine bay.
So some minor changes, the coolant overflow line had to re-routed on the left side of the car. Since I couldnt use the OEM line which has a formed U shape, the one I used collapsed. So to remedy the problem I used a brake line to make a coolant return line. I think came out pretty good.
Also the poly line thats connected to the wastegate melted. Duh!
So I used the metal spring from the "coolant" brake line to shield the line. It has worked since. No problems.
Also made a new blow-by line at a 90* instead of the straight.
Now it was time to start making everything else look better. New OEM latch with ARP hardware.
Im no tuner, but I gave it a try, and tried to set up my start up tables and idle.
Was very happy with my results.
Video link to show the idle.
https://flic.kr/p/npdG2s
Thats all for tonight!!!
Last edited by Pirana; Apr 29, 2014 at 10:22 AM.