PIRANA's Evo9 MR Rebuild Update!

Super clean, awesome rebuild, glad she is up & running again! I never thought about using those 2 holes on the back of the valve cover to mount little brackets for the throttle cable, I like that idea!

Thread Starter
Evolved Member
iTrader: (43)
Joined: Dec 2003
Posts: 1,222
Likes: 5
From: Arlington, TX
Thanks for all your props! I really do appreciate it!
The adapter fitting is from www.extremepsi.com I'll have to look up the part number later. They are the only ones that sell it.
The idea for the throttle cable came up because originally AMS ran it under the manifold and had too much slack. And I didn't want it to be in the front. It was pretty simple.
Thread Starter
Evolved Member
iTrader: (43)
Joined: Dec 2003
Posts: 1,222
Likes: 5
From: Arlington, TX
Here is the part #26301. Apparently they are made out of brass now.
http://www.extremepsi.com/store/prod...at=1559&page=1
http://www.extremepsi.com/store/prod...at=1559&page=1
I was running mine like most people that "relocate" it. Out of the firewall, 90 degrees, then snaked it behind bracket with the fuel injector resistor, etc & ABS stuff. 180 degrees from the strut tower to the throttle body.
Thread Starter
Evolved Member
iTrader: (43)
Joined: Dec 2003
Posts: 1,222
Likes: 5
From: Arlington, TX
Not shorted not modified. I would have to see if there is a difference between the Boomba throttle plate and the OEM though.
It actually goes underneath the intake plenum.
It actually goes underneath the intake plenum.
Here is the part #26301. Apparently they are made out of brass now.
http://www.extremepsi.com/store/prod...at=1559&page=1
http://www.extremepsi.com/store/prod...at=1559&page=1

Newbie
Joined: Aug 2010
Posts: 29
Likes: 2
From: Singapore
Here is the part #26301. Apparently they are made out of brass now.
http://www.extremepsi.com/store/prod...at=1559&page=1
http://www.extremepsi.com/store/prod...at=1559&page=1
http://www.racecomponentsinc.com/Met...l_Fitting.html
Thread Starter
Evolved Member
iTrader: (43)
Joined: Dec 2003
Posts: 1,222
Likes: 5
From: Arlington, TX

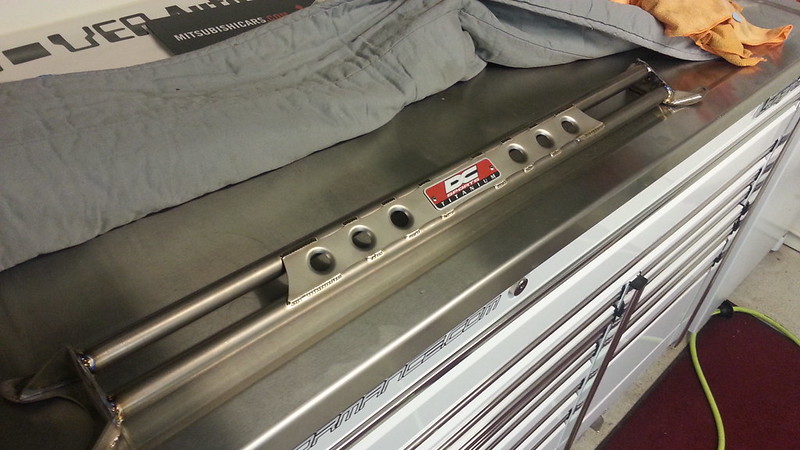
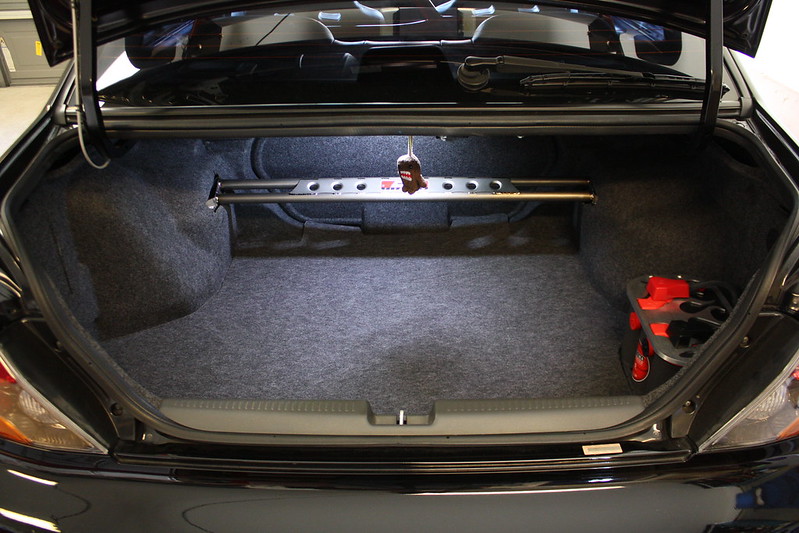
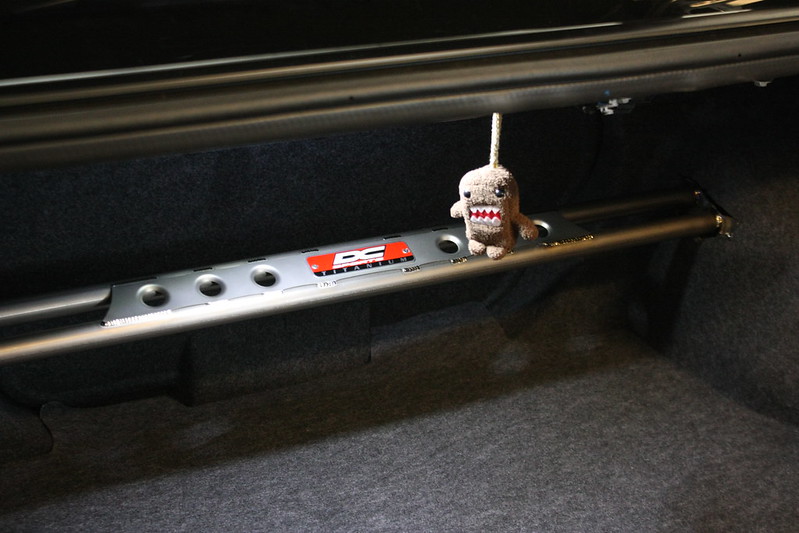
So, to keep pace with the front changes (from an APR strut bar to a DC Sports Titanium) the rear titanium matched set, thanks to Vivid Racing! As you might know both are discontinued items.
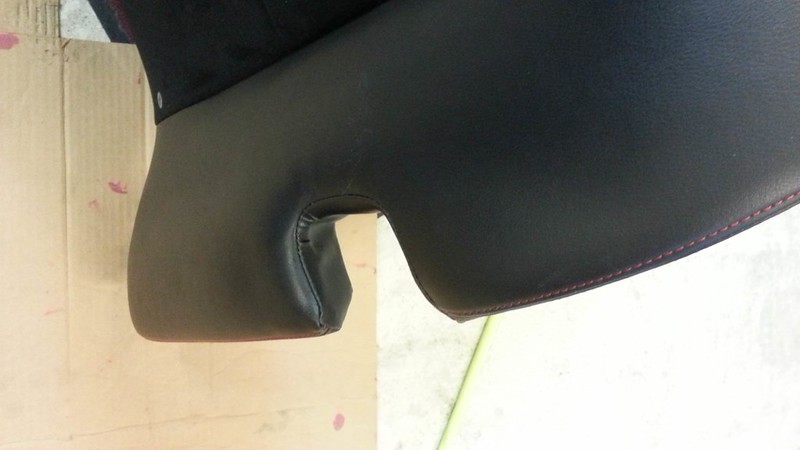
Plus new carpeting for the floor.
Cant forget Domo! A gift from my daughter

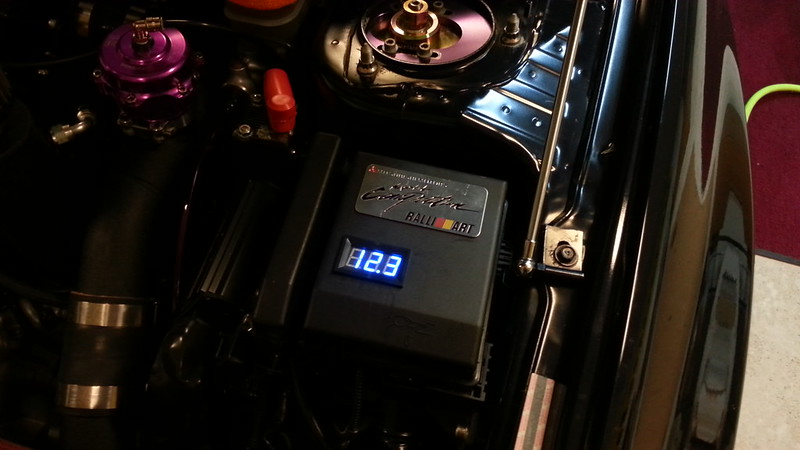
After having tons of trouble with the front mini-battery I did switch to a regular sized Optima, installed on a CNC-tray.

OK so I had this little device for ever! And finally had a great idea on what to use it and where to install it....
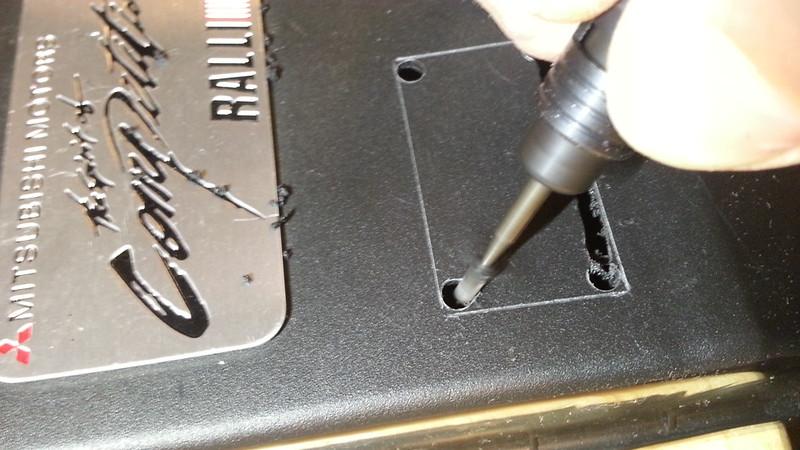
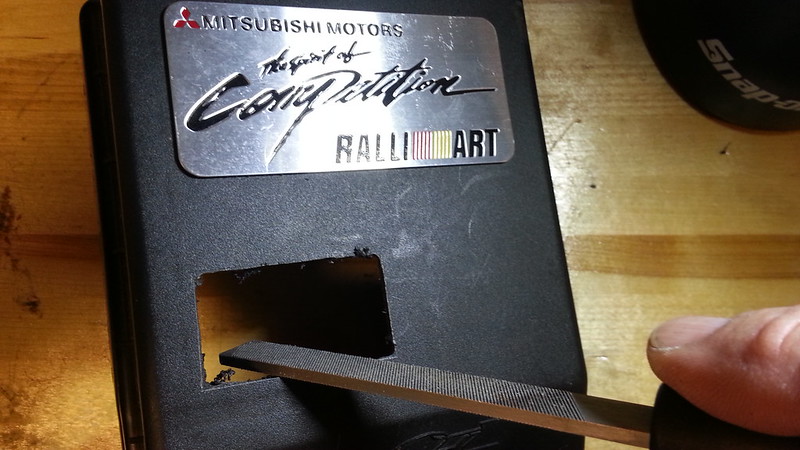
Voila! A $7 digital volt meter!
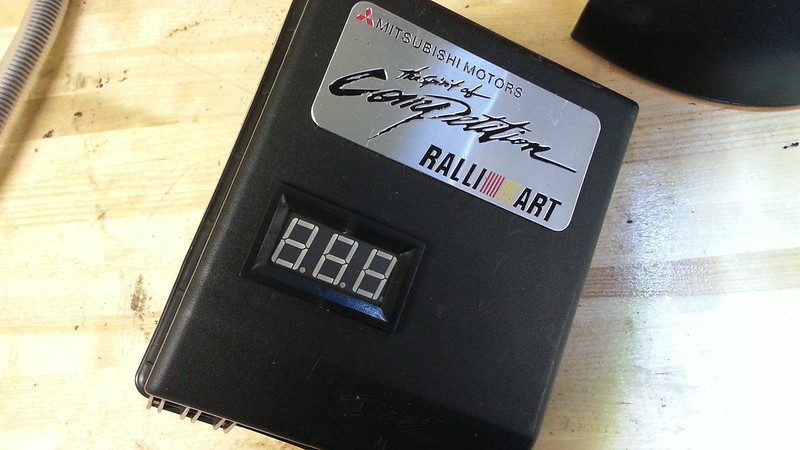
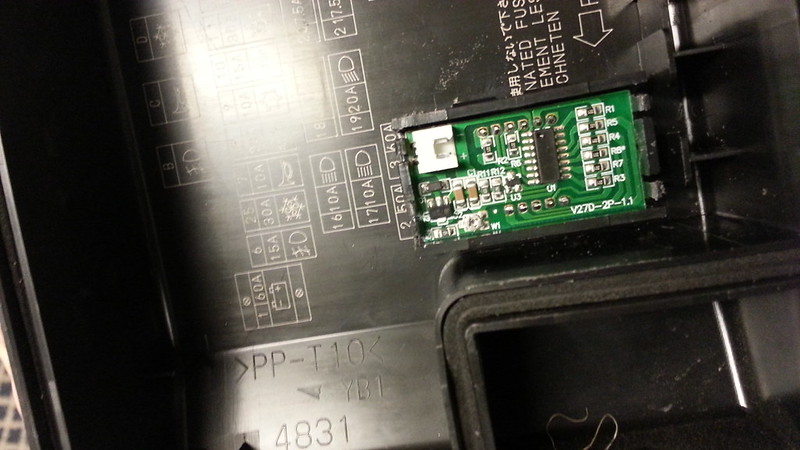
Its hooked up to a hood pin switch so it turns off when the hood is shut down.
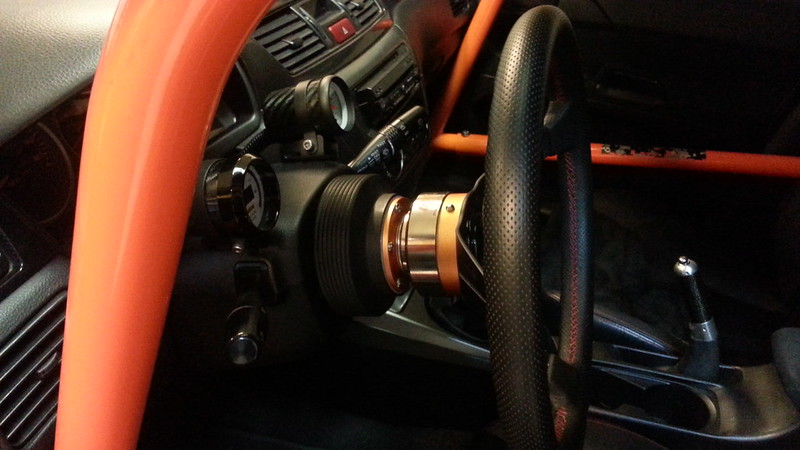
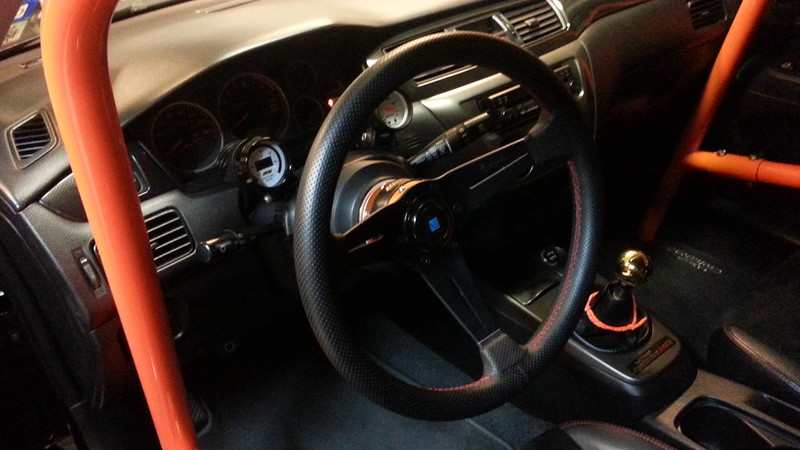
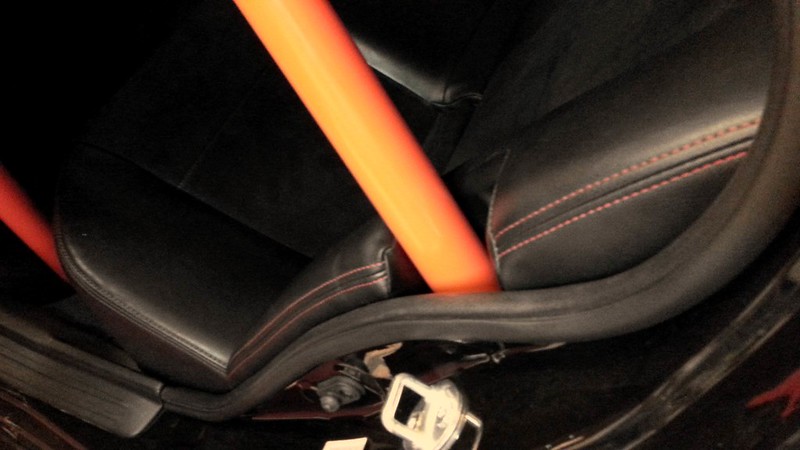
So now for some interior changes...Works Bell Quick Release and hub for a Nardi Deep Dish Corn
It was either this or a $1,200 carbon fiber cover....this was way cheaper. I needed the back seat to muffle the sound from exhaust and suspension.
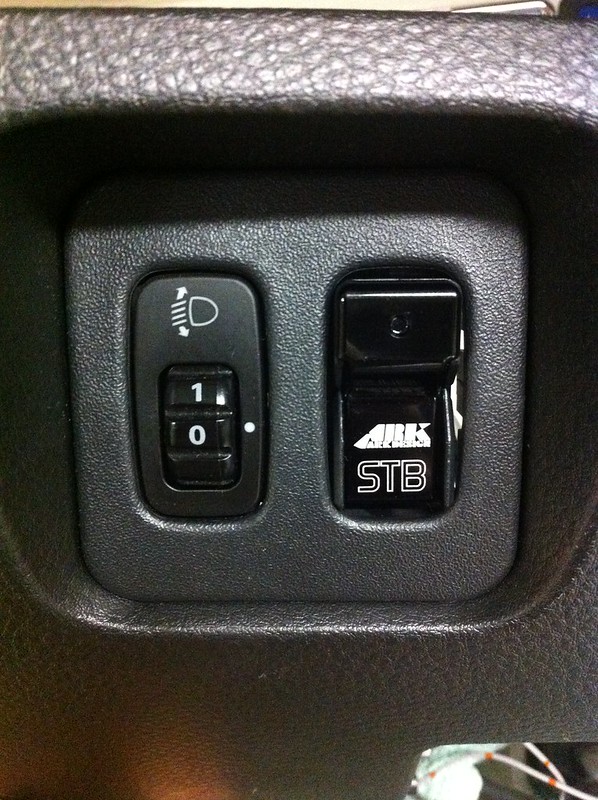
I really dont use it or there isnt any real need for it, but I like how its out of the way and can use it if I really wanted to. ARK turbo timer.