When you click on links to various merchants on this site and make a purchase, this can result in this site earning a commission. Affiliate programs and affiliations include, but are not limited to, the eBay Partner Network.
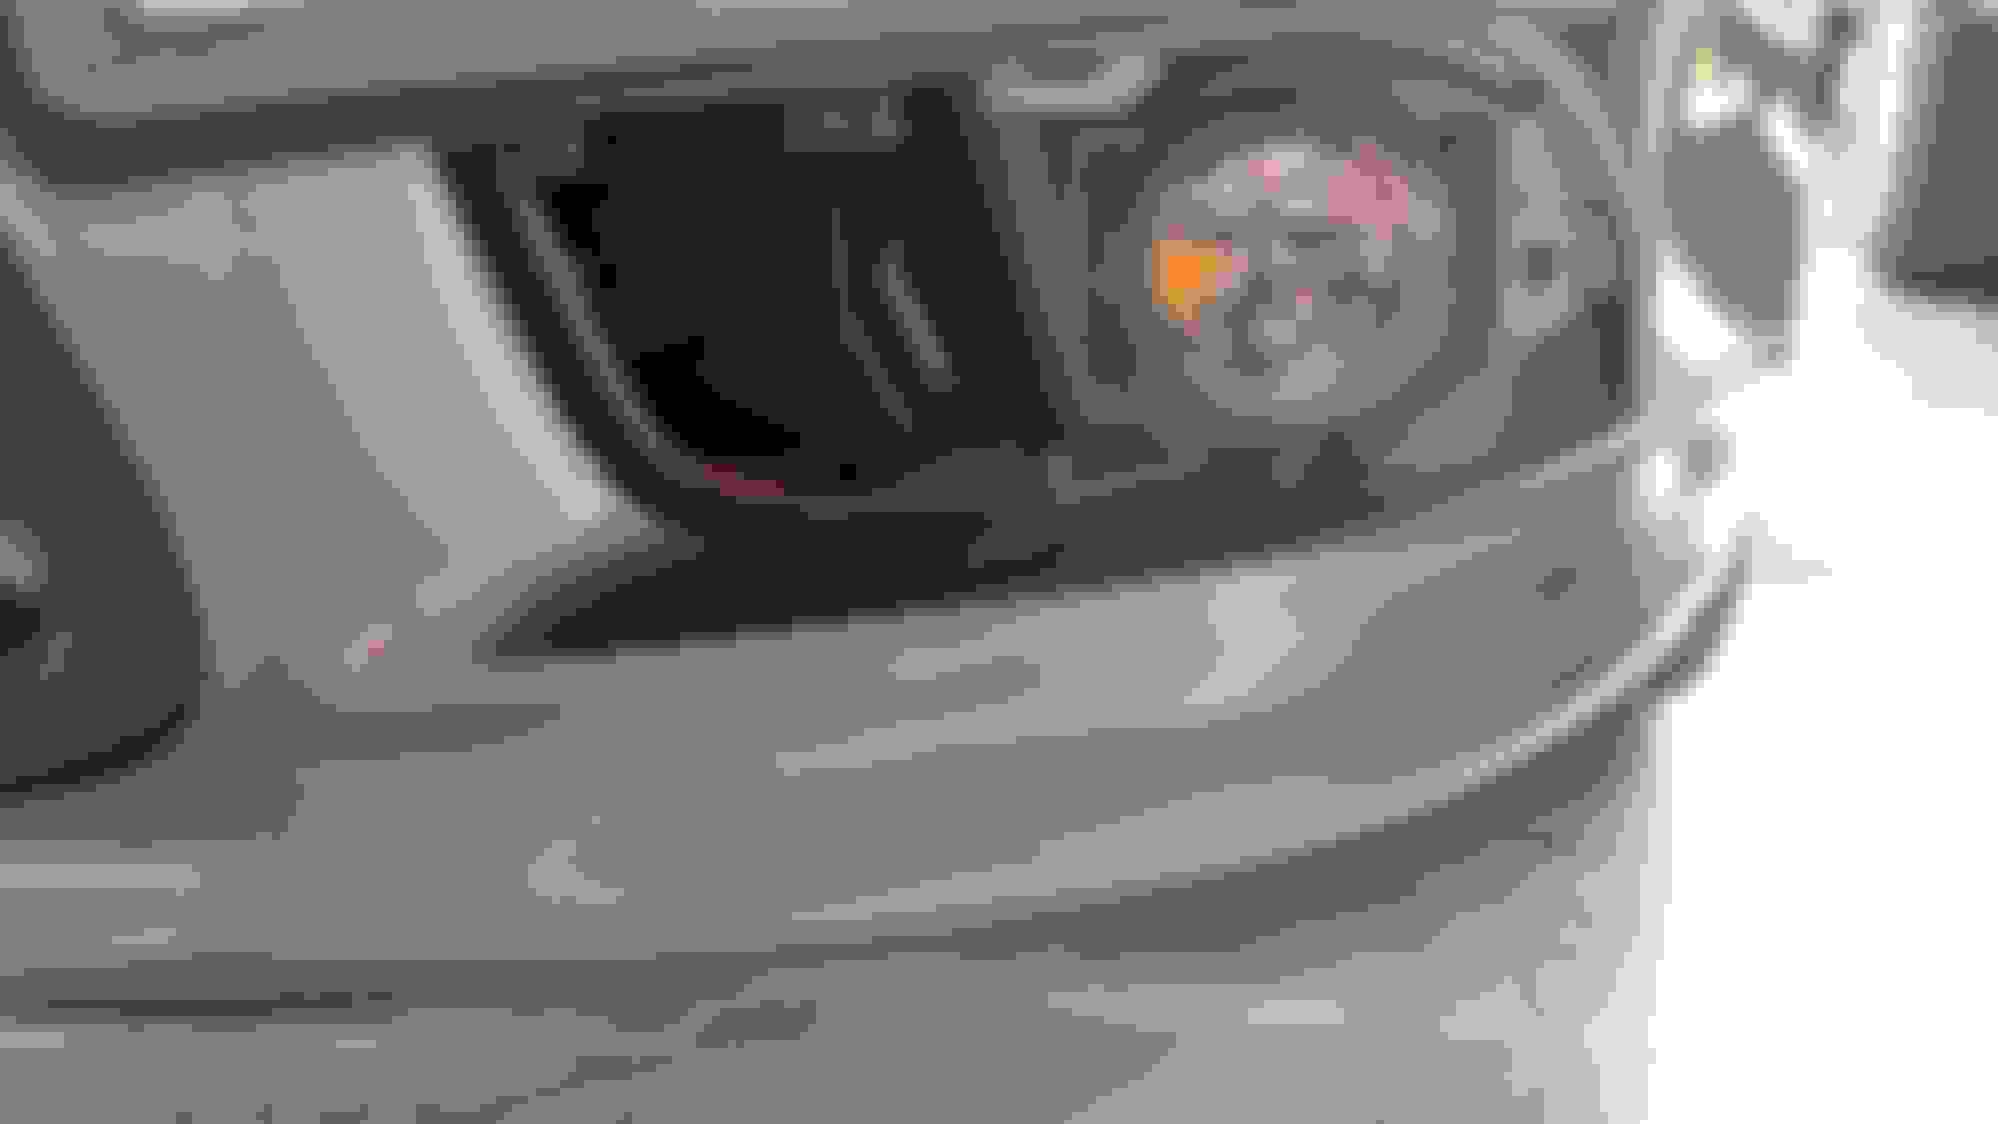
If you're reading this, then this is probably your situation...and here is how to fix it for cheap. $34 total = $17 ea.
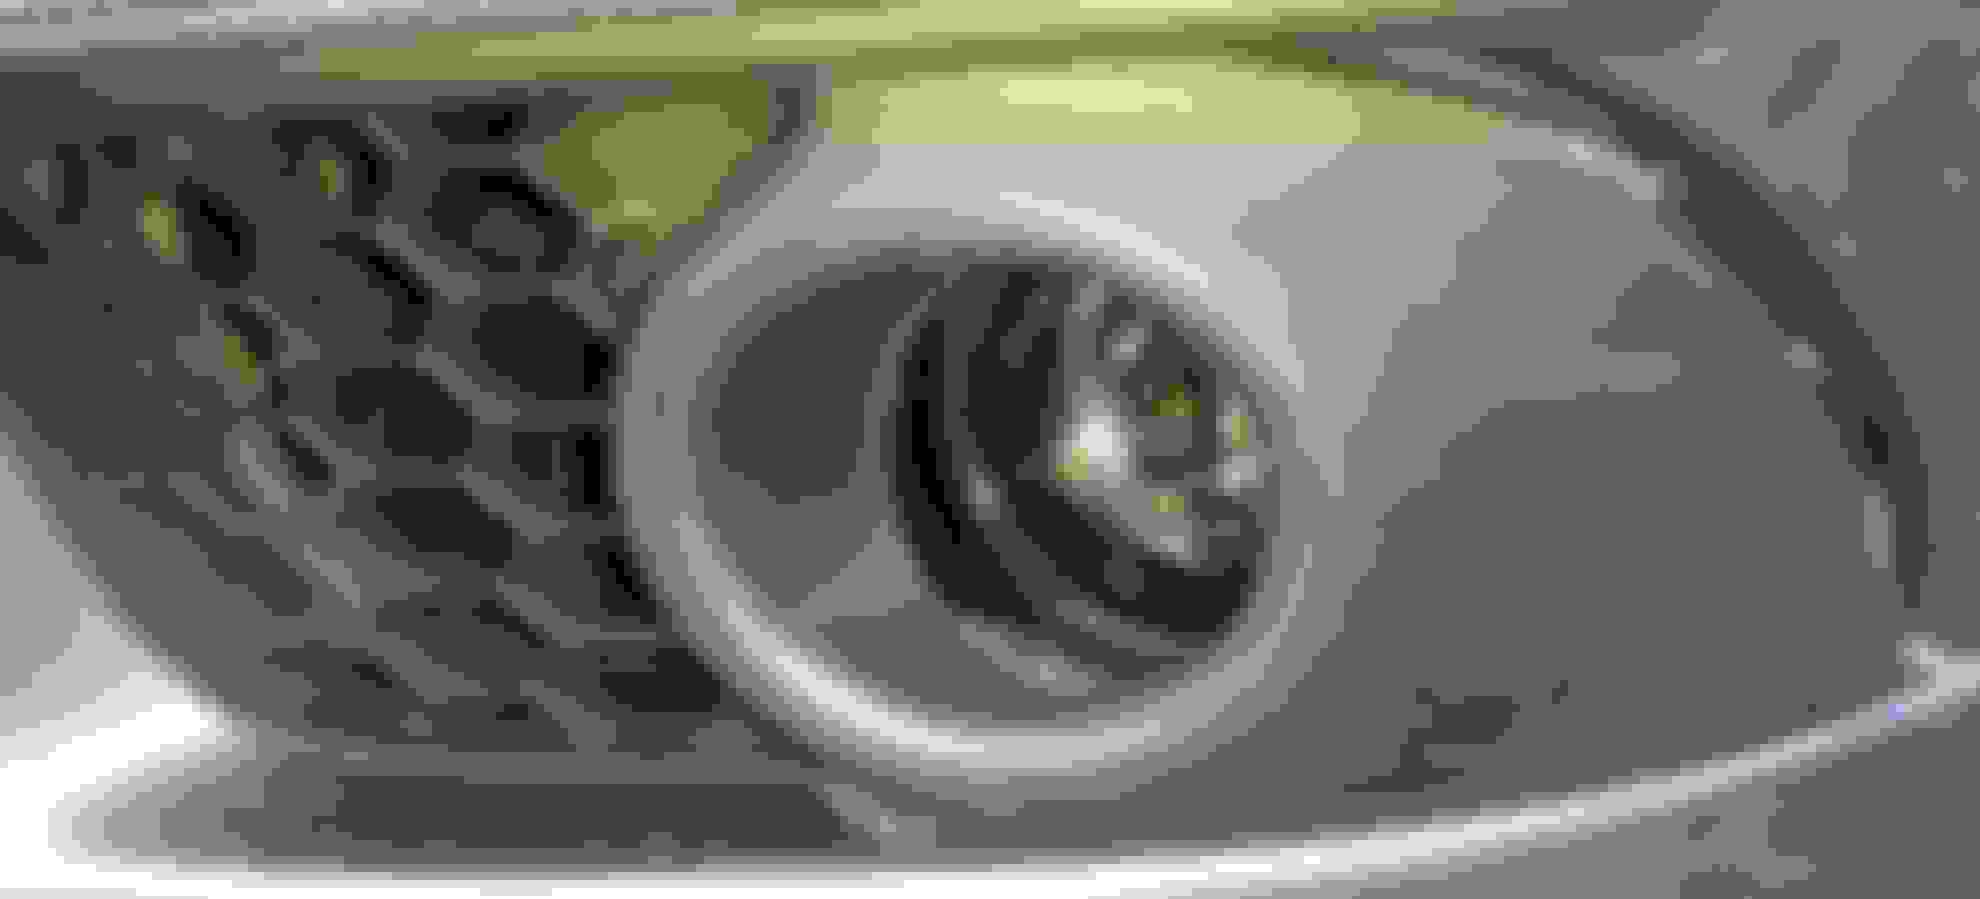
Ralliart / EVO X broken fog lights
Disclaimer: Continue at your own risk. I am not responsible for any damages, injuries, etc. that may befall you or anything you possess/encounter/contact/borrow/fondle/whatever while attempting to replicate my actions. This modification has worked for me, but it is not my fault or responsibility if you attempt this modification and experience negative consequences. Be aware and informed of your actions and all should go well.
Step 1) Source for the replacement Fog lights http://www.ebay.com/itm/Ford-Focus-Explorer-Mustang-Ranger-Clear-Fog-Lights-Pair-RH-LH-Right-Left-/231523203446?vxp=mtr Step 2) Remove the old broken fog lights. Check this thread to explain this. https://www.evolutionm.net/forums/09...ht-lenses.html
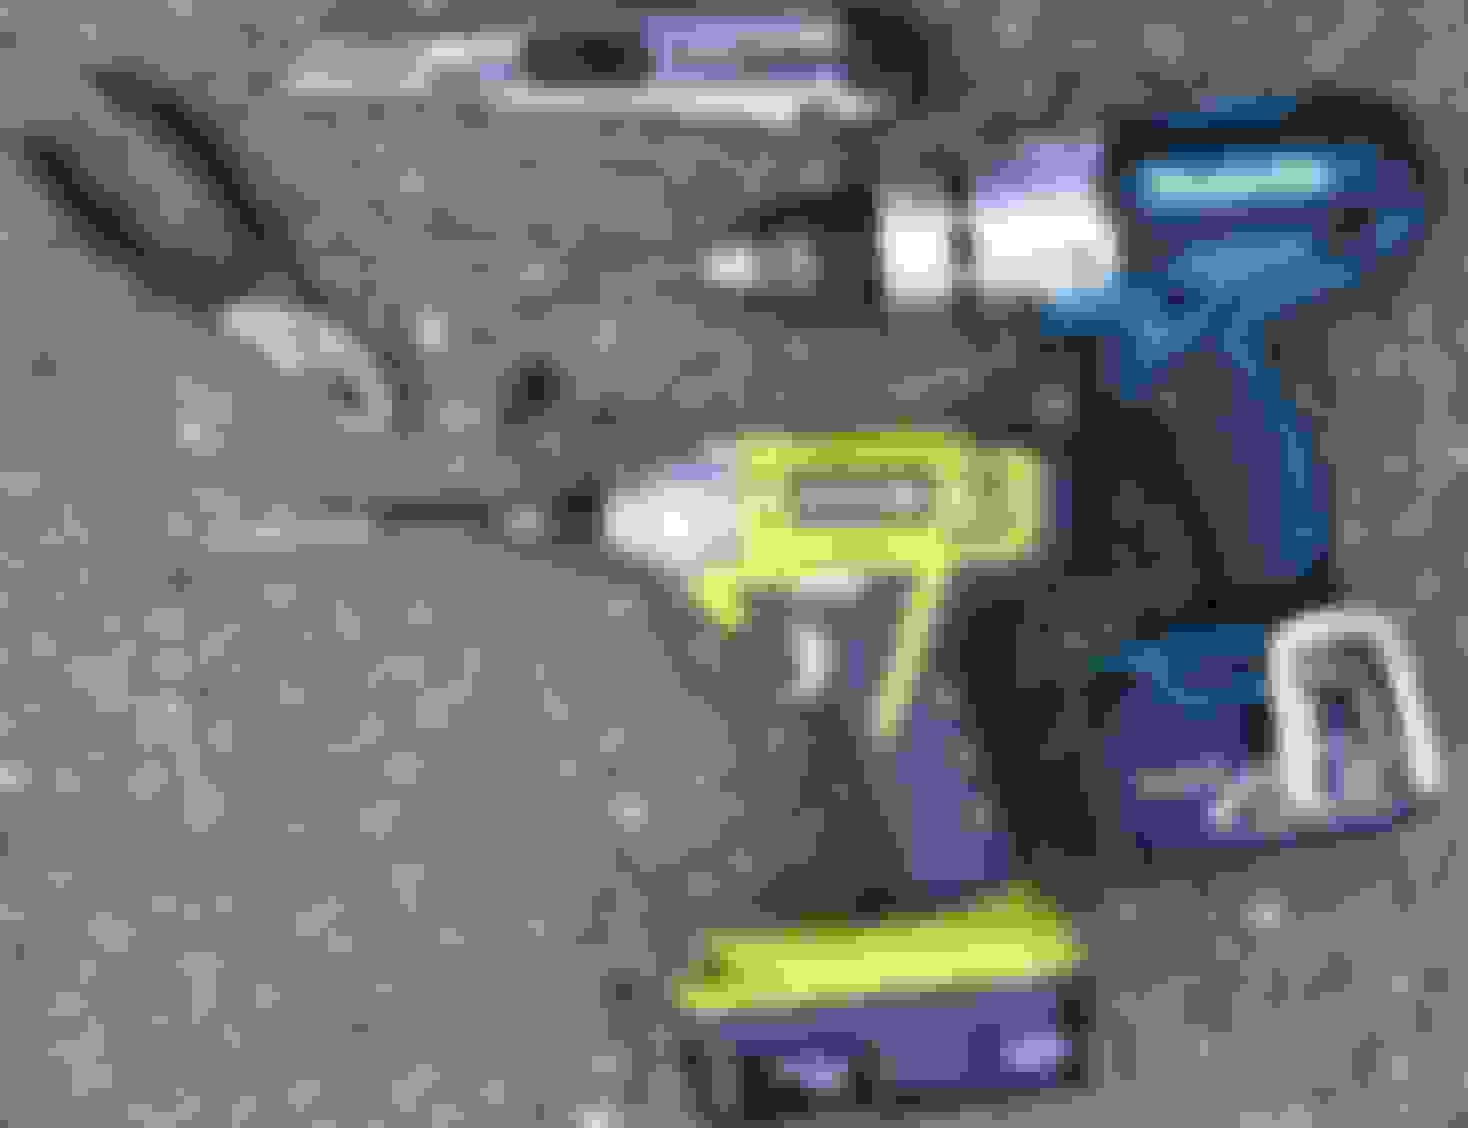
Step 3) Get the Tools you need:
-Sharp Razor Blade
-Plyers
-Phillips Screw Driver, or drill driver with Phillips #2 Tip
-Drill
-Drill bits: 5/32", 3/16", and 1/4" Tools Drill Bits
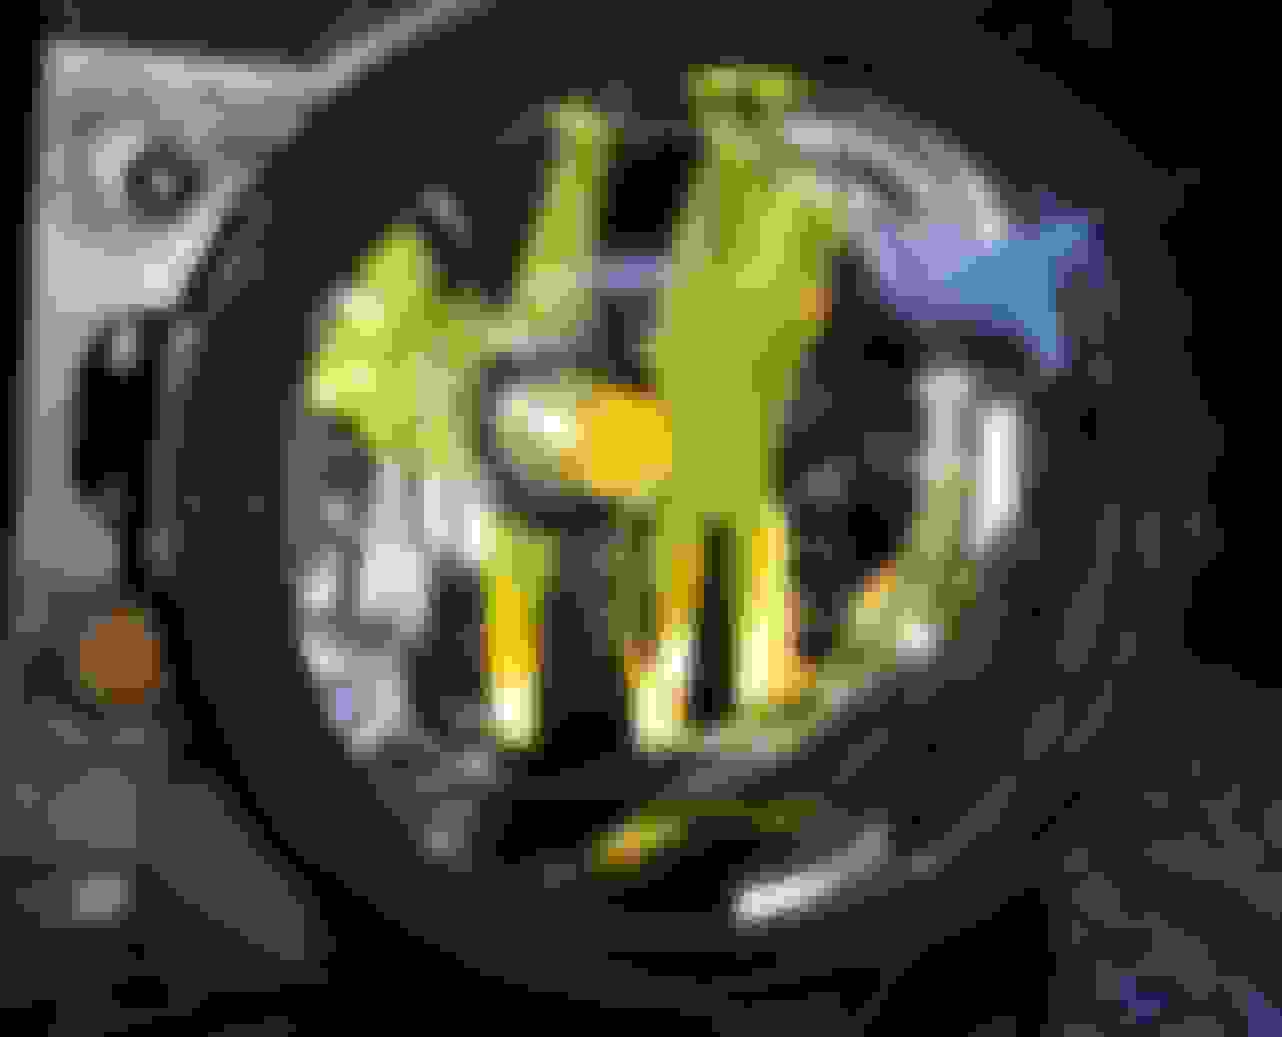
Step 4) Remove Plastic Tabs shown in pics, use plyers to remove main chunks of plastic tabs and then use knife to clean it up Remove plastic tabs with plyers & razor blade Removing Plastic Tabs with plyers Clean Up the parts you removed with the razor blade
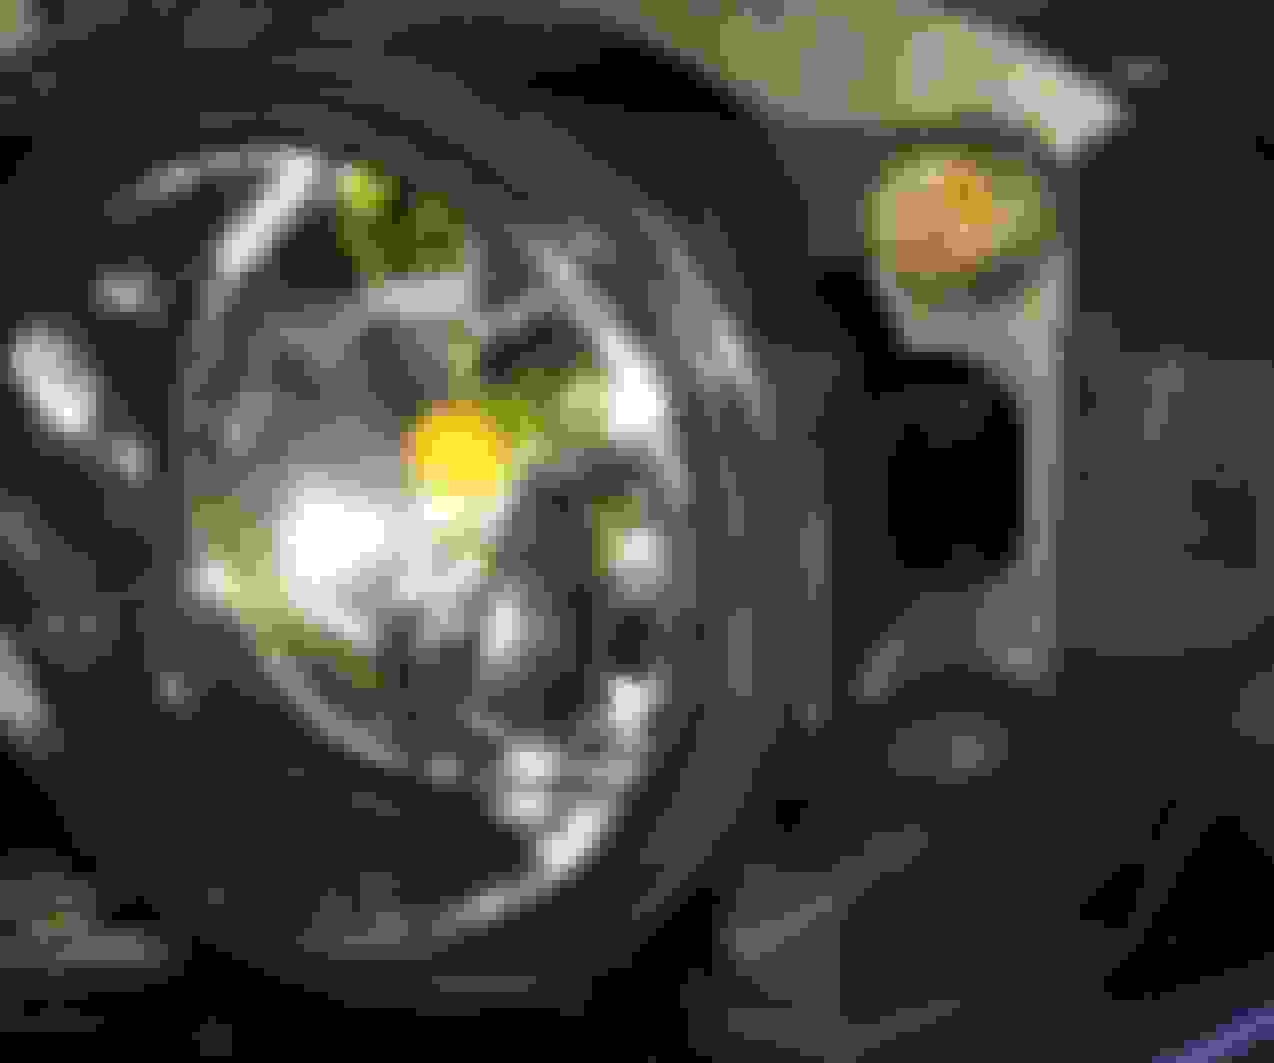
Step 5) Line Up the trimmed housing in the fog light socket in the bumper, mark the tabs with where you will need to drill the new holes to fit.
Pull the new fog light out of the socket and drill the holes. It should fit per the pictures here. Mark Holes Drill / Ream & Test Fit, using the different bits noted above. It should look like this.
Step 6) Test Fit, once happy with the fit, plug in the light, using factory screws, mount the light back into place. (Now is the time to test to make sure your connections are good, aka the lights work.) Test Fit, and re-mount Mount using factory hardware, in the factory holes.
Step 7) Snap the plastic fog light trim into place, a secure using factory hardware. Snap Trim into place & use screw to mount Lens will be approx 3/16" back from trim. Lens will be approx 3/16" back from trim. (finger nail for reference)
Step 8) Clean Up & Drink some beers. Total project time: 30 mins (no beer) 2 hours, max (drinking beers). Finished. Finished Pic.
is there a noticable difference between these housings your got and the oem? besides the modifiying you showed. Do the OEM sit flush or look different?
so your satified with the ones you linked to and see no need to swap the glass to the OEM housings? If so I may just go your route as it's easier and quicker. I mean is there any difference between the OEM housings and these that I would notice?
Also if it sits flush what is with the gap in the step 7 photo is seems to have?
Is that cause you didn't pop in the cover yet?
As it sits, finished, and directly under the photo it states " Lens will be approx 3/16" back from trim. (finger nail for reference)" That is its final resting place, the glass does not touch the black plastic of the trim. Last Pic of Step 7 & 1st pic of Step 8 is the best reference for how they look completed.
I like them, they work great, no issues so far. They look completely stock from the exterior. You'd have to post a pic of your car's broken lights for me to compare, I don't remember what the stock looks like in reference to this.
There is always the other option of spending days, soaking lights, cutting and gluing. But I can deal with 3/16" of an inch, for not spending days on a project.
Yeah this was the route I originally was going to go but still wanted the ability to control the height adjust from the access hole. but most will set and forget so this method is cheaper and faster if you don't care about that.
Another way is just breaking out the glass, removing the black sealant and securing new pieces of glass (can be purchased from a local glass grinder for $10-$20) to the housing with high temperature caulking/sealant. Easy $25 fix and the lens sits flush against the fog light surround. I replaced bulbs with LED's to be on the safe side heat wise.
i've heard of people getting glass cut but i'm not sure where to find someone around me to do it. I've tried googling glass shops and glass cutters but no dice. I only get auto body and glass shops (not sure fi they would be of help as I bet all glass they just order from dealers) and a giggles (google it if ya don't know what that is lol)
any suggestions on the glass route? wonder if i could find some lexan too.
yeah all the local glass companies around me will not cut 1/4" 3.5" round circles either.
If you want these to sit more flush you can simply add washers to the back of the tabs when screwing on the lights.
Just go to a local store that frames pictures and ask them where they source their glass. That's what I did because I got nothing as well when I was searching on the line.
that might be a idea neo. i think i'm gonna try to do the glass route if i can. right now i only have one fog light broke so it would be cheaper. love the help. ty


 Total project time: 30 mins (no beer) 2 hours, max (drinking beers).

 housing as neogeo64's method shows.