
EvoM's First Wire Tuck How To


Thread Starter

Joined: Aug 2011
Posts: 2,154
Likes: 5
From: Philadelphia, PA
EvoM's First Wire Tuck How To
'Ello EvoM,
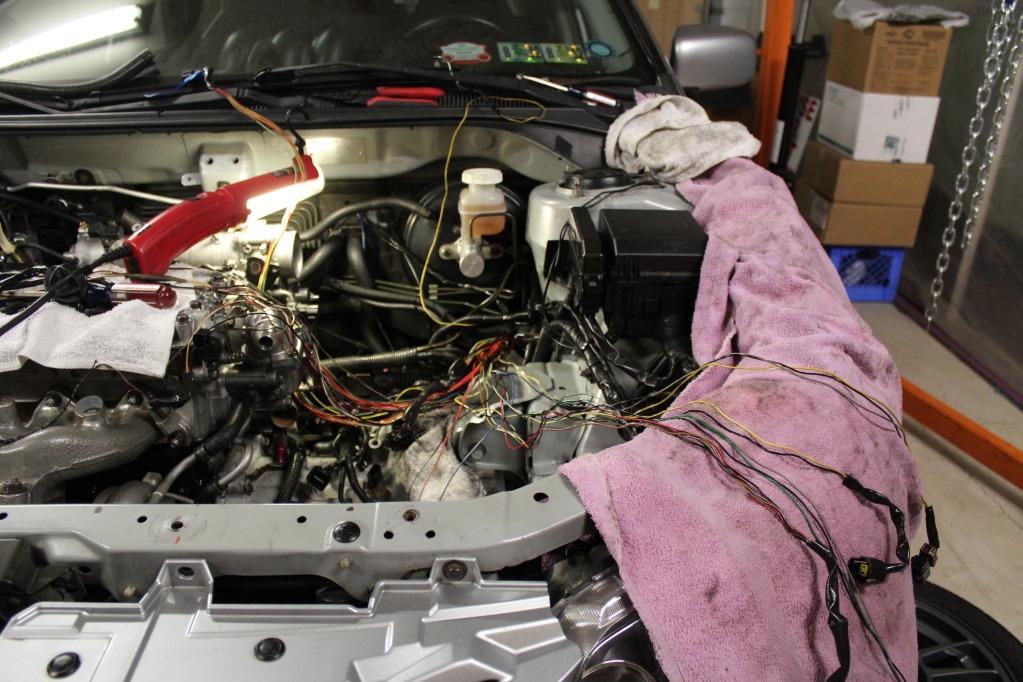
I've been dying to "tuck" my engine bay wiring harness for a long time, and since I'm waiting on a few parts before I finish my build, I figured it'd be a great time to do so.
To my knowledge, no one really took the time to document how they tucked their harness, so I thought I'd step up to the plate and show you guys how I went about doing mine.
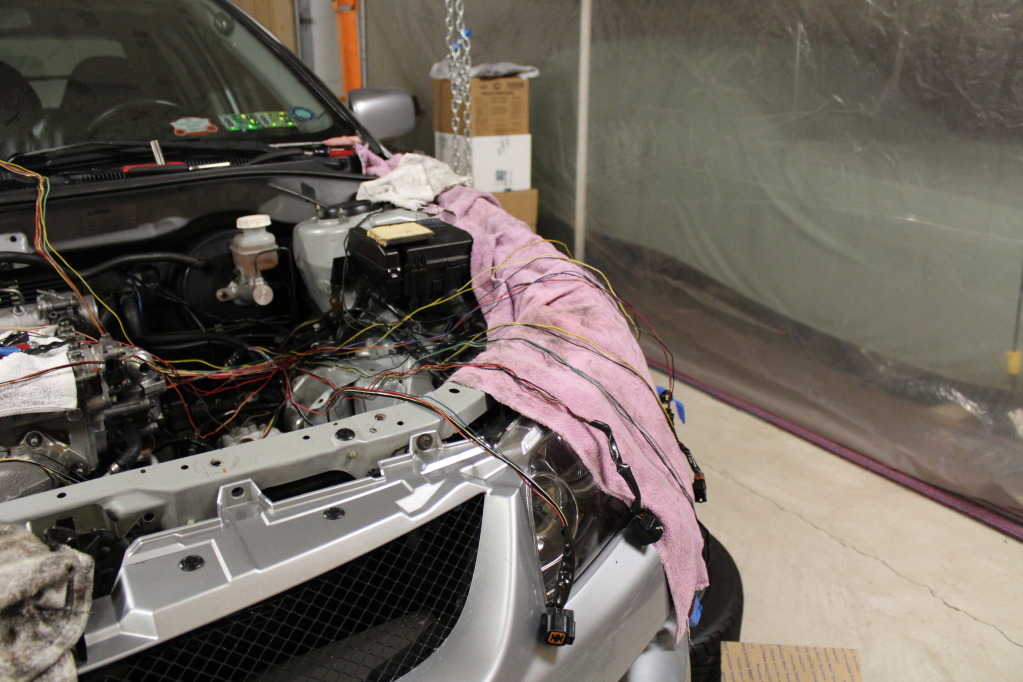
This is only stage one, which is the majority of the work. Tomorrow I'll be looming and actually hiding the harness.
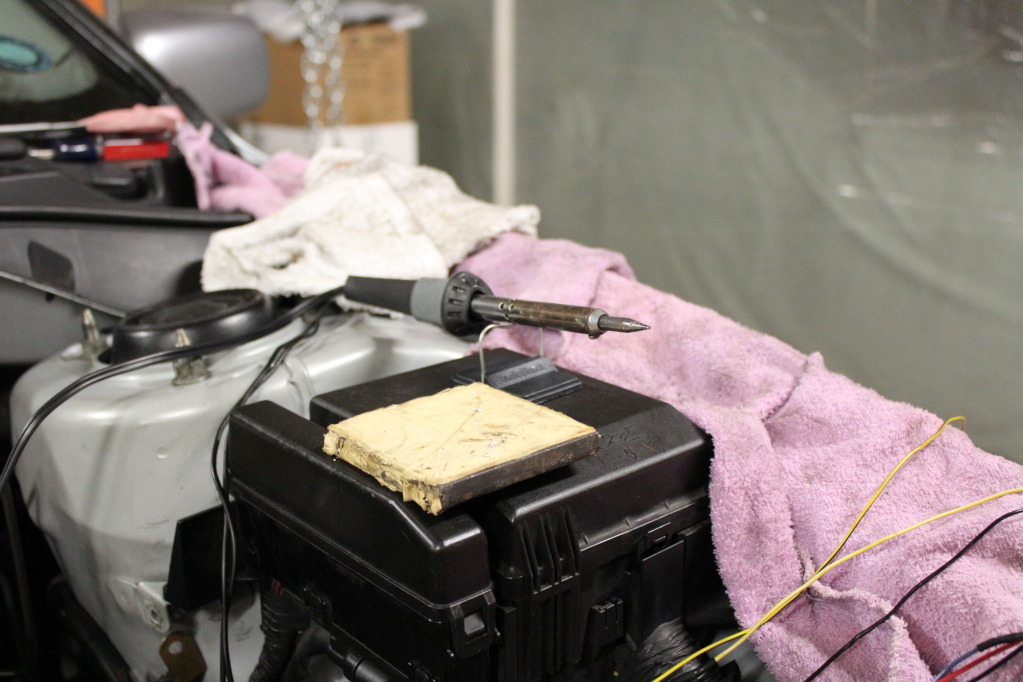
First, my soldering station. I highly recommend soldering and shrink wrapping every wire you cut/join together. I picked up a pack of 1/16", 1/8", and 3/16" shrink wrap. Thus far I only used the 1/16".
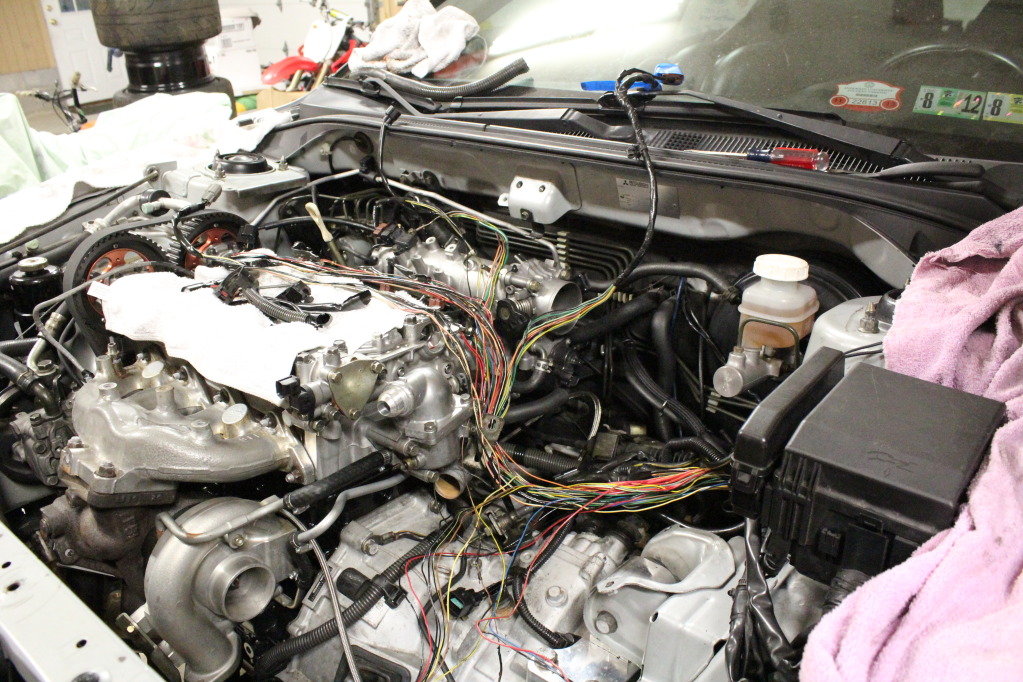
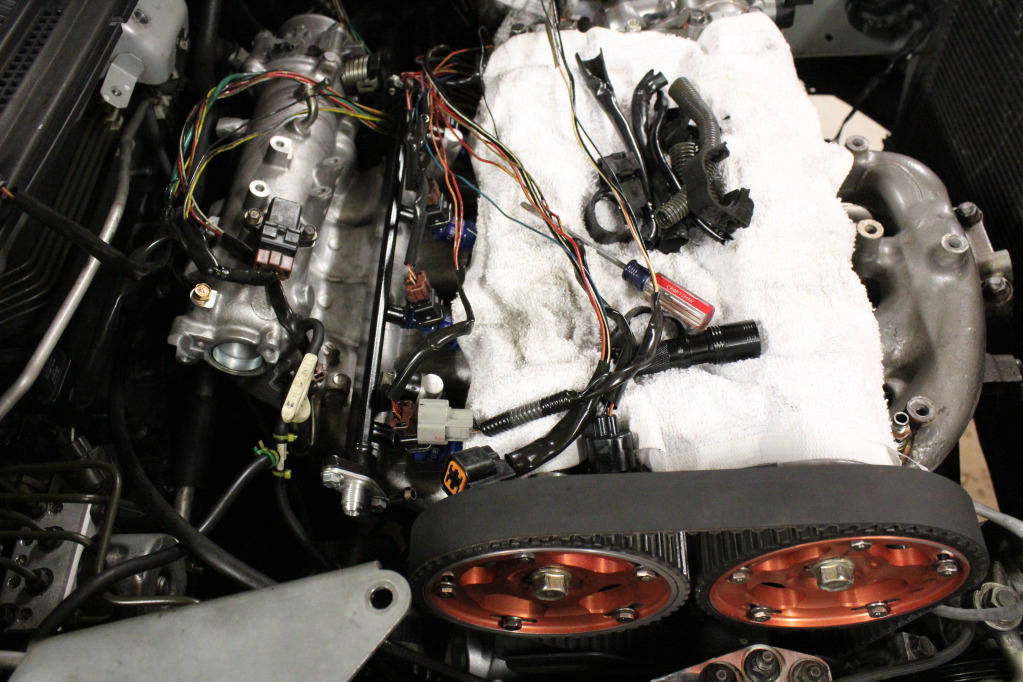
The first step in this is de-looming all of your wire. This takes quite a bit of time, but in de-looming you will find any hidden surprises the previous owner(s) of your car left you.
I had a drain in my car before and I could never find it. I then discovered this wire, which was completely burnt and bare. It was the ground for my passenger side coil pack plug. Keep an eye out for things of this nature, and if found, trace the wire back until it is perfectly clean, and replace from there.
Some more de-looming:
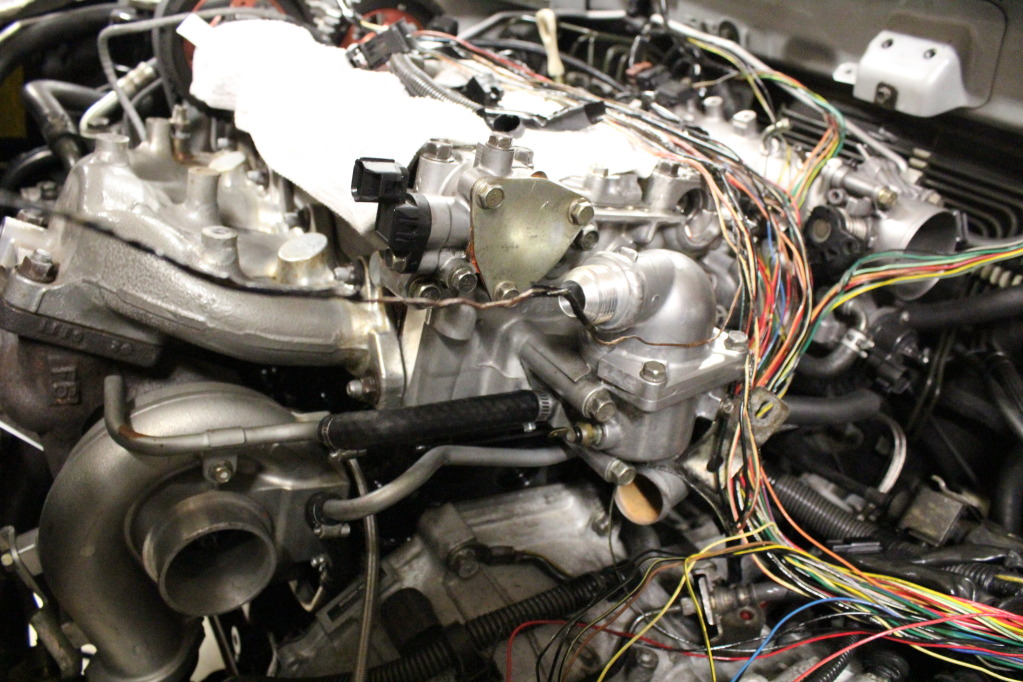
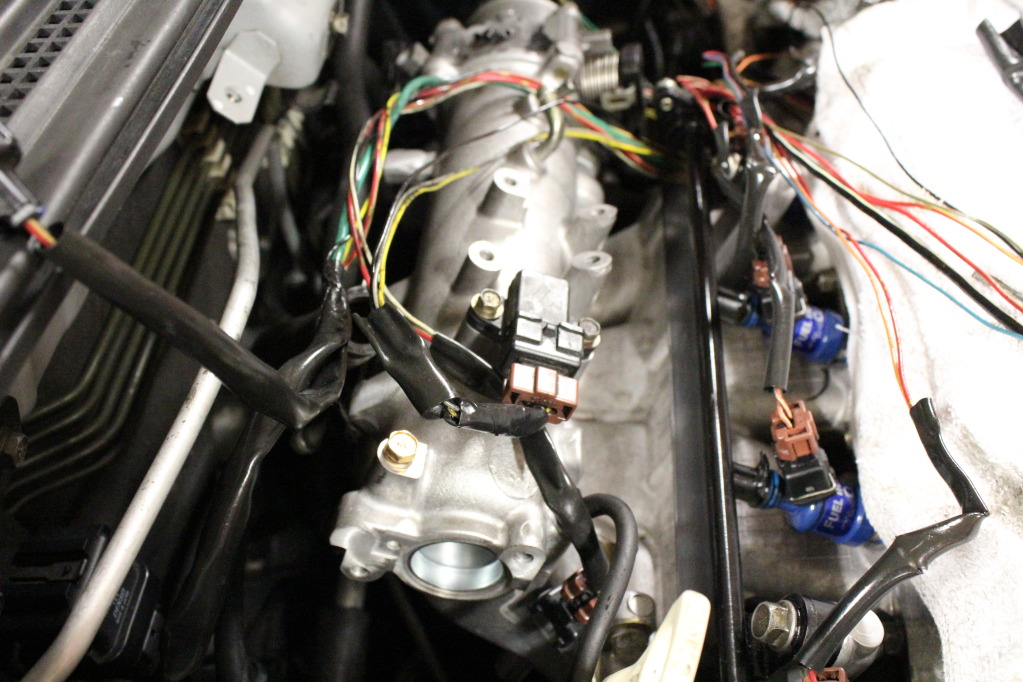
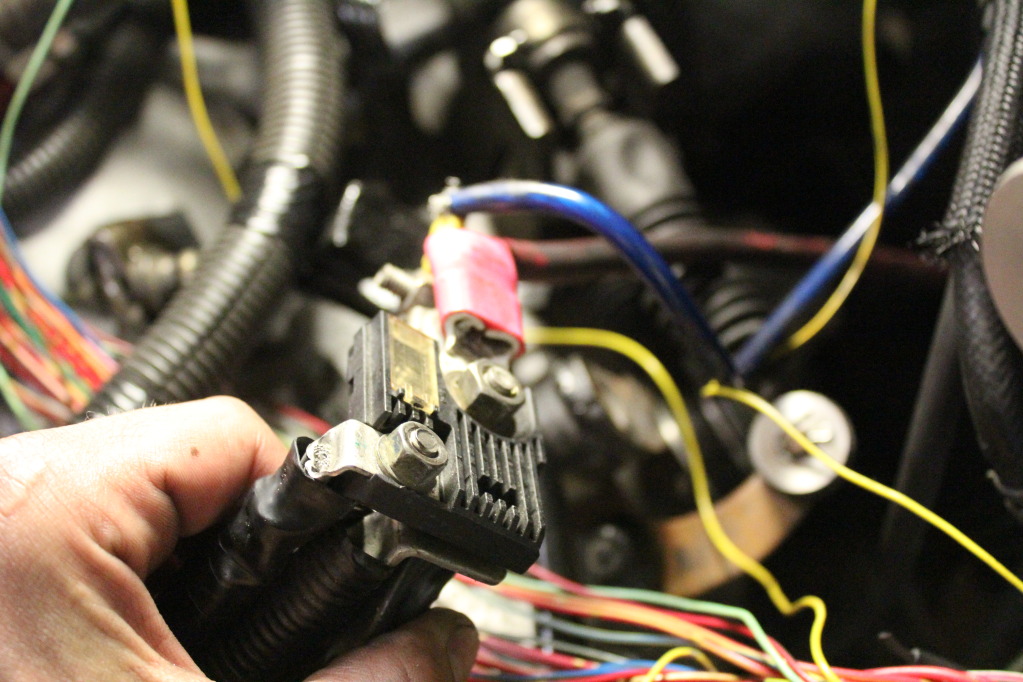
Take pictures as you're going just to know which few plugs work best when routed together, as there are a few that can be wrapped up in one loom, as the plugs are right next to each other. (Crank angle sensor and Passenger side coil pack shown here).
The two EGR Plugs you (barely) see on the far left I wanted to delete and shrink wrap off, as I'm not using my EGR system any longer. (Don't do this unless you're deleting your EGR). Also, make sure you do not unplug the grey one, as that is your knock sensor plug.
Done:
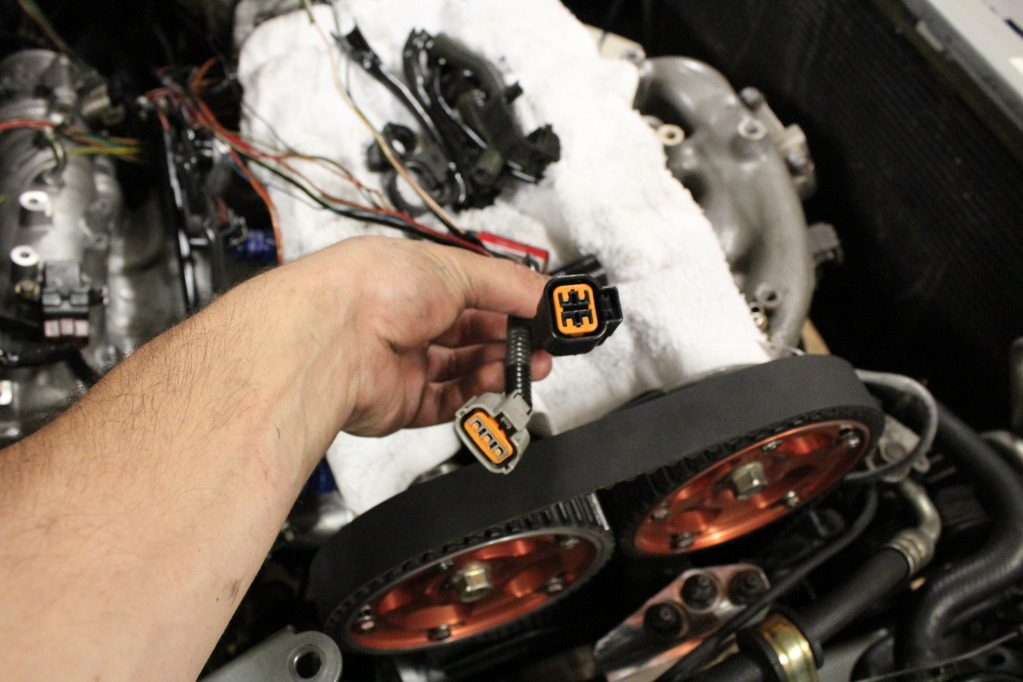
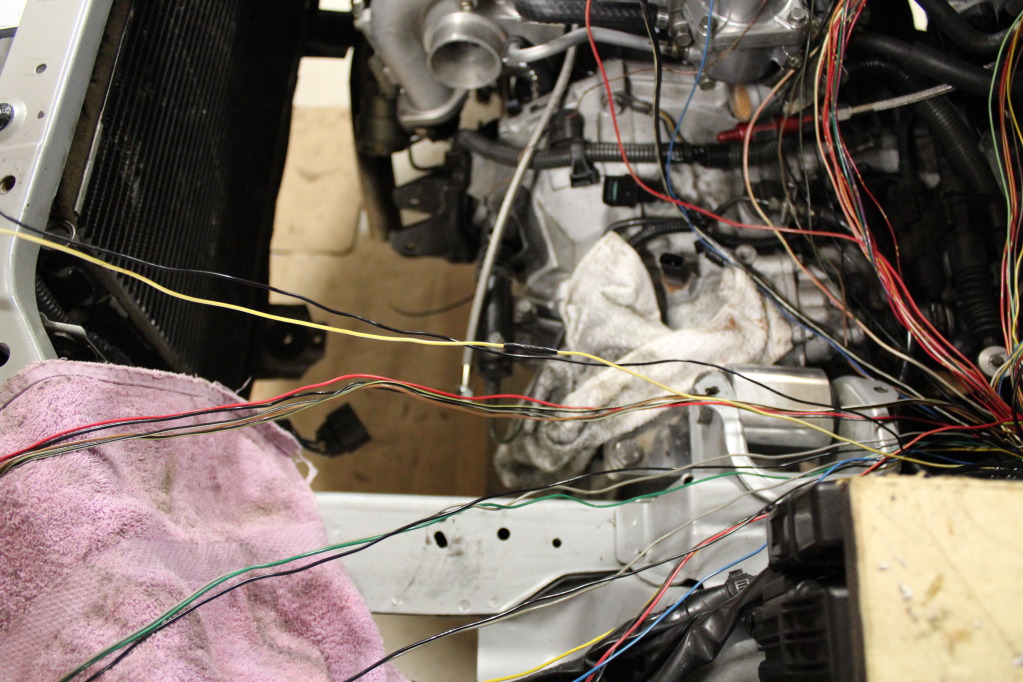
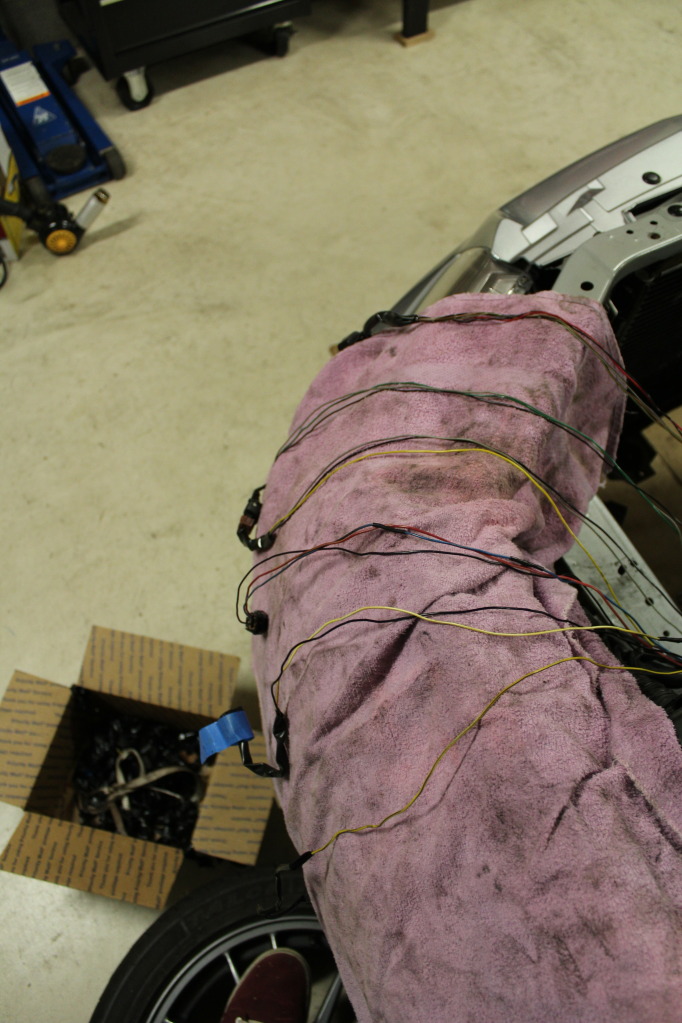
Start to organize each plug's wires separately so you can individually loom and route them, which is the main idea behind a wire tuck.
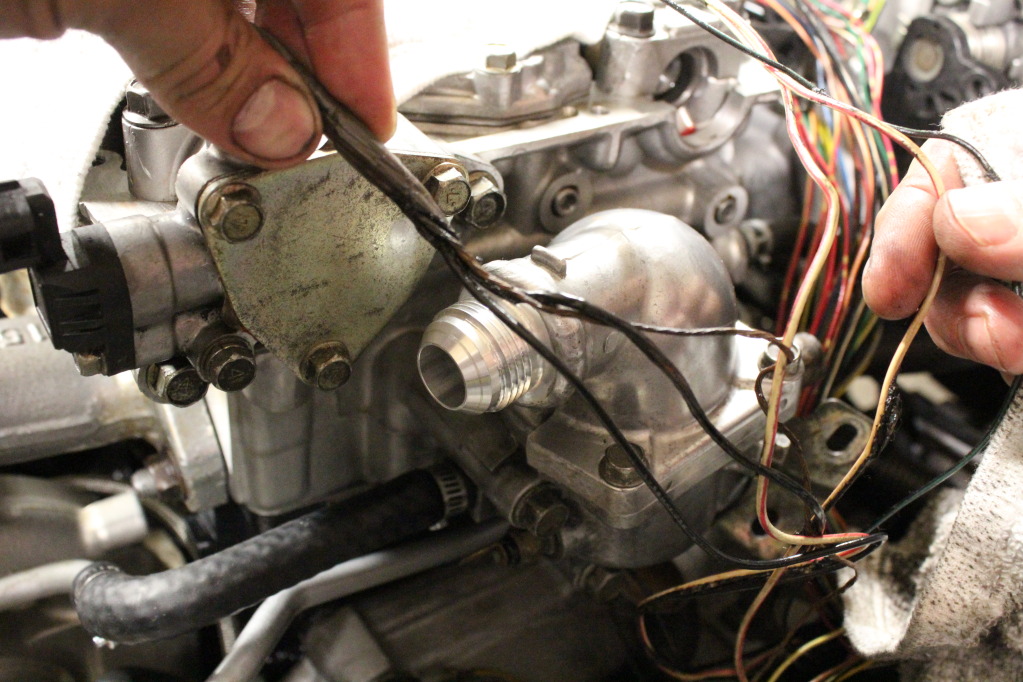
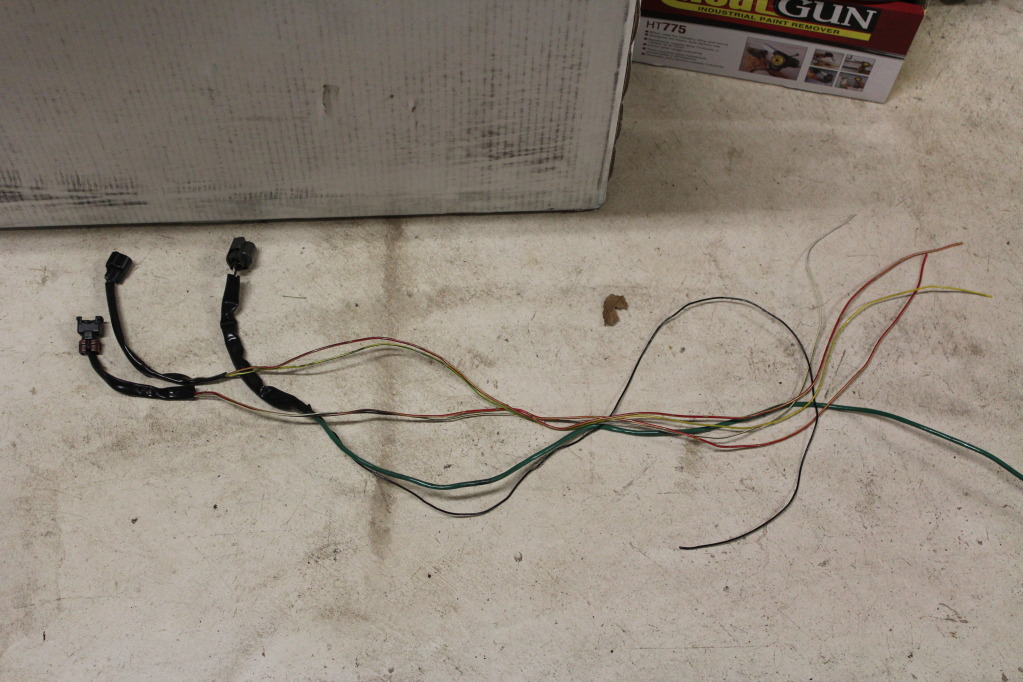
Believe it or not, to separate each plug you only need to cut two wires.
There's a blue wire and a yellow wire that screw up everything.
The yellow (On the Plug for the back of the Thermostat Housing):
The blue (On the Plug for the Cam Angle Sensor):
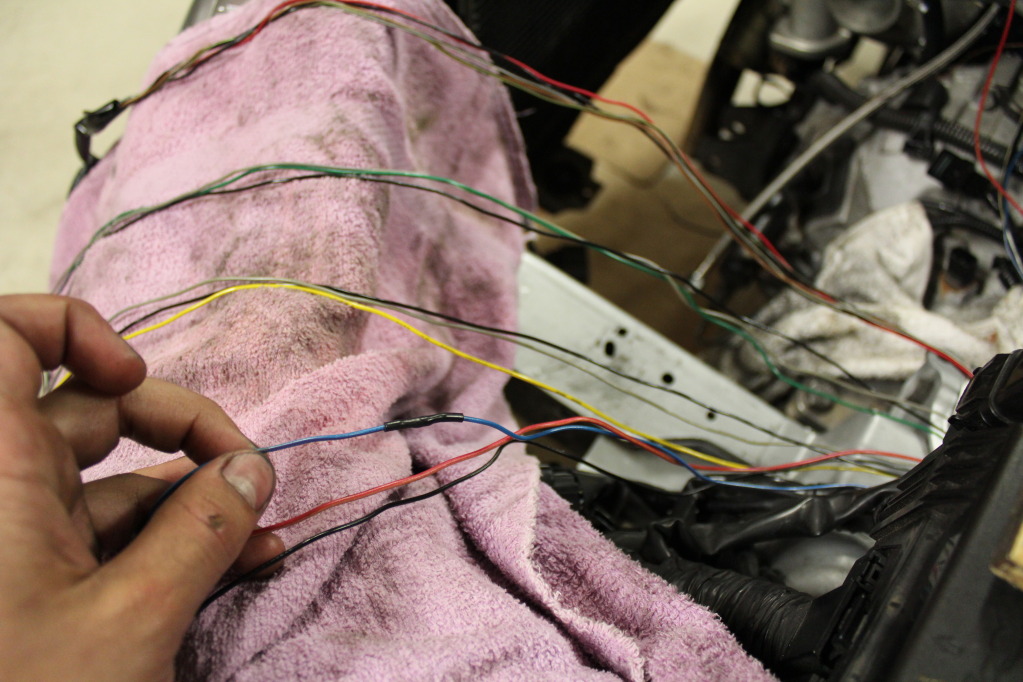
Cut these, and while they're cut, re-route everything so that all looms are individually free from the source. Then, you're good to go!
Uncovered my battery relocation piece, and routed the wires back behind my shifter linkage so there would be no interference.
Getting more organized:
All separated:

And a close up:
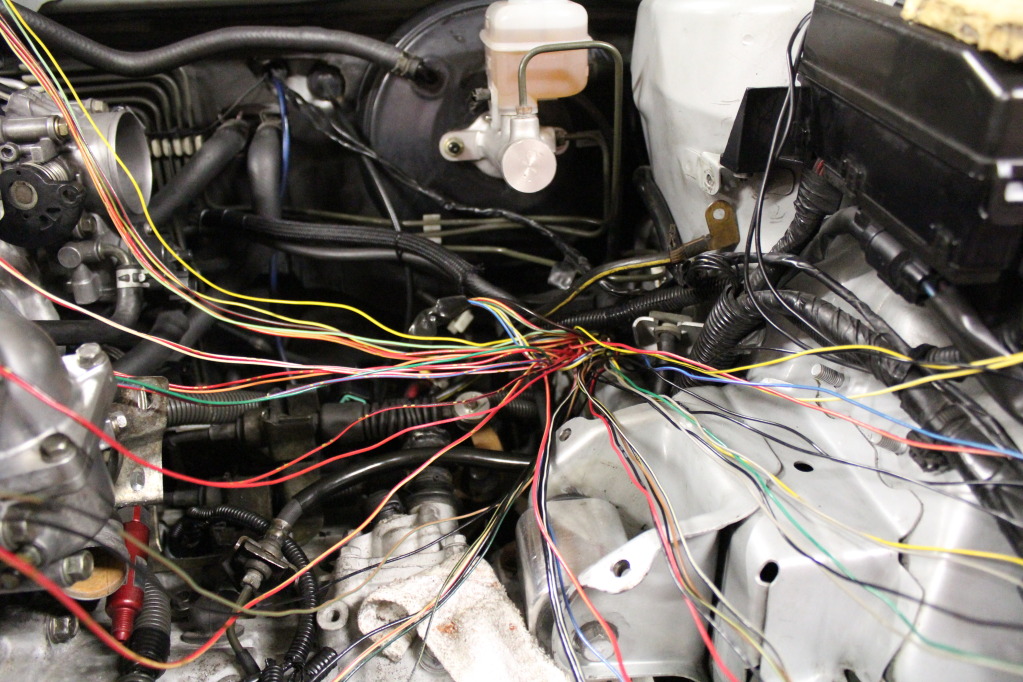
As shown here, it's fairly simple. My method does not involve shortening all of the extra wire, as I didn't want to get that deep into it.
The way I've shown, all plugs are individually wrapped and can be routed in whatever way you please, as they have ample length to go almost whatever way you want. I'll be routing much of the wiring under the intake manifold and will plug things in that way.
I'll be picking up loom tomorrow and will route everything and cut it to length, and update with final pictures.
Good luck!
I've been dying to "tuck" my engine bay wiring harness for a long time, and since I'm waiting on a few parts before I finish my build, I figured it'd be a great time to do so.
To my knowledge, no one really took the time to document how they tucked their harness, so I thought I'd step up to the plate and show you guys how I went about doing mine.
This is only stage one, which is the majority of the work. Tomorrow I'll be looming and actually hiding the harness.
First, my soldering station. I highly recommend soldering and shrink wrapping every wire you cut/join together. I picked up a pack of 1/16", 1/8", and 3/16" shrink wrap. Thus far I only used the 1/16".
The first step in this is de-looming all of your wire. This takes quite a bit of time, but in de-looming you will find any hidden surprises the previous owner(s) of your car left you.
I had a drain in my car before and I could never find it. I then discovered this wire, which was completely burnt and bare. It was the ground for my passenger side coil pack plug. Keep an eye out for things of this nature, and if found, trace the wire back until it is perfectly clean, and replace from there.
Some more de-looming:
Take pictures as you're going just to know which few plugs work best when routed together, as there are a few that can be wrapped up in one loom, as the plugs are right next to each other. (Crank angle sensor and Passenger side coil pack shown here).
The two EGR Plugs you (barely) see on the far left I wanted to delete and shrink wrap off, as I'm not using my EGR system any longer. (Don't do this unless you're deleting your EGR). Also, make sure you do not unplug the grey one, as that is your knock sensor plug.
Done:
Start to organize each plug's wires separately so you can individually loom and route them, which is the main idea behind a wire tuck.
Believe it or not, to separate each plug you only need to cut two wires.
There's a blue wire and a yellow wire that screw up everything.
The yellow (On the Plug for the back of the Thermostat Housing):
The blue (On the Plug for the Cam Angle Sensor):
Cut these, and while they're cut, re-route everything so that all looms are individually free from the source. Then, you're good to go!
Uncovered my battery relocation piece, and routed the wires back behind my shifter linkage so there would be no interference.
Getting more organized:
All separated:
And a close up:
As shown here, it's fairly simple. My method does not involve shortening all of the extra wire, as I didn't want to get that deep into it.
The way I've shown, all plugs are individually wrapped and can be routed in whatever way you please, as they have ample length to go almost whatever way you want. I'll be routing much of the wiring under the intake manifold and will plug things in that way.
I'll be picking up loom tomorrow and will route everything and cut it to length, and update with final pictures.
Good luck!
Last edited by Blue91lx; Jun 27, 2012 at 06:40 PM.


Nice I was looking for a how to for this the other day, found one on Socal but then the guy gave in and bought the Chase Bays. I'm not good with electical work at all so I think I'm going that route and waiting until my motor gets replaced. I wish you the best of luck thruout the rest!
Trending Topics

Thread Starter
Joined: Aug 2011
Posts: 2,154
Likes: 5
From: Philadelphia, PA
Thanks mang. I'm pretty excited to see my routing choices when it's all loomed.
Nice!

No problamo! I did this write up only because it involved so little cutting/soldering. To do this, one only needs to cut/solder the two wires shown above. I forget what plugs they're on exactly, but I'll add that information to the OP later today!
 Good luck with the Chase Bays harness'.... Their recent activity is why I chose to do this myself! And thank you, sir. Again, you only need to cut 2 wires to separate each plug individually!
I'll leave the fuse box relocation up to you  .
.
What Pirana said below is correct. Those two wires are wrapped around many others, so once you cut them, you can split up every plug's wires without cutting any others!
Thanks for clearing that up!
Nice!
Nice I was looking for a how to for this the other day, found one on Socal but then the guy gave in and bought the Chase Bays. I'm not good with electical work at all so I think I'm going that route and waiting until my motor gets replaced. I wish you the best of luck thruout the rest!
Good luck with the Chase Bays harness'.... Their recent activity is why I chose to do this myself! And thank you, sir. Again, you only need to cut 2 wires to separate each plug individually!.

Thread Starter
Joined: Aug 2011
Posts: 2,154
Likes: 5
From: Philadelphia, PA
