


AlchEm1st's Evo IV Coupe conversion project


Newbie


Joined: Jan 2012
Posts: 34
Likes: 3
From: Canada
Yes, they've been running fuel and brake lines through the interior (along the inner rockers) since the 80's. Only the BRZ has normal underbody lines.


More progress!
Dad doing some welding:

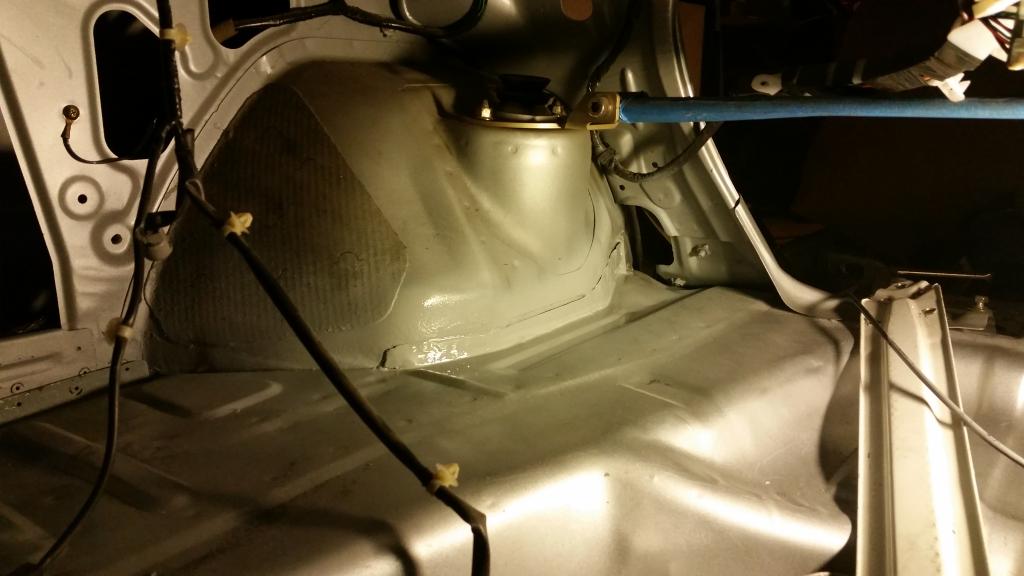
Minimal panel gaps compared to stock! (Looked like crap from the factory. Also, ignore the bent floor on the left in the pic as it's been beaten back into shape and welded up now )
)
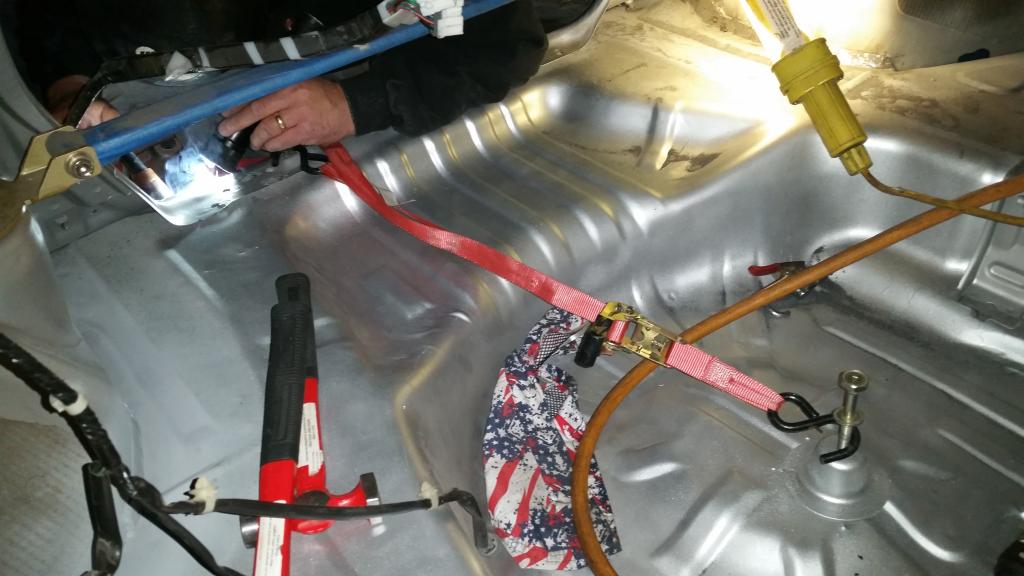
More welding action and preparing to clamp the v-brace into position with a ratchet strap!
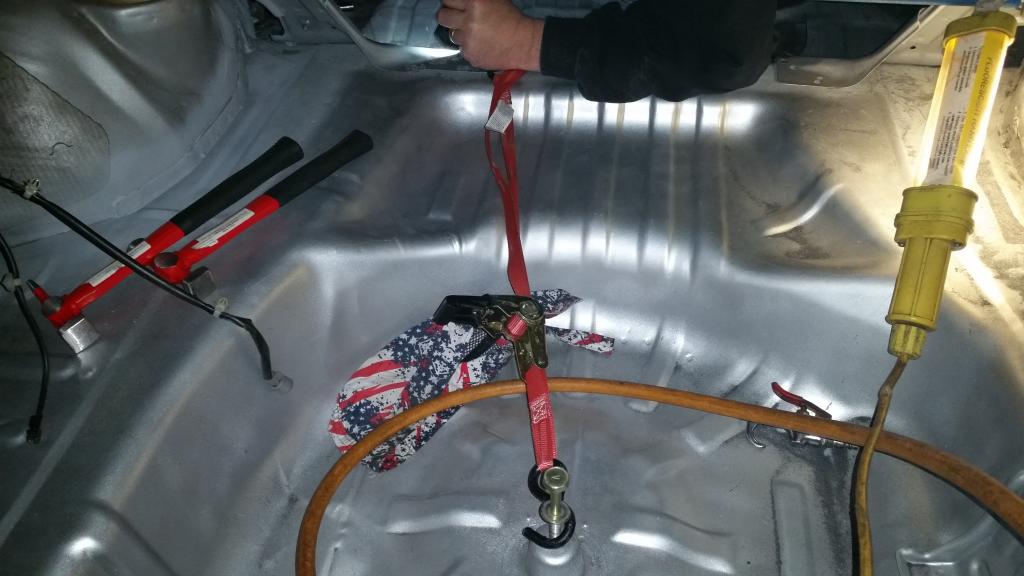
Bolted in and ready to start welding!
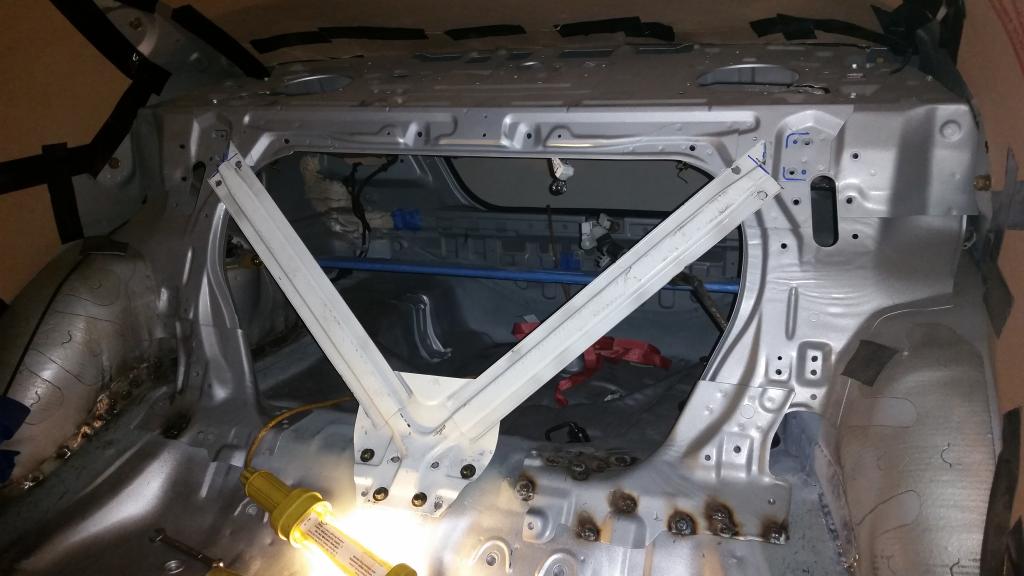
Almost there... (welds look huge because of burnt paint around them, but where the welds are was ground off first and the welds had excellent penetration and ground perfectly flat with no pinholes in them 8))
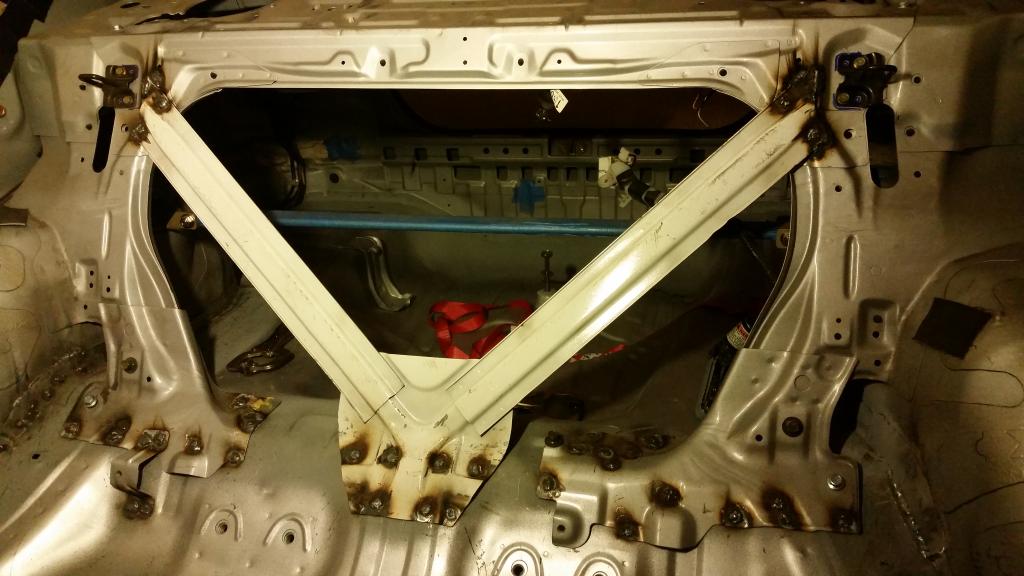
Done!
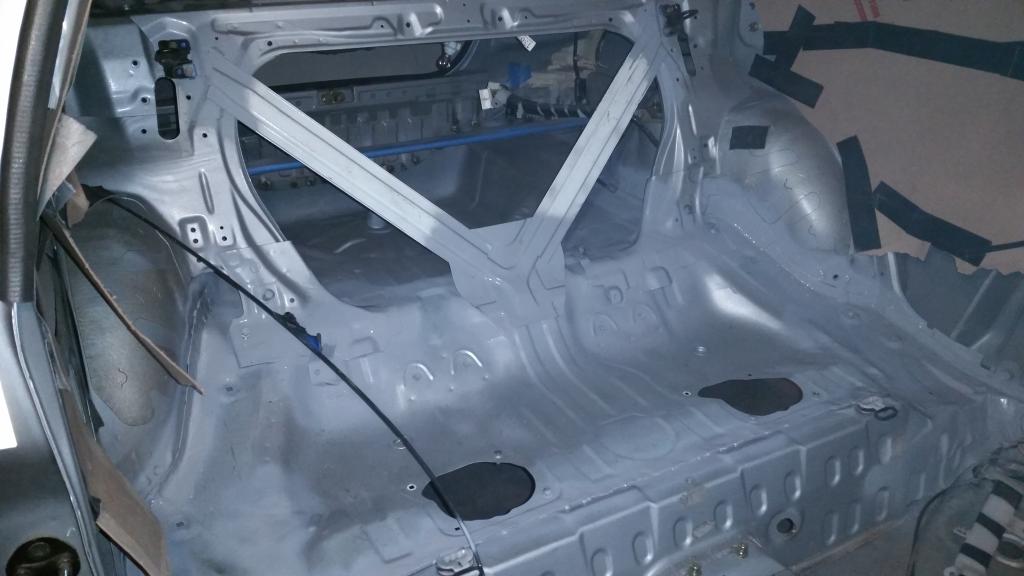
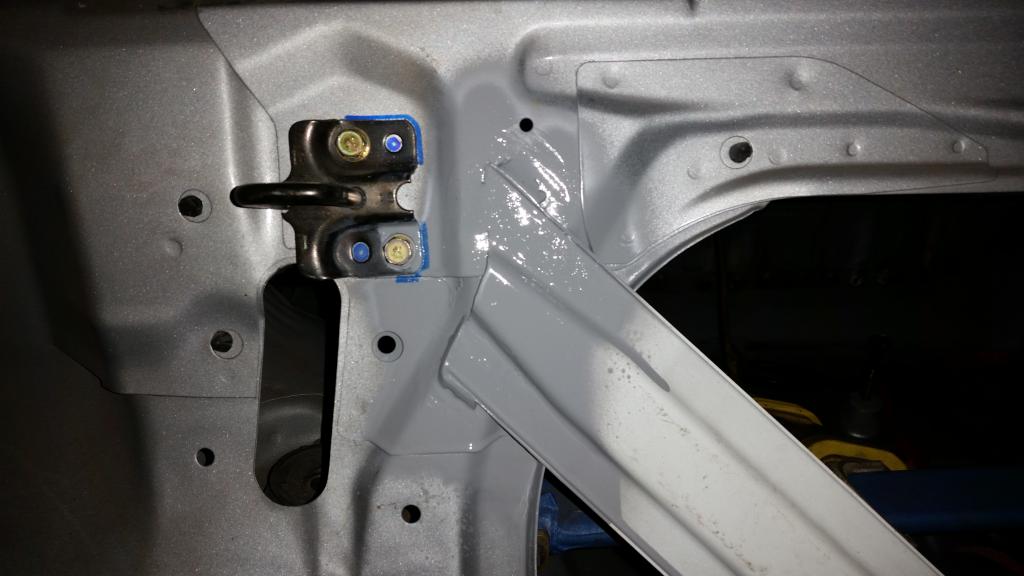
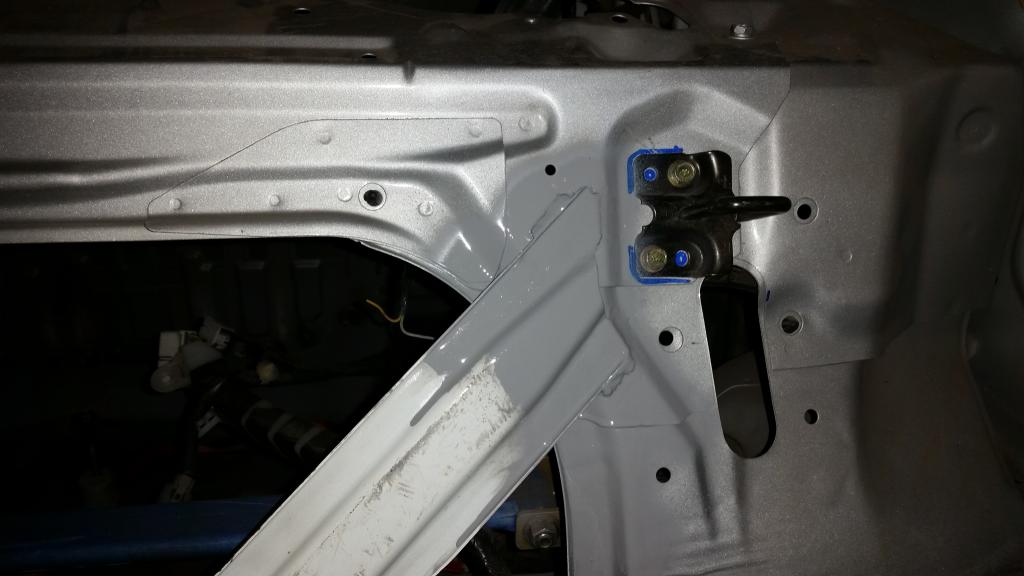
Plan to do a little seam sealing tomorrow afternoon around the interior and paint the interior side throughout the week. All the welding is complete except for touching up the rear where I haven't ground yet.
(ran out of sanding belts, but will have more on Monday) Next Saturday will mark the welding/grinding complete Lord willing and All the pre-seamsealer priming as well. I'll try to get all the seam sealing
done next Sunday afternoon and do the painting throughout next week. If everything goes as planned I'll be able to start reinstalling some of the interior next weekend and the rear end and the rest of the interior
the weekend after! Progress will start happening FAST after the seam sealing and painting is done! Then I'll start focusing on the engine side of the build.
Dad doing some welding:

Minimal panel gaps compared to stock! (Looked like crap from the factory. Also, ignore the bent floor on the left in the pic as it's been beaten back into shape and welded up now
)
More welding action and preparing to clamp the v-brace into position with a ratchet strap!


Bolted in and ready to start welding!

Almost there... (welds look huge because of burnt paint around them, but where the welds are was ground off first and the welds had excellent penetration and ground perfectly flat with no pinholes in them 8))

Done!


Plan to do a little seam sealing tomorrow afternoon around the interior and paint the interior side throughout the week. All the welding is complete except for touching up the rear where I haven't ground yet.
(ran out of sanding belts, but will have more on Monday
) Next Saturday will mark the welding/grinding complete Lord willing and All the pre-seamsealer priming as well. I'll try to get all the seam sealingdone next Sunday afternoon and do the painting throughout next week. If everything goes as planned I'll be able to start reinstalling some of the interior next weekend and the rear end and the rest of the interior
the weekend after! Progress will start happening FAST after the seam sealing and painting is done! Then I'll start focusing on the engine side of the build.

Welding and grinding are officially done!!! Just finished spraying the first coat of primer as well. Turned out great!


Here's the panel that needed replaced. We ended up just modifying the Evo one to work and closed off the unneeded AYC wiring pass through holes.

All that's left is to get everything seam sealed, shoot another coat of primer on top of that, and then shoot paint. Then it's pretty much ready for reassembly!
Would be nice if I was able to get all that stuff done through the week; but we're still working noon to 10pm every day so it doesn't leave much time. If I do
manage to get it done, the interior will all go in next weekend and I'll start installing some of the rear end!
I'm gonna keep it silver. I wanted to go white or black; but the silver has really grown on me and it hides dust and dirt really well too. Yeah, I can't wait to see how well this thing handles once I get it dialed in!
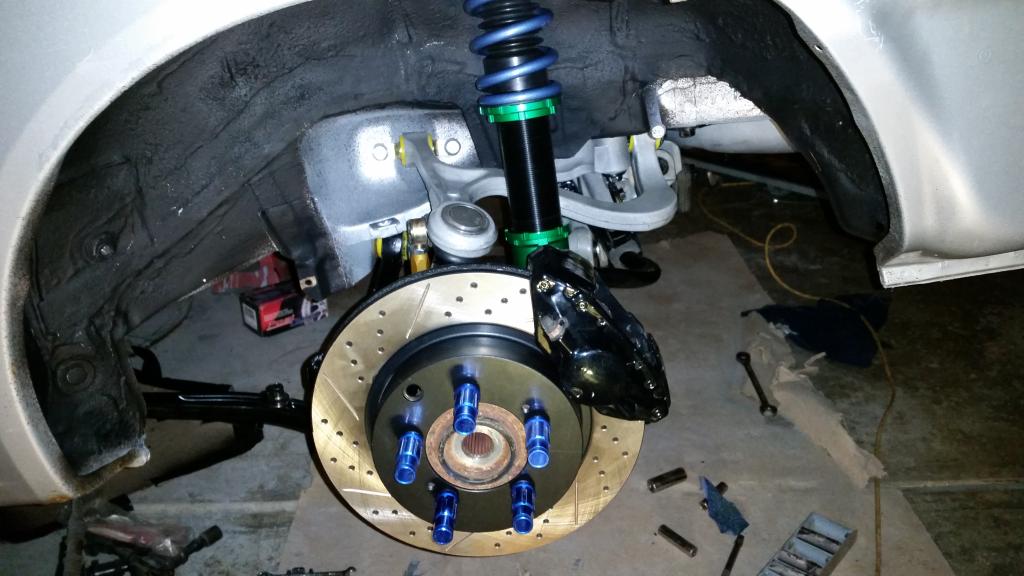
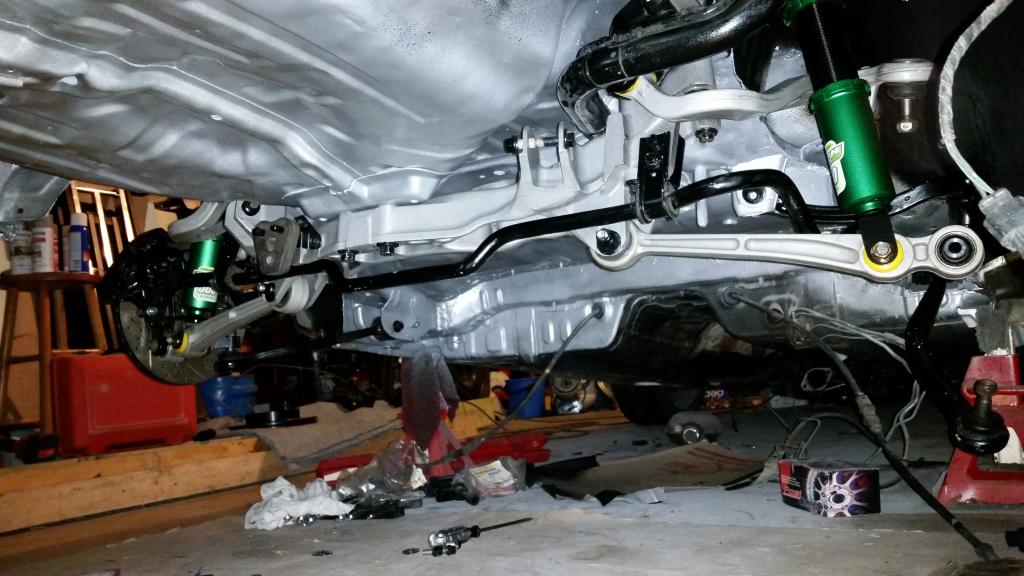
Be forewarned, you are about to see some no holds barred sexyness pictures. I got a lot done today lol.
Spatter paint like old school muscle cars used to get from the factory!
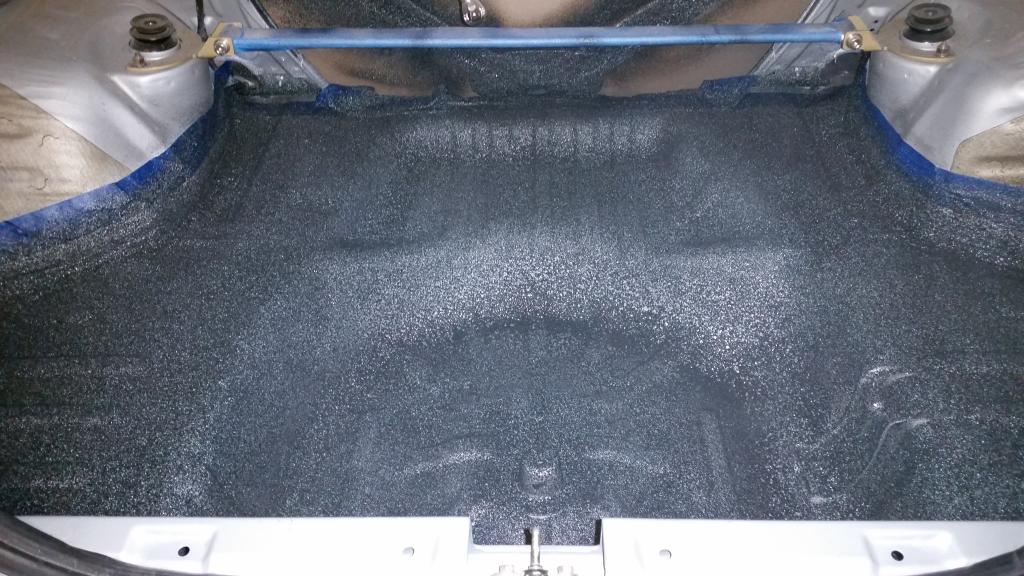


Spatter paint like old school muscle cars used to get from the factory!


