Notices
Evo X How Tos / Installations Post or link to your detailed how to / installation articles in here. If you have any questions regarding the how tos, feel free to post them in the Request sub-forum.

Evo X Boost Gauge Install ,No splicing, No firewall drilling,Pics+Vid= Clean As Hell

Thread Tools
 
Search this Thread
 
Old Oct 31, 2008, 10:40 AM
  #31  
Evolving Member
 
cchan3761's Avatar
 
Join Date: Jun 2008
Location: Fresno, Ca
Posts: 152
Likes: 0
Received 0 Likes on 0 Posts
I also bought mine from Evasive and they are really good at shipping it quickly
Old Nov 6, 2008, 07:45 AM
  #32  
Evolving Member
 
JDW1479's Avatar
 
Join Date: Aug 2008
Location: Dirty South
Posts: 281
Likes: 0
Received 0 Likes on 0 Posts
+2 for Evaisive Motorsports, odered mine this past Monday, should be here tomorrow. Thanks Evaisive!
Old Nov 12, 2008, 10:45 AM
  #33  
Evolving Member
iTrader: (20)
 
evo_q8's Avatar
 
Join Date: Mar 2008
Location: Newington, CT
Posts: 407
Received 0 Likes on 0 Posts
ok now the pics dont show!!
Old Nov 13, 2008, 08:20 AM
  #34  
Evolving Member
 
cchan3761's Avatar
 
Join Date: Jun 2008
Location: Fresno, Ca
Posts: 152
Likes: 0
Received 0 Likes on 0 Posts
Which pics? The ones from the OP is still showing for me...
Old Nov 13, 2008, 08:55 AM
  #35  
Evolving Member
 
JDW1479's Avatar
 
Join Date: Aug 2008
Location: Dirty South
Posts: 281
Likes: 0
Received 0 Likes on 0 Posts
Installed my boost gauged per the directions in this thread.

Here are the pics before and after

Name:  IMG_0689.jpg
Views: 0
Size:  102.5 KB

Name:  IMG_0692.jpg
Views: 0
Size:  64.1 KB

Last edited by JDW1479; Nov 13, 2008 at 08:57 AM.
Old Nov 13, 2008, 10:35 AM
  #36  
Evolved Member
iTrader: (5)
 
goofygrin's Avatar
 
Join Date: May 2008
Location: Frisco, TX
Posts: 3,125
Likes: 0
Received 4 Likes on 3 Posts
Looks good JJ. you want to do mine next!?
Old Nov 13, 2008, 01:41 PM
  #37  
Evolving Member
 
JDW1479's Avatar
 
Join Date: Aug 2008
Location: Dirty South
Posts: 281
Likes: 0
Received 0 Likes on 0 Posts
Sure, tell me when!
Old Nov 13, 2008, 01:45 PM
  #38  
Newbie
iTrader: (11)
 
hattackk's Avatar
 
Join Date: Jan 2008
Location: NC
Posts: 97
Likes: 0
Received 0 Likes on 0 Posts
awesome
Old Nov 13, 2008, 08:56 PM
  #39  
hlm
Evolving Member
iTrader: (26)
 
hlm's Avatar
 
Join Date: Mar 2008
Location: wisconsin
Posts: 110
Likes: 0
Received 0 Likes on 0 Posts
Nice writeup, looks sweet also.
Old Nov 14, 2008, 05:11 PM
  #40  
Evolving Member
 
cchan3761's Avatar
 
Join Date: Jun 2008
Location: Fresno, Ca
Posts: 152
Likes: 0
Received 0 Likes on 0 Posts
Finally some body else putting the boost gauge on the left side! GJ JDW1479, looks clean
Old Nov 14, 2008, 08:17 PM
  #41  
Evolving Member
Thread Starter
iTrader: (5)
 
ZWingerRyRy's Avatar
 
Join Date: Mar 2007
Location: Minnesota
Posts: 283
Likes: 0
Received 0 Likes on 0 Posts
Nice to see my write-up being used Good Jobs
Old Nov 15, 2008, 01:08 PM
  #42  
Evolving Member
 
Evo Andy's Avatar
 
Join Date: Oct 2008
Location: 518
Posts: 127
Likes: 0
Received 0 Likes on 0 Posts
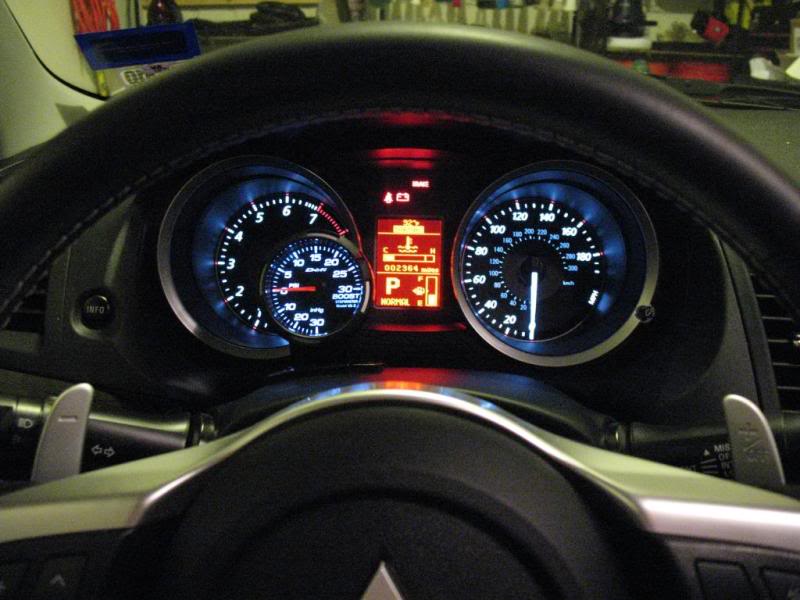
I saved this linky,great job and awesome write up/pix.I have yet to install my Boost Gauge. I want the same BG as you installed and would like it just left off center like shown (just like my old STi).
Old Nov 16, 2008, 10:51 AM
  #43  
Evolving Member
 
cchan3761's Avatar
 
Join Date: Jun 2008
Location: Fresno, Ca
Posts: 152
Likes: 0
Received 0 Likes on 0 Posts
^ If you use this write up, you will have no problems at all! I'm sure you can't wait to install yours
Old Nov 23, 2008, 02:25 PM
  #44  
Newbie
 
jdmsneakerhead's Avatar
 
Join Date: Nov 2008
Location: The Rock
Posts: 92
Likes: 0
Received 0 Likes on 0 Posts
sweet i juss got my mr and i'll be using this write up!!!
Old Nov 23, 2008, 09:04 PM
  #45  
Evolving Member
 
nine's Avatar
 
Join Date: Jun 2006
Location: Los Angeles
Posts: 104
Likes: 0
Received 0 Likes on 0 Posts
Originally Posted by RREvoX08
i just ran a very small wire from the boost controller through the stearing wheel well to the light switch with a clamp connector


Theres no hole behind the stearing wheel well, just a solid metal sheet with the stearing pole pointing downward into the bottom of the drivetrain. I had to buy extra long tubeing and wire to run this boost guage. I remeber on my VIII it was so easy just tap into the headlight wire and run the boost hose behind the glove box and wallah a little hole behind the intake mani. 30 mins tops, this install is takeing me weeks to do.


Quick Reply: Evo X Boost Gauge Install ,No splicing, No firewall drilling,Pics+Vid= Clean As Hell


All times are GMT -7. The time now is 12:40 AM.