When you click on links to various merchants on this site and make a purchase, this can result in this site earning a commission. Affiliate programs and affiliations include, but are not limited to, the eBay Partner Network.
The car has taken a bit of a turn from what I originally had planned, started the business right around the time of buying this car and haven't had time to work on it for a long time since I was always consumed with customer cars. The business took off and left the need for a street car in the dust. That, and the fact that I just couldn't stop taking stuff off of the car.
The Plan
Long Block:
Filled 4g63 Block
Manley Billet Crank
Aluminum LR
Custom Spec Wiseco Pistons
1/2" Head Studs
Kurt Brown ported head
Ferrea Valvetrain
GSC S3 Cams
Kiggly HLA
Powerplant
Driven Fab low mount, thin wall drag manifold
Twin Tial MVS Wastegates
4" Titanium Exhaust
Precision 6870, Garrett GTX42 or S300sxe, havne't decided yet
Driven Fab 6" Intercooler
Vibrant HD Intercooler Clamping
Driveline
Libery's Gears Dog Box
Wavetrac LSD
Stock R&P
OEM Front Axles
DSS Stage 5 Rear Axles
DSS Carbon Driveshaft
OEM reshimmed Rear Diff
Chassis
Driven Fab Front Tubular Subframe
Driven Fab Rear Tubular Subframe
Driven Fab 8.50 Chromoly Roll Cage
Driven Fab Parachute Kit
Driven Fab Tubular Front End
Weight Watchers Diet Plan
Electrical
AME Milspec 2 Piece Engine Harness
AME Millspec chassis harness
AME Fuse Box + Relay Panel
AEM Infiniy 8h
This is how she sits as of Sept 1 2016, Long block is here. Needs to be torn down and gone over from last season. It's not hurt, just preventative maintenance. Lots of chassis prep to be done, I'll cut a lot of the weight out and work on the subframes for now. Get the motor back in the car to work on the front end, and then wrap everything else up.
I'm going to throw this up on here just to document the "restoration" of the car. It should be a fun build, not too sure what I want to do with it yet but I'm sure I'll figure it out eventually. I'm thinking fun street car that runs fast ETs in the quarter, with the Driven touch on the engine bay.
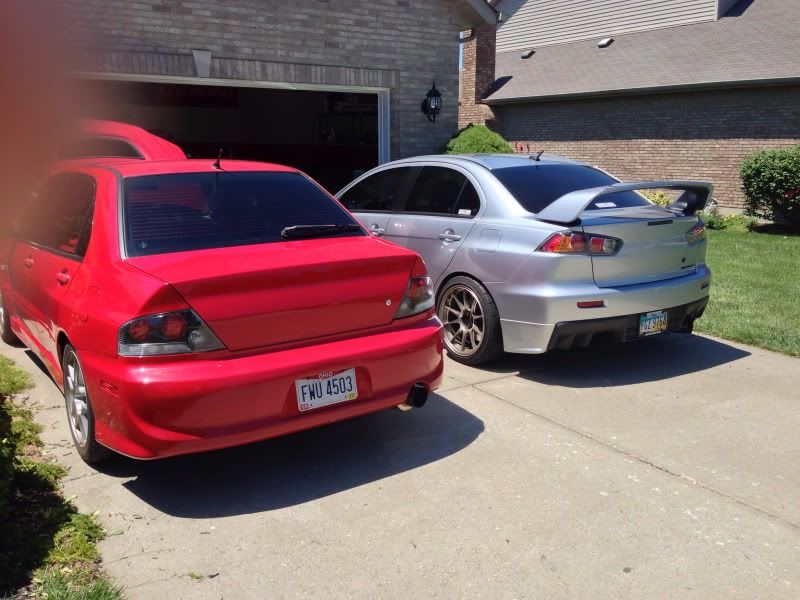
Here she is the first day I got her.
I didn't take too many pictures of me detailing it, but the paint was in real rough shape. It still is, the car is 10 years old now so it's to be expected.
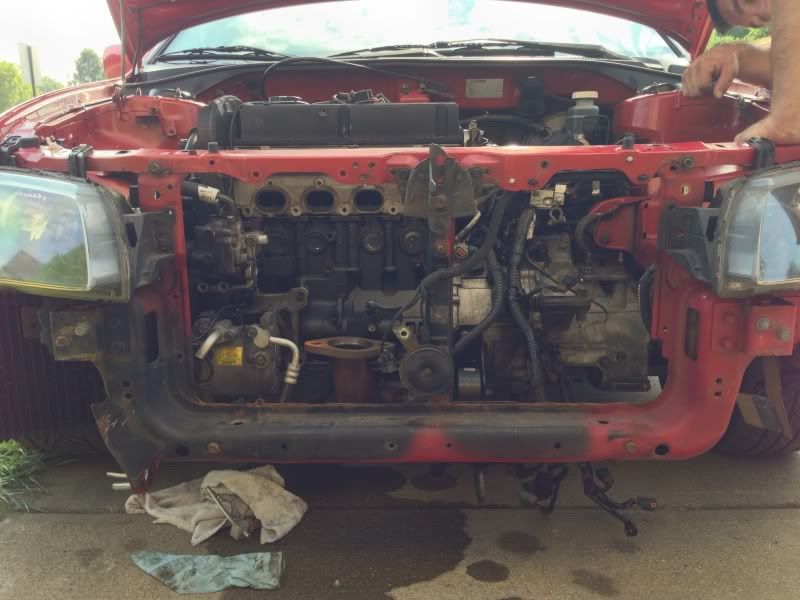
Started pulling things off immediately.
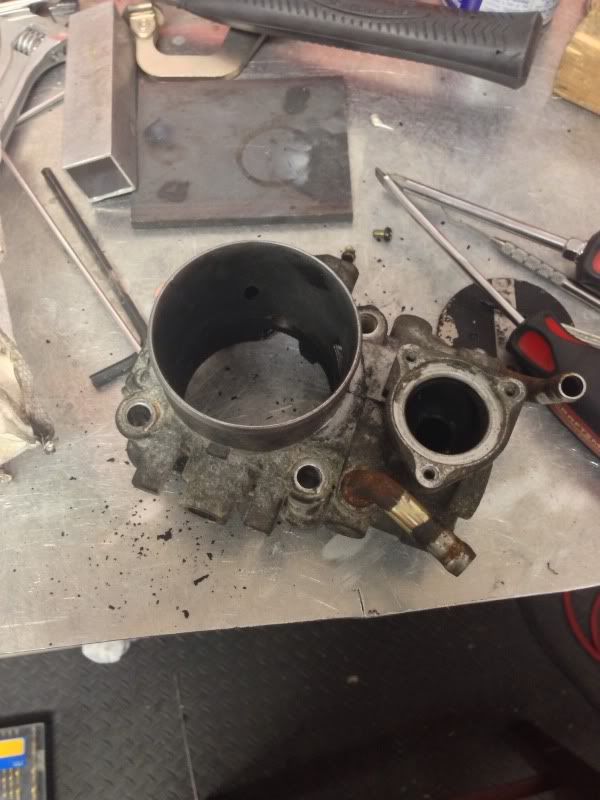
Nasty throttle body that has since been cleaned, prepped for powder coating and had the coolant ports plugged.
Pulling more stuff out.
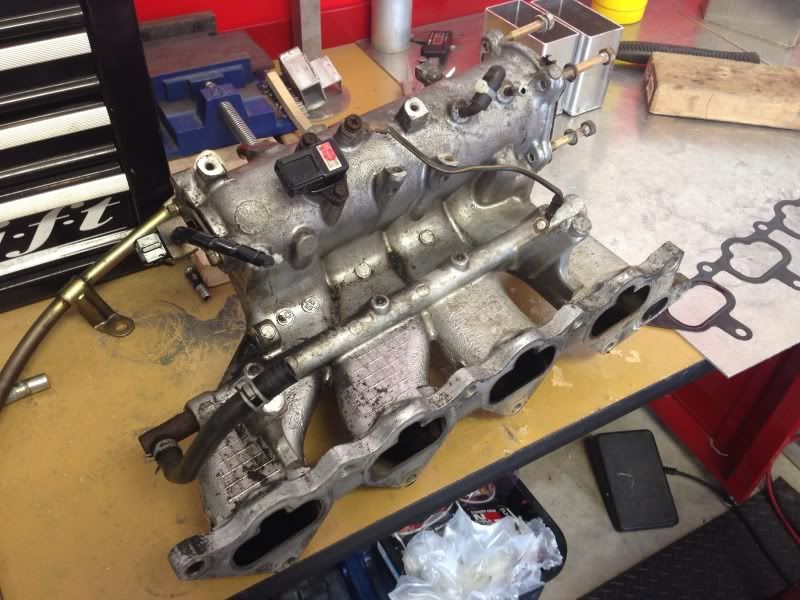
Dirty OEM intake manifold was pulled, shaved and in the process of porting. This will also be coated.
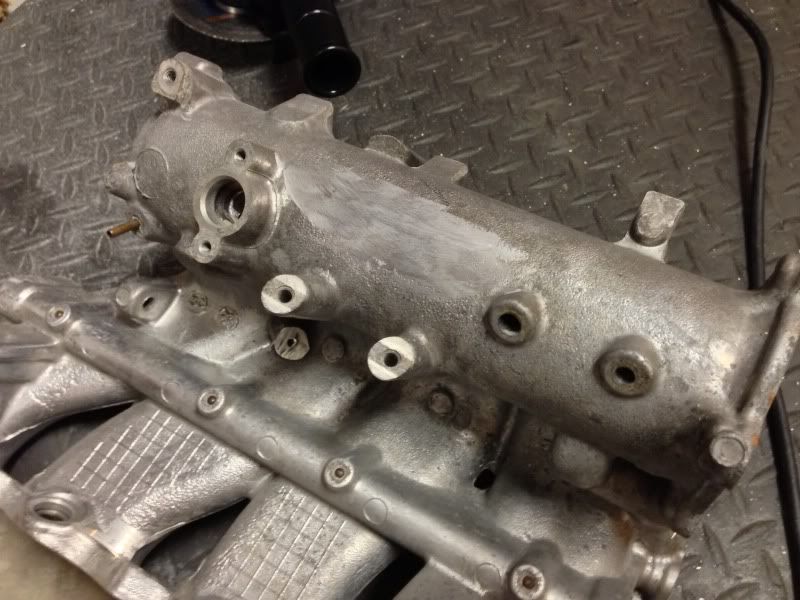
(semi) Shaved, not sure what all I want to finish cutting off which is why it looks like it does.
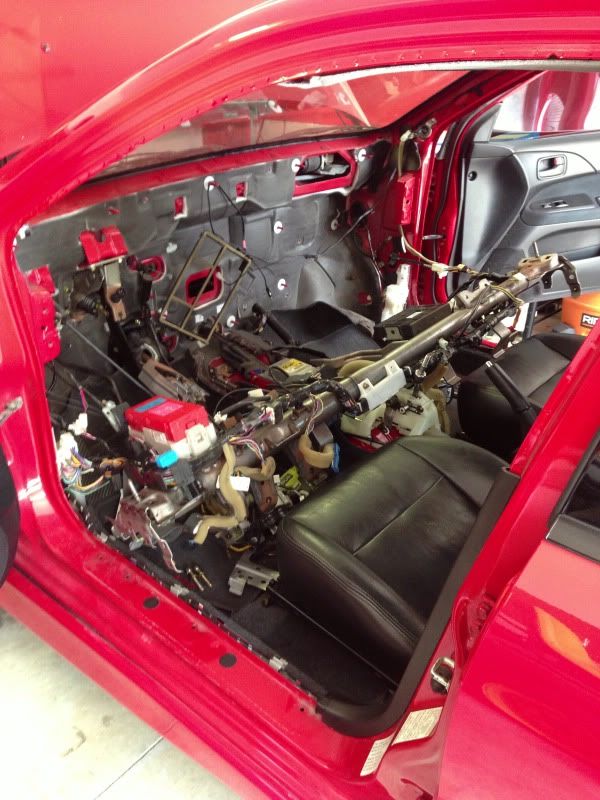
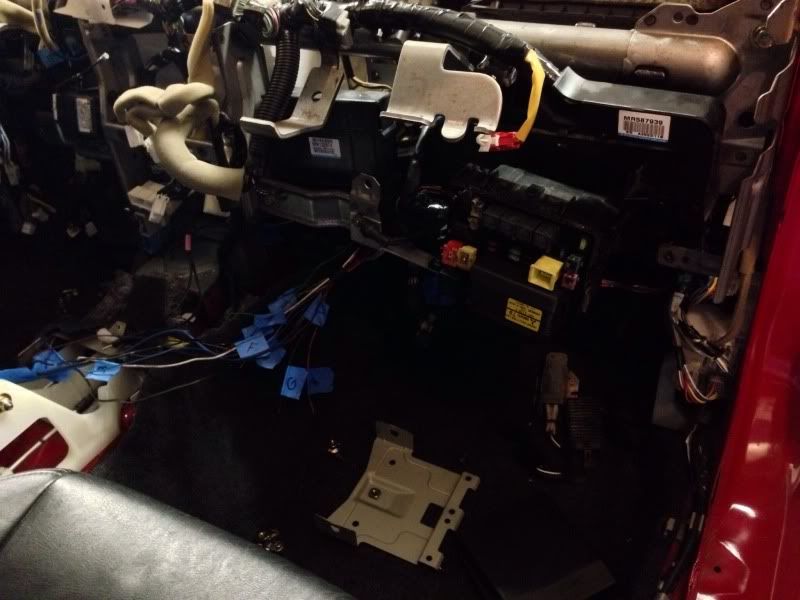
Pulled the dash and the heater core, tucking the fuse box in the glove compartment so you wont see any wires in the engine bay.
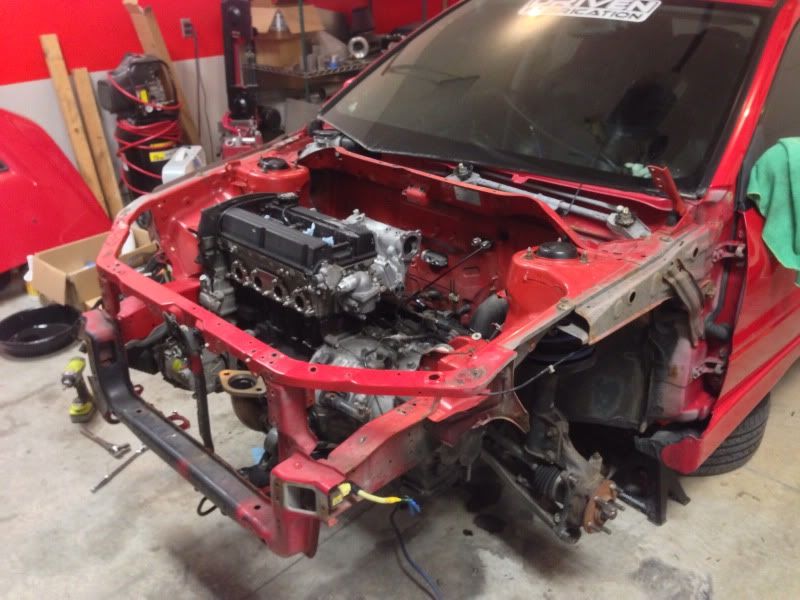
Pulling everything off to do one of our Forward Facing kits, with a FF AC kit. This car will still be driven on the street, so I like AC.
Pulled it in the garage, and started to pull everything off. The car will have an RS master cylinder (no abs) and all custom, tucked stainless steel brake lines. The wiring harness will be wire loomed and also tucked so you can't see it, and run a mil spec connector on the firewall.
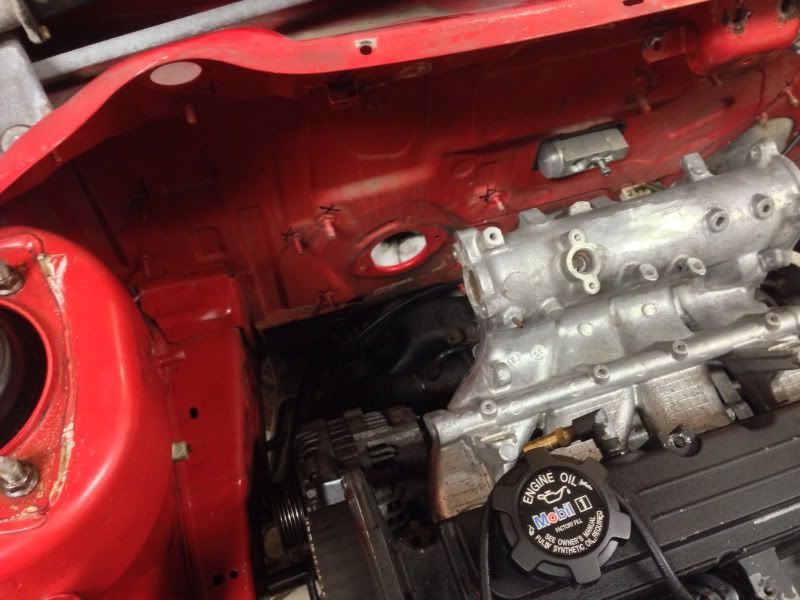
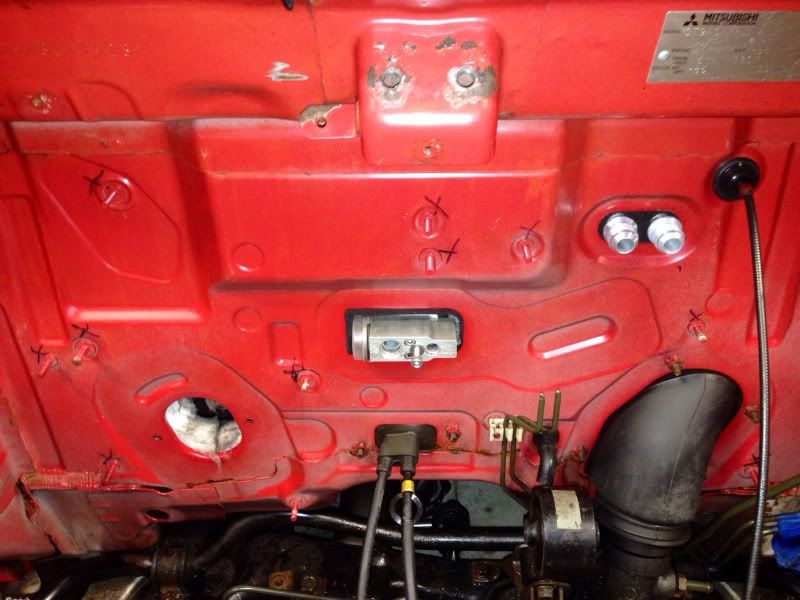
You can see the heater core AN fittings from this angle.
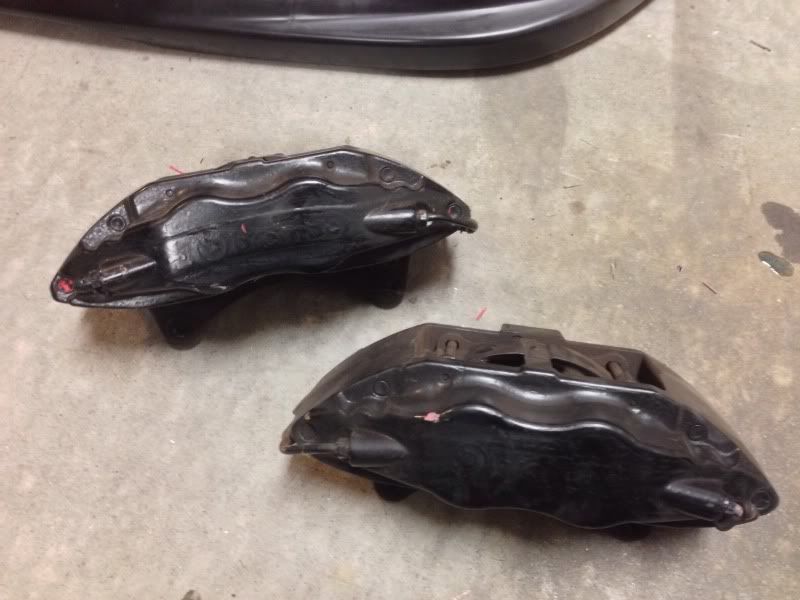
Nasty half assed brembos, they're already pulled apart and ready for powder.
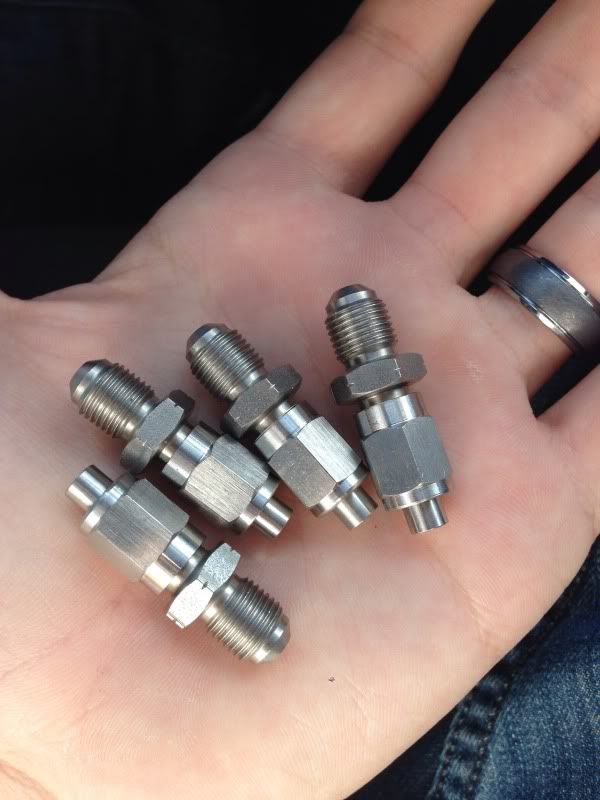
This is what 80$ in stainless steel brake line fittings looks like. I sharted slightly when he told me the price, I guess you have to pay to play.
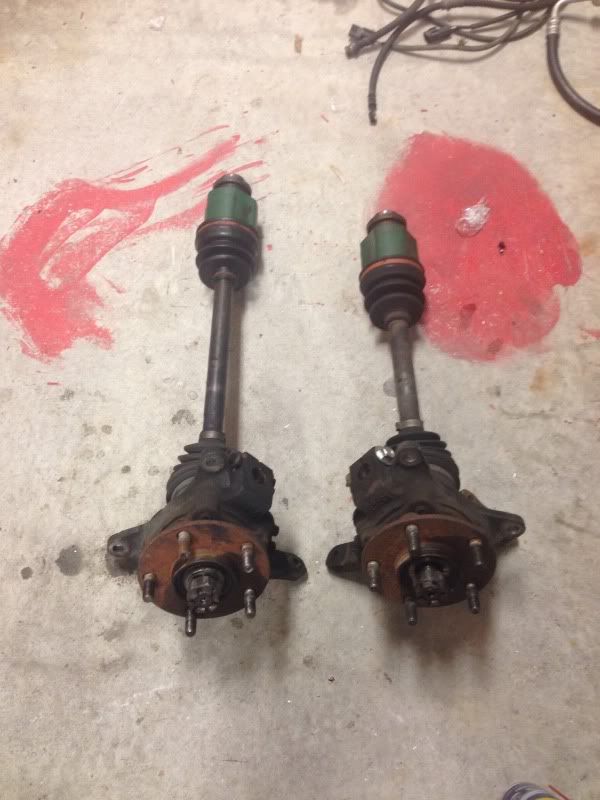
Tried pulling the axles but they're seized in the bearings, so I'll have to take these to a friends shop and use his press. I'm also planning on pulling the bearings out and blasting / powder coating the knuckles.
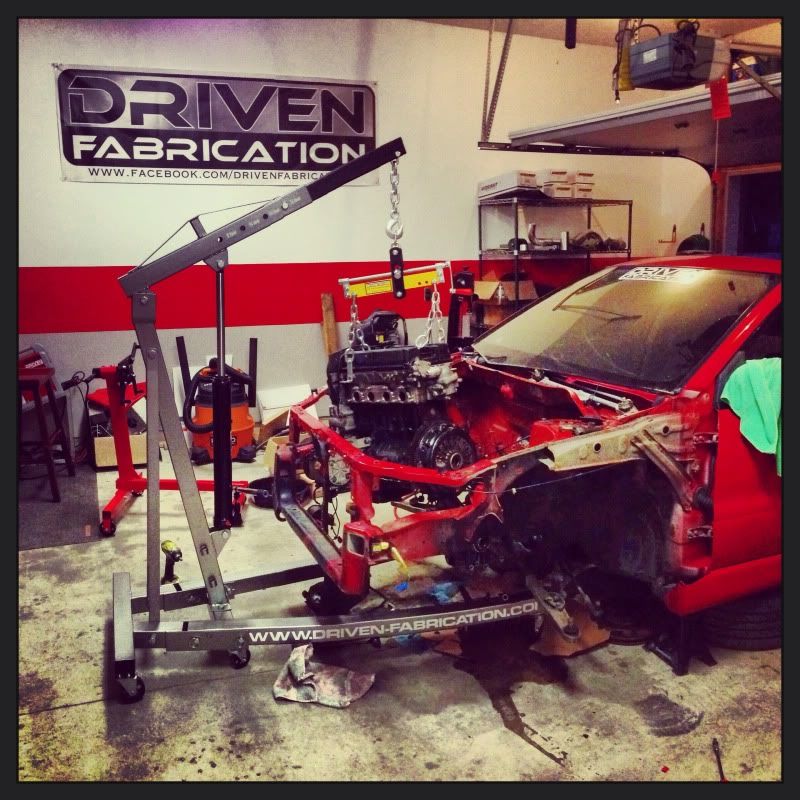
Cool hipster Instagram shot (@drivenfab, follow me if you don't already!)
I'll have to do a better job of taking pictures throughout the process and keeping this build thread updated, I'm not very good at documenting things.
That's all for now, I work on it when I have time (usually weekends) and when I'm not welding up Evo X parts!!
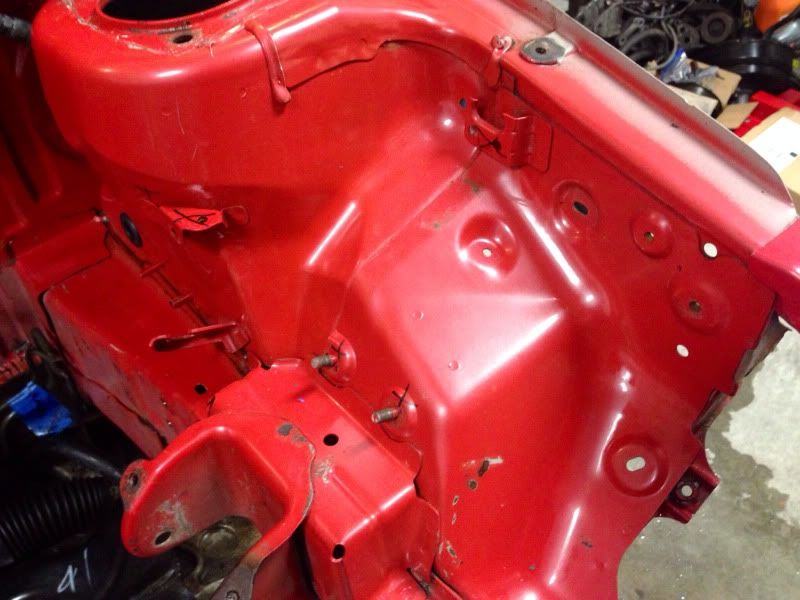
The car was in very rough shape, I need to order a new radiator support beam because every single nut on the back side has rusted and broken off somewhere along the life of this car. The bay is also going to be sprayed with fresh red paint.
The car's going to have AC (possibly a remote compressor), one of Alex's electric power steering kits, and a forward facing turbo kit with a Garrett FP spec 30r (not HTA). It came on the car, so I've decided to just keep it and run it on the stock block for next year.
If anyone knows a company that sells radiator cores (that don't cost an arm and a leg) let me know, I'm looking for a half size one.
So here's a ****ty picture of the fuse box. It's rather hard to see what's going on here. Basically I'm extending about 30 wires roughly 3-4 ft each to run to the drivers side headlight.
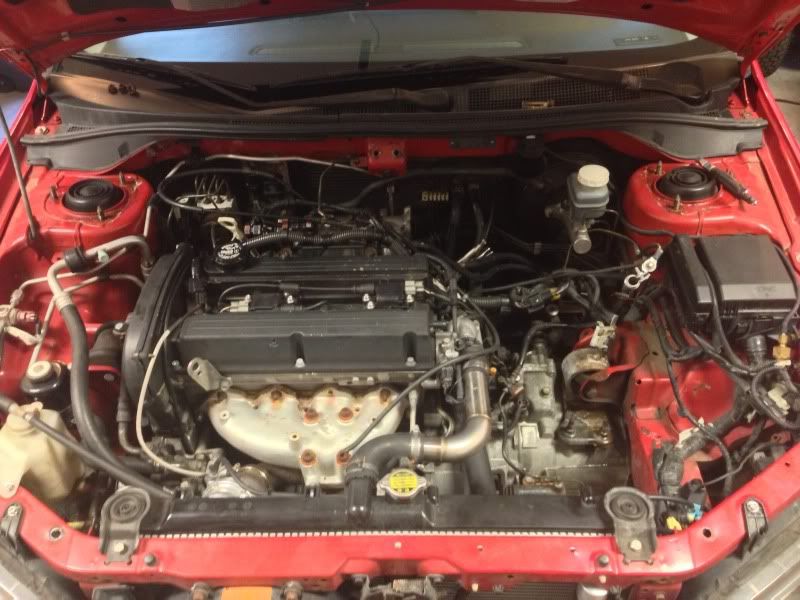
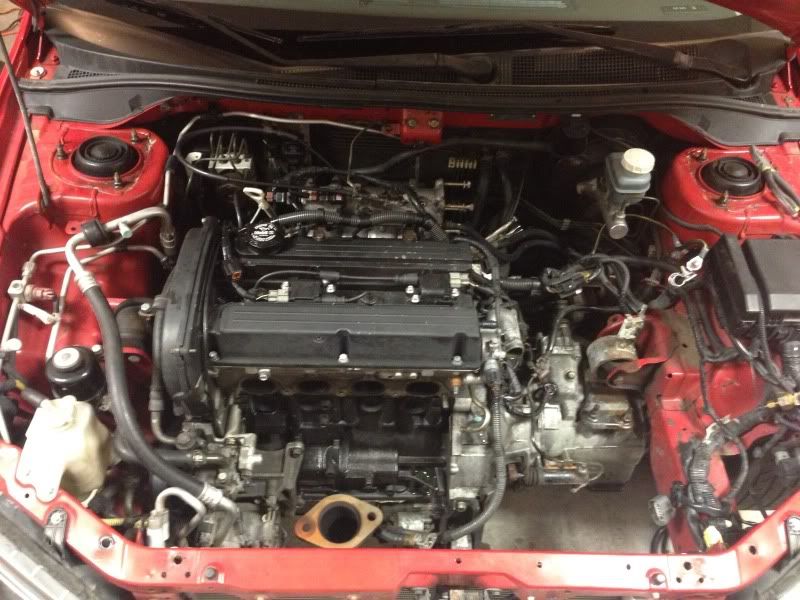
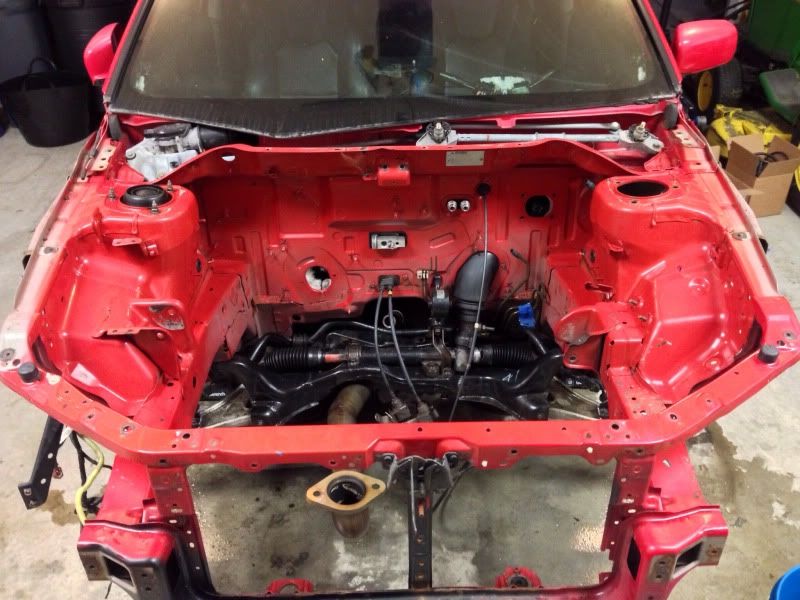
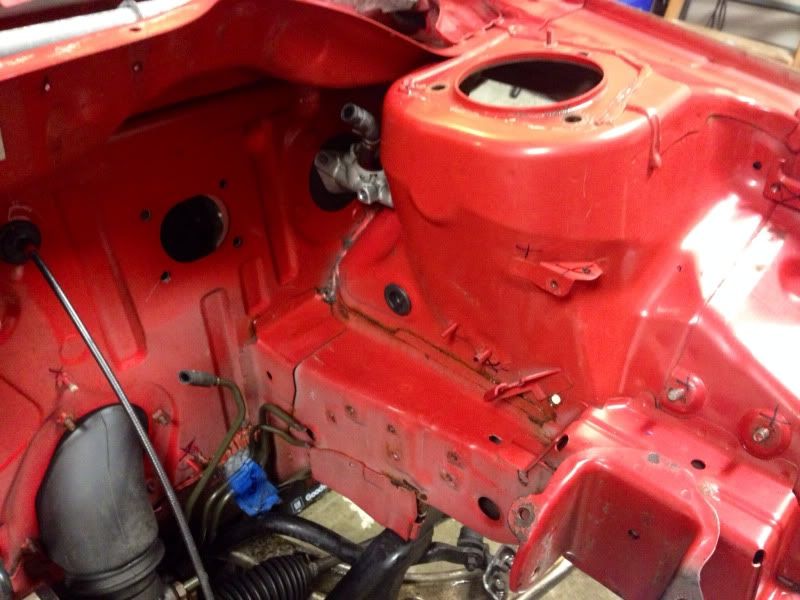
The current status of the engine bay. I shot it with simple green and scrubbed it to get some of the nasties off.
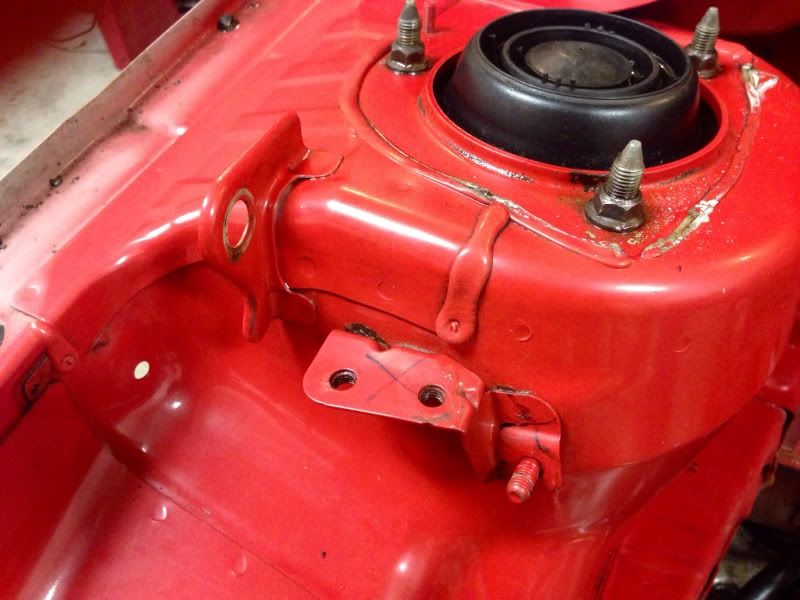
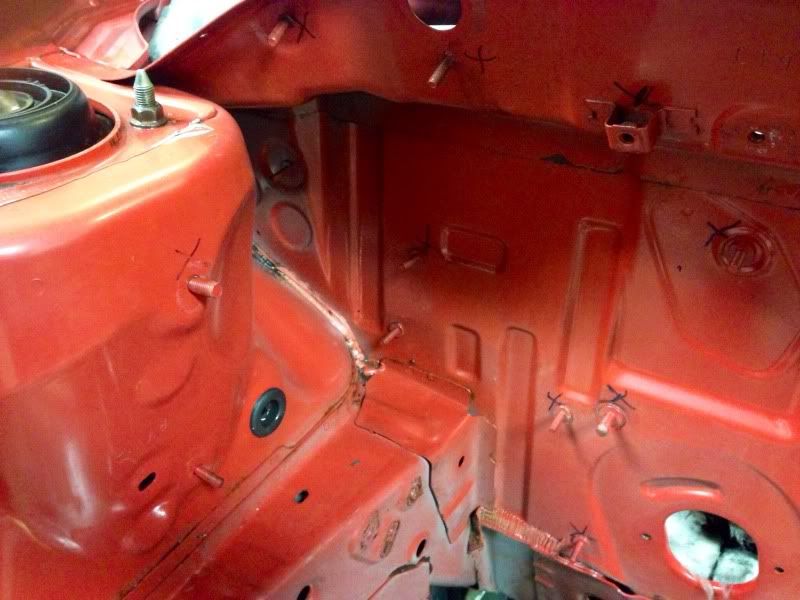
I then went through and started marking off what all is staying and what is going.
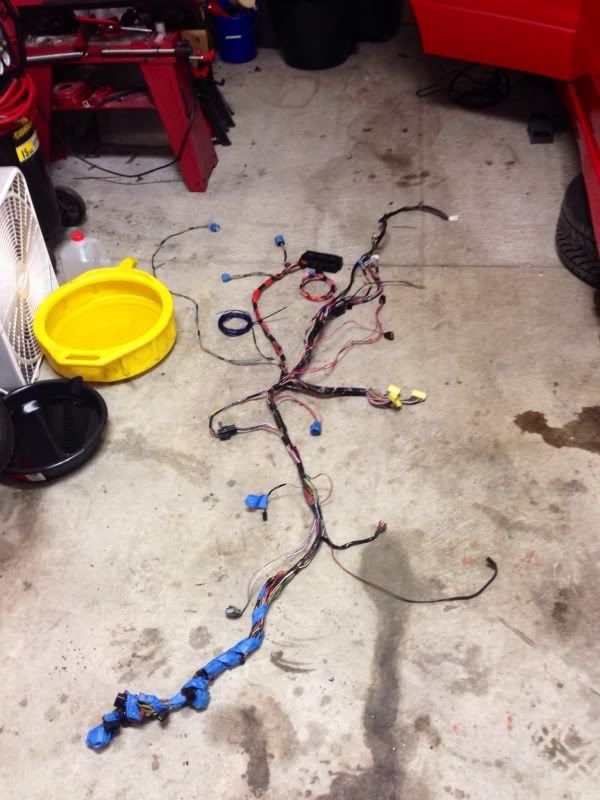
And the main wiring harness, this is going to get a mill spec connector for the fire wall, so the engine harness can be pulled in a matter of seconds.
Nice! Looks great so far. Where do you plan on putting the ac? (Saw you said remote compressor)
Not sure, the condenser will most likely go in front of the radiator, but the compressor might be located somewhere else. I may put it all in the trunk and put the condenser under the car somewhere, I'm not sure yet. I have do to some more brainstorming.
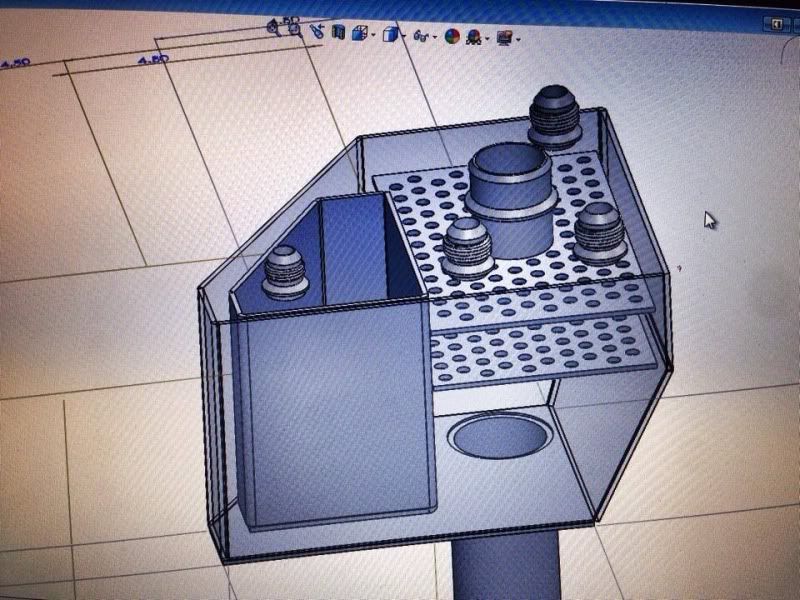
Drew this up a few weeks ago, this is the beginning stages of our new Evo 8/9 Catch Can / coolant overflow. I wanted to have a prototype in my hands by now but I'm making more Evo X parts at the moment.