
for anyone that has crankcase pressure issues

I'd be very reluctant to risk using that valve cover, given the extent of shavings and metal particles that were created by the method you used. Unless you pull all the baffles out of the valve cover, you cannot be sure you got the metallic debris out...

you can fill the ends up and then shake them and let it all drain out.. theres no way in hell this wont get every last bit out. i dont know if you ever did this yourself, but the sides FILL up and you can shake the water / brake cleaner back and forth and let it out.. and a 5/8" hole isnt exactly small. I can shine my light in there i see absolutely nothing anymore.
im going to keep running water through it and shaking it and buy 2 more cans of brake cleaner and then also hit it with a air compressor at 80psi.
JID2 did this a year ago and never had a issue.
And it looks easy t take off.. its just rivets. pop em off. not even bothering with that tho after seeing how the valve covers setup. 50 times shaking and dumping will 100% guarantee its all gone.
ill submerge it also to confirm everythings out. thanks for making me be extra cautious tho lol. i was gonna just be done with it ,but now im gonna just go over board for reassurance.

ya someone mentioned that.. im already done drilling though. its already drilled and tapped. im just gonna spend 2 hrs now flushing it like a mad man just to be super safe.


here is what I ended up doing, I copied and pasted in here for you to look at
the thread is located here is you choose to see more
"Good morning everyone,
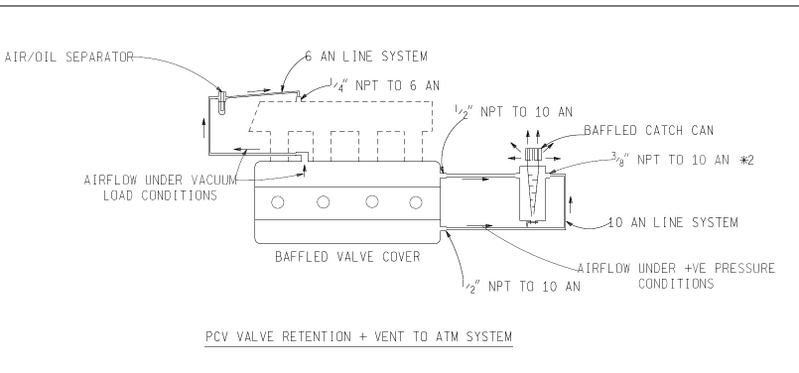
A little while ago, I had some ideas about positive crank case ventilation, in which I wanted to relieve as much pressure as possible, but still retain the PCV system for daily driving benefits.
I had intially come up with the following sketch
Now it was time to put it all together.
A while ago I had rex powdercoat a valve cover for me, as I was tired of the red stock cover. I also drilled out the sides of the cover, so that I would be able to place -10 AN lines to it. These relief holes are above the baffle plate that is in the stock evolution V.C
here is what the cover looks like
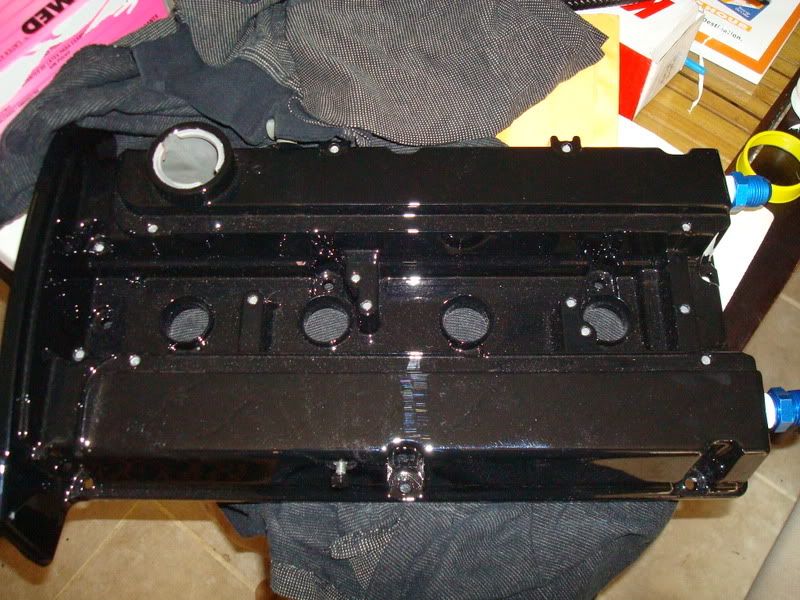
a picture with the 1/2"NPT to -10AN fittings installed.

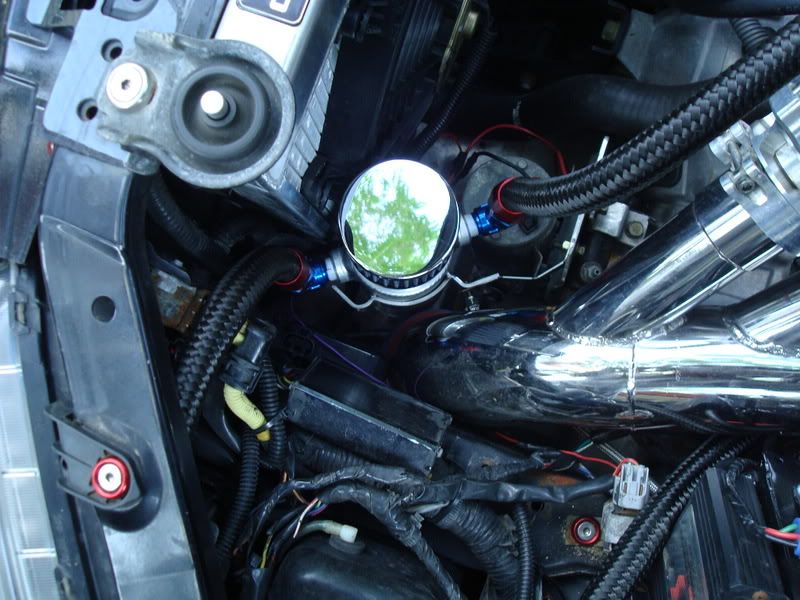
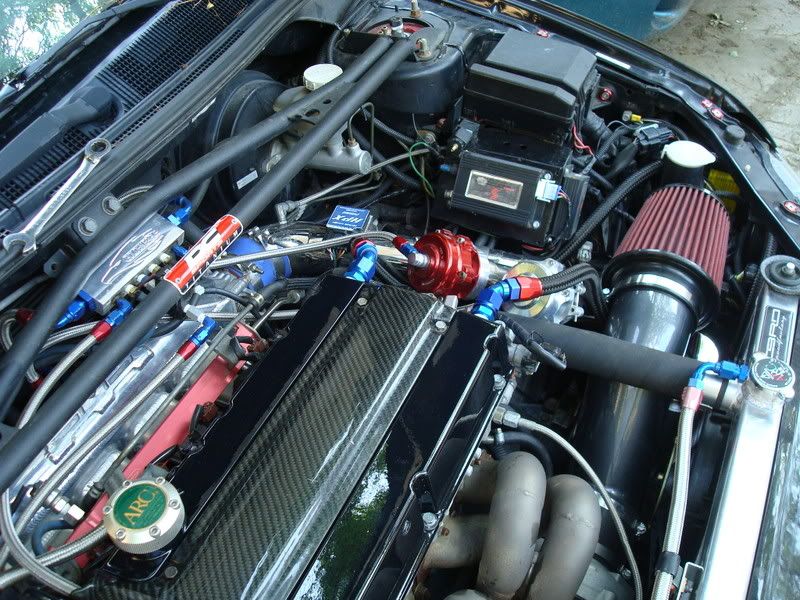
Realestate under the hood of my car is very limited. The catch can that I have is rather large, so I definitely had to get creative with a location for placement. I decided that I would place it infront of the transmission an under the intake pipe. I ended up using an old saw zaw BLADE, bending it up and creating a bracket to hold the catch can

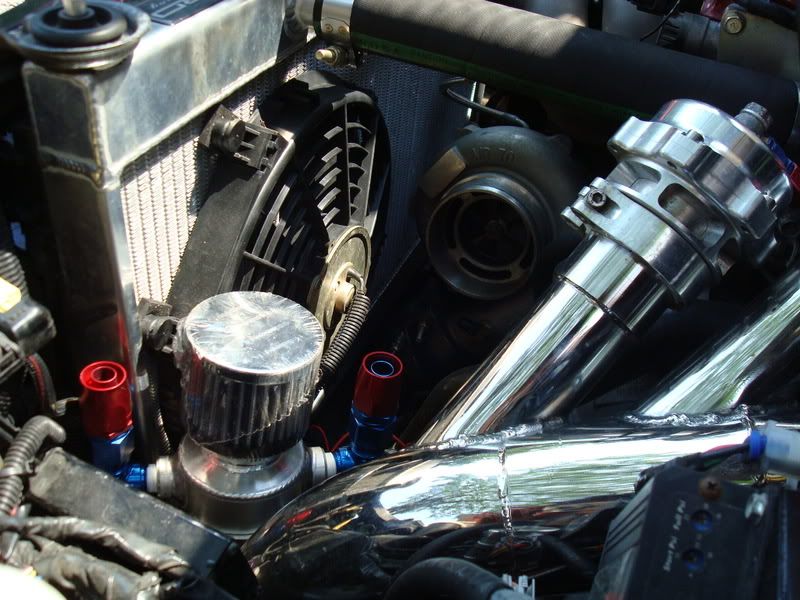
here is what it looks like under the intake (you can barely see it )

Oh I almost forgot, I made this intake completely out of straight pieces of 4" stainless pipe. However the guy that tigged it up, did a terrible job, where I had to spend about 4 hours, grinding everything inside the pipe down, because of all the slag that was present. Rex, then finished her off with some black chrome powder coat. I think it looks really nice now, you can't even tell that it was pipe cut

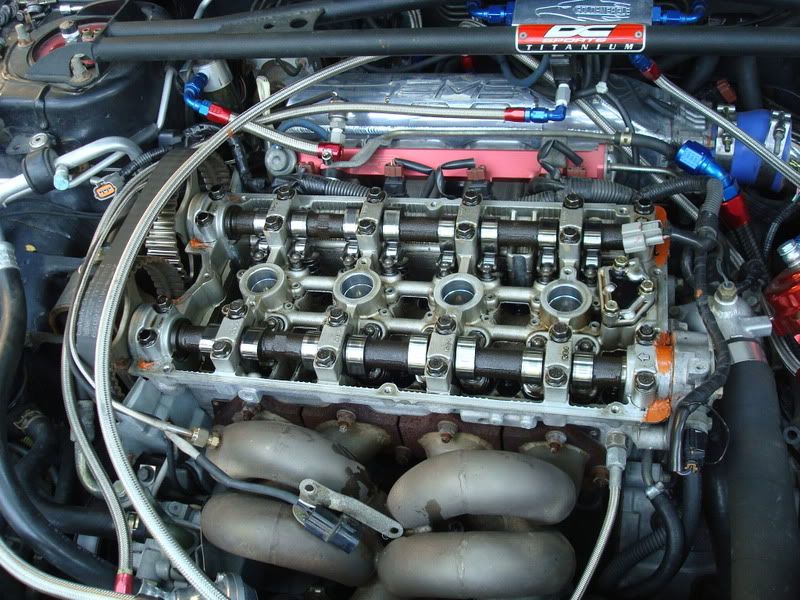
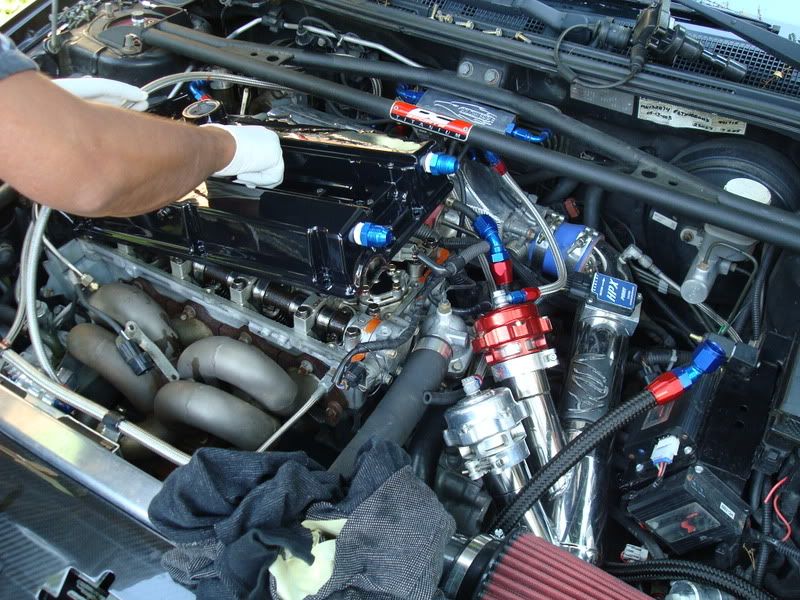
Moving along, I began to take off the old cover, transferring gaskets,pcv valve, and the little washers that go under the V.C bolts

if you look in this picture you can see the air oil separater which is by the oil dipstick in the left side of the picture below
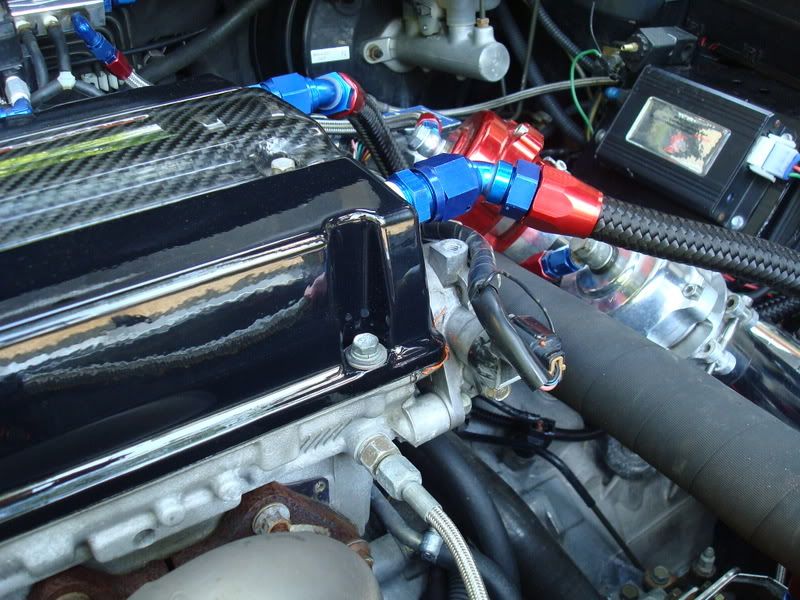
I added my -10 AN Prolite hose, to the 45 degree -10 an fittings, definitely gives it a nice contrast
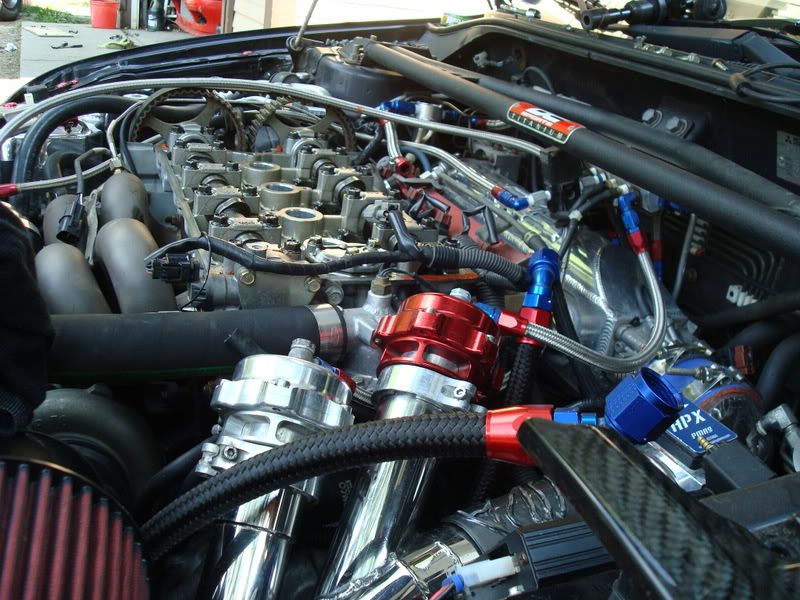
installing the cover
here is a picture of the can without the filter and with the hoses attached
and finally with everything together
here is the finished product, sorry but the GF was taking way too many pictures, so I am posting them all up
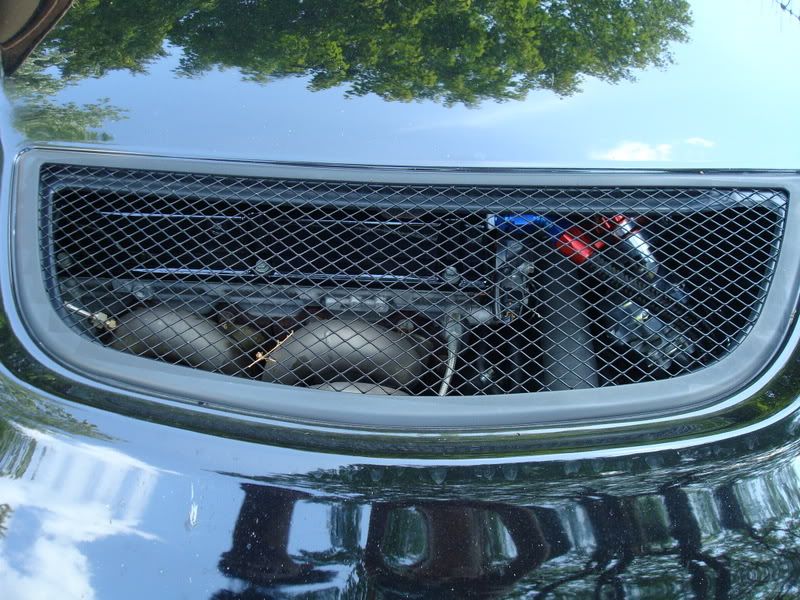
and finally with the hood closed
Hope you enjoyed my sunday afternoon work.
have a great week everyone
later
the thread is located here is you choose to see more
"Good morning everyone,
A little while ago, I had some ideas about positive crank case ventilation, in which I wanted to relieve as much pressure as possible, but still retain the PCV system for daily driving benefits.
I had intially come up with the following sketch
Now it was time to put it all together.
A while ago I had rex powdercoat a valve cover for me, as I was tired of the red stock cover. I also drilled out the sides of the cover, so that I would be able to place -10 AN lines to it. These relief holes are above the baffle plate that is in the stock evolution V.C
here is what the cover looks like
a picture with the 1/2"NPT to -10AN fittings installed.
Realestate under the hood of my car is very limited. The catch can that I have is rather large, so I definitely had to get creative with a location for placement. I decided that I would place it infront of the transmission an under the intake pipe. I ended up using an old saw zaw BLADE, bending it up and creating a bracket to hold the catch can
here is what it looks like under the intake (you can barely see it )
Oh I almost forgot, I made this intake completely out of straight pieces of 4" stainless pipe. However the guy that tigged it up, did a terrible job, where I had to spend about 4 hours, grinding everything inside the pipe down, because of all the slag that was present. Rex, then finished her off with some black chrome powder coat. I think it looks really nice now, you can't even tell that it was pipe cut
Moving along, I began to take off the old cover, transferring gaskets,pcv valve, and the little washers that go under the V.C bolts
if you look in this picture you can see the air oil separater which is by the oil dipstick in the left side of the picture below
I added my -10 AN Prolite hose, to the 45 degree -10 an fittings, definitely gives it a nice contrast
installing the cover
here is a picture of the can without the filter and with the hoses attached
and finally with everything together
here is the finished product, sorry but the GF was taking way too many pictures, so I am posting them all up
and finally with the hood closed
Hope you enjoyed my sunday afternoon work.
have a great week everyone
later
What to do if your on maf ? just eliminate the vta airfilter and recirculate back to the intake pipe ?
Oh and for those that Still wonder why Vacuum is important in a high HP motor.
http://www.gzmotorsports.com/vacuum-pump-guide.html
Quote from Moroso:
Vacuum Pumps
"A Moroso vacuum pump will increase horsepower in two ways. The biggest attribute of our vacuum pump is it allows the engine to accelerate faster based on the lack of crankcase pressure in the engine. The rotating assembly will accelerate faster, and the oil sheds off the rods and crankshaft easier since no atmosphere is present. The second benefit is that our vacuum pump allows your piston ring package to be changed to lower tension rings, lowering oil pressure and creating less parasitic drag on the engine. Lower oil pressure occurs because the vacuum draws the oil from the bearing and the journal quicker, thus the oil pump sees less resistance and creates less pressure. That means less power will be used to drive the oil pump. The piston rings require less tension because the vacuum will actually create a better seal by creating negative pressure on the backside of the pistons.
The required accessories Moroso offers to run a vacuum pump are a drive kit from the crankshaft or any other component that runs at engine speed or half engine speed. A breather tank for the outlet side of the vacuum is required to catch any oil that may come out of it, and to release all the crankcase volume. In many cases, running a vacuum relief valve is critical, since maintaining a safe vacuum level is important. In most wet-sump engines, 10 to 12 inches of vacuum is ideal. Higher levels are capable of making more power, but oil return and oil pressure issues can occur. Using a Moroso vacuum pump on the street is definitely a viable option. It will prevent oil leaks, and pulls the moisture out of the engine faster. Again, too much vacuum can create problems, so speak with an engine builder for their recommendation."
It was already mentioned in this thread, But just a FYI take it or leave it. Not hard to understand. Yes, we have all seen engines run with just breathers...its a personel preference.

Newbie
Joined: Dec 2010
Posts: 3
Likes: 0
From: San Francisco, California
so its safe to say my valve cover no logner has shavings. i doubt it had any before even doing this, but after everything i mentioned, i even did this afterwords:
sat the valve cover in a hot tank ( not hot tho) and let it flush out all the **** ...
then ran 4 cans of brake cleaner through it
then hit it with 85psi of pressure about 50 times
then ran 100 gallons of water through it
I think that should do it LOL. things probably cleaner now then it was from the factory.
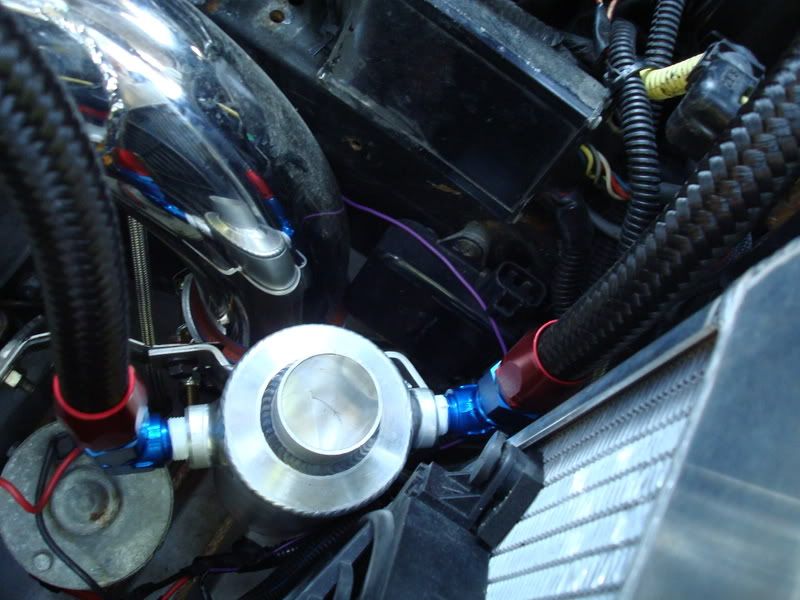
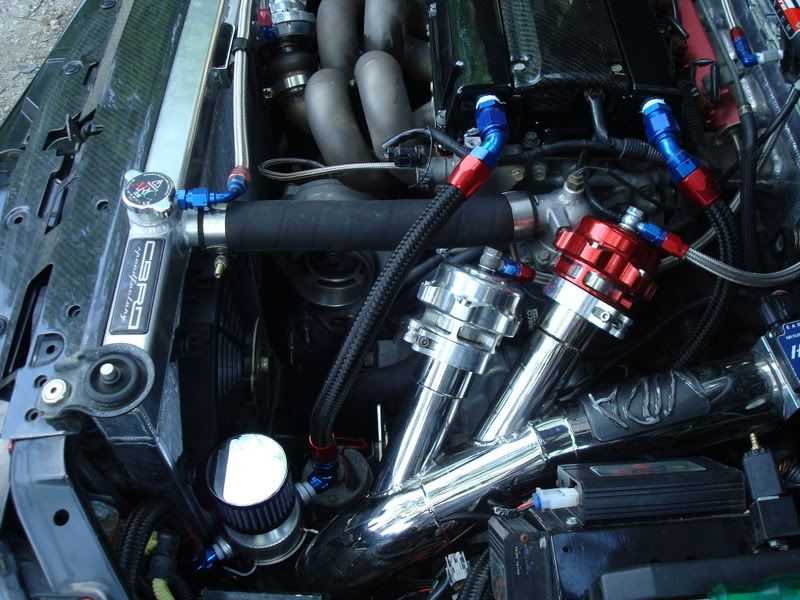
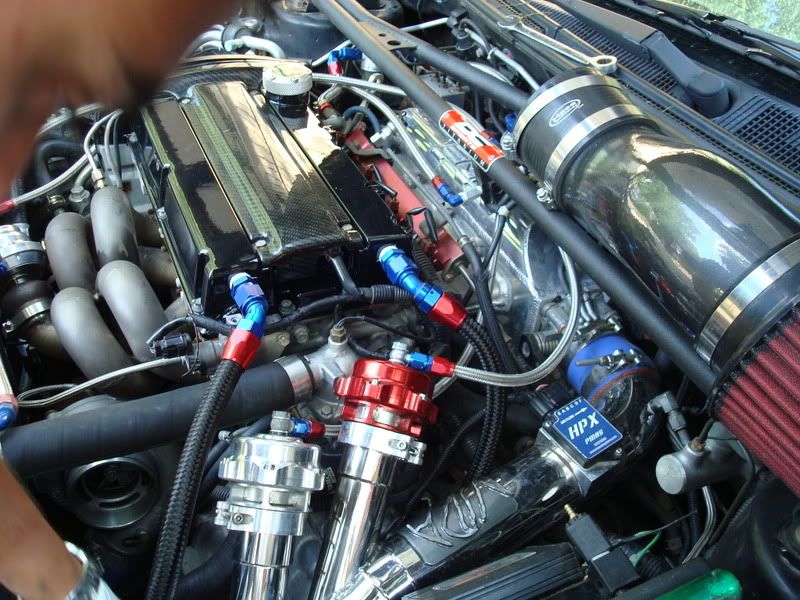
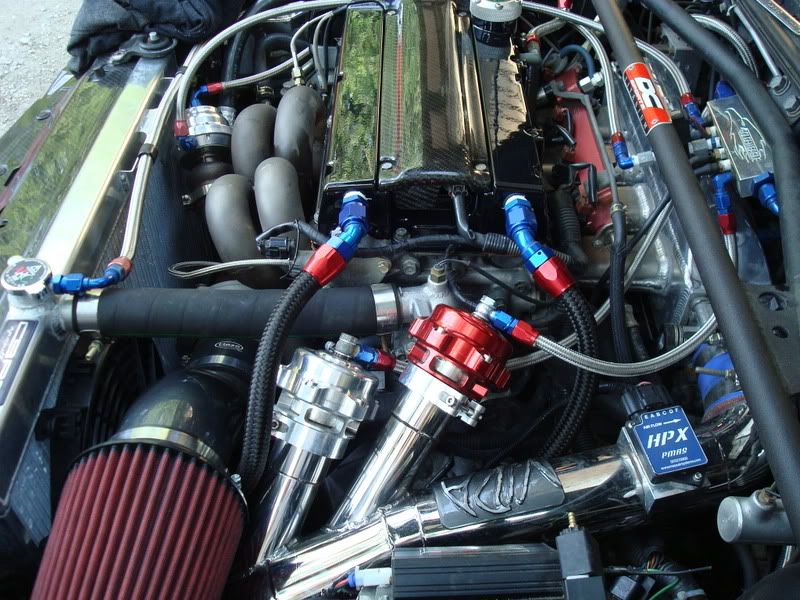
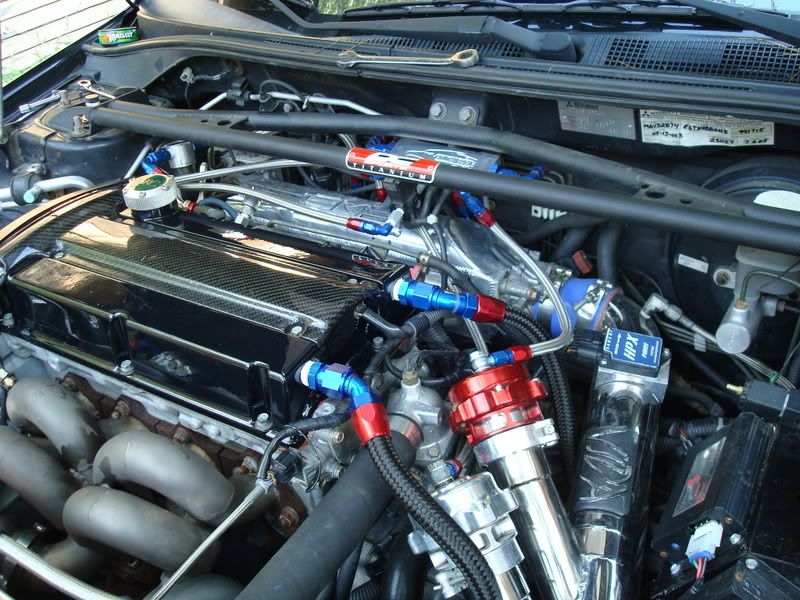
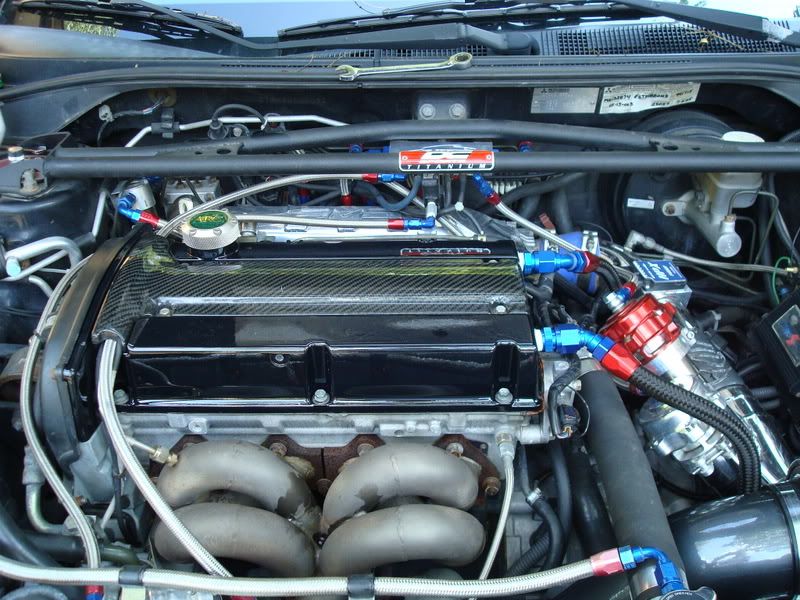
heres alittle update i got it all mounted. the catch can looks oem like its meant to be there. didnt run the intake manifold / pcv side yet, got lazy. will finish that later. Also cleaned wires up alittle. i want to do a full wire tuck but not doin that until it gets warmer out.
heres 2 pics:


heres 2 pics:
heres alittle update i got it all mounted. the catch can looks oem like its meant to be there. didnt run the intake manifold / pcv side yet, got lazy. will finish that later. Also cleaned wires up alittle. i want to do a full wire tuck but not doin that until it gets warmer out.
heres 2 pics:
heres 2 pics: