
infected's 2013 RVR SE AWD


Newbie
Joined: Sep 2013
Posts: 1
Likes: 0
From: Canada
this was a great thread to read while my RVR was getting serviced haha.
i didnt know about all the little mods that actually exist for the car, you have opened up a whole new can of worms lol. Good job on the ride!
i didnt know about all the little mods that actually exist for the car, you have opened up a whole new can of worms lol. Good job on the ride!
Thread Starter
Evolving Member
Joined: Sep 2013
Posts: 265
Likes: 1
From: Calgary, AB
Where in Canada are you?
Thread Starter
Evolving Member
Joined: Sep 2013
Posts: 265
Likes: 1
From: Calgary, AB
54. Front Driver Shock Warranty
It's been a long winter and not much has happened with the RVR. I received the letter for the lap belt recall which has been performed. On another note, I noticed when I was switching on the winter tires earlier in Oct 2014 the driver front shock was covered in grime. The leak appeared to have reached well beyond the spring seat which would have normally failed an out of province inspection here in Canada. I brought it back to Mitsu for an inspection and they acknowledged the leak but said it was not 'bad' enough to be considered warranty yet. Anyways, I received the recall letter on the lap belts shortly after and brought the vehicle in again on January 2015. I asked them to inspect the shock again in which they finally agreed it was defective and will be covered under warranty. I was booked in for the replacement this month and everything went smoothly. They only replaced the shock and re-used the existing spring. I was hoping it would be the strut assembly but either way I am happy.
Here are a couple shots of the leak back in Oct 2014.
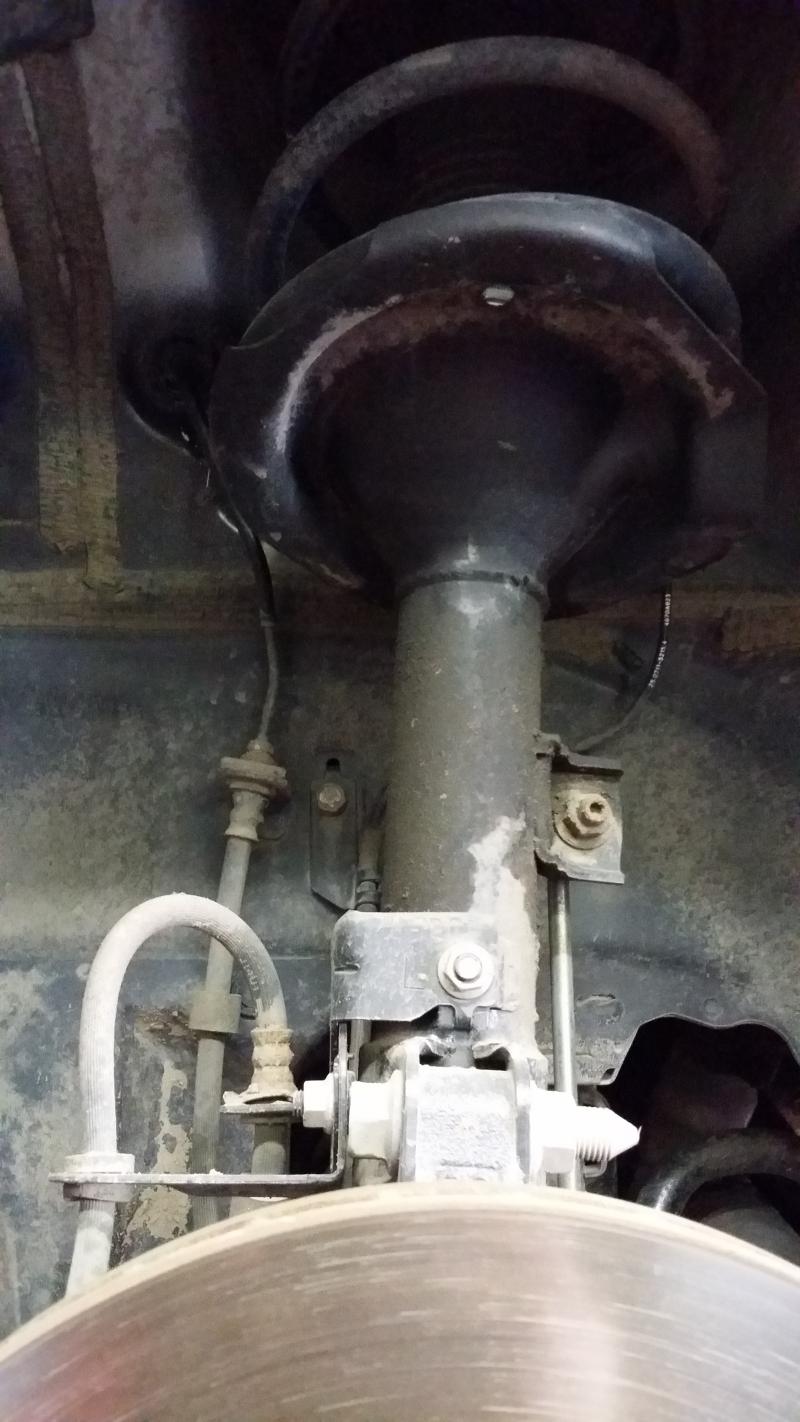
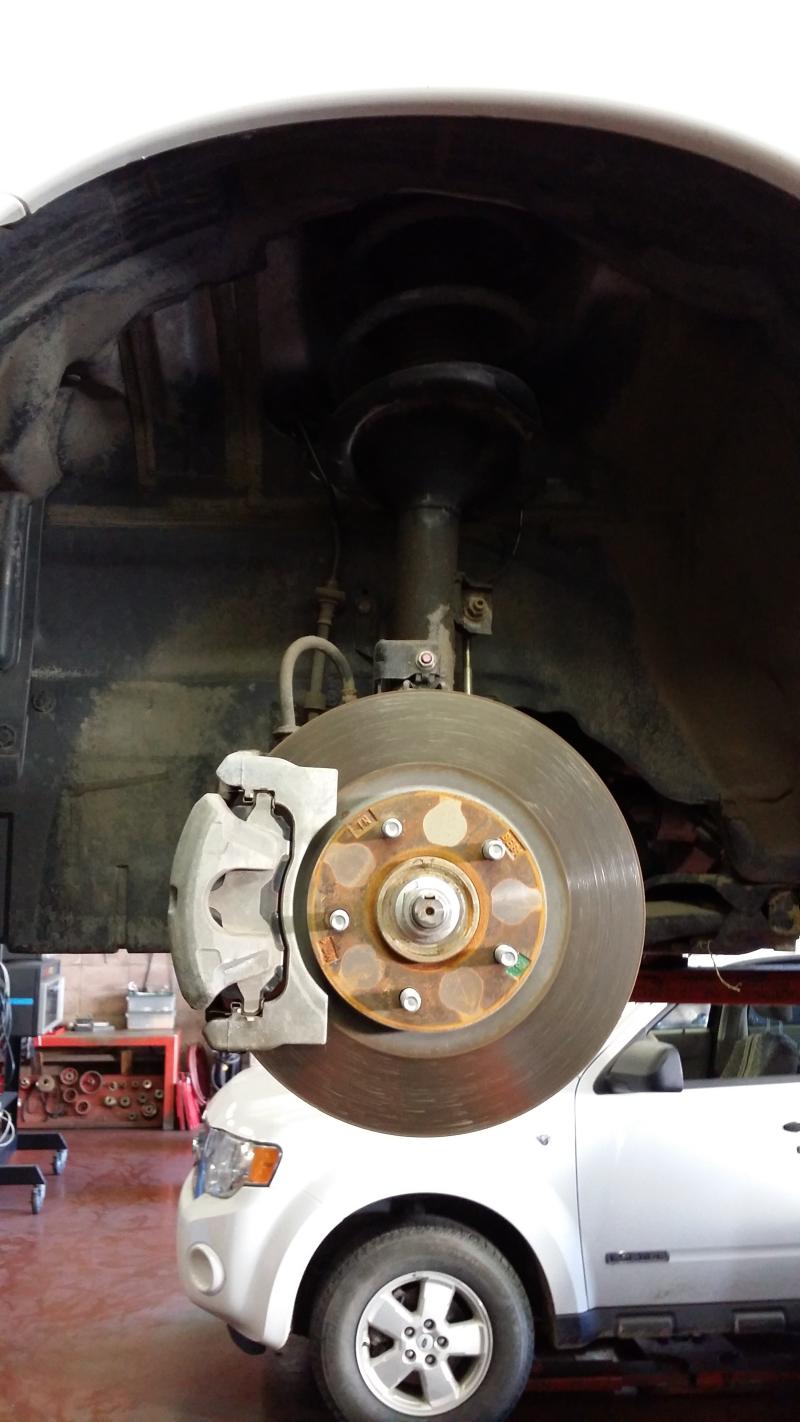
Here are a couple shots of the leak back in Oct 2014.


Thread Starter
Evolving Member
Joined: Sep 2013
Posts: 265
Likes: 1
From: Calgary, AB
55. OEM Rear Spoiler Kit
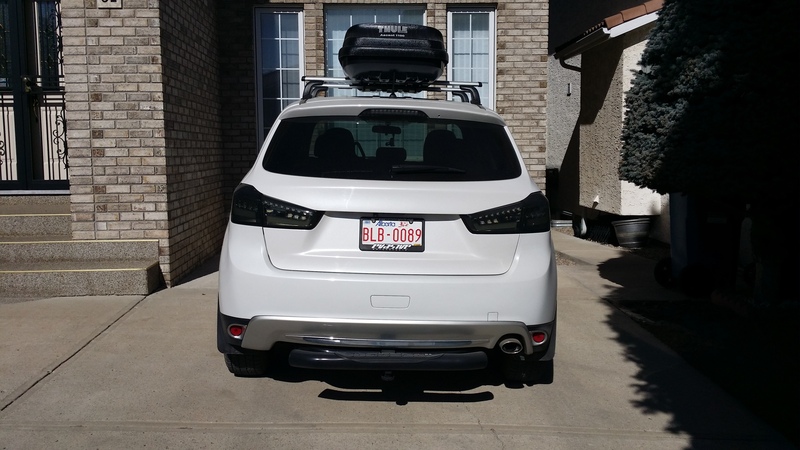
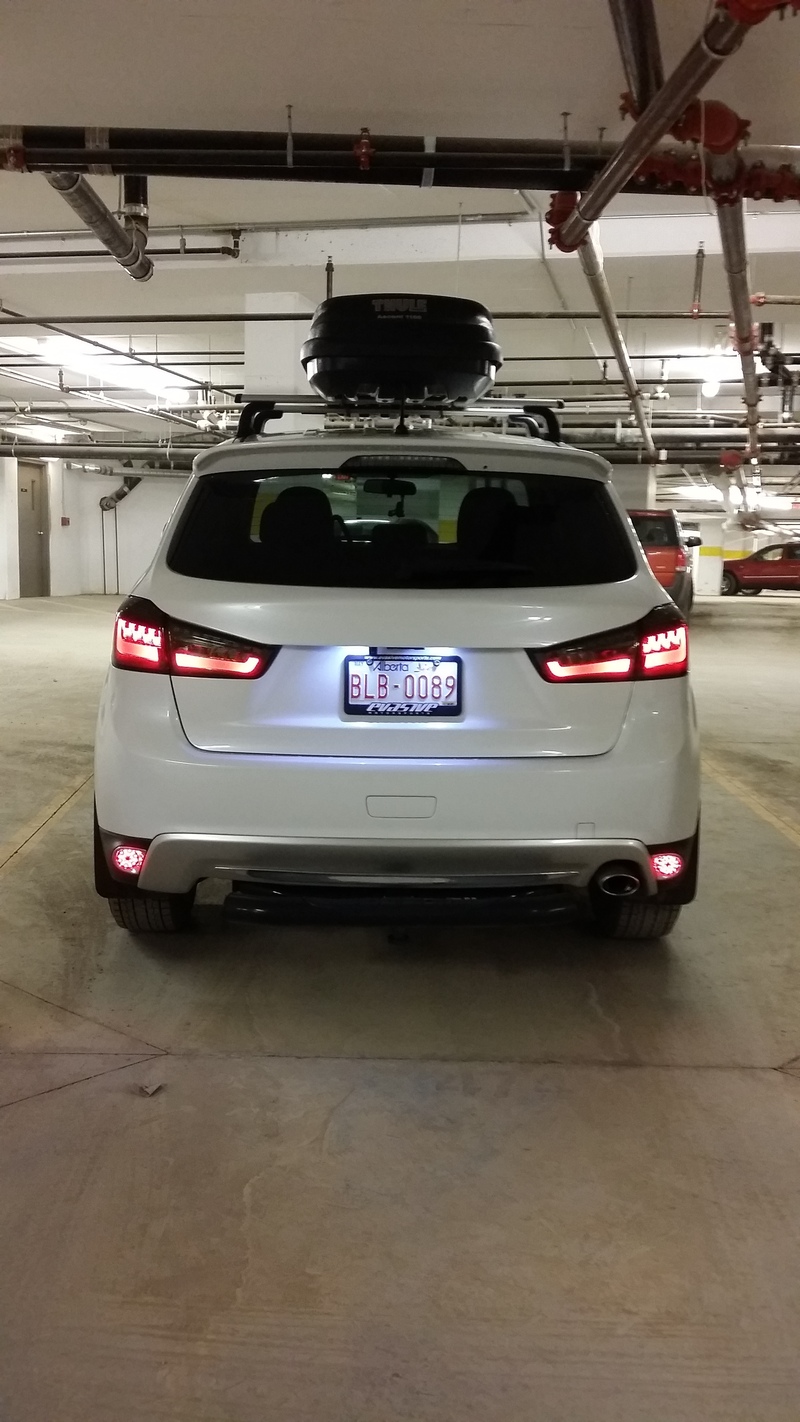
I finally decided to pick up the OEM rear spoiler kit. It's an item I've been on the fence about over the past year. Although the difference is subtle, it really changes the look of the rear with the spoiler.
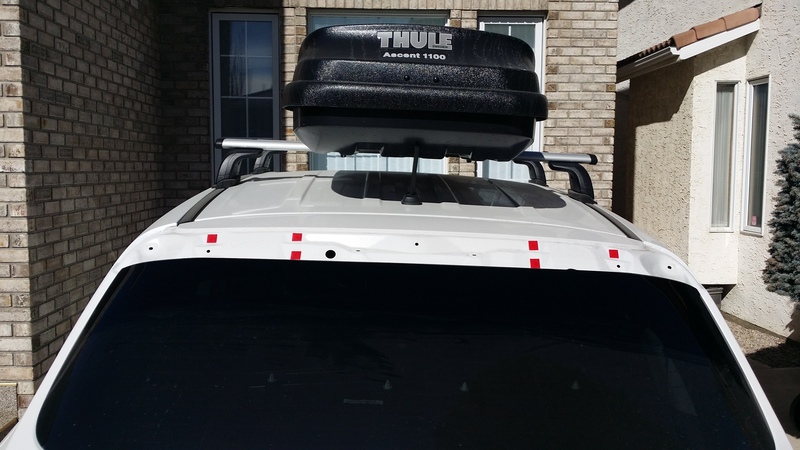
Here is the original spoiler.
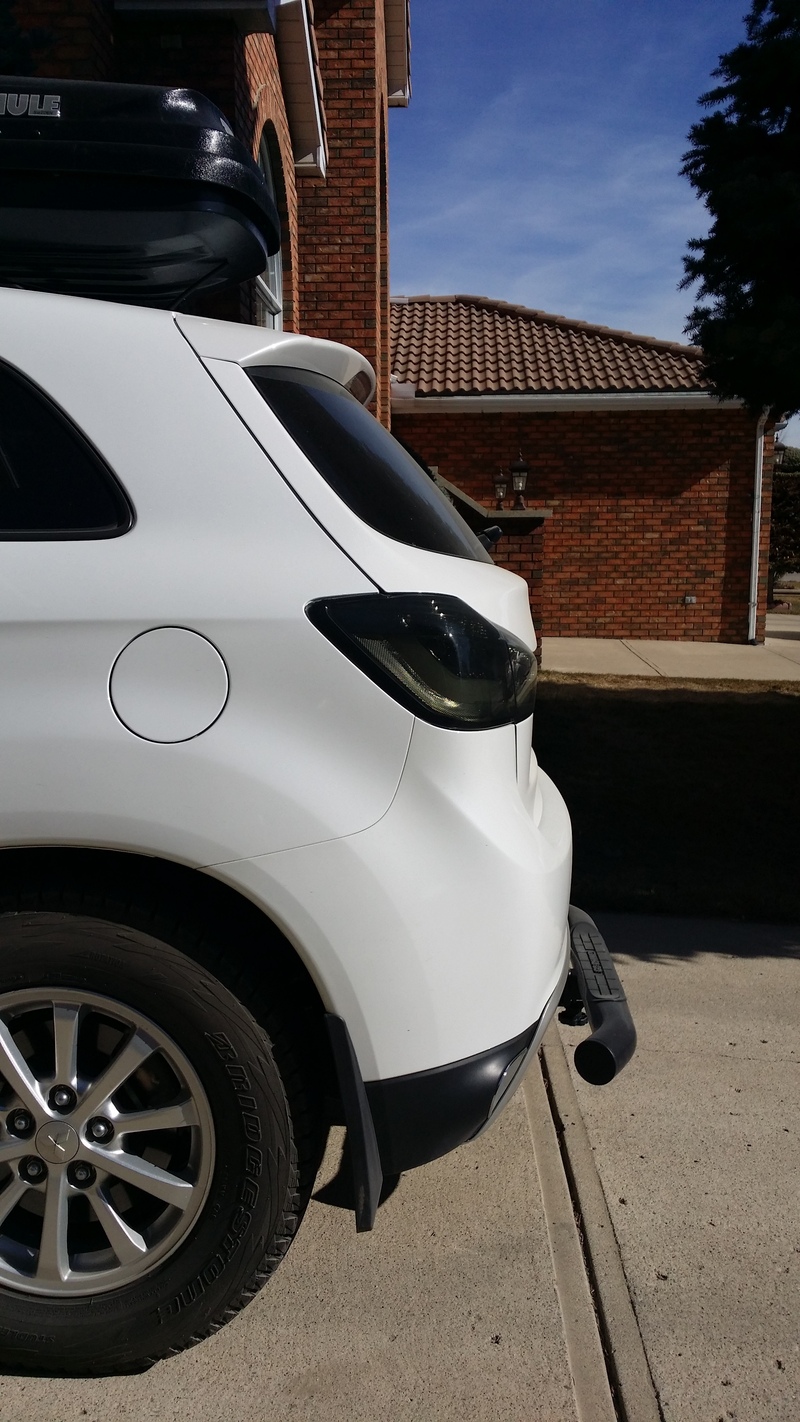
Side profile.
The mounting points for the big spoiler is not the same as the stock. You can see the difference here. The big spoiler has 6 less clips than the stock spoiler.
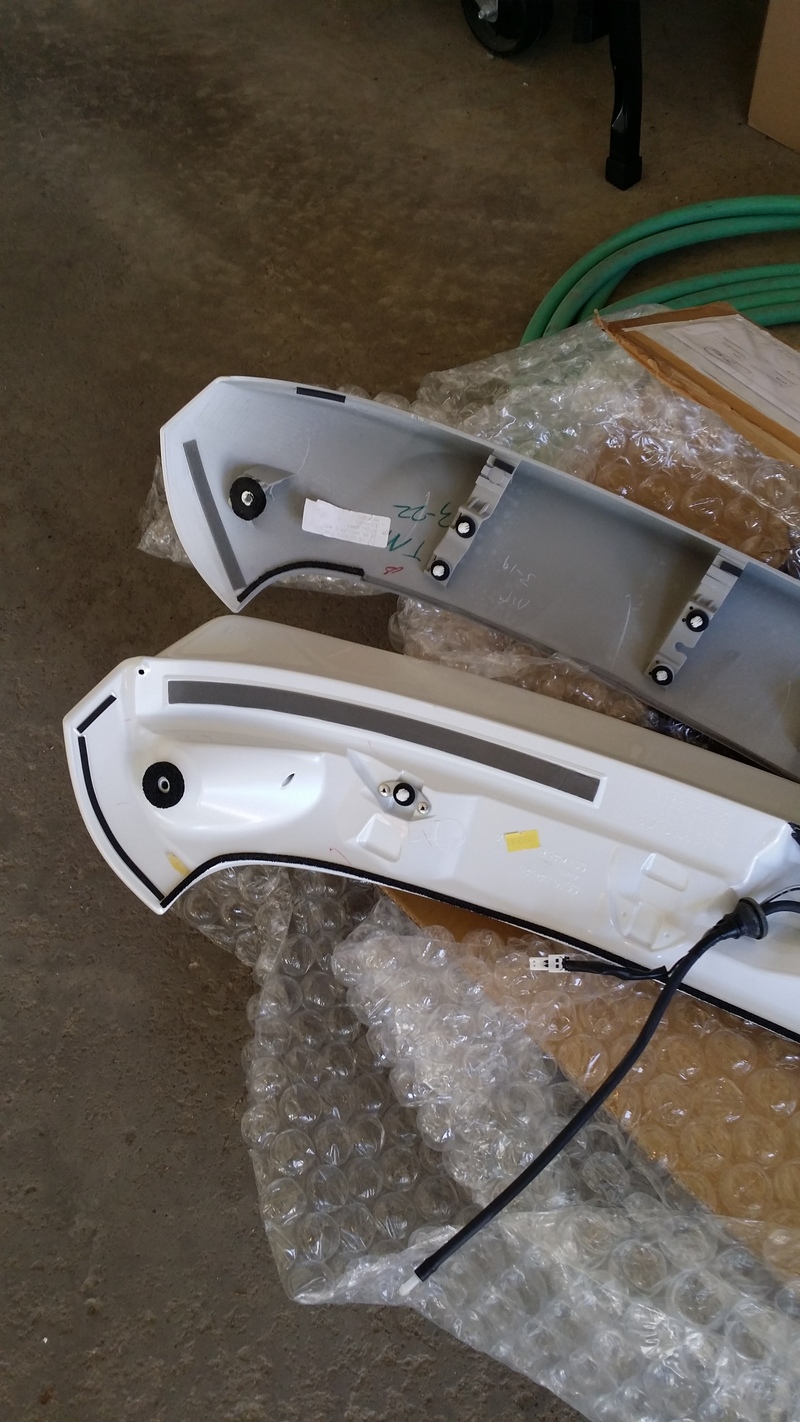
To keep the water out, I used double sided tape to seal the remaining holes where the clips used to be.
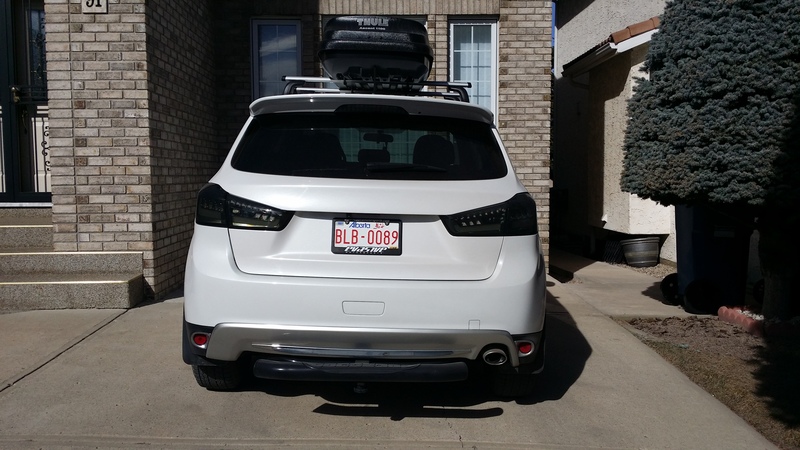
New spoiler on.
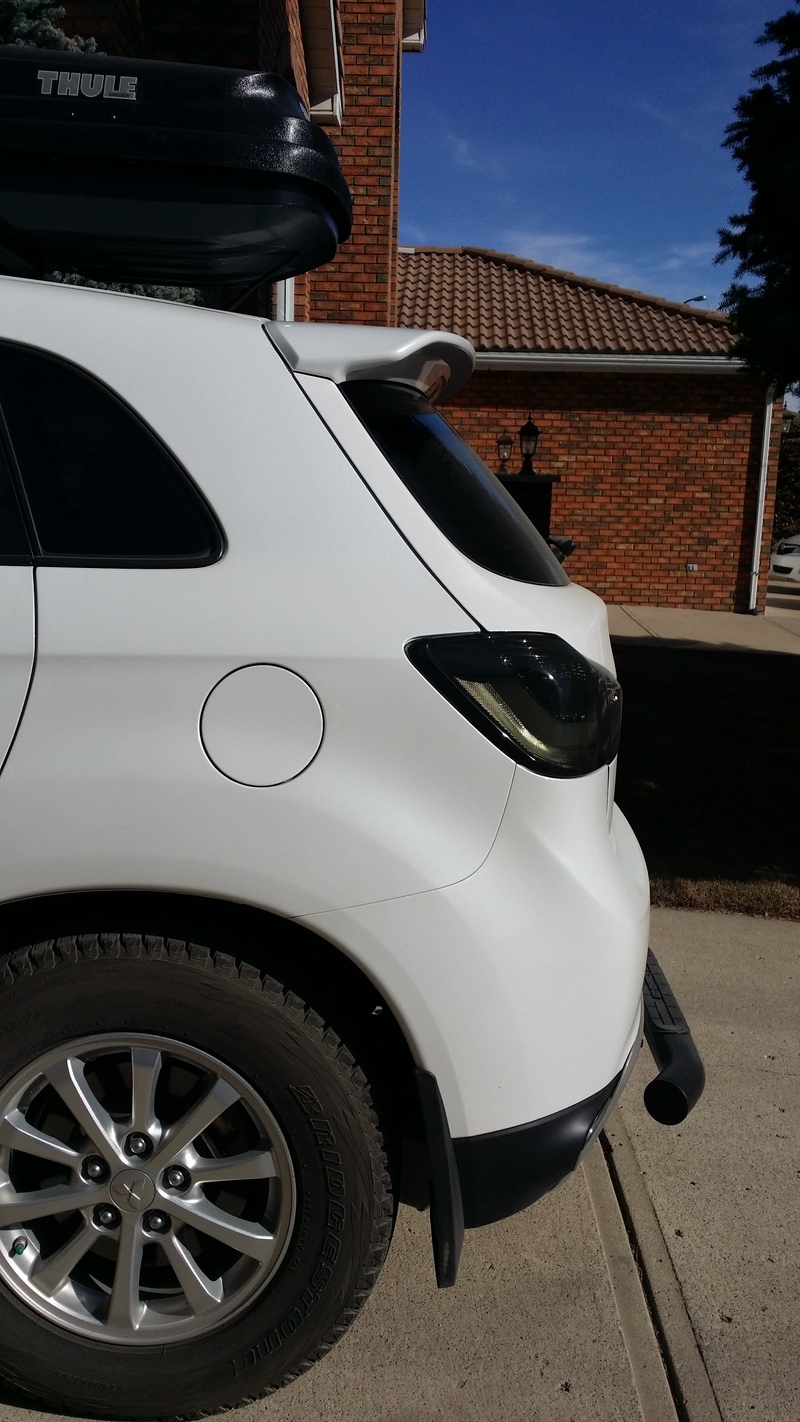
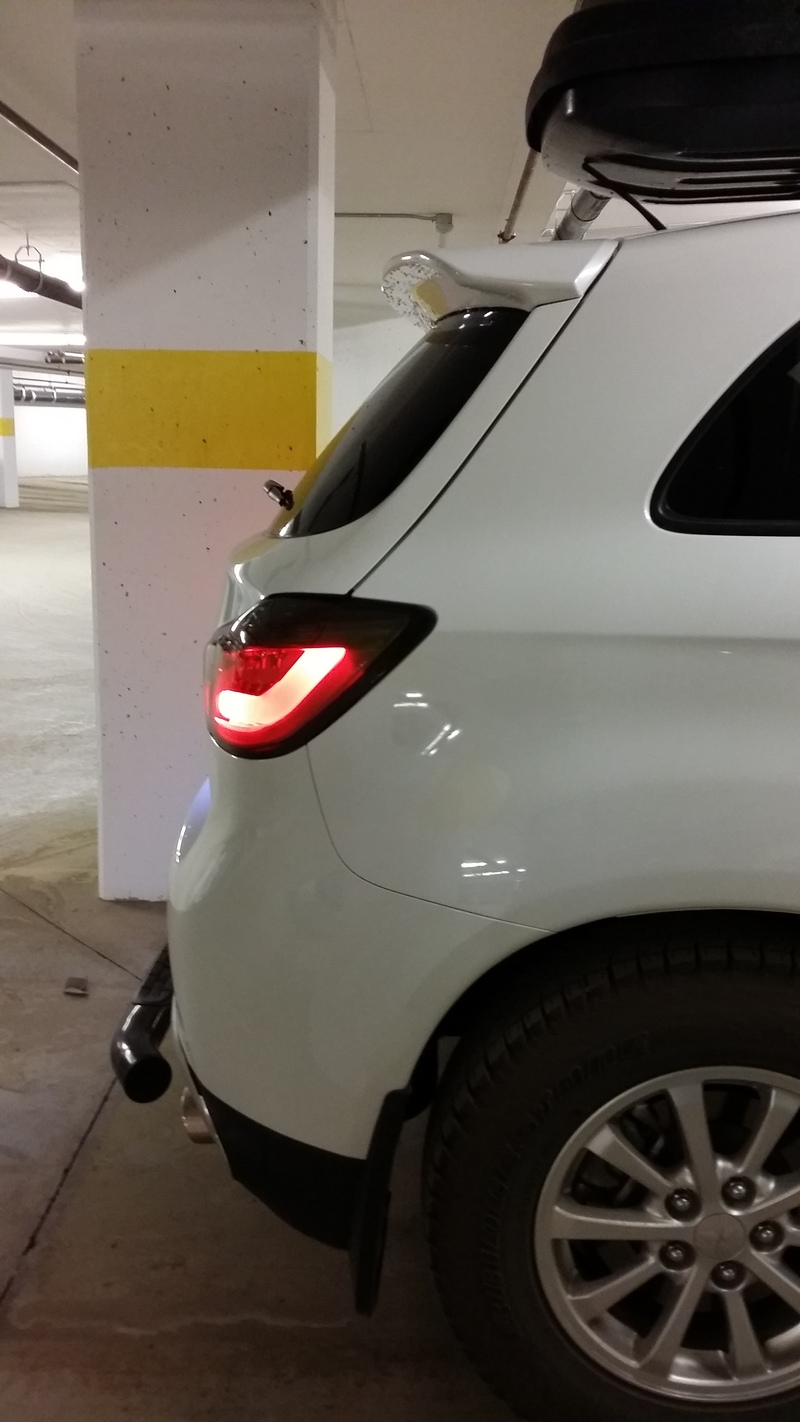
Side profile of the new spoiler.
After the install and a quick wash.
Side profile.
Very happy with the fitment! One of the mods I am really happy about because it sets it apart from the rest of the RVR's on the road. I was worried the paint match would be off (a couple posts back, I had to replace the tail gate and repaint) but it is 100%. Usually pearl is hard to match so I am really happy everything still looks OEM.
The new lip on the spoiler now comes in contact with my Thule box when the hatch is open. It would clear in the past with the smaller spoiler. Now the big spoiler touches just ever so slightly but the hatch still opens more than enough. Otherwise, no complaints!
Here is the original spoiler.

Side profile.

The mounting points for the big spoiler is not the same as the stock. You can see the difference here. The big spoiler has 6 less clips than the stock spoiler.

To keep the water out, I used double sided tape to seal the remaining holes where the clips used to be.

New spoiler on.

Side profile of the new spoiler.

After the install and a quick wash.

Side profile.

Very happy with the fitment! One of the mods I am really happy about because it sets it apart from the rest of the RVR's on the road. I was worried the paint match would be off (a couple posts back, I had to replace the tail gate and repaint) but it is 100%. Usually pearl is hard to match so I am really happy everything still looks OEM.
The new lip on the spoiler now comes in contact with my Thule box when the hatch is open. It would clear in the past with the smaller spoiler. Now the big spoiler touches just ever so slightly but the hatch still opens more than enough. Otherwise, no complaints!
Thread Starter
Evolving Member
Joined: Sep 2013
Posts: 265
Likes: 1
From: Calgary, AB
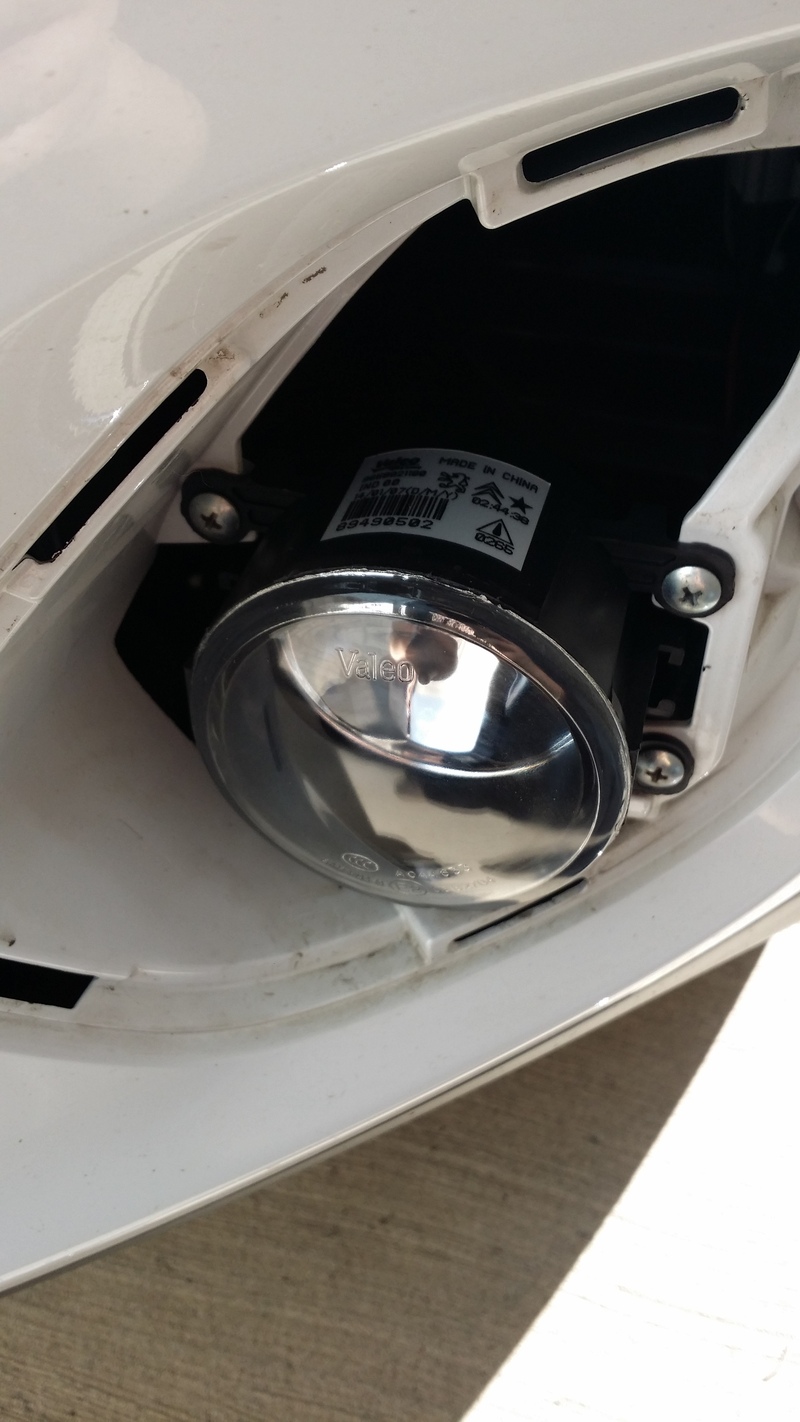
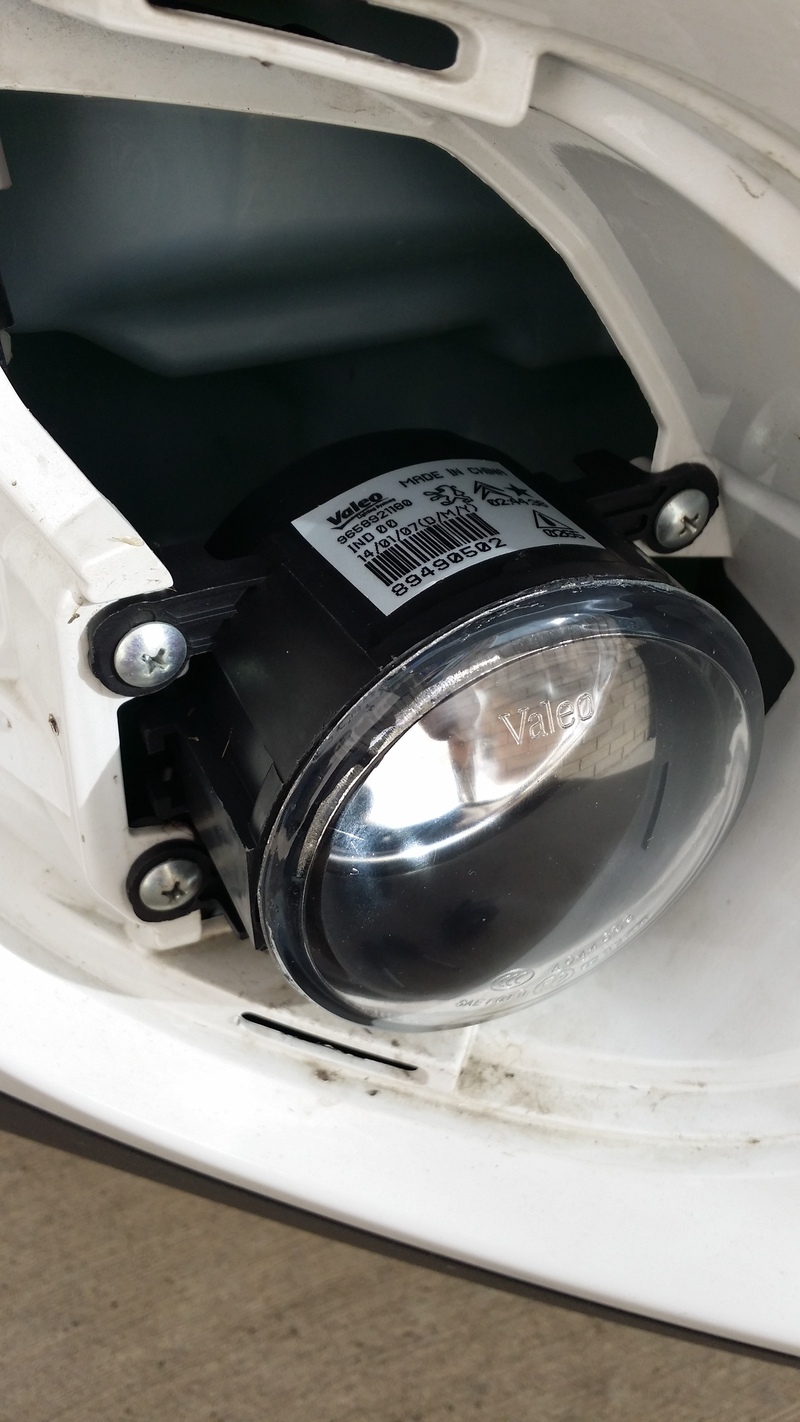
56. Valeo Fog Lights
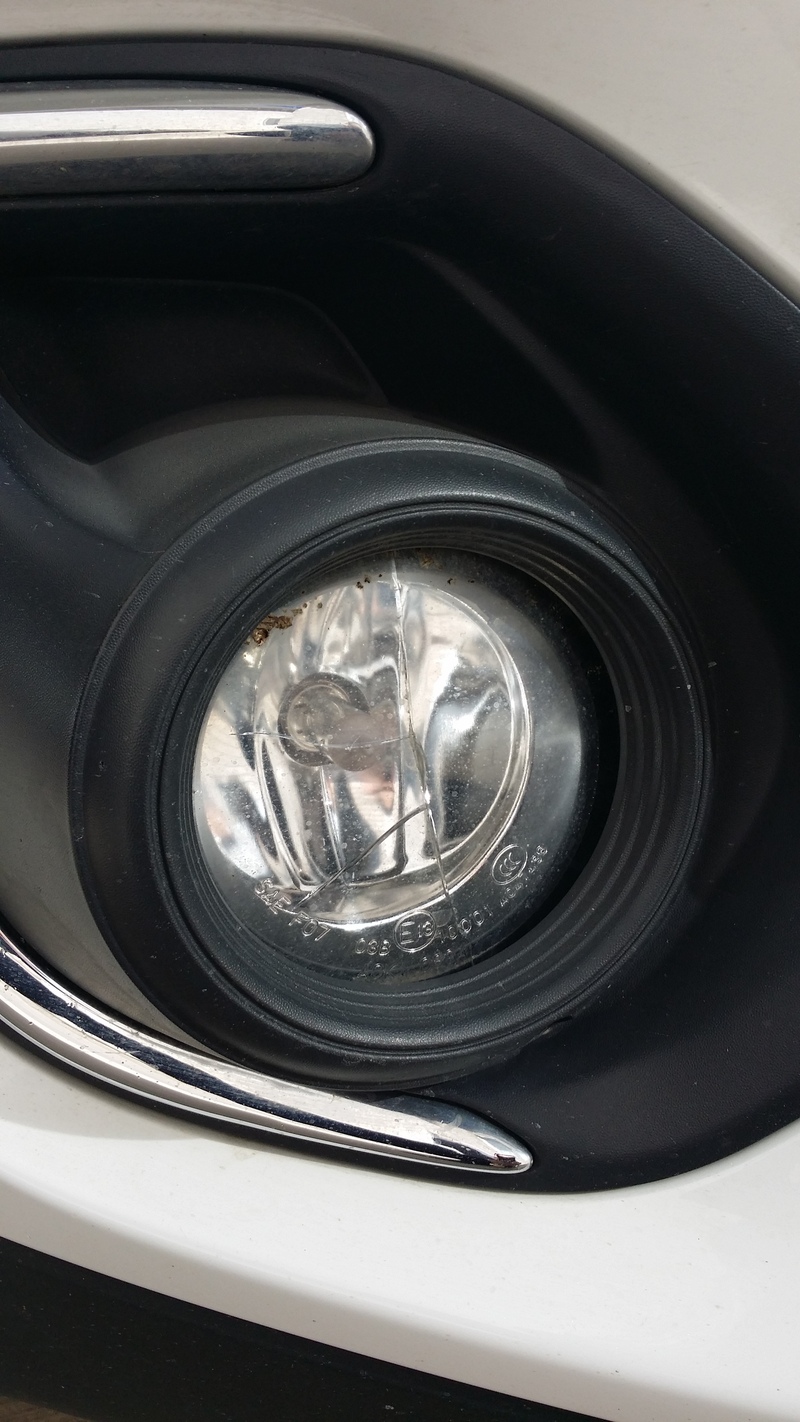
I noticed around Oct 2014 during a car wash that both fog light lenses had cracked from flying road debris. I've always kept an eye out on the lenses wondering how well they'd hold up. I managed to get a year out of them but still kind of disappointed Mitsubishi used glass instead of plastic.
I checked around and the dealer wanted around $150 EACH side. No thank you!
I found a set of Valeo's which looked promising. The quality is 9/10 compared to OEM, and the reflector inside is... well... it reflects. The bulbs were trash so I tossed those and kept the OEM Osram's. The light output is not too shabby but these aren't very bright anyways. Just DRL and fogs because I switched the lowbeam and fog switch around to account for the DRL. Anyways, it sure is nice to have fogs that aren't cracked anymore!
Old driver side.
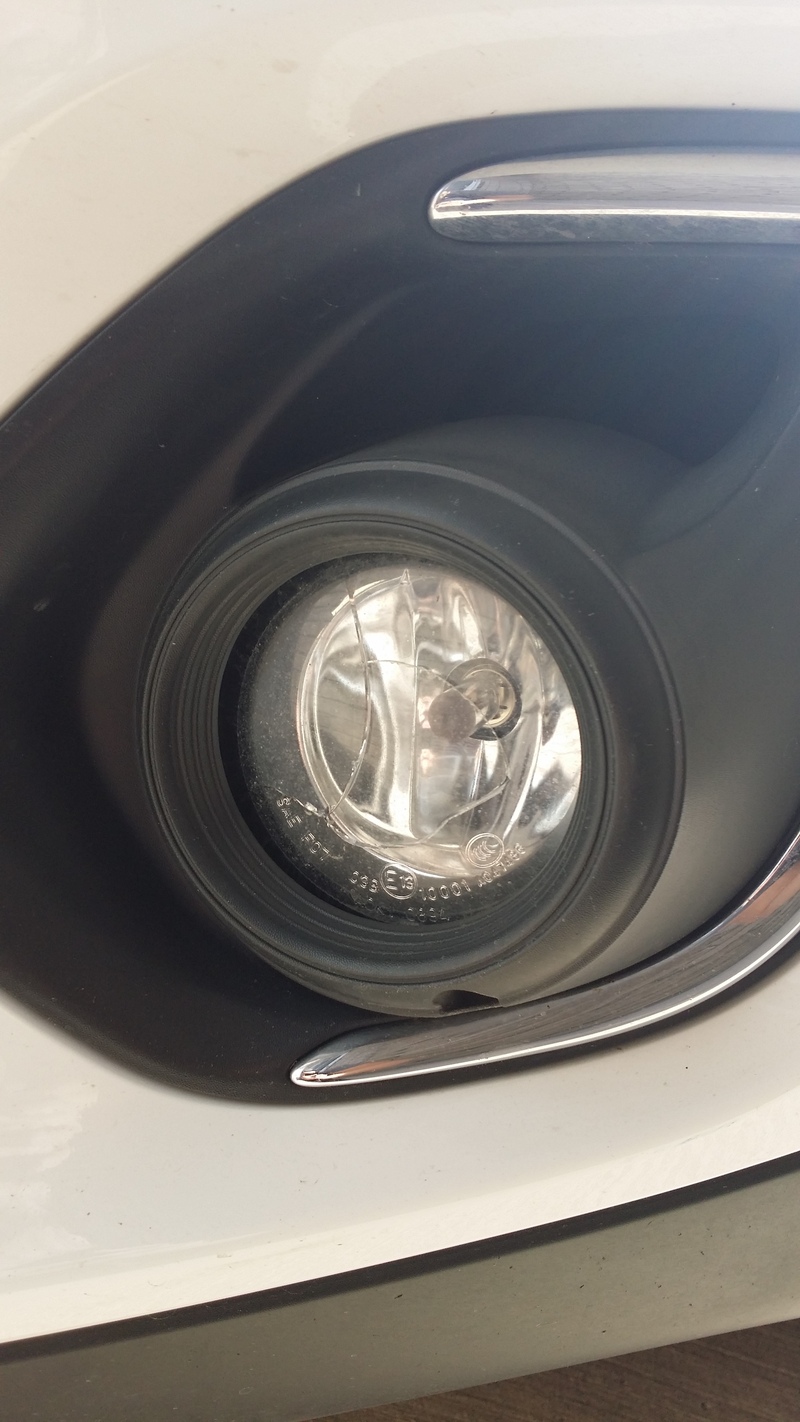
Old passenger side.
New driver side.
New passenger side.
And the final check. Light output looks ok and not too much glare for oncoming traffic. Good enough for me!

I checked around and the dealer wanted around $150 EACH side. No thank you!
I found a set of Valeo's which looked promising. The quality is 9/10 compared to OEM, and the reflector inside is... well... it reflects. The bulbs were trash so I tossed those and kept the OEM Osram's. The light output is not too shabby but these aren't very bright anyways. Just DRL and fogs because I switched the lowbeam and fog switch around to account for the DRL. Anyways, it sure is nice to have fogs that aren't cracked anymore!
Old driver side.

Old passenger side.

New driver side.

New passenger side.

And the final check. Light output looks ok and not too much glare for oncoming traffic. Good enough for me!


Newbie
Joined: Jul 2014
Posts: 35
Likes: 0
From: Edmonton
Big thanks for the detailed install on the backup camera. I was able to get my hands on a nearly identical camera and this thread made my life considerably easier. Pretty sure feeding the wire through that rubber grommet was the hardest part of the install, that was a pain.
Thread Starter
Evolving Member
Joined: Sep 2013
Posts: 265
Likes: 1
From: Calgary, AB
Big thanks for the detailed install on the backup camera. I was able to get my hands on a nearly identical camera and this thread made my life considerably easier. Pretty sure feeding the wire through that rubber grommet was the hardest part of the install, that was a pain.

Thread Starter
Evolving Member
Joined: Sep 2013
Posts: 265
Likes: 1
From: Calgary, AB
Thread Starter
Evolving Member
Joined: Sep 2013
Posts: 265
Likes: 1
From: Calgary, AB
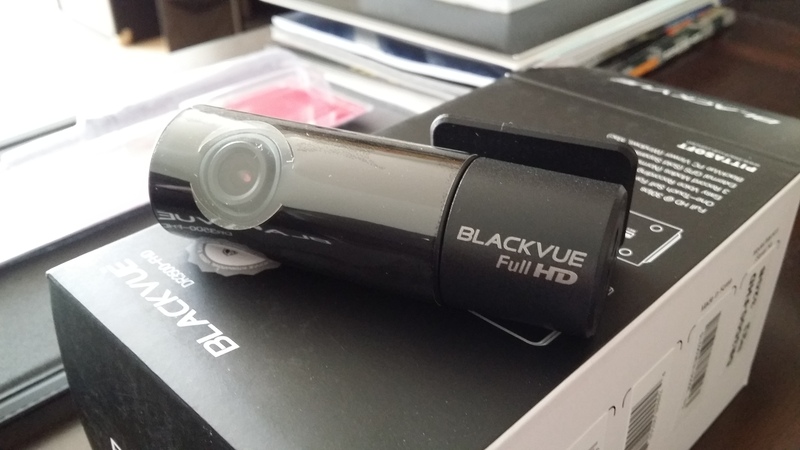
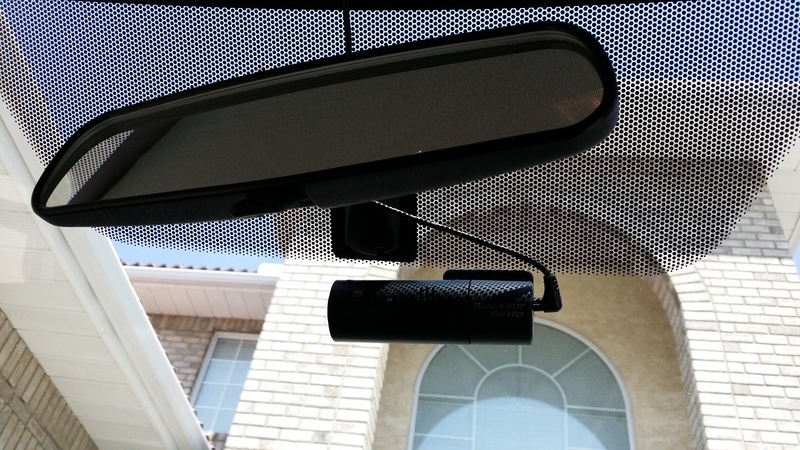
57. Blackvue DR-3500FHD Dash Cam
There's a steady increase of interesting encounters on the roads so I figured it was time for a little extra insurance for my ease of mind. I've heard the most about Blackvue but never paid much attention in the past. Upon further investigation did I realize these can get quite pricey. I opted for the 3500 which is sort of the no frills version but still has a good viewing area and does the job well. I picked up the Power Magic Pro as well to hardwire to the car (if you haven't realized by now, I don't like exposed wiring). As all my vehicles are modified, the Power Magic Pro offers parking mode as well which is convenient for prying hands. I've fortunately never had to deal with vandalism yet but have known of friends in my circle who's vehicles are a little too unique especially when parked.
This is the first vehicle I'm trying the install on, if all goes well I plan to order more for the rest of the fleet.
First impressions, I am pretty impressed with the neat packaging and presentation.

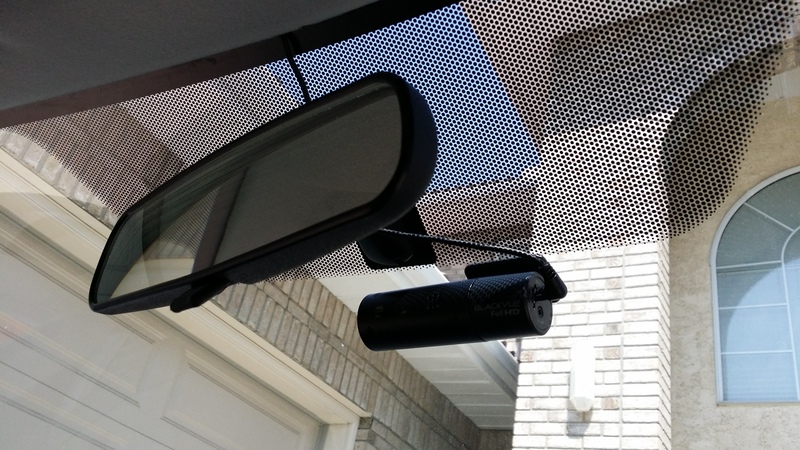
The best alignment I could get to centre the lens with the rear view mirror and be out of the way of the sunshade was here as shown. It's a little lower than I had hoped but with the sunshade being so tall, there was no way to place the camera anywhere else. The wiring also routes the best I could get it before being tucked under the headliner and around the A-pillar below the dash. The Power Magic Pro is also mounted next to the OBD plug for quick access.
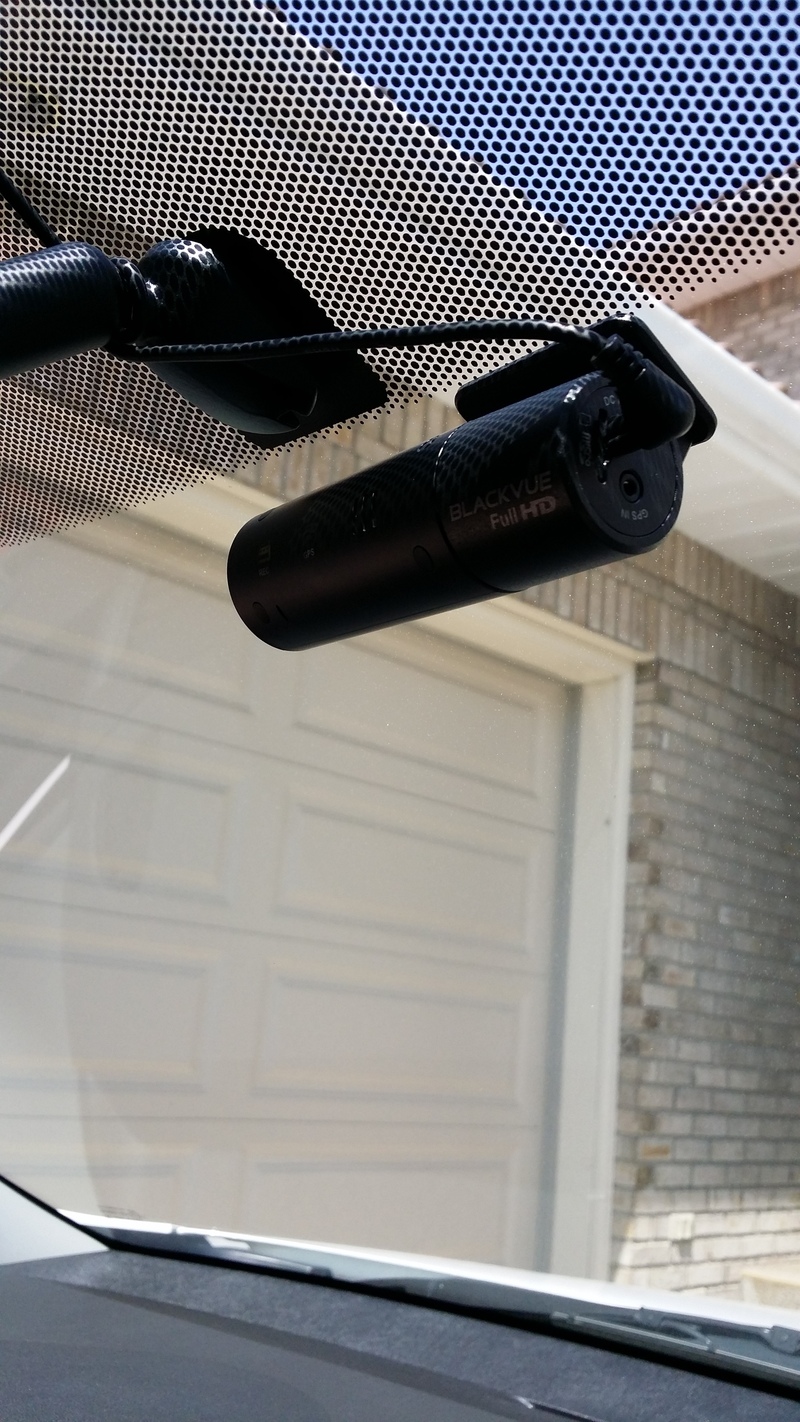
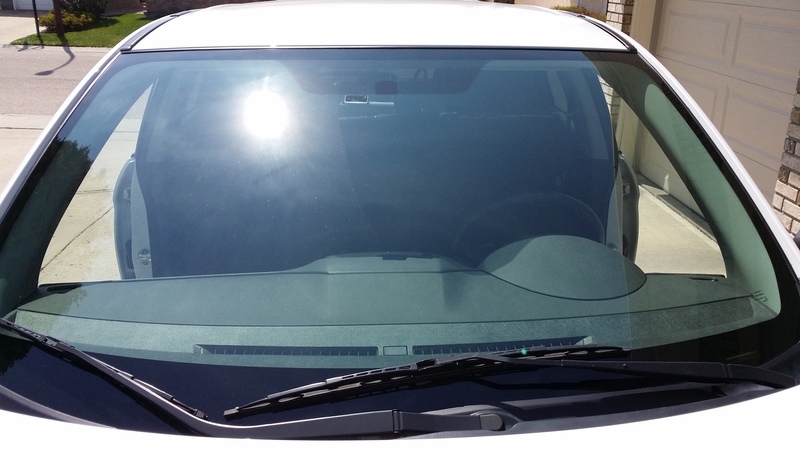
Fortunately, the camera is not too noticeable from the outside looking in.
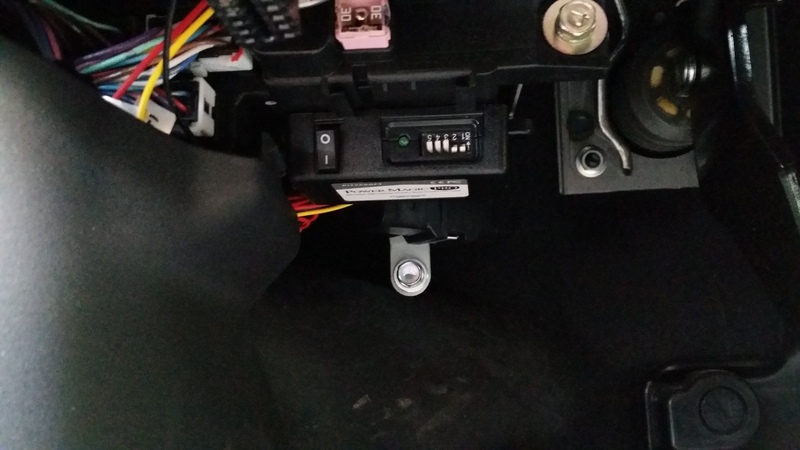
Close up of where I mounted the Power Magic Pro under the dash.
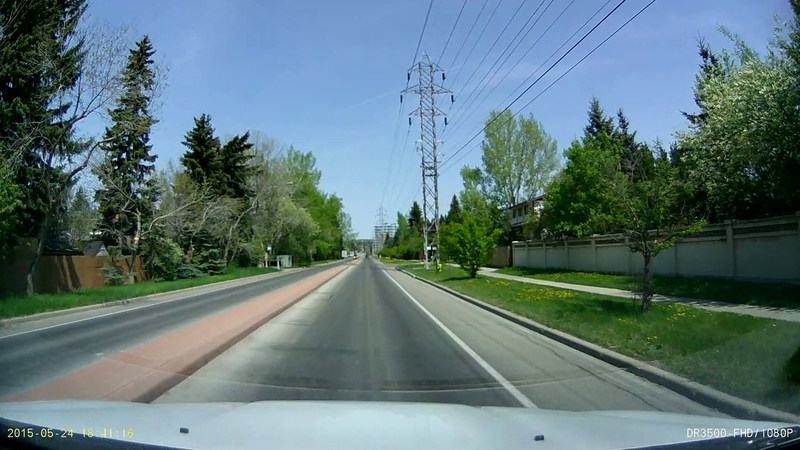
Here is a sample shot of the output at full HD in 30fps. I haven't had a chance to try night driving yet but between the gleaming sun and going underground through parkades, it's operating very well so far. I'm also quite impressed with the configurable settings although a wi-fi model to stream the live action would be nice, not a necessity however.
Overall, I'm very pleased and will be picking up more for the rest of my vehicles shortly. It's definitely a good investment for a little extra insurance!
This is the first vehicle I'm trying the install on, if all goes well I plan to order more for the rest of the fleet.
First impressions, I am pretty impressed with the neat packaging and presentation.


The best alignment I could get to centre the lens with the rear view mirror and be out of the way of the sunshade was here as shown. It's a little lower than I had hoped but with the sunshade being so tall, there was no way to place the camera anywhere else. The wiring also routes the best I could get it before being tucked under the headliner and around the A-pillar below the dash. The Power Magic Pro is also mounted next to the OBD plug for quick access.


Fortunately, the camera is not too noticeable from the outside looking in.

Close up of where I mounted the Power Magic Pro under the dash.

Here is a sample shot of the output at full HD in 30fps. I haven't had a chance to try night driving yet but between the gleaming sun and going underground through parkades, it's operating very well so far. I'm also quite impressed with the configurable settings although a wi-fi model to stream the live action would be nice, not a necessity however.

Overall, I'm very pleased and will be picking up more for the rest of my vehicles shortly. It's definitely a good investment for a little extra insurance!

Newbie
Joined: Jul 2014
Posts: 35
Likes: 0
From: Edmonton
Looking great as always. I did the rearview cam that you did however mine recently stopped transmitting video. Figured I'd ask if you've had any issues with yours. I know that being a chinese product that its very likely I just have a lemon and just need to pick up another however also figured it couldn't hurt to ask first.
So any issues with yours?
So any issues with yours?