When you click on links to various merchants on this site and make a purchase, this can result in this site earning a commission. Affiliate programs and affiliations include, but are not limited to, the eBay Partner Network.
Superbowl and friends/family took up the day. All I did was logged a few runs and I see I'm hitting 101.7% IDC. Yikes. Won't get to this until next weekend. I'll try to get UEGO connected to rear O2 during the week.
Logs from my previous tune (430hp) shows IDC hitting 84%. So it looks like fuel pump ran out.
Last edited by 2006EvoIXer; Feb 7, 2018 at 10:22 AM.
I just soldered the UEGO output white wire into pin 73, which is also white. I also disconnected the rear O2 under the passenger seat since that connection is still live. I'll do some logging tomorrow and see if the readings are close to the AEM gauge. If not, I'll try to calibrate it.
I also popped open my rear seat to look at the fuel pump wiring. It is very dusty and I'm regretting not installing my AEM fuel pump myself (see pictures). I would have been much more careful on the install and definitely would have vacuum up all the dust before pulling out the assembly. Anyway, looking at the pump connector, the white power and black ground wires look like they're 14 awg to me. There were also 2 thinner black wires with 3rd pin not used. I'll measure the diameters when I'm ready to solder (hopefully Sunday).
So I spent 5 minutes to brush to loosen dirt and blew it off to the sides. It only took 5 minutes and was so easy to do!
Update: UEGO is reading fine now. Adjusted formula to: 0.03913*x+10. I started with what a thread suggested: 0.03913*x+9, but it was reading low by 1.
Originally Posted by 2006EvoIXer
Looks like I need to solder my UEGO output to my ECU pin 73:
Looking at my hks turbo timer, the ignition voltage is 14.0V when A/C is on amd 14.2V when running W/O AC. It would dip to 13.8V when it feels like a miss.
Last edited by 2006EvoIXer; Feb 12, 2018 at 07:55 AM.
Update: I just checked the voltage at idle at the pump and it's 8.1V. I measured at the relay and got 8.55V. So the resister, loses 4.5V from Relay #3 to pump. Interesting...
Update: tested and realized that without pump drawing current, voltage doesn't drop. So much for that idea. Lol
I'm just going to overkill this by running four 16awg in parallel from relay #3 to fuel pump. In addition, I'm going to also run four 16awg wires in parallel from fuel pump ground to battery anchor to car frame (see top right arrow in picture below). I plan to bolt to trunk frame and radio cluster frame to help anything needing a better ground. I got extra black wire for ground, so I will also run wires from battery negative to bolts around my head so that sparks will get a solid ground. Of course, this is happening next weekend. I also have something planned for Relay #3 but I'll reveal it when I get there.
I'm pressed for time, so I'll only check pump voltage at each step. I'll add ground to car frame and see how much V increases. Then I'll run a ground wire to engine bay and connect to car from ground (where huge wire comes from battery). Then I'll add red wires from the pump to Relay#3 and red the V with each strand.
Originally Posted by 2006EvoIXer
Now that I've had plenty of time to think about this and bouncing ideas off of another member, I'll test my changes on each step. I will hook up my UEGO output into my ECU pin for rear O2 so I can log the AFR with my boost, IDC, RPM, etc.
My steps I'm planing to log:
1) baseline as tuned to see where my IDC and AFR is at.
2) add more fuel pump ground. I'll try adding two 16 awg wires to existing ground in parallel and see if AFR richens up and by how much.
3) switch the two 16 awg with a 10 awg to see if there is a difference in AFRs (probably not at this stage).
4) rewire the Fuel Pump Relay #3 by using the power source wire from Relay #2 (which comes from Relay #1) as trigger for new relay (pin 85). Ground pin 86. Run 10 awg from battery + to 20A fuse to pin 30. And then wire from pin 87 with 10 awg to Relay #3 Pin 30. Rest of Relay #3 stays the same for this log.
5) solder two 16 awg in parallel from Relay #3 to fuel pump. This carries the power to fuel pump (low and high voltage). Log to see how much AFR richens up throughout powerband.
6) return the ground back to two 16 awg wires and log again.
7) run and extend the two 16 awg wires to battery main ground and log again to see if AFR enriches further.
Hopefully, I'll have enough power to pump to meet my turbo's capability at 90-95 IDC. I'll hook up a digital volt meter to watch it (unless there's a way to log a wire I'll run from the pump connector).
If anyone has anything else to try, let me know and I'll try to add it.
Last edited by 2006EvoIXer; Feb 11, 2018 at 08:30 PM.
Interesting! The stock Evo 9 fuel pump wire is 14 awg, not 18 or 16 awg that I've been told!
Wire copper is 1.75 mm in diameter. That's very close to 13 gauge!
For reference, here is the 16 awg tefzel wire, which measure the same diameter as 14 awg. Strange.
This is sold as 16 awg tefzel wire. Interesting.
Originally Posted by 2006EvoIXer
This is my thinking and if I'm doing this wrong, please let me know. Does anyone know the wire sizes connecting IGN to Relay#1 to Relay#2 to Relay#3? And also the wire size from Relay#3 to Fuel Pump? I heard it is 18 AWG, so I'm assuming it's 18 AWG from IGN to FP.
18 AWG has resistance of 0.006385 Ohms/ft.
Let's assume it is 3 feet to Relay#3 and 15 feet to FP. And ground is also 18 AWG and is 5 feet equivalent to battery. Total length is 23 feet times 0.006385 ohms/ft. We get 0.147 ohms.
AEM 320 lph pump spec is: Current Draw (80 psi): 15 amps (13.5v).
Let's assume we get 18A draw. Voltage drop is 18A � 0.147 Ohms = 2.6V. So 13.5V at Relay #3 ends up around 10.9V. Does this look close? Actually, I have 14V at the IGN, so if I test my FP under high load, I'm expecting 11.4V.
Next, let's look at soldering two 16 awg to the stock 18 awg. Resistance in each is 0.004016 ohms per foot. To get total resistance, you add the inverse. 1/0.004016 + 1/0.004016 + 1/0.006385 = 654.6 and then take inverse, which is 1/654.6 = 0.001527 ohms/ft.
So for same 23 feet, I get 0.001527 ohms/ft � 23 ft � 18A = 0.63V
So with 14V at IGN, I expect Voltage at pump to be around 13.4V. Any electrical engineers out there to check my math?
Last edited by 2006EvoIXer; Feb 11, 2018 at 06:57 PM.
Considering the stock wires are 14 awg, we theoretically gain about 0.5V under load. Not as big of a gain as I originally anticipated. I will complete the install to see actual results.
For those of you who wants to rewire, I think the easiest way is to relocate Relay #3 and the resisiter into trunk.
Originally Posted by MinusPrevious
Great info for those of us doing a re-wire for the larger pumps
Last edited by 2006EvoIXer; Feb 11, 2018 at 07:22 PM.
There are many other methods to rewire pump and have multiple sources of power in parallel. I wanted to only use only one power source to battery because if that fails, car won't run and we need to check.
If we have more than one power source, how do we to tell when one source fails? For example, we wire in a 2nd relay in parallel that turns on when relay#3 turns on. If that new relay fails, then pump flow drops when it is needed most. If my car is tuned for the higher flow, then I'm gambling with engine running lean.
A Hobbs switch (which I bought already) would work too, but same thing, if that fails in the future, we have the same lean condition. We can also set up an input to ecu to trigger limp mode where boost drop to safe map, but I don't know how that will work or how much extra that costs to tune.
That's why I'm only considering two options. (1) Rewire Relay #3 and run one power source (new relay, but I haven't revealed this yet) to pump and leaving Relay#3 in stock location. Or (2) Move Relay #3 and factory pump resister to trunk so wire to pump is short.
Originally Posted by MinusPrevious
Great info for those of us doing a re-wire for the larger pumps
2 separate 10 gauge wires to battery with two 10A fuses. Then relay goes into five 16 gauge on each side wired together. 8 wires are soldered together (4 from each relay) and soldered into four 16 gauge goes to connect in parallel to stock white wire at fuel pump. Other 2 are soldered together to connect to Relay#3 pin#30 wire (wire that goes to pump, not relay).
White (pin#86) will connect to Relay#3 pin#87 (relay). In addition, Hobbs switch will connect small wire from Relay #3 pin 30 and also tie into Relay#3 pin #87. I'm using Hobbs switch as secondary trigger in parallel to Relay#3. So if one fails, the other will trigger high voltage to fuel pump. The two 10 gauge wires to 2 separate relays are also for redundancy. If one relay fails, the other is enough to power fuel pump and since they are soldered together, four 16 gauge wires will carry 14V to fuel pump and tie into stock wire at pump (which is oowered by the 2 red wires (from last sentence of 1st paragraph). I will have 5 wires to power pump (stock 14 gauge and four 16 gauge).
Now for the ground. I will run six 16 gauge black wires to front battery ground. I will also run two 16 gauge wirea from pump ground to frame and then run to radio frame and then to same battery ground. This is to add pump ground but it doubles as rear ground and radio ground (in case any electronic device can use the extra ground).
Also, for those who has already rewired fuel pump with STM kit where there is constant voltage from battery and no low voltage when at low boost, I have an idea how to restore your factory 2 stage setup. Let me know if there is any interest and I'll post or PM my idea.
Cheapest and easiest is to use STM kit and relocate pump rrlay #3 and resister to trunk. I can show you once I'm done with my car and finish the retune to max out the HTA71.
Originally Posted by MinusPrevious
Great info for those of us doing a re-wire for the larger pumps
I didn't finish my rewire today. Measuring lengths and soldering took too long. Biggest time on one item went to pulling the wires from the Relay #3 connector. Of course, I screwed mine up.
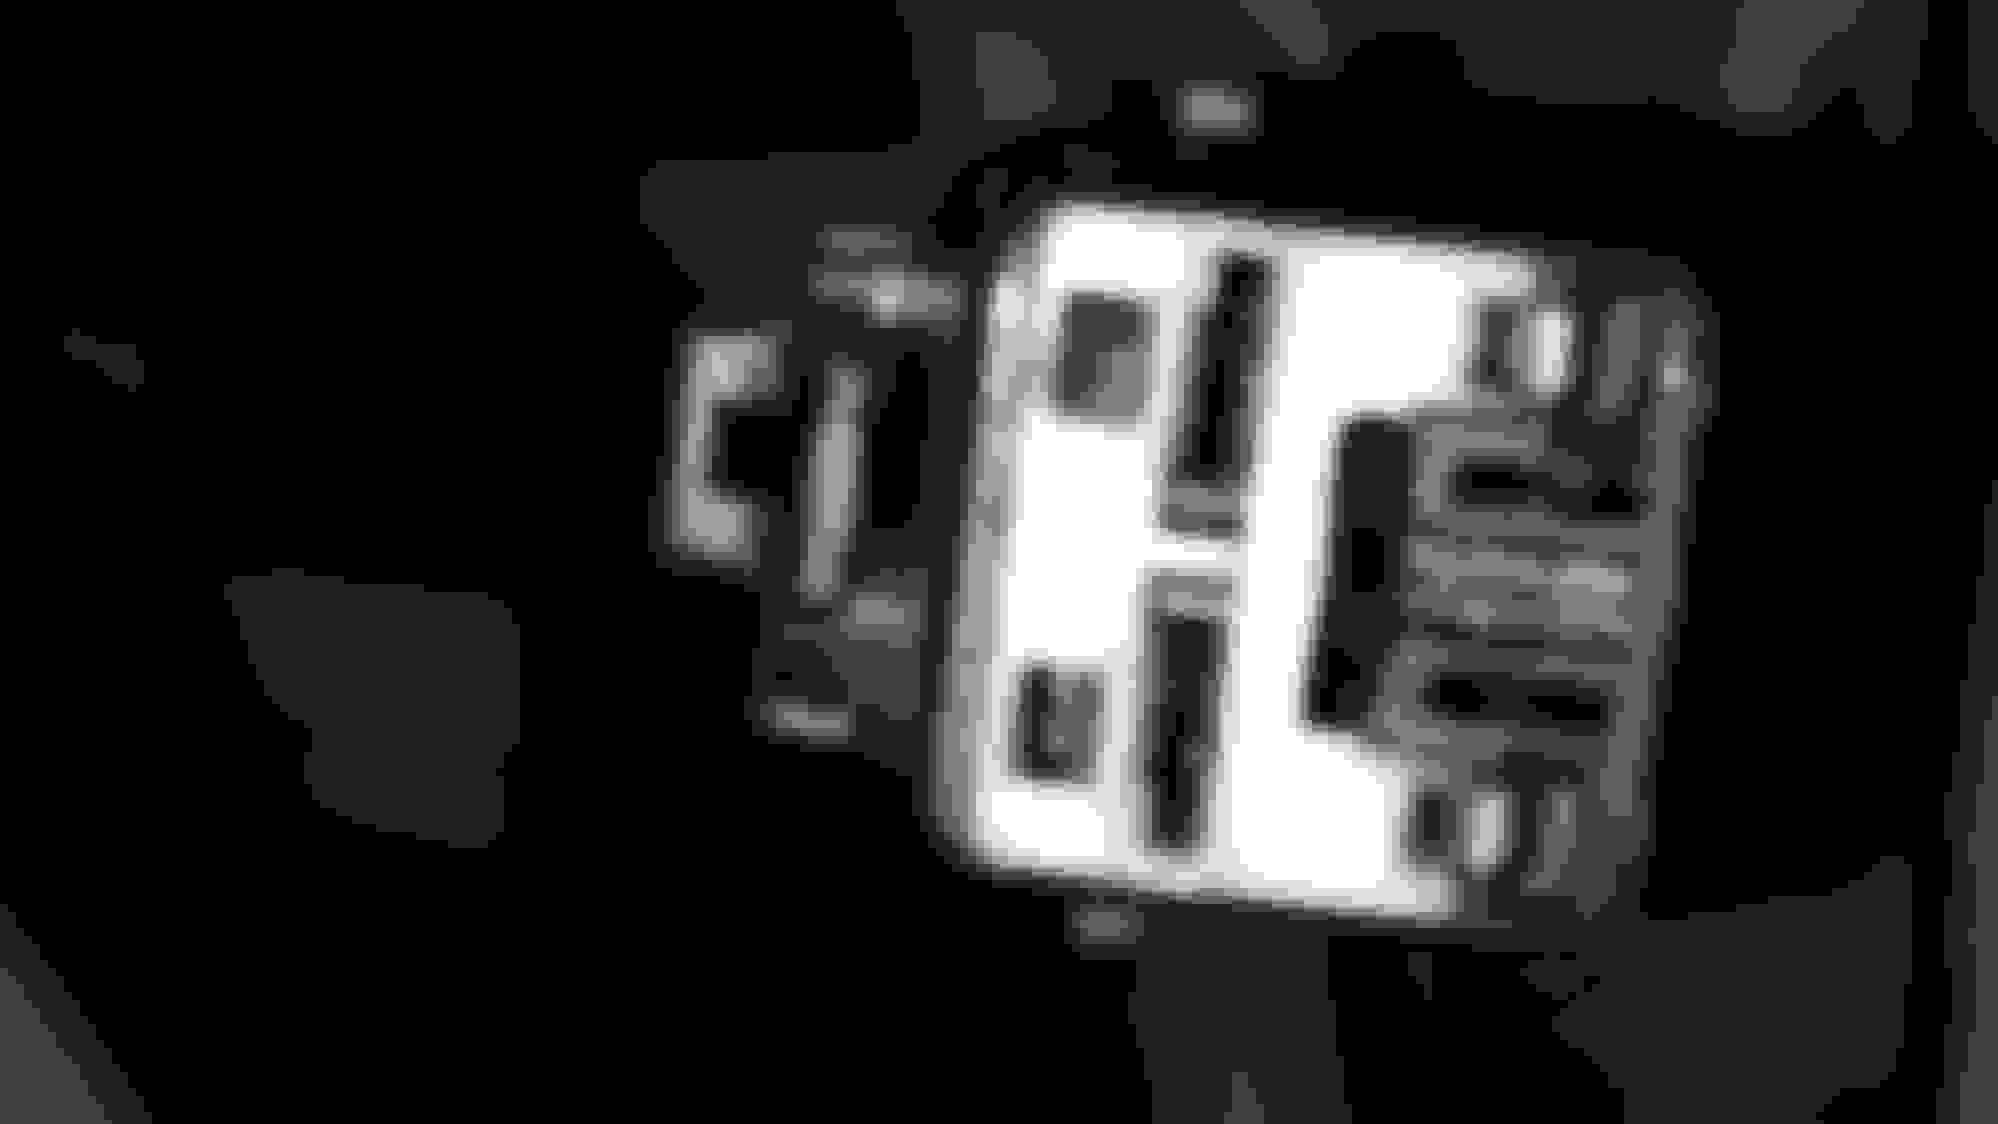
In trying to get it apart, I ruined the plastic locking mechanism on the leg I needed to modify. I was expecting a metal arm when it was the opposite. A plastic peg pops into the metal clip for the fuel pump and relay #3 connectors.
Be careful removing the white and blue clips. They protect the prongs. The white on relay#3 doubles and blocks the clips from unlocking.
Here is a simplified drawing of the easiest way I think rewiring the stock system to keep the 2 step voltage (I'm too deep in my setup to change to this, but it is still close). Does this make sense?: